Home>Home Maintenance>Ford Econoline Van 1989: How To Remove Ventilation System From Inside The Vehicle

Home Maintenance
Ford Econoline Van 1989: How To Remove Ventilation System From Inside The Vehicle
Modified: October 20, 2024
Learn how to remove the ventilation system from inside your 1989 Ford Econoline Van with our step-by-step guide. Perfect for home-maintenance enthusiasts.
(Many of the links in this article redirect to a specific reviewed product. Your purchase of these products through affiliate links helps to generate commission for Storables.com, at no extra cost. Learn more)
Introduction
Welcome to this step-by-step guide on how to remove the ventilation system from inside the Ford Econoline Van 1989. Over time, the ventilation system can become worn out or develop issues that require repair or replacement. Removing the ventilation system from inside the vehicle may be necessary in order to access and fix these problems. Whether you are a DIY enthusiast or a professional looking to offer automotive maintenance services, this guide will provide you with all the information you need to successfully remove the ventilation system from your Ford Econoline Van 1989.
Before we dive into the process, let’s take a moment to go over the materials you will need to have on hand.
Key Takeaways:
- Removing the ventilation system from a Ford Econoline Van 1989 requires preparation, careful disconnection of electrical connections, and step-by-step removal of components like the dashboard, air vents, blower motor, and HVAC control unit.
- Optional cleaning and reinstallation of ventilation components can enhance efficiency and longevity. Regular maintenance and prompt repairs are essential for extending the lifespan of your Ford Econoline Van 1989’s ventilation system.
Read more: How To Cut Conduit With Wires Inside
Materials Needed
Before you begin the process of removing the ventilation system from your Ford Econoline Van 1989, gather the following materials:
- Gloves: Protective gloves will keep your hands safe from any sharp edges or debris.
- Safety Glasses: Ensure your eyes are protected from any potential hazards.
- Trim Removal Tools: These tools will assist in prying off panels without causing damage.
- Screwdriver Set: A set of screwdrivers with various sizes and types will be needed to remove screws throughout the process.
- Pliers: Pliers may be necessary to disconnect certain electrical connections or remove stubborn components.
- Shop Vacuum: A shop vacuum will be useful for cleaning any debris or dust that may accumulate during the process.
- Container for Hardware: Keep a small container nearby to store any screws or fasteners that you remove.
Having these materials readily available will ensure that you can proceed smoothly throughout the removal process and have all the necessary tools at your disposal.
Step 1: Prepare the Vehicle
Before you delve into removing the ventilation system, it’s crucial to prepare the vehicle properly. Follow these steps to ensure a smooth and efficient process:
- Park the Vehicle: Find a flat surface and park your Ford Econoline Van 1989. Engage the parking brake to prevent any accidental movement during the procedure.
- Disconnect the Battery: For safety purposes, disconnect the negative terminal of the vehicle’s battery. This will minimize the risk of electrical shocks or short circuits while working on the ventilation system.
- Remove the Center Console: If your vehicle has a center console, remove it by unscrewing any fasteners and gently lifting it out. This step may not be required for some models of the Ford Econoline Van 1989 but double-check to avoid any obstacles later in the process.
- Clear the Dashboard: Take a few moments to clear any personal items or objects from the dashboard area. This will provide you with ample space to work and prevent any damage to personal belongings during the removal process.
By taking these steps to prepare your vehicle, you can ensure a safe and organized environment for removing the ventilation system.
Step 2: Remove the Dashboard
Removing the dashboard is an essential step in accessing the ventilation system of your Ford Econoline Van 1989. Follow these steps carefully to remove the dashboard:
- Locate and Remove Screws: Use a screwdriver to locate and remove any screws securing the dashboard. These screws are typically found along the edges and underneath the dashboard. Refer to your vehicle’s user manual or online resources for specific screw locations.
- Pry Off Panels: Once the screws are removed, gently pry off the panels surrounding the dashboard. To prevent any damage, use trim removal tools or a flat-head screwdriver wrapped in a cloth or plastic trim removal tool.
- Disconnect Electrical Connections: As you remove the panels, you may come across electrical connections. Carefully detach these connections by releasing any fasteners or unplugging the connectors. Take note of their locations to reconnect them later.
- Remove Dashboard Screws: Locate any remaining screws securing the dashboard and remove them. These screws may be hidden behind panels or trim pieces.
- Gently Remove the Dashboard: With all the screws removed, gently pull the dashboard towards you. Be cautious not to force or damage any electrical or HVAC components still attached.
By following these steps, you will successfully remove the dashboard and gain access to the ventilation system of your Ford Econoline Van 1989.
Step 3: Disconnect Electrical Connections
Once the dashboard is removed, it’s important to disconnect the electrical connections associated with the ventilation system. Follow these steps to disconnect the electrical connections:
- Identify the Electrical Connections: Take a close look at the wiring and connectors near the ventilation system. Identify the electrical connections that need to be disconnected. These connections may include wiring harnesses, plugs, or terminals.
- Label and Organize: Before disconnecting any electrical connections, label them with tape or use a marker to identify their corresponding locations. This will make the reinstallation process easier and prevent confusion.
- Disconnect the Connectors: Depending on the type of connectors, you may need to press or release tabs, squeeze connectors together, or use a small flat-head screwdriver to gently pry them apart. Be careful not to damage the connectors or wiring.
- Secure Loose Wires: As you disconnect the connectors, some wires may become loose. To prevent them from getting tangled or lost, secure them with zip ties or tape.
By carefully disconnecting the electrical connections, you ensure a smooth removal process and reduce the risk of damaging any wiring or components.
Read more: How To Remove Home Security System From Wall
Step 4: Remove Air Vents
With the electrical connections disconnected, it’s time to move on to removing the air vents from your Ford Econoline Van 1989. Follow these steps to remove the air vents:
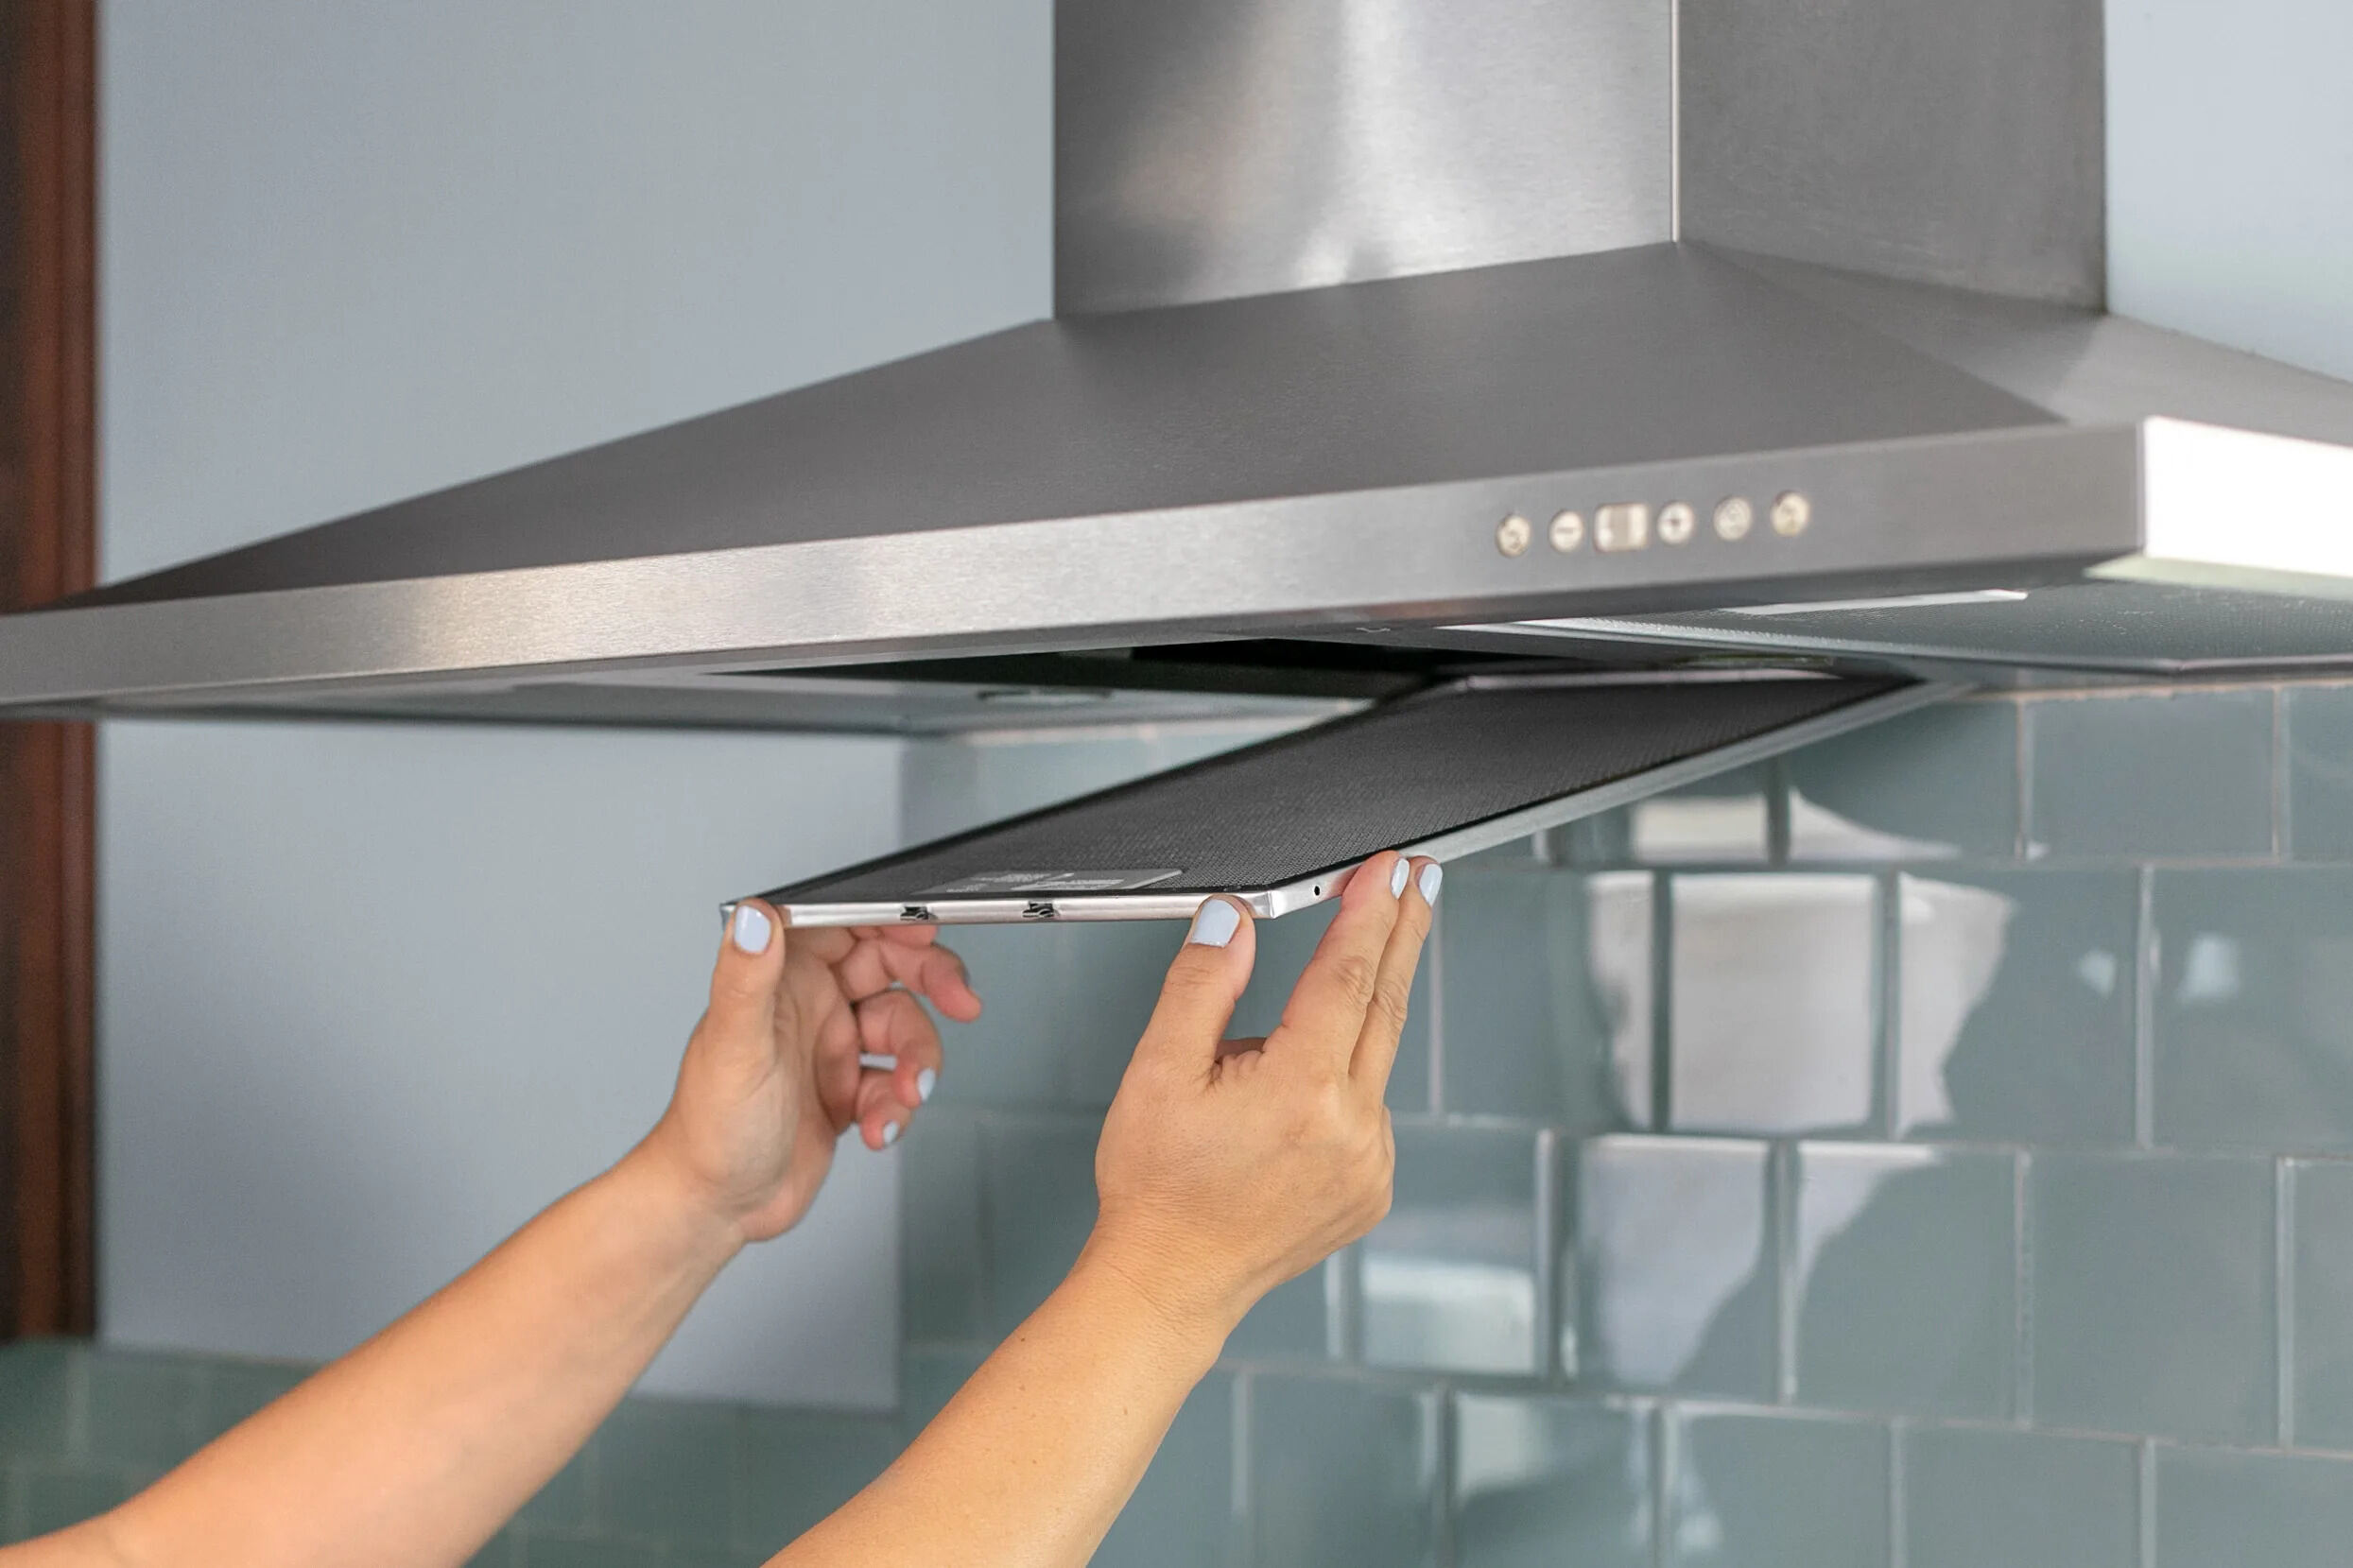
- Identify the Vent Locations: Take note of the locations of the air vents on the dashboard and other areas of your vehicle. These vents are typically found near the windshield, on the sides of the dashboard, and in other areas where air is directed.
- Pry Off the Vent Covers: Use a trim removal tool or a flat-head screwdriver wrapped in a cloth to gently pry off the vent covers. Start from one side and work your way around to avoid damaging the surrounding trim or dashboard.
- Remove the Screws: Once the vent covers are removed, locate any screws securing the air vents. Use a screwdriver to remove these screws and set them aside for reinstallation later.
- Gently Pull Out the Vent: With the screws removed, gently pull out the air vent assembly from the dashboard or other areas it is attached to. Be careful not to force or damage the surrounding components.
By following these steps, you will successfully remove the air vents from your Ford Econoline Van 1989. Remember to keep the screws and any other small components in a safe place for reinstallation later.
Before removing the ventilation system from inside the Ford Econoline Van 1989, make sure to disconnect the battery to avoid any electrical hazards. Then, carefully remove the dashboard and locate the ventilation system components for removal.
Step 5: Remove the Blower Motor
Next, we will focus on removing the blower motor from the ventilation system. The blower motor is responsible for blowing air into the cabin of your Ford Econoline Van 1989. Follow these steps to remove the blower motor:
- Locate the Blower Motor: The blower motor is typically located under the dashboard on the passenger side. It may be secured by screws or held in place by clips.
- Disconnect the Electrical Connections: Before removing the blower motor, you need to disconnect the electrical connections attached to it. Carefully unplug the wiring harness or connectors connected to the blower motor. Take note of their locations for reassembly.
- Remove the Mounting Screws: The blower motor is usually held in place by mounting screws. Use a screwdriver to remove these screws and set them aside for later.
- Gently Remove the Blower Motor: Once the screws are removed, gently pull out the blower motor. Be mindful of any wires or hoses still attached and disconnect them if necessary. Take caution not to damage any surrounding components.
By following these steps, you will successfully remove the blower motor from your Ford Econoline Van 1989. Keep the mounting screws and electrical connections in a safe place to ensure they are readily available when reinstalling the blower motor.
Step 6: Remove the HVAC Control Unit
The next step in removing the ventilation system from your Ford Econoline Van 1989 is to remove the HVAC (Heating, Ventilation, and Air Conditioning) control unit. The HVAC control unit is responsible for regulating the temperature and airflow within the vehicle. Follow these steps to remove the HVAC control unit:
- Locate the HVAC Control Unit: The HVAC control unit is typically located on the dashboard near the center or at the bottom of the console. It may be secured by screws or clips.
- Disconnect the Electrical Connections: Before removing the HVAC control unit, you need to disconnect the electrical connections. Carefully unplug the wiring harness or connectors connected to the control unit. Take note of their locations for reassembly.
- Remove the Mounting Screws: The control unit is usually held in place by mounting screws. Use a screwdriver to remove these screws and set them aside for later.
- Gently Remove the HVAC Control Unit: Once the screws are removed, gently pull out the HVAC control unit. Be mindful of any wires or hoses still attached and disconnect them if necessary. Take caution not to damage any surrounding components.
By following these steps, you will successfully remove the HVAC control unit from your Ford Econoline Van 1989. Keep the mounting screws and electrical connections in a safe place for reinstallation later.
Step 7: Remove Remaining Ventilation Components
Now that the blower motor and HVAC control unit have been removed, it’s time to focus on removing any remaining ventilation components. This step will involve removing ducts, hoses, and any other parts of the ventilation system still attached to your Ford Econoline Van 1989. Follow these steps to remove the remaining ventilation components:
- Identify the Remaining Components: Take a close look at the ventilation system and identify any ducts, hoses, or other components that are still connected.
- Unclamp or Unfasten Connections: Many ventilation components are held in place by clamps or fasteners. Use pliers or a screwdriver, as needed, to unclamp or unfasten these connections.
- Gently Disconnect Components: Carefully disconnect the remaining ventilation components by pulling or twisting them away from their connections. Be cautious not to damage any surrounding parts or wiring.
- Set Aside Removed Components: As you remove each component, set them aside in an organized manner. This will make reassembly easier and prevent any confusion later on.
By following these steps, you will successfully remove the remaining ventilation components from your Ford Econoline Van 1989. Take your time and ensure all connections are properly disconnected before moving on to the next step.
Step 8: Clean and Reinstall Components (optional)
Once you have successfully removed all the ventilation components from your Ford Econoline Van 1989, you have the option to clean and reinstall them before moving forward. This step is not necessary, but it can help improve the efficiency and longevity of your ventilation system. Follow these steps to clean and reinstall the components:
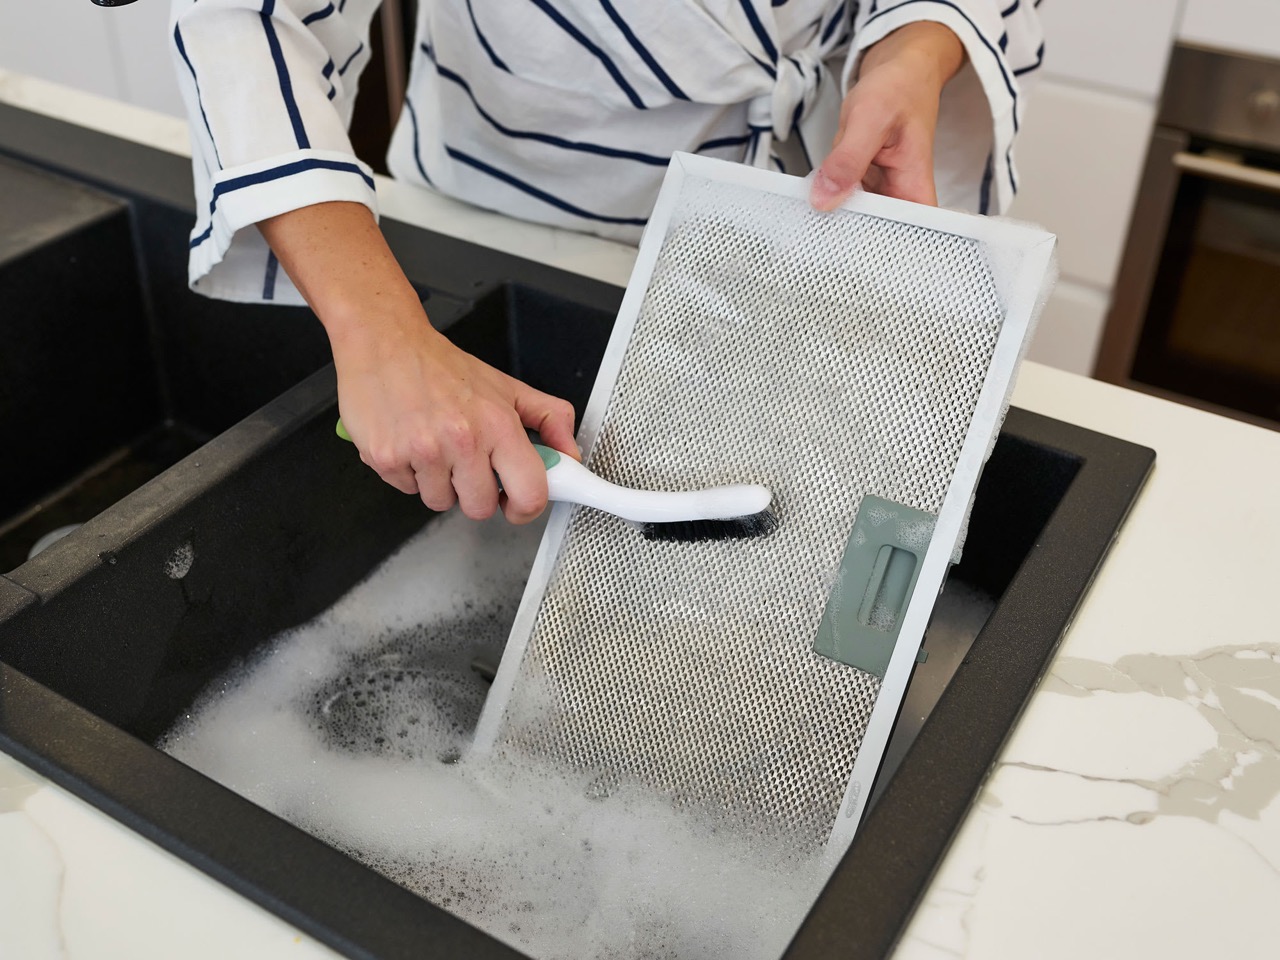
- Clean the Components: Use a soft brush, compressed air, or a damp cloth to remove any dust, debris, or buildup from the components. Pay close attention to the ducts, vents, and blower motor for effective cleaning.
- Inspect for Damage: While cleaning the components, inspect them for any signs of damage or wear. Replace any damaged or worn-out components to ensure optimal performance.
- Reinstall the Components: Start reinstalling the ventilation components in the reverse order of removal. Refer to your notes or labeled connections to ensure accurate reinstallation.
- Connect Electrical Connections: Reconnect all the electrical connections, ensuring they are properly aligned and securely fastened.
- Secure Mounting Screws and Fasteners: Use a screwdriver or appropriate tools to tighten all the mounting screws and fasteners to secure the components in place.
By performing these optional steps, you can ensure that your ventilation system is clean and properly reinstalled, maximizing its efficiency and functionality. This step can enhance the overall performance of your Ford Econoline Van 1989 and provide a comfortable driving experience.
Conclusion
Congratulations! You have successfully learned how to remove the ventilation system from inside your Ford Econoline Van 1989. By following the step-by-step guide, you have gained the knowledge and skills necessary to tackle this task with confidence.
Remember that proper preparation and organization of materials are essential for a smooth removal process. Take the time to gather all the necessary tools and ensure the vehicle is parked safely before beginning. Disconnecting electrical connections and removing the dashboard are critical steps that allow you to access and remove the ventilation system components.
Throughout the removal process, be diligent in labeling connectors, taking note of screw locations, and handling components with care. This careful approach will make the reinstallation process much easier and prevent any potential damage to your vehicle.
If desired, take the opportunity to clean and inspect the components before reinstalling them. This step can help improve the efficiency and performance of your ventilation system in the long run.
As a responsible vehicle owner, stay aware of any signs of wear or damage to your ventilation system. Regular maintenance and prompt repairs can prevent further issues and extend the lifespan of your Ford Econoline Van 1989.
We hope this guide has been helpful in assisting you with the removal of the ventilation system in your Ford Econoline Van 1989. Stay tuned for more valuable information and guides to help you with your home maintenance needs.
Frequently Asked Questions about Ford Econoline Van 1989: How To Remove Ventilation System From Inside The Vehicle
Was this page helpful?
At Storables.com, we guarantee accurate and reliable information. Our content, validated by Expert Board Contributors, is crafted following stringent Editorial Policies. We're committed to providing you with well-researched, expert-backed insights for all your informational needs.


0 thoughts on “Ford Econoline Van 1989: How To Remove Ventilation System From Inside The Vehicle”