Home>Home Maintenance>How To Clean A GE Window Air Conditioner
Home Maintenance
How To Clean A GE Window Air Conditioner
Modified: March 7, 2024
Learn the best ways to clean your GE window air conditioner for optimal performance and longevity. Follow these home maintenance tips for a cooler and cleaner living space.
(Many of the links in this article redirect to a specific reviewed product. Your purchase of these products through affiliate links helps to generate commission for Storables.com, at no extra cost. Learn more)
Introduction
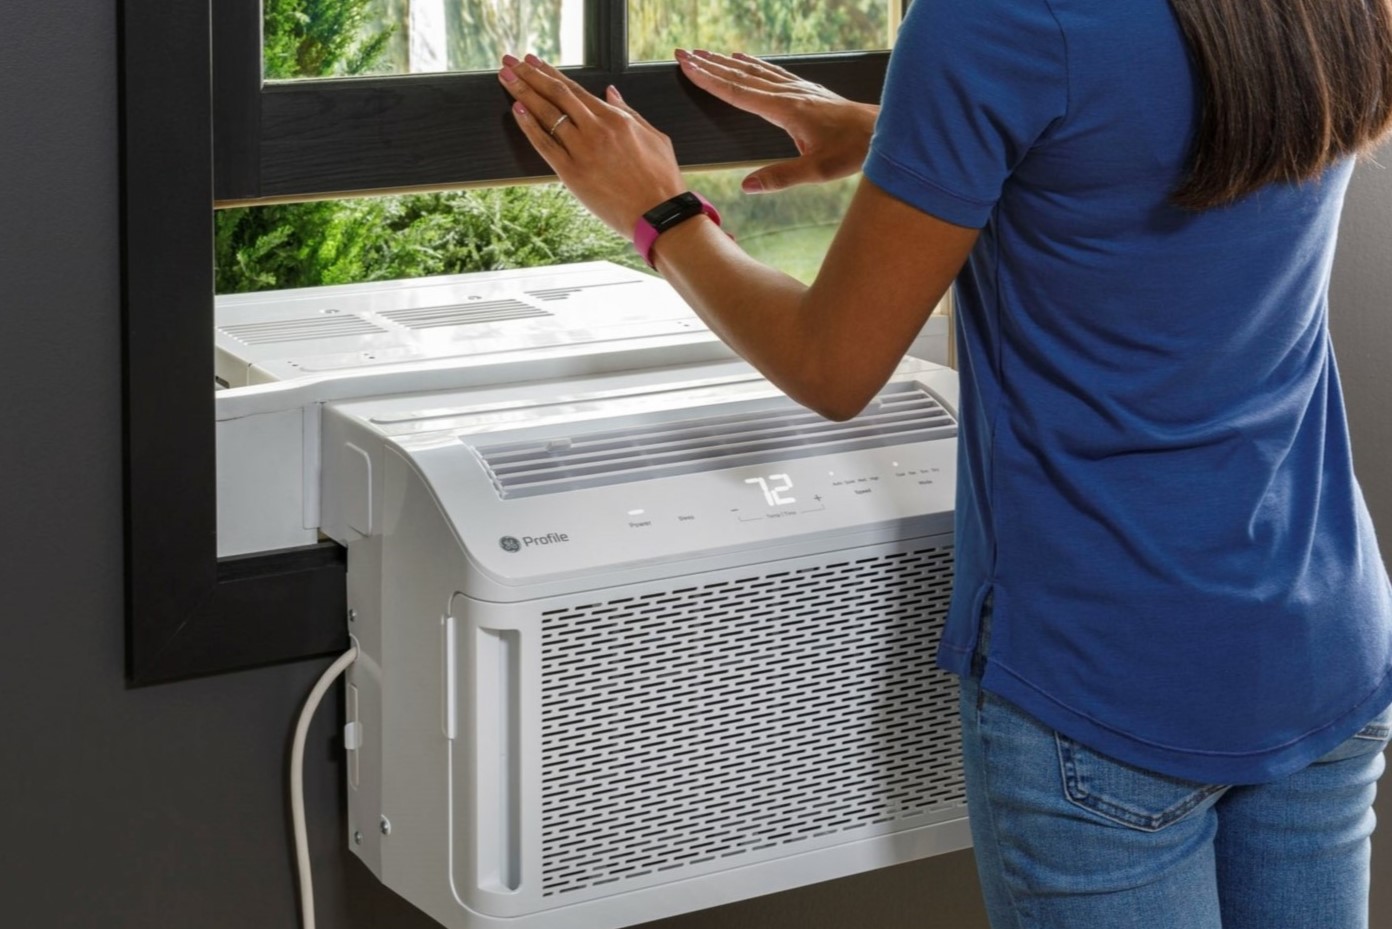
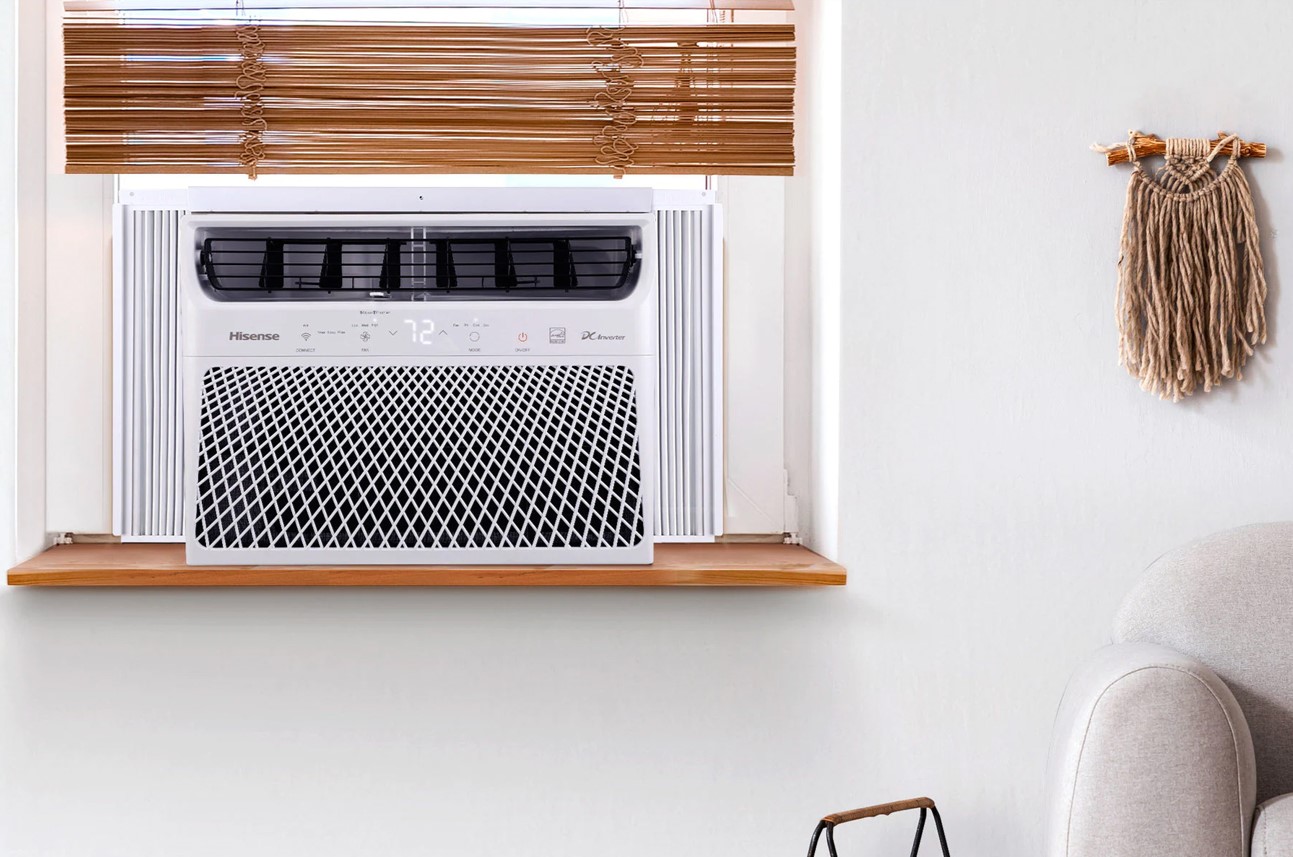
Welcome to our comprehensive guide on how to clean a GE window air conditioner. A window air conditioner is a convenient and efficient way to cool your home during the hot summer months. However, over time, dust, dirt, and debris can accumulate inside the unit, inhibiting its performance and reducing its efficiency. Regularly cleaning your air conditioner not only ensures optimal cooling but also helps prolong its lifespan.
In this article, we will walk you through the step-by-step process of cleaning your GE window air conditioner, providing valuable tips and safety precautions along the way. Whether you are a seasoned DIY enthusiast or a first-time homeowner, this guide will equip you with the knowledge and skills to maintain your air conditioner and keep it running smoothly.
Before we get started, please note that this guide is specifically for GE window air conditioners. While the general cleaning process may be similar for other brands, it is crucial to consult your appliance’s user manual or contact the manufacturer for any specific instructions or warnings.
Keep in mind that safety is of utmost importance throughout the cleaning process. Always remember to disconnect the power supply before attempting any maintenance or cleaning tasks. If you are not confident in completing the cleaning yourself, consider hiring a professional HVAC technician who can safely and efficiently perform the necessary maintenance tasks.
Now that we have covered the basics, let’s dive into the step-by-step process of cleaning your GE window air conditioner.
Key Takeaways:
- Regularly cleaning your GE window air conditioner ensures optimal cooling and prolongs its lifespan. Follow safety precautions and use mild cleaning agents for best results.
- Keep your air conditioner running smoothly by cleaning the air filter, outer shell, condenser coils, and drainage system at least once a year. Professional maintenance is also essential for long-term efficiency.
Read more: How To Clean A Window Air Conditioner
Safety Precautions
Before you start cleaning your GE window air conditioner, it is essential to take some safety precautions to ensure your well-being and prevent any accidents. Follow these safety guidelines:
- Turn off and unplug the air conditioner: Before you begin cleaning, make sure your air conditioner is completely turned off and disconnected from the power source. This will prevent any electrical mishaps or injury.
- Wear protective gear: Put on a pair of gloves and safety goggles to protect your hands and eyes from any sharp edges, chemicals, or debris that may be present during the cleaning process.
- Work in a ventilated area: It is necessary to work in a well-ventilated space to avoid exposure to any fumes or cleaning agents. Open windows or use fans to ensure proper airflow.
- Avoid water contact with electrical parts: When cleaning the air conditioner, take extra care not to let water come in contact with the electrical components. Moisture can cause damage and pose a risk of electrocution.
- Use appropriate cleaning agents: Only use mild, non-abrasive cleaning agents recommended by GE for cleaning your window air conditioner. Avoid using harsh chemicals that can damage the unit.
- Do not force components: If you encounter any resistance or difficulty while removing or cleaning any parts of the air conditioner, do not force them. Consult the user manual or seek professional assistance.
- Follow the manufacturer’s instructions: It is crucial to adhere to the specific instructions and guidelines provided by the manufacturer for cleaning and maintenance. This will ensure that you do not void any warranties or cause damage to the unit.
By following these safety precautions, you can proceed with confidence and minimize the risk of accidents while cleaning your GE window air conditioner.
Gather Necessary Supplies
Before you start cleaning your GE window air conditioner, it is important to gather all the necessary supplies. Having the right tools and cleaning agents at hand will ensure a smooth and effective cleaning process. Here are the supplies you will need:
- Screwdriver: You may need a screwdriver to remove the outer cover or access certain components of the air conditioner during the cleaning process.
- Gloves and Safety Goggles: Protect your hands and eyes by wearing gloves and safety goggles. This will keep you safe from sharp edges, debris, and any cleaning agents you may use.
- Mild Detergent: Use a mild detergent or a cleaning agent recommended by GE to clean the dust, dirt, and grime from the air conditioner’s filter and outer shell.
- Soft Brush or Vacuum Cleaner: A soft brush or a vacuum cleaner with a brush attachment is useful for removing dust and debris from the air filter, condenser coils, and other hard-to-reach areas.
- Water Spray Bottle: Fill a spray bottle with water to moisten the air conditioner’s filter and help remove stubborn dirt and particles.
- Towels or Rags: Keep towels or rags handy to wipe down and dry the air conditioner’s components after cleaning.
- Clean, Dry Cloth: Use a clean, dry cloth to wipe the exterior of the air conditioner and remove any remaining moisture.
- Vinegar: If there is any mold or mildew present on the air conditioner, vinegar can be used to kill and remove it. Dilute the vinegar with water before applying it to the affected areas.
Make sure you have all these supplies gathered before you begin cleaning your GE window air conditioner. Having everything ready will save you time and ensure you can complete the cleaning process efficiently.
Turn Off and Unplug the Air Conditioner
Before you start cleaning your GE window air conditioner, it is crucial to turn off and unplug the unit to ensure your safety and prevent any electrical accidents. Follow these steps:
- Locate the power source: Identify the power cord of your GE window air conditioner. Typically, it is located near the back or bottom of the unit.
- Switch off the air conditioner: Look for the power button on the control panel or remote control and press it to turn off the unit. Ensure that the fan and compressor are both turned off and that no air is blowing out.
- Unplug the power cord: Once the air conditioner is turned off, gently pull the power plug from the electrical outlet. Make sure to grip the plug itself and not the cord to avoid any damage or risk of shock.
- Wait for the unit to cool down: After unplugging the air conditioner, allow it to cool down for at least 30 minutes. This will ensure that all components are safe to touch and handle during the cleaning process.
Once you have followed these steps and ensured that the air conditioner is turned off and unplugged, you can proceed with the cleaning process. Always prioritize safety and take precautionary measures to avoid any accidental damage or injury.
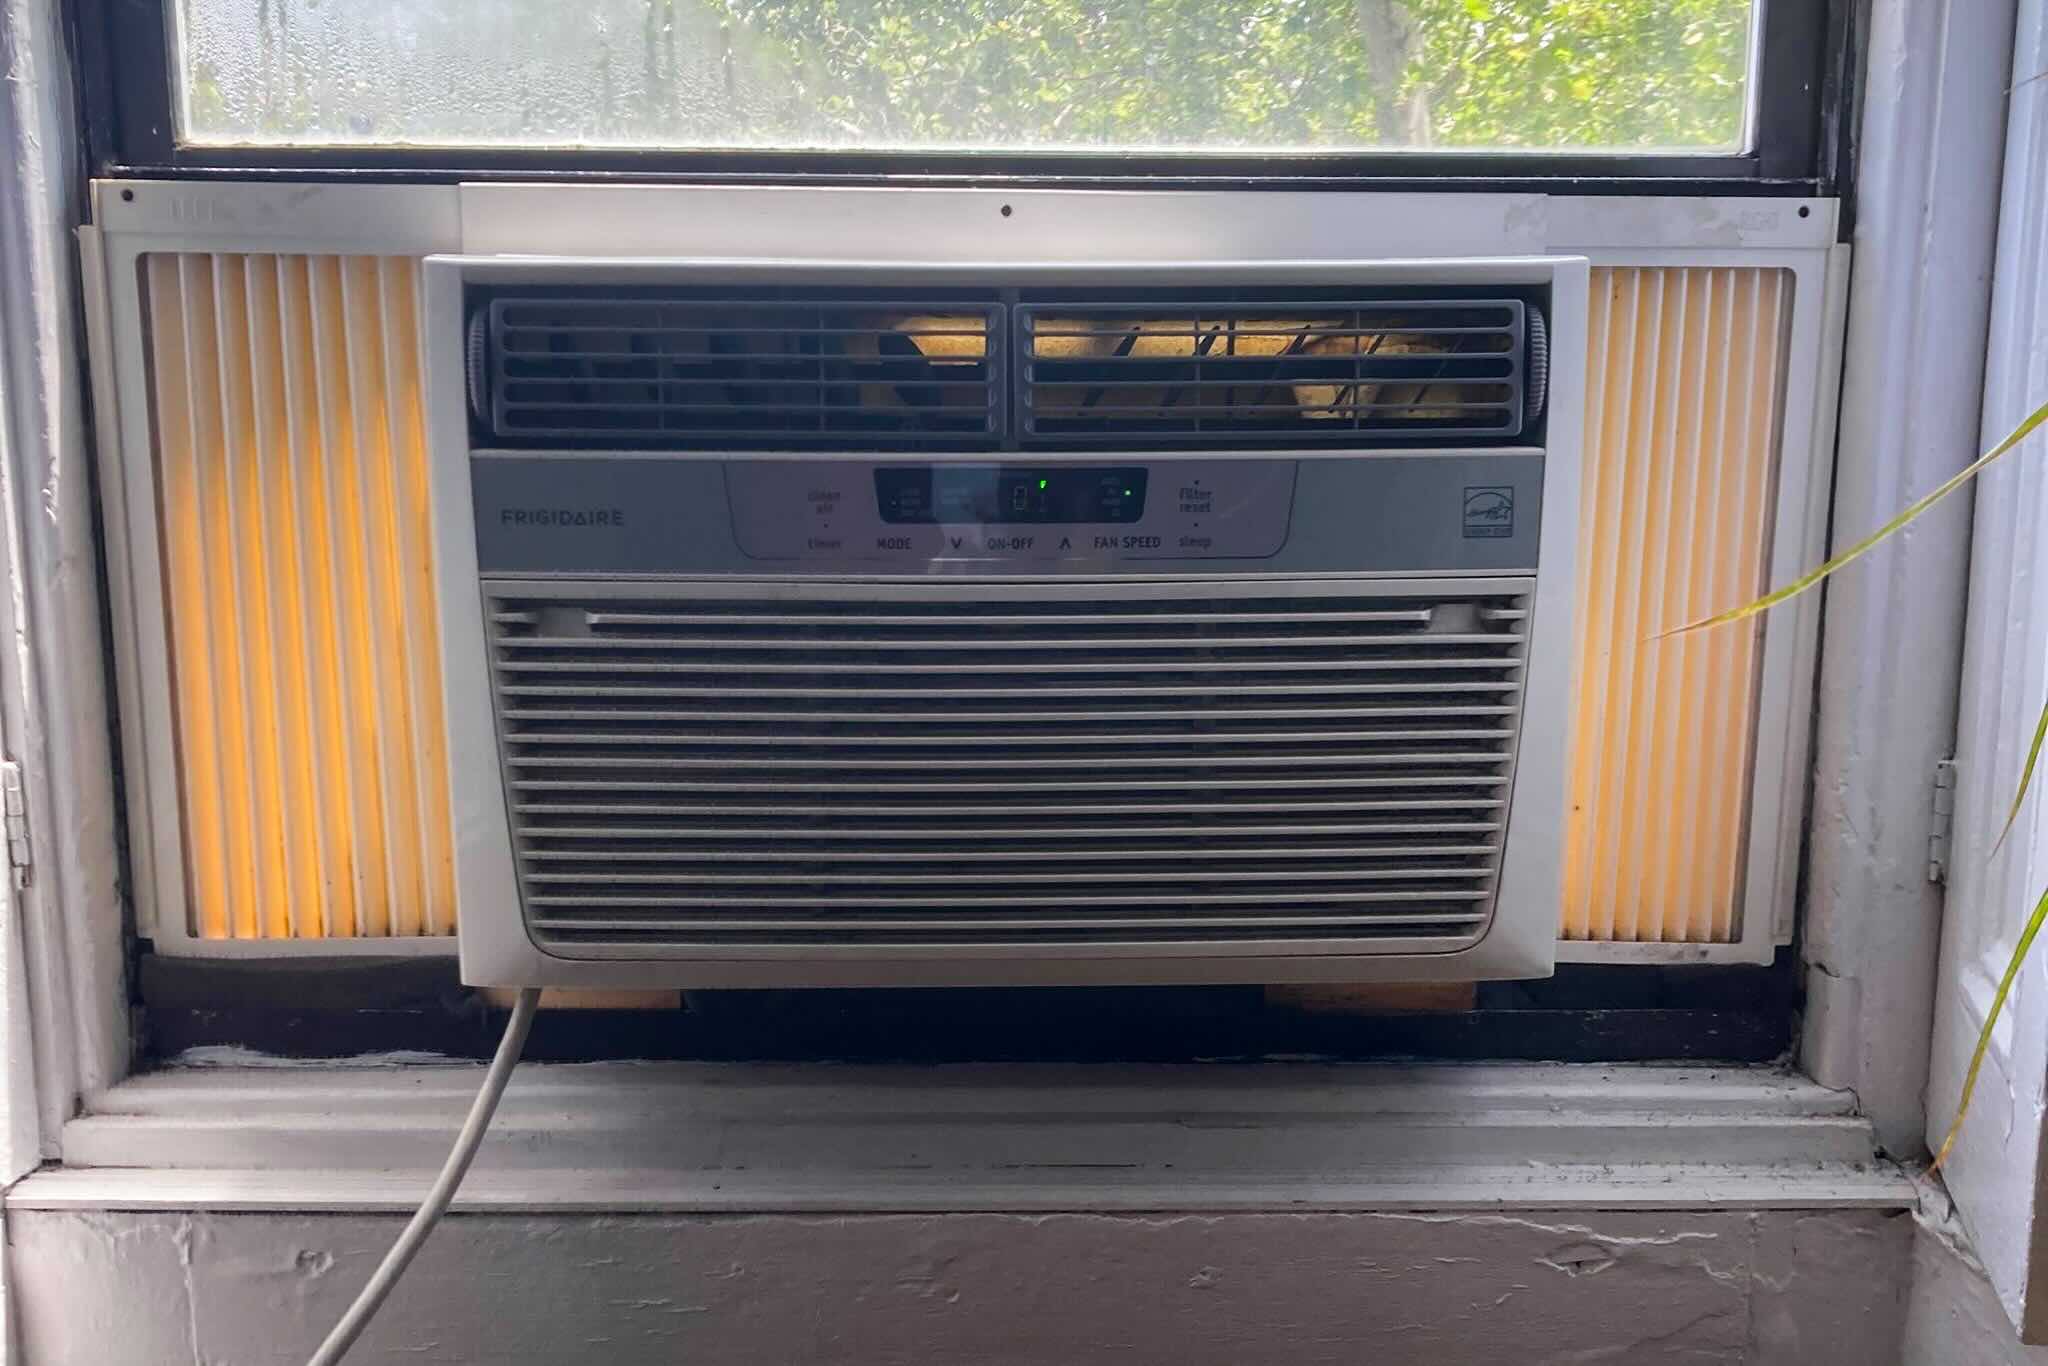
Remove and Clean the Air Filter
The air filter is an essential component of your GE window air conditioner as it traps dust, dirt, and other particles to ensure the air that circulates in your home is clean. Over time, the filter can become clogged, affecting the efficiency of the unit. Follow these steps to remove and clean the air filter:
- Locate the air filter: The air filter is typically located behind the front panel of the air conditioner. The exact location may vary depending on the model.
- Remove the front panel: Gently remove the front panel of the air conditioner by either sliding or unlatching it. Refer to the user manual if you are unsure how to do this.
- Locate the air filter: Once the front panel is removed, you should see the air filter. It is usually a rectangular mesh or foam material.
- Remove the air filter: Carefully pull out the air filter from its slot. Be cautious not to damage or bend the filter during removal.
- Clean the air filter: Rinse the air filter under running water to remove any dirt, dust, and debris. If the filter is heavily soiled, you can use a mild detergent or a mixture of water and vinegar to clean it.
- Gently scrub the filter: Use a soft brush or your fingers to gently scrub the air filter to remove any stubborn particles. Avoid using excessive force to prevent damaging the filter.
- Rinse and dry the filter: Thoroughly rinse the filter to ensure all cleaning agents are removed. After rinsing, gently shake off any excess water and allow the filter to air dry completely before reinstalling it.
- Inspect the filter: While the filter is drying, take a moment to inspect it for any signs of damage or wear. If the filter is torn or appears to be in poor condition, it is recommended to replace it with a new one.
- Reinstall the air filter: Once the air filter is dry, slide it back into its slot in the air conditioner. Ensure that it is properly aligned and securely in place.
- Replace the front panel: Slide or latch the front panel back into position until it is firmly secured.
By regularly cleaning the air filter, you can maintain the efficiency of your GE window air conditioner and improve the air quality in your home. Remember to consult the user manual for specific instructions regarding the care and cleaning of the air filter.
Clean the Outer Shell of the Air Conditioner
Keeping the outer shell of your GE window air conditioner clean not only enhances its appearance but also improves its overall performance. Dust and debris tend to accumulate on the surface over time, hindering the airflow and efficiency of the unit. Follow these steps to clean the outer shell of your air conditioner:
- Prepare a cleaning solution: Mix a mild detergent or a cleaning agent recommended by GE with warm water in a bucket or a spray bottle. Avoid using abrasive cleaners or harsh chemicals that can damage the surface.
- Dampen a cloth or sponge: Dip a clean cloth or sponge into the cleaning solution, ensuring it is just damp and not soaking wet. Excess moisture can seep into the air conditioner and cause damage.
- Gently wipe the outer shell: Starting from the top, gently wipe the outer shell of the air conditioner using the damp cloth or sponge. Pay extra attention to areas where dirt and grime have accumulated, such as the front grille and control panel.
- Scrub stubborn stains: For stubborn stains or sticky residue, you can use a soft brush or a toothbrush dipped in the cleaning solution to scrub the affected areas gently. Be careful not to damage any sensitive components or buttons.
- Rinse with clean water: After wiping or scrubbing, rinse the outer shell with clean water to remove any soapy residue. This step is essential to prevent any leftover cleaning agents from affecting the unit’s performance.
- Dry the outer shell: Use a clean, dry cloth to thoroughly dry the outer shell of the air conditioner. Ensure that no moisture remains before reassembling the unit.
- Inspect for any damage: While cleaning, take the opportunity to inspect the outer shell for any cracks, dents, or signs of wear. If you notice any significant damage, it is recommended to contact a professional technician for repairs or consider replacing the unit if necessary.
Remember to always refer to the user manual for any specific cleaning instructions provided by GE. Keeping the outer shell of your air conditioner clean not only improves its aesthetic appeal but also ensures that it functions at its best.
Regularly clean the air filter and coils of your GE window air conditioner to maintain its efficiency. Use a soft brush or vacuum to remove dust and debris from the filter, and a coil cleaner to remove dirt from the coils.
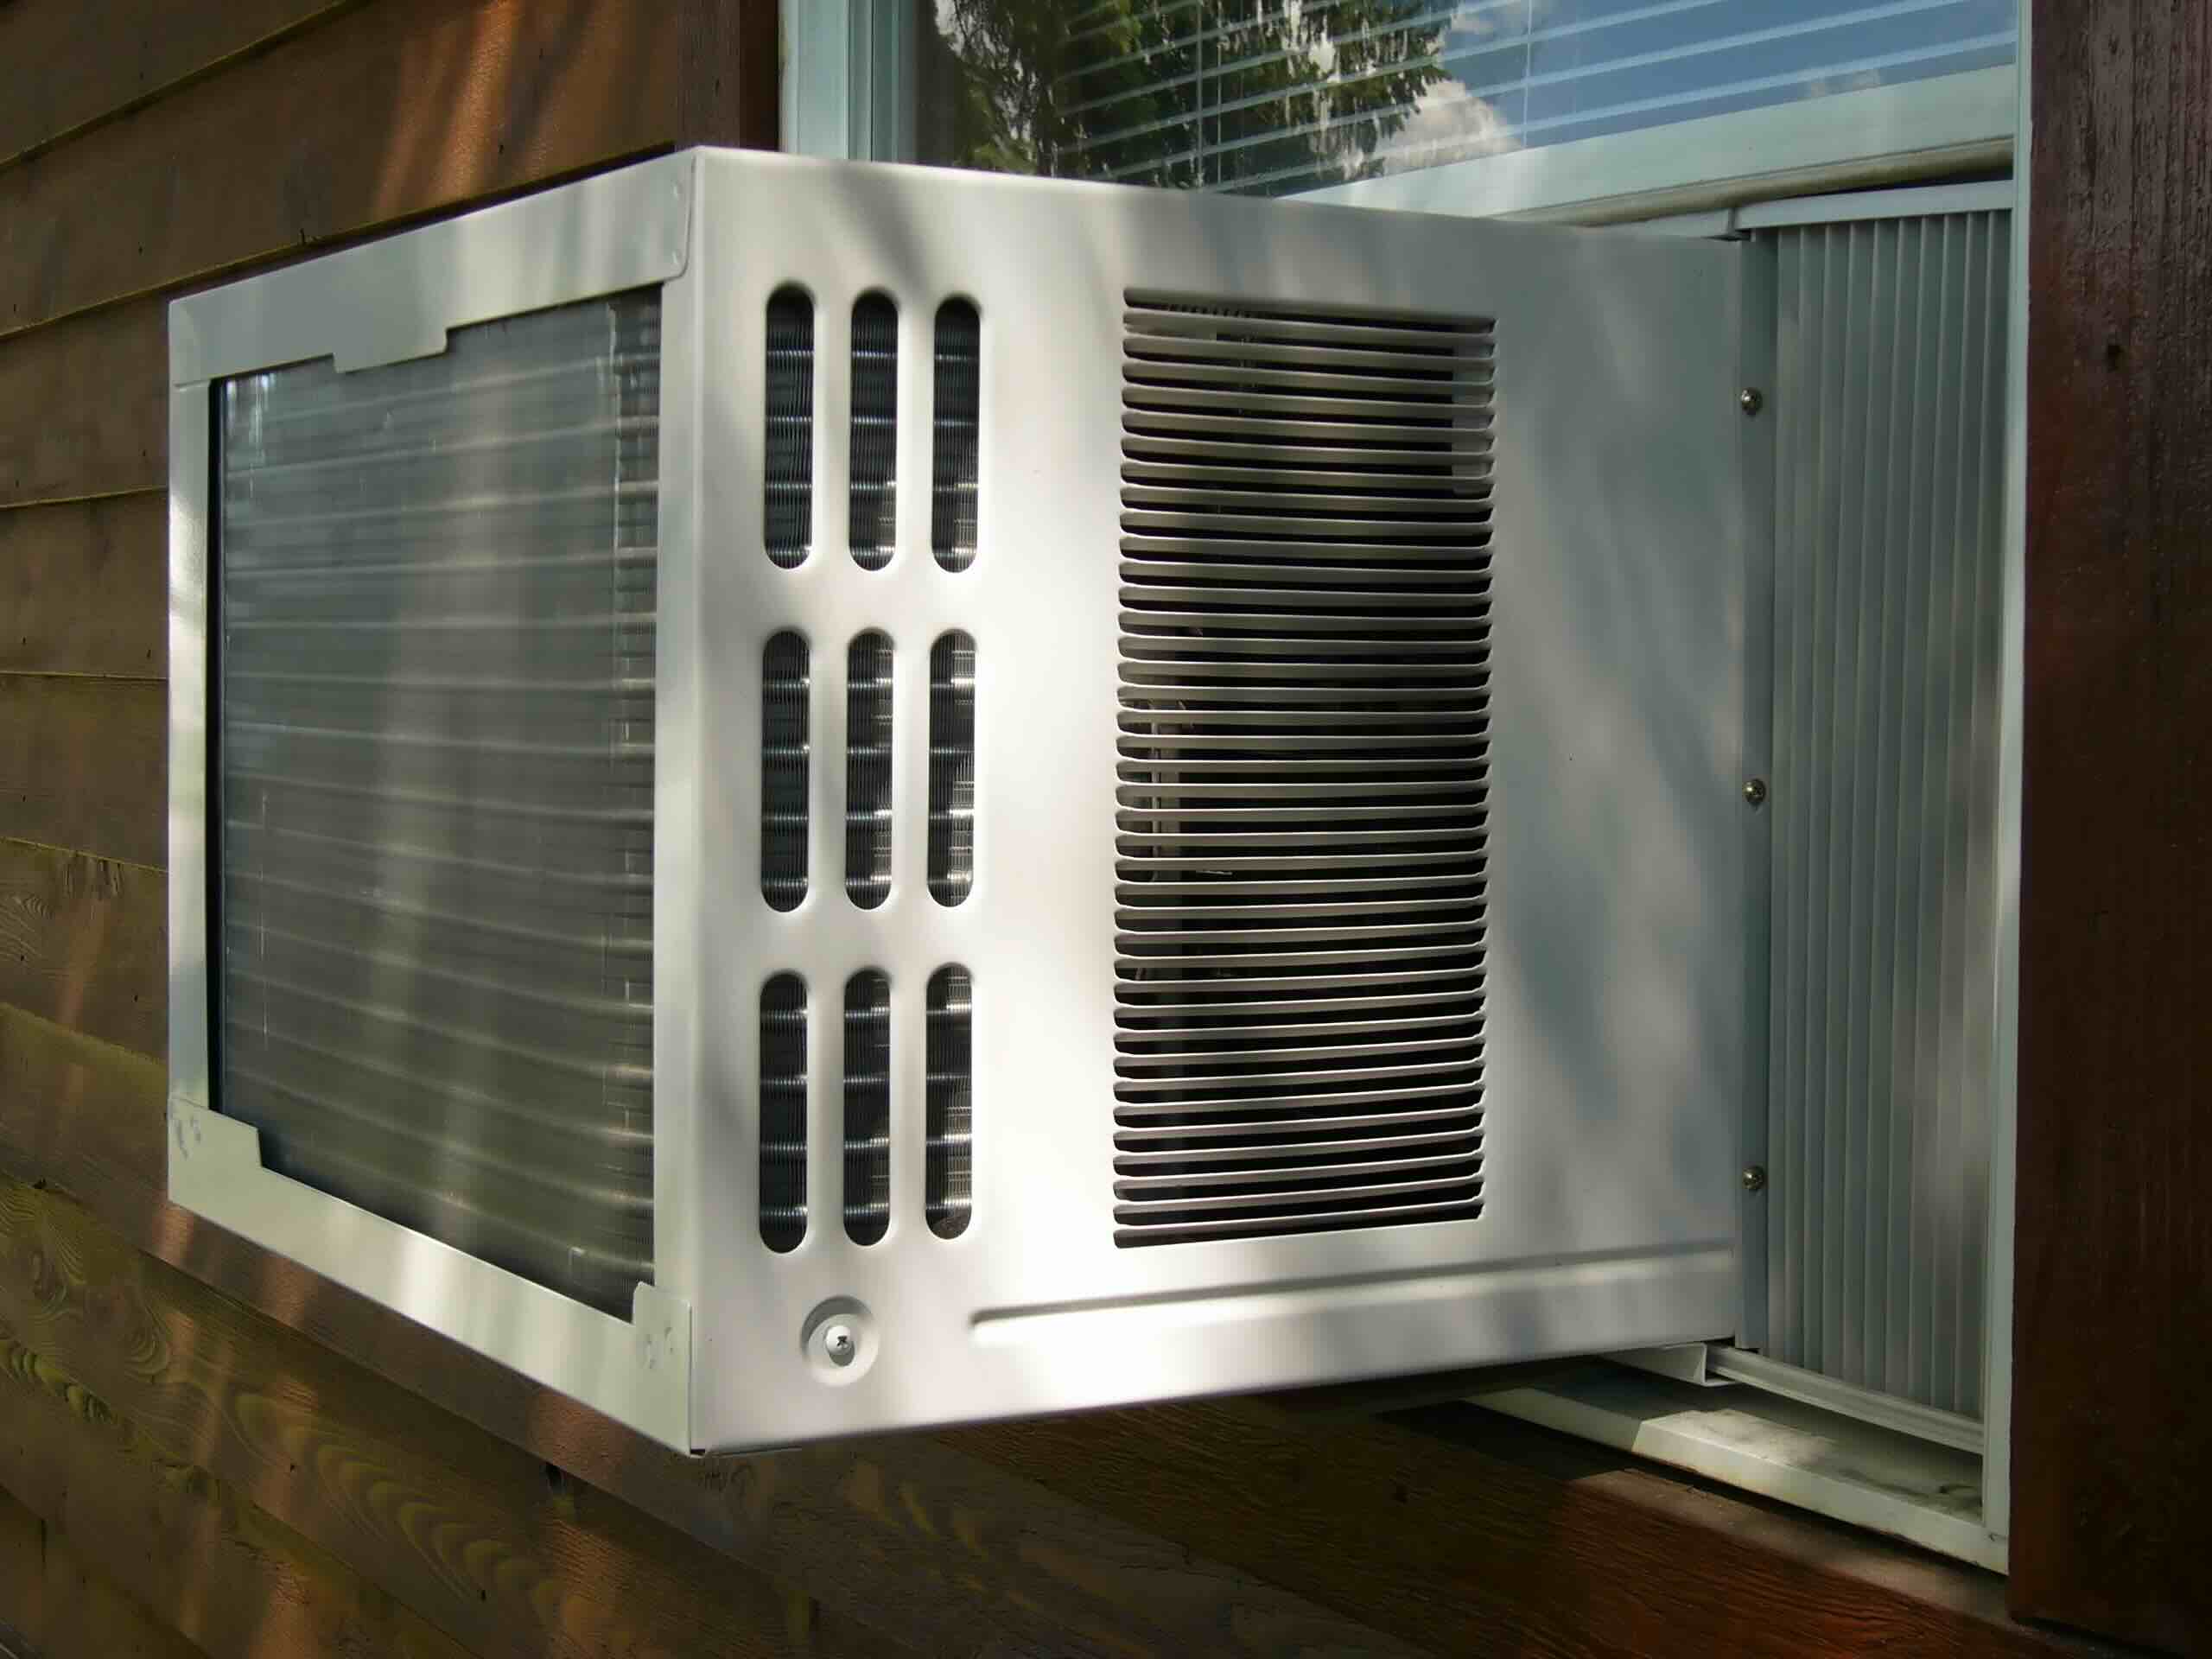
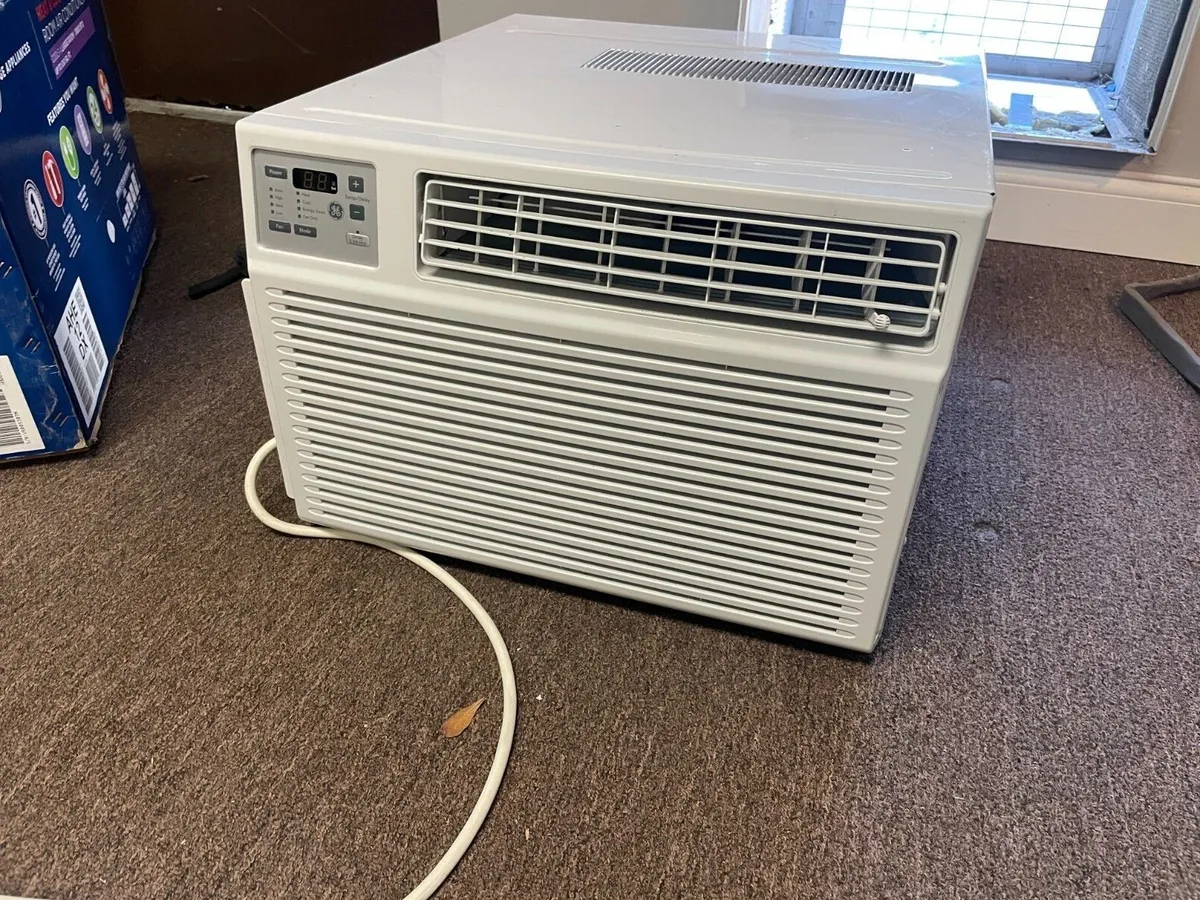
Clean the Condenser Coils
The condenser coils in your GE window air conditioner play a crucial role in removing heat from the indoor air. However, over time, dust, dirt, and debris can accumulate on the coils, reducing their efficiency and hindering the unit’s cooling capacity. Regularly cleaning the condenser coils is essential for maintaining optimal performance. Here’s how you can clean the condenser coils:
- Locate the condenser coils: The condenser coils are usually located at the back of the air conditioner, behind the outer cover. You may need to remove the cover or access panel to gain access to the coils.
- Use a soft brush or vacuum cleaner: Start by using a soft brush or a vacuum cleaner with a brush attachment to remove loose dust and debris from the condenser coils. Gently brush or vacuum in the direction of the coil fins to avoid bending or damaging them.
- Clean with a coil cleaner: Apply a coil cleaner specifically designed for air conditioning systems. Follow the instructions on the product label and spray the cleaner onto the condenser coils. Allow the cleaner to sit and penetrate the dirt and grime for the recommended amount of time.
- Rinse the coils: After the coil cleaner has had time to work, rinse the condenser coils thoroughly with water. Use a gentle stream of water from a hose or a spray bottle to remove any remaining dirt, cleaning solution, or residue.
- Inspect for bent or damaged fins: While cleaning the condenser coils, take the opportunity to inspect the aluminum fins that surround the coils. These fins are delicate and can easily become bent or damaged. Use a fin comb or a small, flat tool to straighten any bent fins carefully.
- Allow the coils to dry: Once the condenser coils are rinsed, allow them to air dry completely before reassembling the unit. Make sure there is no moisture trapped inside or around the coils.
- Replace the outer cover or access panel: Once the condenser coils are dry, reattach the outer cover or access panel securely.
Cleaning the condenser coils on a regular basis will help your GE window air conditioner operate efficiently and maintain optimal cooling performance. Consult your user manual for any specific maintenance guidelines provided by GE.
Clean the Drainage System
The drainage system of your GE window air conditioner plays a crucial role in removing the condensation generated during the cooling process. Over time, the drainage system can become clogged with dirt, debris, and algae, causing water to accumulate and potentially leading to leaks or reduced cooling efficiency. Regularly cleaning the drainage system is essential to ensure proper function. Here’s how you can clean the drainage system:
- Locate the drainage hole: The drainage hole is usually located at the back or bottom of the air conditioner. It’s the point where the excess water drains out of the unit.
- Clear any visible debris: Inspect the drainage hole and remove any visible debris, such as dirt or leaves, that may be blocking the opening. Use a soft brush or a cloth to gently clean the area.
- Prepare a cleaning solution: Mix a solution of equal parts water and vinegar in a small container. Vinegar helps kill any algae or mold growth that may be present in the drainage system.
- Pour the cleaning solution: Carefully pour the cleaning solution into the drainage hole. Allow the solution to sit for about 15-20 minutes to break down any accumulated algae or mold.
- Flush with water: After the cleaning solution has had time to work, flush the drainage system with clean water. Use a gentle stream of water from a hose or a spray bottle to ensure all traces of the cleaning solution are rinsed away.
- Inspect the drain pan: Take a moment to inspect the drain pan, which is located underneath the unit. If you notice any standing water or excessive dirt accumulation, clean the drain pan using mild detergent and water. Ensure the drain pan is empty and dry before reassembling the air conditioner.
- Check the drainage slope: While cleaning the drainage system, inspect the slope of the unit to ensure that it is tilted slightly towards the outside. This allows proper drainage and prevents water from pooling inside the unit.
- Reassemble the unit: Once the drainage system is clean and dry, reassemble the unit, making sure all components are securely in place.
Regularly cleaning the drainage system of your GE window air conditioner will help prevent water leakage and maintain optimal performance. If you notice any persistent drainage issues or excessive water accumulation, it is advisable to consult a professional technician for further assistance.
Reassemble the Air Conditioner
After cleaning the various components of your GE window air conditioner, it’s time to reassemble the unit. Proper reassembly ensures that all parts are securely in place, allowing the air conditioner to function efficiently. Follow these steps to reassemble your air conditioner:
- Retrieve all cleaned components: Gather all the components that you removed for cleaning, such as the air filter, outer cover, and access panels.
- Replace the air filter: Slide the cleaned air filter back into its slot, ensuring it is correctly aligned and securely in place. Make sure there are no gaps or loose edges.
- Reattach the outer cover: Position the outer cover to align with the corresponding slots or tabs on the air conditioner. Carefully slide or latch the cover back into place until it is firmly secured.
- Secure the access panels: If you had to remove any access panels to clean specific components, ensure they are properly aligned and securely fastened. Use any screws or clips provided to secure the panels in place.
- Double-check for proper fit: Before proceeding, give the air conditioner a quick inspection to ensure that all components are correctly positioned and securely fastened. Verify that there are no loose or protruding parts.
Once you have completed the reassembly process, you can proceed to the next step of plugging in and turning on your GE window air conditioner.
Note: It is essential to consult your air conditioner’s user manual for any specific reassembly instructions provided by GE. Following the manufacturer’s guidelines will ensure the correct installation of the components and the optimal functioning of your air conditioner.
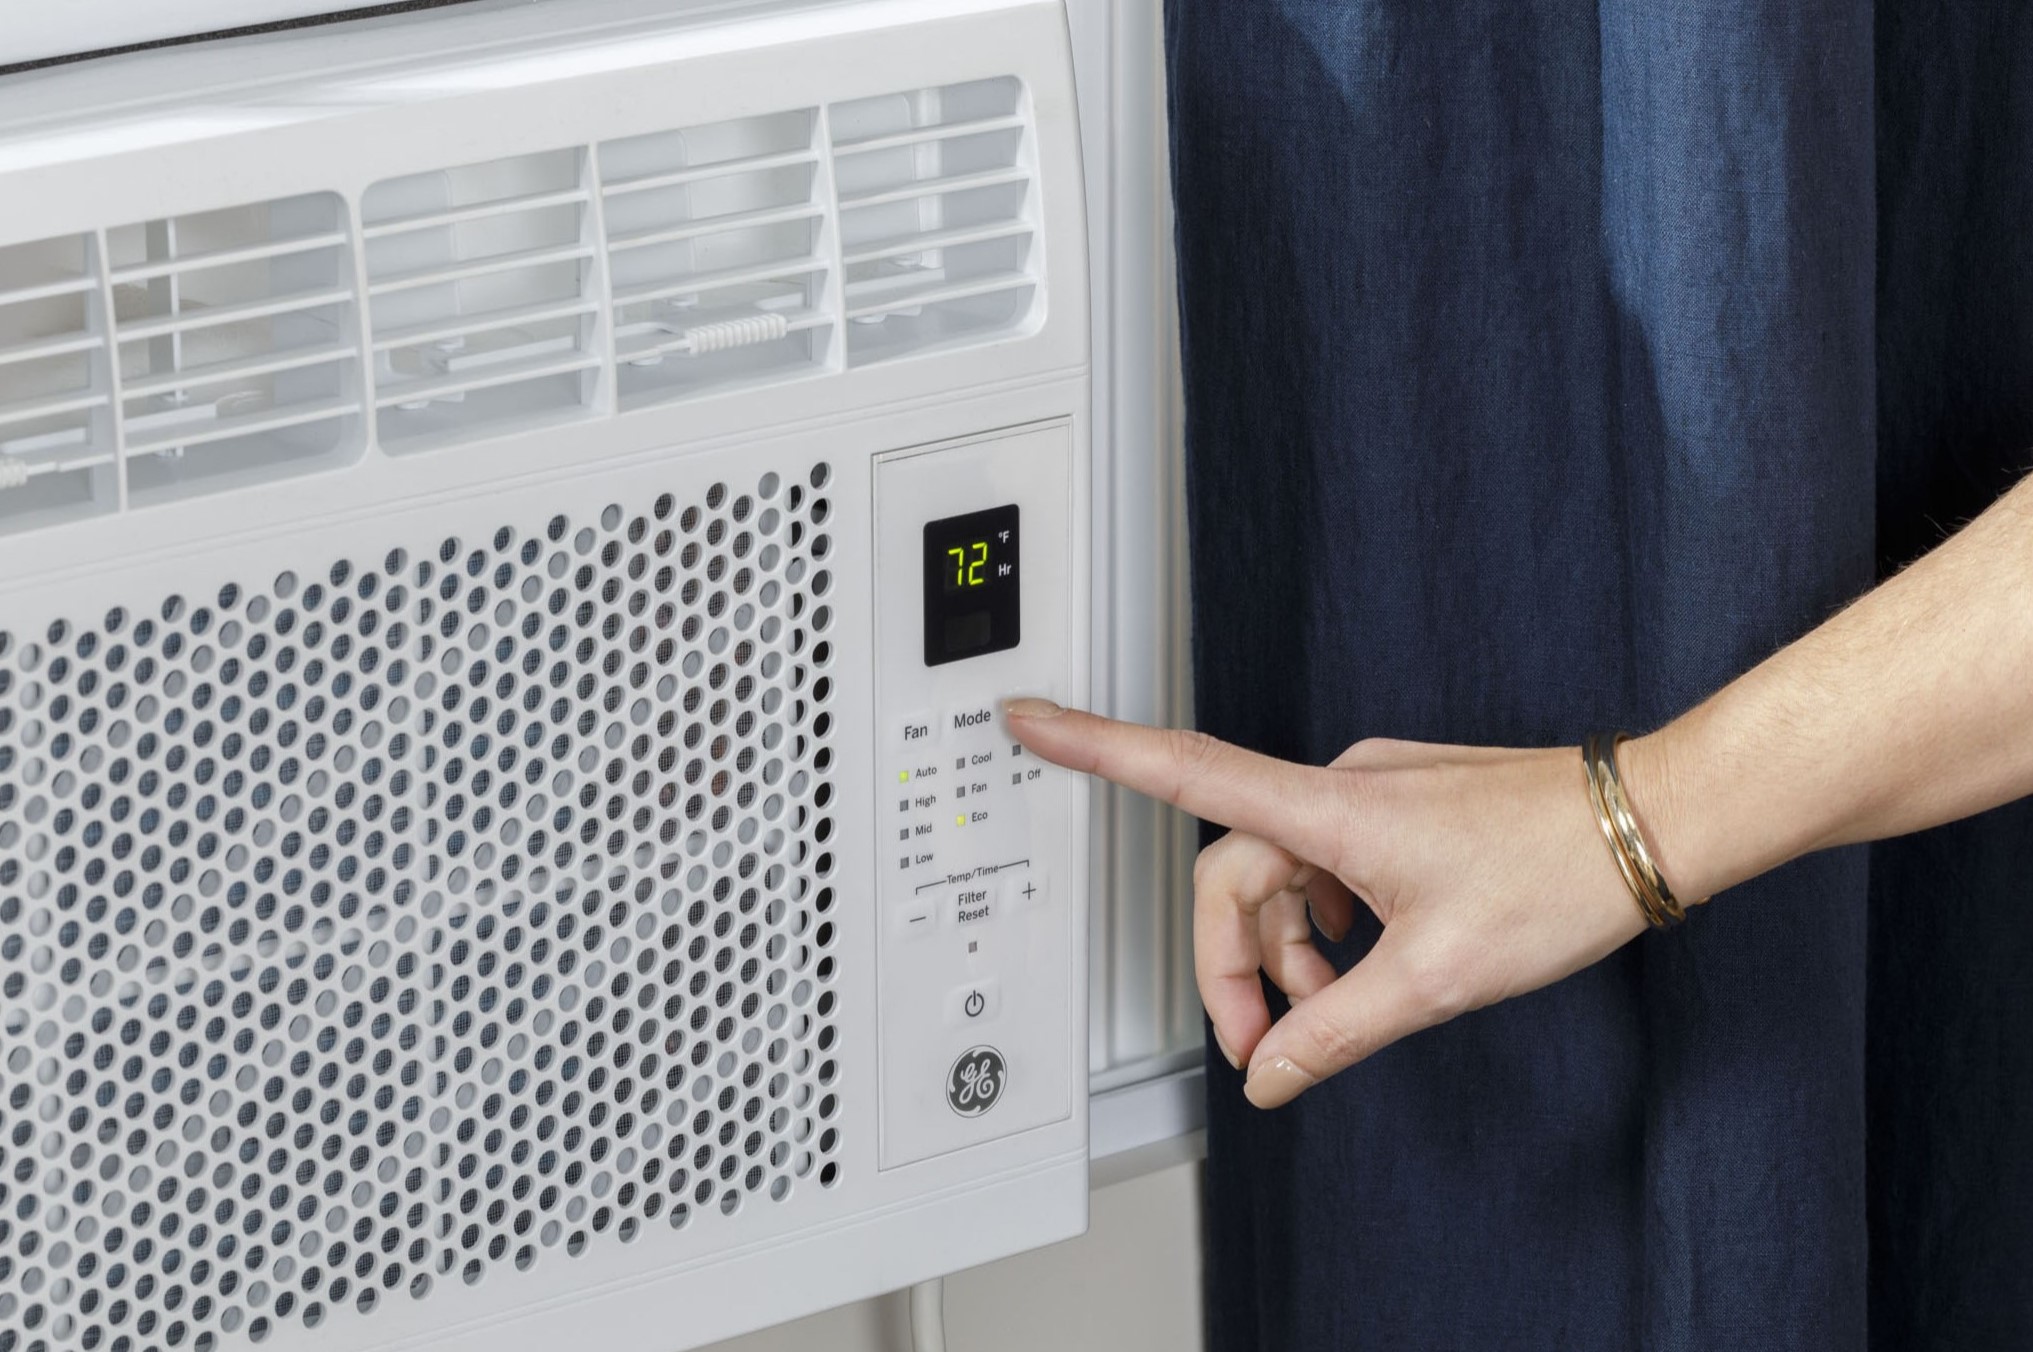
Plug in and Turn on the Air Conditioner
Now that you have cleaned and reassembled your GE window air conditioner, it’s time to plug it in and turn it on. Follow these steps to ensure a proper and safe start-up:
- Locate the power cord: Identify the power cord of your air conditioner. It is usually located at the back or bottom of the unit.
- Plug in the air conditioner: Gently insert the power plug into a properly grounded electrical outlet. Ensure that the plug is securely inserted and that there are no loose connections.
- Turn on the air conditioner: Locate the power button on the control panel or remote control. Press the power button to turn on the air conditioner.
- Set the desired temperature and mode: Use the control panel or remote control to adjust the temperature and select the desired cooling mode. Refer to the user manual for specific instructions on using your GE window air conditioner’s controls.
- Listen for normal operation: After turning on the air conditioner, listen for the sound of the compressor and fans running. It is normal to hear a slight hum or airflow noise. However, if you notice any unusual or excessive noises, it may indicate a problem that requires further investigation or professional assistance.
- Monitor cooling performance: Allow the air conditioner to run for a few minutes and monitor the cooling performance. Check for a steady stream of cool air coming from the vents and observe if the desired temperature is being reached. If you notice any issues with cooling or inadequate airflow, adjust the settings or consult a professional technician.
Once you have successfully plugged in and turned on your GE window air conditioner, you can enjoy the comfort of a cool and refreshing environment. Remember to refer to your user manual for specific instructions on programming and operating your air conditioner to maximize its efficiency and performance.
Conclusion
Congratulations! You have now completed the comprehensive cleaning process for your GE window air conditioner. By following the steps and guidelines outlined in this guide, you have ensured that your air conditioner is running at optimal performance and providing you with efficient cooling during the hot summer months.
We began by emphasizing the importance of safety precautions before delving into the step-by-step cleaning process. From turning off and unplugging the air conditioner to removing and cleaning the air filter, cleaning the outer shell, condenser coils, and drainage system, you have thoroughly cleaned and refreshed your air conditioner.
Remember that regular maintenance is key to prolonging the lifespan of your air conditioner and maximizing its efficiency. We recommend performing these cleaning tasks at least once a year or as needed, depending on your usage and environmental factors.
In addition to cleaning, it’s essential to schedule professional maintenance and check-ups for your air conditioner. A licensed HVAC technician can inspect and service your unit to address any potential issues and ensure its proper functioning.
As you enjoy the cool breeze from your freshly cleaned GE window air conditioner, keep in mind that proper maintenance and cleaning are investments in the longevity and efficiency of your appliance. By taking the time and effort to care for your air conditioner, you can continue to experience its reliable cooling performance year after year.
Thank you for following our guide. We hope it has been helpful and that you now feel confident in maintaining and cleaning your GE window air conditioner. Stay cool and comfortable!
Frequently Asked Questions about How To Clean A GE Window Air Conditioner
Was this page helpful?
At Storables.com, we guarantee accurate and reliable information. Our content, validated by Expert Board Contributors, is crafted following stringent Editorial Policies. We're committed to providing you with well-researched, expert-backed insights for all your informational needs.