Home>Home Maintenance>How To Clean GE Window Air Conditioner
Home Maintenance
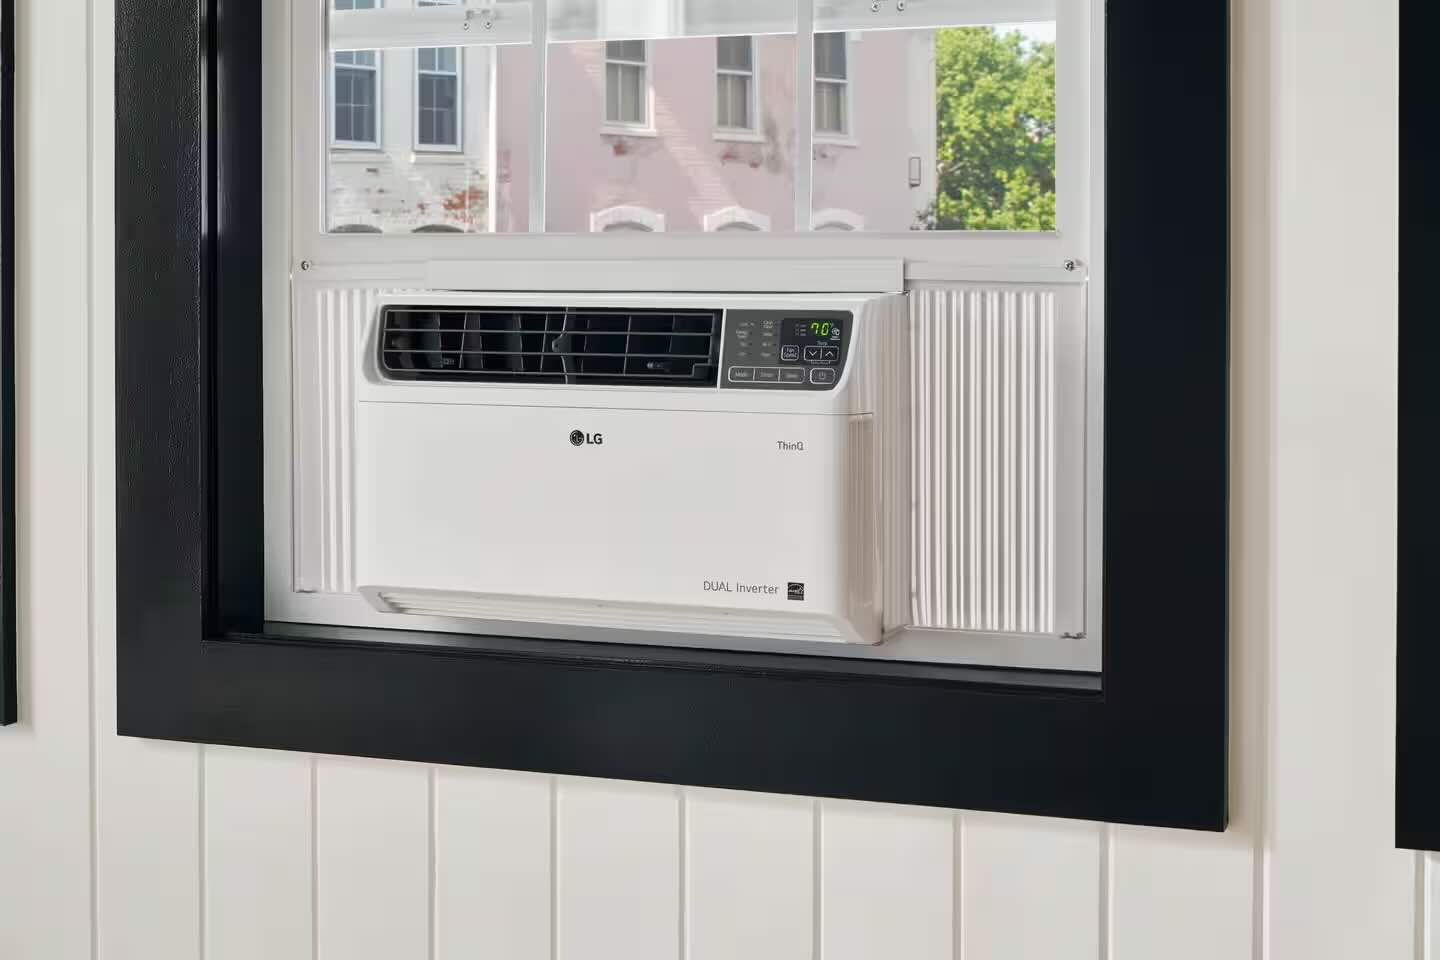
How To Clean GE Window Air Conditioner
Modified: October 19, 2024
Learn how to clean your GE window air conditioner to keep it running efficiently and cool your home effectively. Get expert tips for home maintenance.
(Many of the links in this article redirect to a specific reviewed product. Your purchase of these products through affiliate links helps to generate commission for Storables.com, at no extra cost. Learn more)
Introduction
Welcome to our comprehensive guide on how to clean a GE window air conditioner. Having a clean and well-maintained air conditioner is essential not only for optimal performance but also for ensuring the air you breathe is fresh and healthy. Over time, dust, dirt, and debris can accumulate in your air conditioner, obstructing airflow and reducing its efficiency.
By regularly cleaning your GE window air conditioner, you can prolong its lifespan, improve its cooling capacity, and save energy. Additionally, a clean air conditioner can help prevent the growth of mold, mildew, and bacteria that can negatively impact indoor air quality.
In this article, we will guide you through the step-by-step process of cleaning your GE window air conditioner. We will also provide some useful maintenance tips to keep your unit running smoothly.
Key Takeaways:
- Regularly cleaning and maintaining your GE window air conditioner is essential for efficient cooling, fresh air, and energy savings. Follow the step-by-step guide and safety precautions to keep your unit running smoothly.
- Remember to prioritize safety by wearing protective gear, unplugging the unit, and following manufacturer’s instructions. Regular maintenance, including cleaning the filter, coils, and drain pan, will ensure optimal performance and longevity.
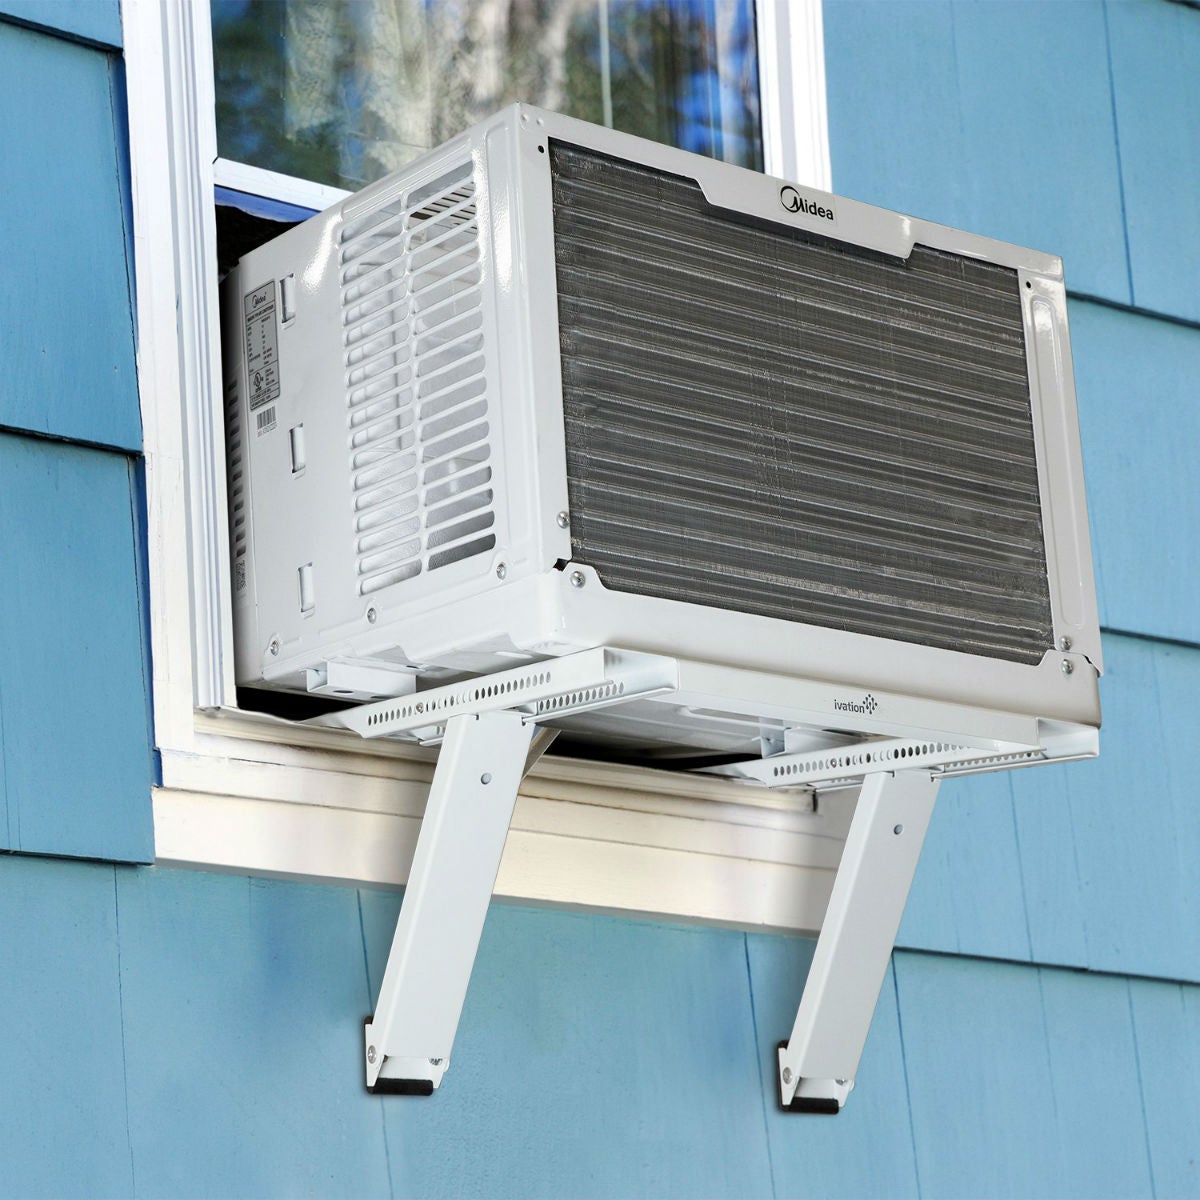
Read more: What Is A Window Air Conditioner
Safety Precautions
Before you start cleaning your GE window air conditioner, it’s essential to take some safety precautions to protect yourself and prevent any accidents. Follow these guidelines:
- Turn off the air conditioner and unplug it from the power source. This will prevent any electrical shock while working on the unit.
- Wear protective gloves and safety goggles to shield your hands and eyes from any debris, cleaning agents, or dust.
- Work in a well-ventilated area to avoid inhaling any fumes from cleaning agents.
- Use a sturdy and stable ladder if you need to reach parts that are higher up. Ensure that the ladder is properly set up and always maintain your balance while standing on it.
- Read and follow the manufacturer’s instructions and warnings provided with your GE window air conditioner.
- If you encounter any damage to the unit or any electrical components, consult a professional technician for repairs.
By adhering to these safety precautions, you can protect yourself and ensure a smooth and efficient cleaning process.
Gather Supplies
Before you begin cleaning your GE window air conditioner, gather the necessary supplies to make the process easier and more effective. Here’s a list of items you will need:
- Protective gloves: To protect your hands from dirt, debris, and cleaning agents.
- Safety goggles: To shield your eyes from any debris or cleaning solutions.
- Brush or vacuum cleaner with a brush attachment: Useful for removing dust and debris from the filter, coils, and other parts.
- Water and mild detergent: For cleaning the filter, front panel, and drain pan.
- Spray bottle: To mix the detergent solution for easier application.
- Soft bristle brush or toothbrush: Ideal for scrubbing stubborn dirt or debris from the coils.
- Clean, lint-free cloth: To wipe down surfaces after cleaning.
By having these supplies ready, you will be prepared to tackle the cleaning process without any interruptions.
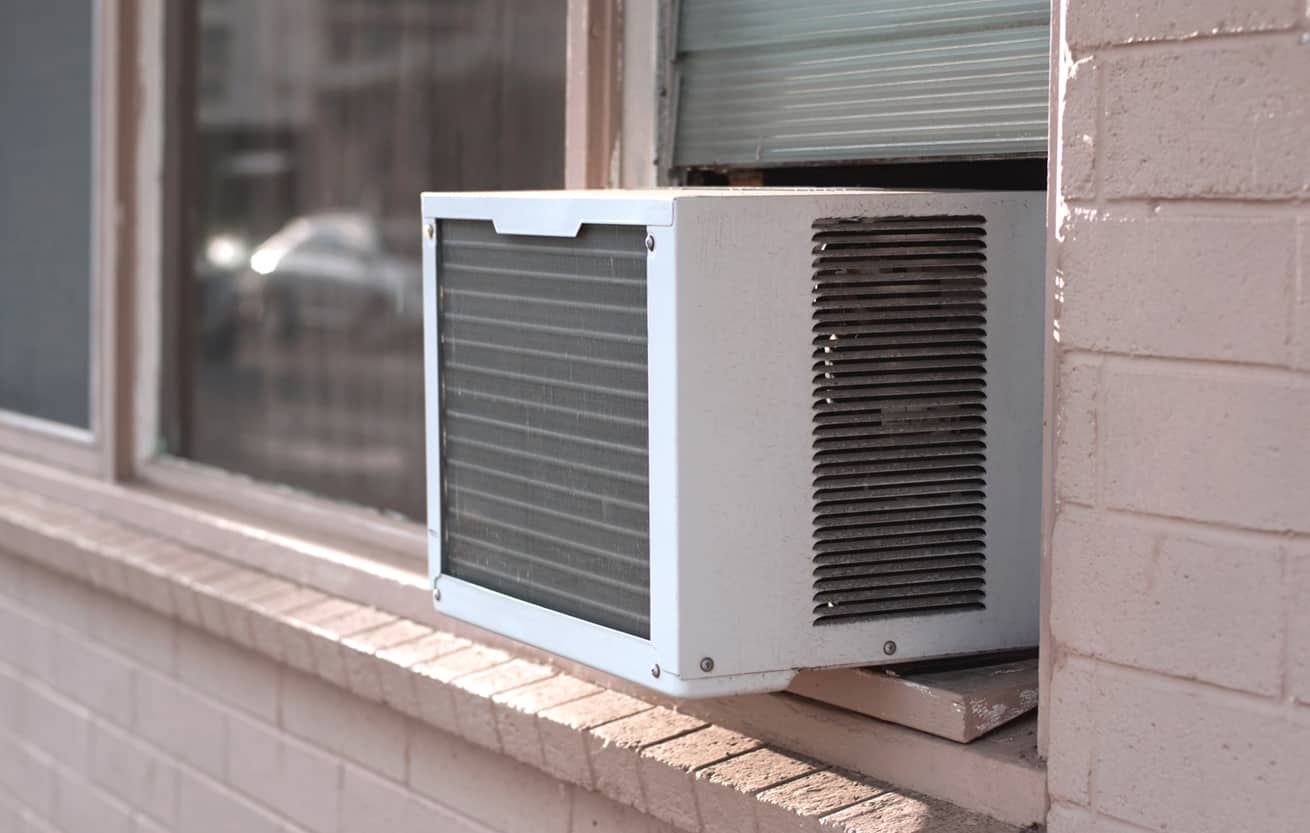
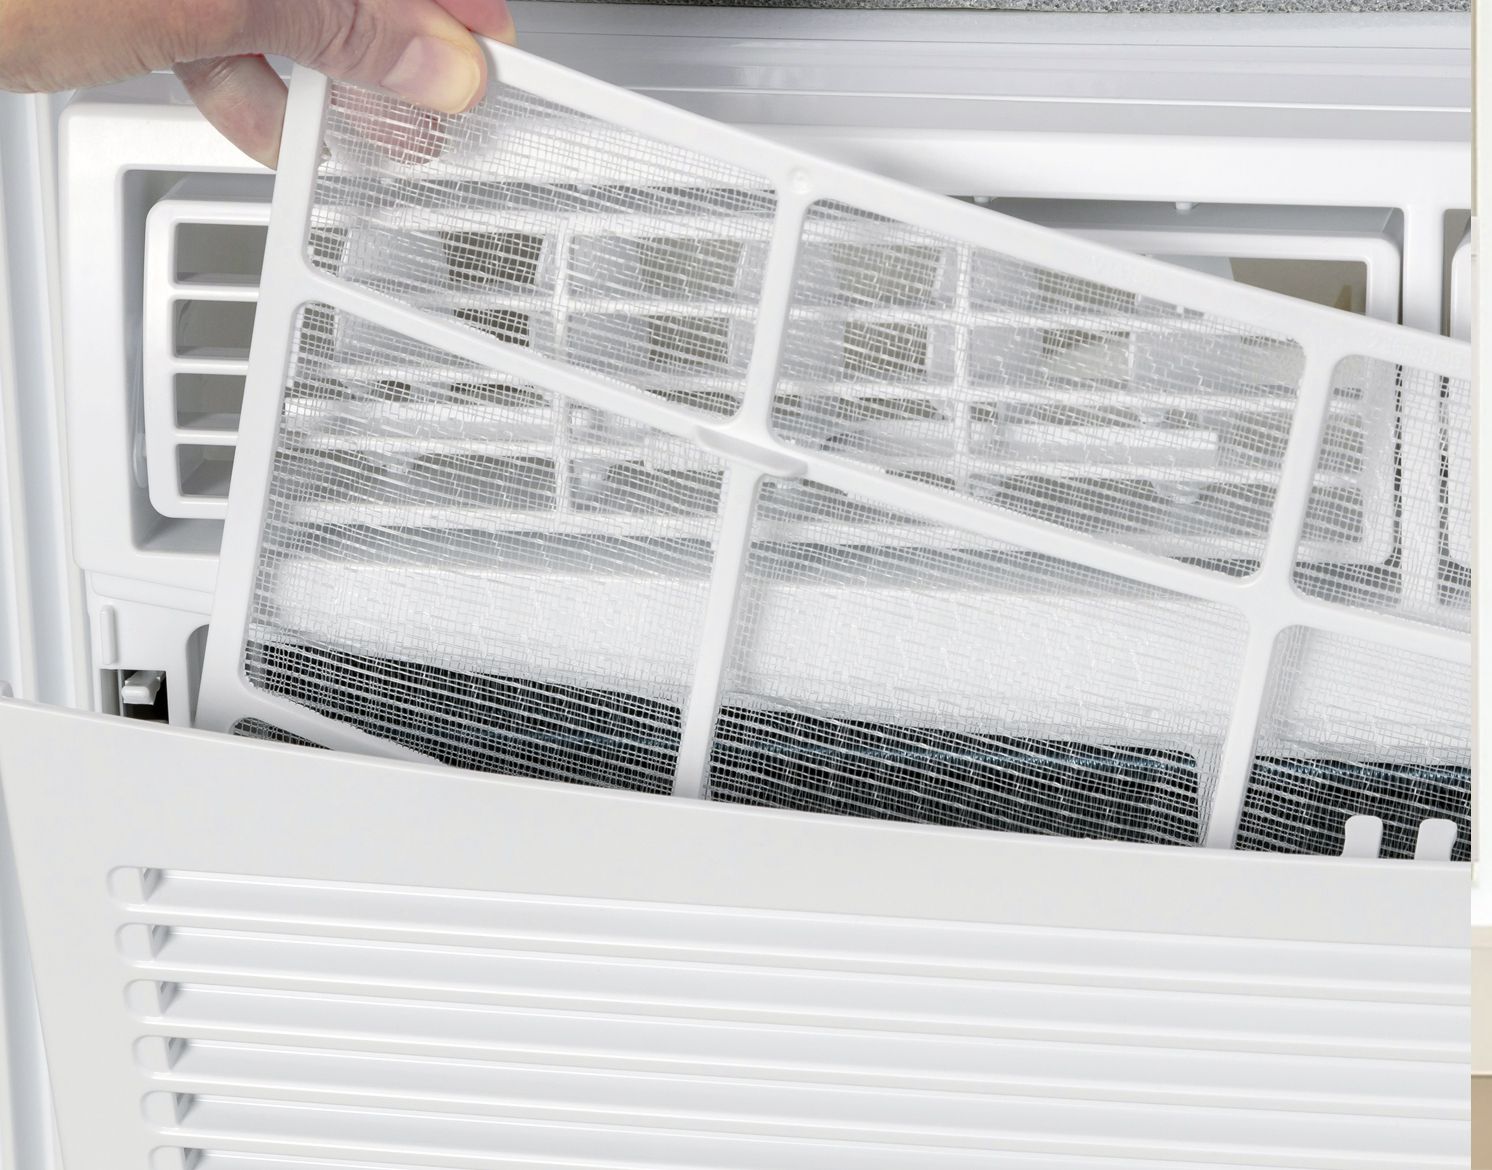
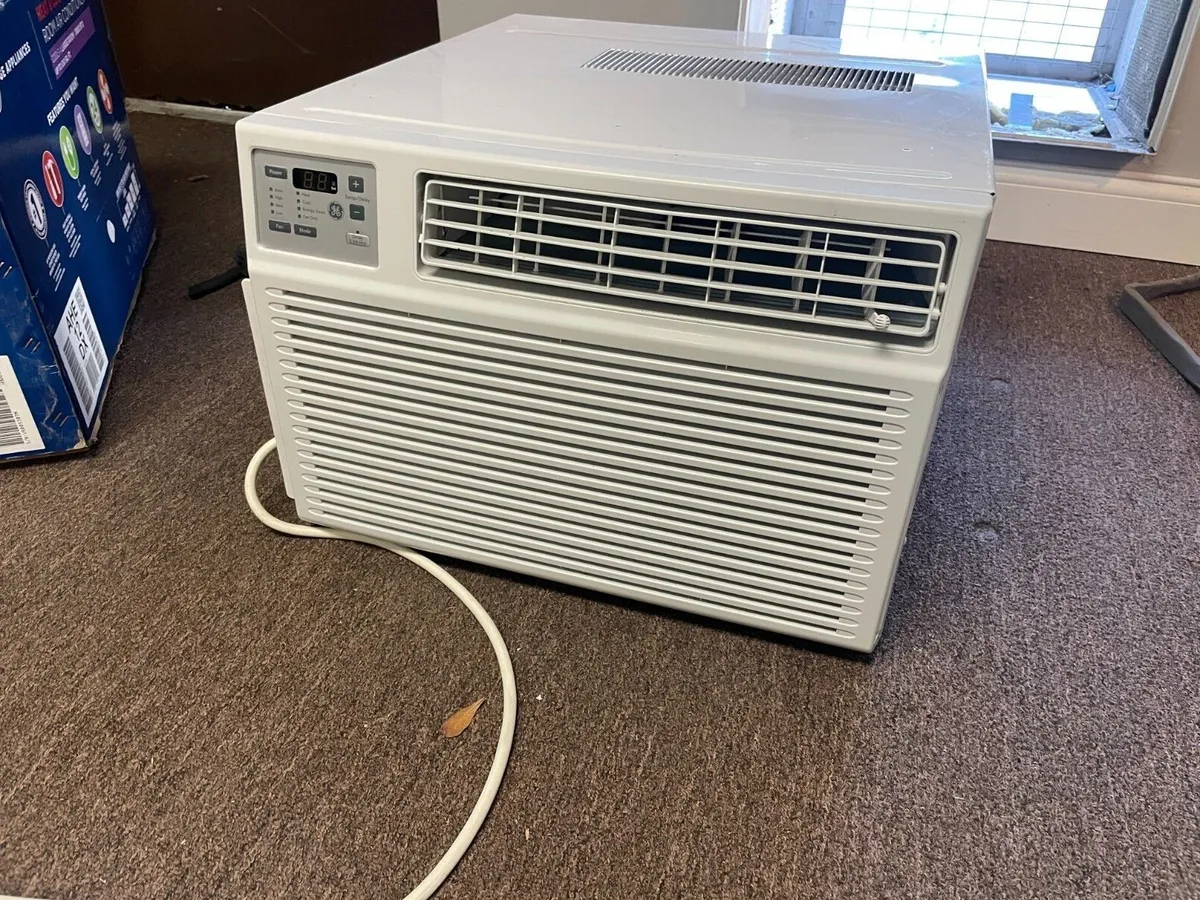
Unplug and Remove Filter
The first step in cleaning your GE window air conditioner is to unplug the unit from the power source. This ensures your safety and prevents any electrical mishaps while working on the appliance.
Once the air conditioner is unplugged, locate the filter. The filter is generally located behind the front panel of the unit. Open the front panel to access the filter.
Depending on the model of your GE window air conditioner, the filter may be reusable or disposable. If it’s disposable, carefully remove the filter and dispose of it properly. If it’s reusable, follow these steps:
- Hold the filter with both hands and gently pull it towards you.
- Inspect the filter for any visible dirt or debris.
- If the filter is heavily soiled, it’s advisable to replace it with a new one. Otherwise, proceed with cleaning.
Removing and cleaning the filter regularly is important as it helps promote better air circulation and prevents the buildup of dust and allergens. It also ensures that your air conditioner operates efficiently.
Clean the Filter
Now that you have removed the filter from your GE window air conditioner, it’s time to clean it. Cleaning the filter is crucial for maintaining proper airflow and ensuring the efficiency of your air conditioner.
Here’s how you can clean the filter:
- Inspect the filter for dirt, dust, and debris. If it’s lightly soiled, you can clean it with water and mild detergent. If it’s heavily soiled or damaged, it’s recommended to replace it with a new filter.
- If you are cleaning a reusable filter, rinse it under running water to remove loose dirt and dust. Be sure to clean both sides of the filter thoroughly.
- Prepare a solution of water and mild detergent in a spray bottle. Alternatively, you can use a bucket or basin to soak the filter in the solution.
- Submerge the filter in the detergent solution and let it soak for 10-15 minutes to loosen any stubborn dirt or debris.
- After soaking, gently scrub the filter with a soft bristle brush or toothbrush to remove any remaining dirt. Be careful not to use excessive force to avoid damaging the filter.
- Rinse the filter thoroughly under running water to remove any soap residue.
- Allow the filter to dry completely before reinstalling it. Placing a clean, lint-free cloth underneath the filter can help absorb excess moisture during the drying process.
Once the filter is dry, you can reattach it to the GE window air conditioner. Make sure it is securely in place before proceeding to the next step.
By regularly cleaning the filter, you are ensuring proper airflow and maximizing the efficiency of your air conditioner. It’s recommended to clean the filter at least once every month or as specified in the manufacturer’s instructions.
Read more: How To Insulate A Window Air Conditioner
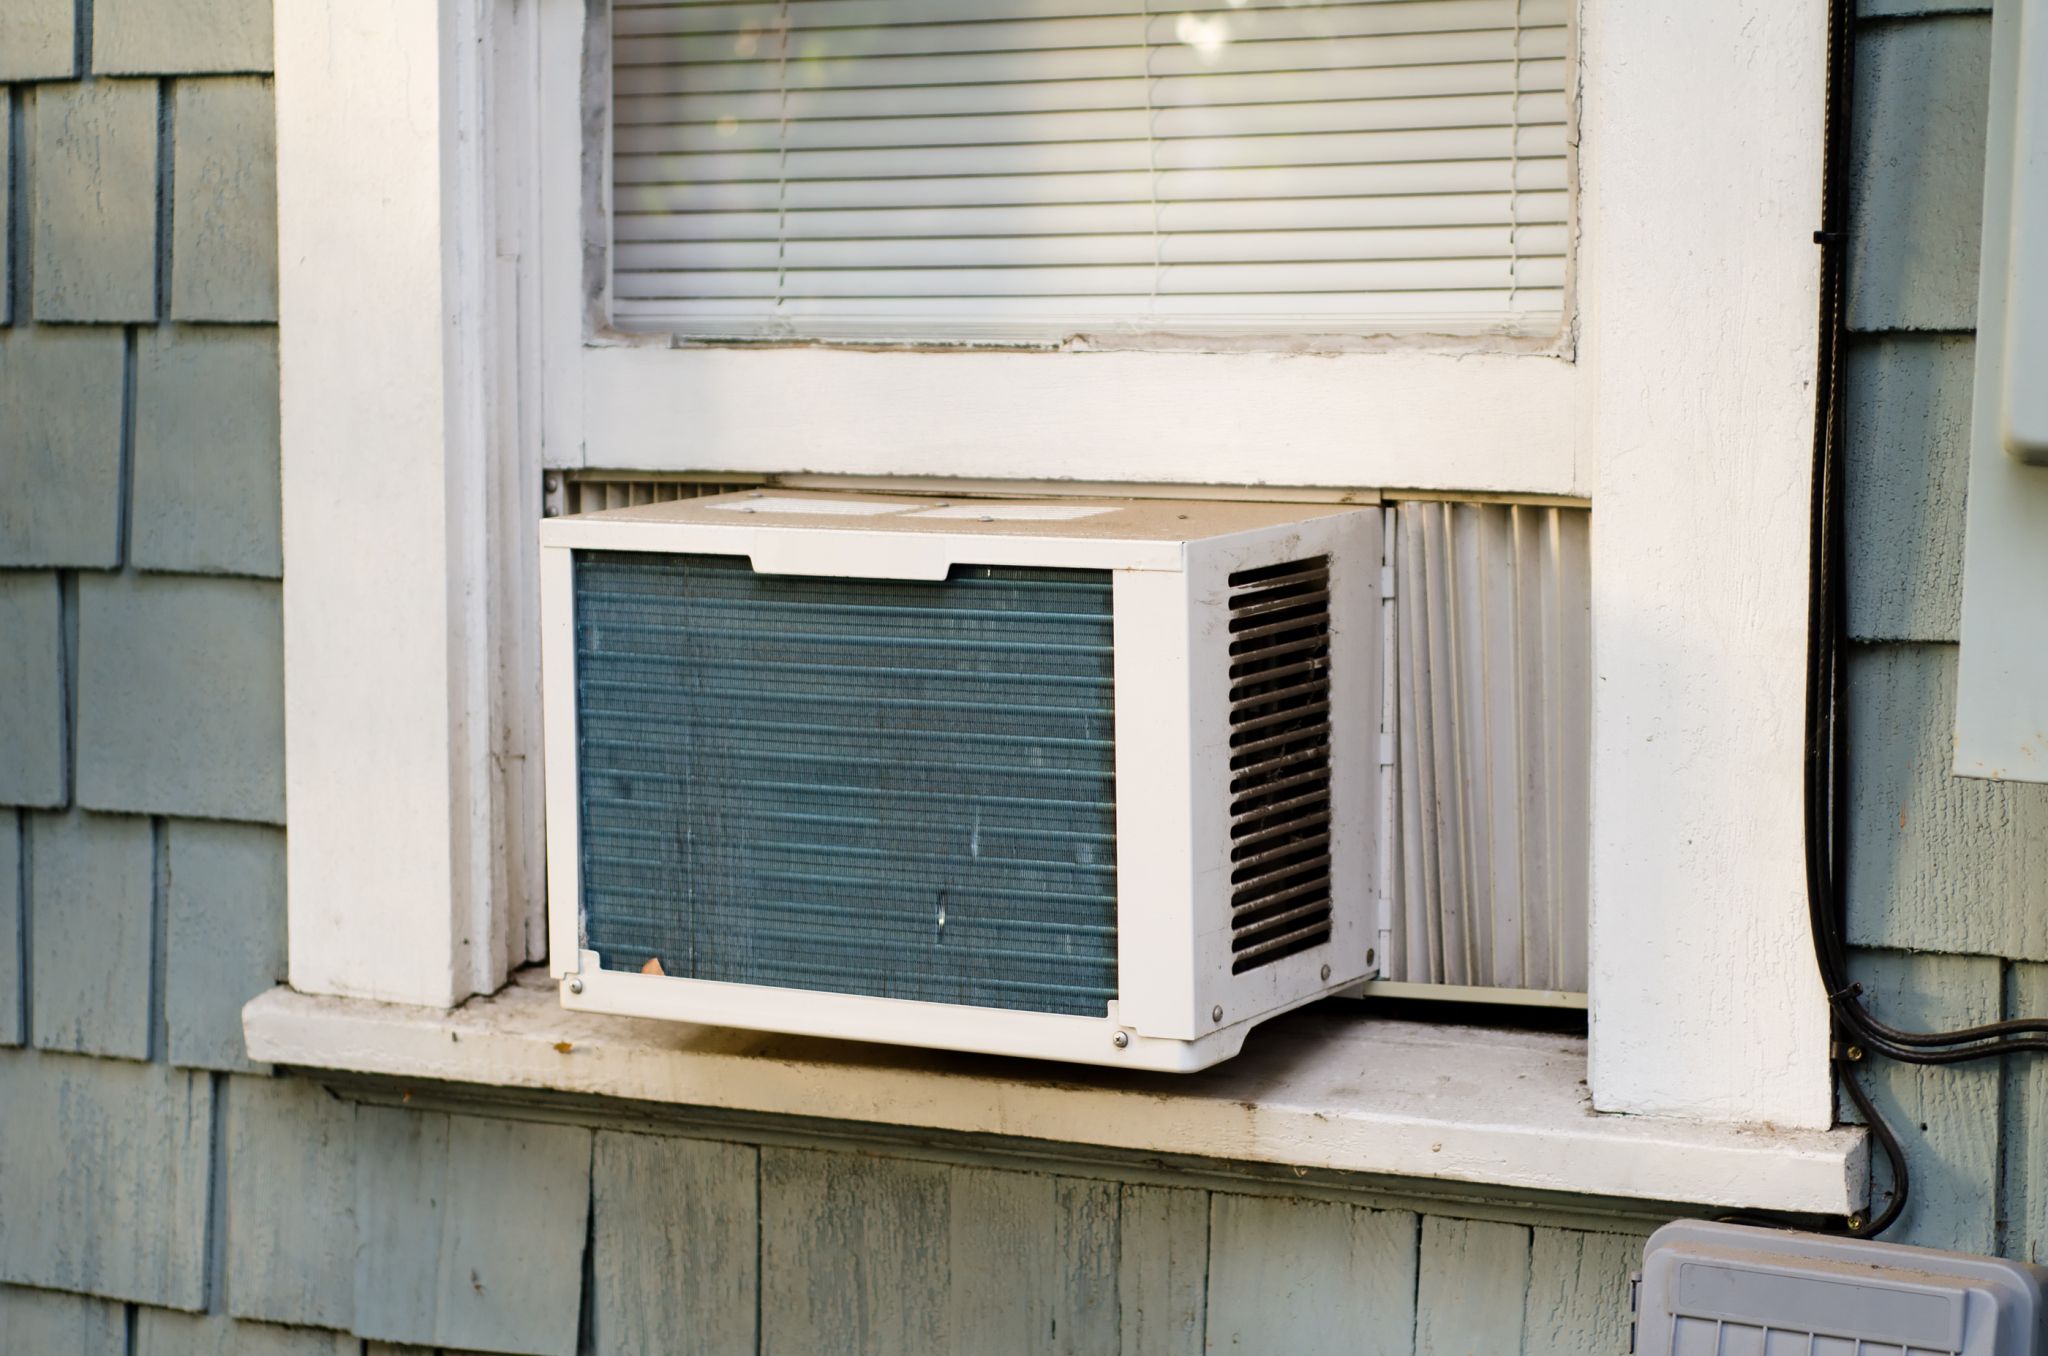
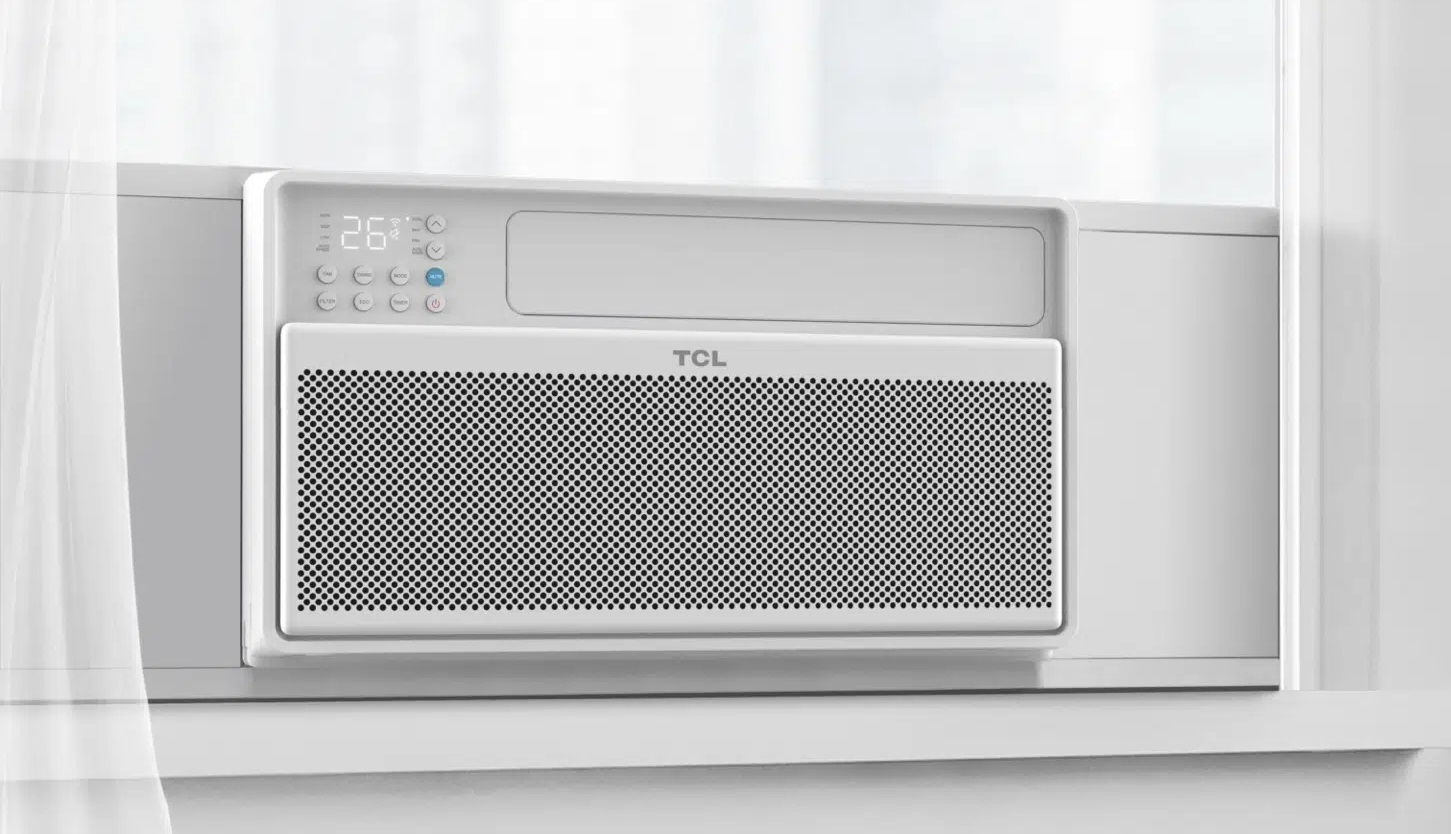
Remove and Clean the Front Panel
After cleaning the filter of your GE window air conditioner, it’s time to remove and clean the front panel. The front panel covers the internal components of the air conditioner and can accumulate dust and dirt over time.
Follow these steps to remove and clean the front panel:
- Locate the latches or screws that hold the front panel in place. These are usually located on the sides or bottom of the panel.
- Depending on the type of latches or screws, use a Phillips head screwdriver or a flathead screwdriver to loosen and remove them.
- Gently pull the front panel towards you to detach it from the unit. Be careful not to apply too much force to avoid damaging any internal components.
- Once the front panel is removed, inspect it for any visible dirt, dust, or debris.
- Prepare a solution of water and mild detergent in a spray bottle or bucket.
- Dampen a clean, lint-free cloth with the detergent solution and gently wipe down the front panel. Pay attention to the corners and edges where dust tends to accumulate.
- If there are any stubborn stains or sticky residue, use a soft bristle brush or toothbrush to scrub them gently.
- Rinse the front panel with clean water to remove any soap residue.
- Pat dry the front panel with a clean cloth to ensure it’s completely dry before reattaching it to the air conditioner.
- Align the front panel with the slots or hooks on the unit and slide it back into place.
- Tighten the latches or screws to secure the front panel.
Cleaning the front panel helps to maintain the overall cleanliness of your air conditioner and improve its aesthetics. It’s recommended to clean the front panel every few months or as needed.
To clean a GE window air conditioner, start by turning off the unit and removing the filter. Use a vacuum to remove dust and debris, then wash the filter with mild soap and water. Wipe down the unit with a damp cloth and let it dry completely before reassembling.
Clean the Coils
Next on our cleaning checklist for your GE window air conditioner is cleaning the coils. The coils are responsible for transferring heat and cooling the air inside the unit. Over time, dust and debris can accumulate on the coils, hindering their efficiency and reducing the cooling capacity of your air conditioner.
Here’s how you can clean the coils of your GE window air conditioner:
- Ensure that the air conditioner is turned off and unplugged from the power source for safety.
- Locate the evaporator coils, which are typically located behind the front panel.
- Using a brush with soft bristles or a vacuum cleaner with a brush attachment, gently remove loose dust and debris from the coils. Be careful not to bend or damage the delicate fins.
- If there are stubborn dirt or debris on the coils, you can use a soft bristle brush or toothbrush to carefully scrub them. Make sure to brush in the direction of the fin’s grooves to avoid bending or damaging them.
- If the coils are heavily soiled, you can use a coil cleaning solution specifically designed for air conditioners. Follow the manufacturer’s instructions for dilution and application.
- Apply the coil cleaning solution to the coils, ensuring that it reaches all areas of the coils.
- Allow the cleaning solution to sit on the coils for the recommended amount of time, usually a few minutes.
- Gently rinse the coils with water to remove the cleaning solution and any loosened dirt or debris.
- Use a clean, lint-free cloth to pat dry the coils as much as possible. You can also use a fan or leave the air conditioner in a well-ventilated area to aid in the drying process.
Cleaning the coils of your GE window air conditioner helps to improve its cooling efficiency and prolong its lifespan. It’s recommended to clean the coils at least once a year or as needed, especially if you notice a decrease in cooling performance.
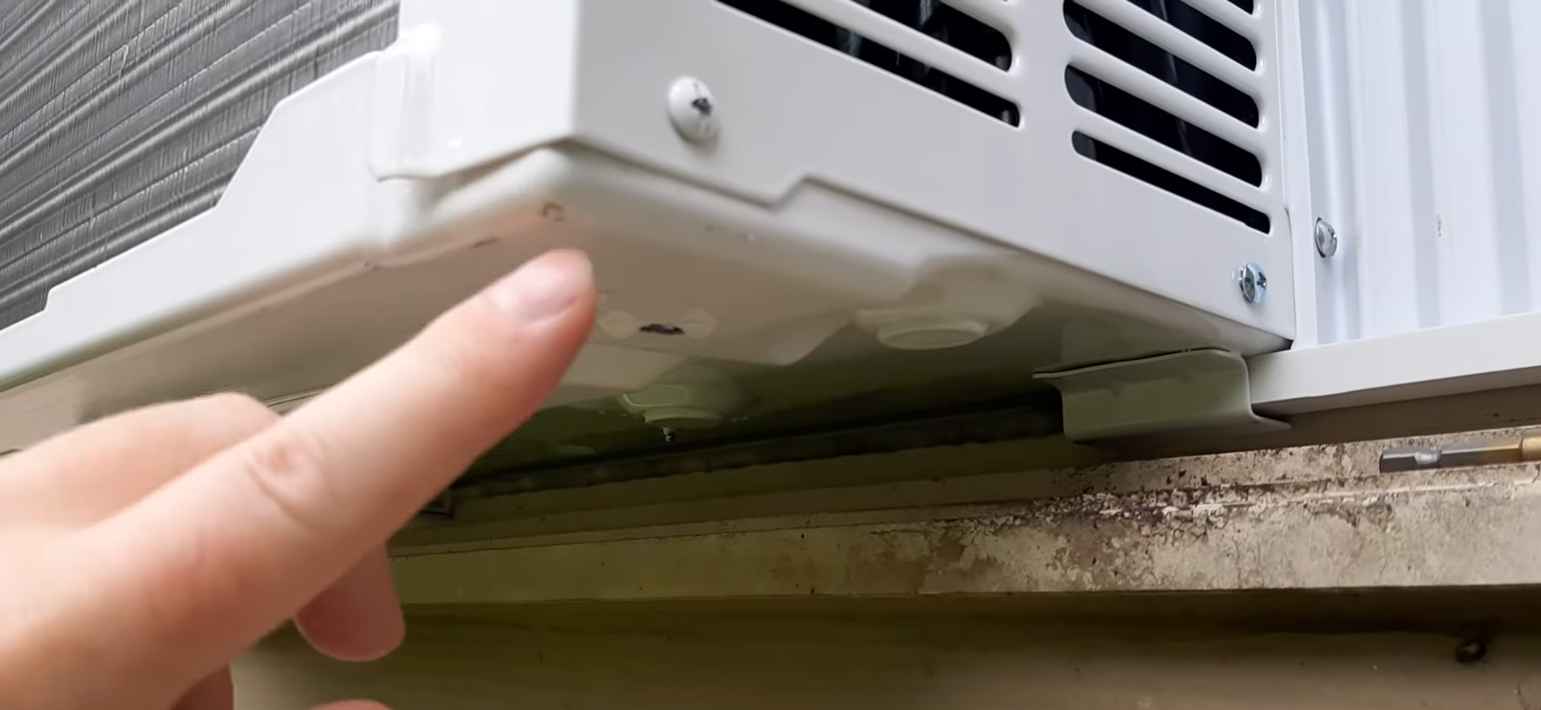
Clean the Drain Pan
As you clean your GE window air conditioner, don’t forget to clean the drain pan. The drain pan collects condensation and water that is produced during the cooling process. Over time, the drain pan can accumulate dirt, mold, and mildew, which can lead to unpleasant odors and even clogged drain lines.
Here’s how you can clean the drain pan of your GE window air conditioner:
- Locate the drain pan, which is typically located at the bottom of the unit or near the condensation drain outlet.
- Remove any visible debris or dirt from the drain pan using a brush or your hands.
- Prepare a solution of warm water and mild detergent in a spray bottle or bucket.
- Using a clean cloth or sponge, dip it into the detergent solution and scrub the drain pan thoroughly. Pay attention to any areas with mold or mildew buildup.
- For stubborn mold or mildew, you can use a mixture of equal parts water and vinegar. Apply the solution to the affected areas and let it sit for a few minutes before scrubbing.
- Rinse the drain pan with clean water to remove any soap residue.
- If the drain pan is removable, take it out and empty any remaining water or debris.
- Allow the drain pan to air dry completely before placing it back into the air conditioner.
Cleaning the drain pan regularly helps prevent clogs and reduces the risk of mold or mildew growth. It’s recommended to clean the drain pan at least once a year or as needed, especially if you notice any foul odors or water leakage from the unit.
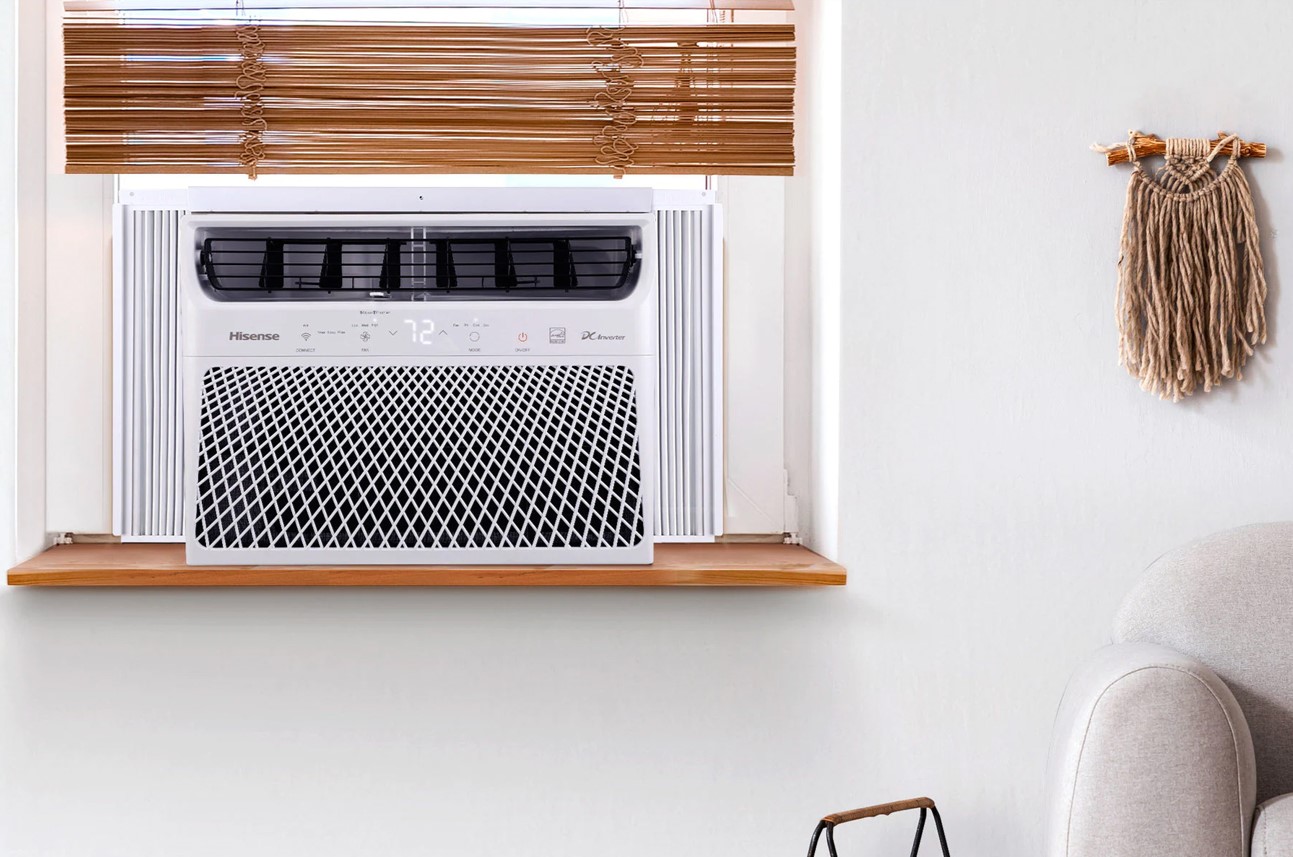
Reassemble and Plug in the Air Conditioner
Now that you have cleaned the various components of your GE window air conditioner, it’s time to reassemble the unit and plug it back in. Follow these steps:
- Carefully reattach the cleaned front panel to the air conditioner. Align it with the slots or hooks on the unit and slide it back into place.
- Secure the front panel by tightening the latches or screws that hold it in place.
- If you removed the filter, make sure it is completely dry before reinserting it into the air conditioner. Line up the filter with the designated slot and gently push it back in.
- Ensure that all the components are properly in place and secure.
- Once reassembled, plug the air conditioner back into the power source.
- Turn on the air conditioner and test its functionality, ensuring that it is cooling properly.
After reassembling and plugging in the air conditioner, it’s advisable to pay attention to any unusual noises, water leakage, or changes in cooling performance. If you notice any issues, consult the manufacturer’s instructions or contact a professional technician for assistance.
Regular reassembly and proper maintenance of your GE window air conditioner will help ensure its optimal performance and longevity.
Read more: How To Remove A Window Air Conditioner
Regular Maintenance Tips
Maintaining your GE window air conditioner on a regular basis is essential for its longevity and optimal performance. Here are some maintenance tips to keep in mind:
- Keep the surrounding area clean: Make sure there is no buildup of dust, dirt, or debris near the air conditioner unit. This helps provide proper airflow and prevents any obstructions.
- Check and clean the air filter regularly: The air filter should be cleaned or replaced at least once a month or as recommended by the manufacturer. A dirty filter can reduce airflow and put a strain on the air conditioner, leading to decreased efficiency.
- Inspect and clean the coils: Keep an eye on the condition of the coils and clean them at least once a year or as needed. This ensures optimal cooling performance and prevents dust or debris buildup.
- Clear the drain line: Check the condensation drain line regularly for any clogs or blockages. Clear any obstructions using a pipe cleaner or a mixture of water and vinegar.
- Monitor the thermostat settings: Adjust the thermostat settings according to your comfort and energy-saving goals. Maintaining a consistent temperature can help reduce energy consumption.
- Schedule professional maintenance: Consider scheduling annual maintenance with a professional technician to ensure that your air conditioner is working efficiently. They can perform thorough cleaning, check for any issues, and make necessary repairs.
- Keep the unit level: Ensure that the air conditioner unit is properly leveled to promote proper drainage and prevent any water accumulation inside the unit.
- Avoid overworking the air conditioner: Keep the area well-insulated to minimize heat transfer and reduce the workload on the air conditioner. Use curtains or blinds to block out direct sunlight and consider using additional insulation if needed.
By following these regular maintenance tips, you can ensure that your GE window air conditioner operates at its best and provides you with comfortable and efficient cooling for years to come.
Conclusion
Cleaning and maintaining your GE window air conditioner is crucial for its optimal performance, energy efficiency, and longevity. By following the step-by-step guide and implementing regular maintenance tips, you can keep your air conditioner running smoothly and enjoy cool and refreshing air all summer long.
Remember to prioritize safety by following the necessary precautions and wearing protective gear during the cleaning process. Unplug the air conditioner before starting any cleaning tasks to prevent electrical accidents.
Regularly cleaning the filter, front panel, coils, and drain pan helps to remove dirt, dust, and debris that can obstruct airflow and reduce cooling efficiency. Additionally, maintaining a clean air conditioner can prevent the growth of mold, mildew, and bacteria, ensuring the air you breathe is fresh and healthy.
Aside from cleaning, practicing regular maintenance habits such as keeping the surrounding area clean, monitoring thermostat settings, and scheduling professional maintenance will further enhance the performance and reliability of your GE window air conditioner.
By investing a little time and effort into proper cleaning and maintenance, you can enjoy consistent cooling, energy savings, and extended lifespan of your GE window air conditioner. So, don’t forget to incorporate these cleaning and maintenance tasks into your home maintenance routine. Your air conditioner will thank you with cool, crisp air for many summers to come!
Frequently Asked Questions about How To Clean GE Window Air Conditioner
Was this page helpful?
At Storables.com, we guarantee accurate and reliable information. Our content, validated by Expert Board Contributors, is crafted following stringent Editorial Policies. We're committed to providing you with well-researched, expert-backed insights for all your informational needs.