Home>diy>Architecture & Design>How To Create A Printed House Design
Architecture & Design
How To Create A Printed House Design
Modified: January 24, 2024
Learn how to create stunning printed house designs with our comprehensive architecture design guide. Discover tips, techniques, and inspiration to bring your vision to life.
(Many of the links in this article redirect to a specific reviewed product. Your purchase of these products through affiliate links helps to generate commission for Storables.com, at no extra cost. Learn more)
Introduction
Welcome to the world of architecture and design, where innovation and creativity are constantly pushing the boundaries of what is possible. In recent years, a groundbreaking technology called 3D printing has emerged, revolutionizing the way we approach various industries, including architecture. One of the most fascinating applications of 3D printing in architecture is the creation of printed house designs, where entire houses are constructed layer by layer using a specialized printer.
Printed house designs have gained immense popularity due to their ability to reduce construction time, costs, and waste while offering unparalleled design flexibility. The process involves translating architectural plans into digital models that are later converted into physical structures using a 3D printer.
In this article, we will guide you through the steps involved in creating a printed house design. From initial research and planning to the final assembly and finishing, we will explore each stage of this innovative process. So, let’s dive in and discover how you can bring your architectural visions to life using 3D printing technology.
Key Takeaways:
- Embrace the Future of Architecture
Explore the innovative world of 3D printed house designs, where creativity meets sustainability. Reduce construction time, costs, and waste while enjoying unparalleled design flexibility. - Design Your Dream Home with 3D Printing
From research and planning to assembly and finishing, 3D printing technology offers endless possibilities for creating unique, efficient, and environmentally sustainable printed house designs.
Read more: How To Create A Design Board For A House
Step 1: Research and Planning
Before diving into the world of printed house designs, it is crucial to conduct thorough research and develop a comprehensive plan. This step is essential to ensure that your printed house design aligns with your vision and meets all necessary requirements.
Start by exploring existing printed house projects and studying the different techniques, materials, and technologies used. This will provide valuable insights into the possibilities and limitations of printed house designs. Additionally, research the local building codes and regulations to ensure compliance with legal requirements.
Next, consider the design and layout of your printed house. Think about the purpose of the house, the number of rooms, overall size, and any specific architectural features you desire. Sketch out rough ideas or create digital drafts to visualize your design. At this stage, it can be helpful to consult with an architect or a 3D printing expert who can provide guidance and expertise.
Another important aspect of the research and planning phase is selecting the right 3D printing technology for your project. There are various types of 3D printers available, each with its own strengths and limitations. Some popular options for printed house designs include Fused Deposition Modeling (FDM) and Selective Laser Sintering (SLS). Take into account factors such as printing speed, accuracy, material compatibility, and cost when choosing the appropriate technology.
Additionally, consider the materials you will use for constructing your printed house. While traditional construction materials like concrete and steel are commonly used, there are also innovative options specifically developed for 3D printing, such as bio-based materials or recycled plastics. Research the advantages and disadvantages of each material type to make an informed decision based on your priorities, budget, and environmental considerations.
A crucial part of the planning process is creating a realistic timeline and budget. 3D printing technology has the potential to significantly reduce construction time and costs compared to traditional methods, but it is still important to allocate sufficient resources and account for any unexpected challenges that may arise. Consider factors such as printing time, post-processing requirements, material costs, and any additional expenses associated with assembling and finishing the printed house.
Once you have completed your research and planning, you will be well-equipped to move on to the next step: designing your printed house. By investing time in this initial phase, you will lay a solid foundation for a successful and efficient printed house project.
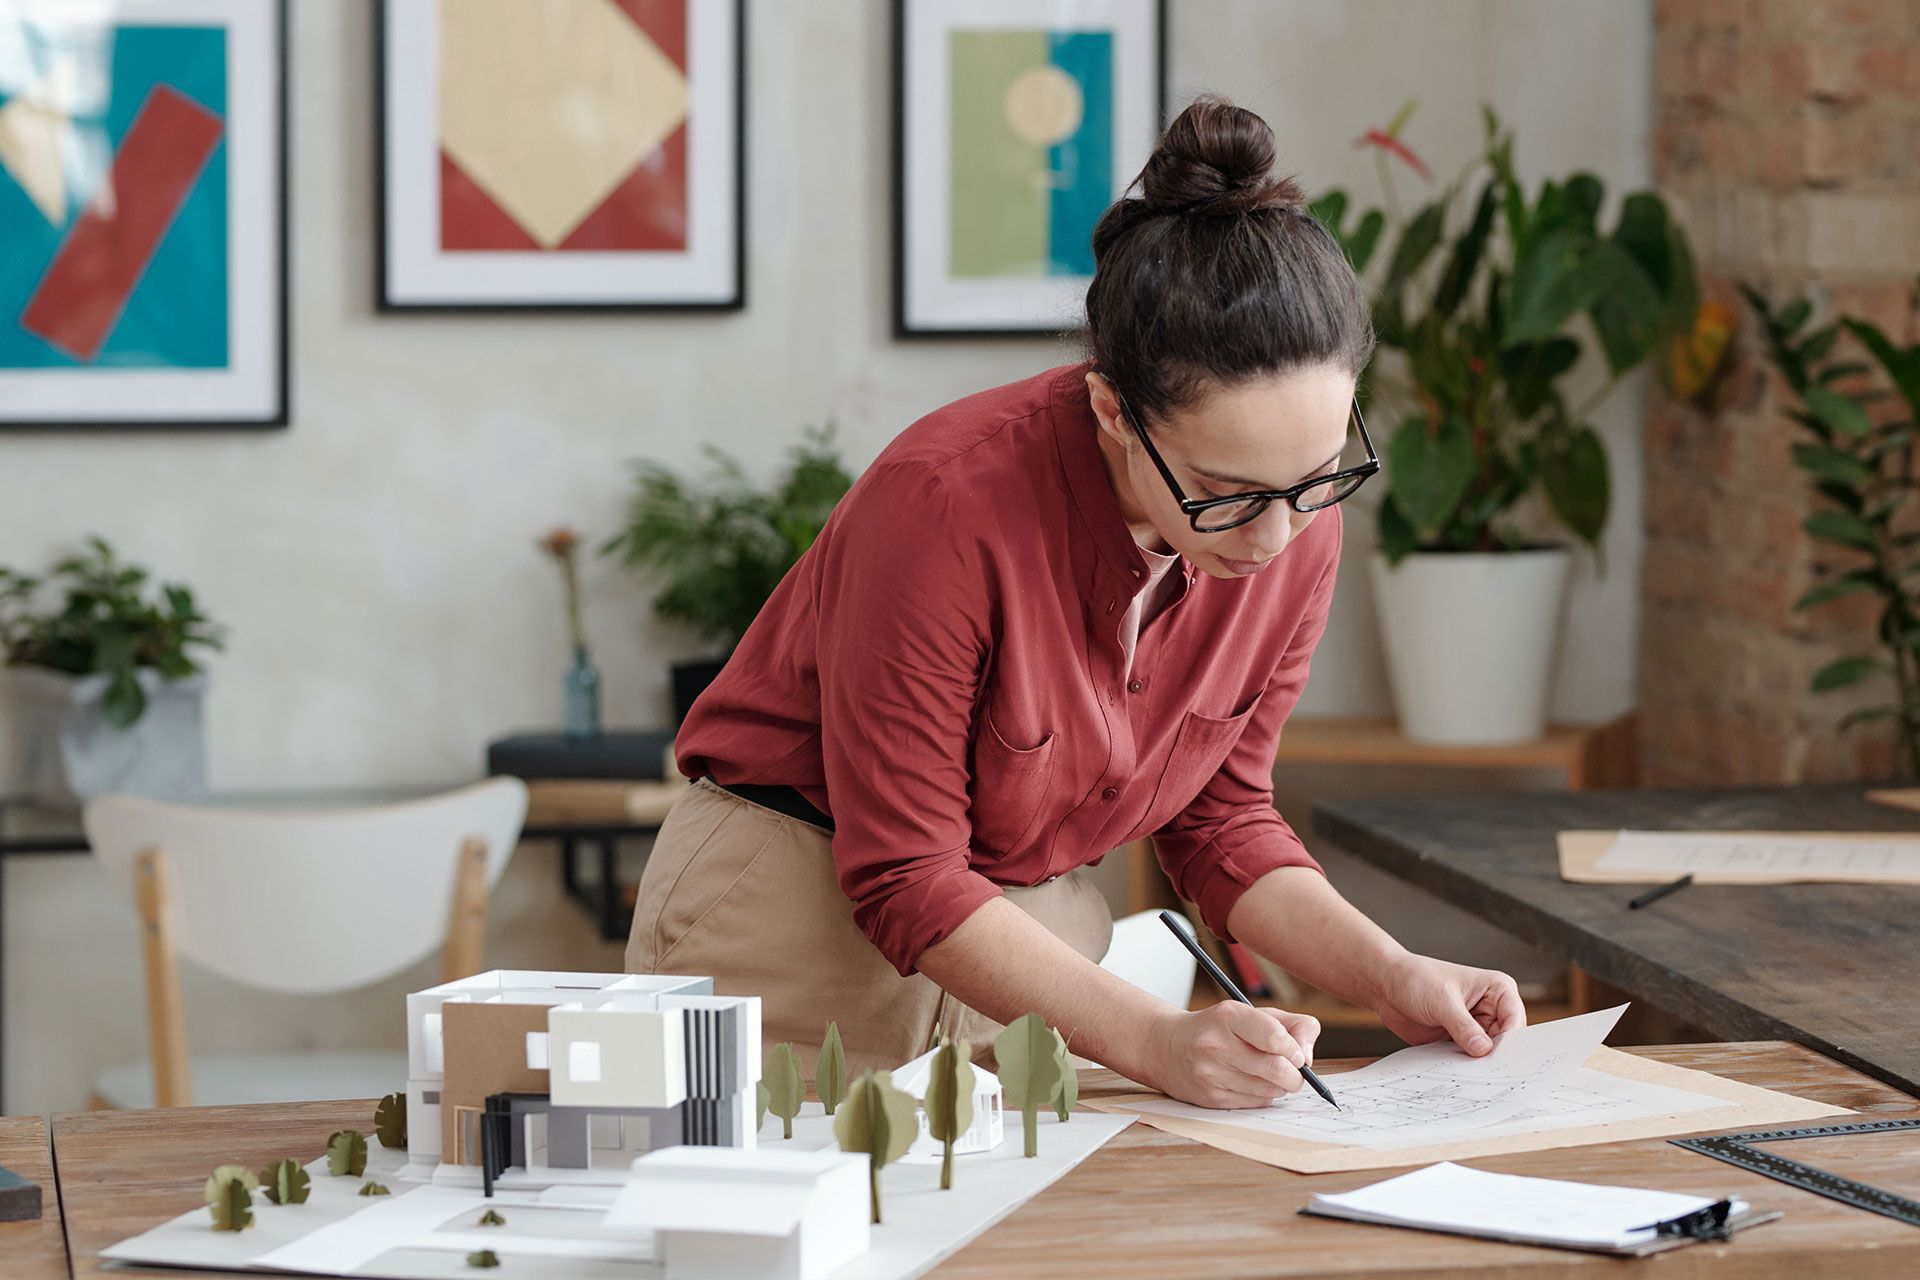
Step 2: Designing the House
With the research and planning completed, it’s time to dive into the exciting phase of designing your printed house. This step involves creating the architectural plans and digital models that will serve as the blueprint for the construction process.
Start by collaborating with an architect or a skilled designer to translate your vision into a detailed architectural plan. Discuss your requirements, preferences, and any specific design elements you want to incorporate. The architect will consider factors such as aesthetics, functionality, structural integrity, and building codes to create a design that meets your needs.
Thanks to the advancement of CAD (Computer-Aided Design) software, architects and designers have powerful tools at their disposal to create intricate and precise 3D models of the house. Utilize this software to develop a virtual representation of your printed house, allowing you to visualize the design from different angles and perspectives.
During the design phase, it’s important to consider the scalability and modularity of the printed house. 3D printing allows for flexibility in creating modular components that can be easily assembled and disassembled. This flexibility opens up opportunities for future modifications and adaptations of the house, such as adding or removing rooms or extending the structure.
Furthermore, consider the functional aspects of the design, such as the placement of windows, doors, and utilities. Pay attention to factors like natural light, ventilation, and accessibility, ensuring a comfortable and sustainable living environment.
It’s also worth exploring the potential for incorporating smart home technologies into your printed house design. These technologies can enhance energy efficiency, security, and convenience, allowing you to create a futuristic, technologically advanced living space.
Throughout the design process, keep a balance between innovation and practicality. Aim for a design that is visually stunning and unique, but also functional and livable. Regular communication with the architect and continuous feedback will ensure that the final design reflects your vision and requirements.
Once the design is finalized, it’s time to move on to the next step: preparing the 3D model for printing. This involves converting the architectural plans into a digital model that can be used by the 3D printer to construct the physical components of the house. Stay tuned for the next step in the process!
Step 3: Preparing the 3D Model
Now that the design phase is complete, it’s time to prepare the 3D model of your printed house for the construction phase. This step involves translating the architectural plans and specifications into a digital format that can be understood and executed by the 3D printer.
The first step in preparing the 3D model is to convert the architectural plans and drawings into a digital format. This can be done using specialized software such as AutoCAD or Revit, which allow architects and designers to create precise and detailed 3D models.
Once the plans are imported into the software, the next step is to optimize the model for 3D printing. This includes checking for errors or inconsistencies in the design, ensuring that the walls, floors, and other components are correctly aligned and ready for construction.
During this stage, it is crucial to ensure that the 3D model is properly scaled and accurately represents the dimensions specified in the architectural plans. Making any necessary adjustments and fine-tuning the model will help to avoid potential issues during the printing process.
In addition to optimizing the model, it’s important to consider the structural integrity and stability of the printed house. The digital model should account for load-bearing walls, proper foundation support, and any reinforcements required for stability. Collaborating with a structural engineer can help to identify potential weaknesses and ensure a safe and durable structure.
Once the 3D model is finalized and ready, it is typically saved in a file format that is compatible with the specific 3D printer that will be used. Common file formats include STL (Standard Tessellation Language) or OBJ (Object File Format).
Before proceeding to the printing phase, it is advisable to perform a virtual test run of the 3D model, simulating the printing process to identify any potential printing issues or errors. This allows for adjustments to be made in the digital model before the actual construction begins.
By taking the time to properly prepare the 3D model, you can greatly increase the chances of a smooth and successful printed house construction process. Once the model is fully prepared, it’s time to move on to the next step: selecting the materials and printing process.
Step 4: Selecting Materials and Printing Process
Now that the 3D model of your printed house is prepared, it’s time to move on to selecting the materials and printing process. The choice of materials and printing technique will greatly impact the final outcome of your printed house design.
When it comes to selecting materials for 3D-printed houses, there are various options available. Traditional construction materials such as concrete, fiberglass, and steel are frequently used for their strength and durability. These materials are often reinforced with additives or fibers to enhance their structural integrity.
On the other hand, there is a growing interest in sustainable and eco-friendly materials for 3D printing, which can reduce the environmental impact of construction. Bio-based materials, recycled plastics, and even materials derived from natural sources like bamboo or hemp can offer alternatives to traditional construction materials.
Consider the properties of the materials you choose, such as strength, flexibility, thermal insulation, and fire resistance, to ensure that they align with your design objectives and local building regulations.
The selection of the printing process is equally important. There are various 3D printing technologies available, each with its own strengths and limitations. Fused Deposition Modeling (FDM) is a popular technique due to its affordability and accessibility. It involves extruding melted material layer by layer to create the desired structure.
If precision and high accuracy are paramount, Selective Laser Sintering (SLS) might be a better choice. This technique uses lasers to fuse powdered materials together to form the printed object. Other techniques include Stereolithography (SLA) and Digital Light Processing (DLP) which utilize photopolymer resins that solidify when exposed to light.
Consider the speed of the printing process, the resolution and level of detail achievable, and the compatibility with the selected materials when choosing the appropriate printing technique.
Collaborating with experts in the field of 3D printing can provide valuable insights and guidance when making these material and printing process decisions. They can help you navigate the options, provide advice on industry best practices, and ensure that your choice aligns with your design goals and budget.
Once the materials and printing process are selected, you are ready to move on to the next step: printing the house design. Stay tuned for the exciting process of bringing your vision to life using 3D printing technology!
When creating a printed house design, consider the structural integrity and durability of the materials used. It’s important to work with engineers and architects to ensure the design meets building codes and safety standards.
Read more: How To Create A CAD File For 3D Printing
Step 5: Printing the House Design
After careful planning and selecting the materials and printing process, it is finally time to bring your printed house design to life. In this step, the 3D printer will transform the digital model into a physical structure, layer by layer.
The first task is to set up the 3D printer and ensure it is properly calibrated. This involves adjusting the printer settings, such as the nozzle temperature, printing speed, and layer height, to achieve the desired results. The printer must also be positioned correctly to ensure accurate and consistent printing.
Once the printer is ready, the selected material, whether it is concrete, plastic, or another type, is loaded into the printer according to the manufacturer’s guidelines. The printer then begins the printing process, following the instructions from the digital model.
During the printing process, the 3D printer moves along the predetermined path, depositing or solidifying the material layer by layer. Depending on the complexity and size of the printed house design, this process can take anywhere from several hours to several days.
It is crucial to closely monitor the printing process to ensure that each layer is printed accurately and without any defects. Regular quality checks and maintenance of the printer are essential to avoid any issues that could compromise the integrity of the printed house.
In the case of multi-story printed houses, the printer may need to pause between layers to allow for the installation of structural reinforcements like steel columns and beams. This step ensures the stability and safety of the printed structure.
Once the printing is complete, the 3D printer will require time to cool and solidify the printed structure. This is a critical step in ensuring the durability and strength of the printed house.
It is important to note that the printing process may require multiple iterations to achieve the desired results. Patience and flexibility are key as adjustments and refinements may be necessary along the way to optimize the printing process and the final outcome.
With the printing phase now complete, it’s time to move on to the next step: post-printing processes. These processes include removing any support structures, cleaning, and preparing the printed components for assembly and finishing.
Stay tuned for the next step in the process as we explore the important post-printing processes required to transform the printed components into a fully functional printed house.
Step 6: Post-Printing Processes
With the printing phase complete, the focus now shifts to the post-printing processes. These processes are crucial to transform the printed components into a fully functional and aesthetically pleasing printed house.
The first step is to carefully remove any support structures that were used during the printing process. These supports are designed to provide stability and prevent sagging or distortion during printing. By removing them, the true form of the printed components can be revealed.
Once the supports are removed, it is essential to inspect the printed components for any imperfections or defects. Any rough or uneven surfaces can be sanded down to achieve a smooth finish, ensuring a visually appealing result.
Depending on the printing method and material used, there may be a need for additional post-processing techniques. For instance, if your printed house design includes concrete components, they may need to be cured or treated with specialized coatings to enhance their strength and durability.
In some cases, post-printing processes can also involve reinforcing the printed components with additional materials such as steel reinforcements or fiber composites. This is particularly important for ensuring the structural integrity of the printed house.
Furthermore, any necessary electrical or plumbing installations can be carried out at this stage. This includes routing cables, installing outlets, switches, and fixtures, as well as connecting pipes for water and gas supply.
After completing the necessary post-printing processes, the focus turns to finishing the printed components. This step involves applying coatings, paints, or finishes to protect the printed surfaces from weathering, UV radiation, or other environmental factors.
When selecting the finishing materials, consider their compatibility with the printed material and the desired aesthetic look. You may opt for a natural or textured finish to highlight the 3D printing qualities, or choose a more traditional paint finish for a seamless and polished appearance.
Lastly, it is important to ensure that the printed components are properly assembled to create the final structure of the printed house. This involves meticulously aligning and joining the various components together, following the architectural plans and specifications.
Assembling a printed house may require specialized tools, equipment, and expertise. Collaborating with skilled contractors or construction professionals who have experience with 3D-printed structures can help ensure a smooth and successful assembly process.
With the completion of the post-printing processes and assembly, your printed house design is now one step closer to becoming a reality. The final step in the process is to add the finishing touches and make any necessary adjustments before you can fully enjoy your innovative and unique printed house.
Step 7: Assembling and Finishing the Printed House
Congratulations! You have reached the final step in the process of creating your printed house design: assembling and finishing the printed components to complete the construction of your dream home.
Before starting the assembly process, ensure that all necessary permits and inspections have been obtained, following local building codes and regulations. It is essential to comply with safety standards as you bring your printed house to life.
Begin by carefully arranging and aligning the printed components according to the architectural plans and specifications. Securely attach each component to its designated location, ensuring a sturdy and stable structure.
During the assembly, it is important to have a clear understanding of the interlocking mechanisms and connections between the printed parts. Make use of any designated fasteners, adhesives, or welding techniques required to ensure a strong bond between the components.
Once the printed components are successfully assembled, it’s time to focus on the finishing touches. This may include installing doors and windows, adding trim, or attaching decorative elements that enhance the aesthetics of your printed house.
After the structural assembly and finishing touches, it’s time to address the interior and exterior design aspects of your printed house. Install insulation materials to promote energy efficiency and create a comfortable living environment.
Consider the placement of electrical outlets, lighting fixtures, and any desired smart home technologies. This is also the opportune time to install plumbing fixtures, HVAC systems, and any other necessary utilities.
Now is the perfect moment to unleash your creativity and style by selecting suitable flooring materials, wall finishes, and interior furnishings. Choose colors, textures, and materials that align with your vision and create a welcoming and personalized living space.
Don’t forget about the outdoor area surrounding your printed house. Design and construct patios, decks, or landscaping features that enhance the overall appeal of your property, creating an inviting outdoor oasis for relaxation and enjoyment.
Throughout the assembly and finishing processes, it is essential to conduct regular inspections to ensure the structural integrity, safety, and functionality of your printed house design. Consult with experts when required to ensure that your construction meets the necessary quality standards.
Finally, before moving into your printed house, it is advisable to conduct a final walkthrough and inspection to make sure that everything is in place and functioning as expected. Address any minor issues or concerns that may arise to ensure a smooth transition into your new home.
By following these steps and investing time and effort into the assembly and finishing processes, you will ultimately create a unique and remarkable printed house design that reflects your personality and style.
Enjoy the satisfaction of living in a home that combines cutting-edge technology with innovative design, and embrace the endless possibilities that 3D printing has brought to the field of architecture.
Conclusion
The world of architecture and design has witnessed a remarkable transformation with the emergence of 3D printing technology. The ability to create printed house designs, layer by layer, has sparked a new wave of innovation and creativity in the construction industry.
Throughout this article, we have explored the various steps involved in creating a printed house design, from research and planning to the final assembly and finishing touches. We have seen how careful consideration of materials, printing processes, and design elements can result in exceptional and environmentally sustainable architectural achievements.
By leveraging 3D printing technology, printed house designs offer numerous advantages. They can significantly reduce construction time, costs, and waste, providing a more efficient and sustainable alternative to traditional construction methods. The design flexibility and scalability of printed houses allow for customizable living spaces that can be easily modified or expanded in the future.
However, it’s important to note that the field of printed house designs is still relatively new, and there are challenges that need to be addressed. Ongoing research and development efforts are focused on expanding material options, improving the speed and accuracy of printing processes, and enhancing the structural integrity of printed components.
As 3D printing technology continues to advance, we can expect even more groundbreaking developments in the field of architecture and design. The ability to realize complex and unique architectural visions through 3D printing opens up endless possibilities for architects, designers, and homeowners alike.
Whether you are considering a printed house design for its efficiency, environmental benefits, or aesthetic appeal, it’s crucial to approach the process with careful planning, collaboration, and attention to detail. Consulting with experts and staying up to date with the latest advancements in 3D printing technology will help you navigate the challenges and ensure a successful printed house project.
In conclusion, the world of printed house designs is an exciting and rapidly evolving frontier in architecture and design. With the ability to bring imaginative and sustainable structures to life, 3D printing technology paves the way for a future where our homes are not only functional but also works of art.
Frequently Asked Questions about How To Create A Printed House Design
Was this page helpful?
At Storables.com, we guarantee accurate and reliable information. Our content, validated by Expert Board Contributors, is crafted following stringent Editorial Policies. We're committed to providing you with well-researched, expert-backed insights for all your informational needs.


0 thoughts on “How To Create A Printed House Design”