Home>Home Maintenance>How To Hide A Dryer Vent Hose
Home Maintenance
How To Hide A Dryer Vent Hose
Modified: August 23, 2024
Learn how to hide a dryer vent hose with these easy home maintenance tips. Keep your home looking clean and organized while maintaining proper ventilation.
(Many of the links in this article redirect to a specific reviewed product. Your purchase of these products through affiliate links helps to generate commission for Storables.com, at no extra cost. Learn more)
Introduction
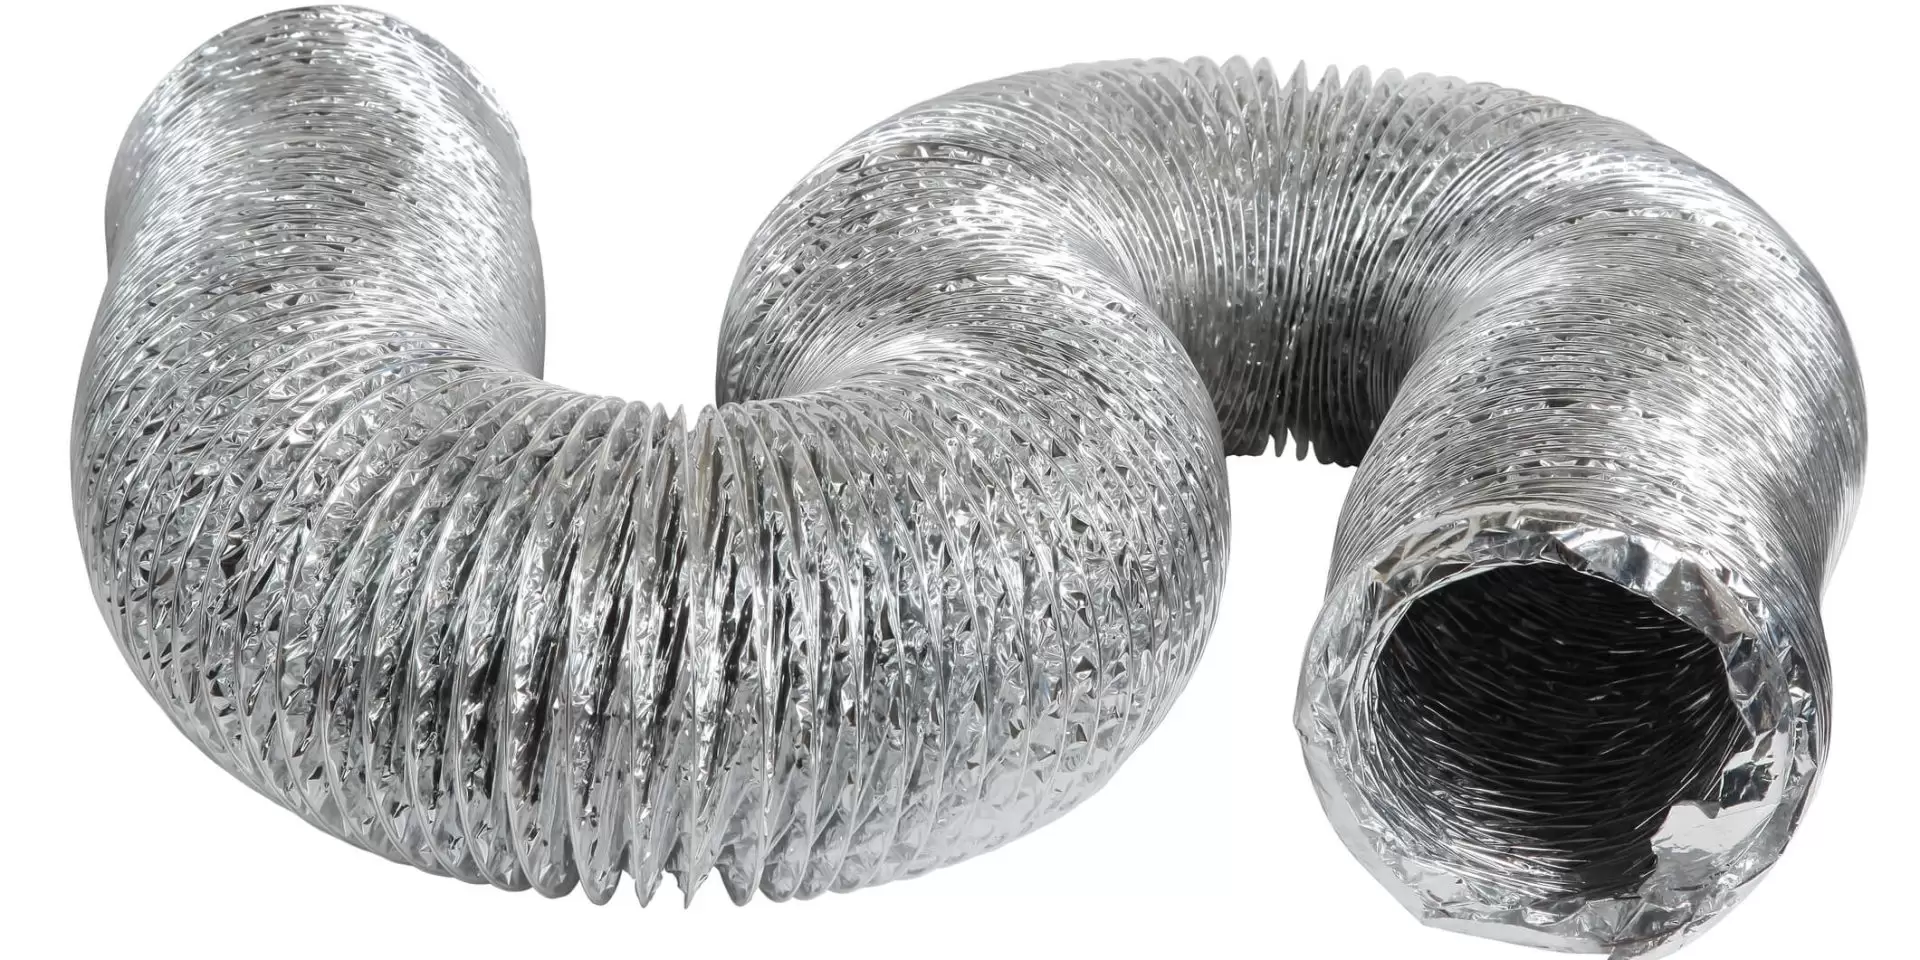
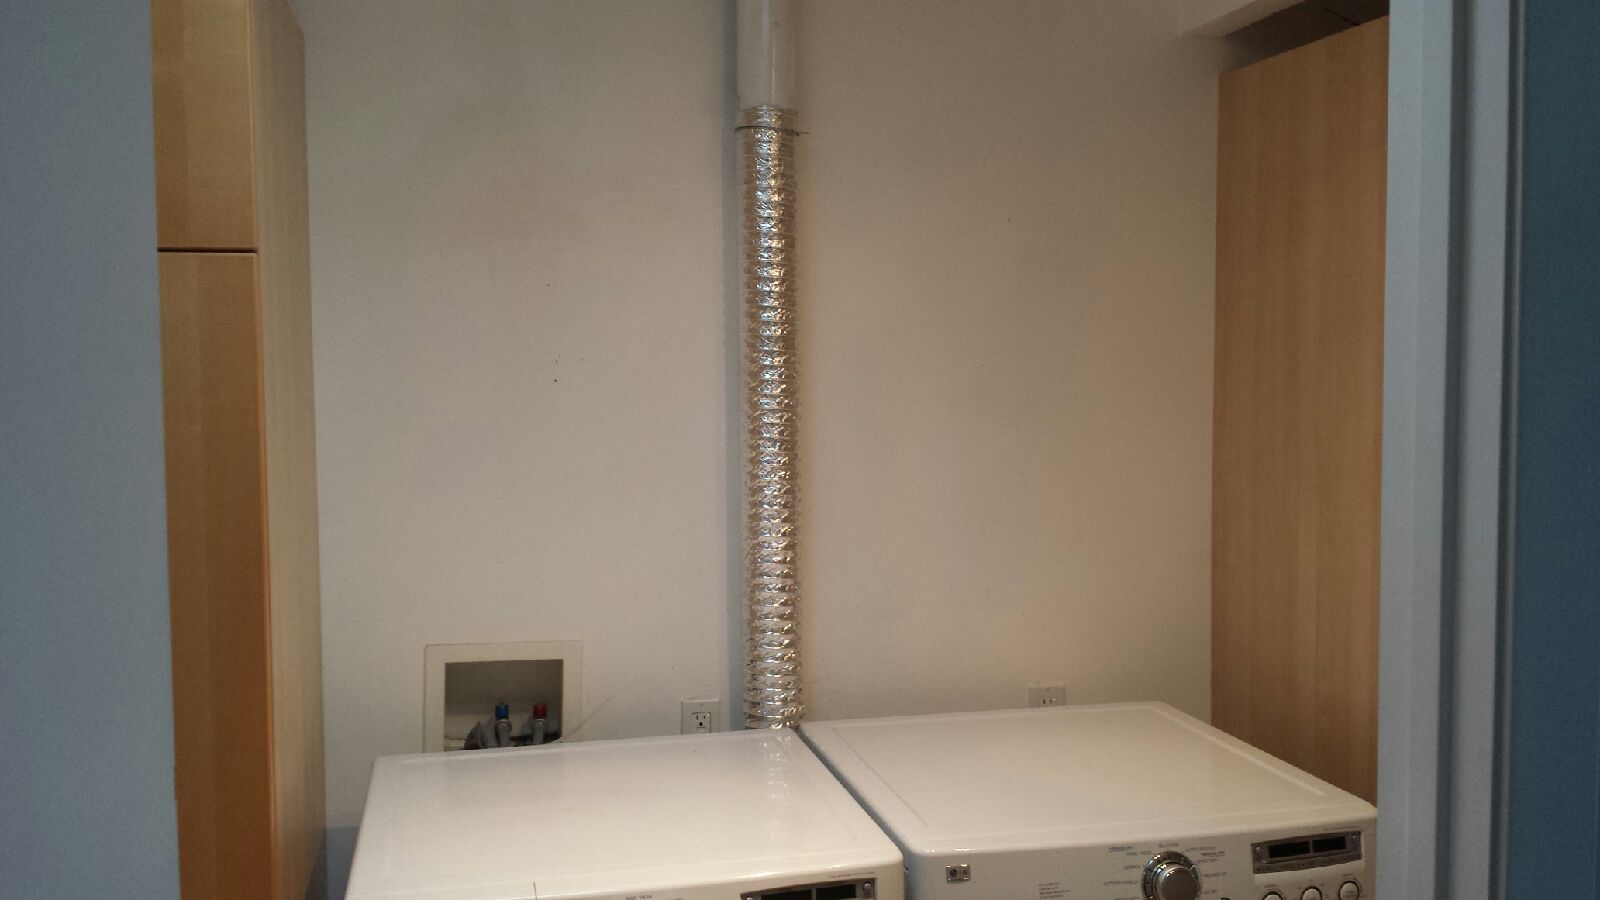
Having a dryer vent hose in your home is a necessity to ensure proper ventilation and prevent lint buildup. However, the presence of a visible vent hose can be unsightly and disrupt the aesthetics of your living space. Fortunately, there are solutions available to help you hide that unsightly dryer vent hose and maintain the beauty of your home.
In this article, we will guide you through the process of hiding a dryer vent hose effectively and seamlessly. With the right tools and materials, you’ll be able to conceal the vent hose while allowing for proper airflow. Let’s get started!
Key Takeaways:
- Say goodbye to unsightly dryer vent hoses! With the Hide-A-Vent box and simple steps, you can discreetly conceal the hose, maintaining a seamless and polished look in your laundry area.
- Keep your home beautiful and safe. By hiding your dryer vent hose, you can prevent lint buildup and potential fire hazards while achieving a visually pleasing space.
Read more: How To Connect A Dryer Vent Hose
Tools and Materials Needed
Before you begin hiding your dryer vent hose, gather the following tools and materials:
- Hide-A-Vent box
- Drill
- Screwdriver
- Tape measure
- Pencil or marker
- Drywall saw
- Silicone caulking
- Drywall screws
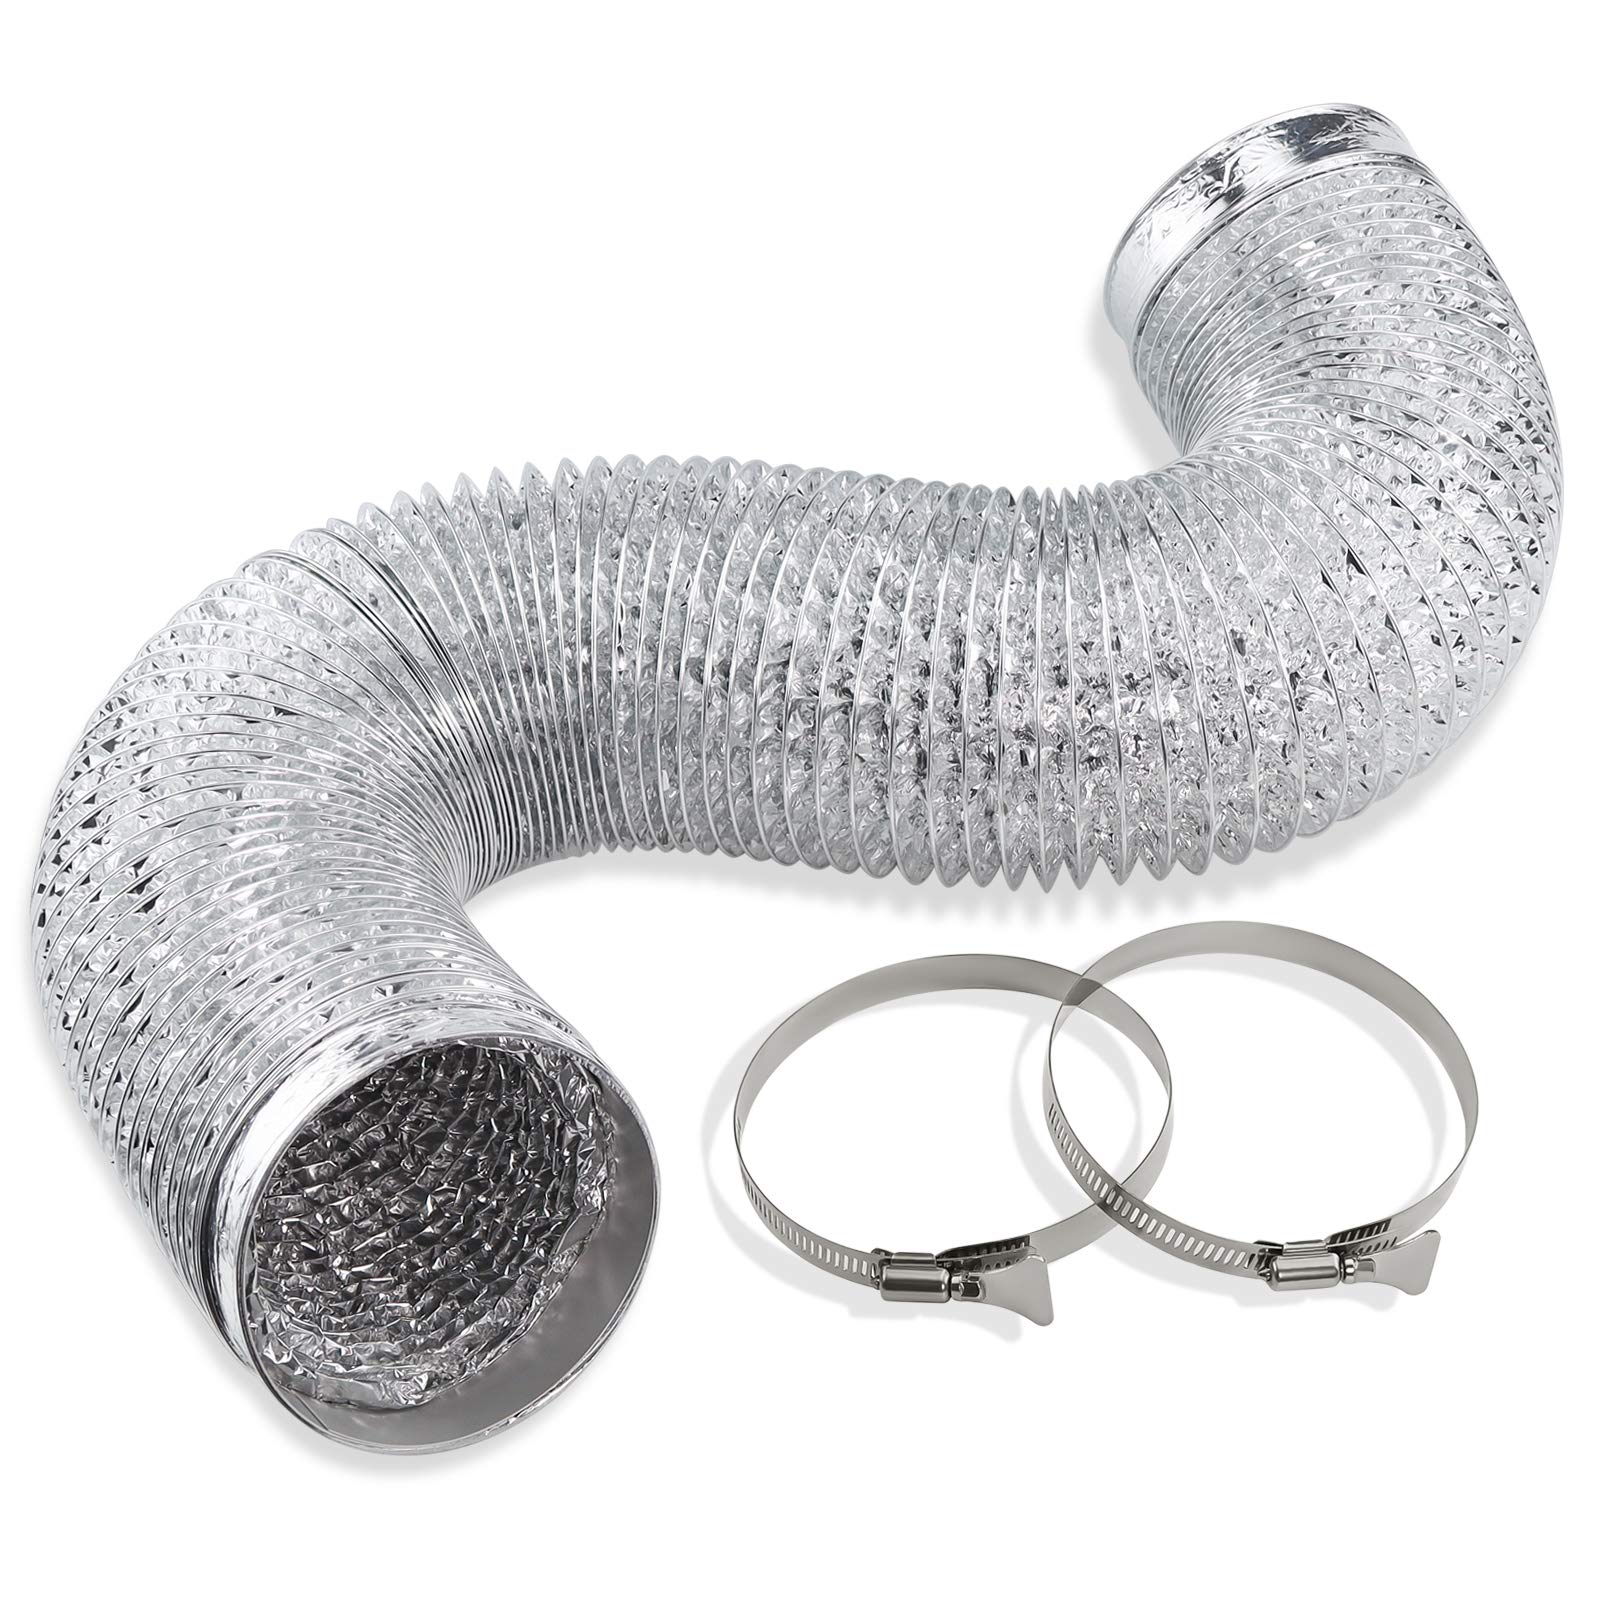
- Vent hose cover or trim
The Hide-A-Vent box is an essential component in this project as it provides a discreet enclosure for the dryer vent hose. You can find it at your local home improvement store or online.
Additionally, ensure that you have the necessary safety equipment, such as safety goggles and gloves, to protect yourself during the installation process.
Once you have gathered all the required tools and materials, you’re ready to move on to the next steps of hiding your dryer vent hose.
Step 1: Assessing the Area
The first step in hiding your dryer vent hose is to assess the area where you plan to install the Hide-A-Vent box. Take a close look at the space and consider the following factors:
- Location: Determine the ideal location for the Hide-A-Vent box. It should be easily accessible and not obstructed by any furniture or objects.
- Clearance: Ensure that there is enough space around the chosen location for the vent hose to be properly connected and for airflow to occur without any obstructions.
- Wall Type: Depending on the type of wall you have, such as drywall or a tiled backsplash, you may need specific tools or techniques for installation.
- Electrical Outlets: Check if there are any electrical outlets or switches in close proximity to the desired location. You want to ensure that the vent hose does not interfere with their operation or pose a safety hazard.
- Piping or Wiring: Look for any existing piping or electrical wiring behind the wall. It’s important to avoid damaging any utility lines while installing the Hide-A-Vent box.
By thoroughly assessing the area, you can make an informed decision about the location of the Hide-A-Vent box and avoid any potential issues during the installation process. Take your time during this step to ensure the best possible outcome for hiding your dryer vent hose.
Step 2: Choosing the Right Location
Once you have assessed the area, it’s time to choose the perfect location to install the Hide-A-Vent box. Consider the following factors when determining the placement:
- Accessibility: Select a location that is easily accessible, both for connecting the vent hose and for future maintenance or cleaning.
- Appearance: Ensure that the chosen area allows the Hide-A-Vent box to be concealed discreetly and blend seamlessly with the surrounding wall or surface.
- Proximity to Dryer: Position the Hide-A-Vent box close to your dryer, allowing for a shorter and more efficient vent hose connection.
- Airflow: Choose a location that allows for proper airflow and ventilation to prevent lint buildup and ensure the dryer operates effectively.
- Coverage: Consider the coverage required to hide the entire length of the vent hose. Ensure that the Hide-A-Vent box is large enough to accommodate the hose without any restrictions.
It’s important to take your time during this step to ensure that you choose the optimal location for your Hide-A-Vent box. Consider the practicality, aesthetics, and functionality to achieve the best result.
Once you have determined the ideal location, mark it using a pencil or marker. This will serve as a guide when installing the Hide-A-Vent box in the next steps.
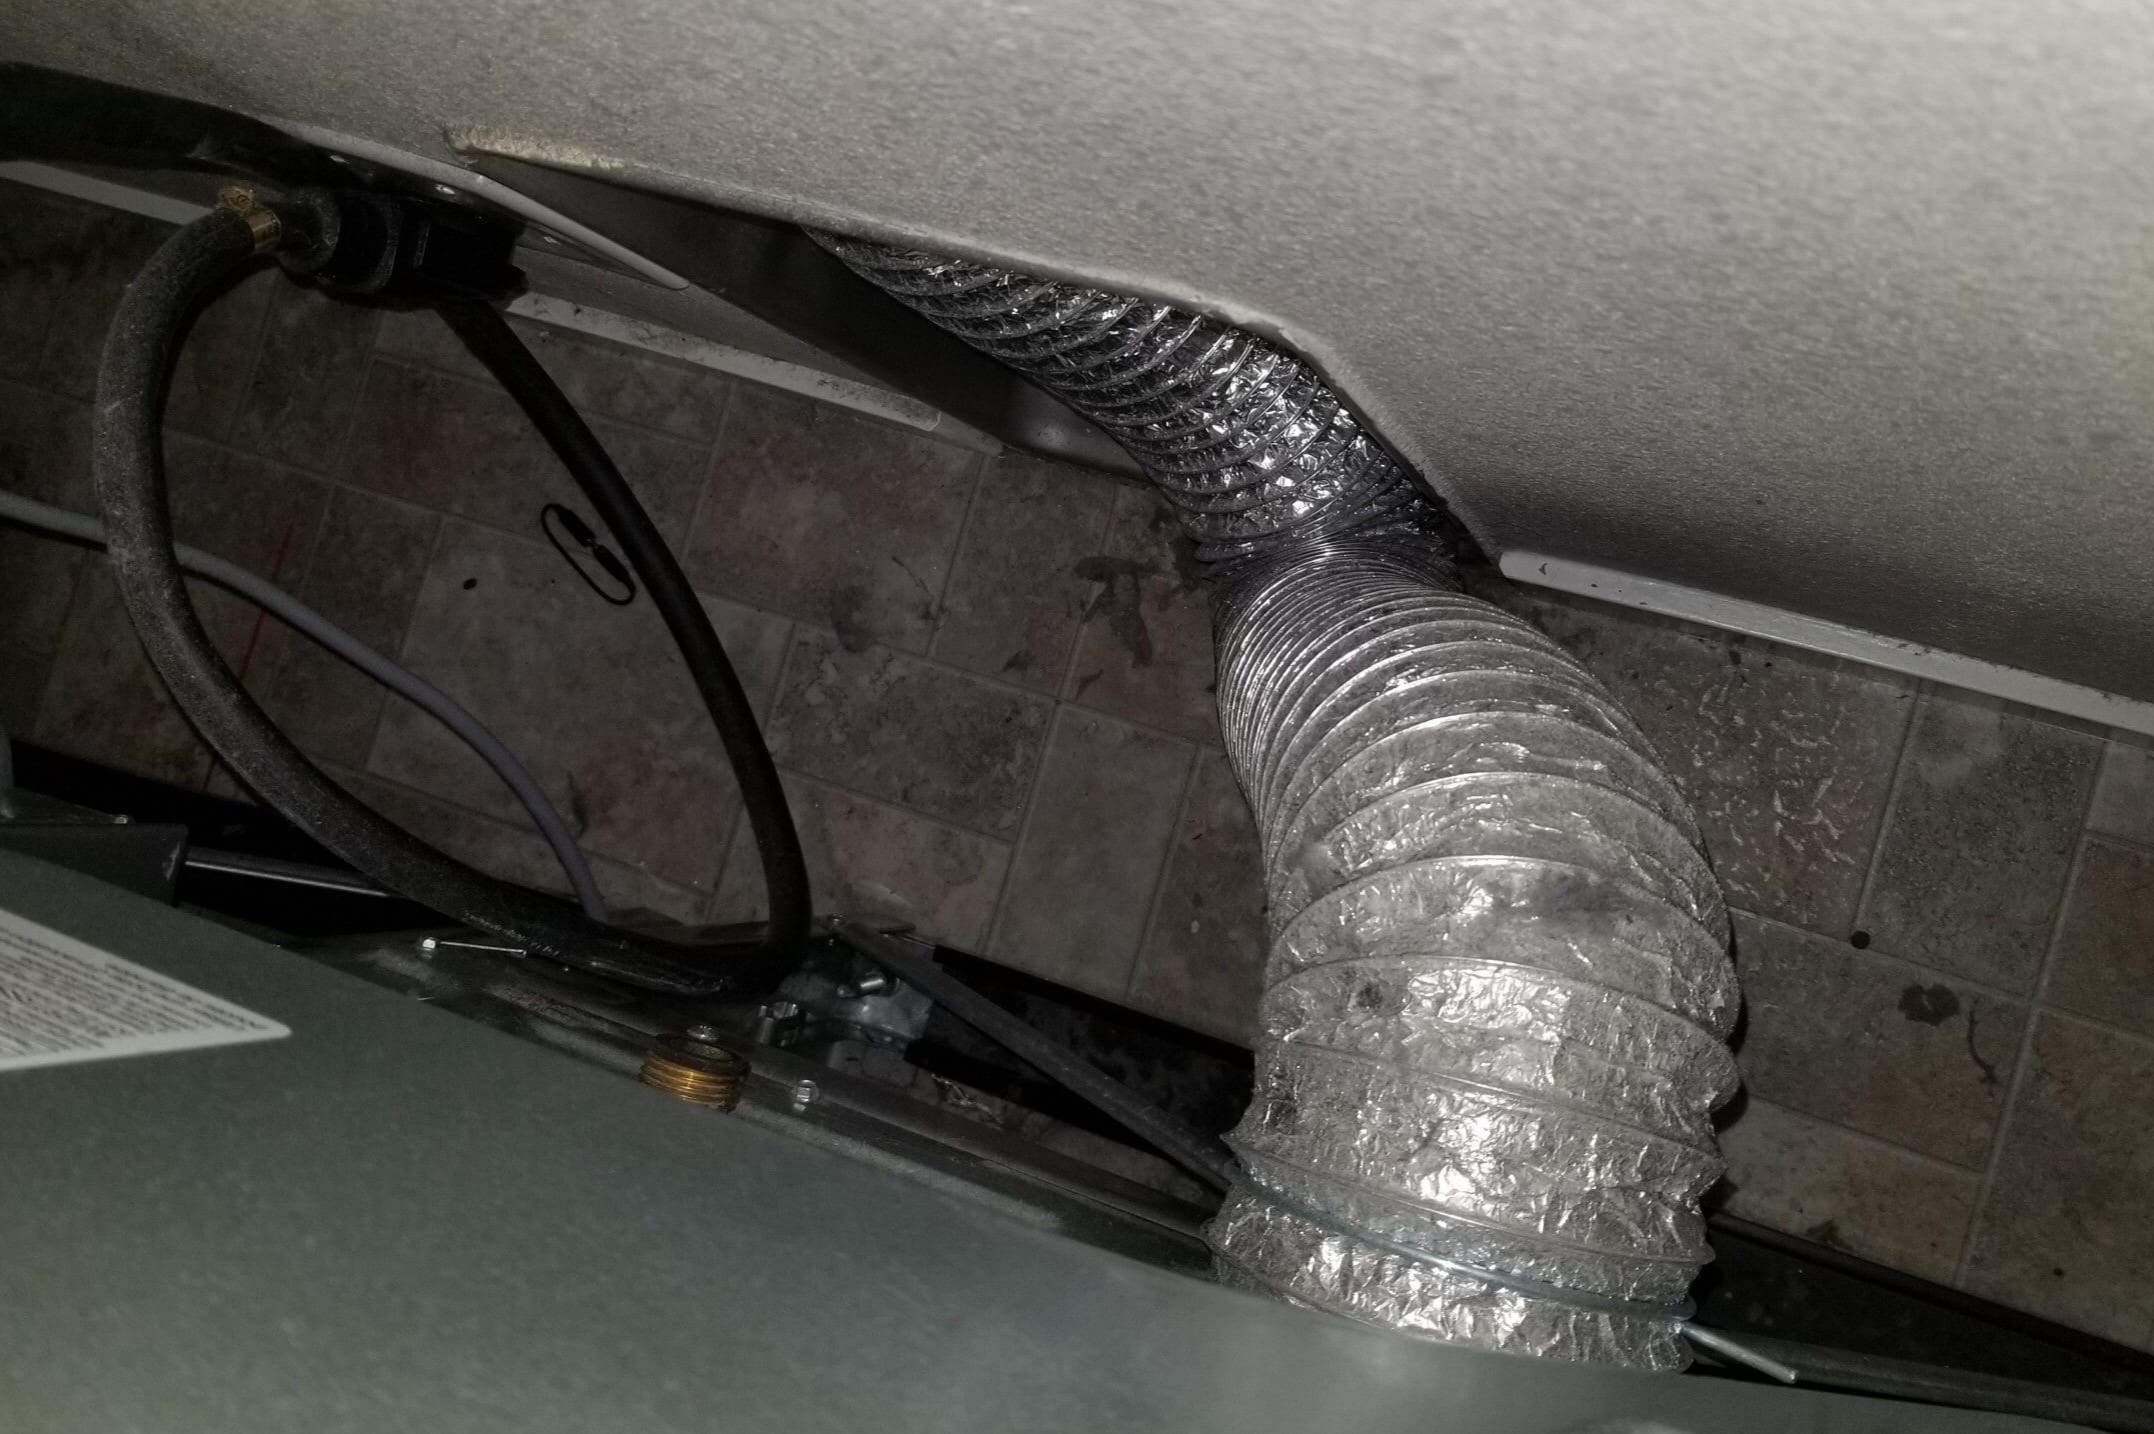
Step 3: Disconnecting the Dryer Vent Hose
Before you can install the Hide-A-Vent box, you’ll need to disconnect the existing dryer vent hose. Follow these steps to safely disconnect the hose:
- Turn off the Dryer: Ensure that the dryer is completely turned off and unplugged from the power source.
- Move the Dryer: Gently move the dryer away from the wall to create space for disconnecting the vent hose.
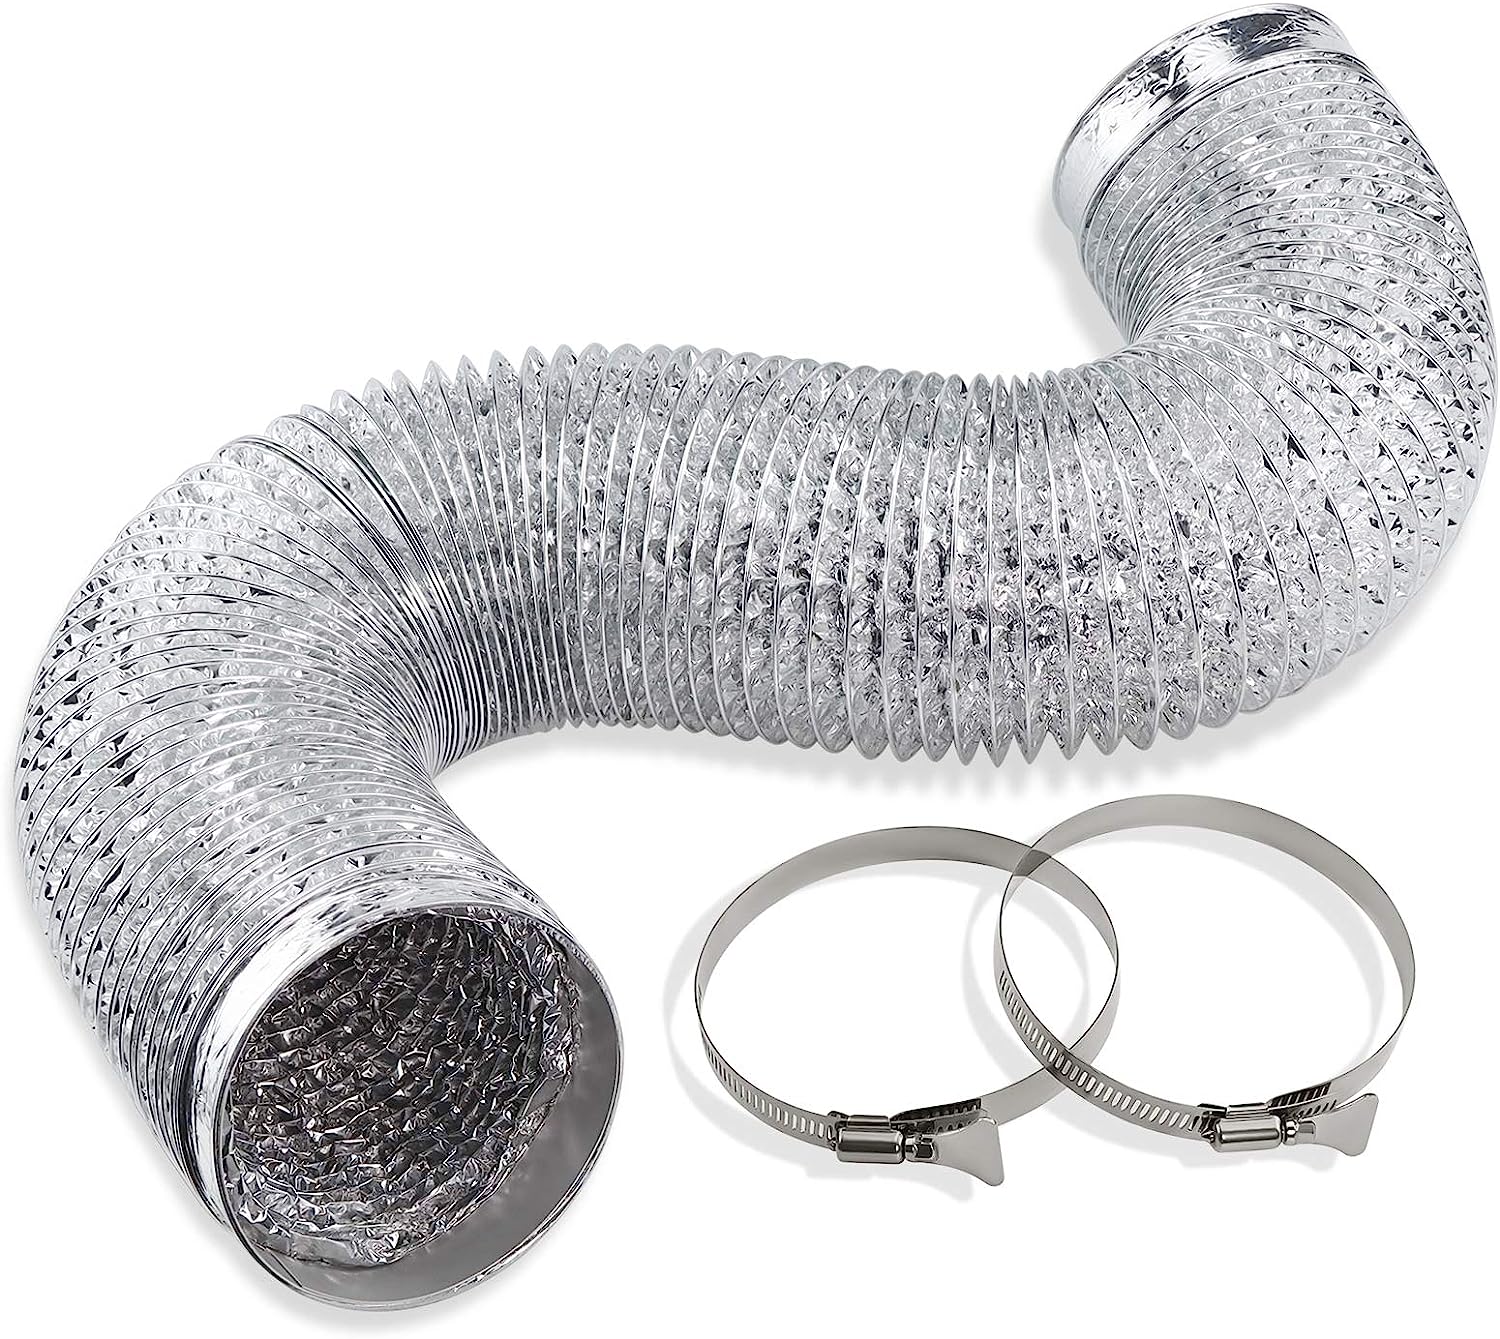
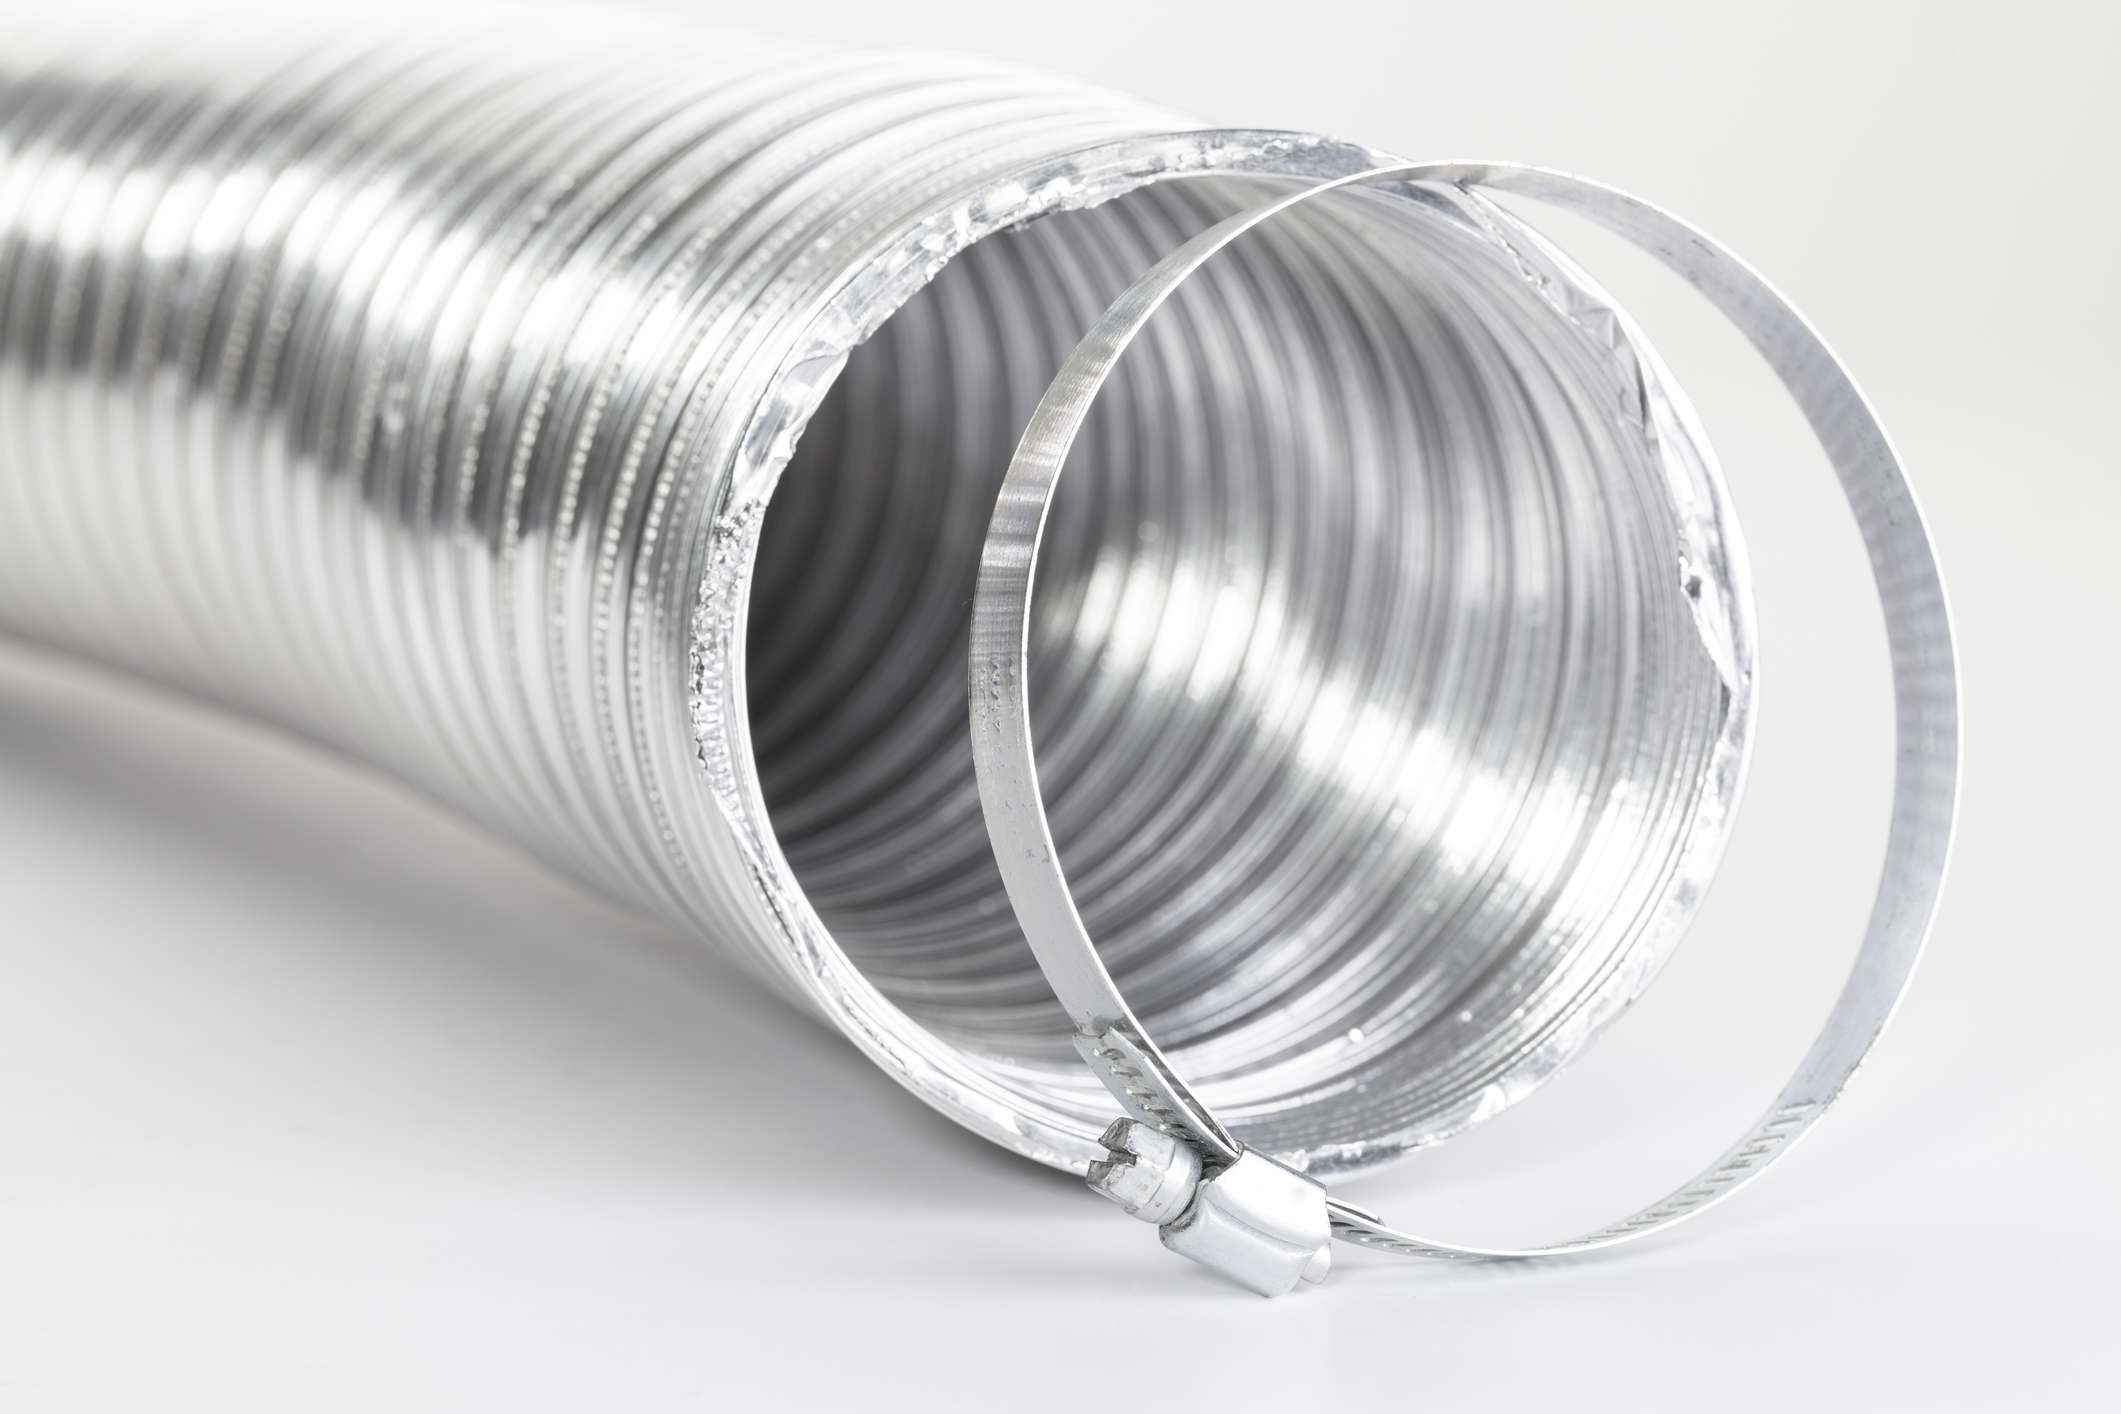
- Loosen the Clamps: Use a screwdriver to loosen the clamps or bands securing the vent hose to the dryer’s exhaust outlet and the wall vent. Twist the clamps counterclockwise to loosen them.
- Disconnect the Hose: Carefully slide the vent hose off the dryer exhaust outlet and the wall vent. Be cautious not to damage the hose or any surrounding components.
Once the vent hose is disconnected, set it aside in a safe place. Inspect the hose for any signs of damage or excessive lint buildup. If necessary, clean or replace the vent hose before proceeding with the Hide-A-Vent installation.
Remember to exercise caution and follow proper safety precautions when working with electronic appliances and disconnecting the vent hose.
With the vent hose disconnected, you’re now ready to proceed with installing the Hide-A-Vent box in the next step.
Read more: How To Install Dryer Vent Hose
Step 4: Installing the Hide-A-Vent Box
With the dryer vent hose disconnected, it’s time to install the Hide-A-Vent box. Follow these steps to properly install the box:
- Position the Hide-A-Vent Box: Place the Hide-A-Vent box against the wall at the previously marked location. Ensure that it is level and aligned with the surrounding surface.
- Mark Mounting Holes: Use a pencil or marker to mark the location of the mounting holes on the wall through the pre-drilled holes in the Hide-A-Vent box.
- Pre-Drill Mounting Holes: Use a drill with an appropriate size drill bit to pre-drill the marked mounting holes on the wall.
- Secure the Hide-A-Vent Box: Align the Hide-A-Vent box with the pre-drilled holes and attach it to the wall using drywall screws. Ensure that the screws are tight but not over-tightened to avoid damaging the box or the wall.
It’s essential to choose the appropriate type and length of screws based on the wall material. For drywall, use drywall anchors or choose screws specifically designed for drywall installation.
Once the Hide-A-Vent box is securely installed, double-check its alignment and stability. The box should be firmly attached to the wall, providing a sturdy foundation for connecting the vent hose.
In the next step, you’ll learn how to connect the dryer vent hose to the Hide-A-Vent box.
Use a decorative vent cover to hide the dryer vent hose. These covers come in various designs and can be easily installed over the hose to blend in with your home’s exterior.
Step 5: Connecting the Dryer Vent Hose
Now that the Hide-A-Vent box is installed, it’s time to connect the dryer vent hose. Follow these steps to ensure a proper and secure connection:
- Retrieve the Vent Hose: Take the disconnected vent hose and ensure it is clean and free from any obstructions or damage.
- Position the Dryer: Move the dryer back into place, aligning it with the Hide-A-Vent box and allowing enough clearance for the vent hose.
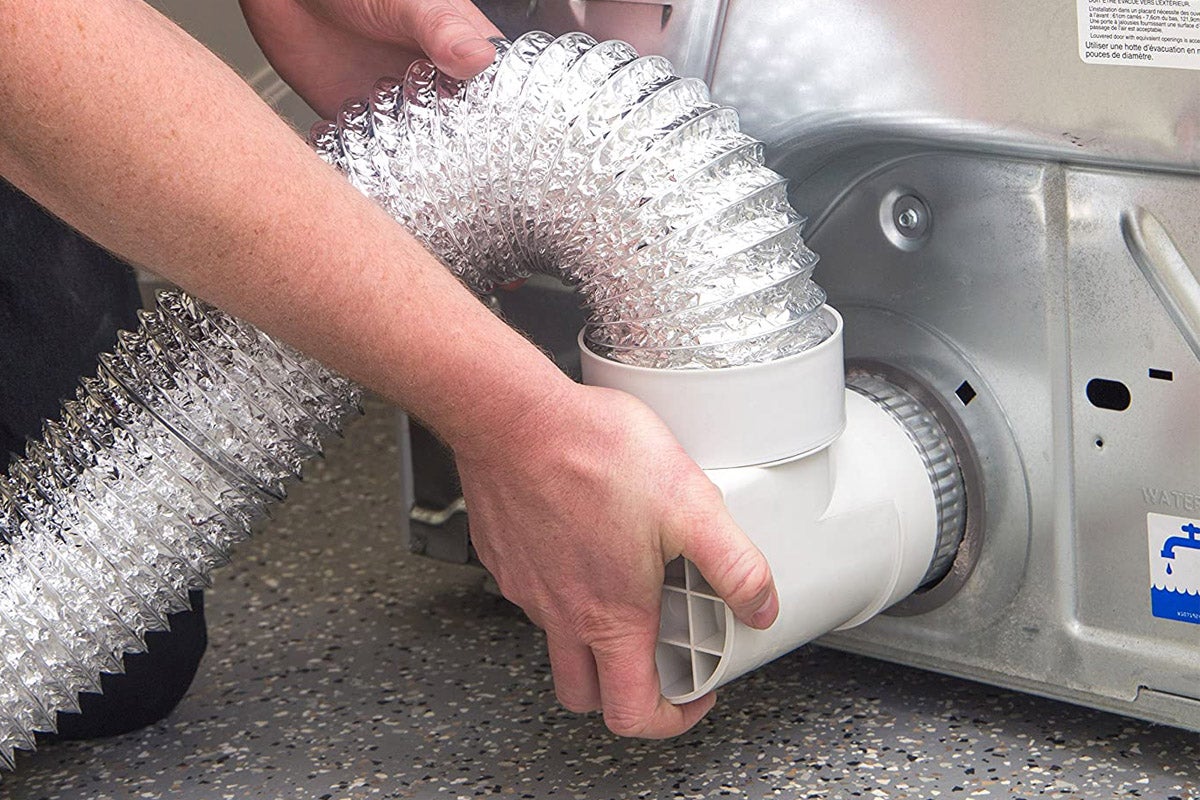
- Insert the Vent Hose: Slide one end of the vent hose over the dryer’s exhaust outlet, ensuring a snug fit. Use a screwdriver to tighten any clamps or bands to secure the hose in place.
- Connect to the Hide-A-Vent Box: Insert the other end of the vent hose into the opening of the Hide-A-Vent box. Make sure it fits securely and does not have any kinks or bends that could obstruct airflow.
- Tighten the Clamps: If the Hide-A-Vent box comes with clamps or bands, use a screwdriver to tighten them securely, ensuring a proper seal between the vent hose and the box.
It’s important to ensure that the vent hose is securely connected to both the dryer and the Hide-A-Vent box. Any loose connections can lead to decreased airflow and lint buildup, compromising the efficiency and safety of your dryer.
After connecting the vent hose, carefully inspect the entire length to ensure there are no gaps or leaks. Properly sealing the connections will prevent any air leaks and promote effective ventilation.
In the next step, you’ll learn how to secure the Hide-A-Vent box for added stability.
Step 6: Securing the Hide-A-Vent Box
Securing the Hide-A-Vent box is an essential step to ensure its stability and prevent any movement or damage. Follow these steps to secure the box in place:
- Inspect the Mounting Holes: Make sure that the mounting holes in the Hide-A-Vent box align with the pre-drilled holes in the wall.
- Apply Silicone Caulking: Apply a small amount of silicone caulking around the edges of the Hide-A-Vent box where it meets the wall. This will provide added stability and help create a seal to prevent air leaks.
- Attach the Box: Align the box with the pre-drilled holes and firmly press it against the wall. Insert the drywall screws through the mounting holes and into the wall, using a screwdriver to secure them tightly.
- Check for Stability: Ensure that the box is securely attached to the wall and does not move or shift when applying gentle pressure.
By using silicone caulking and securing the Hide-A-Vent box with screws, you’ll ensure that the box remains in place, without any risk of it becoming loose or falling off.
Take the time to check the stability of the Hide-A-Vent box after installation. This will ensure that it can withstand the airflow and movement associated with the functioning of the dryer.
In the next step, you’ll perform a crucial test to ensure proper airflow through the concealed vent hose.
Step 7: Testing for Proper Airflow
After installing the Hide-A-Vent box and connecting the dryer vent hose, it’s vital to test for proper airflow. This step ensures that your dryer operates efficiently and prevents lint buildup. Follow these steps to test the airflow:
- Turn on the Dryer: Plug in the dryer and turn it on to start the drying cycle.
- Observe the Vent: Watch the Hide-A-Vent box and the vent hose during operation. Check for any signs of air leakage or restrictions in airflow.
- Inspect the Drying Performance: Pay attention to how well the dryer is functioning. Is it heating up properly? Is the drying time efficient?
- Listen for Unusual Noises: Listen for any unusual noises or vibrations that may indicate a blockage or improper installation of the vent hose.
During the testing process, if you notice any issues with airflow, such as weak airflow or excessive heat buildup, there may be an obstruction or a problem with the vent hose connection. In such cases, it’s important to recheck the installation and make necessary adjustments to ensure proper ventilation.
Regularly testing for proper airflow and cleaning the vent hose will help maintain the efficiency and safety of your dryer. Remember to clean the vent hose periodically to remove lint buildup and prevent any potential fire hazards.
In the final step, you will learn how to conceal the Hide-A-Vent box for a seamless and aesthetically pleasing appearance.
Read more: How To Shorten A Dryer Vent Hose
Step 8: Concealing the Hide-A-Vent Box
Now that you have successfully installed and tested the Hide-A-Vent box, it’s time to conceal it for a seamless and aesthetically pleasing look. Follow these steps to effectively conceal the box:
- Use a Vent Hose Cover or Trim: Purchase a vent hose cover or trim that matches the design and color of the surrounding wall or surface. These covers are designed to fit over the vent hose and provide a finished look.
- Measure and Cut the Cover: Measure the length of the exposed vent hose and cut the vent hose cover or trim to match that length using a utility knife or a pair of scissors.
- Attach the Cover: Slide the vent hose cover or trim over the vent hose, ensuring that it fits securely and covers the entire length of the hose.
- Secure the Cover: Depending on the type of cover or trim, you may need to use adhesive or fasteners to secure it in place. Follow the manufacturer’s instructions for installation.
The vent hose cover or trim serves not only to hide the exposed vent hose but also to provide a professional and polished finish to the overall appearance of the dryer area.
With the Hide-A-Vent box concealed and the vent hose covered, step back and admire the seamless look you have achieved. The once visible and unsightly vent hose is now discreetly tucked away, allowing your home’s aesthetics to shine.
Congratulations! You have successfully hidden your dryer vent hose using the Hide-A-Vent box and achieved a clean and visually appealing result.
Remember to periodically check the vent hose and the Hide-A-Vent box for any signs of damage or blockage. Regular maintenance and cleaning will ensure the continued efficiency and safety of your dryer.
Thank you for following this step-by-step guide. We hope it has been helpful in enhancing the functionality and appearance of your home.
Conclusion
Hiding a dryer vent hose is a great way to maintain the aesthetics of your home while ensuring proper ventilation. With the use of a Hide-A-Vent box and a few simple steps, you can discreetly conceal the vent hose and achieve a seamless look in your laundry area.
Throughout this guide, we have shown you how to assess the area, choose the right location, disconnect the dryer vent hose, install the Hide-A-Vent box, connect the vent hose, secure the box, test for proper airflow, and finally, conceal the Hide-A-Vent box for a polished appearance.
By following these steps, you can create a functional and visually pleasing space, free from the eyesore of a visible vent hose. Proper installation and maintenance of the dryer vent system will improve the efficiency and safety of your dryer, preventing the risk of lint buildup and potential fire hazards.
Remember to regularly clean the vent hose and inspect the Hide-A-Vent box to ensure that airflow is unobstructed and the system is functioning optimally. Additionally, staying mindful of safety protocols when disconnecting and connecting the vent hose is crucial.
We hope that this comprehensive guide has provided you with the knowledge and confidence to hide your dryer vent hose effectively. Enjoy your newly improved laundry space, where both functionality and aesthetics come together seamlessly!
If you enjoyed learning how to tidy up that dryer vent hose, you’re sure to find more handy tips in our related content. Dive into the world of DIY Projects for a satisfying challenge and personal fulfillment in creating something unique with your own hands. Or, if optimizing spaces is your current project, our Utility Room Ideas provide excellent guidance for transforming functional areas into sleek, efficient spots. Don't miss out on our essential Home Maintenance guide, which offers straightforward advice to keep your living space in top condition year-round.
Frequently Asked Questions about How To Hide A Dryer Vent Hose
Was this page helpful?
At Storables.com, we guarantee accurate and reliable information. Our content, validated by Expert Board Contributors, is crafted following stringent Editorial Policies. We're committed to providing you with well-researched, expert-backed insights for all your informational needs.