Home>Home Maintenance>How To Install A Portable Air Conditioner In A Push-Out Window
Home Maintenance
How To Install A Portable Air Conditioner In A Push-Out Window
Modified: August 16, 2024
Learn how to easily install a portable air conditioner in a push-out window with our comprehensive home maintenance guide. Stay cool and comfortable this summer!
(Many of the links in this article redirect to a specific reviewed product. Your purchase of these products through affiliate links helps to generate commission for Storables.com, at no extra cost. Learn more)
Introduction
Welcome to our comprehensive guide on how to install a portable air conditioner in a push-out window. As the summer temperatures rise, having a reliable cooling system becomes crucial. Portable air conditioners are an excellent solution for those who want to cool specific rooms without the need for complex installation or modification to their homes.
In this guide, we will walk you through the step-by-step process of installing a portable air conditioner in a push-out window. Whether you are a beginner or have some DIY experience, this guide will provide you with all the information you need to complete the installation successfully.
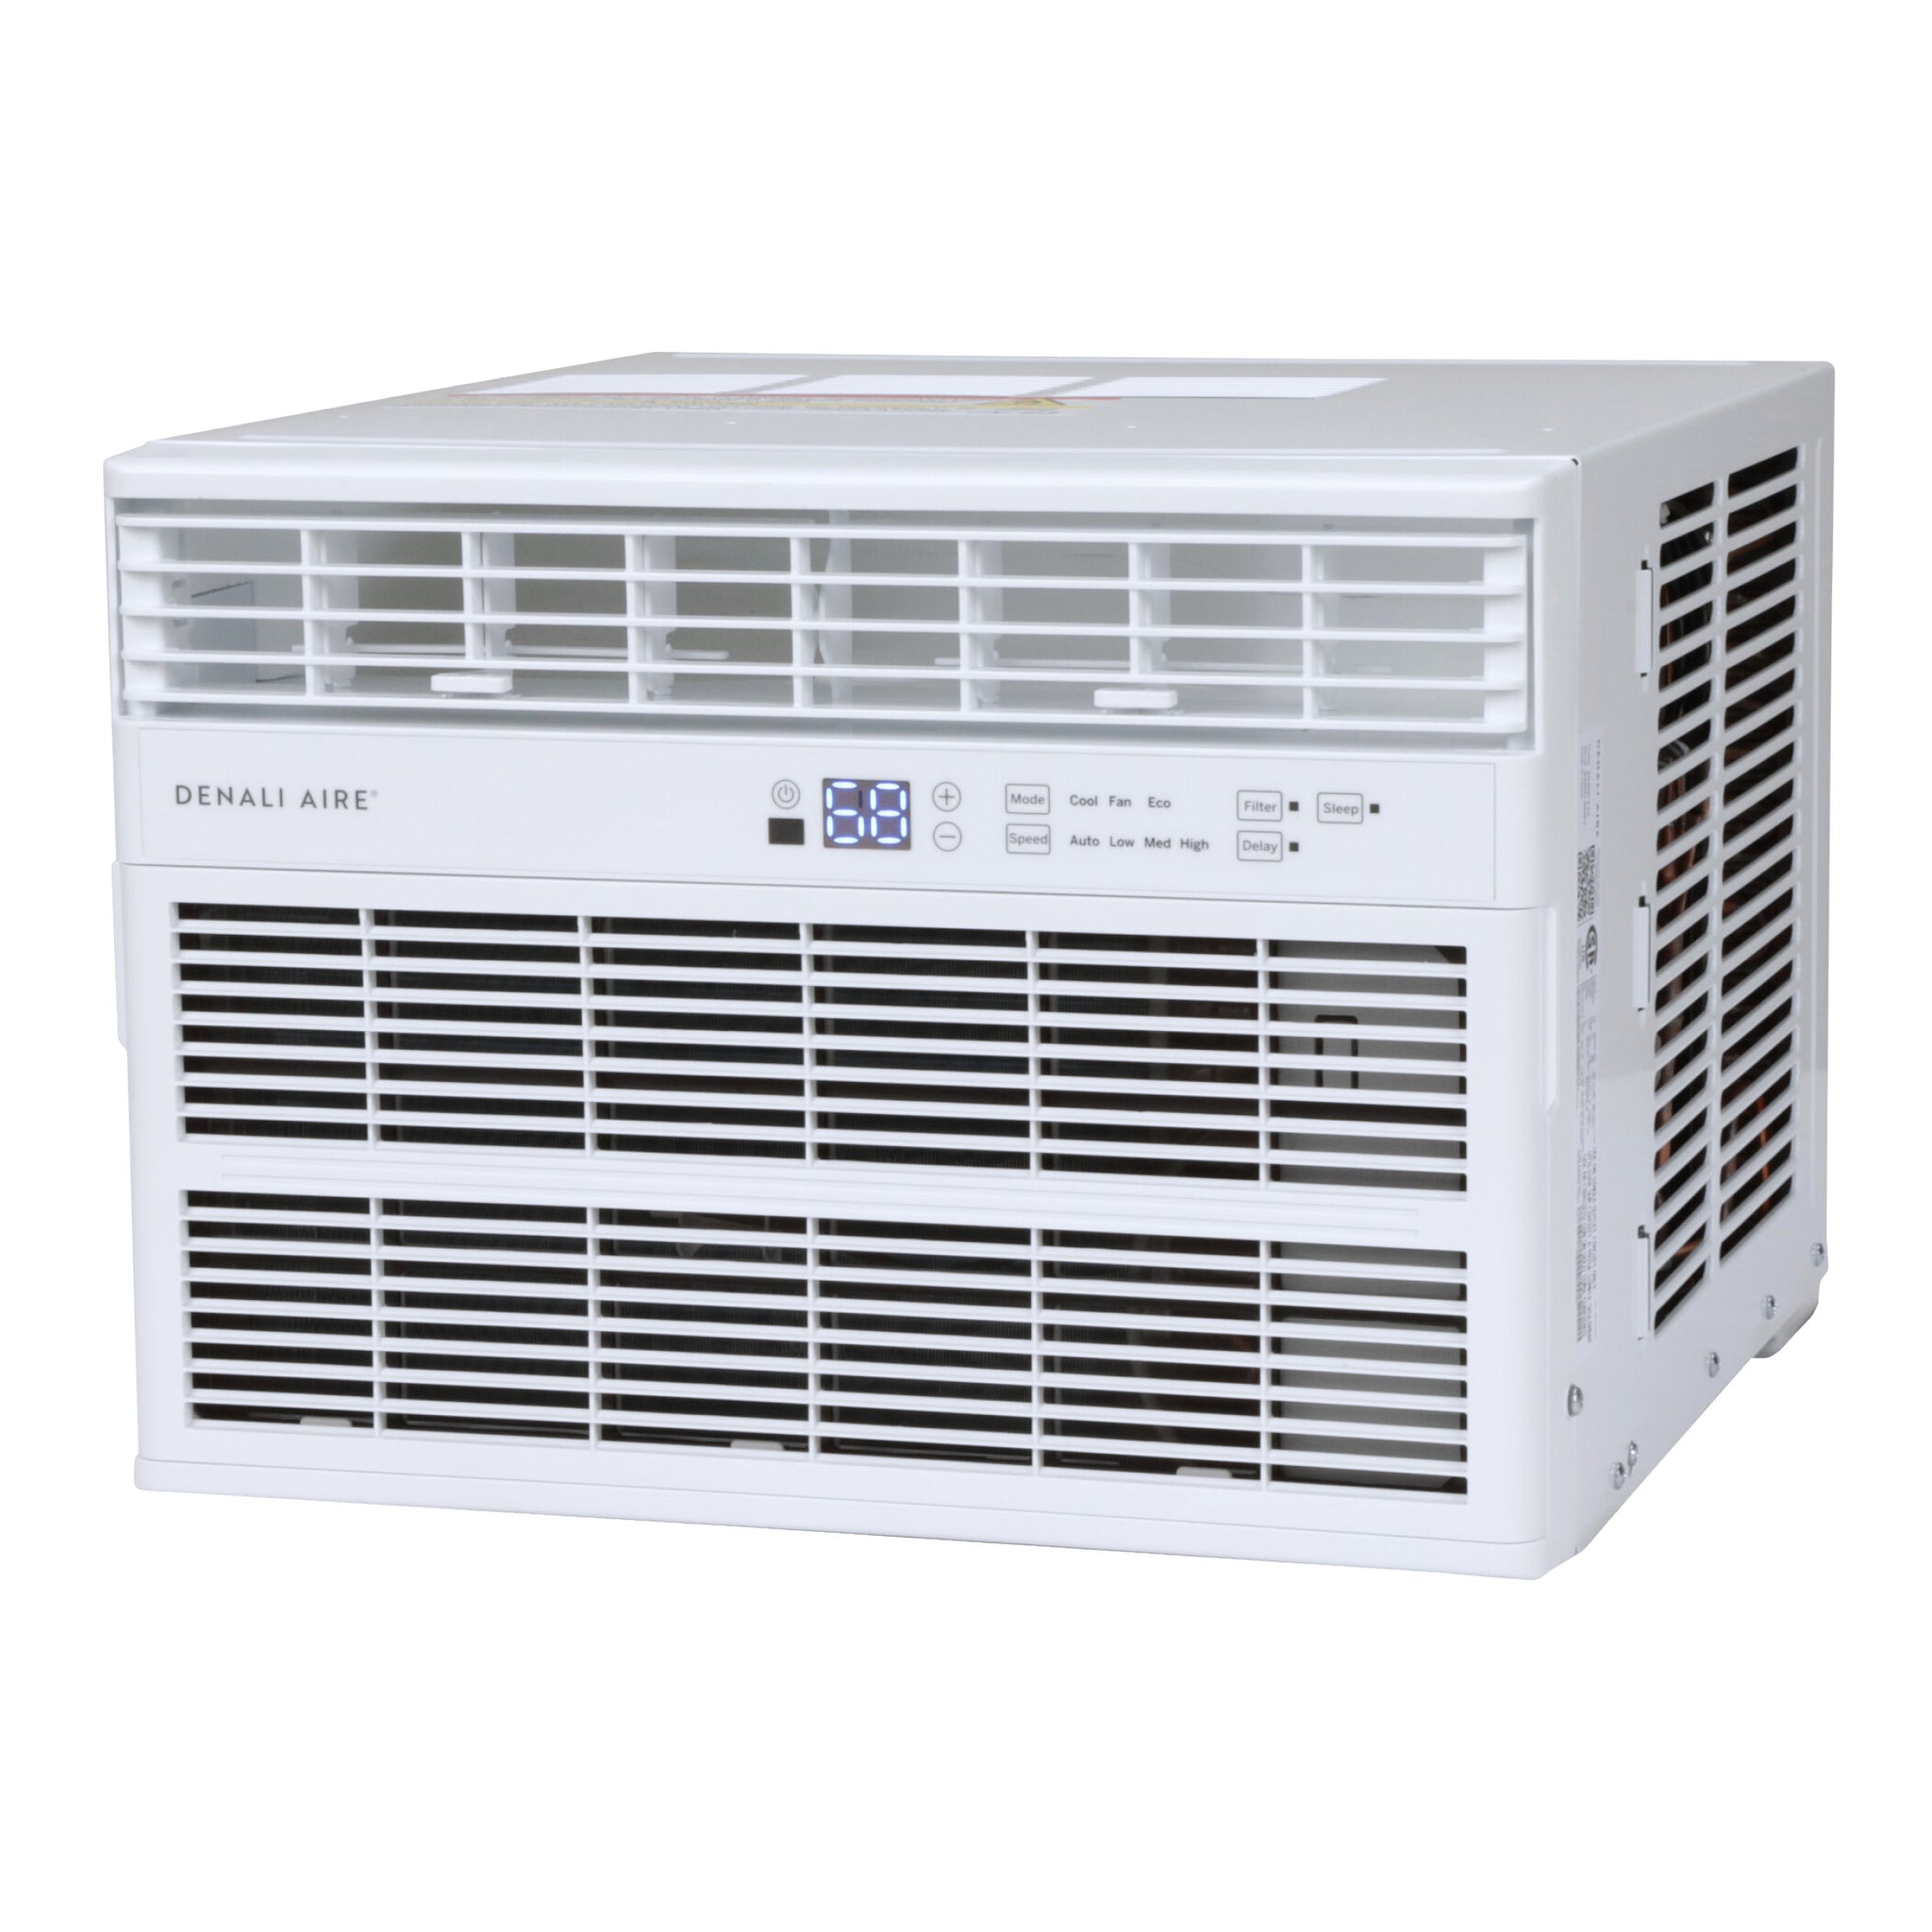
Before we start, it’s essential to understand the benefits of installing a portable air conditioner. These units offer flexibility, allowing you to cool specific areas of your home or office without the need for a central HVAC system. They are easy to install and are typically more affordable than other cooling options.
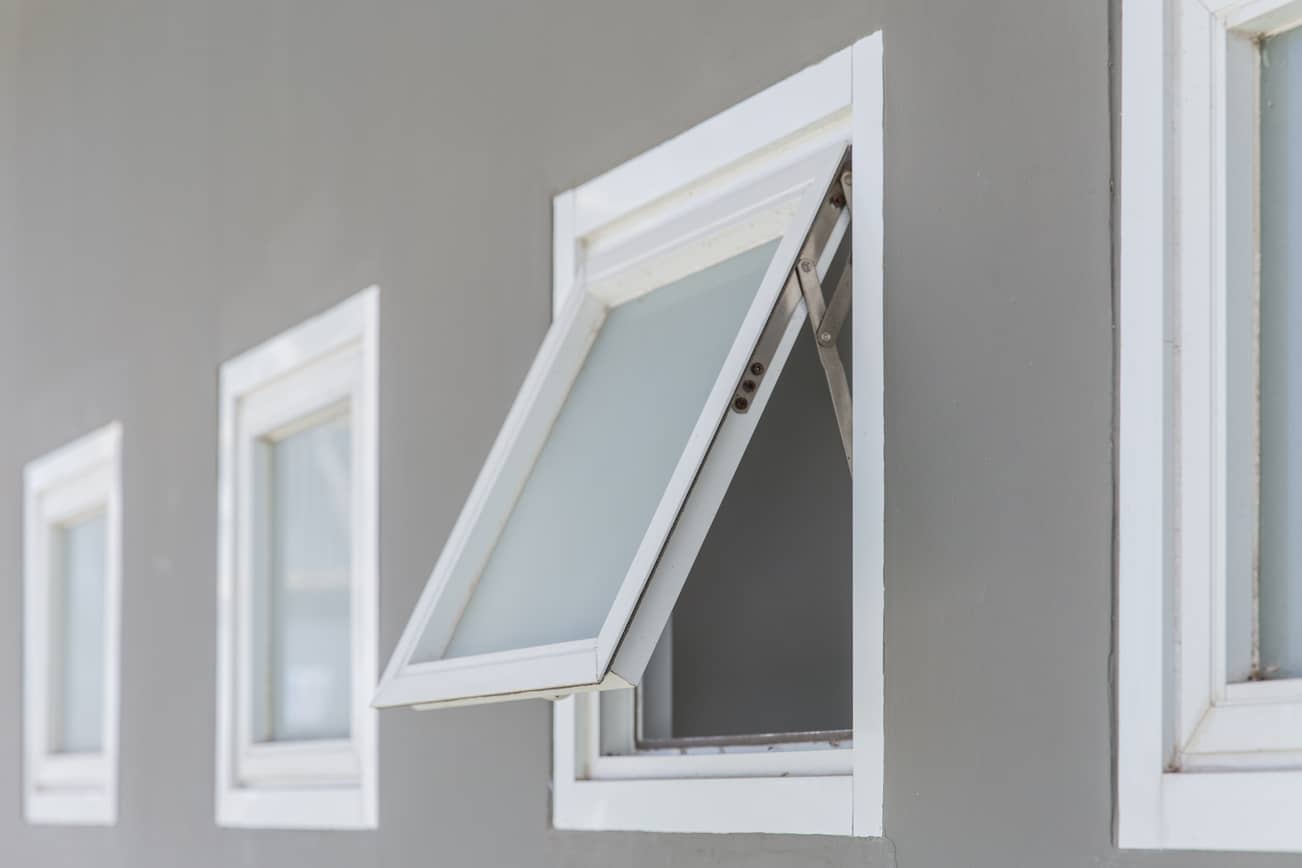
Additionally, portable air conditioners are designed to fit in push-out windows, which are commonly found in older homes or apartments. These windows swing open using side hinges, facilitating air conditioner installation without the need for permanent modifications.
Now, let’s dive into the step-by-step process of installing a portable air conditioner in a push-out window. But before we get started, make sure you gather all the necessary tools and equipment:
- Tape Measure
- Utility Knife
- Screwdriver
- Window Kit
- Exhaust Hose
- Support Brackets
With these tools in hand, you’re ready to begin the installation process. So, let’s get started with step one: measuring the window opening.
Key Takeaways:
- Installing a portable air conditioner in a push-out window is a simple DIY project that can provide cool and refreshing air without the need for complex modifications. Just follow the step-by-step guide and enjoy a comfortable environment during hot summer days.
- Proper installation, securing, and testing of the portable air conditioner are essential for optimal cooling comfort. Remember to follow the manufacturer’s instructions, adjust the settings to your preferences, and stay cool and comfortable in your newly installed air conditioning solution.
Step 1: Measure the Window Opening
The first step in installing a portable air conditioner in a push-out window is to accurately measure the window opening. This step is essential to ensure that the window kit and air conditioner unit fit properly and securely.
Follow these steps to measure the window opening:
- Start by fully opening the push-out window, making sure it is fully extended and securely locked in place.
- Take a tape measure and measure the height of the window opening from the bottom to the top.
- Next, measure the width of the window opening from side to side.
- Note down the measurements, ensuring accuracy.
It’s important to measure the width and height of the window opening accurately, as these measurements will determine the size of the window kit and the portable air conditioner unit that you will need.
Keep in mind that window kits are designed to be adjustable and fit a range of window sizes. However, it’s always best to have precise measurements to ensure a secure and proper fit.
Once you have measured the window opening, you can move on to the next step: preparing the window area for installation.
Step 2: Prepare the Window Area
After measuring the window opening, the next step in installing a portable air conditioner in a push-out window is to prepare the window area for installation. This step involves clearing any obstructions and ensuring a clean and stable surface for the window kit and air conditioner unit.
Follow these steps to prepare the window area:
- Remove any curtains, blinds, or other window coverings from the push-out window. Clear the area to make it easier to work and ensure proper air circulation.
- Clean the window frame and surrounding area using a damp cloth or window cleaner. Remove any dust, dirt, or debris that may hinder the installation process.
- If your window has a screen, remove it temporarily to facilitate the installation. Set it aside in a safe place where it won’t get damaged.
- Inspect the window frame for any damage or loose parts. Tighten any screws or replace any damaged hardware to ensure a secure installation.
- If the window opening is equipped with a window sill, check its condition. Ensure that it’s stable and can support the weight of the air conditioner unit.
Preparing the window area ensures a smooth and hassle-free installation. Removing any obstructions and cleaning the area not only makes the process easier but also ensures that the air conditioner unit can operate efficiently.
Additionally, inspecting the window frame and sill helps identify any issues that may need to be addressed before installation. It’s important to have a stable and secure window area to prevent any accidents or damage.
Once you have prepared the window area, you are ready to move on to the next step: installing the window kit.
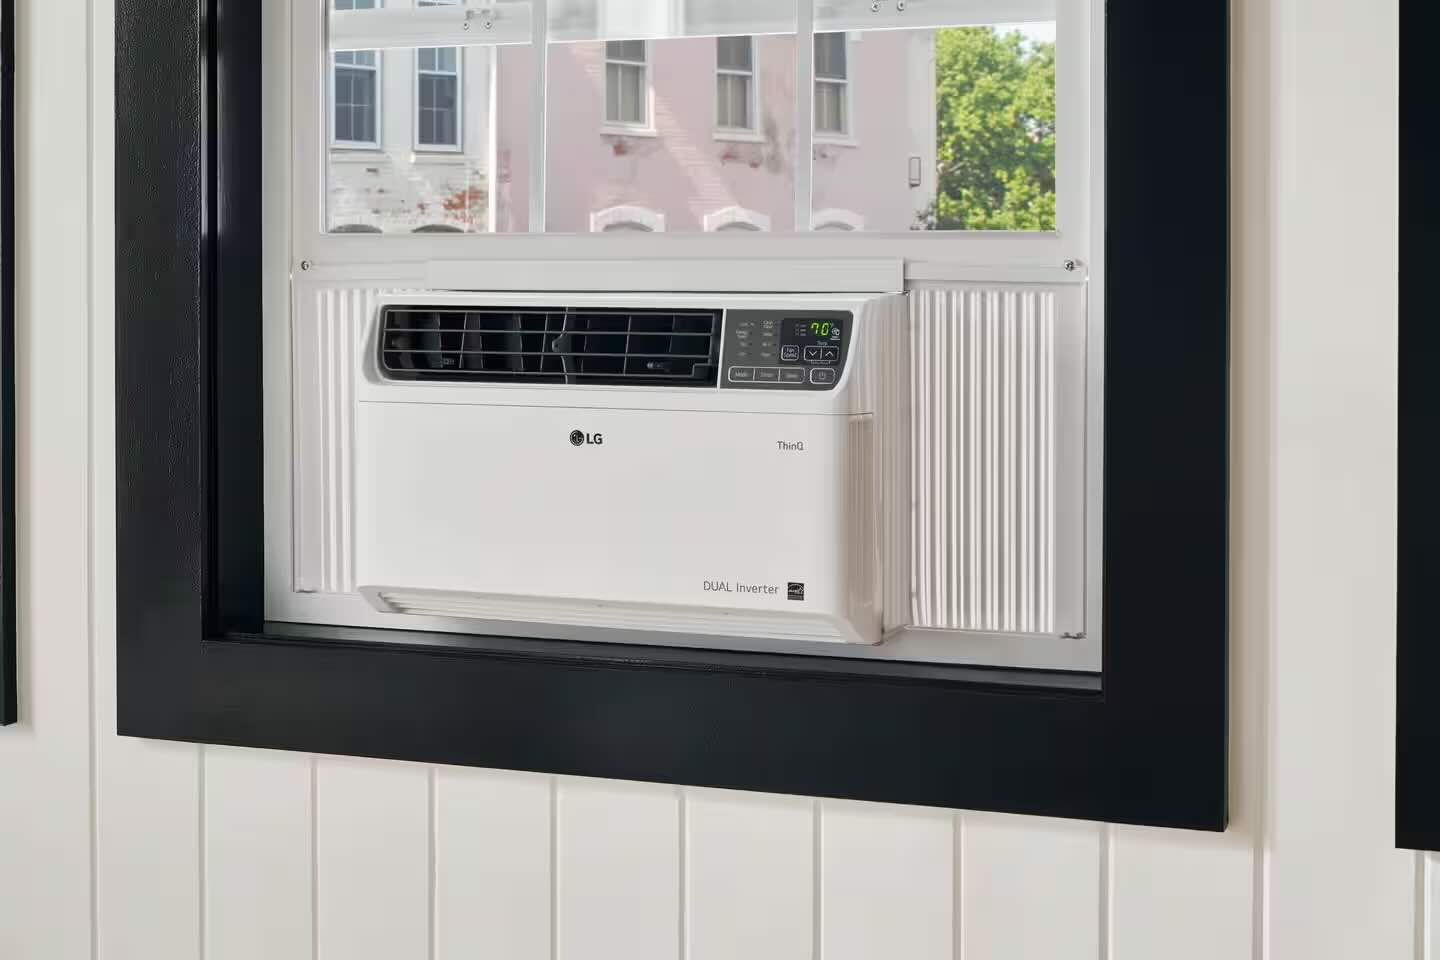
Step 3: Install the Window Kit
With the window area prepared, it’s time to install the window kit. The window kit is an essential component that helps seal the gap between the window and the portable air conditioner, ensuring proper insulation and maximum cooling efficiency.
Follow these steps to install the window kit:
- Take out the window kit from the packaging and familiarize yourself with its components. The window kit typically consists of adjustable panels, a top rail, a bottom rail, and weatherstripping.
- Start by attaching the bottom rail to the bottom of the window frame using the provided screws or adhesive tape. Ensure that it is securely fastened and aligned flush with the window frame.
- Next, position the adjustable panels on the sides of the window opening. Extend or retract the panels to match the width of the window opening. Use the provided screws or adhesive tape to secure the panels in place.
- Attach the top rail to the top of the window frame using screws or adhesive tape. Make sure it is snugly fitted and level with the window frame.
- Apply weatherstripping along the edges of the window kit to create a tight seal between the window and the kit. This will prevent any air leakage and improve the cooling efficiency of the air conditioner unit.
It’s important to follow the manufacturer’s instructions when installing the window kit, as the process may vary slightly depending on the specific model and design. Pay close attention to proper alignment, secure fittings, and any additional steps mentioned in the instruction manual.
Once the window kit is installed, you can proceed to the next step: attaching the exhaust hose to the air conditioner unit.
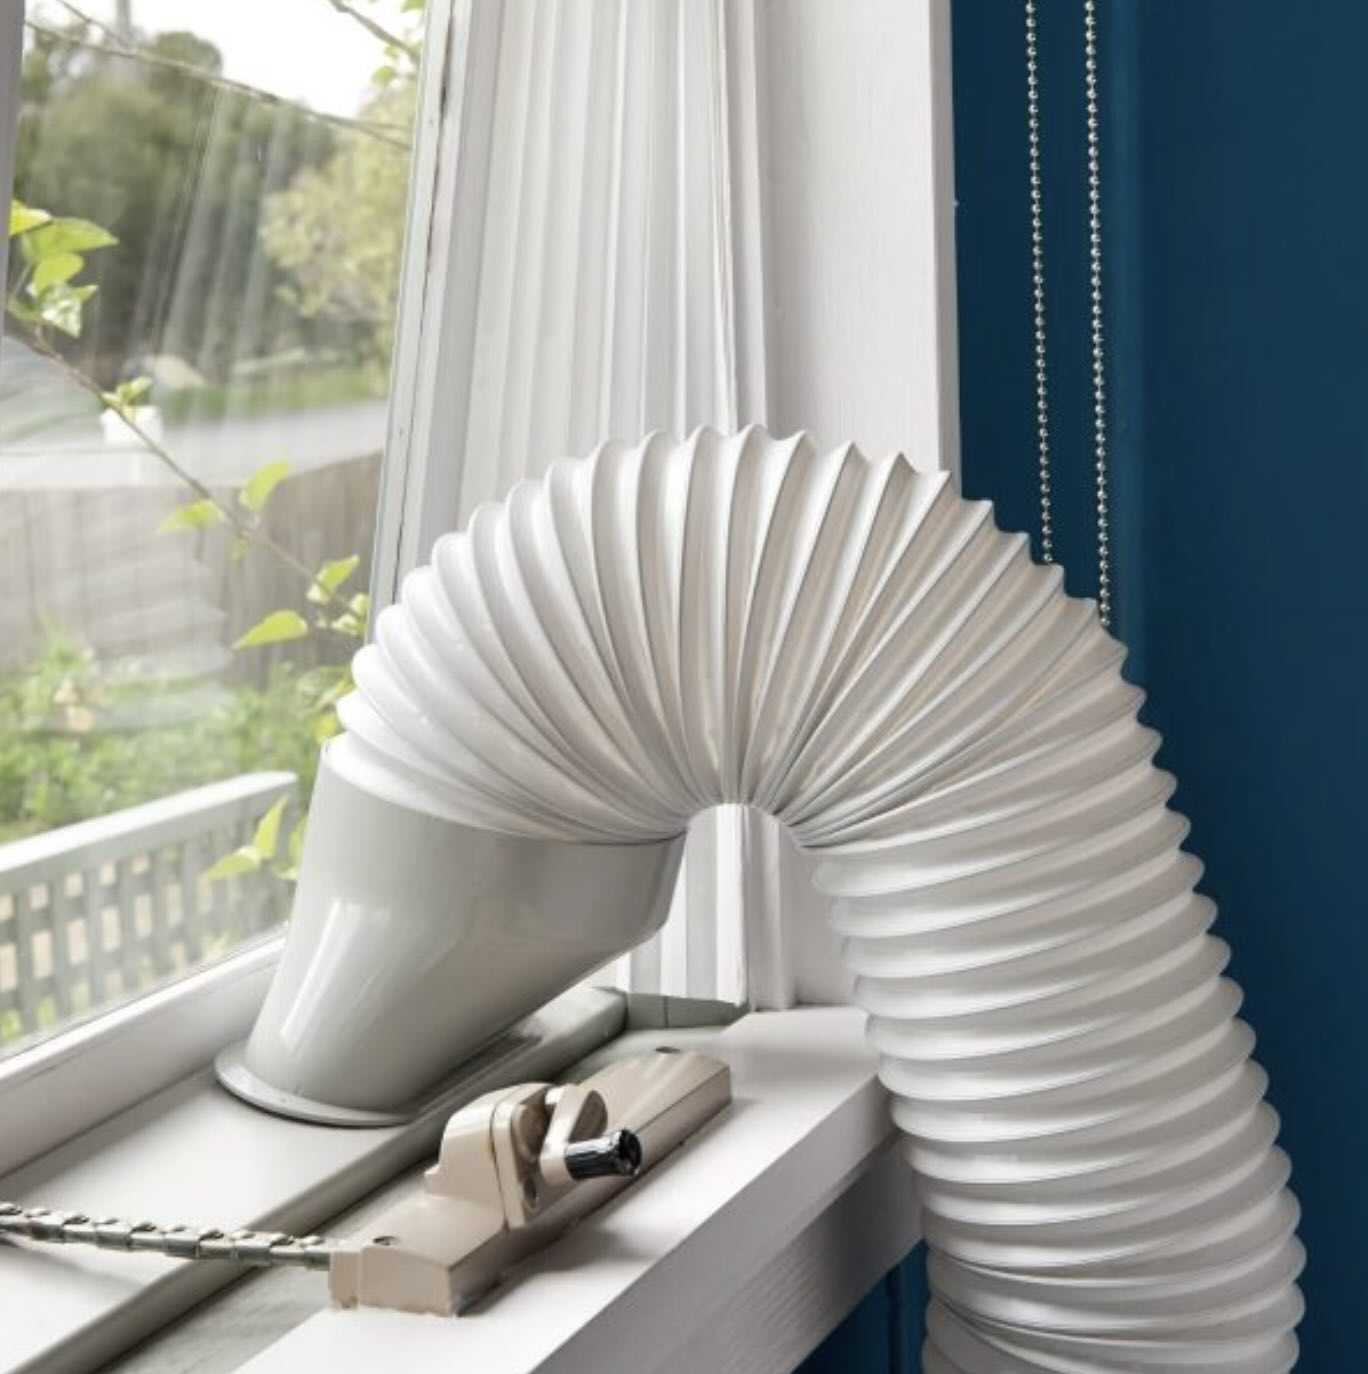
Step 4: Attach the Exhaust Hose
Now that the window kit is in place, the next step in installing a portable air conditioner in a push-out window is to attach the exhaust hose. The exhaust hose is responsible for venting the hot air generated by the air conditioner unit to the outside.
Follow these steps to attach the exhaust hose:
- Locate the exhaust outlet on the portable air conditioner unit. It is usually located on the back or side of the unit.
- Connect one end of the exhaust hose to the exhaust outlet firmly. Make sure it is securely attached to prevent any air leakage.
- Extend the exhaust hose to reach the window kit. Adjust the length of the hose as needed, ensuring it is not stretched or kinked.
- Attach the other end of the exhaust hose to the designated opening on the window kit. It should fit snugly and be well-sealed to prevent any air escape.
Ensure that the exhaust hose is properly connected and tightly secured at both ends. Any gaps or loose connections can lead to air leakage, reducing the cooling efficiency of the air conditioner unit.
It’s important to note that some portable air conditioners may have additional accessories or adapters for the exhaust hose. Follow the manufacturer’s instructions to ensure proper attachment and alignment.
Once the exhaust hose is securely attached, you can move on to the next step: placing the portable air conditioner in the window.
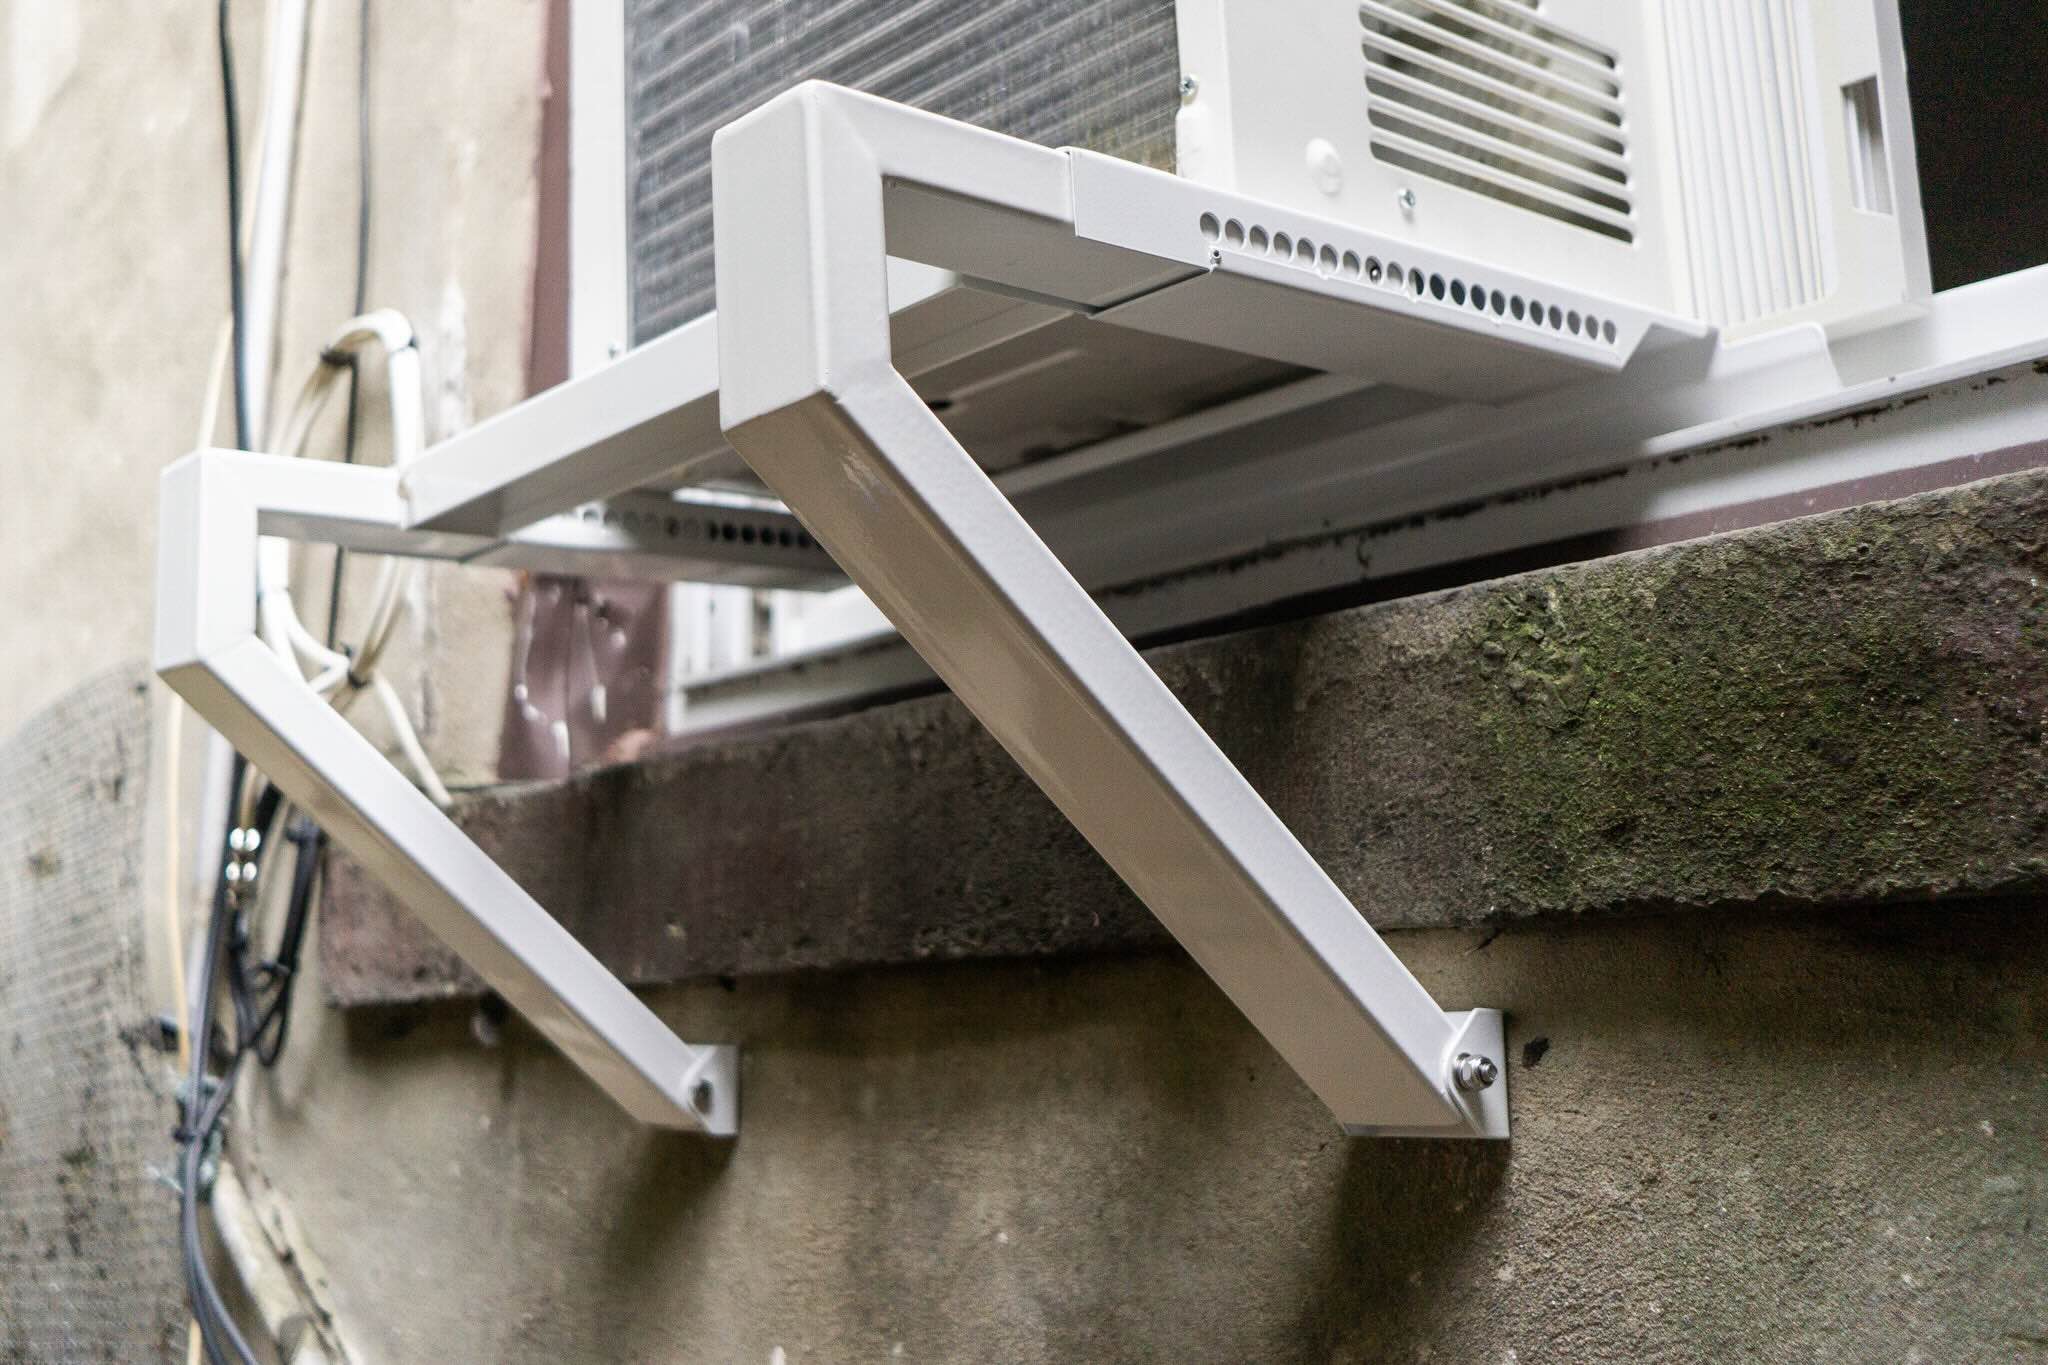
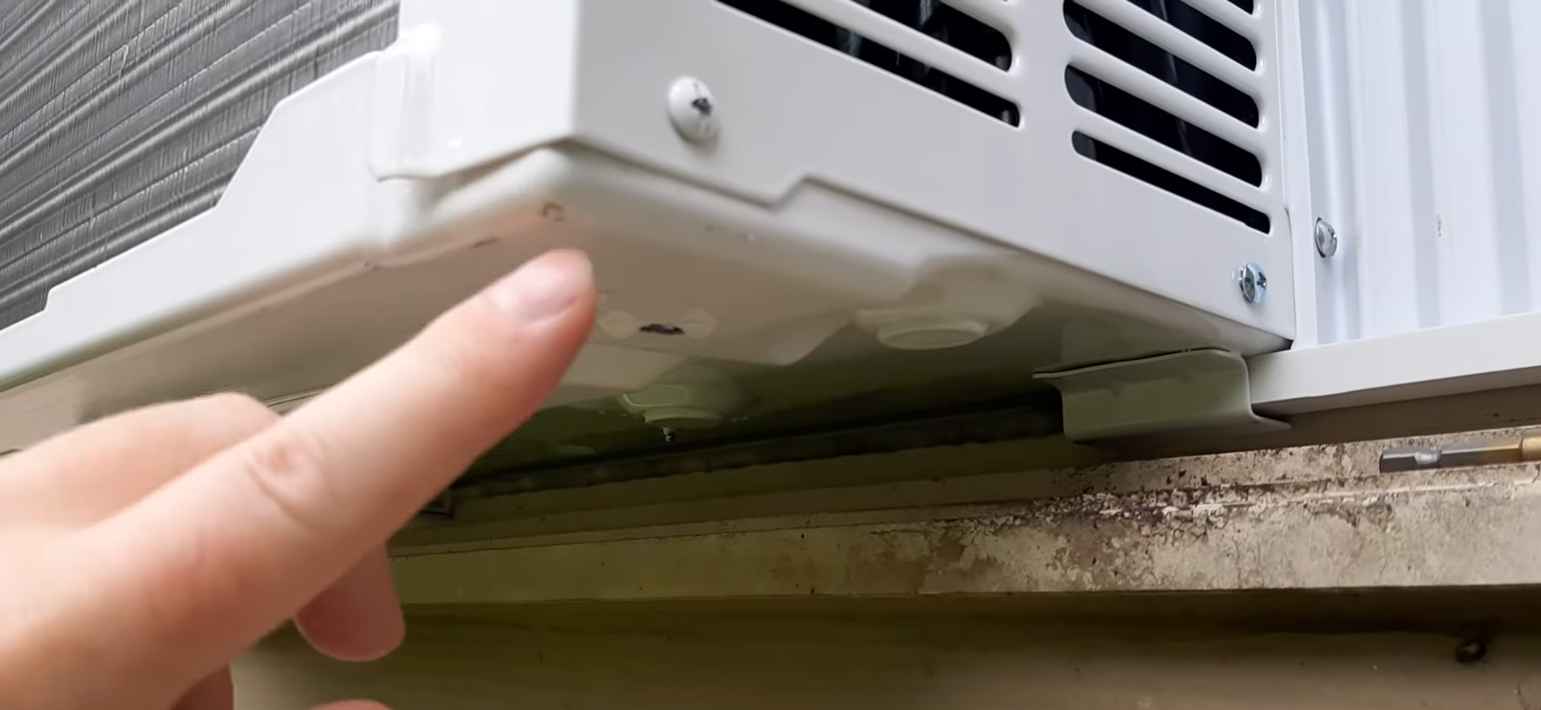
When installing a portable air conditioner in a push-out window, make sure to use a support bracket to secure the unit in place. This will prevent it from falling out and ensure proper ventilation.
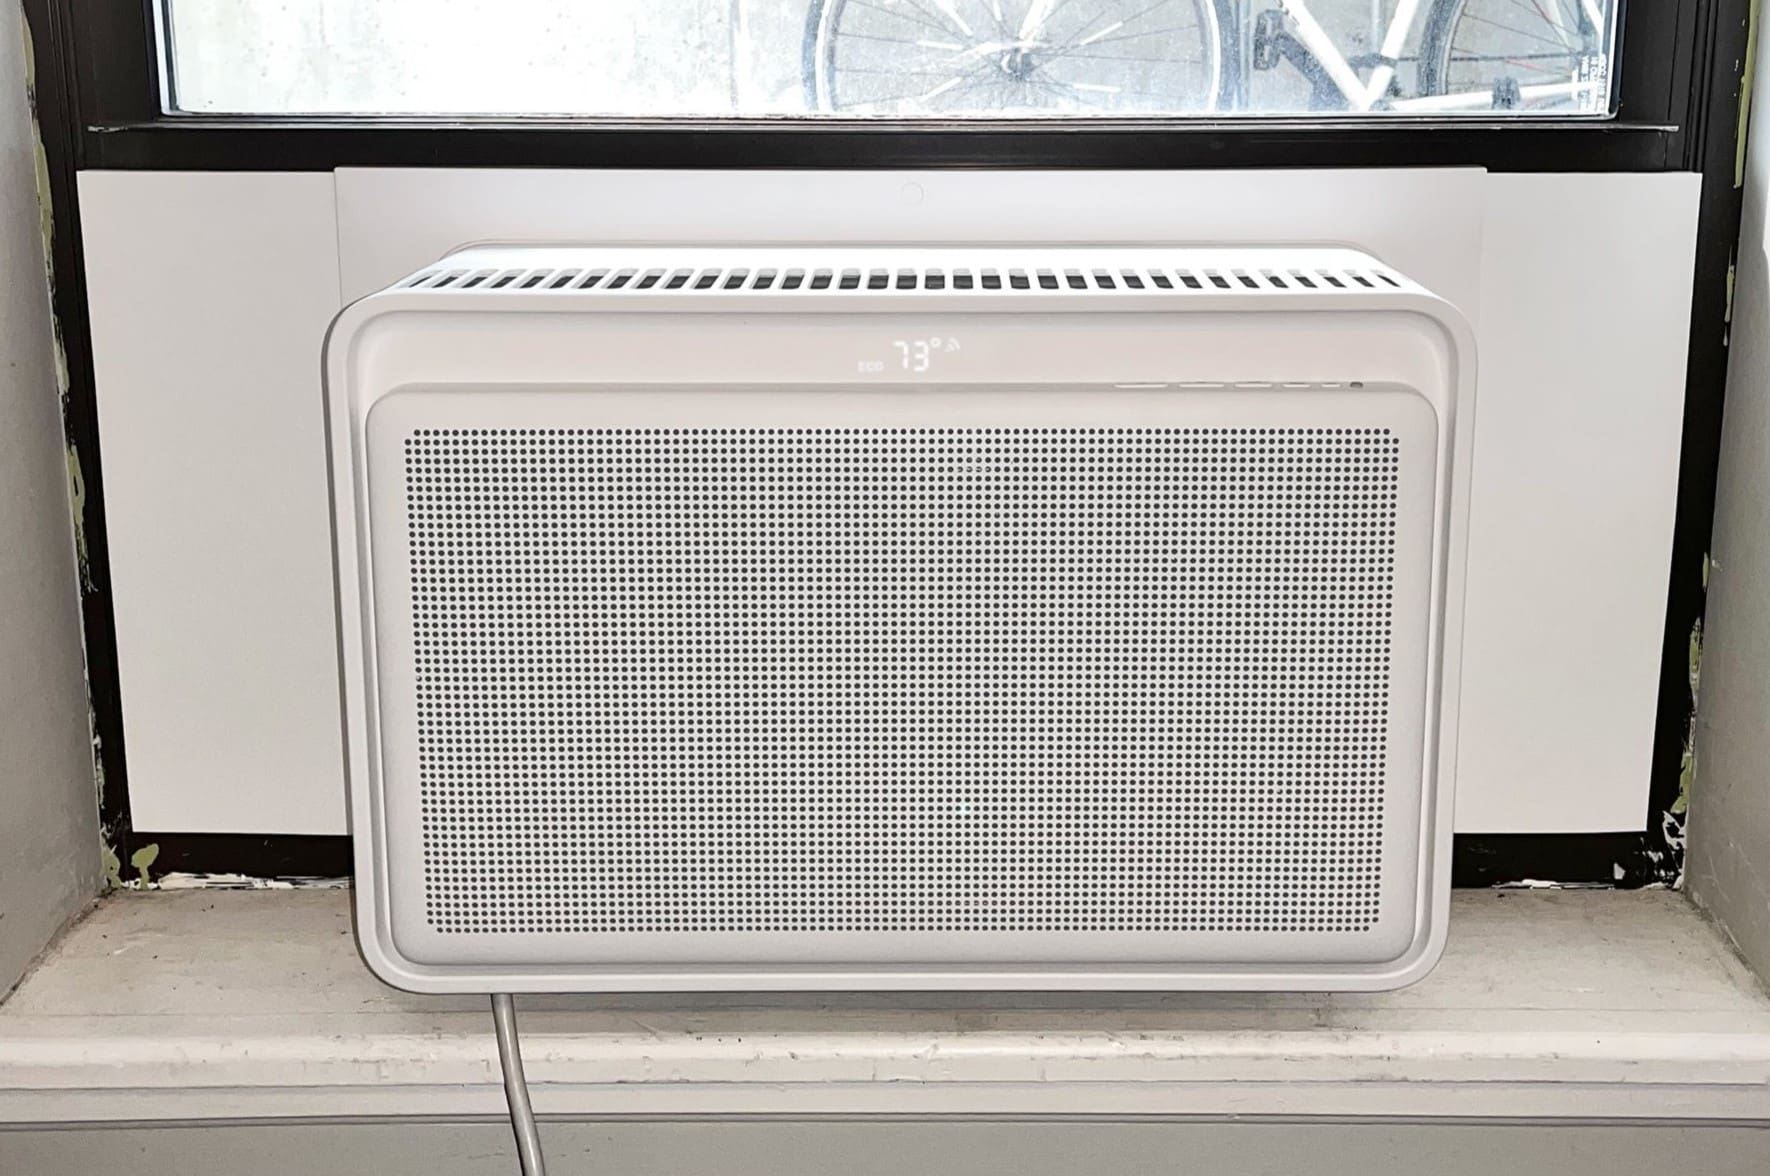
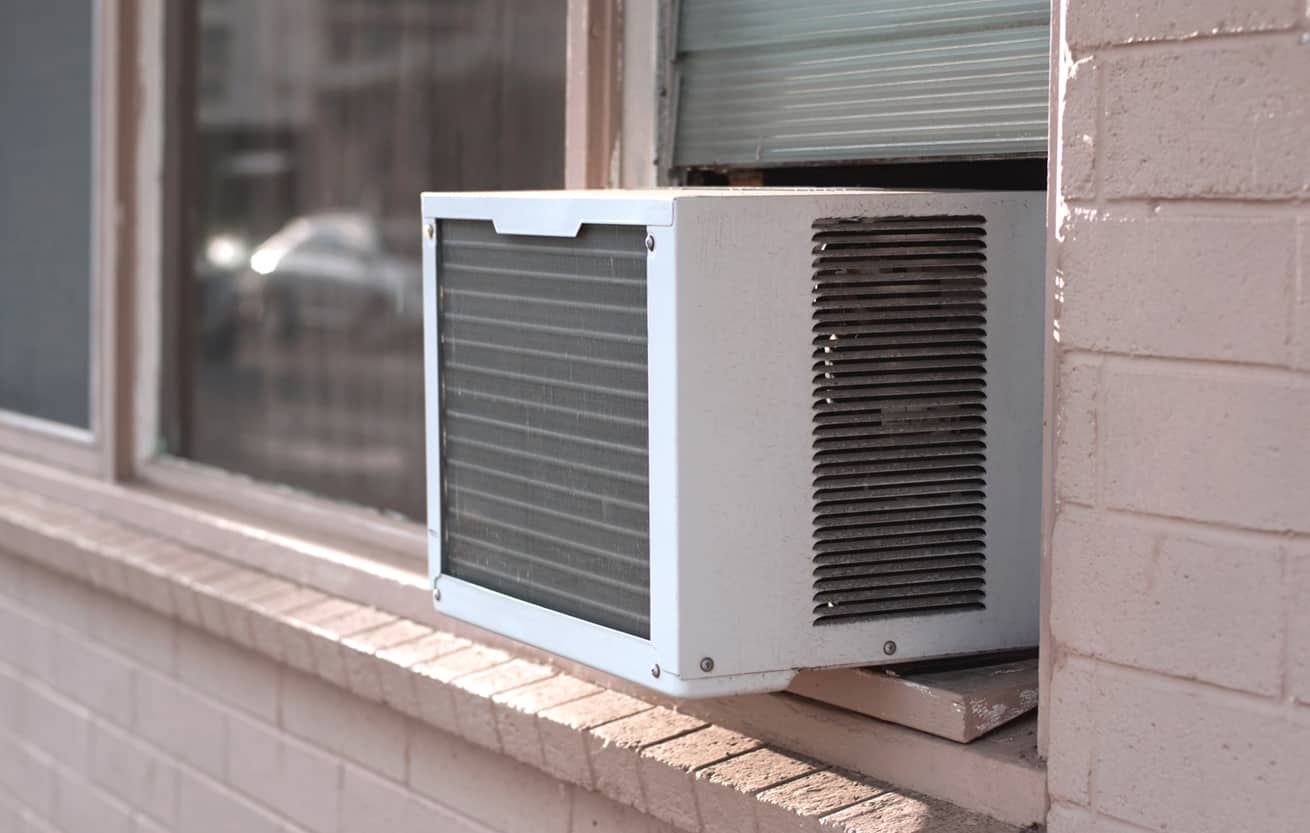
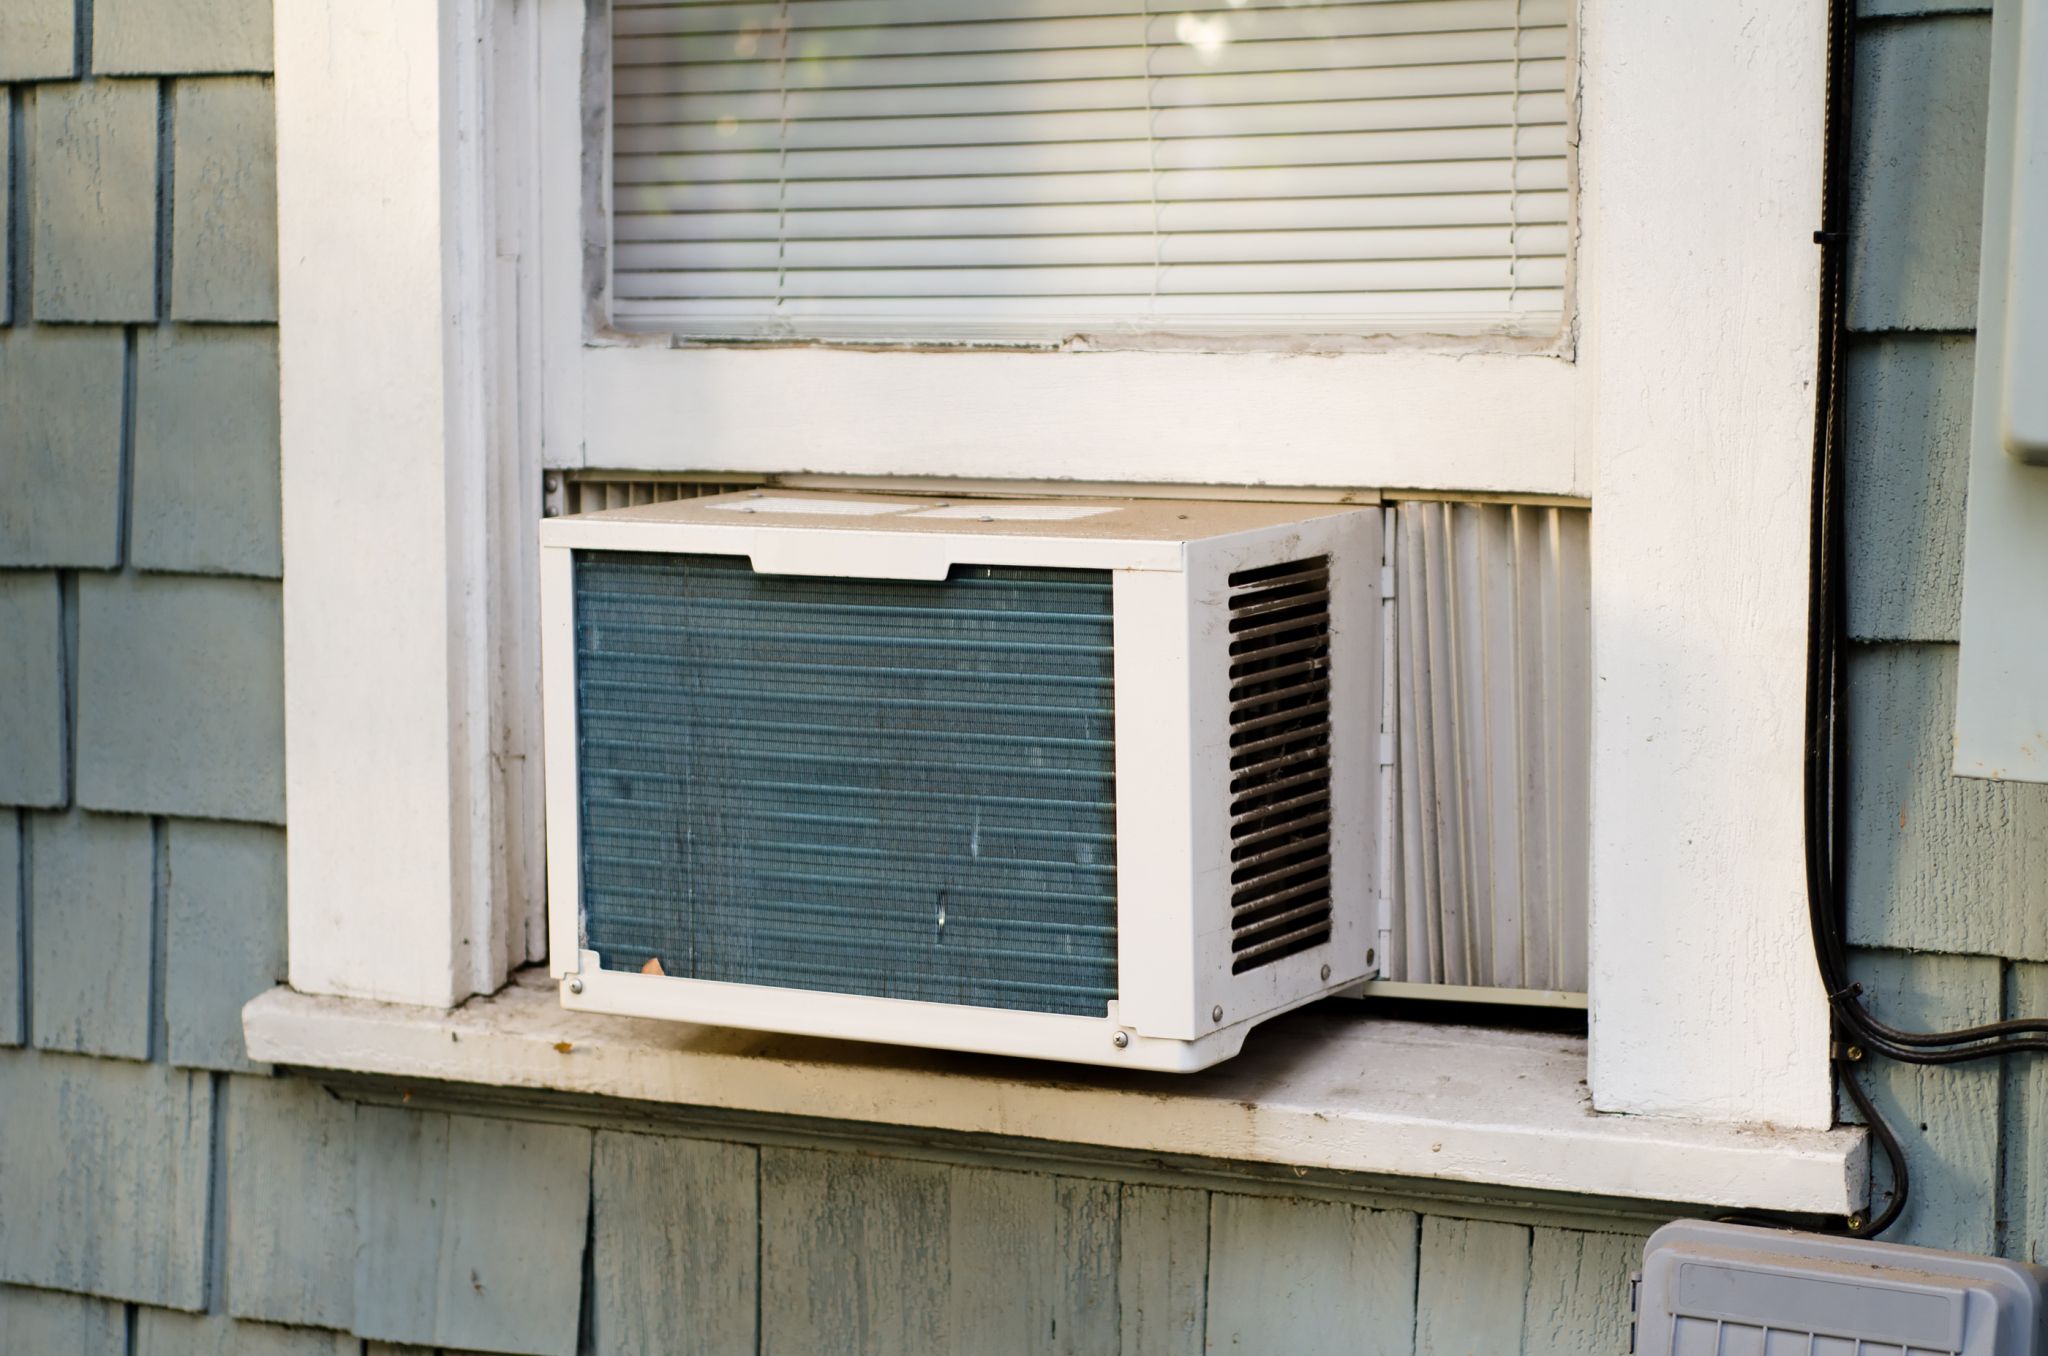
Step 5: Place the Portable Air Conditioner in the Window
With the window kit and exhaust hose properly installed, it’s time to place the portable air conditioner in the window. This step involves positioning the unit securely in the designated space and ensuring a proper fit.
Follow these steps to place the portable air conditioner in the window:
- Ensure that the window is fully open and locked in place.
- Carefully lift the portable air conditioner and position it near the window.
- Gently slide the air conditioner unit into the window, making sure that it rests securely on the window sill.
- Double-check that the unit is centered within the window opening and aligned with the window frame.
- Close the window securely, ensuring that it holds the air conditioner unit in place and creates a tight seal.
As you place the portable air conditioner in the window, be mindful of any obstructions or delicate components that may be at risk of damage. Handle the unit with care to prevent accidents or injuries.
It’s crucial to position the air conditioner unit correctly within the window to ensure proper air circulation and stable placement. A secure fit will help prevent any movement or shaking, which can impair the unit’s functionality and efficiency.
Once the portable air conditioner is securely in place, you can proceed to the next step: securing the unit to prevent any accidental dislodging or falls.
Step 6: Secure the Air Conditioner in Place
After placing the portable air conditioner in the window, it’s important to secure it properly to prevent any accidental dislodging or falls. This step will ensure the unit remains stable and securely in place while it operates.
Follow these steps to secure the air conditioner in place:
- Locate the support brackets or brackets that came with your portable air conditioner.
- Attach the support brackets to the window frame or wall, depending on the design of your unit. Follow the manufacturer’s instructions for proper installation and alignment.
- Position the support brackets at the sides of the air conditioner unit, ensuring they support the weight and hold it securely.
- Use screws or other provided fasteners to secure the support brackets in place, making sure they are tight and stable.
Properly securing the air conditioner unit provides an added layer of safety and stability. It prevents any accidental movement or tipping, especially if the window is opened or closed forcefully.
Make sure to follow the manufacturer’s guidelines when installing the support brackets, as the process may vary depending on the specific model and design of your portable air conditioner. Correct installation is essential for the safety and longevity of the unit.
Once the air conditioner unit is securely fastened and in place, you can proceed to the next step: connecting the power supply.
Step 7: Connect the Power Supply
Now that the portable air conditioner is securely installed in the window, it’s time to connect it to the power supply. Properly connecting the unit ensures that it receives the necessary electrical power to operate effectively.
Follow these steps to connect the power supply:
- Locate the power cord of the portable air conditioner.
- Check the power cord and ensure that it is in good condition, without any cuts or frayed wires.
- Plug the power cord into a grounded electrical outlet that can handle the electrical load of the air conditioner unit.
- Ensure that the electrical outlet is not overloaded with other appliances to avoid tripping the circuit breaker.
It’s crucial to connect the portable air conditioner to a properly grounded electrical outlet. This ensures the safety of the unit and prevents electrical hazards.
Before plugging in the power cord, check the electrical requirements of your specific portable air conditioner model. Make sure that the electrical outlet is capable of supplying the necessary voltage and amperage required by the unit.
Once the power supply is connected, you can move on to the final step: testing and adjusting the settings of the portable air conditioner.
Step 8: Test and Adjust the Settings
With the portable air conditioner installed, securely positioned, and connected to the power supply, it’s time to test the unit and adjust the settings to your desired preferences. This step ensures that the air conditioner is functioning properly and provides optimal cooling comfort.
Follow these steps to test and adjust the settings:
- Turn on the power to the portable air conditioner using the control panel or remote control.
- Select your desired cooling mode, typically indicated as “Cool” or “Air Conditioning” on the control panel.
- Set the desired temperature using the temperature control buttons. Start with a higher temperature and gradually lower it to find your desired comfort level.
- Adjust the fan speed as needed. Most portable air conditioners offer multiple fan speed options, such as low, medium, and high.
- Monitor the air conditioner to ensure that cool air is being emitted from the unit and that the temperature of the room begins to drop.
- Check for any unusual noises or malfunctions. If you notice anything out of the ordinary, consult the user manual or contact the manufacturer for troubleshooting assistance.
It’s important to let the portable air conditioner run for a few minutes to allow it to cool the room. Pay attention to the temperature and adjust the settings as necessary to achieve your desired comfort level.
Remember that portable air conditioners are designed to cool a specific area or room, so the cooling efficiency may vary depending on the size and insulation of the space. If needed, consider using additional fans or adjusting the positioning of the air conditioner to optimize the cooling effect.
Take a moment to familiarize yourself with the various controls and features of your portable air conditioner. This will allow you to customize the settings based on your preferences and maximize energy efficiency.
Congratulations! You have successfully installed and tested your portable air conditioner in a push-out window. Enjoy the cool and comfortable environment that it provides.
Conclusion
Installing a portable air conditioner in a push-out window doesn’t have to be a daunting task. With the proper guidance and a few simple steps, you can enjoy cool and refreshing air in your home or office during the hot summer months.
In this comprehensive guide, we have walked you through the step-by-step process of installing a portable air conditioner in a push-out window. From measuring the window opening to securing the unit and connecting the power supply, each step is crucial in ensuring a successful installation.
Remember to follow the manufacturer’s instructions and recommendations throughout the installation process. This will help maintain the functionality and safety of your portable air conditioner.
Once the installation is complete, take the time to familiarize yourself with the settings and features of your unit. Customizing the temperature and fan speed settings will allow you to create the ideal cooling environment tailored to your preferences.
Always keep in mind that regular maintenance and cleaning are essential to keep your portable air conditioner operating efficiently. Refer to the user manual for specific maintenance guidelines and follow them accordingly.
We hope this guide has provided you with valuable insights and assistance in installing a portable air conditioner in a push-out window. Stay cool and beat the heat with your newly installed air conditioning solution.
Remember, if you ever encounter any issues during the installation process or need further assistance, don’t hesitate to consult professional help or reach out to the manufacturer for support.
Stay cool and comfortable!
Frequently Asked Questions about How To Install A Portable Air Conditioner In A Push-Out Window
Was this page helpful?
At Storables.com, we guarantee accurate and reliable information. Our content, validated by Expert Board Contributors, is crafted following stringent Editorial Policies. We're committed to providing you with well-researched, expert-backed insights for all your informational needs.