Home>Home Maintenance>How To Install Durovent Attic Ventilation System
Home Maintenance
How To Install Durovent Attic Ventilation System
Modified: March 6, 2024
Learn how to properly install the Durovent Attic Ventilation System for better home maintenance. Enhance air flow and reduce energy costs with this easy DIY project.
(Many of the links in this article redirect to a specific reviewed product. Your purchase of these products through affiliate links helps to generate commission for Storables.com, at no extra cost. Learn more)
Introduction
Welcome to our comprehensive guide on how to install the Durovent attic ventilation system. Proper attic ventilation is crucial for maintaining a healthy and comfortable home. It helps to regulate the temperature, minimize moisture buildup, and extend the lifespan of your roofing materials.
The Durovent attic ventilation system is a popular choice among homeowners and professionals due to its ease of installation and effectiveness in promoting airflow. By following these step-by-step instructions, you’ll be able to install the Durovent system and improve the ventilation in your attic.
Before we delve into the installation process, let’s first understand why attic ventilation is so important.
Key Takeaways:
- Proper attic ventilation is crucial for a healthy home. Installing the Durovent system can regulate temperature, control moisture, and preserve roofing materials, ensuring a comfortable living environment.
- Prioritize safety, gather materials, and choose the right location for Durovent installation. Inspect, test, and maintain the system for optimal performance. Enjoy a well-ventilated and protected home!
Read more: How To Install Attic Vents
Understanding the Importance of Attic Ventilation
Attic ventilation plays a crucial role in maintaining the overall health of your home. It helps to prevent a range of issues that can arise due to poor air circulation and moisture buildup in the attic space. Here are some key reasons why attic ventilation is important:
- Temperature Regulation: During hot summer months, attics can become extremely hot, reaching temperatures that can exceed the outside temperature by 40 to 50 degrees Fahrenheit. This heat buildup not only affects the comfort of living spaces directly below the attic but can also cause damage to roofing materials and increase energy consumption. Proper attic ventilation allows hot air to escape, preventing excessive heat buildup and reducing strain on your air conditioning system.
- Moisture Control: Moisture is another major concern in attics. Without adequate ventilation, trapped moisture can lead to mold and mildew growth, rotting of wood structures, and damage to insulation. This can compromise the structural integrity of your home and also pose health risks to occupants. By allowing proper airflow, attic ventilation helps to expel moisture and maintain a dry attic space.
- Preventing Ice Dams: In cold climates, ice dams can form on the roof due to melted snow refreezing at the eaves. Lack of proper ventilation exacerbates this problem by causing temperature imbalances and uneven melting of snow on the roof. The Durovent attic ventilation system helps to regulate the temperature in the attic, preventing ice dams and the potential damage they can cause.
- Preserving Roofing Materials: Excessive heat and moisture can degrade roofing materials over time, leading to premature aging and potential leaks. By allowing proper airflow and reducing temperature extremes, attic ventilation helps to extend the lifespan of your roof, saving you money on costly repairs or replacements.
Now that we understand the importance of attic ventilation, let’s move on to the materials needed for the installation of the Durovent attic ventilation system.
Materials Needed for Installation
Before you begin the installation process, it’s important to gather all the necessary materials and tools. Here’s what you’ll need to install the Durovent attic ventilation system:
- Durovent Attic Ventilation System: You will need to purchase the Durovent attic ventilation system, which typically comes in rolls or individual pieces. The quantity you need will depend on the size of your attic.
- Measuring Tape: A measuring tape is essential for accurately measuring the dimensions of your attic and ensuring proper fitting of the Durovent system.
- Utility Knife: A sharp utility knife will be used to cut the Durovent material to the required size and shape.
- Staple Gun: A staple gun is used to secure the Durovent material in place. Make sure you have enough staples to complete the installation.
- Safety Equipment: Always prioritize safety during the installation process. Wear gloves, safety glasses, and a dust mask to protect yourself from potential hazards.
- Ladder: Depending on the height of your attic, you may need a ladder to access the installation area safely.
- Flashlight: Attic spaces can be dimly lit, so having a flashlight handy will help you navigate and inspect the installation area more effectively.
- Sealant: Depending on your specific attic setup, you may need a sealant to ensure a tight and secure fit of the Durovent system.
- Screwdriver: A screwdriver may be required to secure any additional fasteners or brackets needed for the installation.
It’s important to have all the necessary materials and tools readily available before starting the installation process. This will help ensure a smooth and efficient process. Now that you have everything you need, let’s move on to the first step: safety precautions.
Step 1: Safety Precautions
Prior to installing the Durovent attic ventilation system, it’s crucial to prioritize safety. Here are some important safety precautions to keep in mind:
- Wear Protective Gear: Before entering the attic or handling any materials, make sure to wear appropriate protective gear. This includes gloves, safety glasses, and a dust mask to protect yourself from potential hazards.
- Ensure Proper Ventilation: Attics can often be poorly ventilated, so it’s important to ensure proper airflow before starting the installation. Open any windows or use fans to facilitate air movement, especially if you’re working in a confined space.
- Check for Mold or Asbestos: Before beginning the installation, inspect the attic for any signs of mold or asbestos. If you suspect the presence of either, it’s important to consult with professionals and have the issue addressed before installing the Durovent system.
- Use Caution when Working with Tools: Exercise caution when using tools such as a staple gun or utility knife. Keep your fingers away from the sharp edges and follow the manufacturer’s instructions for safe operation.
- Watch Your Step: Attics can have uneven surfaces and hidden obstacles, so be mindful of where you’re stepping to avoid tripping or falling. It’s also a good idea to have adequate lighting, such as a flashlight, to properly see your surroundings.
- Be Aware of Electrical Wires: Take note of any electrical wiring or fixtures in the attic, and ensure you don’t accidentally damage or interfere with them during the installation process. If necessary, consult an electrician to help identify and safely navigate around any electrical components.
- Work with a Partner: If possible, enlist the help of a partner when installing the Durovent system. They can assist with holding materials in place, passing tools, and providing an extra set of eyes for safety checks.
By following these safety precautions, you’ll reduce the risk of accidents and ensure a safe working environment. Now that you’re prepared, let’s move on to Step 2: Preparing the Attic.
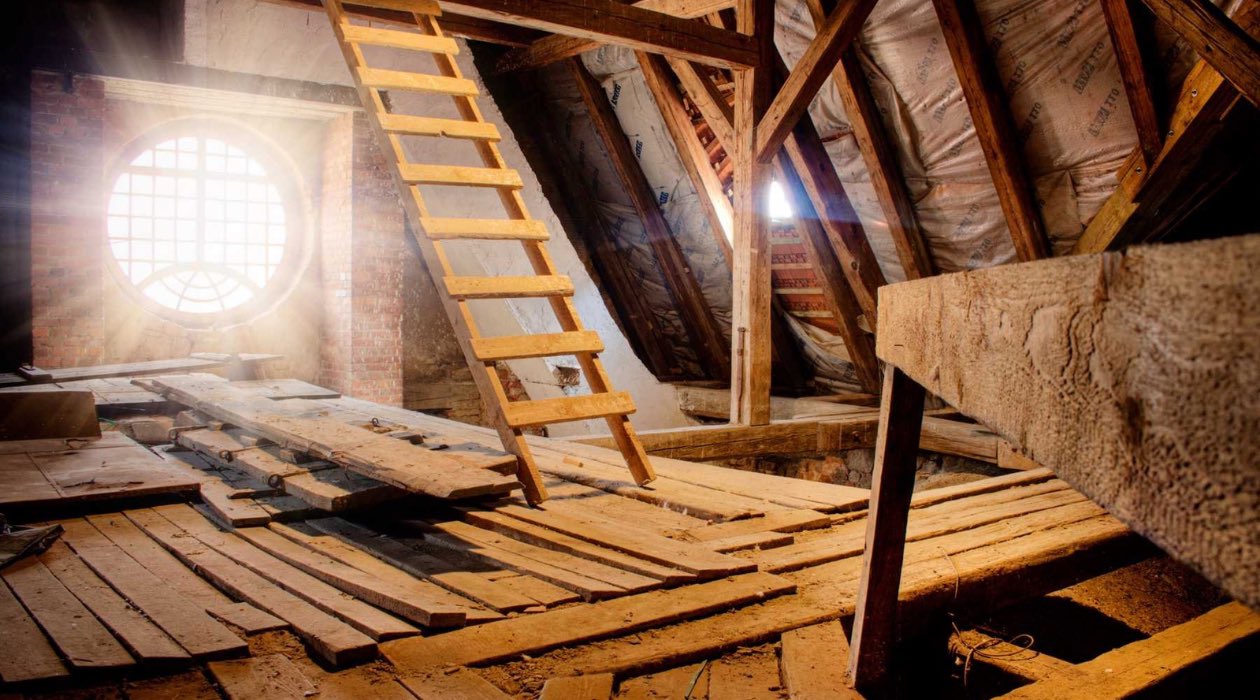
Step 2: Preparing the Attic
Before you begin installing the Durovent attic ventilation system, it’s important to properly prepare the attic space. This involves clearing any debris, ensuring access to the installation area, and assessing the existing ventilation setup. Follow these steps to prepare your attic:
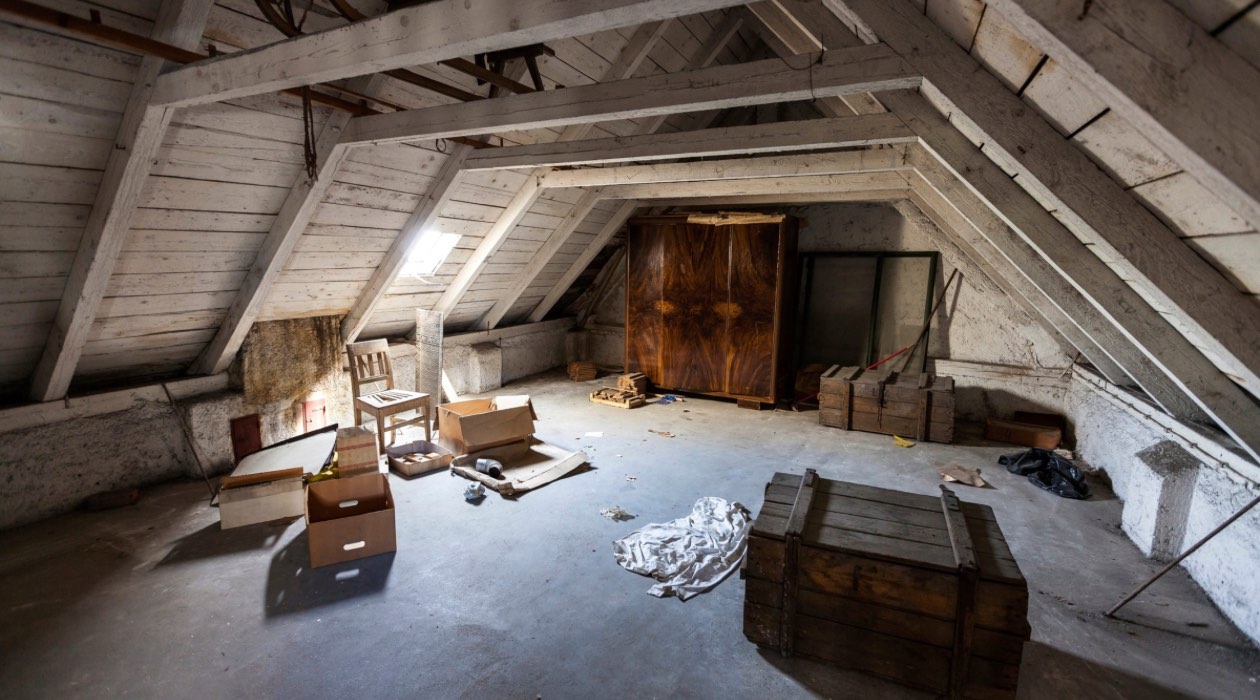
- Clean the Attic: Remove any debris, boxes, or items that may obstruct the installation area. Ensure the attic is clear and free from any obstructions that may hinder the installation process.
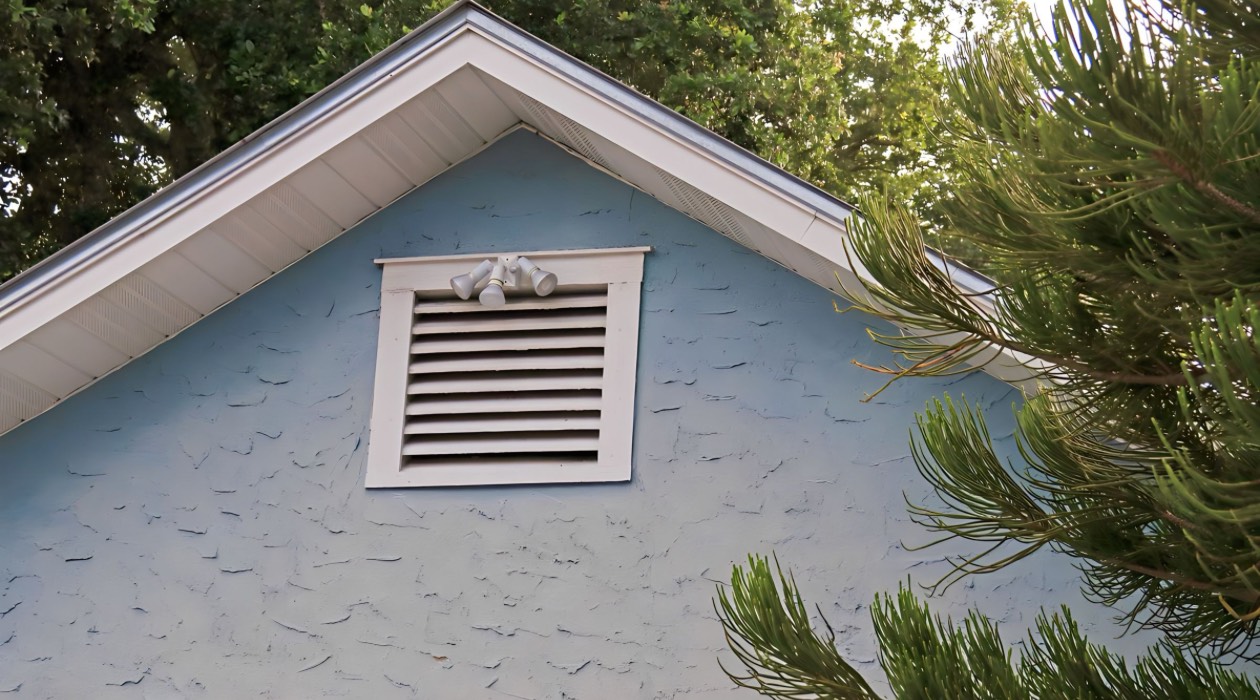
- Assess Existing Ventilation: Take note of any existing ventilation openings or systems in the attic, such as ridge vents or soffit vents. It’s important to work with these existing vents to ensure proper airflow and avoid blockages or redundancies.
- Clear Pathways: Ensure that there is a clear pathway from the attic access point to the installation area. Move any stored items or obstacles out of the way to provide easy access for installation and movement during the process.
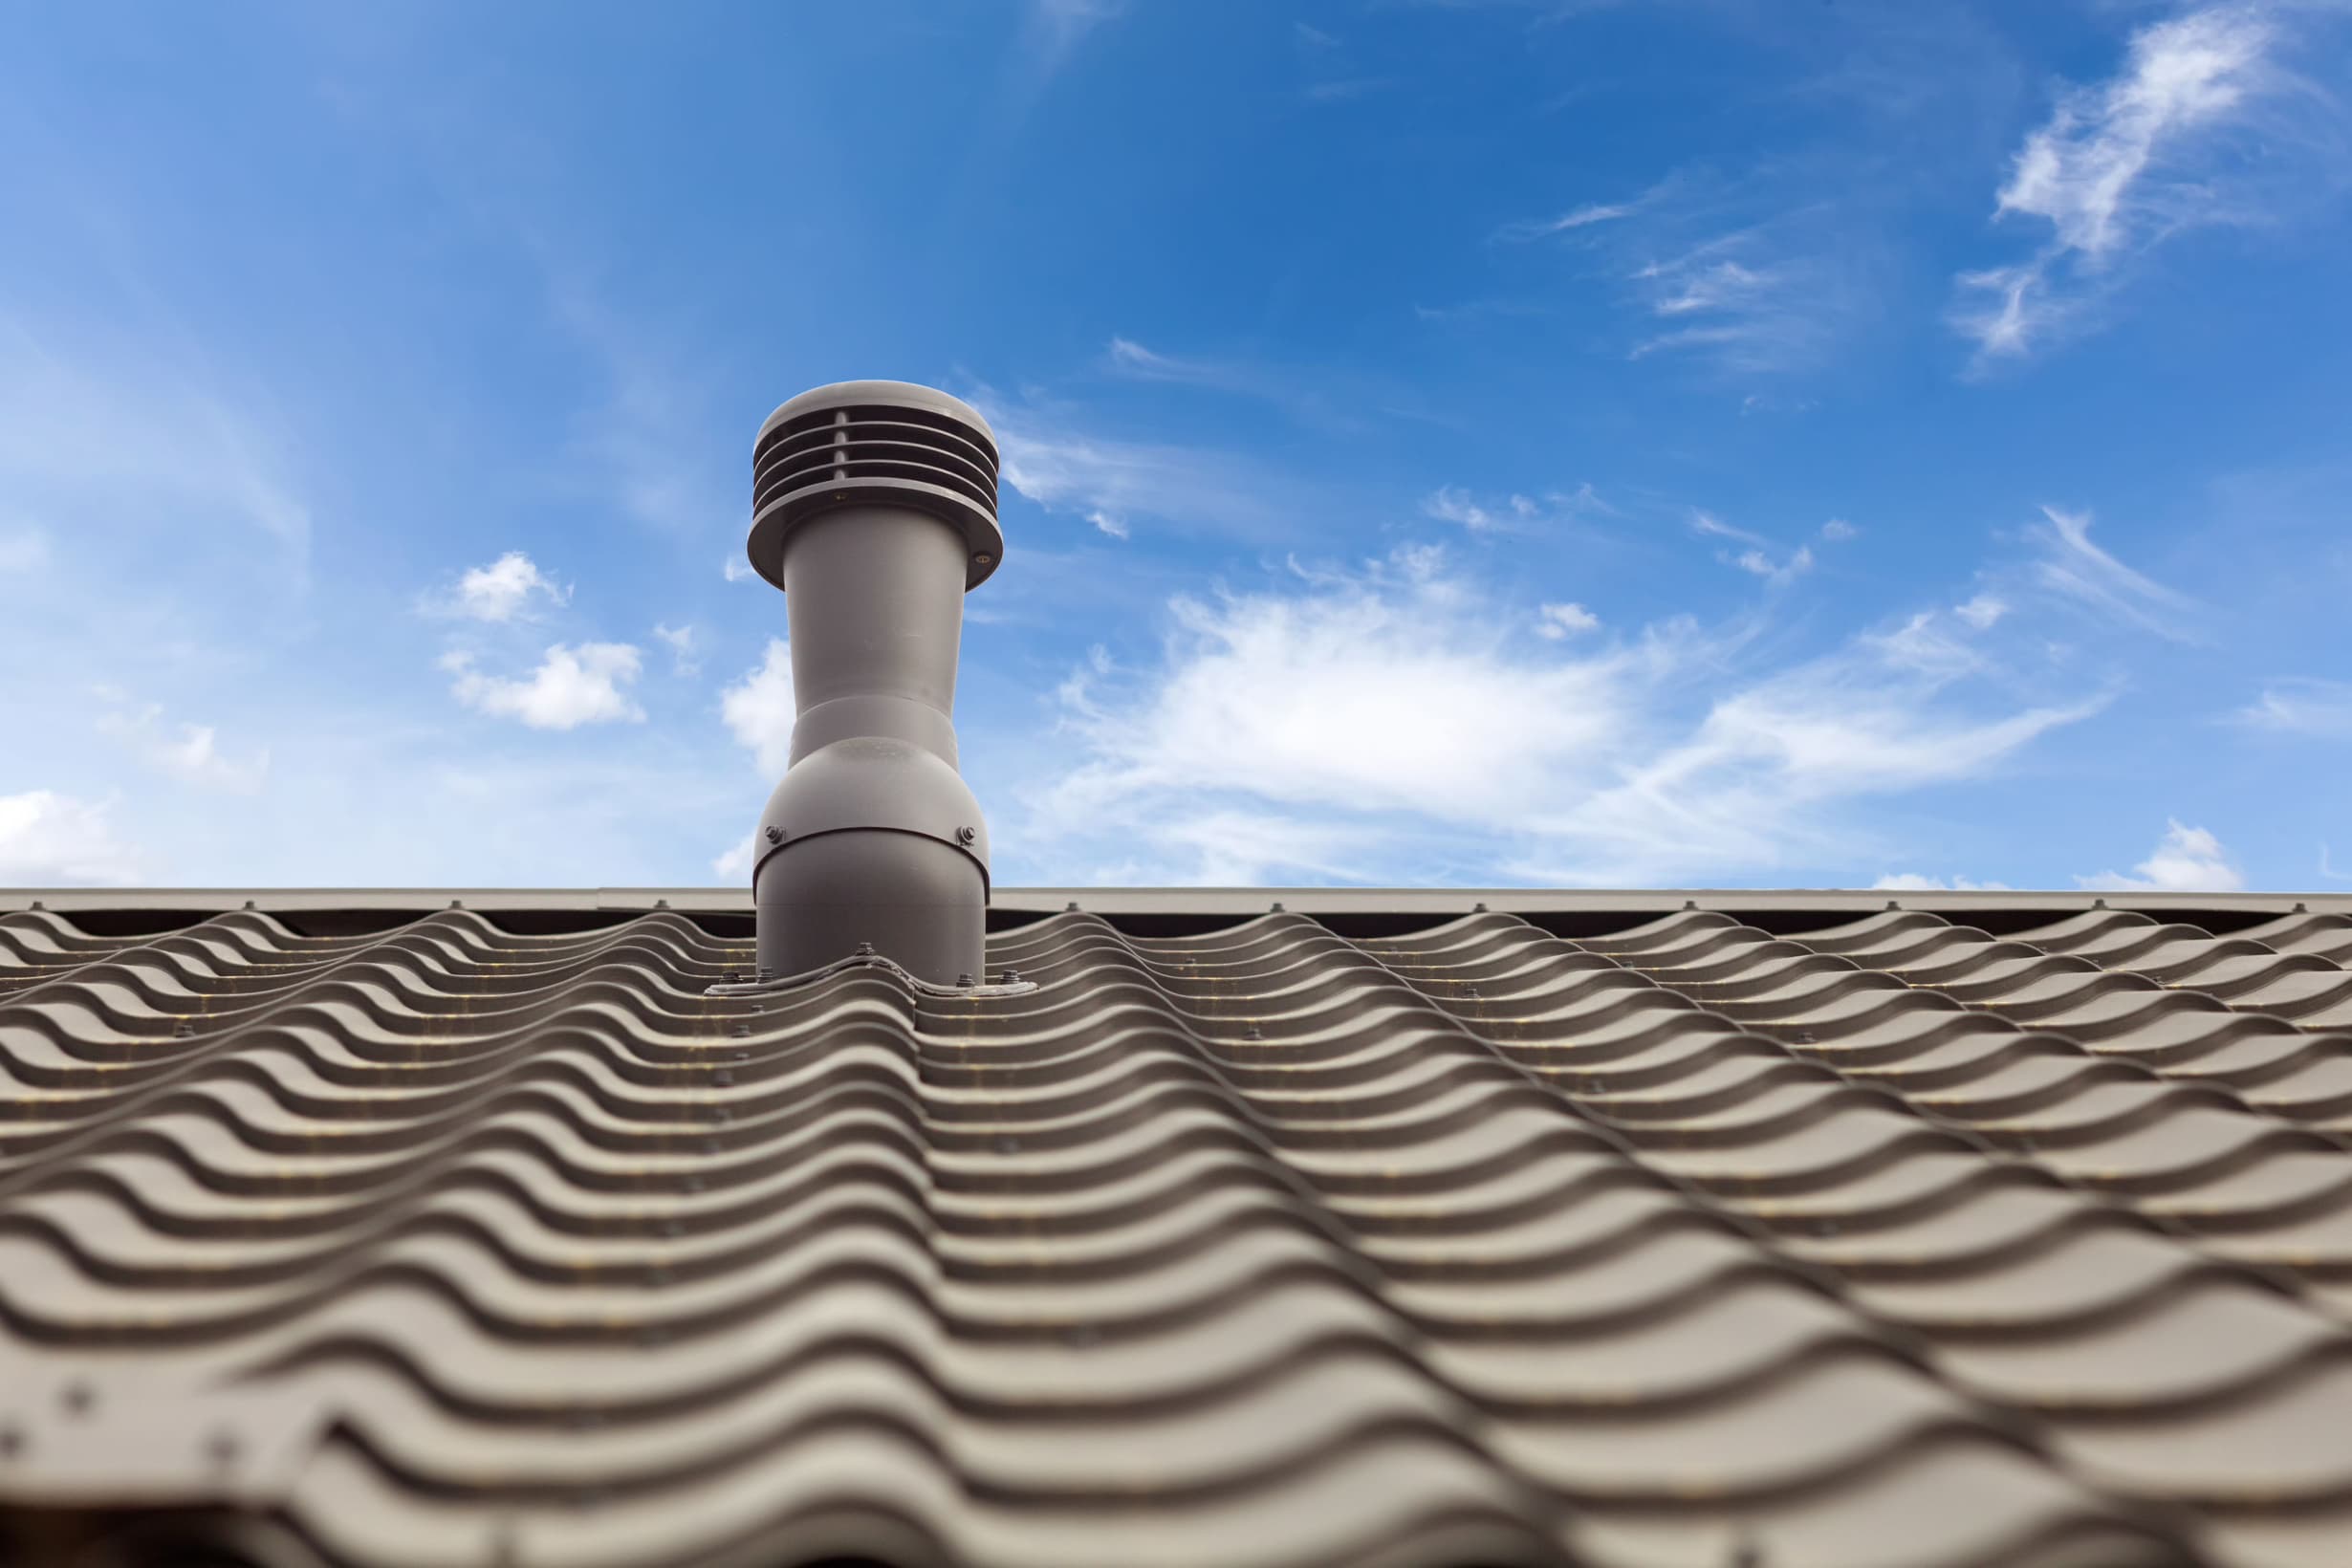
- Inspect the Roof: While preparing the attic, it’s also a good idea to inspect the roof from the exterior. Look for any signs of damage, such as missing shingles or gaps in flashing. If you notice any issues, consider addressing them before installing the Durovent system.
- Check for Proper Insulation: Take a moment to inspect the attic insulation. If the insulation is inadequate or damaged, consider addressing this issue before installing the Durovent system to ensure maximum energy efficiency and proper ventilation.
By taking the time to properly prepare your attic, you’ll create a favorable environment for the installation of the Durovent system. In the next step, we’ll guide you through choosing the right location for the Durovent attic ventilation system.
When installing Durovent Attic Ventilation System, make sure to properly seal any gaps or cracks in the attic to prevent air leakage and maximize the system’s efficiency.
Read more: How to Install an Attic Fan
Step 3: Choosing the Right Location for the Durovent Attic Ventilation System
When it comes to installing the Durovent attic ventilation system, choosing the right location is crucial for its effectiveness. Proper placement ensures adequate airflow and maximizes the benefits of the system. Follow these guidelines to determine the ideal location:
- Locate the Soffit Vents: If your attic already has soffit vents installed, the Durovent system should be placed directly above them. This allows for a continuous flow of air from the soffit vents through the Durovent channels, promoting efficient ventilation.
- Determine the Length of Installation: Measure the length of the installation area where you plan to install the Durovent system. This will help you determine how much Durovent material you’ll need.
- Consider Obstructions: Take note of any obstacles, such as electrical wiring or protruding structures, which may affect the placement of the Durovent system. Ensure that the installation area is clear of any obstructions to allow unobstructed airflow.
- Space the Durovent Channels: When installing the Durovent system, make sure to space the channels evenly to allow for maximum airflow. Follow the manufacturer’s instructions for proper spacing, typically leaving a gap of a few inches between each channel.
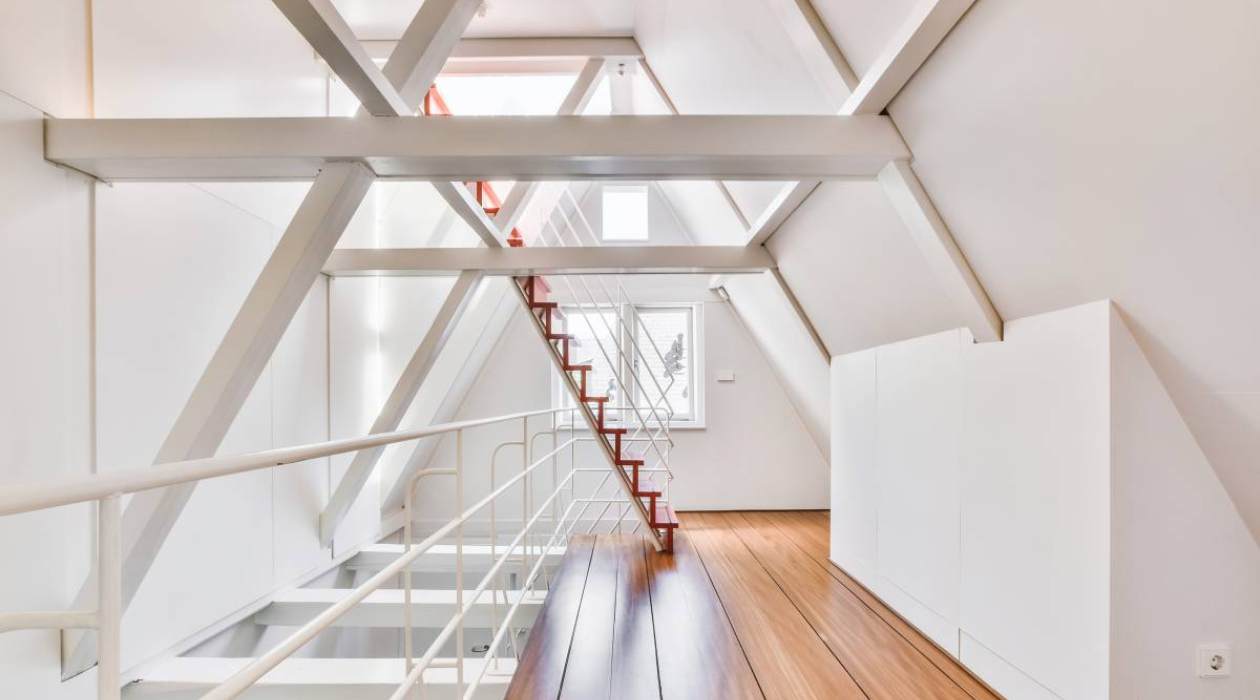
- Account for Attic Layout: Consider the layout of your attic space and any unique features such as skylights or chimneys. Adjust the placement of the Durovent system accordingly to ensure it aligns with the overall ventilation scheme of your attic.
- Ensure Proper Coverage: Aim to cover the entire attic space with the Durovent system to achieve optimal ventilation. Avoid leaving any areas without ventilation to prevent hot spots or stagnant air pockets.
By carefully selecting the location for the Durovent attic ventilation system, you’ll ensure optimum airflow and efficient ventilation throughout your attic space. In the next step, we’ll guide you through the installation process.
Step 4: Installing the Durovent Attic Ventilation System
Now that you’ve chosen the right location for the Durovent attic ventilation system, it’s time to proceed with the installation. Follow these step-by-step instructions to properly install the Durovent system:
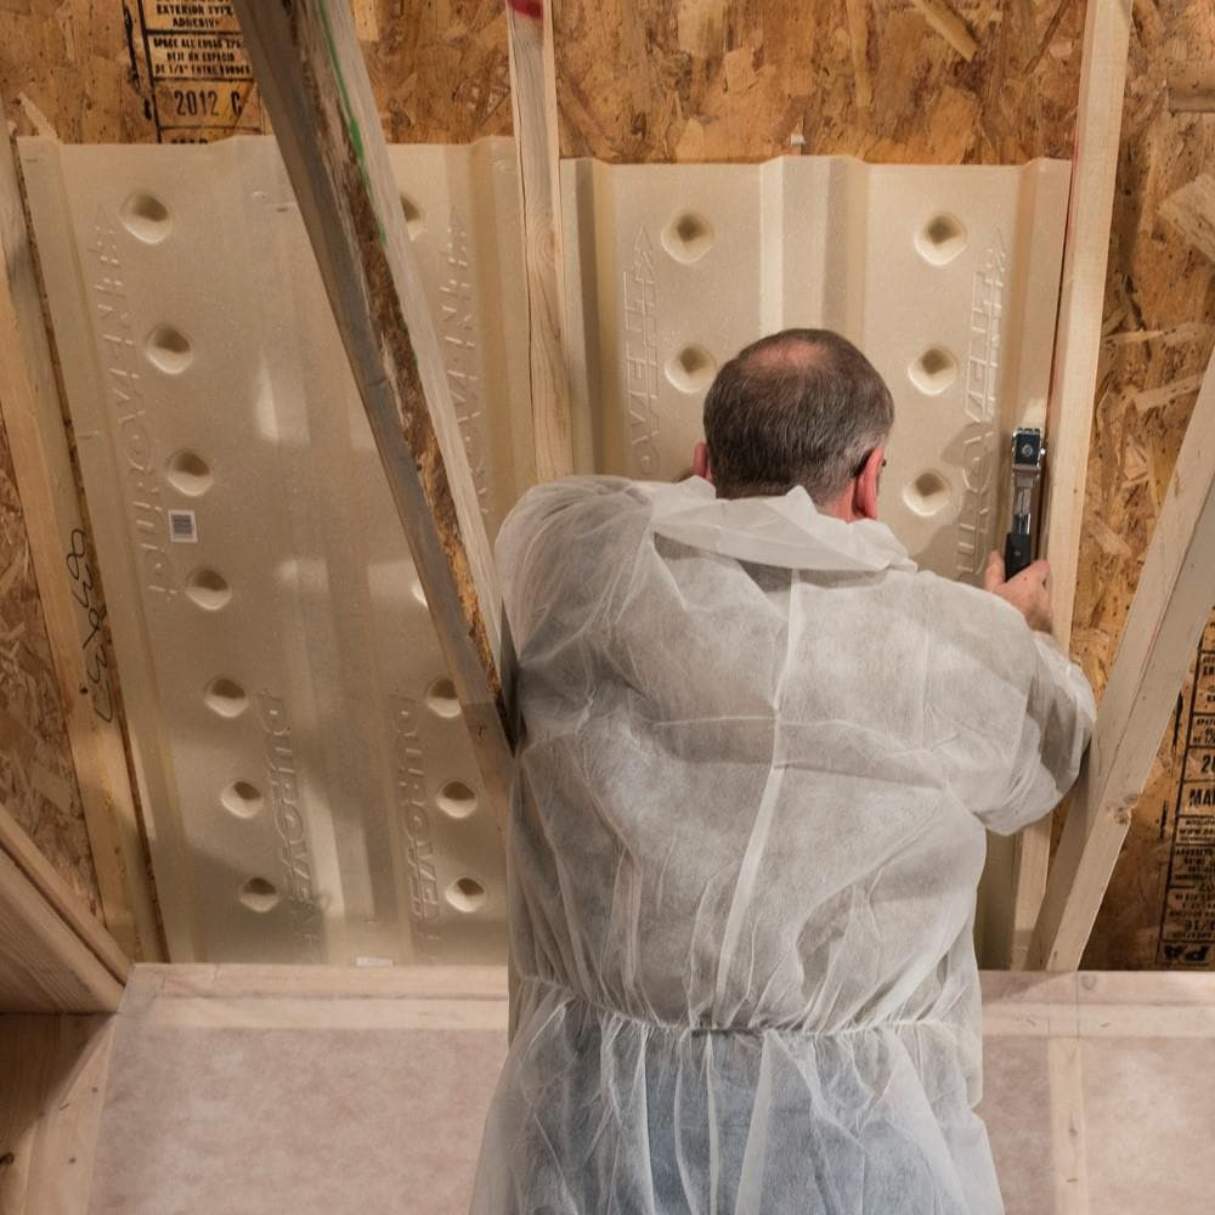
- Measure and Cut the Durovent Material: Using a measuring tape, measure the length of the installation area. Cut the Durovent material to the appropriate size using a utility knife. Be sure to wear gloves and exercise caution when handling sharp tools.
- Position the Durovent Material: Place the cut piece of Durovent material directly above the soffit vents or in the chosen installation location. Make sure the top edge of the Durovent material is aligned with the underside of the roof deck to create a continuous flow of air from the soffit vents to the attic space.
- Secure with Staples: Use a staple gun to secure the Durovent material in place. Place the staples along the top edge of the material, spacing them according to the manufacturer’s instructions. Make sure the staples penetrate both the Durovent material and the underside of the roof deck for a secure attachment.
- Overlap the Durovent Material: If your installation requires multiple pieces of Durovent material, overlap them by a few inches to ensure a seamless connection. This helps to maintain the integrity of the system by preventing any gaps where air could escape.
- Secure the Overlapping Sections: Use additional staples to secure the overlapping sections of the Durovent material, ensuring a tight and secure fit. This will prevent any movement or separation between the pieces during use.
- Seal Any Gaps: Inspect the installation area for any gaps or openings where air could escape. Use a sealant, such as caulk or foam, to seal any gaps and ensure airtightness. This will help to maintain proper airflow through the Durovent system.
- Inspect the Installation: Once the Durovent system is installed, carefully inspect the area to ensure that it is properly secured and aligned. Check for any loose staples or areas where the material may need additional reinforcement.
By following these steps, you’ll be able to successfully install the Durovent attic ventilation system and promote efficient airflow within your attic space. In the next step, we’ll guide you through inspecting and testing the installation to ensure its effectiveness.
Step 5: Inspecting and Testing the Installation
After installing the Durovent attic ventilation system, it’s important to inspect and test the installation to ensure its effectiveness. Follow these steps to properly inspect and test the installation:
- Visual Inspection: Take a close look at the installed Durovent system. Check for any gaps, loose staples, or areas where the material may not be properly secured. Make sure there are no obstructions blocking the airflow through the channels.
- Airflow Check: Stand outside and visually inspect the soffit vents or other intake vents to confirm that air is flowing in. You should be able to see the movement of the vents or feel a gentle breeze indicating proper airflow into the attic.
- Temperature and Moisture Measurement: Measure the temperature and humidity levels in your attic before and after installing the Durovent system. This will help you assess the impact of the ventilation system. Ideally, there should be a noticeable decrease in temperature and humidity levels.
- Quality Control: Double-check the installation to ensure that all sections of the Durovent material are properly aligned and securely fastened. Pay close attention to the overlapping portions to ensure there are no gaps or separations.
- Address Any Issues: If you notice any issues during the inspection, such as poor airflow or gaps in the system, make the necessary adjustments or repairs. This may involve repositioning the Durovent material, adding additional staples or sealant, or seeking professional assistance if needed.
By inspecting and testing the installation, you’ll have confidence that the Durovent system is functioning properly and effectively ventilating your attic space. In the final step, we’ll provide some additional tips and considerations to optimize the performance of your attic ventilation.
Step 6: Additional Tips and Considerations
As you wrap up the installation of the Durovent attic ventilation system, here are some additional tips and considerations to further optimize the performance of your attic ventilation:
- Maintain Clear Pathways: Avoid blocking or obstructing the pathways of the airflow through the Durovent system. Keep the attic space clear of any debris, storage items, or insulation that may impede the flow of air.
- Monitor Attic Insulation: Regularly inspect and maintain the insulation in your attic. Proper insulation is essential for energy efficiency and can work in conjunction with the Durovent system to maintain a comfortable and well-ventilated space.
- Ensure Proper Soffit Ventilation: The performance of the Durovent system relies on effective intake ventilation through the soffit vents. Keep the soffit vents clean and clear of any blockages, such as insulation or debris, to ensure proper airflow into the attic.
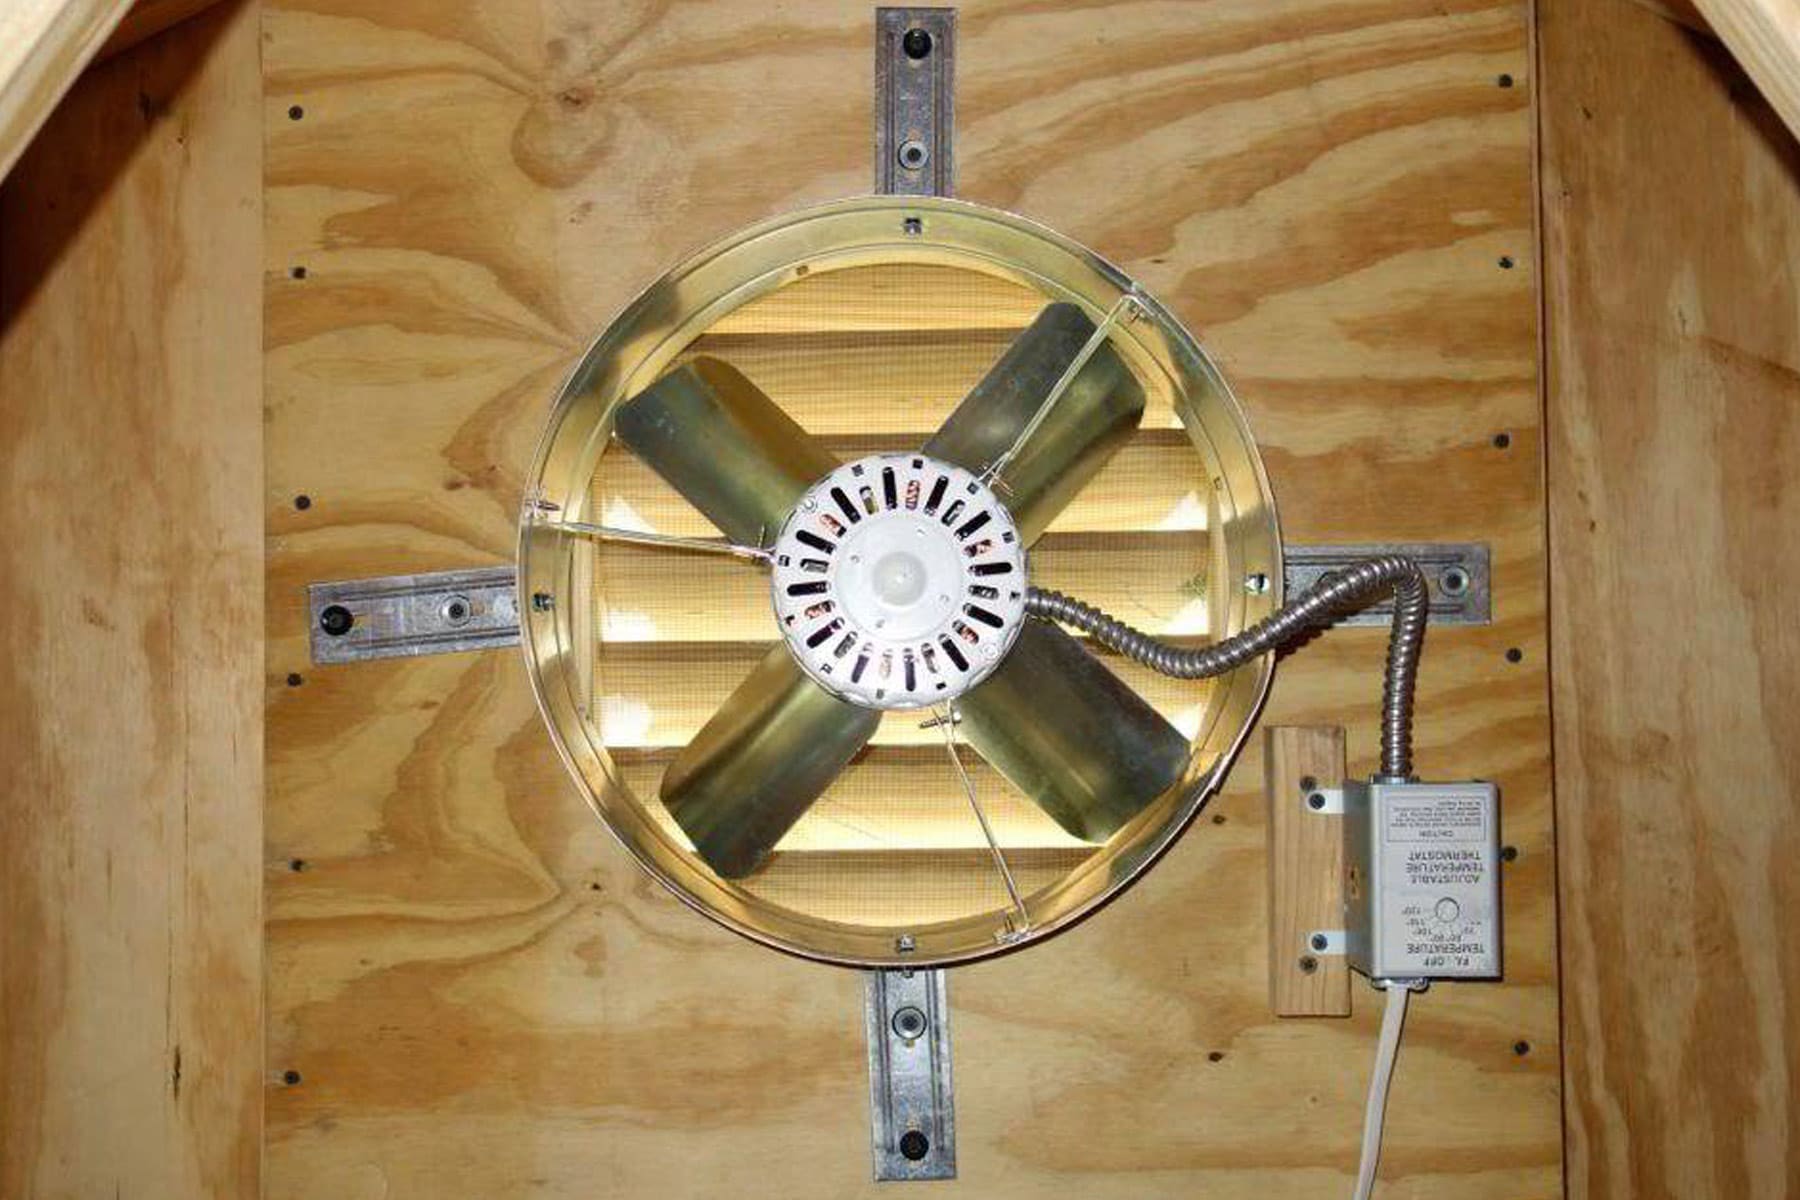
- Consider Attic Fans: In some cases, installing an attic fan in conjunction with the Durovent system can further enhance the ventilation. An attic fan can help to expel hot air directly from the attic, accelerating the air exchange process and improving overall ventilation.
- Perform Regular Maintenance: Inspect the Durovent system periodically to ensure it remains in good condition. Check for any signs of damage, and make necessary repairs or replacements as needed. Additionally, clean any accumulated dust or debris from the system to maintain optimal airflow.
- Consult a Professional: If you’re unsure about any aspect of installing or maintaining your attic ventilation system, don’t hesitate to consult a professional. They can provide expert guidance and ensure that your attic ventilation is set up for optimal performance.
By implementing these additional tips and considerations, you’ll maximize the effectiveness of your Durovent attic ventilation system and ensure a well-ventilated attic space for years to come. With proper attic ventilation, you can enjoy enhanced energy efficiency, improved air quality, and a more comfortable living environment.
Congratulations on successfully installing the Durovent attic ventilation system! Enjoy the benefits of a well-ventilated attic and a healthier home.
For more information or assistance, feel free to reach out to our team of experts who are always here to help you optimize your home’s maintenance and comfort.
Conclusion
Attic ventilation is a critical aspect of maintaining a healthy and comfortable home. The installation of the Durovent attic ventilation system can significantly improve the airflow in your attic, regulating temperature, controlling moisture, preventing ice dams, and preserving the longevity of your roofing materials.
By following the step-by-step instructions outlined in this guide, you can confidently install the Durovent system and optimize the ventilation in your attic. Remember to prioritize safety, gather all the necessary materials, and carefully choose the ideal location for the Durovent installation.
Inspect and test the installation to ensure its effectiveness, and consider additional tips such as maintaining clear pathways, monitoring attic insulation, and utilizing attic fans to further enhance the ventilation system.
Regular maintenance and periodic inspections of the Durovent system will help ensure its long-term performance. If you ever have any doubts or concerns, don’t hesitate to seek professional guidance.
With the Durovent attic ventilation system in place, you’ll enjoy greater energy efficiency, improved air quality, and a more comfortable living environment. So, go ahead and take the necessary steps to keep your home well-ventilated and protected.
Thank you for choosing the Durovent attic ventilation system, and we wish you success in your installation journey. If you have any further questions or need assistance, feel free to reach out to our team of experts for support. Here’s to a well-ventilated and healthier home!
Frequently Asked Questions about How To Install Durovent Attic Ventilation System
Was this page helpful?
At Storables.com, we guarantee accurate and reliable information. Our content, validated by Expert Board Contributors, is crafted following stringent Editorial Policies. We're committed to providing you with well-researched, expert-backed insights for all your informational needs.


0 thoughts on “How To Install Durovent Attic Ventilation System”