Home>Articles>How To Install A Range Hood On A Slanted Ceiling

Articles
How To Install A Range Hood On A Slanted Ceiling
Modified: August 31, 2024
Learn step-by-step instructions on how to install a range hood on a slanted ceiling with our informative articles.
(Many of the links in this article redirect to a specific reviewed product. Your purchase of these products through affiliate links helps to generate commission for Storables.com, at no extra cost. Learn more)
Introduction
Welcome to our guide on how to install a range hood on a slanted ceiling. A range hood is an essential appliance in any kitchen as it helps to remove smoke, grease, and odors from the air while cooking. But, installing a range hood on a slanted ceiling can present a unique challenge. In this article, we will discuss the steps and considerations involved in this installation process.
Having a slanted ceiling adds complexity to the installation as it requires additional planning and adjustments to ensure proper airflow and functionality. Our aim is to provide you with a comprehensive guide that will help you tackle this project successfully.
Before we dive into the installation process, it is important to assess the slanted ceiling and understand any potential challenges it may present. This will help you choose the right range hood and gather the necessary tools and materials for the job.
So, let’s get started with assessing the slanted ceiling in your kitchen.
Key Takeaways:
- Proper assessment of the slanted ceiling and careful consideration of clearance, ventilation, and aesthetics are crucial for choosing the right range hood and ensuring a successful installation on a slanted ceiling.
- Thorough preparation, including gathering tools and materials, measuring, locating studs, and securely anchoring the mounting bracket, sets the stage for a stable and reliable installation of a range hood on a slanted ceiling.
Read more: How To Install Range Hood On Vaulted Ceiling
Assessing the Slanted Ceiling
Before installing a range hood on a slanted ceiling, it is crucial to assess the angle and height of the slope. This will determine the type of range hood you can install and the necessary modifications you may need to make.
Begin by measuring the slope of the ceiling using a level or measuring tape. Determine the angle of the slope in degrees or the rise and run ratio. This information will help you choose a range hood that is compatible with your slanted ceiling.
Next, measure the clearance height from the cooking surface to the lowest point of the slanted ceiling. The National Kitchen and Bath Association (NKBA) recommends a minimum clearance of 24 to 30 inches for an electric cooktop and 30 to 36 inches for a gas cooktop. Ensure that your slanted ceiling provides enough clearance for your chosen range hood.
Consider any protrusions or obstacles on the slanted ceiling. For example, if there are light fixtures or beams, you may need to modify the installation location or make adjustments to accommodate them.
Furthermore, check the ventilation options for your slanted ceiling. Determine if you have access to an external wall, roof, or if you will need to install a ductwork system to vent the range hood. If you are unable to install ductwork, consider a ductless range hood that can recirculate the filtered air back into the kitchen.
Lastly, assess the overall aesthetics of your kitchen and how the range hood will fit in with the slanted ceiling. Take note of the color, materials, and design of the range hood to ensure it complements the existing kitchen decor.
Once you have thoroughly assessed the slanted ceiling and considered all the necessary factors, you can move on to choosing the right range hood for your installation.
Choosing the Right Range Hood
When it comes to selecting the right range hood for a slanted ceiling installation, there are a few key factors to consider. These include the type and size of the range hood, the ventilation method, and its compatibility with your kitchen’s design.
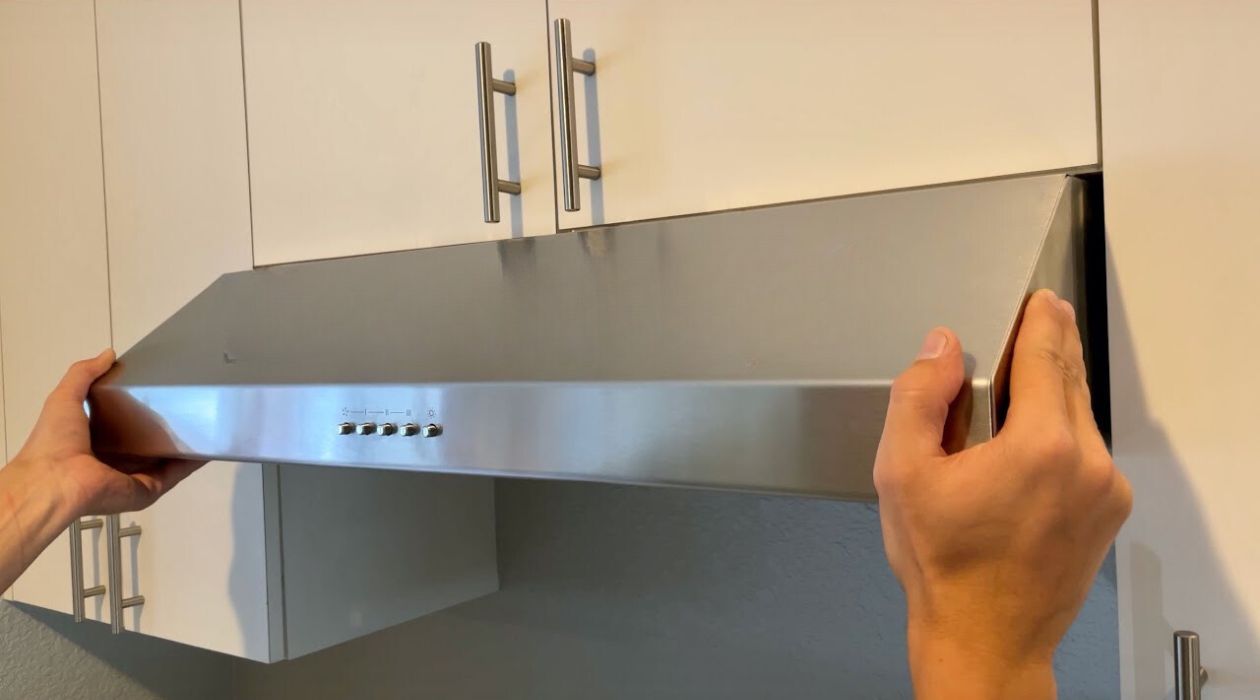
First, determine the type of range hood that suits your needs. There are three main types: under-cabinet, wall-mounted, and island range hoods. Under-cabinet range hoods are installed beneath kitchen cabinets, while wall-mounted range hoods are affixed to the wall. For slanted ceilings, you may want to consider a wall-mounted range hood, as it can be adjusted to fit the slope.
Next, consider the size of the range hood. Measure the width of your cooktop and choose a range hood that matches or exceeds this measurement for optimal coverage. Additionally, check the height and depth requirements to ensure it fits within the clearance of your slanted ceiling.
In terms of ventilation, you will need to determine the best option for your kitchen layout. If you have access to an external wall or roof, consider a ducted range hood. This type of range hood requires ductwork to expel smoke and odors outside. If ductwork installation is not feasible, a ductless or recirculating range hood can be used. These models filter the air using charcoal or carbon filters before recirculating it back into the kitchen.
Another important consideration is the range hood’s CFM (cubic feet per minute) rating. This measures the fan’s air extraction capacity. The recommended CFM rating for a range hood is typically 100-200 CFM per linear foot of cooktop width. However, if you frequently cook high-heat dishes or have a larger kitchen, you may want to consider a higher CFM rating for better performance.
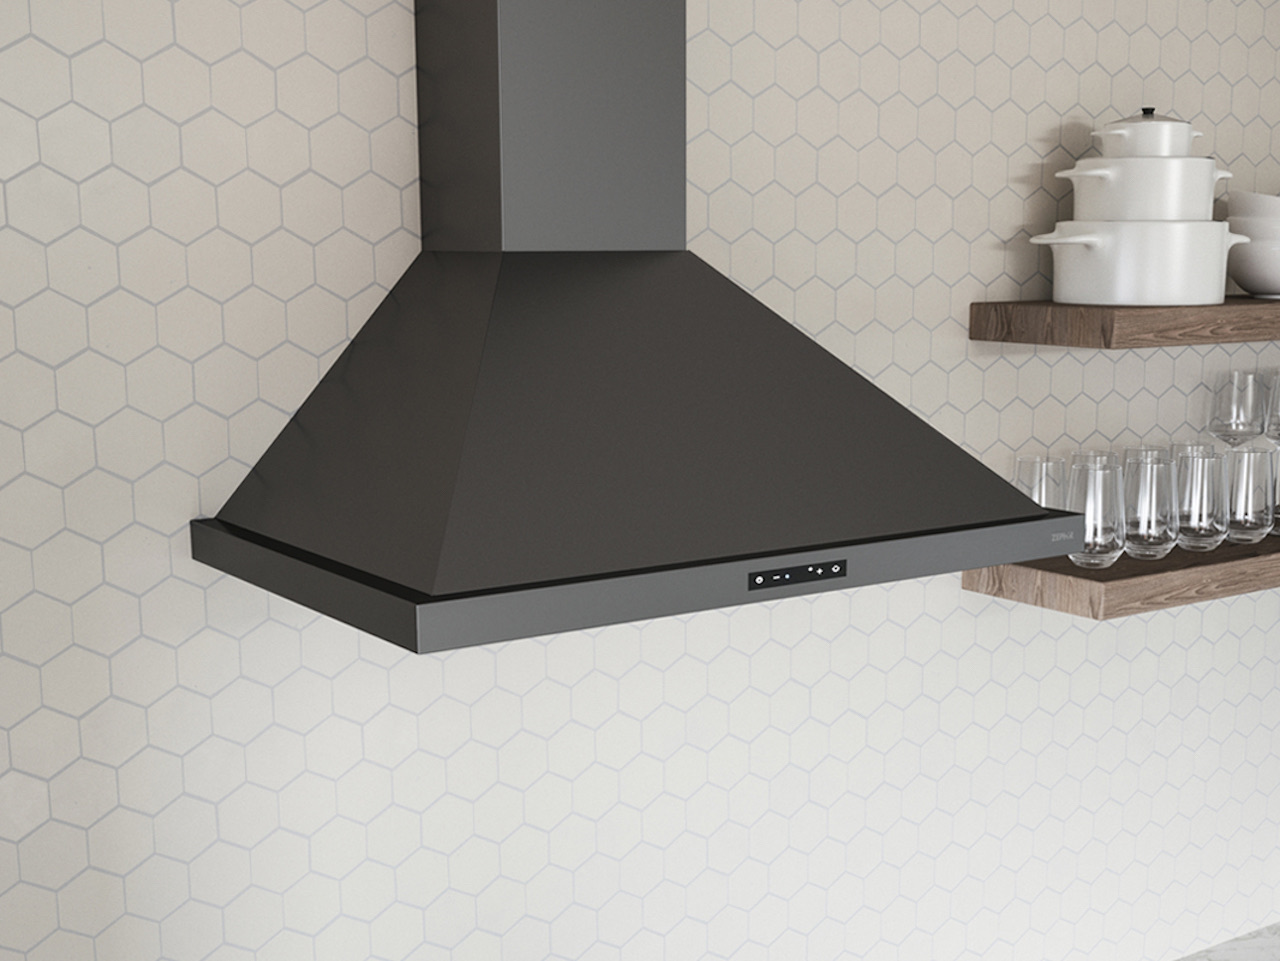
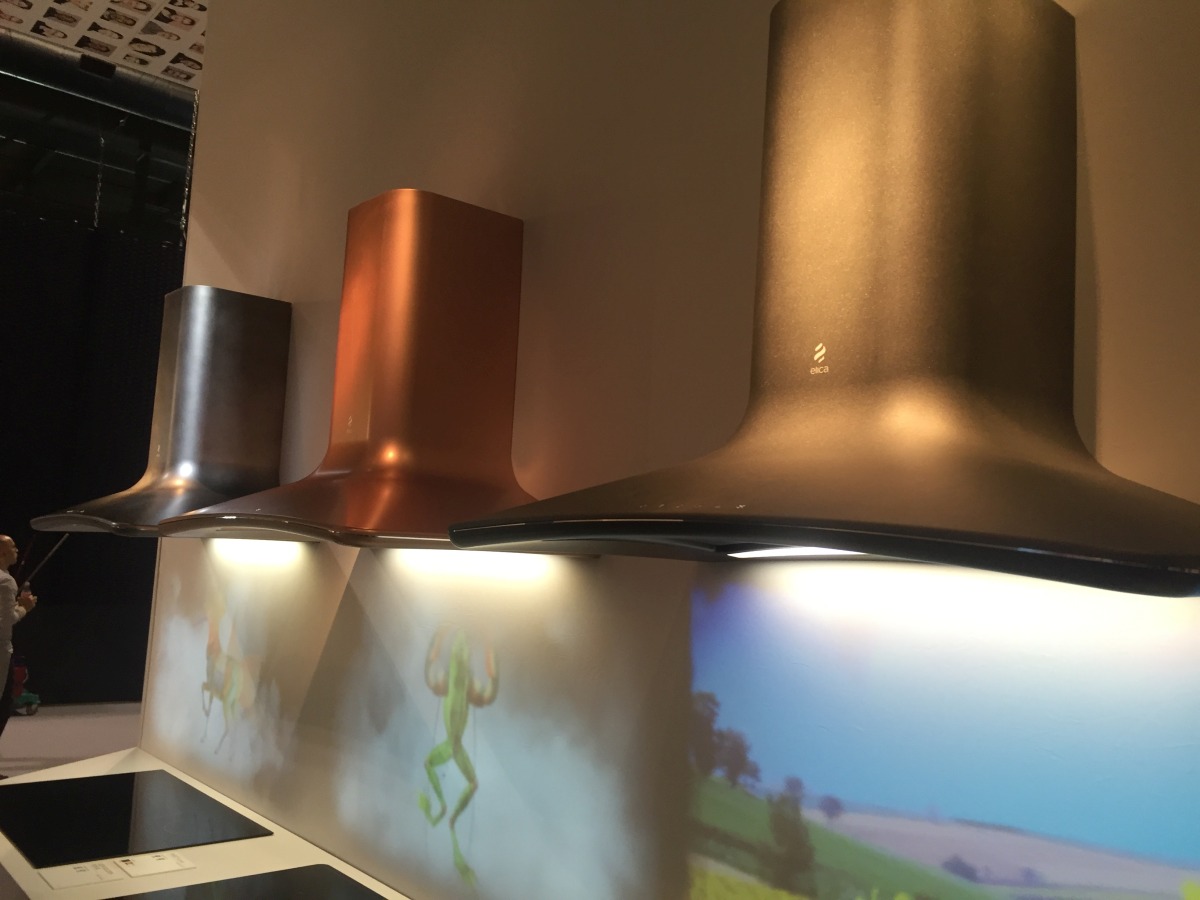
Finally, select a range hood that complements your kitchen’s design. Consider the material, color, and style that will seamlessly blend with your existing decor. Whether you prefer stainless steel, glass, or a custom panel for an integrated look, choose a range hood that enhances the aesthetics of your kitchen.
By carefully considering these factors, you can choose the right range hood that meets your specific needs and works well with your slanted ceiling installation.
Collecting the Necessary Tools and Materials
Before you begin installing the range hood on your slanted ceiling, it is important to gather all the necessary tools and materials. Having everything prepared in advance will make the installation process smoother and more efficient.
Here is a list of common tools and materials you may need:
Tools:
- Drill with drill bits
- Screwdriver (both flathead and Phillips)
- Tape measure
- Level
- Pencil or marker
- Hacksaw or reciprocating saw
- Caulking gun
- Adjustable wrench
- Stud finder
- Electrical tester
Materials:
- Range hood
- Mounting bracket
- Screws
- Wire nuts
- Ductwork (if applicable)
- Duct tape
- Clamps
- Wire connectors
- Electrical cable
- Vent cap (if ducted installation)
- Collar or elbow (if ducted installation)
- Flexible duct (if ducted installation)
- Caulk
It is recommended to gather all these tools and materials in a designated area near your workspace. This will ensure that everything is easily accessible when you need it.
Additionally, always refer to the manufacturer’s installation instructions for specific tools and materials required for your range hood model. Different models may have slight variations in installation requirements.
By collecting and organizing the necessary tools and materials beforehand, you can streamline the installation process and avoid any unexpected delays or interruptions.
Preparing the Slanted Ceiling for Installation
Before you begin installing the range hood on your slanted ceiling, it is important to prepare the area to ensure a secure and stable installation. This involves taking necessary measurements, locating studs, and marking the positions for the mounting bracket.
Here are the steps to prepare the slanted ceiling for installation:
1. Measure and mark the height: Measure the distance from the cooking surface to the lowest point of the slanted ceiling, ensuring it meets the recommended clearance height. Mark this height on the wall using a pencil or marker as a reference for the bottom edge of the range hood.
2. Locate the studs: Use a stud finder to locate the wall studs along the installation area. This will provide a secure anchoring point for the mounting bracket. Mark the locations of the studs on the wall.
3. Determine the position: Decide on the desired position of the range hood. Take into consideration the clearance requirements, proximity to the cooking surface, and any other factors that may affect functionality and aesthetics.
4. Mark the stud positions: Based on the width of the range hood and the position determined in the previous step, mark the positions of the studs where the mounting brackets will be installed. Ensure the marks align with the height measurement made earlier.
5. Install and secure the mounting bracket: Using the marked stud positions as a guide, install and anchor the mounting bracket to the wall using screws. Ensure it is level and securely fastened to provide stability for the range hood.
By properly preparing the slanted ceiling and securely anchoring the mounting bracket, you create a solid foundation for the installation of the range hood. This ensures a safe and reliable installation that will withstand the weight and movement of the appliance.
When installing a range hood on a slanted ceiling, make sure to use a flexible duct to accommodate the angle. It’s important to ensure proper ventilation and airflow for the hood to function effectively.
Read more: How To Install ZLINE Range Hood
Installing the Range Hood Bracket
Now that the slanted ceiling is prepared, it’s time to install the range hood bracket. The bracket serves as the support structure for the range hood, allowing it to hang securely from the wall. Follow these steps to install the range hood bracket:
1. Align the bracket: Position the range hood bracket against the wall, aligning it with the marked stud positions. Ensure it is level and centered over the cooking surface. Use a level to double-check the alignment.
2. Mark the screw hole locations: Using a pencil or marker, mark the screw hole locations on the wall through the pre-drilled holes in the bracket. These marks will guide you when drilling pilot holes for the screws.
3. Drill pilot holes: Use a drill bit that is slightly smaller than the diameter of the screws. Drill pilot holes at the marked locations on the wall. This will make it easier to drive the screws into the studs without splitting the wood.
4. Attach the bracket: Position the bracket back against the wall and line up the pilot holes with the marks. Securely attach the bracket to the wall using screws, ensuring they are driven firmly into the studs for maximum stability. Check the level again to confirm that the bracket is still aligned correctly.
5. Test the stability: Give the range hood bracket a gentle shake to test its stability. It should be securely attached to the wall without any noticeable movement. If there is any wobbling or instability, check the screws and brackets to ensure they are properly installed.
Once the range hood bracket is installed and stable, you are ready to move on to the next step: mounting the range hood itself. Make sure to refer to the manufacturer’s instructions for your specific range hood model, as installation steps may vary between different brands and models.
Mounting the Range Hood
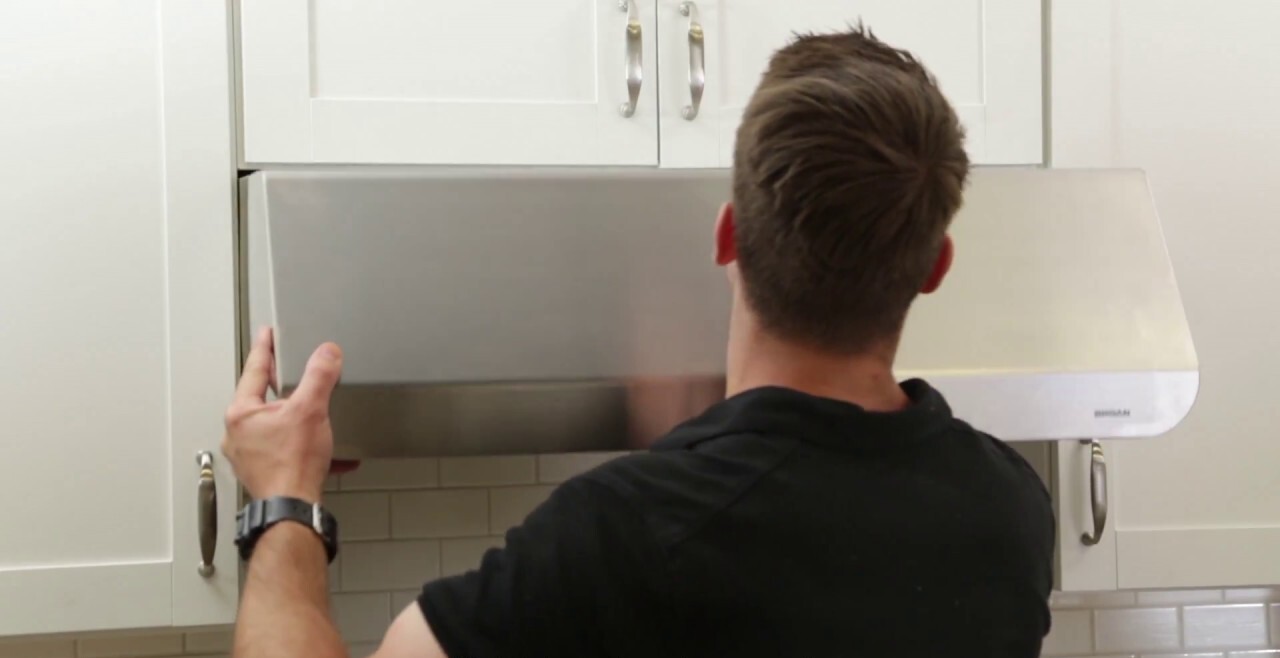
With the bracket securely installed, it’s time to mount the range hood onto the bracket. Follow these steps to ensure a proper and secure installation:
1. Check the range hood: Before mounting, inspect the range hood for any damage or missing parts. Ensure that all components, such as filters and lights, are in place and functioning properly. Refer to the manufacturer’s instructions to familiarize yourself with the specific mounting requirements for your range hood model.
2. Position the range hood: Carefully lift the range hood and align it with the mounting bracket. Make sure the hood is centered over the cooking surface and level with the surrounding cabinets or walls. Ensure that the electrical and ductwork connections align with the corresponding openings in the range hood.
3. Secure the range hood: Depending on the specific mounting mechanism of your range hood, you may need to engage latches, brackets, or screws to secure it to the mounting bracket. Follow the manufacturer’s instructions to properly anchor the range hood. Ensure that it is firmly attached to prevent any movement or instability.
4. Double-check the alignment: Use a level to ensure the range hood is still level after it is mounted. Adjust if necessary to achieve proper alignment and symmetry with the surrounding space.
5. Test the range hood: Before moving on to the next steps of the installation process, test the range hood to ensure it is functioning properly. Turn on the fan and lights to verify that they are operating correctly. Listen for any unusual noises or vibrations that may indicate a problem.
Mounting the range hood is a crucial step in the installation process. It ensures that the hood is securely attached and positioned correctly. Take your time to ensure a proper installation, as this will contribute to the overall performance and longevity of the range hood.
Connecting the Ductwork and Wiring
Once the range hood is mounted, it’s time to connect the ductwork and wiring to ensure proper ventilation and electrical functionality. Follow these steps to connect the ductwork and wiring for your range hood:
1. Ductwork:
- If you are installing a ducted range hood, measure the distance between the range hood and the external vent or duct opening. Cut a piece of ductwork to the measured length, ensuring it is the appropriate diameter for your range hood.
- Attach one end of the ductwork to the range hood’s duct collar or outlet using clamps. Tighten the clamps securely to ensure a proper seal. If needed, use aluminum tape to reinforce the connection.
- Connect the other end of the ductwork to the external vent or duct opening. Use clamps or screws, depending on the type of connection, to secure the ductwork in place. Ensure that the ductwork is properly aligned and straight for efficient airflow.
2. Wiring:
- Turn off the power to the circuit from the main electrical panel.
- Remove the electrical cover plate from the range hood to access the wiring compartment.
- Connect the supply wires (typically black to black, white to white, and green or bare copper to the ground) to the corresponding wires in the range hood’s wiring compartment. Use wire nuts to secure the connections and ensure they are tight.
- Carefully tuck the connected wires back into the wiring compartment and replace the electrical cover plate.
Note: If you are not comfortable working with electrical wiring, it is recommended to hire a licensed electrician to perform this step for you.
3. Secure and test:
- Ensure that all connections, both in the ductwork and wiring, are secure and properly tightened.
- Restore the power to the circuit from the main electrical panel.
- Test the range hood by turning on the fan and lights. Verify that they are functioning correctly and that air is being properly exhausted through the ductwork.
By properly connecting the ductwork and wiring, you ensure that your range hood operates efficiently and safely. It is important to follow the manufacturer’s instructions and any local building codes or regulations when performing these electrical and ventilation connections.
Testing and Adjusting the Range Hood
After completing the installation of the range hood and connecting the ductwork and wiring, it is essential to test and make any necessary adjustments to ensure optimal performance. By following these steps, you can ensure that your range hood is functioning properly:
1. Power on the range hood:
- Turn on the power to the range hood at the electrical panel.
2. Test the fan:
- Turn on the fan at different speed settings to ensure it is working correctly.
- Check for proper airflow by holding a piece of tissue near the vent. The tissue should be pulled towards the vent, indicating that the range hood is effectively capturing and venting cooking odors and smoke.
- If the airflow seems weak, check for any blockages in the ductwork or filters. Clean or replace them as necessary.
3. Test the lights:
- Turn on the lights to ensure they illuminate the cooking area properly.
- Check for any flickering or dimming lights, which may indicate an issue with the electrical connection. If you notice any problems, double-check the wiring connections or consult a licensed electrician.
4. Adjust the range hood:
- If the range hood is not properly aligned or centered with the cooking surface, adjust it as needed. Most range hoods allow for vertical and horizontal adjustments for optimal positioning.
- Use a level to ensure the range hood is straight and properly aligned with the surrounding space.
5. Check for any vibrations or unusual noises:
- Listen for any excessive vibrations or unusual noises during operation. This could indicate loose components or improper installation.
- If you notice any issues, carefully inspect the range hood and make any necessary adjustments or tightening of screws or brackets.
By thoroughly testing and adjusting your range hood, you can ensure that it operates at its best and provides effective ventilation for your kitchen. Regular maintenance, such as cleaning filters and checking for any blockages, will help maintain its performance over time. Remember to consult the manufacturer’s instructions for specific maintenance guidelines and recommendations.
Read more: How To Install Range Hood Insert
Conclusion
Installing a range hood on a slanted ceiling is a rewarding project that enhances the functionality and aesthetics of your kitchen. With proper planning, assessment, and the right tools, you can successfully tackle this installation process.
We began by assessing the slanted ceiling, considering factors such as the angle, height, and obstacles. This assessment helps in choosing the right range hood and determining the necessary modifications for your unique setup.
Next, we discussed the importance of selecting the right range hood, considering factors such as type, size, ventilation method, and stylistic compatibility with your kitchen. Choosing a range hood that meets your specific needs and fits seamlessly with your slanted ceiling is crucial for a successful installation.
We then moved on to collecting the necessary tools and materials needed for the installation. By gathering everything in advance, you ensure a smooth and efficient process without any delays or interruptions.
Preparing the slanted ceiling for installation involved taking necessary measurements, locating studs, and marking the positions for the mounting bracket. This step provides a solid foundation for the range hood, ensuring a secure and stable installation.
The installation process continued with mounting the range hood onto the bracket. This step required careful alignment, securing the range hood, and double-checking the level to ensure a properly installed and aesthetically pleasing result.
Connecting the ductwork and wiring were essential for ventilation and electrical functionality. Following proper procedures for connecting the ductwork and wiring ensures efficient airflow and safe electrical connections.
Finally, we emphasized the importance of testing and adjusting the range hood for optimal performance. Checking the fan, lights, alignment, and addressing any vibrations or unusual noises ensures that your range hood operates effectively and reliably.
In conclusion, installing a range hood on a slanted ceiling requires careful planning, proper tools, and attention to detail. By following the steps outlined in this guide, you can successfully navigate this installation process and enjoy the benefits of a well-ventilated and stylish kitchen.
Remember to always consult the manufacturer’s instructions and adhere to local building codes and regulations to ensure a safe and compliant installation. If you are unsure about any aspect of the installation, it is recommended to seek assistance from a professional to ensure the job is done correctly.
Ready to enhance your kitchen's functionality further? After mastering how to install a range hood on a slanted ceiling, why not tackle another project by exploring our detailed guide on installing under cabinet range hoods? This step-by-step tutorial will simplify the process, ensuring your kitchen remains sleek, smoke-free, and stylish. Dive into the guide and give your culinary space the upgrade it deserves.
Frequently Asked Questions about How To Install A Range Hood On A Slanted Ceiling
Was this page helpful?
At Storables.com, we guarantee accurate and reliable information. Our content, validated by Expert Board Contributors, is crafted following stringent Editorial Policies. We're committed to providing you with well-researched, expert-backed insights for all your informational needs.


0 thoughts on “How To Install A Range Hood On A Slanted Ceiling”