Home>Home Security and Surveillance>How I Can Update My Computer To See My Home Security Cameras
Home Security and Surveillance
How I Can Update My Computer To See My Home Security Cameras
Modified: March 6, 2024
Update your computer to easily view your home security cameras with our comprehensive guide. Stay connected and ensure the safety of your property with our home security and surveillance solutions.
(Many of the links in this article redirect to a specific reviewed product. Your purchase of these products through affiliate links helps to generate commission for Storables.com, at no extra cost. Learn more)
Introduction
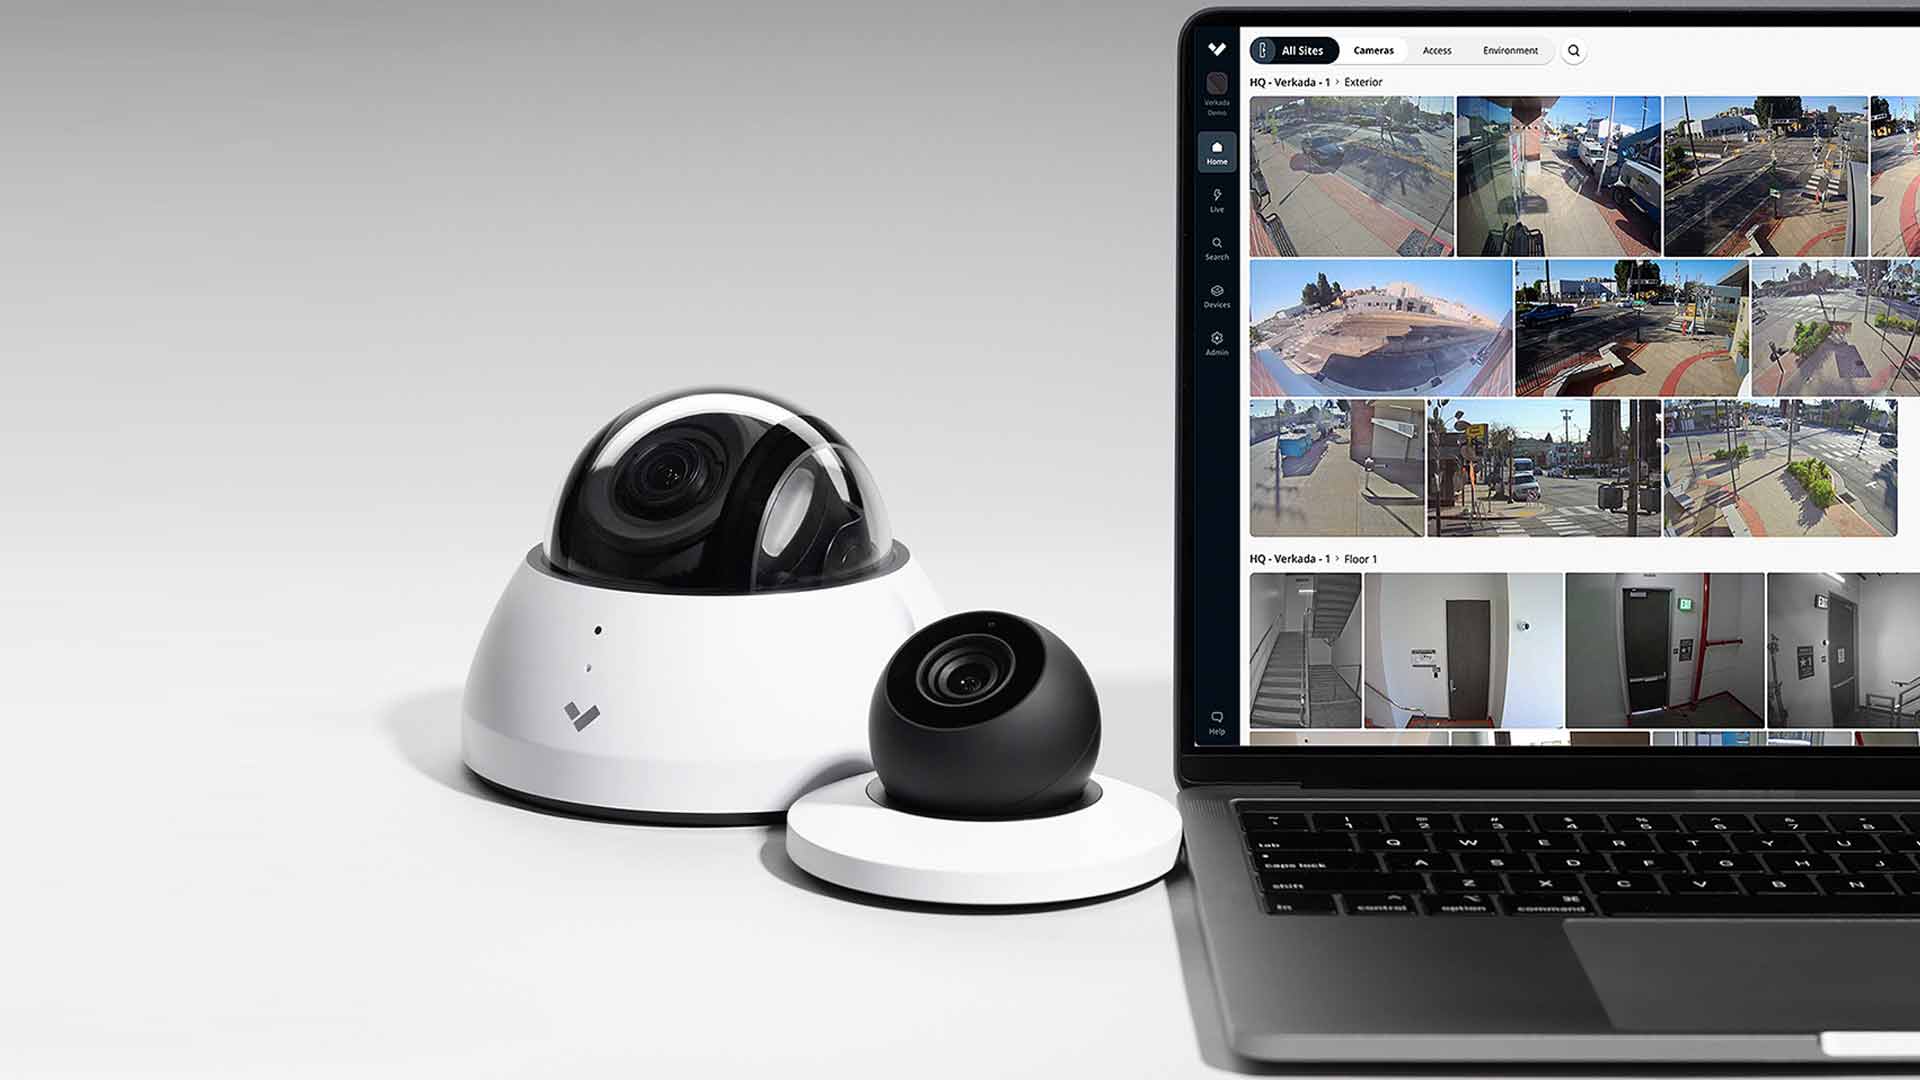
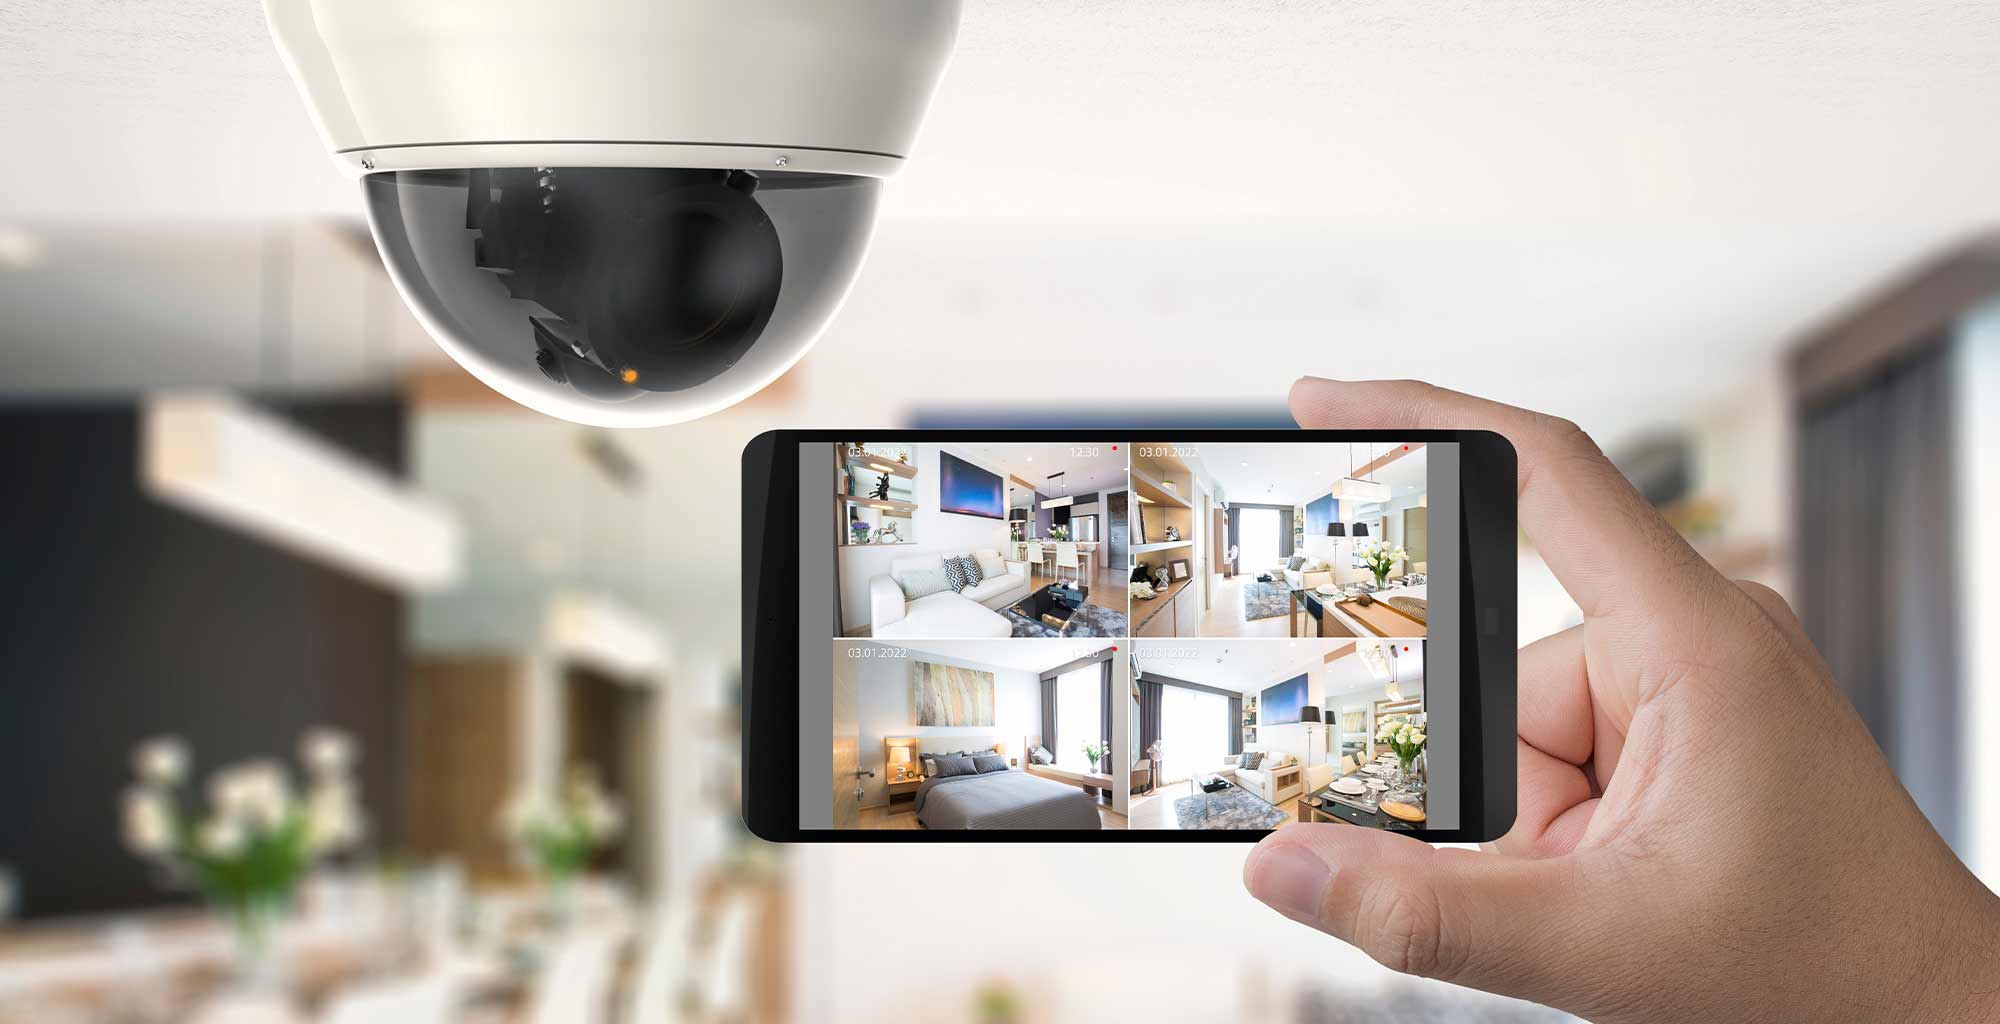
Having a reliable home security system is essential for protecting your property and ensuring the safety of your loved ones. With advancements in technology, many homeowners are now using surveillance cameras to monitor their homes remotely. However, to access and view the live feed from your home security cameras, you may need to update your computer and make sure it meets the necessary requirements.
In this article, we will walk you through the step-by-step process of updating your computer to see your home security cameras. Whether you are using a Windows PC or a Mac, these instructions will help you ensure that your computer is fully compatible and equipped to handle the streaming of live video from your surveillance cameras.
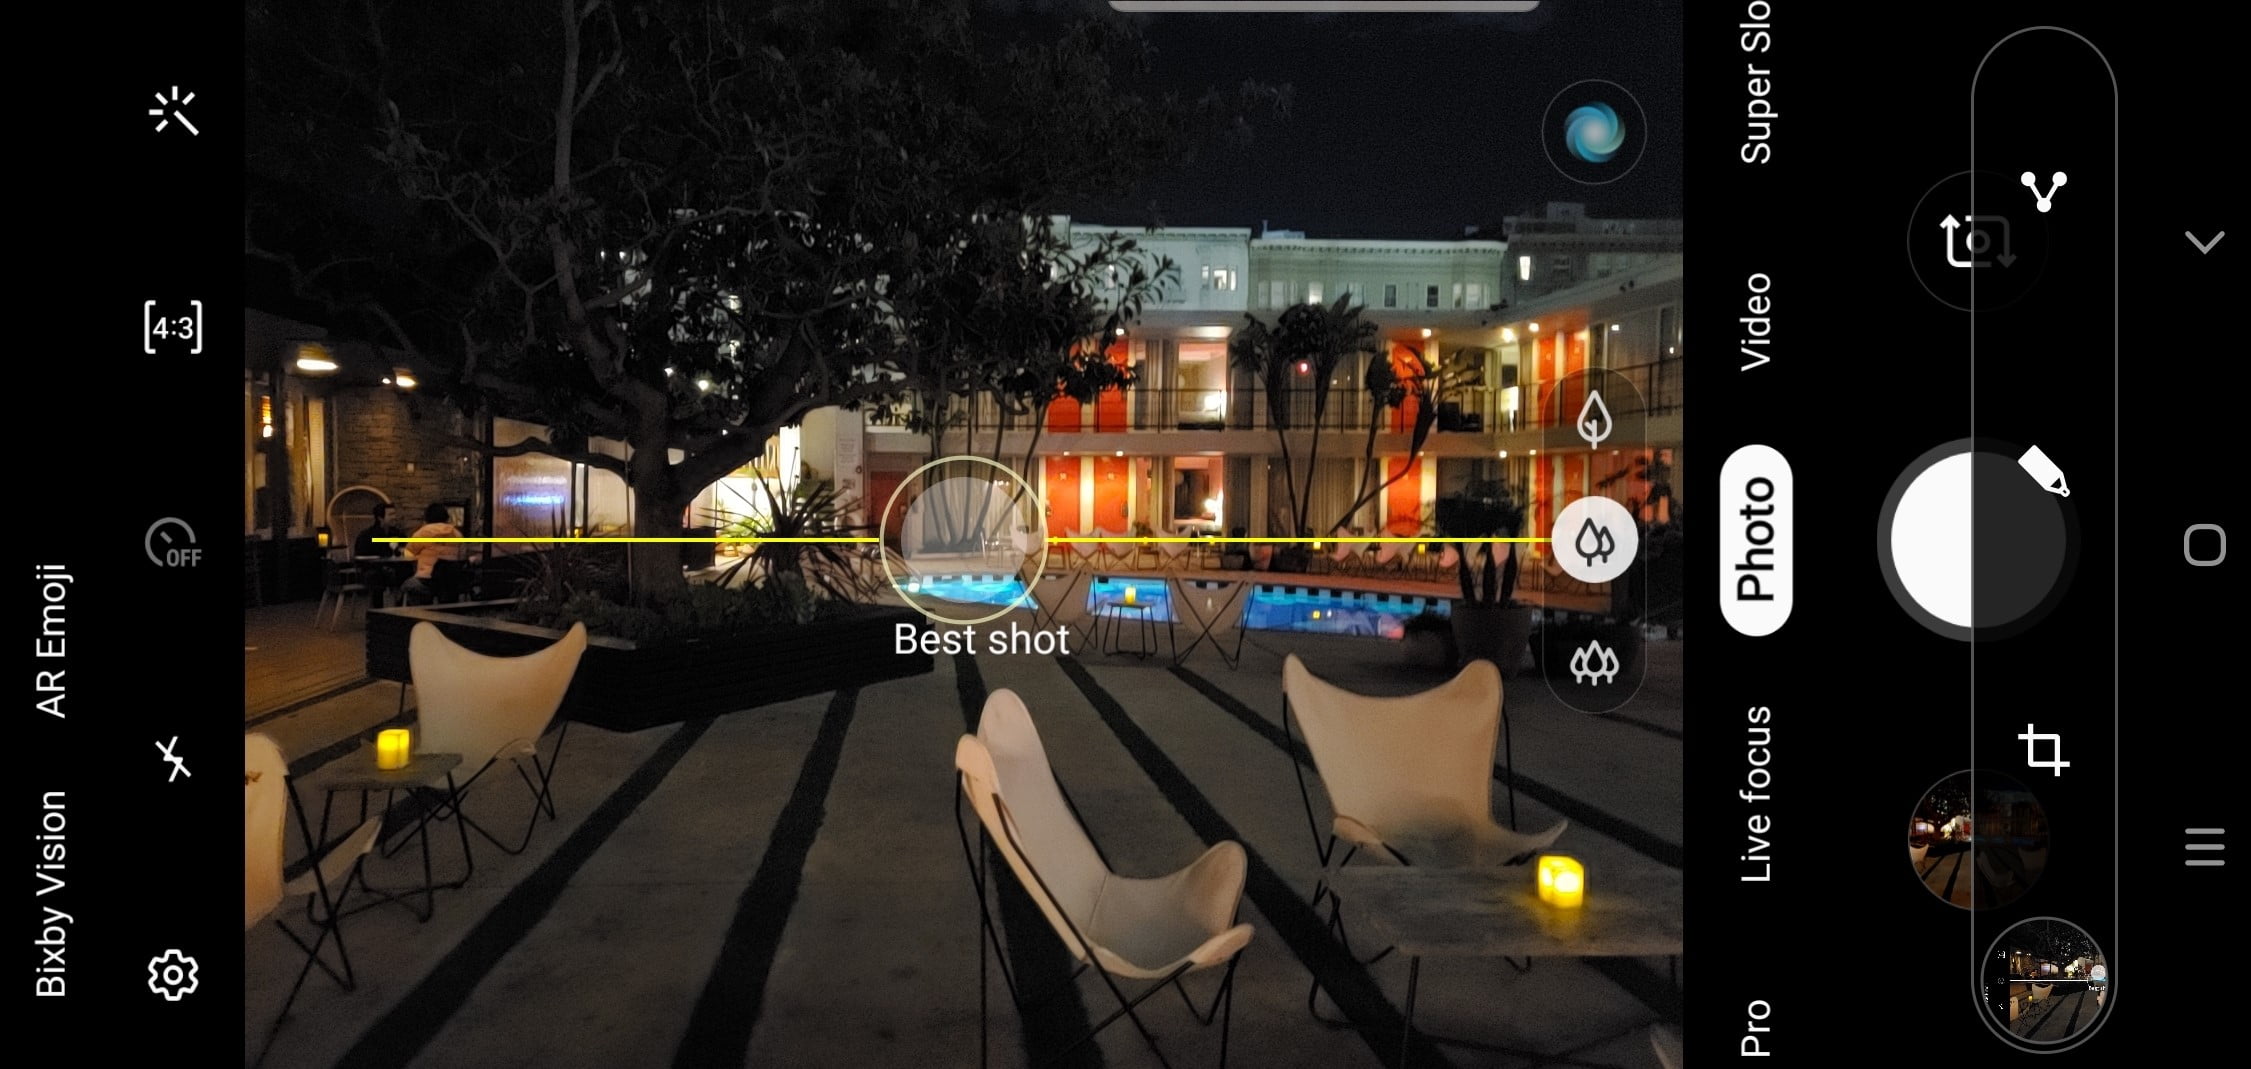
Before we delve into the steps, it is important to understand that different security camera systems may have specific software or driver requirements. Therefore, it is best to consult the user manual or the manufacturer’s website of your particular security camera system for detailed instructions. However, the general steps outlined in this article should apply to most home security camera systems.
Key Takeaways:
- Ensure your computer meets security camera system requirements for smooth live feed access. Upgrade hardware if necessary.
- Keep your computer updated, install necessary software, configure settings, and test the connection for seamless home security camera monitoring.
Step 1: Checking the System Requirements
Before you update your computer, it’s important to ensure that it meets the minimum system requirements for accessing and viewing your home security cameras. This will ensure a smooth and seamless experience without any technical issues.
Start by checking the specifications of your security camera system. Look for information regarding the minimum requirements for the operating system, processor, RAM, and graphics card. This information can usually be found in the user manual or on the manufacturer’s website.
Once you have identified the minimum system requirements, compare them to the specifications of your computer. Check the operating system version, processor speed and type, amount of RAM, and the graphics card model. If any of these components do not meet the minimum requirements, it may be necessary to upgrade or replace them in order to view your home security cameras.
It’s also important to consider the available storage space on your computer. Streaming live video from security cameras requires a significant amount of bandwidth and storage capacity. Make sure you have enough free space to accommodate the recordings and any additional software or drivers that may need to be installed.
Additionally, check the compatibility of your computer with the security camera’s video format. Some cameras may use specific video compression formats that require specific codecs to be installed on your computer. Make sure your computer supports the required video formats to ensure smooth playback of the recorded and live video feeds.
By thoroughly checking your computer’s specifications and ensuring that they meet the minimum requirements, you can proceed with confidence to the next steps of updating your computer to see your home security cameras.
Step 2: Updating the Operating System
Updating your operating system is crucial for staying up-to-date with the latest security patches and software improvements. It also ensures compatibility with the latest applications and drivers, including those needed for viewing your home security cameras.
If you’re using a Windows computer, you can check for updates by clicking on the Start menu and selecting “Settings”. From there, navigate to “Update & Security” and click on “Windows Update”. Windows will then check for any available updates and prompt you to download and install them.
For Mac users, updates can be found in the “Apple” menu by selecting “System Preferences” and then “Software Update”. Here, you can check for available updates and install them on your computer.
While installing updates, it’s important to connect your computer to a stable internet connection to ensure a smooth and uninterrupted download process. Depending on the size of the update, it may take some time to complete, so be patient.
After completing the update, restart your computer to apply the changes. This will ensure that any security patches and software improvements are fully implemented.
Remember to periodically check for updates in the future to ensure that your operating system remains up-to-date and continues to meet the requirements for viewing your home security cameras.
Upgrading your operating system also provides added security benefits by protecting your computer against potential vulnerabilities and malware. By keeping your computer’s operating system updated, you can have peace of mind knowing that your home security cameras are being accessed on a secure and protected platform.
Step 3: Updating the Web Browser
After updating your operating system, the next step is to ensure that your web browser is up-to-date. This is important because many security camera systems rely on web-based interfaces for viewing and accessing the live feed from your cameras.
Updating your web browser will not only provide you with the latest features and improvements but also ensure that it is compatible with the web-based interface of your security camera system.
If you’re using Google Chrome, you can update it by clicking on the three vertical dots in the top-right corner of the browser window. From the drop-down menu, hover over “Help” and select “About Google Chrome”. Chrome will then automatically check for updates and install them if available.
For Firefox users, click on the three horizontal lines in the top-right corner and select “Options”. From there, click on “General” in the left sidebar and scroll down to the “Firefox Updates” section. Click on the “Check for updates” button and follow the prompts to update your browser.
If you’re using Safari on your Mac, updating the browser is done through the “Apple” menu. Click on “System Preferences”, then select “Software Update” to check for available updates and install them.
It’s important to note that some security camera systems may require specific browser versions or plugins. Check the user manual or manufacturer’s website to ensure compatibility with your chosen web browser.
After updating your web browser, it’s recommended to clear your browser cache and cookies. This will ensure that any outdated or conflicting data is removed, allowing your browser to function optimally with your security camera system.
By keeping your web browser updated, you’ll have the best possible viewing experience and ensure compatibility with the web-based interface of your home security cameras.
Make sure your computer meets the minimum system requirements for your home security camera system. Check for software updates and firmware updates for both your computer and the security cameras. Ensure that your computer has the necessary ports or adapters to connect to the cameras.
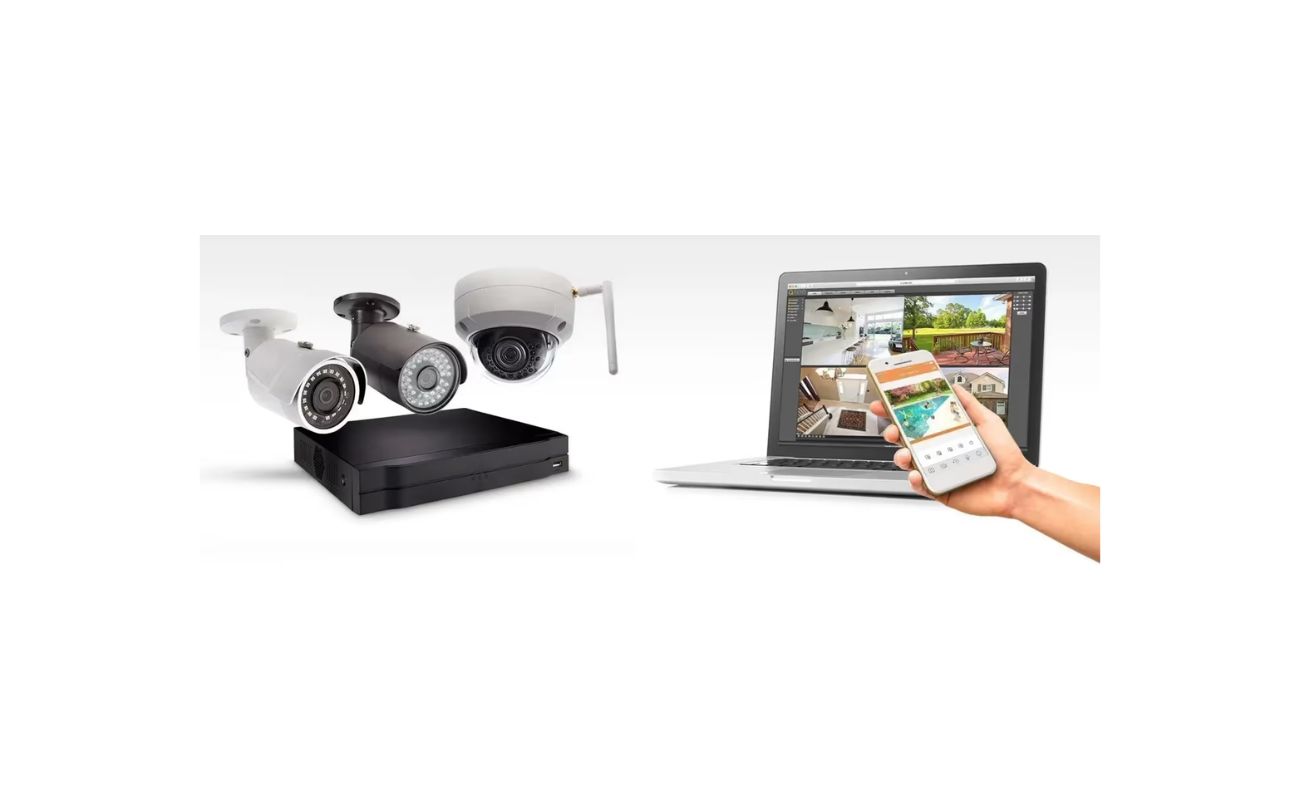
Step 4: Installing Security Camera Software or Drivers
Once your operating system and web browser are up-to-date, the next step is to install any necessary software or drivers required by your home security camera system. This step may vary depending on the brand and model of your security cameras.
Start by referring to the user manual or the manufacturer’s website for instructions on how to install the software or drivers. They will provide you with the necessary files and guidelines specific to your camera system.
In some cases, the software or drivers may be included on a CD or DVD that comes with the camera system. If this is the case, insert the disc into your computer and follow the installation prompts. However, it’s recommended to visit the manufacturer’s website to ensure that you have the latest version of the software or drivers.
If the software or drivers are not available on a disc, you’ll typically find a download link on the manufacturer’s website. Click on the link to begin the download. Once the file is downloaded, locate it on your computer, double-click to start the installation process, and follow the instructions provided.
During the installation process, you may be prompted to restart your computer. It’s important to follow these prompts to ensure that the software or drivers are properly installed and integrated into your computer’s operating system.
After the installation is complete, launch the software to configure and connect to your home security cameras. The software should provide step-by-step instructions on how to add your cameras and set up the desired settings. Make sure to follow the instructions carefully to ensure a successful setup.
If you encounter any issues during the installation process, consult the user manual or contact the manufacturer’s customer support for assistance. They will be able to guide you through any troubleshooting steps and help you get your security camera system up and running.
By installing the necessary software or drivers, you’ll be able to establish a smooth connection between your computer and your home security cameras, allowing you to access the live feed and control the camera settings with ease.
Step 5: Configuring Firewall and Antivirus Settings
Ensuring that your firewall and antivirus settings are configured properly is crucial for maintaining the security of your computer while accessing your home security cameras. Firewalls help to monitor incoming and outgoing network traffic, while antivirus software protects your computer from malware and other threats.
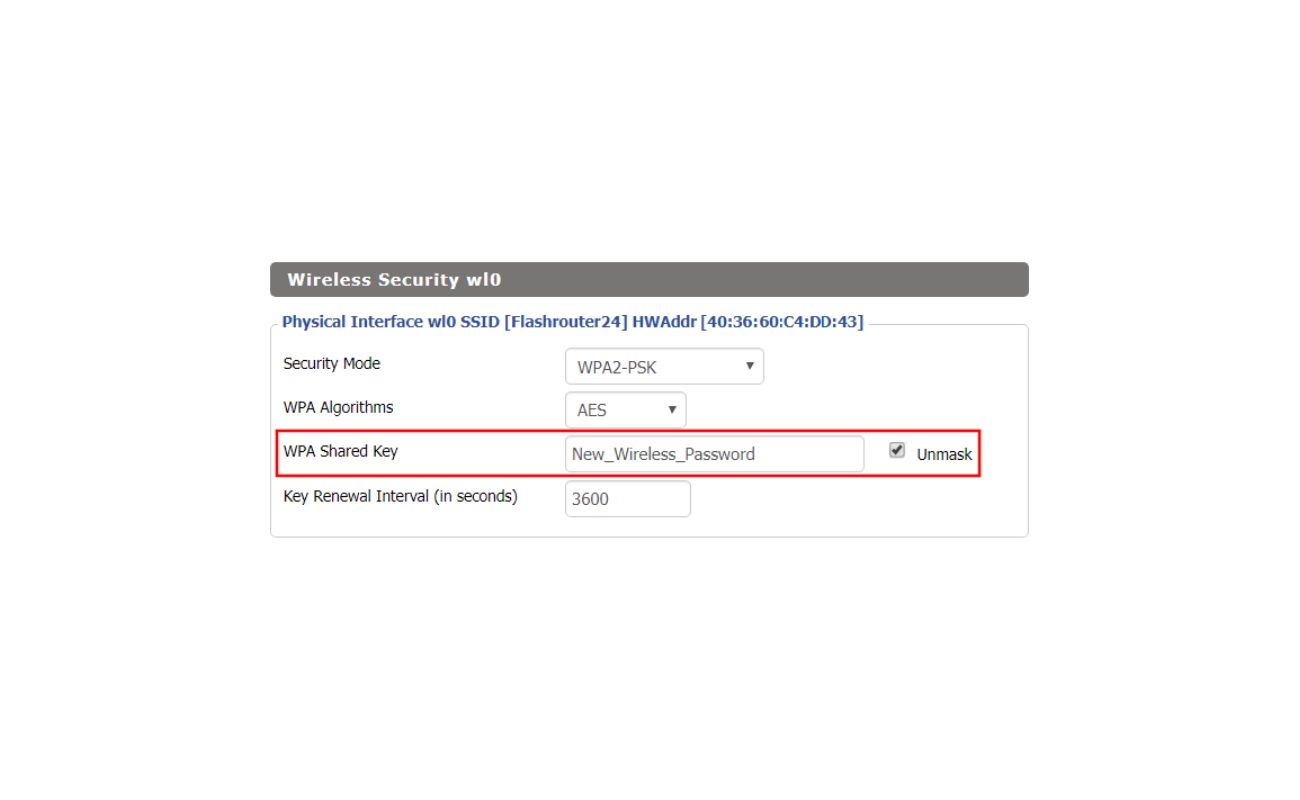
Start by checking your firewall settings to ensure that they allow the necessary network communication for your security camera system. Depending on the firewall software you are using, you may need to create an exception or allow incoming and outgoing connections for the camera software or specific ports used by your security cameras. Refer to the user manual or the firewall software’s documentation for guidance on configuring the firewall settings.
Next, make sure that your antivirus software is not blocking or flagging any components of your security camera system as potential threats. Some antivirus programs may mistakenly identify certain camera software files or drivers as suspicious and either quarantine or block them. To prevent this, add the camera software or its related files to the antivirus software’s exception list or whitelist. This will prevent the antivirus from interfering with the functioning of your security camera system.
Regularly update your firewall and antivirus software to ensure that you have the latest security patches and definitions. This will provide you with an extra layer of protection against emerging threats and vulnerabilities.
It’s important to note that while it’s essential to configure your firewall and antivirus settings, always prioritize the security of your computer and network. Be cautious when modifying these settings to avoid compromising the overall security of your system.
If you’re unsure about how to configure your firewall or antivirus settings, consult the documentation of the respective software or seek assistance from the software’s support team. They will be able to guide you through the process and address any concerns you may have.
By configuring your firewall and antivirus settings appropriately, you can ensure a secure and reliable connection between your computer and your home security cameras.
Step 6: Testing the Connection to Home Security Cameras
After completing all the previous steps, it’s time to test the connection between your computer and your home security cameras. This will ensure that everything is set up correctly and that you can successfully view the live feed from your cameras.
Start by launching the security camera software that you installed in Step 4. This software will provide you with options to add your cameras and configure the settings. Follow the instructions provided by the software to add your cameras to the system. This typically involves entering the camera’s IP address or scanning a QR code provided by the manufacturer.
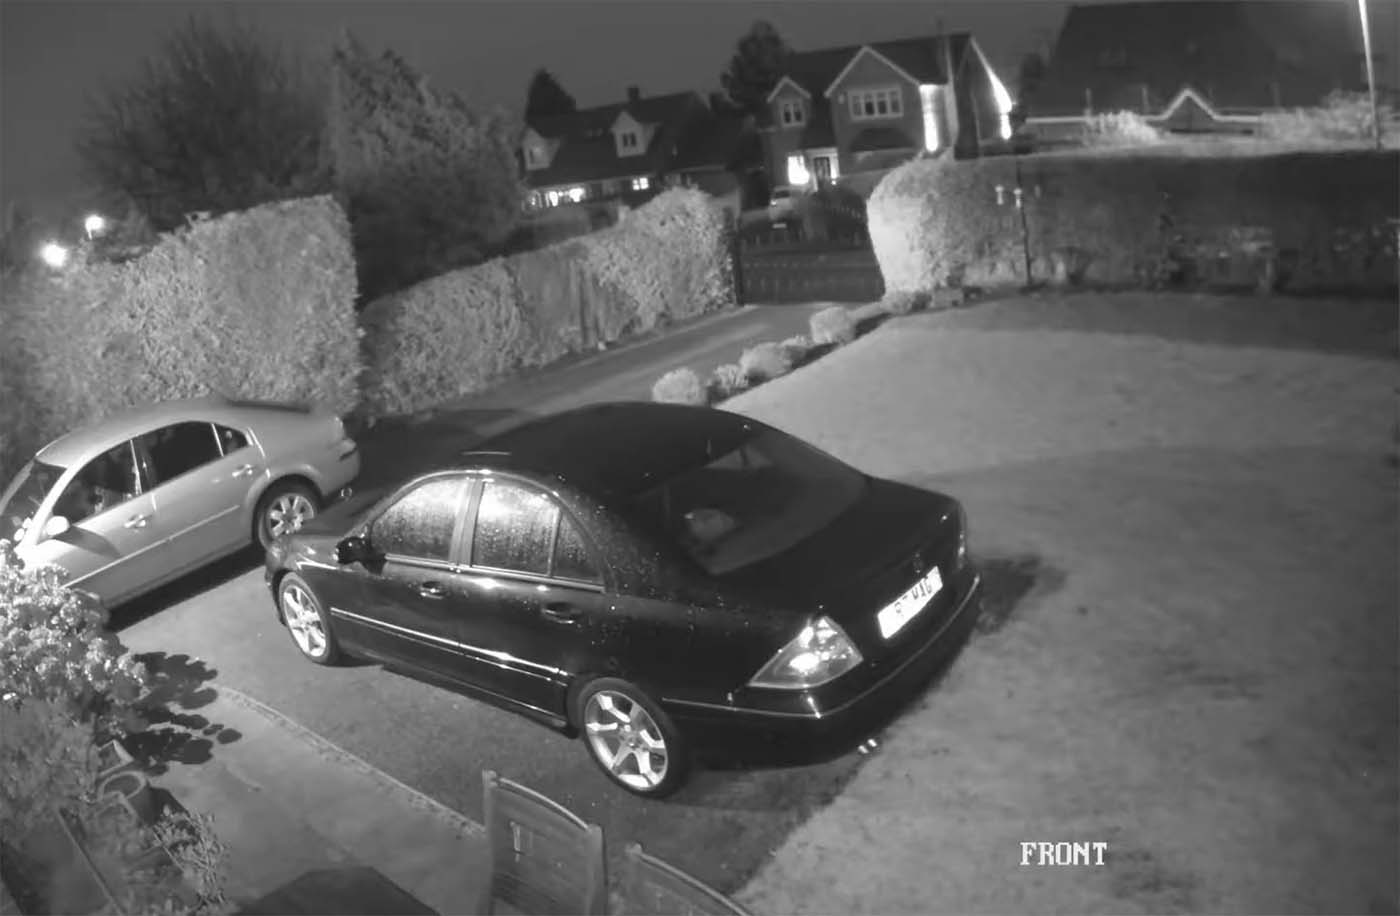
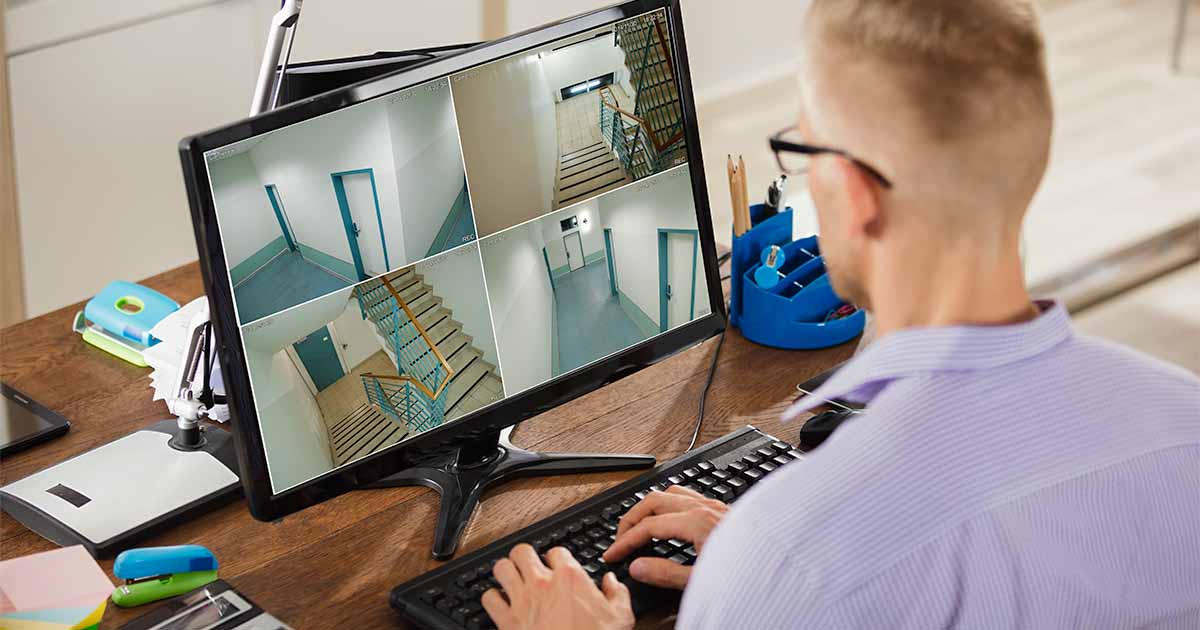
Once the cameras are added, you should see the live feed from each camera displayed on your computer screen. Test each camera individually to make sure that the feed is clear and that you can control the camera’s movements, if applicable. Additionally, check for any lag or delay in the video feed, as this could indicate a connectivity issue or inadequate hardware resources.
If you encounter any issues during this step, double-check the settings and configurations you made in the previous steps. Ensure that your computer and cameras are connected to the same network and that all the necessary software and drivers are installed and up-to-date.
If you’re still unable to establish a connection, consult the troubleshooting guide provided by the camera manufacturer or contact their customer support for assistance. They will be able to walk you through further troubleshooting steps and help resolve any connectivity issues.
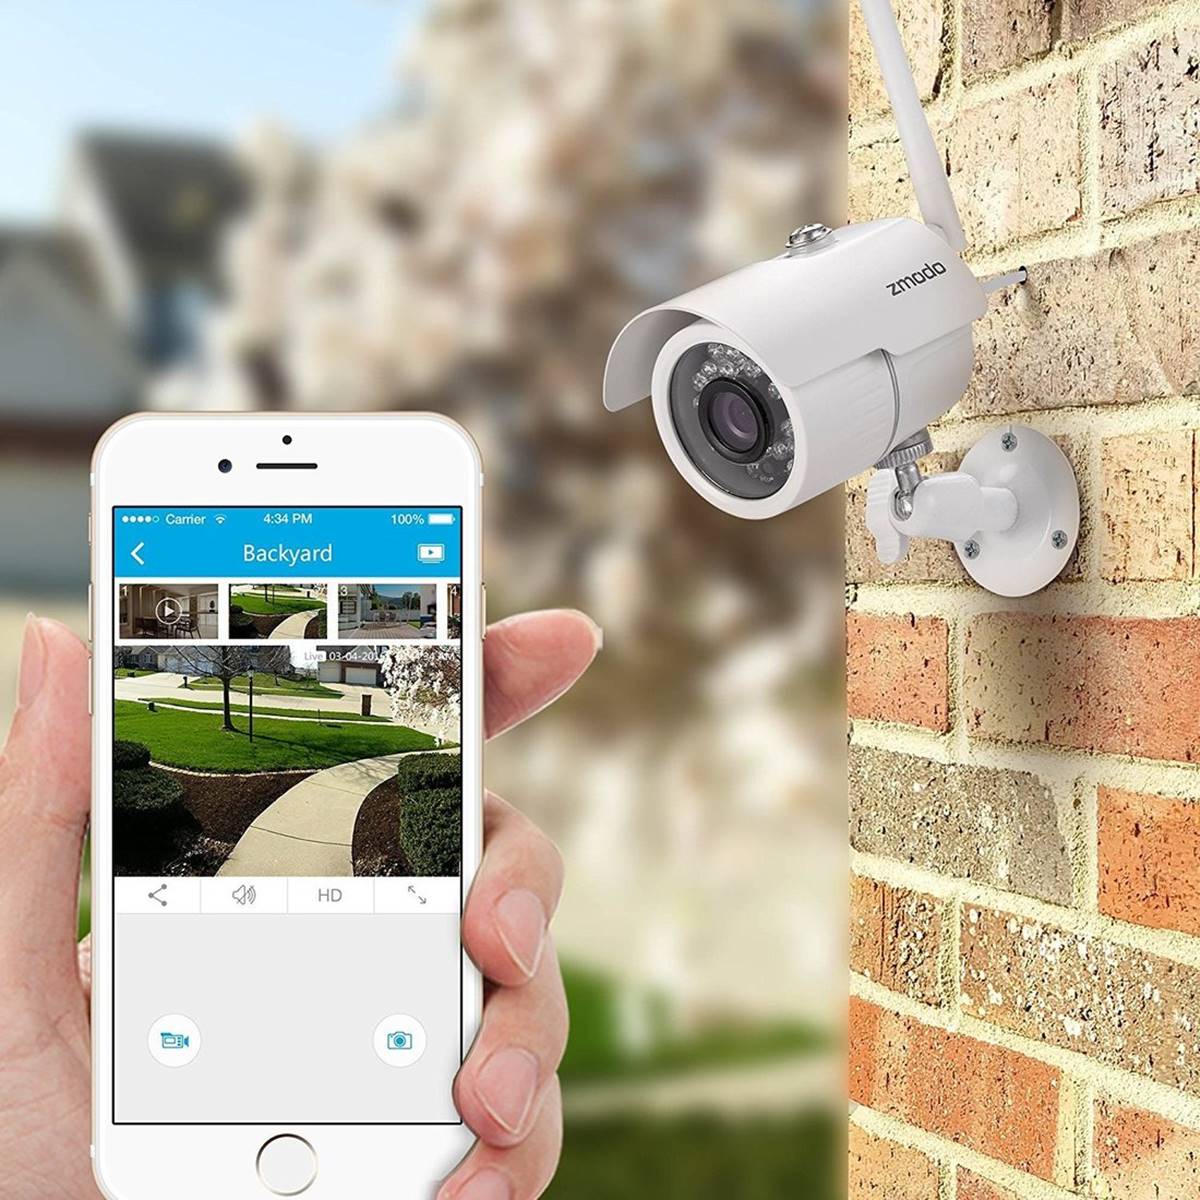
It’s also a good practice to test the connection from a different device, such as a smartphone or tablet, to verify that you can access the security camera feed from multiple platforms. This will ensure that you have the flexibility to monitor your home from different devices, whether you’re at home or on the go.
By thoroughly testing the connection to your home security cameras, you can rest assured that you have successfully updated your computer and are now able to view the live feed from your cameras with ease.
Conclusion
Updating your computer to see your home security cameras is a crucial step in ensuring the effective monitoring and protection of your property. By following the step-by-step process outlined in this article, you can ensure that your computer meets the necessary requirements for accessing and viewing your security camera feed.
Begin by checking the system requirements of your security camera system and comparing them to the specifications of your computer. If needed, upgrade or replace hardware components to ensure compatibility.
Next, update your operating system and web browser to the latest versions. This will provide you with improved security, compatibility, and functionality while accessing your security camera system.
Install any necessary software or drivers for your security camera system as per the instructions provided by the manufacturer. Ensure that the installation is successful and that you can control and view the live feed from your cameras.
Configure your firewall and antivirus settings to allow for proper network communication and to prevent any interference or blocking of your security camera system.
Finally, test the connection between your computer and your home security cameras to ensure a smooth and reliable live feed. Troubleshoot any issues that may arise during this step to ensure a seamless monitoring experience.
By following these steps, you can confidently update your computer and enjoy the peace of mind that comes with being able to monitor your home and loved ones with your home security cameras.
Remember to periodically check for updates and maintain the security of your computer and network to ensure the continued functionality and reliability of your security camera system.
Frequently Asked Questions about How I Can Update My Computer To See My Home Security Cameras
Was this page helpful?
At Storables.com, we guarantee accurate and reliable information. Our content, validated by Expert Board Contributors, is crafted following stringent Editorial Policies. We're committed to providing you with well-researched, expert-backed insights for all your informational needs.