Home>Home Security and Surveillance>How To Watch My Security Camera On My Computer

Home Security and Surveillance
How To Watch My Security Camera On My Computer
Modified: August 28, 2024
Learn how to watch your home security camera footage on your computer with our step-by-step guide. Ensure your peace of mind with home security and surveillance.
(Many of the links in this article redirect to a specific reviewed product. Your purchase of these products through affiliate links helps to generate commission for Storables.com, at no extra cost. Learn more)
Introduction
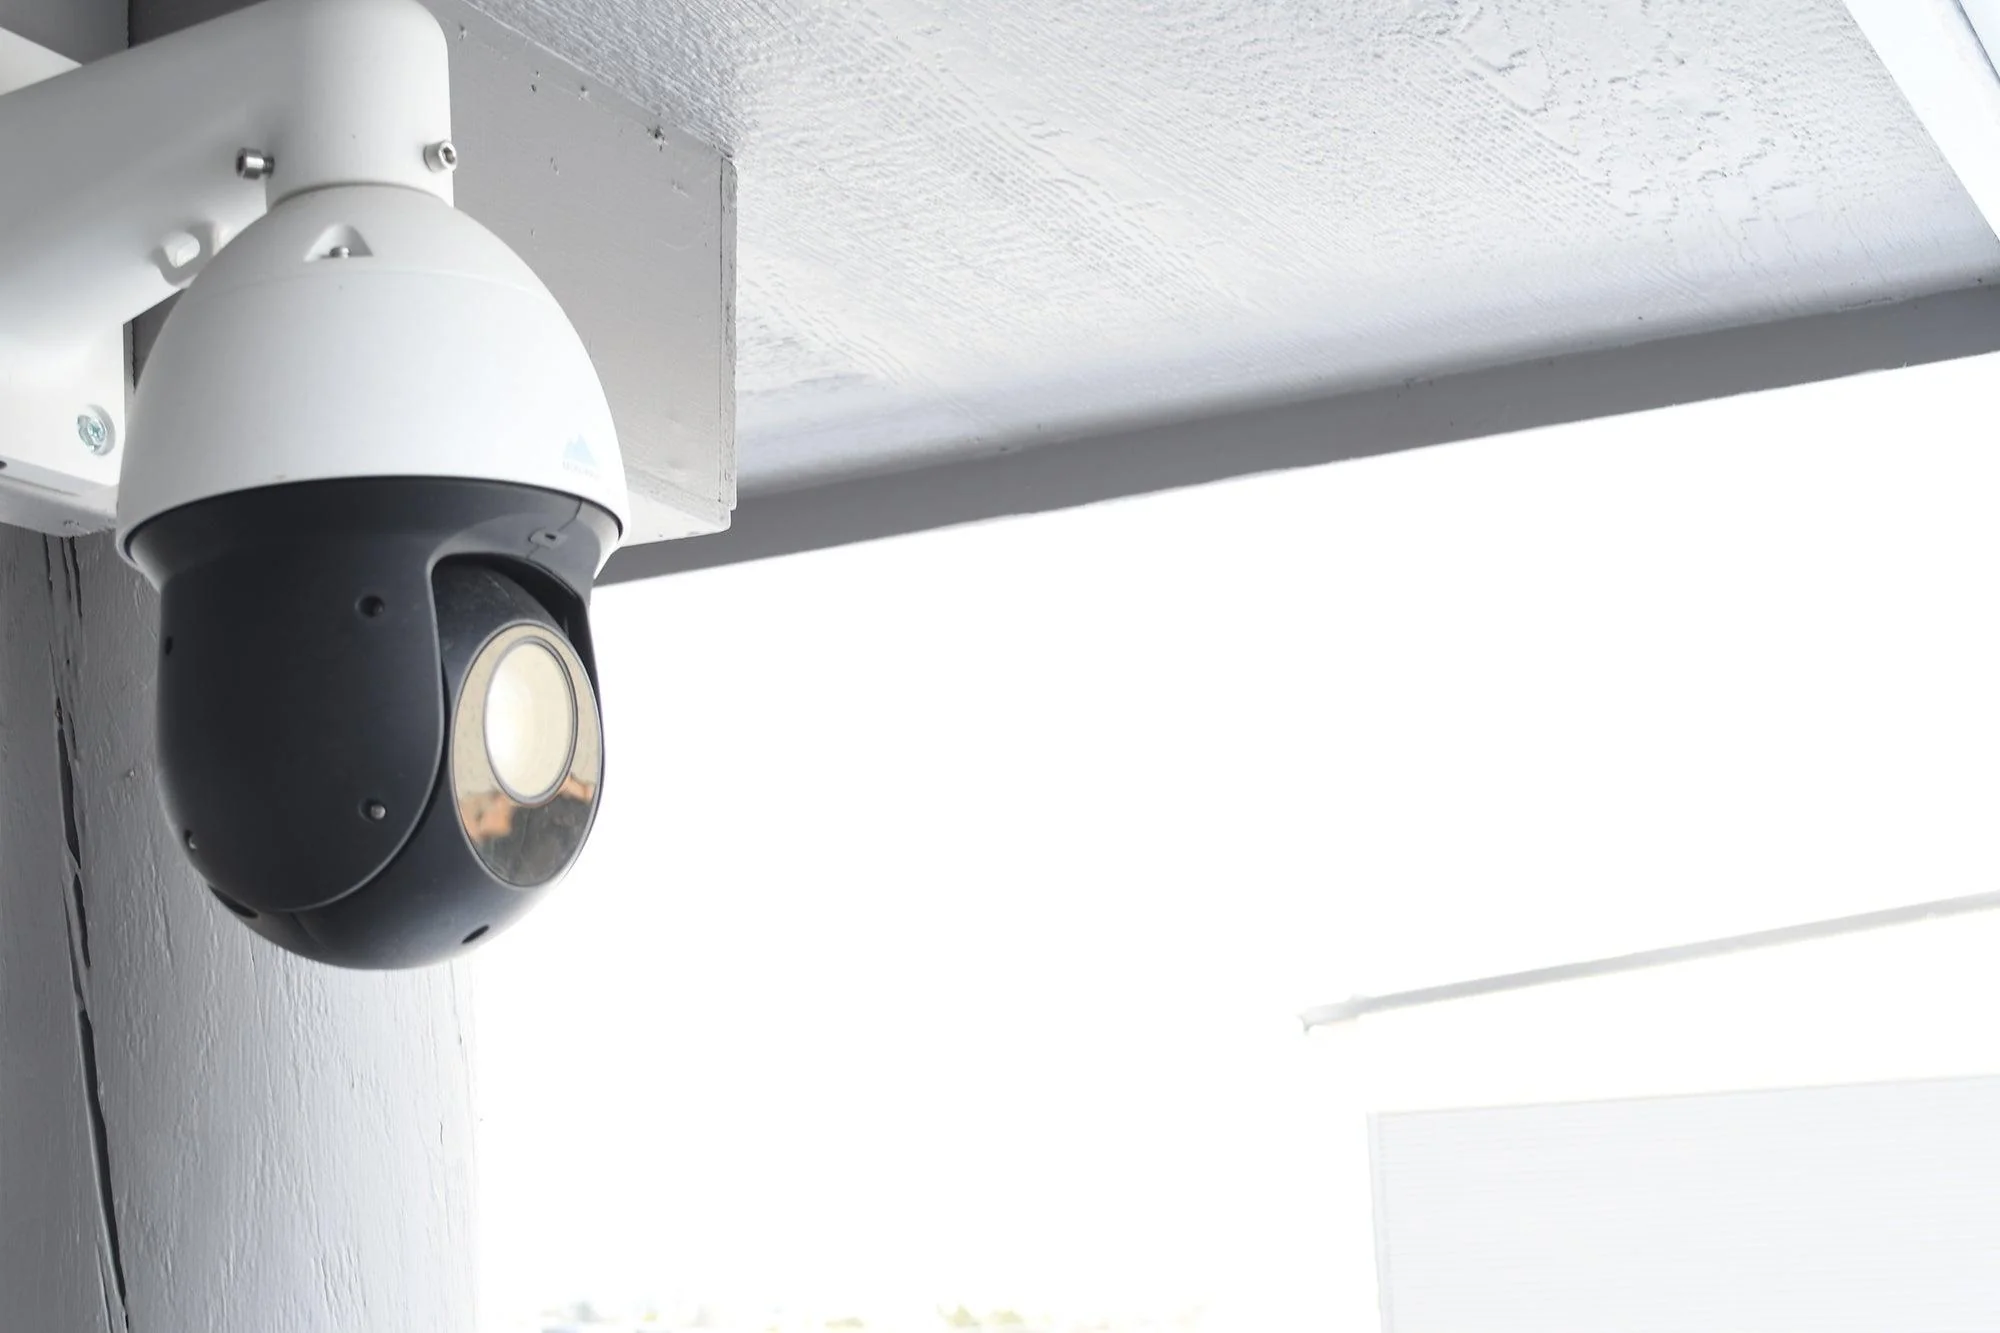
Home security and surveillance systems play a crucial role in safeguarding our homes and providing peace of mind. With advancements in technology, it is now possible to monitor your security camera footage directly on your computer, giving you access to live video feeds and recorded footage. Whether you want to keep an eye on your property, monitor your children, or simply enhance your overall security, being able to watch your security camera on your computer provides convenience and flexibility.
In this article, we will walk you through the step-by-step process of how to watch your security camera on your computer. From checking camera compatibility to accessing the camera feed and troubleshooting common issues, we have got you covered. So, let’s dive in and get started!
Key Takeaways:
- Easily monitor your security camera on your computer by checking compatibility, connecting the camera, installing software, and troubleshooting common issues for a seamless viewing experience.
- Customize camera settings and access live and recorded footage to optimize your security camera’s performance and ensure the safety of your property and loved ones.
Step 1: Check camera compatibility with computer
Before diving into the setup process, it’s important to ensure that your security camera is compatible with your computer. This will ensure a seamless connection and smooth viewing experience. Here’s how you can check the compatibility:
- Check camera specifications: Look for the camera’s specifications either in the user manual or on the manufacturer’s website. Verify if the camera supports computer connectivity and is compatible with your computer’s operating system.
- Consider connection options: Different security cameras offer various connection options, such as USB, Ethernet, or wireless. Determine which connectivity option suits your computer and ensure that your computer supports it.
- Check software requirements: Some security cameras require specific software to be installed on your computer in order to access the camera feed. Check whether your computer meets the software requirements and if it is compatible with the camera’s software.
By checking these compatibility factors, you can avoid any potential issues and ensure a successful connection between your security camera and your computer.
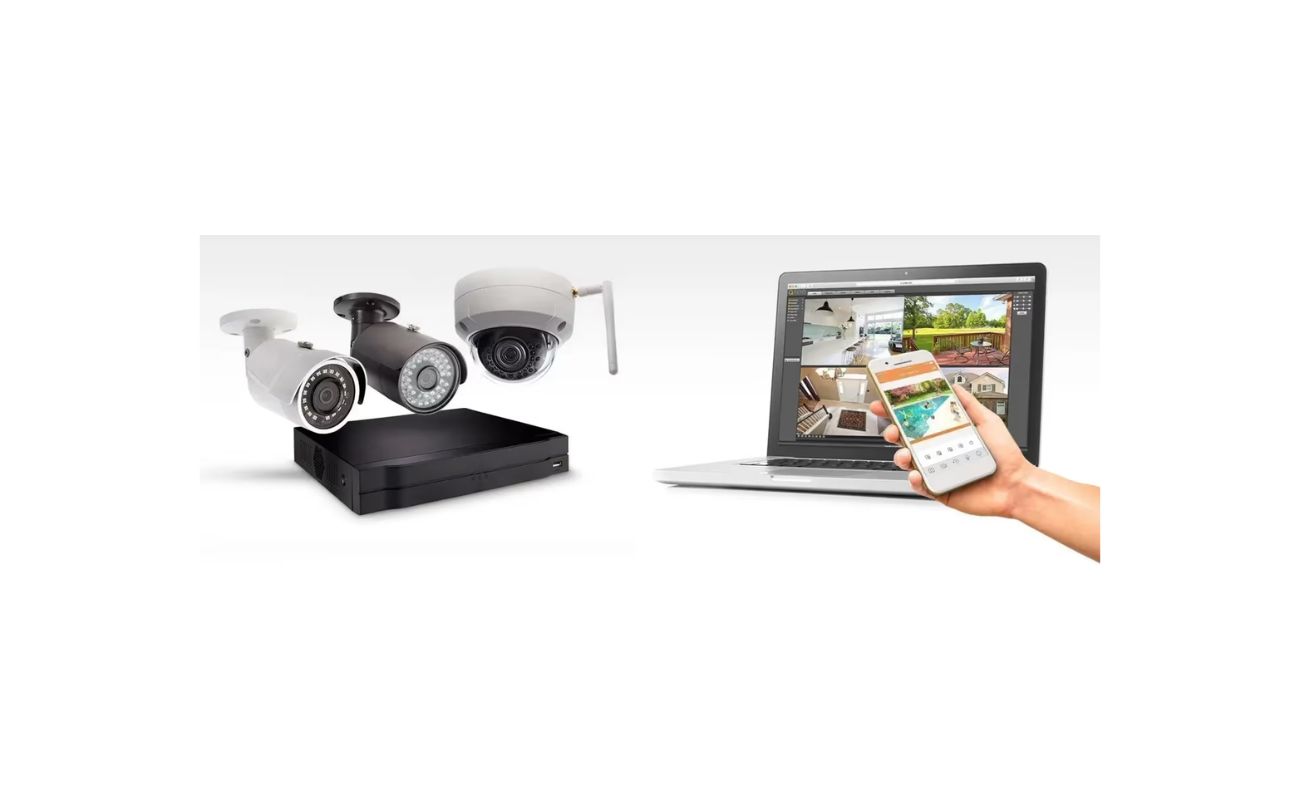
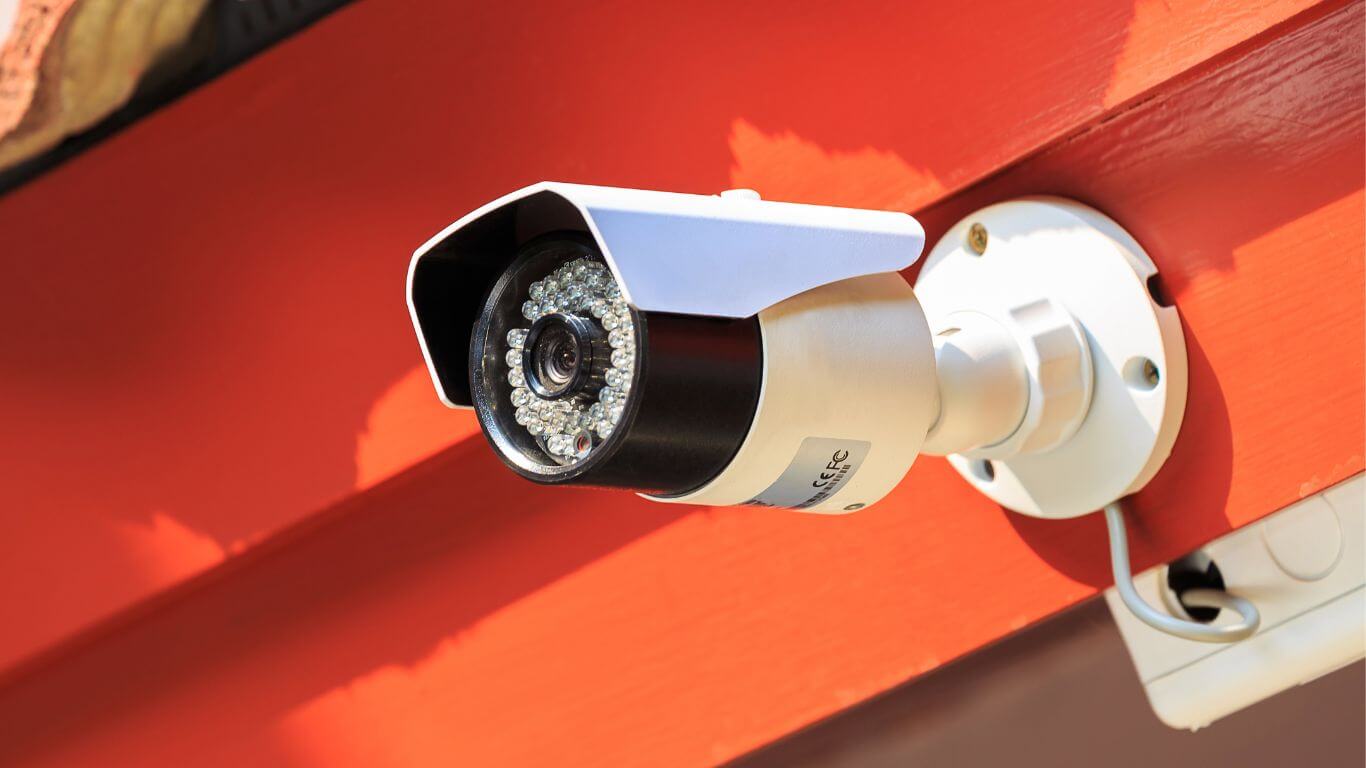
Step 2: Connect camera to computer
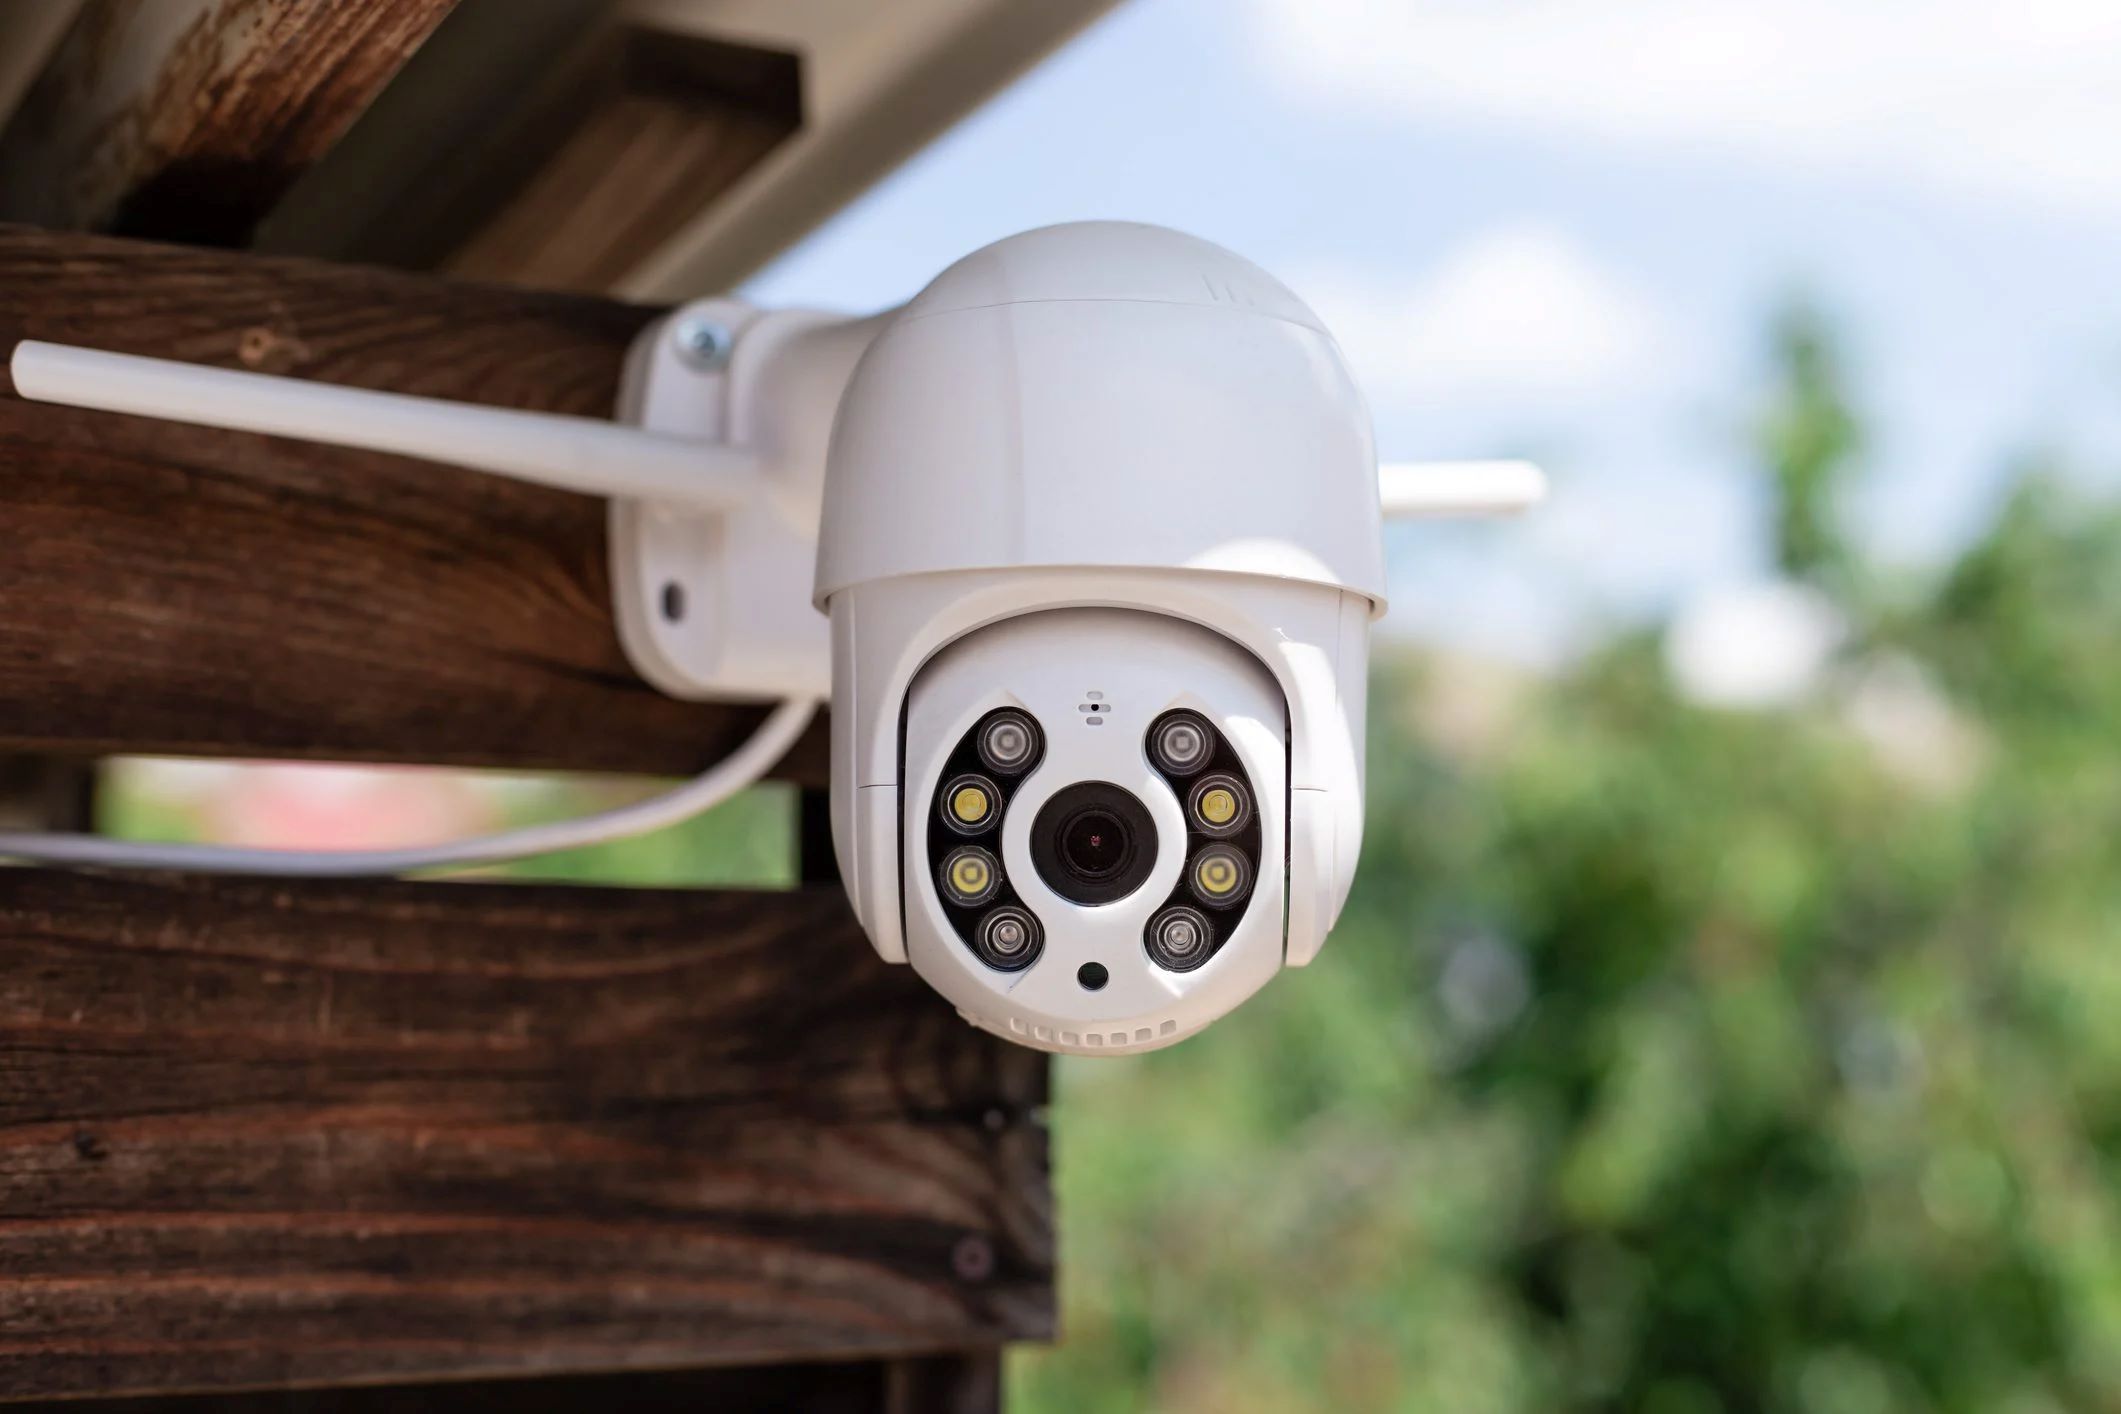
Now that you have verified the compatibility between your security camera and computer, it’s time to establish a physical connection. The method of connection will depend on the type of security camera you have. Here are the most common ways to connect your camera to your computer:
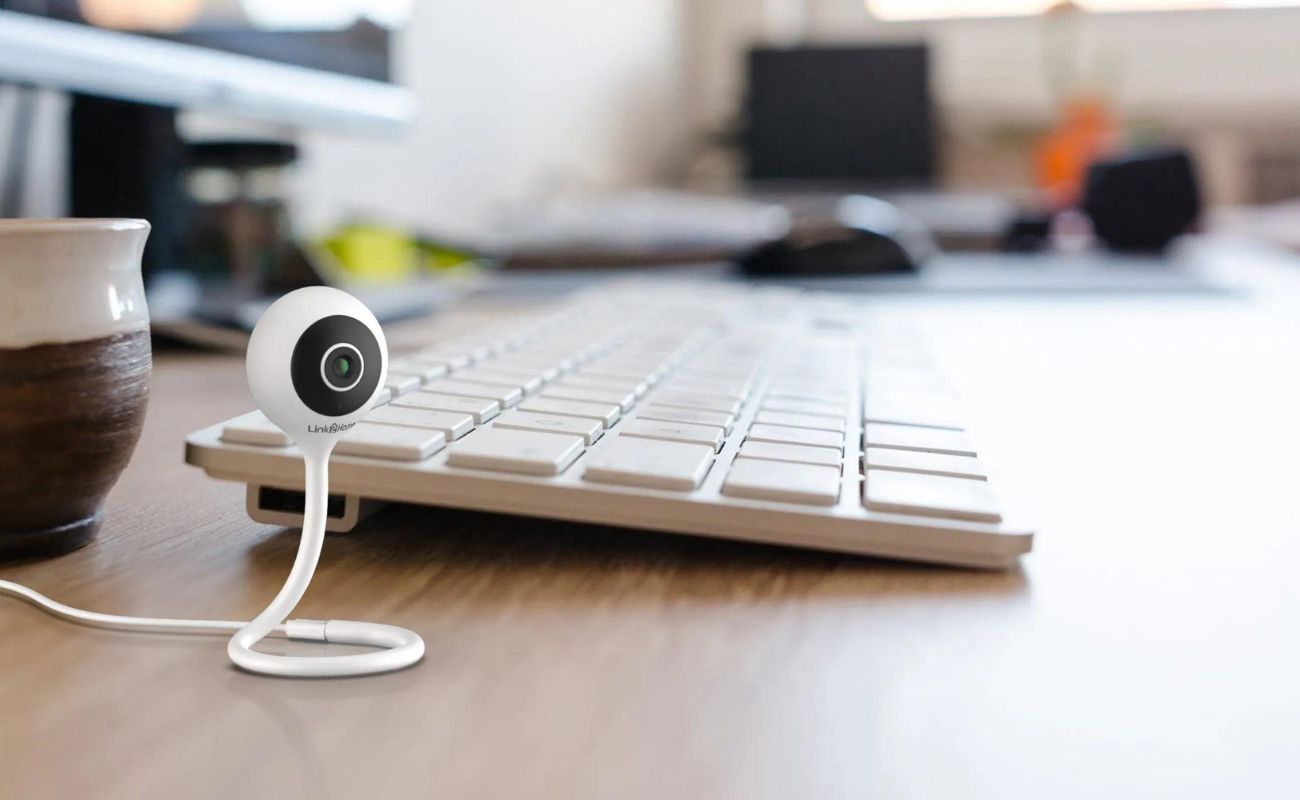
- USB connection: If your camera supports USB connectivity, simply connect one end of the USB cable to the camera and the other end to an available USB port on your computer.
- Ethernet connection: For cameras that have an Ethernet port, you can use an Ethernet cable to connect the camera to your computer’s Ethernet port. This provides a stable and reliable connection.
- Wireless connection: If your camera is Wi-Fi enabled, you can connect it to your computer wirelessly. Refer to the camera’s user manual for instructions on how to connect it to your computer’s Wi-Fi network.
Once you have made the physical connection between your camera and computer, proceed to the next step to install the necessary software.
Step 3: Install camera software on computer
After successfully connecting your security camera to your computer, the next step is to install the required software to access the camera feed. The software may vary depending on the brand and model of your camera. Here’s how you can install the camera software:
- Check the camera package: Most cameras come with a CD or DVD that contains the necessary software. Check the camera package for an installation disc. If your computer doesn’t have a disc drive, you can usually find the software on the manufacturer’s website.
- Visit the manufacturer’s website: If you don’t have the installation disc or need to update the software, visit the manufacturer’s website. Look for the support or download section and search for the software specific to your camera model.
- Download and install the software: Once you have located the correct software, download it to your computer. Run the installation file and follow the on-screen prompts to install the software. Make sure to read and accept any license agreements or terms of use.
- Configure the software settings: After the software installation is complete, launch the application. In the settings or configuration menu, you may need to specify the camera model or provide the IP address of the camera to establish the connection. Follow the instructions in the software’s user manual or on-screen prompts for the specific setup process.
By installing the camera software on your computer, you can now proceed to the next step to set up your camera and start viewing the feed.
Step 4: Set up camera on computer
With the camera software installed on your computer, it’s time to set up your security camera and configure it for use. The exact steps may vary depending on the software and camera model, but here’s a general guideline to help you get started:
- Launch the camera software: Open the camera software on your computer. You may need to enter your login credentials or create a new account if prompted.
- Add the camera: In the camera software, look for an option to “Add” or “Discover” a new camera. The software will search for connected cameras and display them in a list. Select your camera from the list and proceed.
- Configure camera settings: Once the camera is added, you may have access to various settings and options. Depending on your preferences, you can adjust settings such as resolution, frame rate, motion detection, and recording settings. Take your time to explore the available options and customize the camera settings according to your needs.
- Position the camera: Properly position your camera in the desired location, ensuring it captures the desired field of view. Adjust the camera angle and make any necessary physical adjustments to optimize the camera’s performance.
- Test the camera: After configuring the settings and positioning the camera, it’s important to test its functionality. Use the camera software to view the live feed and ensure that the camera is capturing the intended area correctly. Make any additional adjustments if needed.
By setting up your camera on your computer, you are now ready to access the camera feed and monitor your property or desired area.
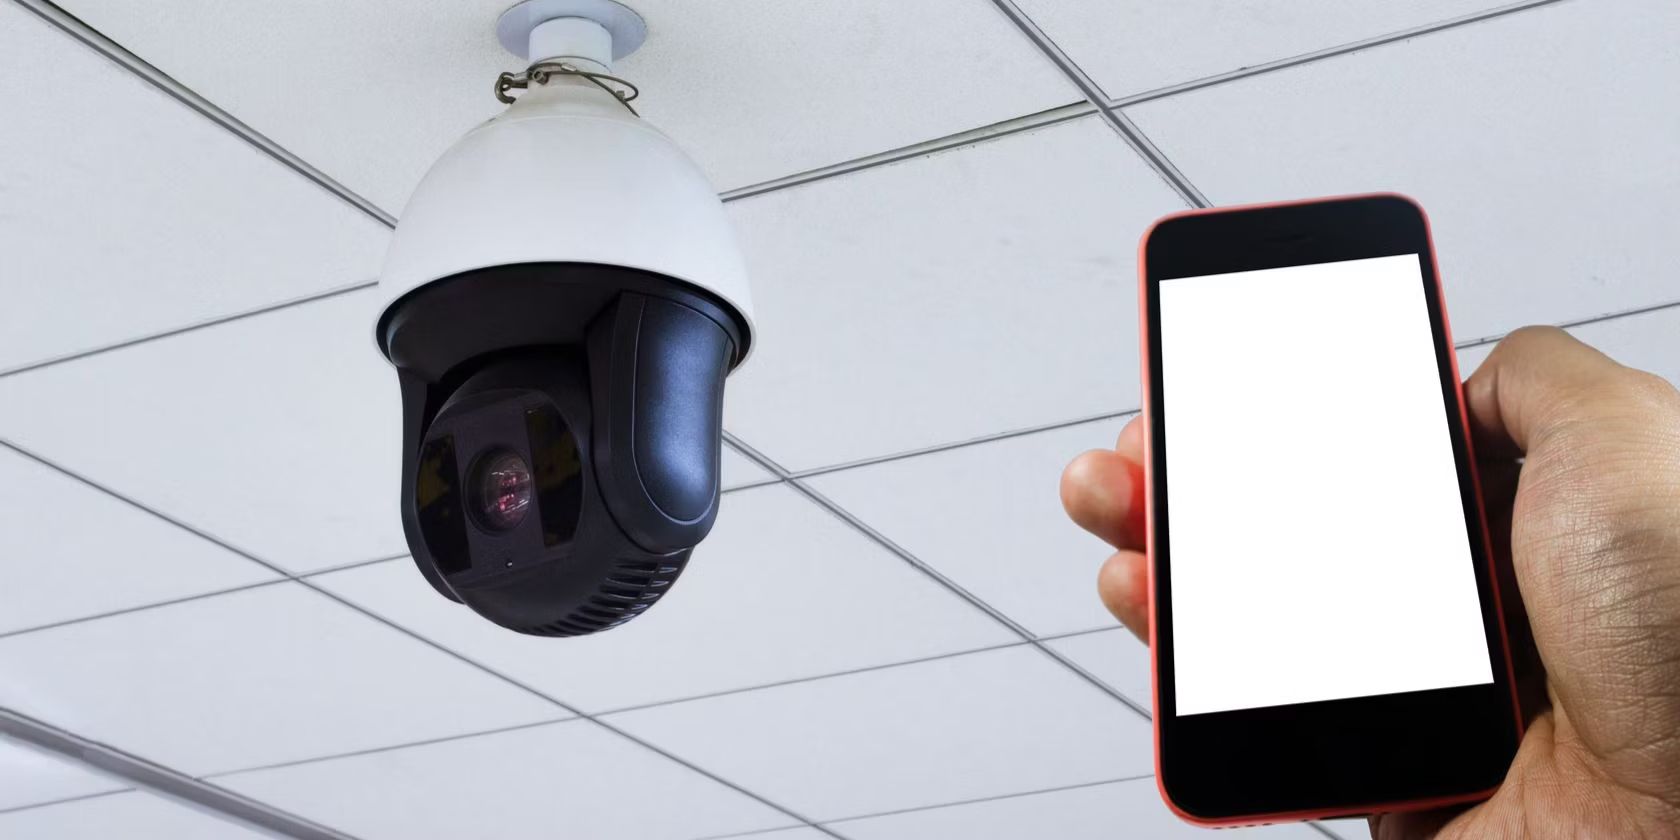
You can watch your security camera on your computer by installing the camera’s software or using a web browser to access the camera’s IP address. Make sure your computer and camera are connected to the same network.
Read more: How To Watch Security Cameras Online
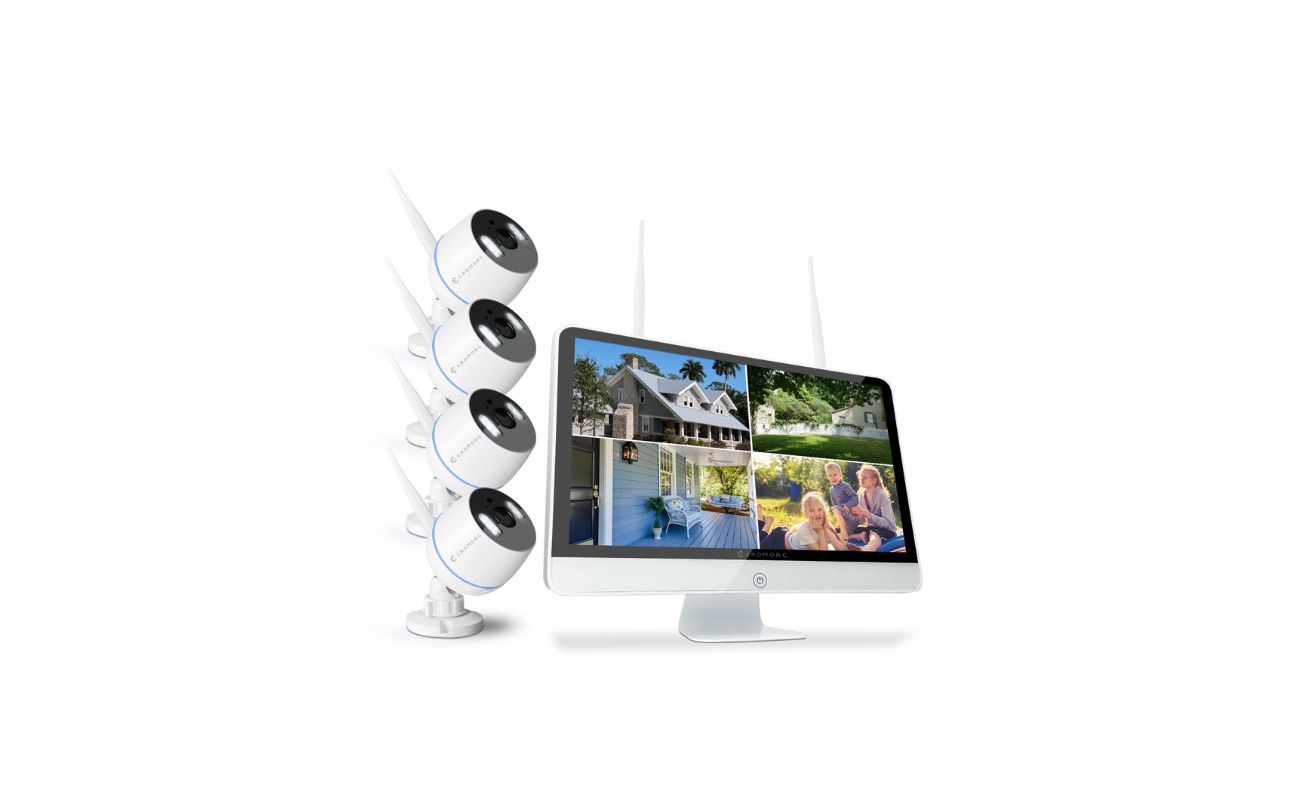
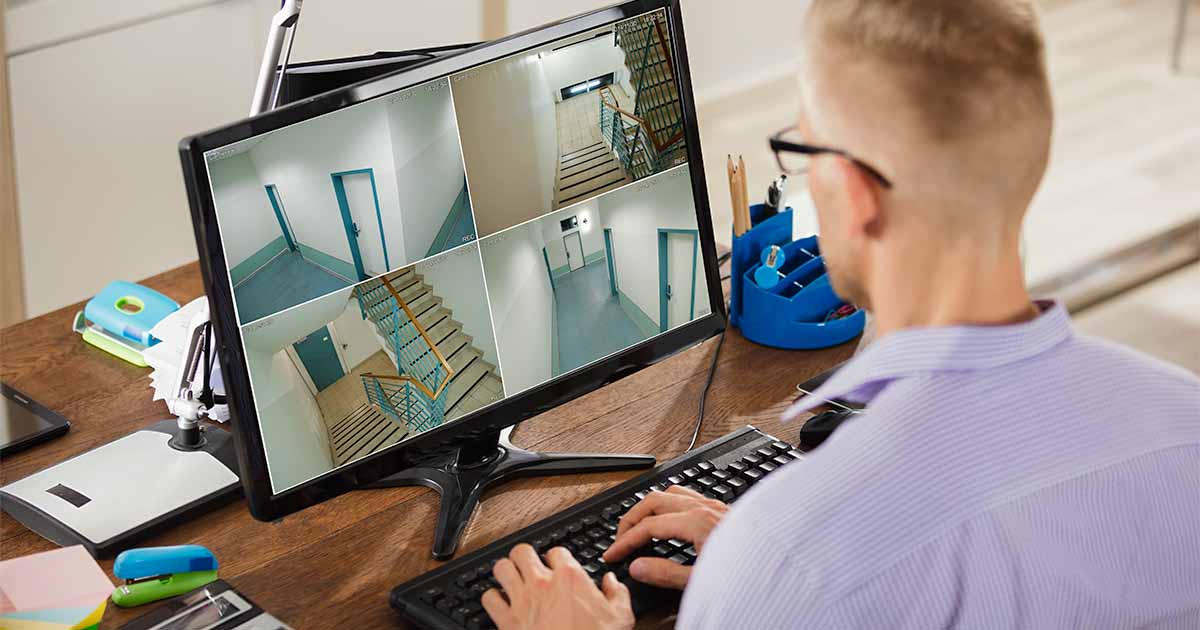
Step 5: Access camera feed on computer
Now that your security camera is set up and configured, you can easily access the camera feed on your computer. Here’s how you can do it:
- Launch the camera software: Open the camera software on your computer. You may need to enter your login credentials if prompted.
- Select the camera: In the camera software, locate the camera you want to access from the list of added cameras. Click on the camera to select it. The camera feed should now appear on the screen.
- View the live feed: Once the camera feed is displayed, you can view the live footage in real-time. Depending on the software, you may have additional features such as pan, tilt, zoom, and audio capabilities to enhance your monitoring experience.
- Access recorded footage: Aside from live viewing, most camera software allows you to access recorded footage. Navigate through the software’s interface to find the recorded footage section. You can typically select a specific date and time range to view the recorded videos or use the search function to find specific events or incidents.
- Save and export footage: If you wish to save or export a video clip from the camera feed, most camera software provides options to do so. You can select the desired portion of the video, choose the file format, and save it to your computer’s storage.
By following these steps, you can easily access and monitor your security camera feed on your computer, allowing you to keep a watchful eye on your property and ensure the safety of your loved ones.
Step 6: Adjust camera settings on computer
To optimize your security camera’s performance and ensure it meets your specific needs, you may need to adjust certain settings. Here’s how you can adjust camera settings on your computer:
- Launch the camera software: Open the camera software on your computer and log in if required.
- Locate the camera settings: Look for a settings or configuration menu within the camera software. This menu will typically allow you to access and adjust various camera settings.
- Resolution and video quality: Adjust the resolution and video quality settings to your desired level. Higher resolution and quality will result in clearer video, but it may also require more storage space.
- Motion detection: If your camera supports motion detection, enable or adjust the sensitivity settings. This feature can be useful for receiving notifications or recording footage only when motion is detected, helping to conserve storage space.
- Recording settings: Choose your preferred recording mode, whether it’s continuous recording or scheduled recording. Adjust the duration of video clips or the time interval between recordings.
- Notifications and alerts: Configure notifications and alerts based on your preferences. You can choose to receive email notifications or push notifications on your mobile device when specific events or motion are detected by the camera.
- Privacy settings: If you want to protect your privacy, check whether your camera has privacy settings. This allows you to disable or enable certain features, such as audio recording or remote access, as needed.
Make sure to explore all available settings within the camera software to customize the camera to your preferences. Adjusting these settings will help you optimize the camera’s performance and tailor it to suit your specific monitoring needs.
Step 7: Troubleshooting common issues
While setting up and accessing your security camera on your computer, you may encounter some common issues. Here are a few troubleshooting tips to help you resolve these issues:
- No camera detected: If your camera is not being detected by the computer, double-check the physical connection. Ensure that the cables are securely connected and try using a different USB port or Ethernet cable. Also, ensure that the camera is powered on.
- Compatibility issues: If you are experiencing compatibility issues, ensure that your camera is compatible with your computer’s operating system. Check for any software updates for your camera or computer that may resolve compatibility issues.
- Network connectivity problems: For wireless cameras, ensure that your computer is connected to the same network as the camera. Double-check the Wi-Fi credentials and try restarting both the camera and the computer. You may also need to adjust the network settings within the camera software.
- Software not working: If the camera software is not working properly, try reinstalling or updating the software. Check for any error messages or troubleshooting guides provided by the camera manufacturer. You can also seek support from their customer service if needed.
- Camera feed quality issues: If you notice poor video quality or lag in the camera feed, check your internet connection speed. Ensure that your computer’s hardware meets the requirements for smooth video playback. Adjust the camera’s resolution settings to a lower level if necessary.
- Firewall or antivirus blocking: Sometimes, security software or firewalls may interfere with the camera’s connection. Temporarily disable antivirus or firewall programs to see if that resolves the issue. If so, adjust the settings to allow the camera software to access the network.
- Power supply problems: If the camera is not receiving power or keeps losing power, check the power supply and cables. Make sure they are securely connected and that the power source is stable. If the issue persists, contact the camera manufacturer for assistance.
If you encounter any other specific issues that are not covered here, refer to the camera’s user manual or seek support from the manufacturer for further guidance. Troubleshooting may vary depending on the camera model and software, so it’s important to consult the relevant resources for accurate troubleshooting steps.
Conclusion
Watching your security camera on your computer offers a convenient and flexible way to monitor your property and enhance your home security. By following the step-by-step process outlined in this article, you can easily set up your camera, install the necessary software, and access the camera feed on your computer.
From checking the camera compatibility with your computer to troubleshooting common issues, each step is essential in ensuring a successful connection and smooth viewing experience. By adjusting camera settings and exploring the available features, you can customize the camera to meet your specific monitoring needs.
Remember to regularly update the camera software and keep your computer’s operating system up to date to ensure optimal performance and security. If you encounter any issues during setup or usage, consult the camera’s user manual or reach out to the manufacturer’s support for assistance.
With your security camera connected to your computer, you can have peace of mind knowing that you have a reliable surveillance system in place to protect your home and loved ones. So, take advantage of the technology available and enjoy the convenience of watching your security camera on your computer.
Frequently Asked Questions about How To Watch My Security Camera On My Computer
Was this page helpful?
At Storables.com, we guarantee accurate and reliable information. Our content, validated by Expert Board Contributors, is crafted following stringent Editorial Policies. We're committed to providing you with well-researched, expert-backed insights for all your informational needs.