Articles
How To Install Xfinity Doorbell
Modified: November 1, 2024
Looking for step-by-step articles on how to install your Xfinity doorbell? We've got you covered with detailed instructions and tips to make the process a breeze!
(Many of the links in this article redirect to a specific reviewed product. Your purchase of these products through affiliate links helps to generate commission for Storables.com, at no extra cost. Learn more)
Introduction
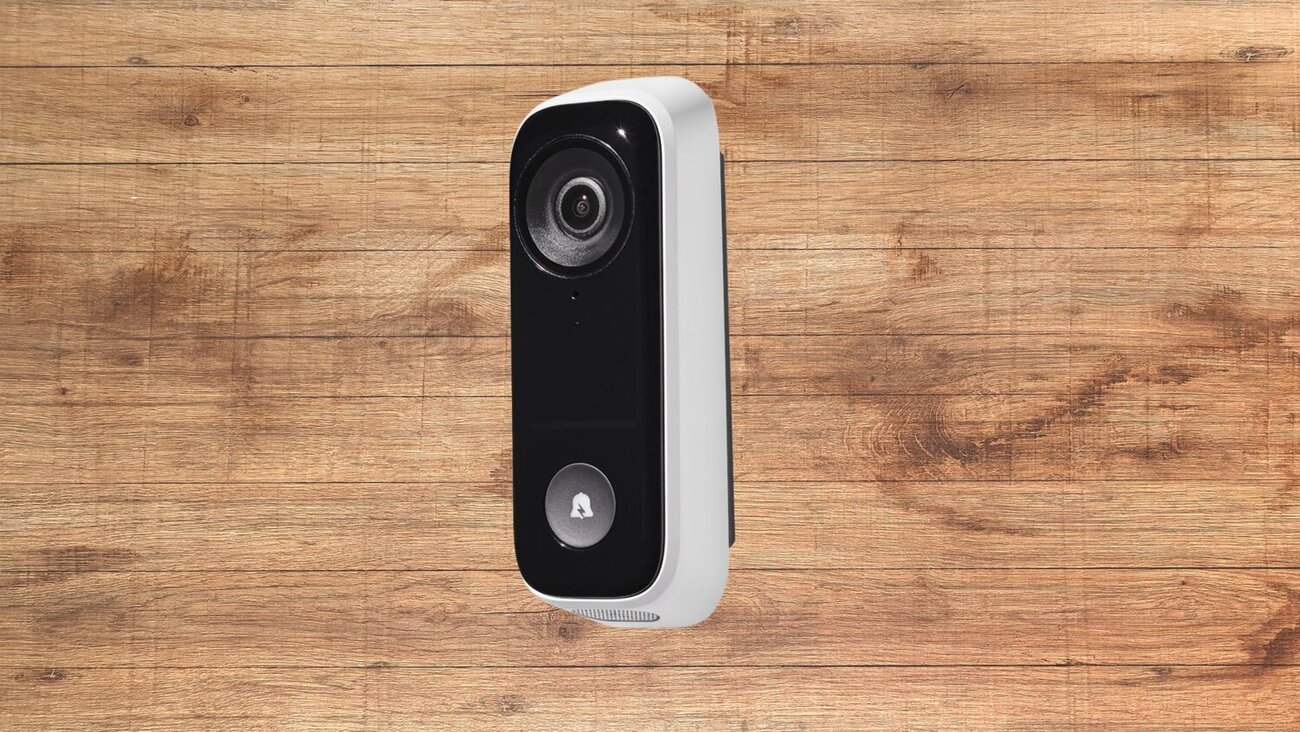
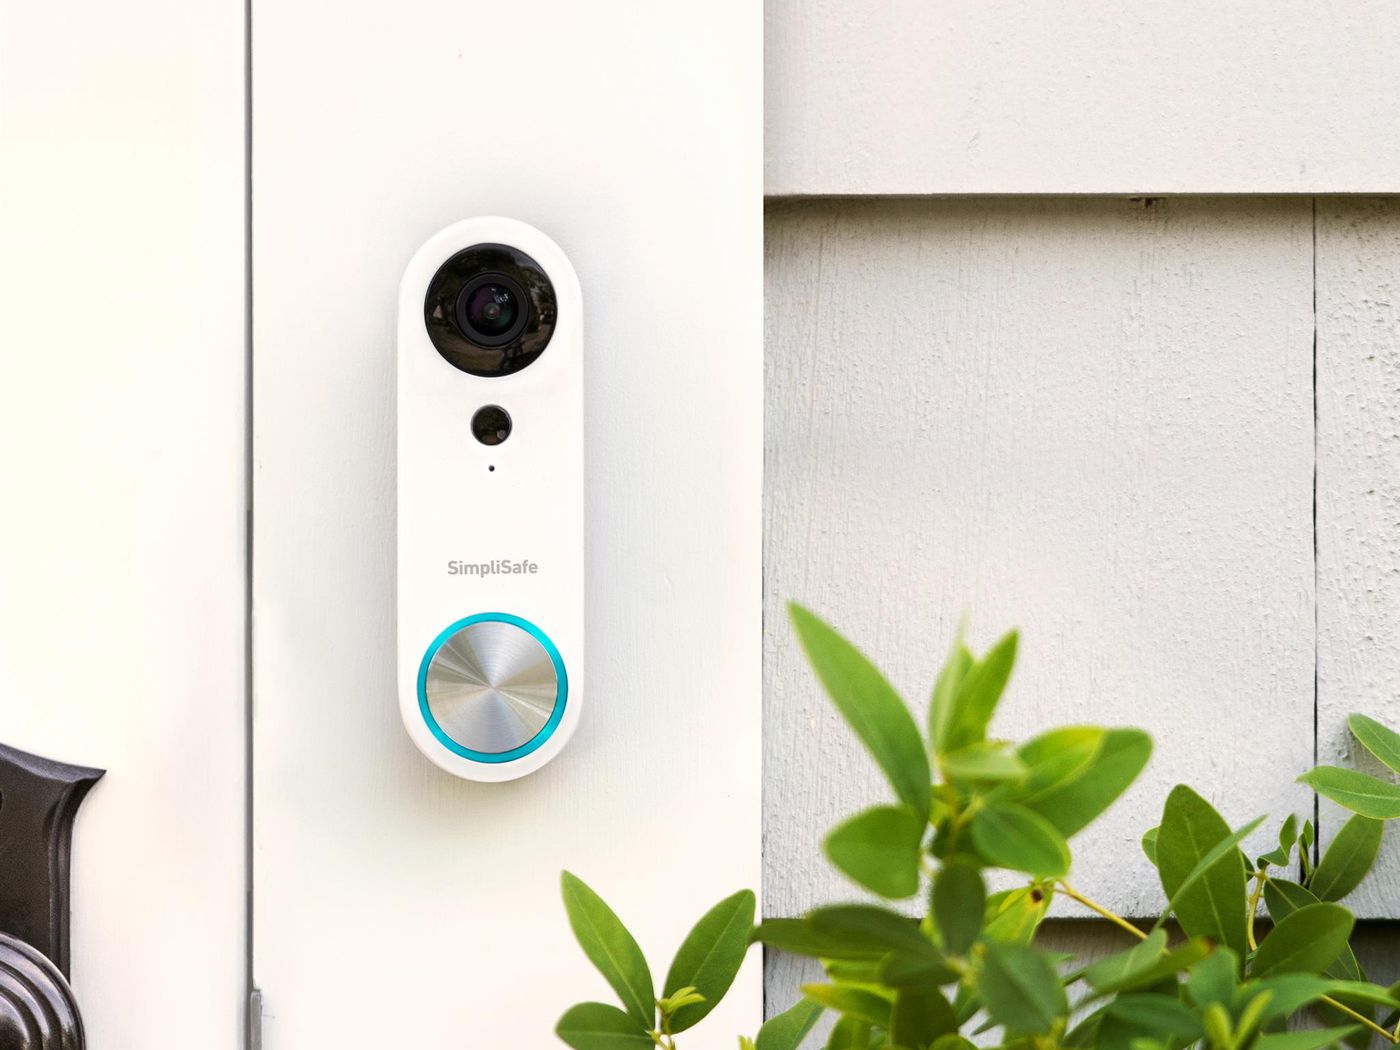
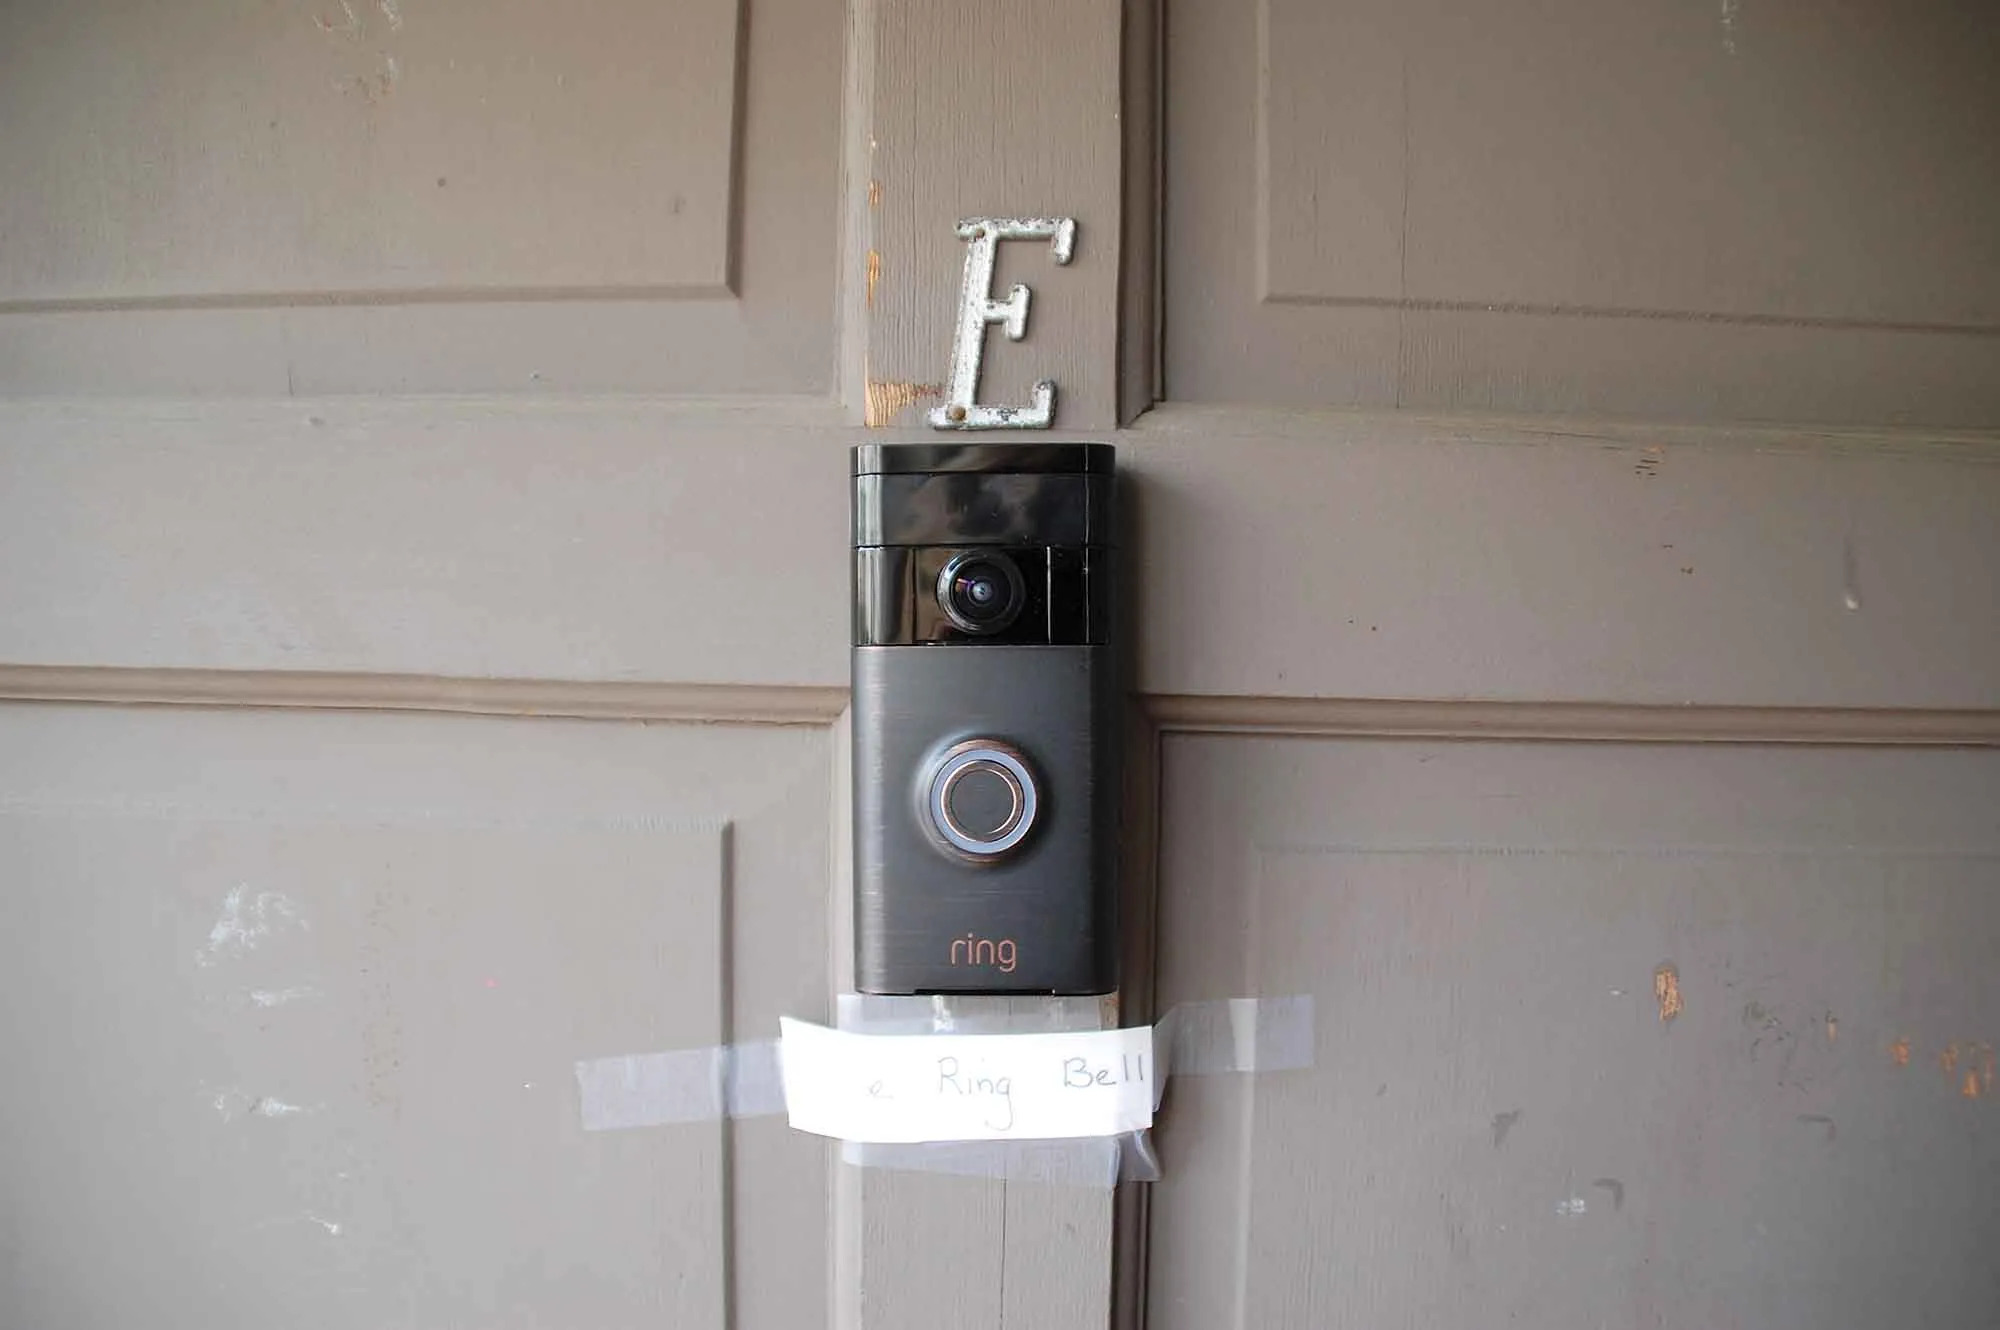
Welcome to our guide on how to install the Xfinity Doorbell. The Xfinity Doorbell is a state-of-the-art smart security device that allows you to monitor and control your home’s entrance. With features like motion detection, two-way audio, and a high-definition camera, it provides you with valuable peace of mind.
Before we dive into the installation process, let’s quickly go over the benefits of having a Xfinity Doorbell. Not only does it enhance the security of your home by providing real-time alerts and video footage of any activity at your doorstep, but it also allows you to communicate with visitors remotely, even when you’re not at home. Whether you’re expecting a package delivery, want to monitor your children’s activities, or simply want to enhance the security of your property, the Xfinity Doorbell is a great addition to your home.
Now, let’s get started with the installation process. Before you begin, remember to read through the manufacturer’s instructions and safety guidelines carefully. It’s important to ensure you have the necessary tools and materials handy and to follow the steps in the correct order to ensure a successful installation.
Throughout this guide, we’ll provide you with detailed instructions and tips to make the installation process as easy as possible. So, grab your tools and let’s get started!
Key Takeaways:
- Installing the Xfinity Doorbell not only enhances home security but also provides convenient features like two-way audio and motion detection. Follow the detailed steps to ensure a successful installation and enjoy the peace of mind it brings.
- Connecting the Xfinity Doorbell to the Xfinity Home Security System allows for seamless monitoring and management. Customize settings, integrate with other devices, and explore the app features to maximize the benefits of this smart security device.
Read more: How To Install Xfinity Motion Detector
Step 1: Gathering the Required Materials
Before you begin the installation, it’s important to gather all the necessary materials to ensure a smooth and efficient process. Here are the materials you’ll need:
- Xfinity Doorbell: This is the main component of the installation. Make sure you have the doorbell unit itself.
- Mounting Bracket: The doorbell unit typically comes with a mounting bracket that you’ll need to secure the device to your doorframe.
- Screws and Anchors: These will be used to attach the mounting bracket securely to your doorframe or wall.
- Power Tools: Depending on the installation requirements, you may need a drill and screwdriver to mount the bracket and secure the doorbell.
- Wiring: The Xfinity Doorbell may require wiring to connect it to your existing electrical system or doorbell wiring. Check the manufacturer’s instructions to determine if wiring is necessary.
- Chime Kit (optional): If you want to hear a traditional doorbell chime inside your home when someone rings the Xfinity Doorbell, you may need to purchase a separate chime kit.
- Wire Strippers and Electrical Tape: If you need to wire the doorbell, these tools will be necessary for stripping the wires and securing them with electrical tape.
- Smartphone or Tablet: Finally, you’ll need a smartphone or tablet with the Xfinity Home Security app installed to set up and manage your Xfinity Doorbell.
Make sure you have all the necessary materials before you begin the installation process. It’s always a good idea to double-check the package contents and have everything on hand to avoid any delays or interruptions during the installation.
Once you have gathered all the required materials, you’re ready to move on to the next step: preparing the doorbell installation area.
Step 2: Preparing the Doorbell Installation Area
Now that you have all the required materials, it’s time to prepare the area where you will be installing the Xfinity Doorbell. Follow these steps to ensure a proper installation:
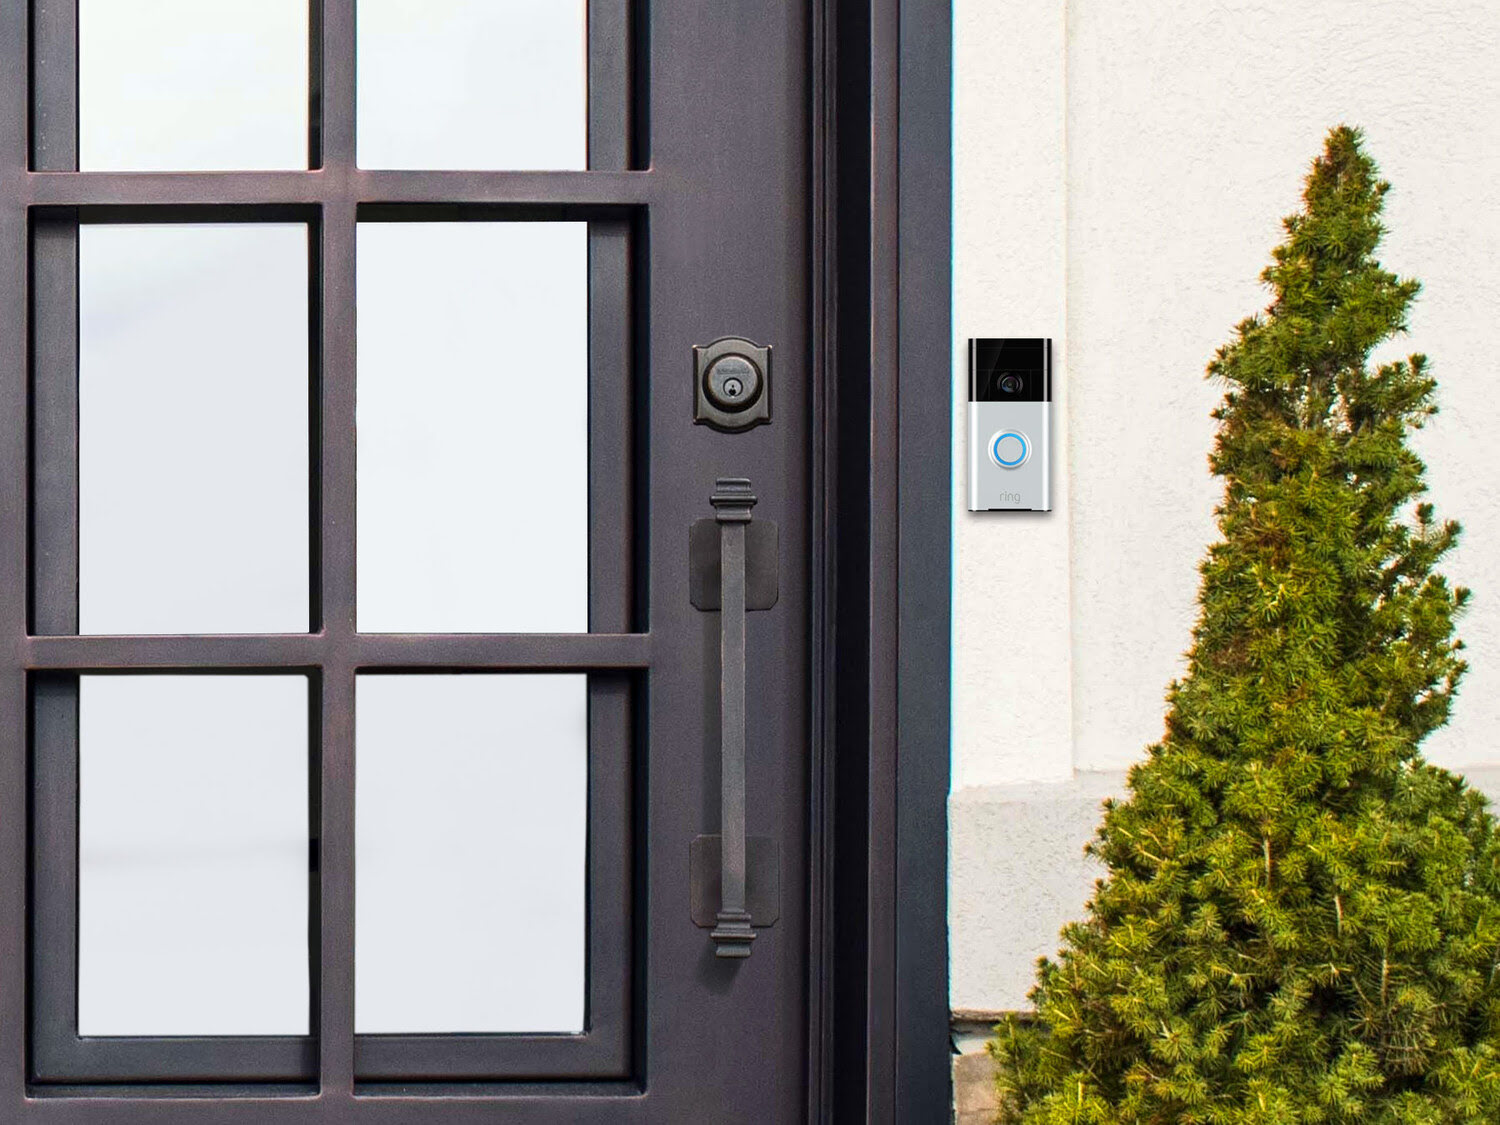
- Choose the Location: Decide on the location where you want to install the doorbell. Typically, it is placed near the front door or main entrance of your home. Ensure that the area is accessible and has a clear view of the entrance.
- Clean the Surface: Clean the surface where you will be mounting the doorbell bracket. Remove any dirt, dust, or debris to ensure a secure attachment.
- Measure and Mark: Use a measuring tape to determine the exact placement of the doorbell bracket. Typically, it is recommended to install it at a height of around 48-56 inches (depending on the height of your door). Mark the screw hole locations on the surface using a pencil or marker.
- Pilot Holes: If necessary, use a drill with an appropriate-sized drill bit to create pilot holes at the marked locations. This will make it easier to insert the screws and anchors when mounting the bracket.
- Secure the Mounting Bracket: Align the mounting bracket with the pilot holes and attach it to the surface using the screws and anchors provided. Make sure it is tightly secured for stability.
- Check Level: Use a level to ensure that the mounting bracket is straight and level. Adjust if necessary.
- Test Stability: Gently tug on the bracket to ensure it is securely attached to the surface. It should not move or wobble.
Once you have completed these steps, you have successfully prepared the installation area for the Xfinity Doorbell. The next step will be mounting the doorbell bracket, which we’ll cover in the next section.
Please note that the specific instructions may vary depending on the model and manufacturer of your Xfinity Doorbell. Always refer to the manufacturer’s instructions for detailed guidance on preparing the installation area.
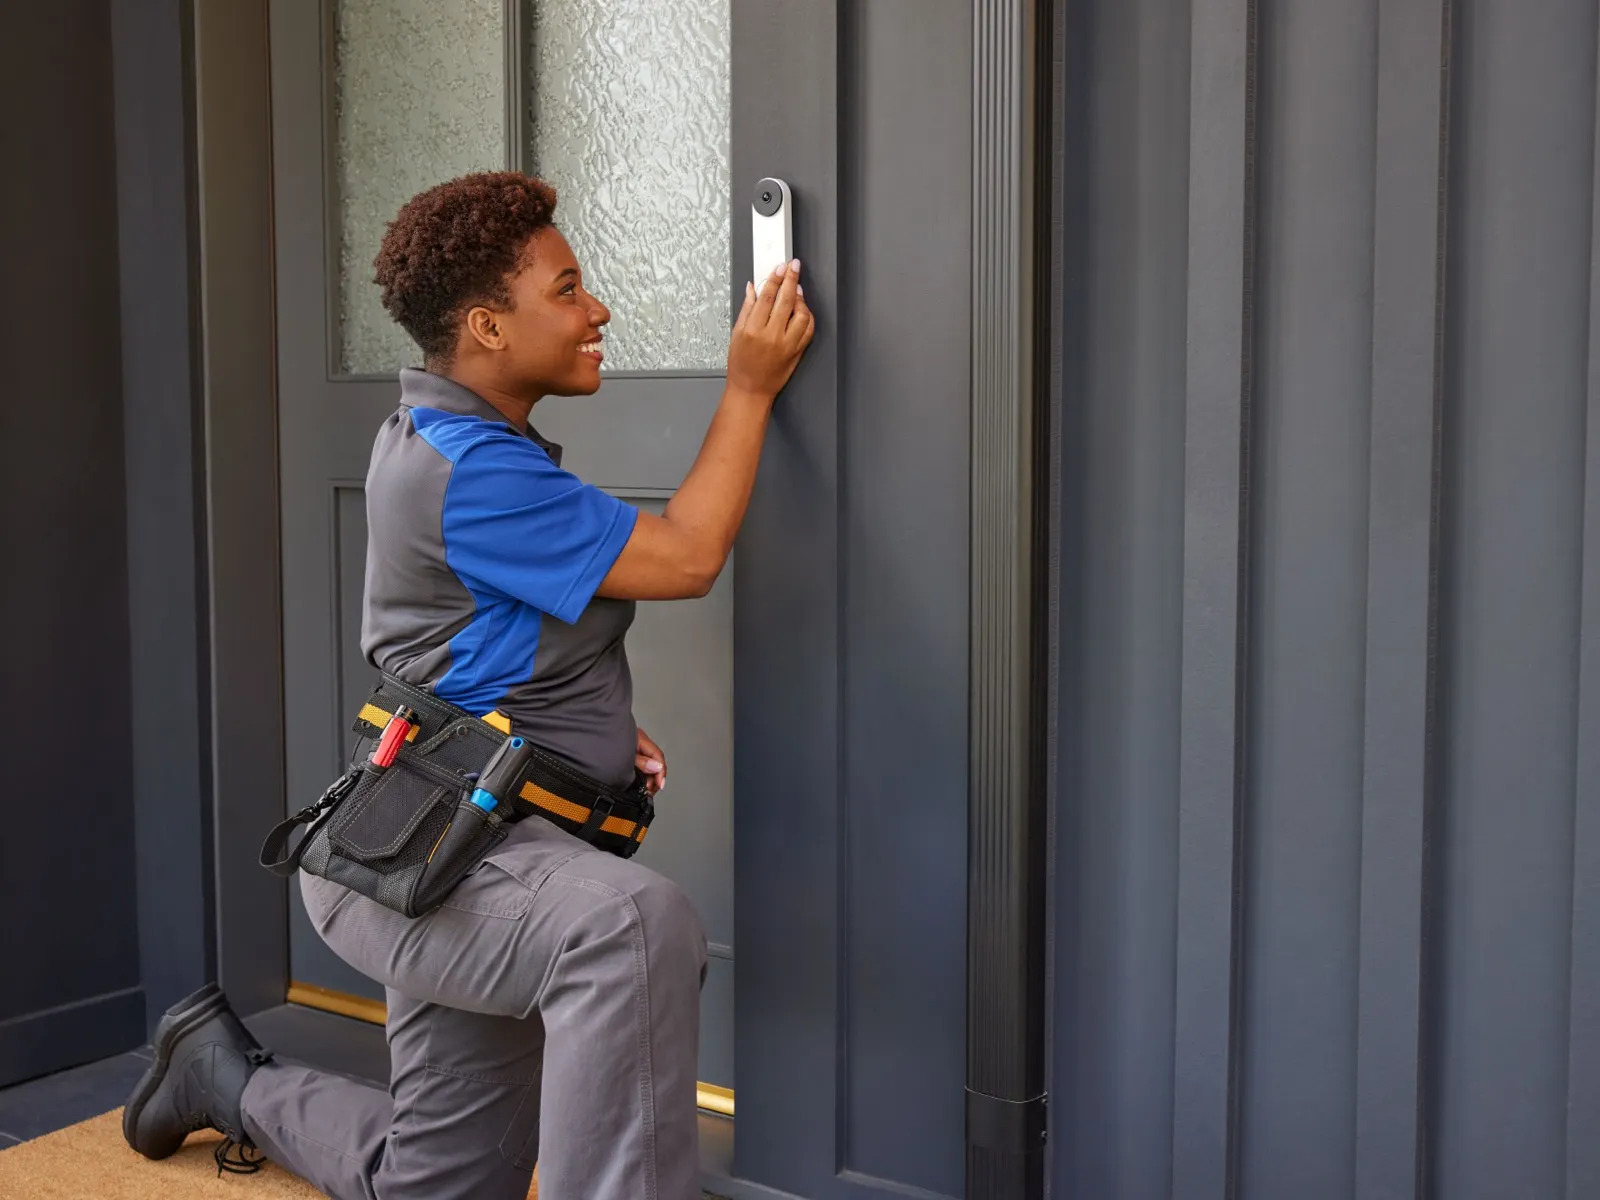
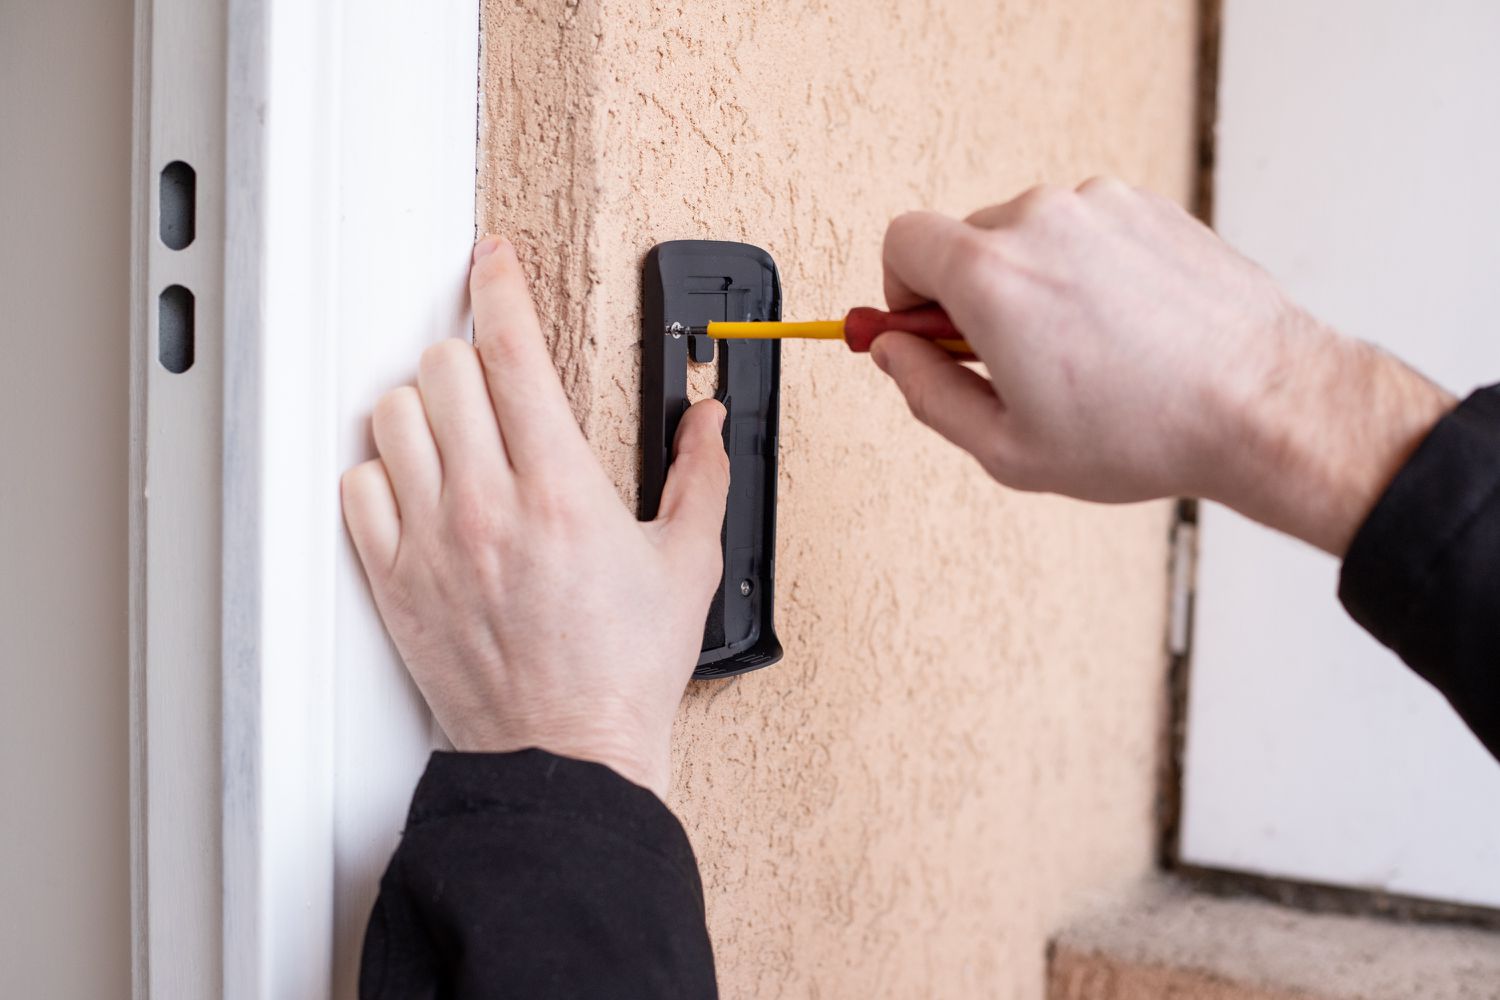
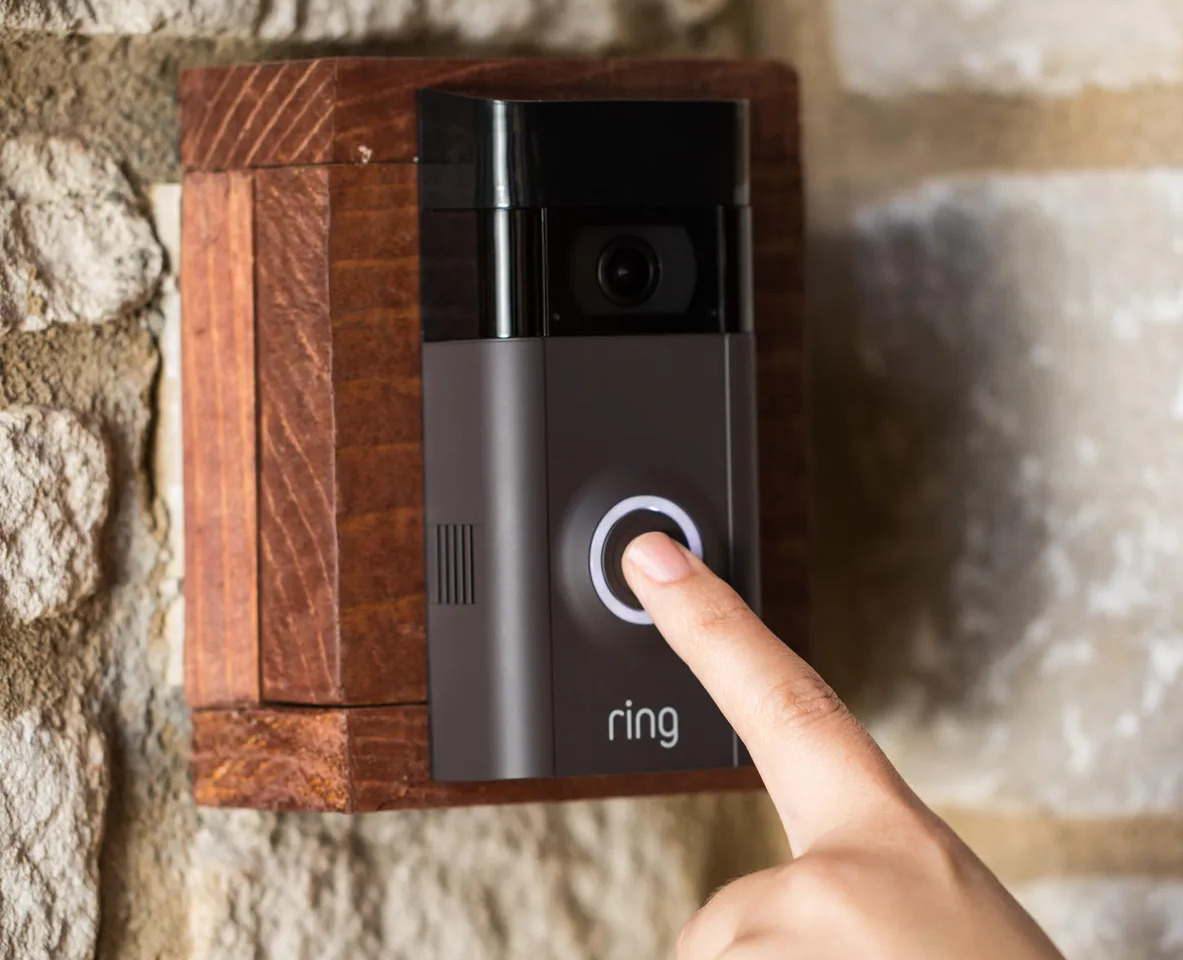
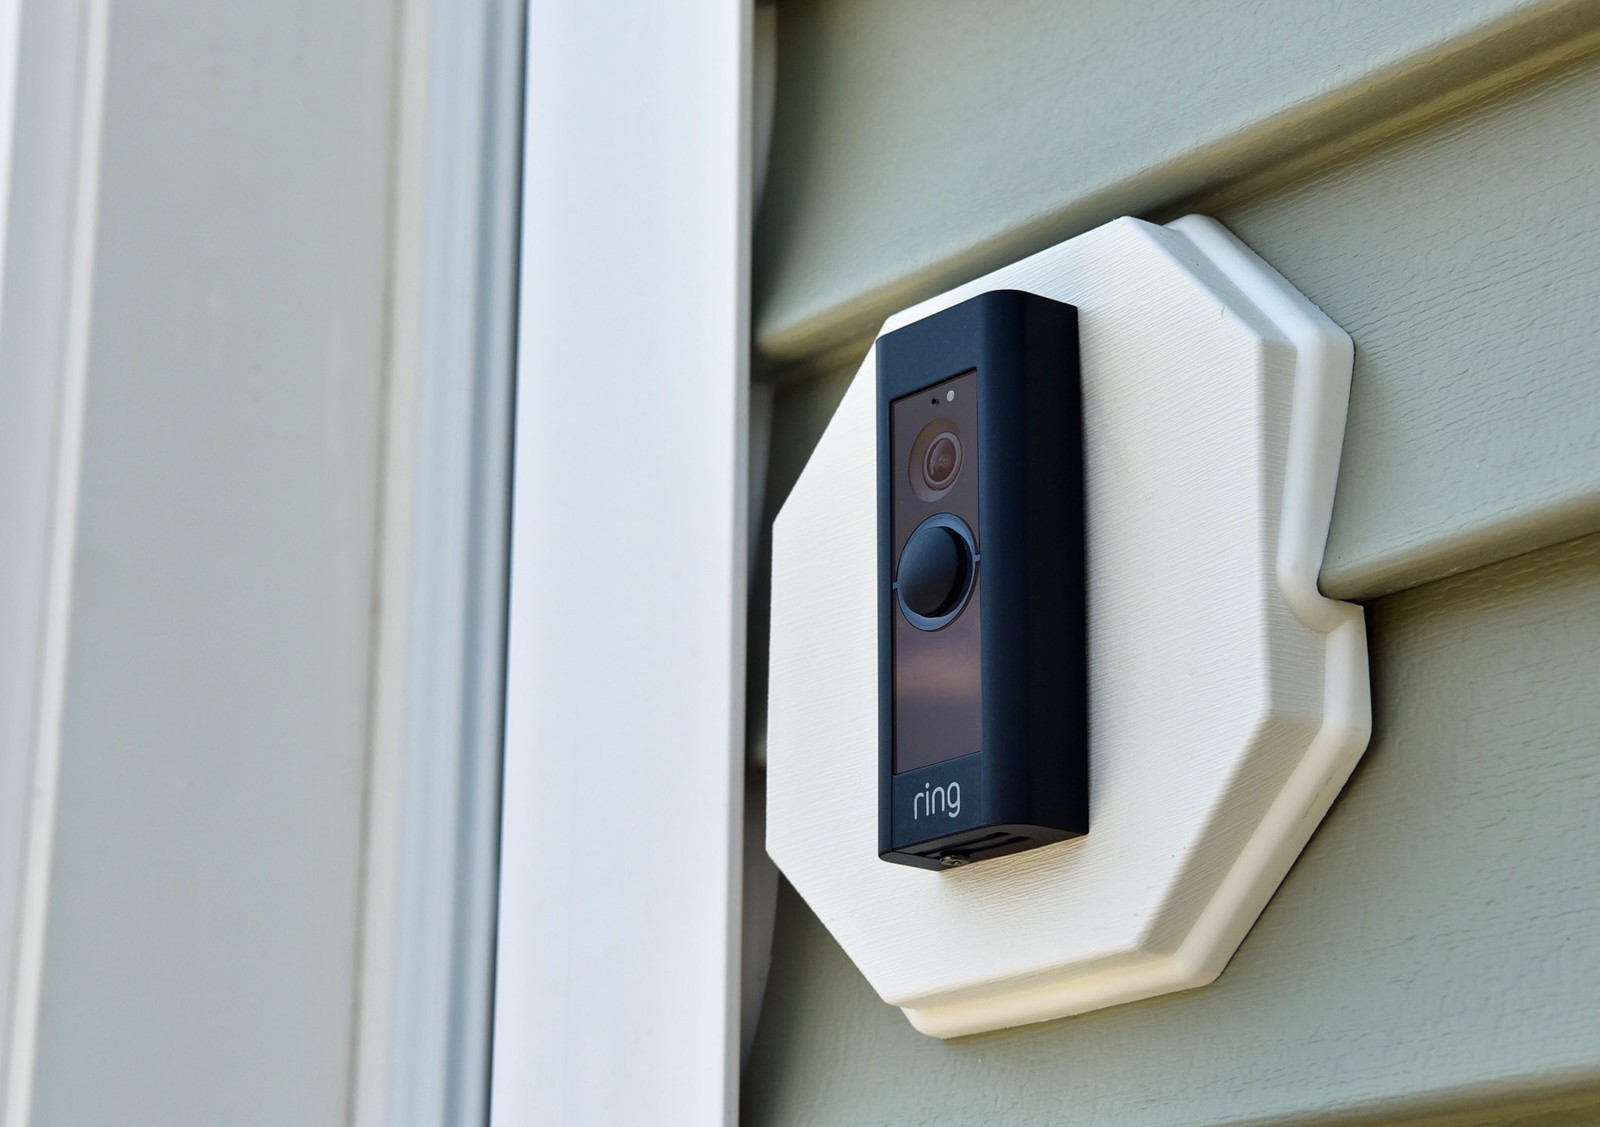
Step 3: Mounting the Doorbell Bracket
Now that you have prepared the installation area, it’s time to mount the doorbell bracket. Follow these steps to securely attach the bracket:
- Position the Doorbell: Place the Xfinity Doorbell on the mounting bracket to ensure proper alignment and positioning. Adjust the angle if necessary to achieve the desired field of view.
- Secure the Doorbell: Once you are satisfied with the position, use the provided screws or any additional hardware to securely attach the doorbell to the mounting bracket. Tighten the screws to ensure a firm connection.
- Test the Stability: Gently tap on the doorbell to ensure that it is stable and properly attached. It should not move or wobble.
It’s important to closely follow the manufacturer’s instructions for your specific model, as the mounting process may vary slightly. Some doorbell brackets use a twist-and-lock mechanism, while others may require different types of screws or fasteners. Always refer to the provided documentation for the most accurate guidance.
Once you have successfully mounted the doorbell bracket and attached the doorbell, you can proceed to the next step: wiring the doorbell, if necessary. If your Xfinity Doorbell does not require wiring, you can skip to the step related to connecting the doorbell to the Xfinity Home Security System.
Please note that working with electrical components can be dangerous. If you are not comfortable with electrical tasks or unsure of how to proceed, it is highly recommended to consult a professional electrician or contact customer support for assistance.
Before installing your Xfinity Doorbell, make sure to check the compatibility with your existing doorbell wiring and Wi-Fi network. This will ensure a smooth installation process and proper functionality.
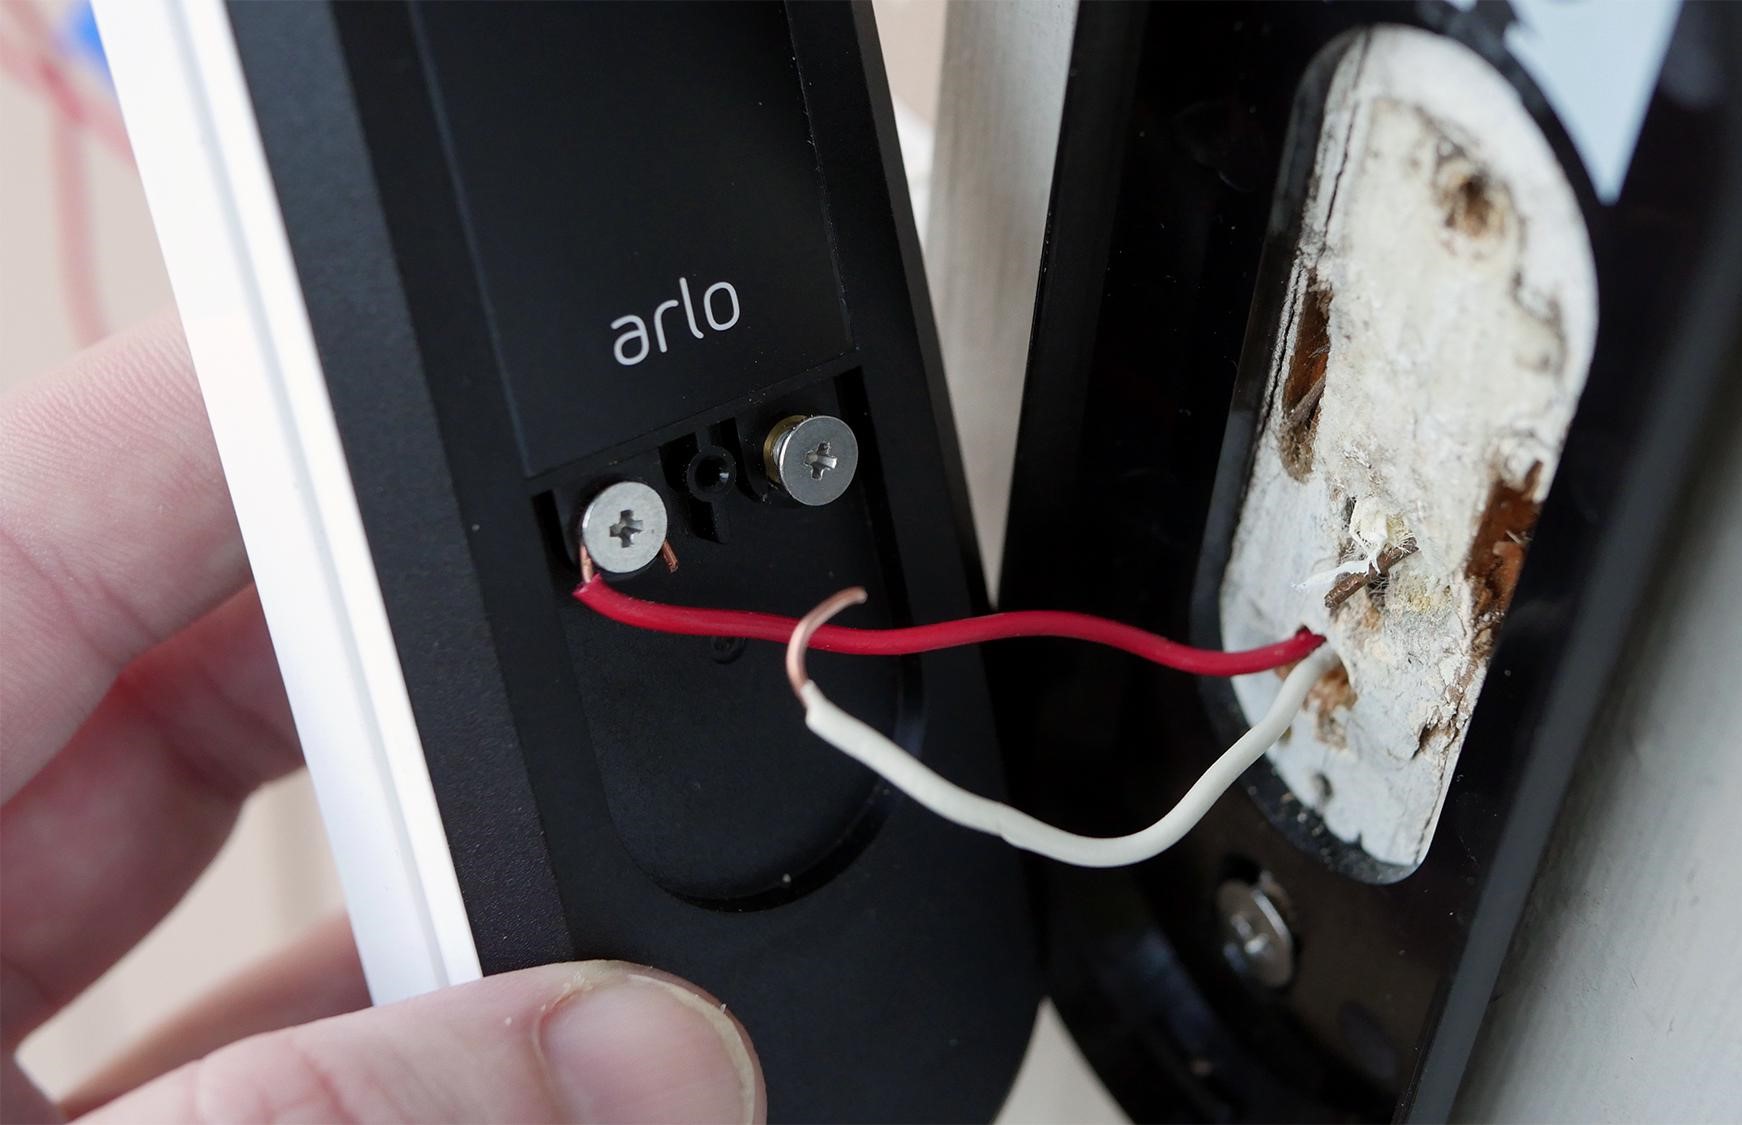
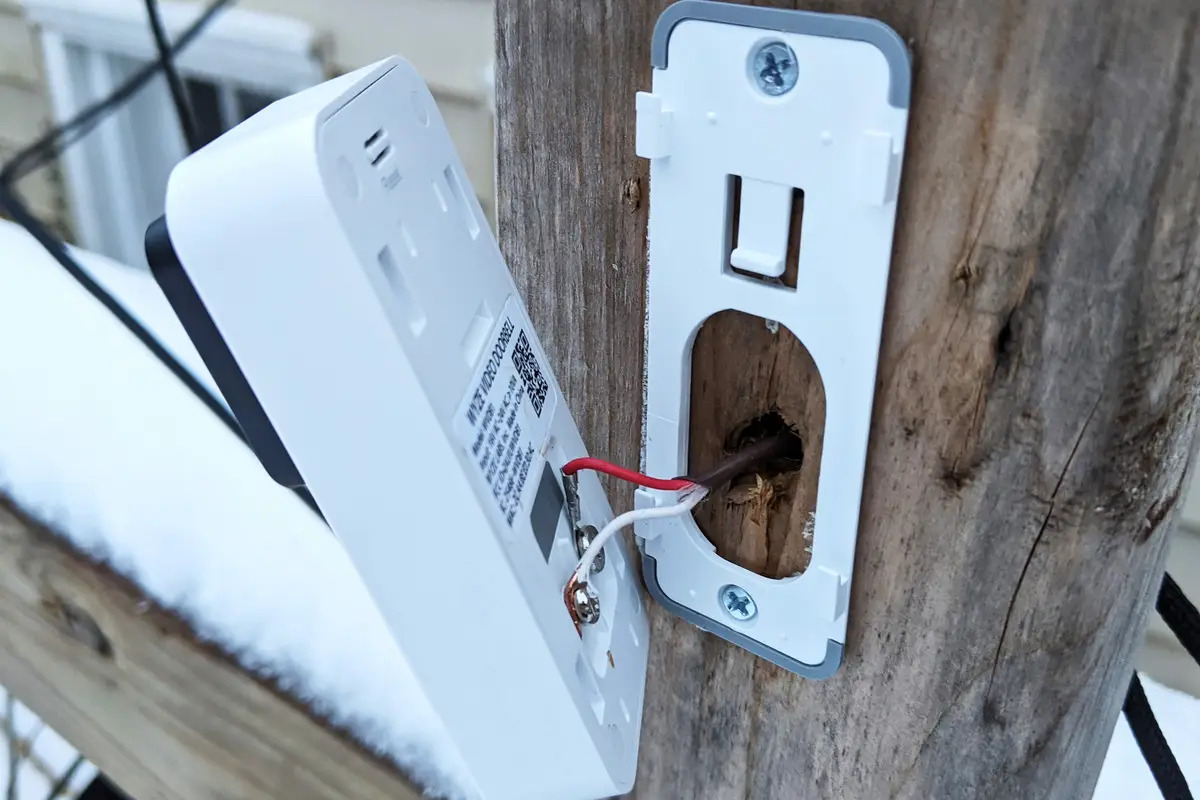
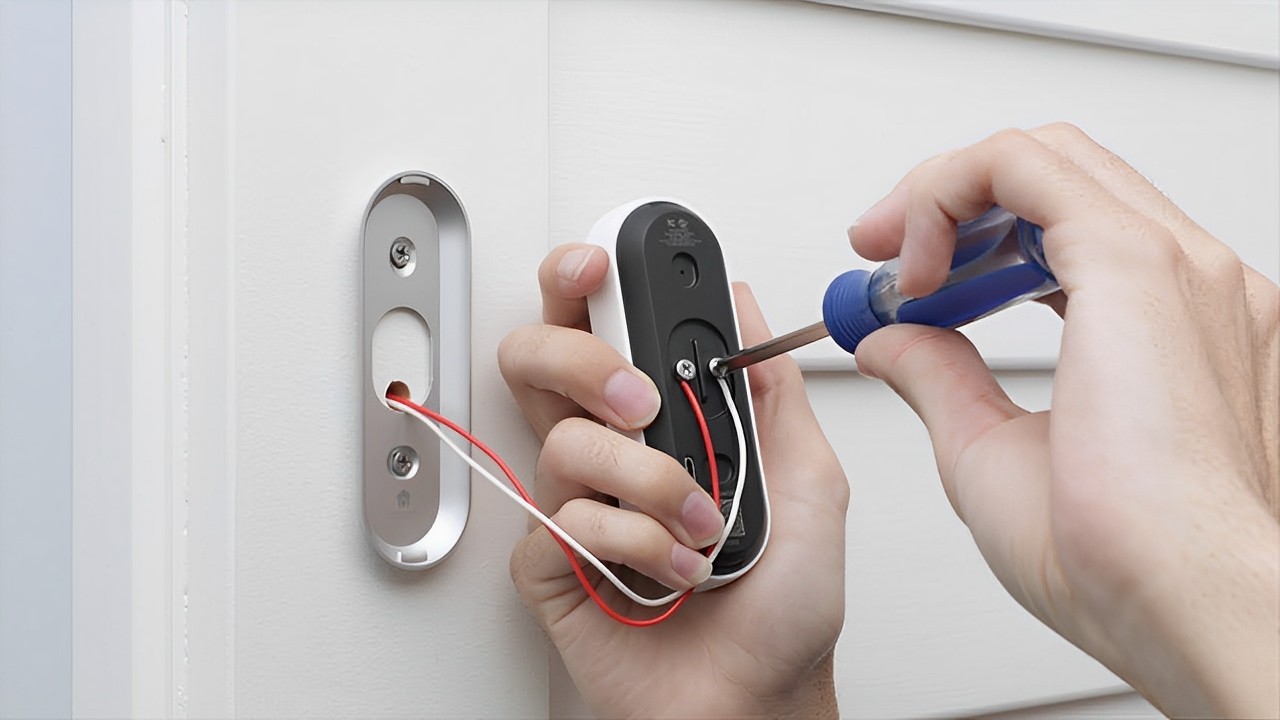
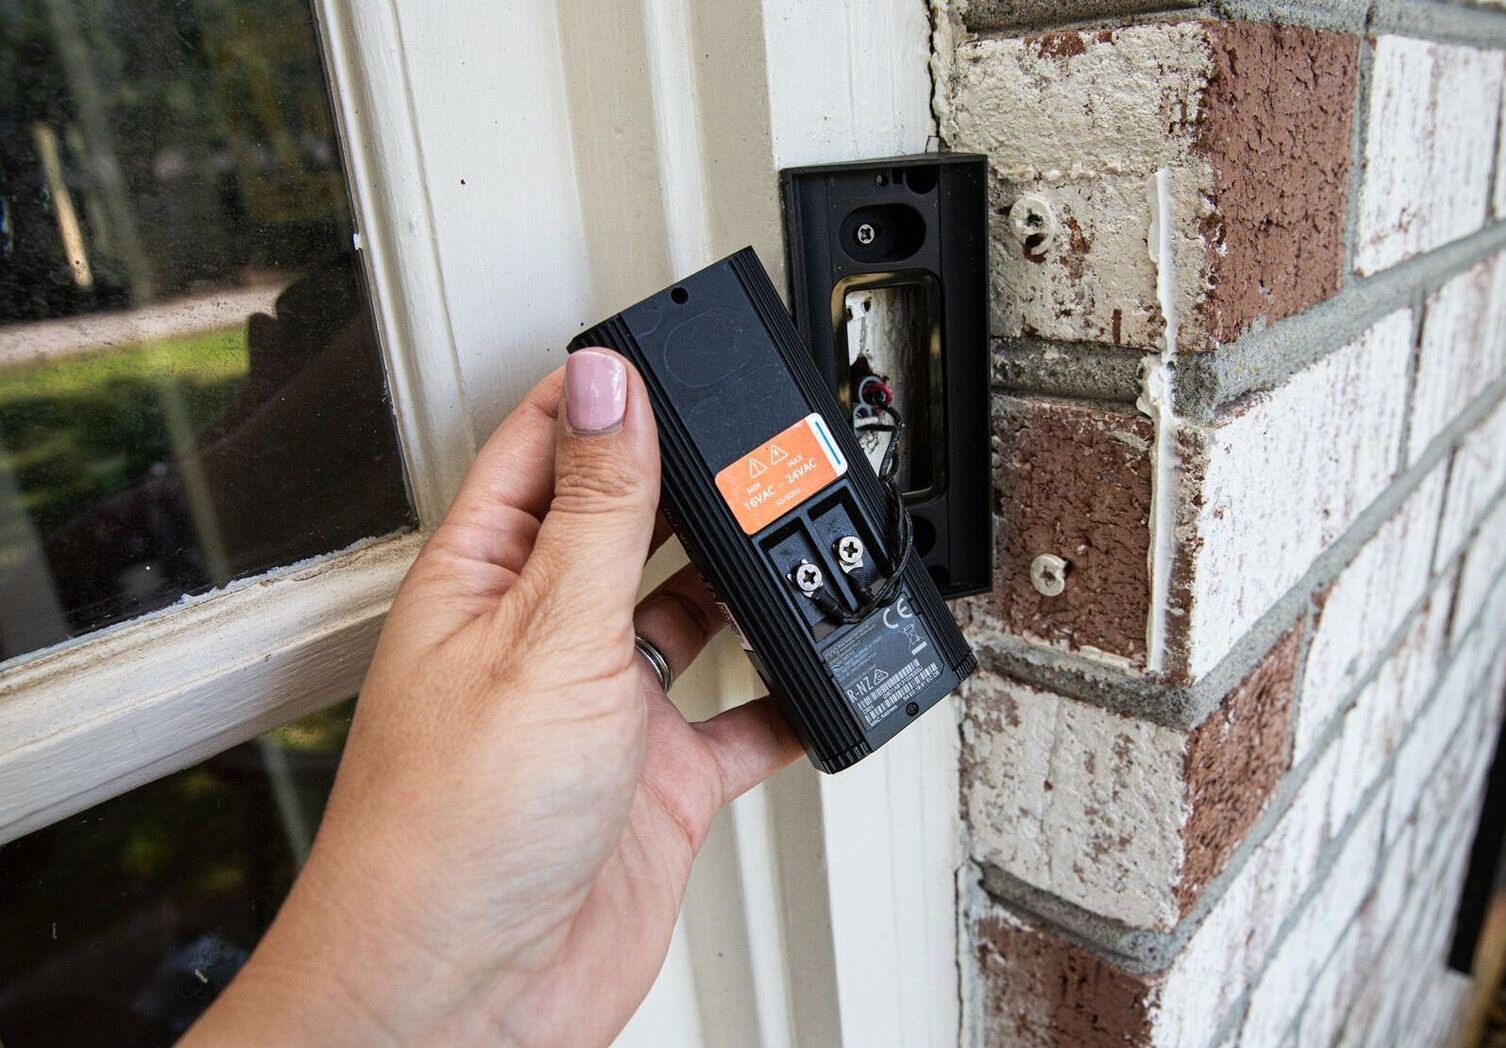
Step 4: Wiring the Doorbell
If your Xfinity Doorbell requires wiring, this step will guide you through the process. Wiring the doorbell ensures a continuous power supply and enables it to function properly. Follow these steps to wire your Xfinity Doorbell:
- Turn Off Power: Before starting any electrical work, it’s crucial to turn off the power supply to the doorbell circuit. Locate the circuit breaker or fuse responsible for the doorbell and switch it off to avoid any electrical shocks or accidents.
- Remove Existing Doorbell: If you have an existing wired doorbell, remove it by disconnecting the wires from the back. Unscrew the doorbell from its mounting and carefully detach the wires.
- Strip the Wires: Strip the insulation off the ends of the wires using wire strippers. This will expose the bare copper wire underneath, allowing for proper connection.
- Connect the Wires: Identify the corresponding terminals on the back of your Xfinity Doorbell. Connect the wires from your home’s electrical system to the appropriate terminals on the doorbell, ensuring a secure and tight connection.
- Secure with Electrical Tape: After connecting the wires, wrap the exposed ends in electrical tape to protect them from moisture and prevent any accidental contact.
- Turn On Power: Once all the wiring is complete and secured, turn the power supply back on at the circuit breaker or fuse box.
- Test the Doorbell: With the power restored, test the doorbell to ensure it is functioning correctly. Press the doorbell button to see if it rings and triggers any response in the Xfinity Home Security app or chime inside your home, if you have one.
It’s important to follow the manufacturer’s instructions and guidelines when wiring your Xfinity Doorbell. The wiring process may vary depending on the model and specifications of your doorbell. If you are unsure about any steps or encounter any difficulties, it is recommended to consult a licensed electrician for assistance.
Once you have successfully wired the Xfinity Doorbell, you are ready to move on to the next step: connecting the doorbell to the Xfinity Home Security System.
Read more: How To Install Xfinity Outdoor Camera
Step 5: Connecting the Doorbell to Xfinity Home Security System
Connecting your Xfinity Doorbell to the Xfinity Home Security System allows you to fully utilize its smart capabilities. Follow these steps to connect your doorbell:
- Open the Xfinity Home Security App: Launch the Xfinity Home Security app on your smartphone or tablet. Sign in to your Xfinity account or create a new one if you haven’t already.
- Add the Doorbell Device: Go to the “Devices” or “Add Device” section within the app. Select the option to add a new device and choose the Xfinity Doorbell from the list of available devices.
- Follow Setup Instructions: The app will guide you through the setup process, which may include scanning a QR code on the doorbell or entering a unique device ID. Follow the on-screen instructions to proceed.
- Connect to Wi-Fi: During the setup process, you’ll be prompted to connect the doorbell to your home’s Wi-Fi network. Ensure that you have the Wi-Fi credentials handy and follow the instructions to establish the connection.
- Name Your Doorbell: Once the connection is established, you’ll have the option to give your doorbell a custom name. Choose a name that is easy to remember and identify within the app.
- Configure Settings: Within the app, you can customize various settings for your Xfinity Doorbell, such as motion sensitivity, notification preferences, and recording options. Adjust these settings according to your preferences.
- Test the Connectivity: After completing the setup, test the connectivity by ringing the doorbell or triggering the motion sensor. Check if you receive real-time alerts and can view the live feed through the app.
- Integrate with Xfinity Home Security System: If you have an existing Xfinity Home Security System, you can integrate the doorbell with other devices, such as cameras or sensors, to create a comprehensive security setup. Follow the instructions provided within the app to complete the integration.
Connecting the Xfinity Doorbell to the Xfinity Home Security System enhances your home’s security and allows you to conveniently manage and monitor your home from anywhere. Take the time to explore the features and settings within the app to make the most of your Xfinity Doorbell.
Once you have successfully connected the doorbell to the Xfinity Home Security System, you can proceed to the final step: completing the installation process.
Step 6: Completing the Installation Process
Congratulations! You’re on the final step of installing your Xfinity Doorbell. Follow these steps to complete the installation process:
- Double-Check Connections: Before finalizing the installation, double-check all the connections, including the wiring and the doorbell’s mounting to ensure everything is secure and properly connected.
- Adjust Camera Angle: Take a moment to adjust the camera angle of the doorbell if necessary. This will ensure that you have the desired view and coverage of your doorstep.
- Test the Doorbell Functionality: Test the doorbell’s functionality by pressing the button or triggering the motion sensor. Verify that you receive real-time alerts on your smartphone or tablet, and ensure the doorbell is working as expected.
- Set Up Chime (Optional): If you have purchased a separate chime kit, follow the manufacturer’s instructions to connect it to your Xfinity Doorbell. Test the chime to confirm that it rings when the doorbell is pressed.
- Finalize App Settings: Take some time to explore the settings within the Xfinity Home Security app. Customize any remaining features or preferences according to your needs and preferences.
- Secure the Doorbell and Wires: If necessary, use any provided clips or adhesive to secure the wires to the wall or doorframe. This will help keep them neat and prevent accidental damage.
- Clean Up: Dispose of any packaging materials or tools used during the installation process. Give the area a final clean-up to ensure it looks tidy and presentable.
- Enjoy Your Xfinity Doorbell: With the installation complete, take a moment to enjoy the benefits of your Xfinity Doorbell. Monitor your doorstep, communicate with visitors, and enhance the security of your home with ease.
Congratulations! You have successfully installed and set up your Xfinity Doorbell. Now you can enjoy the convenience and peace of mind that comes with having a smart security device at your doorstep.
If you encounter any issues or have questions about the operation of your Xfinity Doorbell, refer to the manufacturer’s documentation or contact Xfinity customer support for assistance.
Thank you for choosing the Xfinity Doorbell, and we hope this installation guide has been helpful for you.
Conclusion
Congratulations on completing the installation of your Xfinity Doorbell! By following the steps in this guide, you have successfully added a powerful smart security device to your home. Now, you can monitor your front door, communicate with visitors, and enhance the security of your property.
The Xfinity Doorbell offers numerous benefits, including motion detection, two-way audio, and high-definition video recording. With the integration into the Xfinity Home Security System, you can conveniently manage and monitor your home’s security from anywhere, right from your smartphone or tablet.
Remember, safety is a priority during the installation process. Always refer to the manufacturer’s instructions and guidelines to ensure a safe and secure installation. If you have any concerns or doubts about any step, it is always best to seek professional assistance.
Now that your Xfinity Doorbell is up and running, take the time to explore the various features and settings within the Xfinity Home Security app. Customize motion sensitivity, notification preferences, and recording options to fit your specific needs. And if you have added a separate chime kit, enjoy the traditional sound of a doorbell ringing inside your home.
Lastly, don’t forget to maintain and periodically check your Xfinity Doorbell to ensure it remains in optimal working condition. Clean the camera lens, inspect the wiring, and replace any worn-out parts as needed to ensure continuous functionality.
Thank you for choosing the Xfinity Doorbell and following this installation guide. We hope it has helped you successfully install and set up your device. Enjoy the enhanced security, convenience, and peace of mind that comes with having a smart doorbell at your entrance.
Remember, safety starts at the front door, and your Xfinity Doorbell plays a crucial role in securing your home. Now, sit back, relax, and enjoy the added security and convenience that your Xfinity Doorbell brings to your everyday life.
Now that you've mastered installing your Xfinity doorbell, why not dive deeper into maximizing your home's security features? Our detailed guide on what Xfinity Home Security includes reveals everything in this robust system, ensuring you make the most of your safety measures. And if you're keen on upgrading your living space further, our insights on the latest trends in Home Automation for the upcoming year are perfect. Learn about the latest gadgets that can transform your home into a smart, efficient haven.
Frequently Asked Questions about How To Install Xfinity Doorbell
Was this page helpful?
At Storables.com, we guarantee accurate and reliable information. Our content, validated by Expert Board Contributors, is crafted following stringent Editorial Policies. We're committed to providing you with well-researched, expert-backed insights for all your informational needs.
0 thoughts on “How To Install Xfinity Doorbell”