Home>Home Security and Surveillance>How To Fix Outdoor Camera Lost Picture

Home Security and Surveillance
How To Fix Outdoor Camera Lost Picture
Modified: March 7, 2024
Learn how to fix outdoor cameras that have lost picture with our comprehensive guide. Ensure your home security and surveillance system is functioning optimally.
(Many of the links in this article redirect to a specific reviewed product. Your purchase of these products through affiliate links helps to generate commission for Storables.com, at no extra cost. Learn more)
Introduction
Welcome to our guide on how to fix outdoor camera lost picture issues. Home security and surveillance systems play a crucial role in keeping our properties and loved ones safe. Outdoor cameras are an essential component of these systems, providing a clear and reliable visual feed of the surrounding areas.
However, sometimes outdoor cameras may encounter problems, such as the loss of picture or video feed. This can be frustrating and may compromise the security of your property. Fortunately, many of these issues can be resolved with a few simple steps.
In this article, we will explore the common causes of outdoor camera lost picture problems and provide practical solutions to fix them. Whether you are a homeowner or a business owner, the information shared here will help you troubleshoot and address any issues with your outdoor camera’s picture or video feed.
Before we delve into the troubleshooting steps, it’s important to understand some basic concepts related to outdoor cameras and their functioning. Outdoor cameras are designed to withstand various weather conditions, including rain, wind, and extreme temperatures. They are typically equipped with features such as night vision, motion detection, and remote access through a mobile app or computer.
The loss of picture on your outdoor camera may be due to a variety of factors, including connectivity issues, firmware problems, camera settings, and network problems. By going through the following troubleshooting steps, you will have a better understanding of the issue and be able to resolve it effectively.
Now, let’s start investigating and fixing the outdoor camera lost picture issue!
Key Takeaways:
- Troubleshoot outdoor camera lost picture by checking connections, updating firmware, and adjusting settings. Contact manufacturer support if issues persist for expert assistance.
- Regular maintenance, strong network connection, and firmware updates can prevent outdoor camera picture loss, ensuring reliable security surveillance.
Read more: How To Fix Vivint Outdoor Camera Offline
Understanding the Issue
Before jumping into the troubleshooting process, it’s essential to understand the potential causes of the outdoor camera lost picture issue. By identifying the root cause, you can take the appropriate steps to resolve the problem.
One common cause of the lost picture problem is a loose or faulty camera connection. Outdoor cameras are exposed to the elements and may experience physical wear and tear over time. Check the camera’s power and network cables to ensure they are securely connected. A loose connection can disrupt the camera’s ability to transmit video signals properly.
Another possible cause is outdated firmware. Like any other electronic device, outdoor cameras require regular firmware updates to maintain optimal performance. Outdated firmware can result in compatibility issues and may cause the camera to lose its picture feed. Verify if there are any available firmware updates for your camera model.
Camera settings can also play a role in the lost picture problem. Incorrect settings or misconfigurations can affect the camera’s ability to capture and transmit images. It’s essential to ensure that the camera settings are properly adjusted for your specific environment and requirements.
Additionally, network connection issues can contribute to a lost picture on outdoor cameras. If the camera is struggling to establish a stable connection with the network, it may result in intermittent or no image transmission. Check your internet connection and troubleshoot any network-related problems that you may encounter.
By understanding these potential causes, you are better prepared to address the issue and get your outdoor camera back up and running with a clear picture feed. In the following sections, we will explore each troubleshooting step in detail to help you resolve the problem efficiently.
Checking Camera Connections
When dealing with a lost picture issue on your outdoor camera, the first step is to check the camera connections. Over time, the outdoor camera’s connections may loosen due to environmental factors or physical wear and tear. Here’s what you need to do:
- Power Connection: Ensure that the camera is receiving power. Check if the power cable is securely connected to both the camera and the power source. If the camera is battery-powered, make sure the battery is charged or replace it if necessary.
- Network Connection: Verify that the network cable (Ethernet cable) is properly connected to both the camera and the network router. Ensure that the cable is not damaged or frayed. If you are using a wireless outdoor camera, check the Wi-Fi connection settings and ensure that the camera is connected to the correct network.
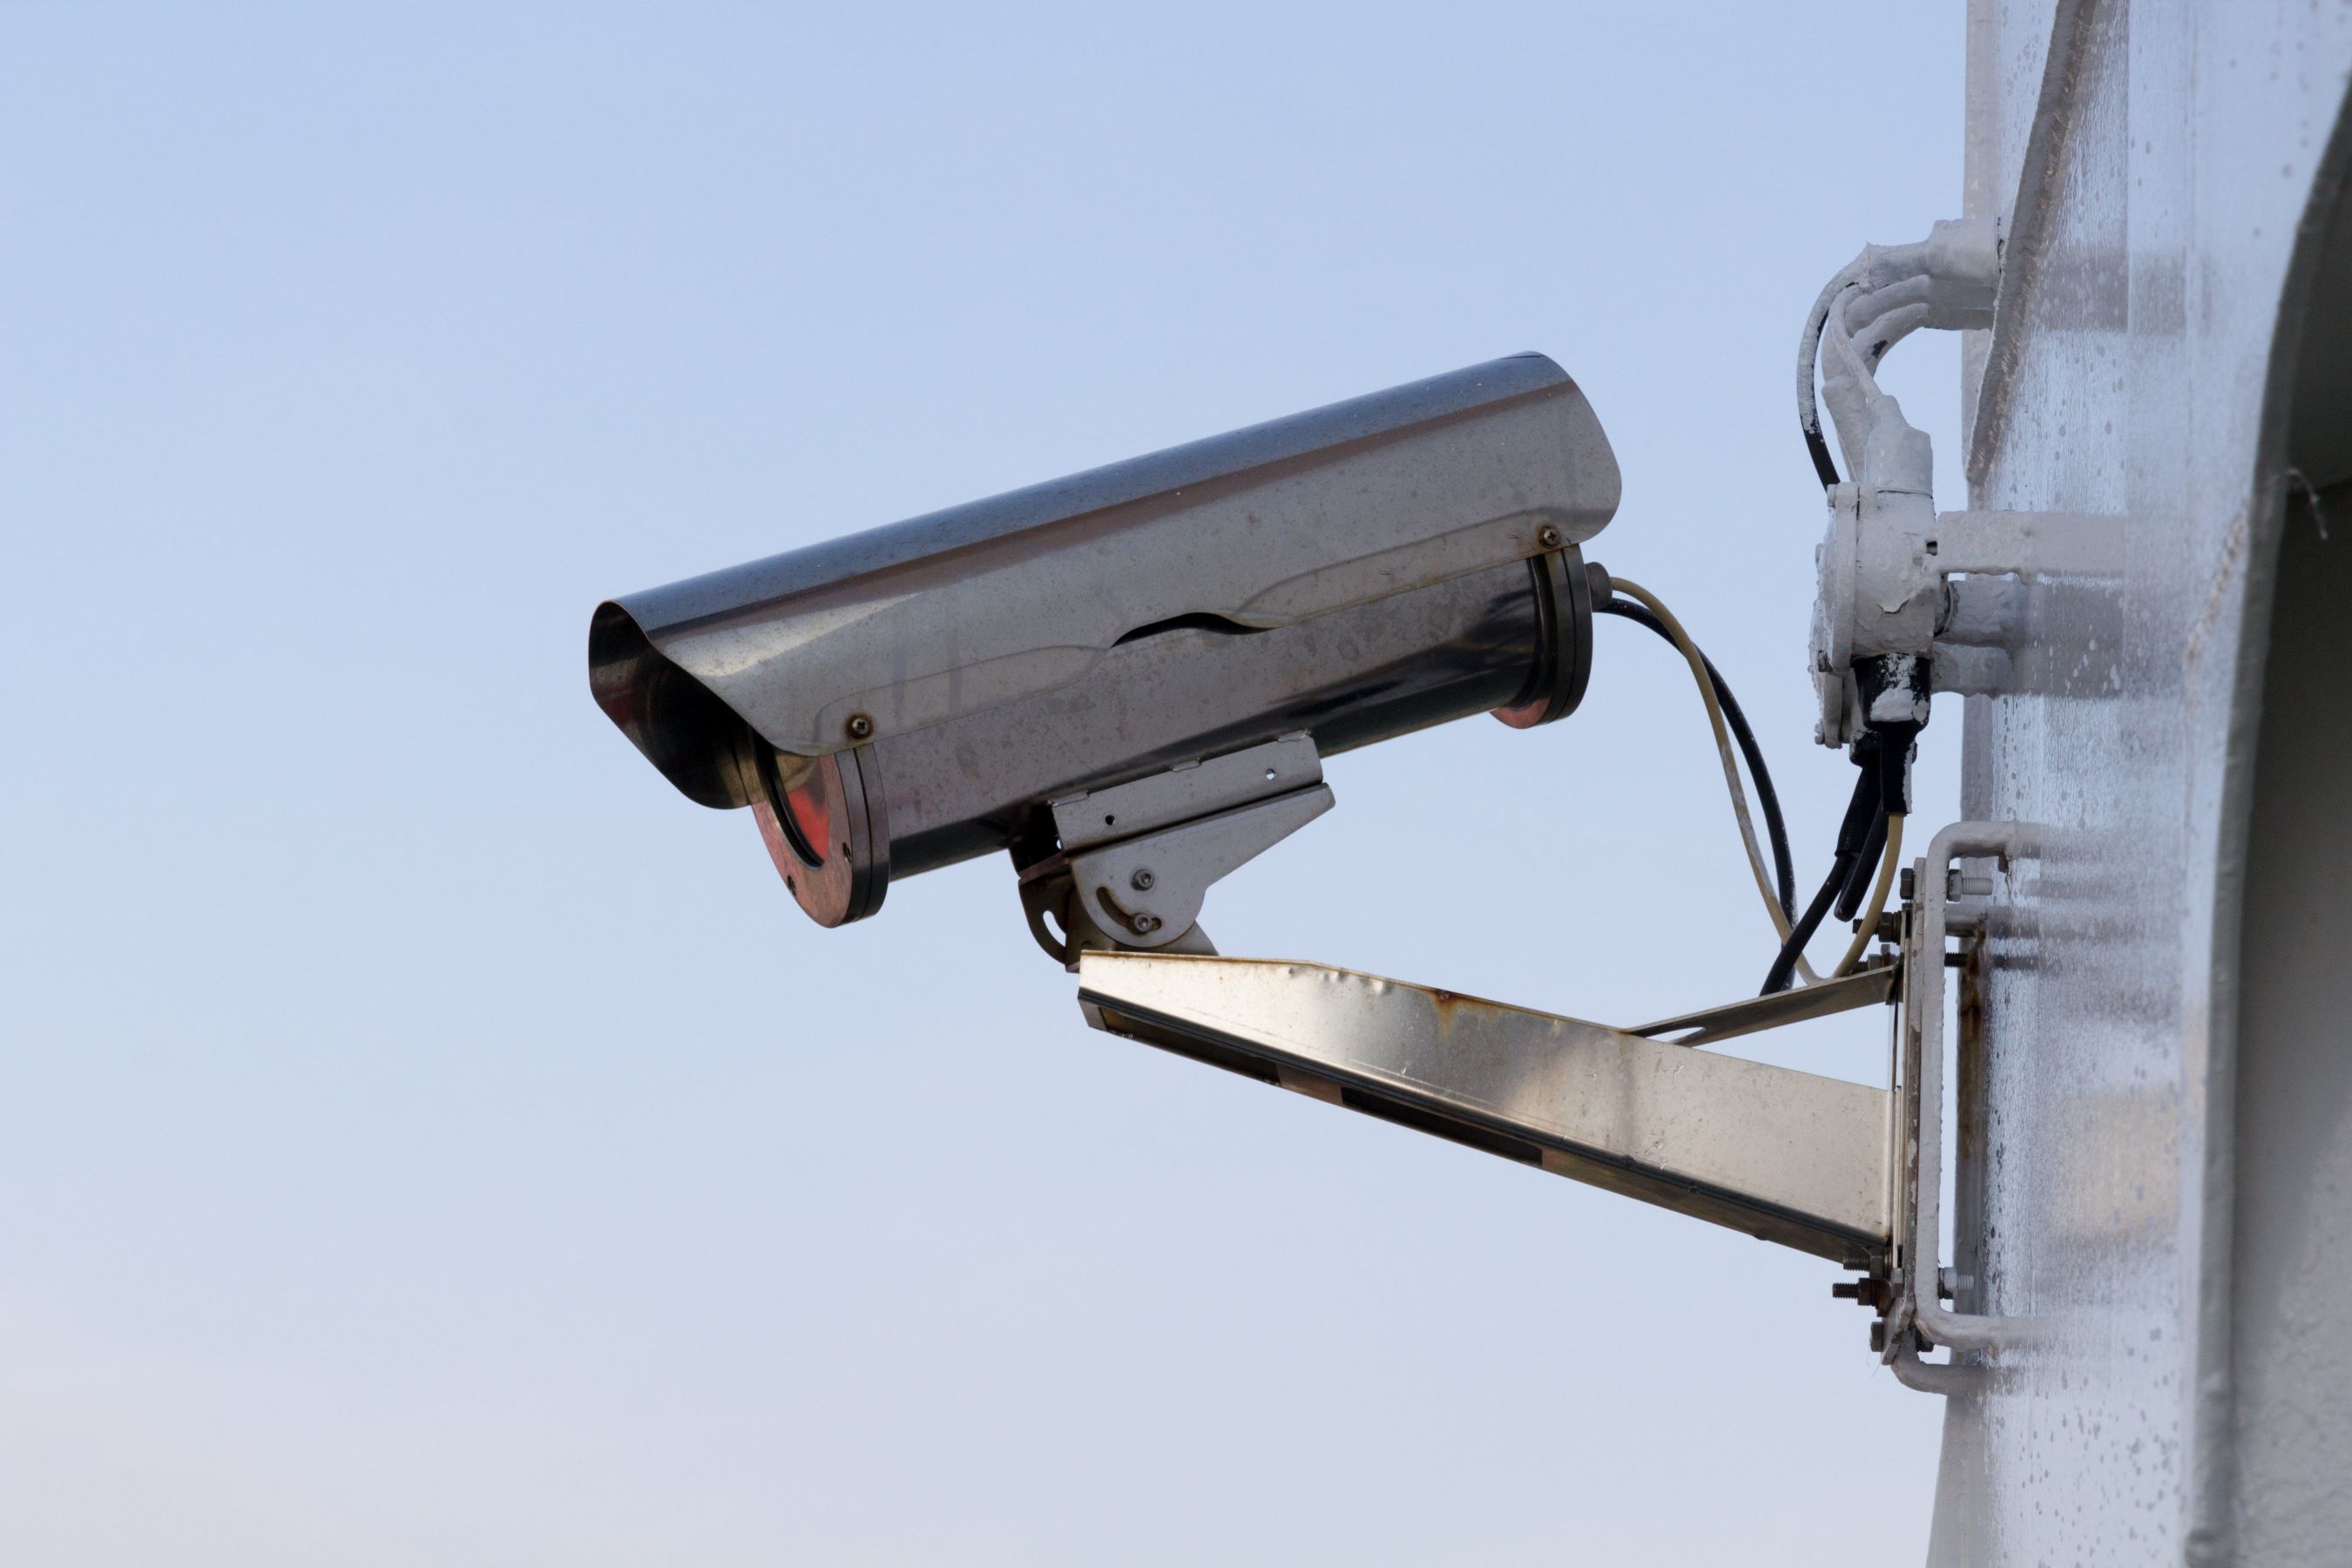
- Camera Housing: Inspect the camera’s housing for any physical damage or signs of corrosion. Environmental elements like rain, snow, or extreme temperatures can cause damage to the camera’s enclosure, affecting its performance. If you notice any issues, you may need to repair or replace the camera.
- Power Supply: Check the power supply for any issues. If you are using a power adapter, make sure it is functioning correctly. If the camera is connected to a PoE (Power over Ethernet) switch, ensure that the switch is providing sufficient power to the camera.
By thoroughly examining the camera connections, you can rule out any potential issues related to loose or faulty connections. If you find any problems, rectify them by reseating the cables or replacing damaged components.
Remember to follow the manufacturer’s instructions and safety guidelines while inspecting and handling the camera’s connections. Once you have double-checked and secured the camera connections, proceed to the next troubleshooting step.
Resetting the Camera
If checking the camera connections didn’t resolve the lost picture issue, the next step is to try resetting the camera. Resetting the camera can help resolve any software or configuration issues that may be causing the problem. Here’s how you can reset your outdoor camera:
- Find the Reset Button: Look for a small reset button on the camera itself. This button is often located on the back or bottom of the camera, recessed to prevent accidental resets.
- Press and Hold the Reset Button: Using a paperclip or a similar tool, press and hold the reset button for about 10-15 seconds. This will restore the camera to its default factory settings.
- Power Cycle the Camera: After the reset, disconnect the camera from its power source and wait for about 30 seconds. Then, reconnect the power and allow the camera to boot up.
- Reconfigure the Camera: Once the camera has rebooted, you will need to set it up again. Follow the manufacturer’s instructions to connect the camera to your network and configure the necessary settings.
Resetting the camera can often resolve software glitches or conflicts that may be causing the lost picture issue. However, please note that resetting the camera will erase any custom settings or configurations you had previously set. Make sure to keep a record of your settings or take screenshots before performing the reset.
If resetting the camera did not restore the picture feed, proceed to the next troubleshooting step.
Updating Firmware
If you’re still experiencing a lost picture on your outdoor camera, it’s time to check if there are any available firmware updates for your camera model. Outdated firmware can cause compatibility issues and impact the camera’s performance. Updating the firmware can often resolve these problems. Here’s how to update the firmware on your outdoor camera:
- Check Manufacturer’s Website: Visit the manufacturer’s website and navigate to the support or download section. Look for any available firmware updates for your camera model. Download the latest firmware version onto your computer.
- Read the Firmware Update Instructions: Before proceeding with the firmware update, carefully read the instructions provided by the manufacturer. Pay attention to any specific steps or precautions mentioned.
- Connect to the Camera: Ensure that your computer is connected to the same network as the camera. This is usually required for firmware updates. Refer to the manufacturer’s instructions for information on how to establish the connection.
- Access the Camera’s Web Interface: Open a web browser on your computer and enter the IP address of your camera or its assigned domain name. This will allow you to access the camera’s web interface.
- Navigate to the Firmware Upgrade Section: Once you have accessed the camera’s web interface, navigate to the firmware upgrade section. The exact location may vary depending on the camera model and manufacturer’s interface.
- Select and Upload the Firmware: In the firmware upgrade section, locate the option to upload the firmware file. Click on the “Browse” or “Choose File” button and select the firmware file you downloaded earlier. Follow the on-screen prompts to initiate the firmware update process.
- Wait for the Update to Complete: The firmware update process may take several minutes. Avoid interrupting the process or turning off the camera during the update. Once the update is complete, the camera will reboot.
- Verify the Firmware Update: After the camera has rebooted, check the camera’s web interface or the manufacturer’s instructions to confirm that the firmware update was successful.
Updating the firmware can address compatibility issues and potentially resolve the lost picture problem on your outdoor camera. However, if updating the firmware did not fix the issue, proceed to the next troubleshooting step.
Check the camera’s power source and connections to ensure they are secure and functioning properly. Also, clean the camera lens and check for any obstructions that may be blocking the view. If the issue persists, consider resetting the camera or contacting the manufacturer for further assistance.
Read more: How To Hide An Outdoor Camera
Adjusting Camera Settings
If you have tried the previous troubleshooting steps and are still dealing with a lost picture on your outdoor camera, it’s time to examine and adjust the camera settings. Incorrect settings or misconfigurations can affect the camera’s ability to capture and transmit images. Here’s what you can do:
- Access the Camera’s Web Interface: Open a web browser on your computer and enter the IP address of your camera or its assigned domain name. This will allow you to access the camera’s web interface.
- Check Image Quality Settings: Navigate to the image settings section in the camera’s web interface. Ensure that the image quality settings, such as resolution, bitrate, and compression, are appropriately configured. Adjusting these settings can improve the clarity and stability of the camera’s picture feed.
- Review Motion Detection Settings: If your outdoor camera has motion detection capabilities, check the motion detection settings. Make sure that the detection area is correctly set to cover the desired area of surveillance. Adjust the sensitivity level to avoid false alarms or missed detections.
- Disable Night Vision Filters: If your camera has night vision capabilities, disable any night vision filters that may be affecting the picture quality. Sometimes, the infrared filters or illuminators can cause issues with the camera’s image transmission. Experiment with enabling or disabling these features to see if it improves the picture feed.
- Verify Network Settings: Ensure that the camera’s network settings are correctly configured. Double-check the IP address, subnet mask, gateway, and DNS settings to ensure they match your network setup. Incorrect network settings can lead to connectivity issues and a lost picture feed.
- Restart the Camera: After making any necessary adjustments to the camera settings, restart the camera. This can help apply the new settings and refresh the camera’s functionality.
By reviewing and adjusting the camera settings, you can optimize its performance and potentially resolve the lost picture issue. However, if adjusting the camera settings did not fix the problem, proceed to the next troubleshooting step.
Checking Network Connection
If you’re still experiencing a lost picture on your outdoor camera, it’s important to investigate the network connection. Network issues can hinder the camera’s ability to transmit video properly. Here are some steps to check the network connection:
- Router Placement: Ensure that your router is placed in a central location, away from obstructions, to ensure a strong and stable network signal. Walls, furniture, and other electronic devices can interfere with the signal strength.
- Restart Router: Power cycle your router by unplugging it from the power source, waiting for about 30 seconds, and then plugging it back in. This can help troubleshoot any temporary network connectivity issues.
- Wi-Fi Signal Strength: If your outdoor camera relies on Wi-Fi connectivity, check the signal strength in the area where the camera is installed. Weak Wi-Fi signal can lead to intermittent connections or a complete loss of picture feed. Consider moving the router closer to the camera or using Wi-Fi range extenders to improve the signal strength.
- Interference: Identify any potential sources of interference in the area. Other electronic devices, such as cordless phones or microwave ovens, can disrupt the Wi-Fi signal. Try moving these devices away from the camera or router to minimize interference.
- Network Bandwidth: Insufficient network bandwidth can impact the camera’s ability to transmit video smoothly. Make sure there are no other bandwidth-intensive activities happening on your network while the camera is in use. Consider upgrading your internet plan if necessary.
- Port Forwarding: If you have configured port forwarding on your router to access the camera remotely, verify that the correct ports are open and forwarded to the camera’s IP address. Incorrect port forwarding settings can result in a lost picture feed.
- ISP Issues: Contact your Internet Service Provider (ISP) to check if there are any known issues or outages in your area. They can diagnose and address any network-related problems that may be affecting the camera’s connectivity.
By checking the network connection and resolving any issues, you can ensure a stable and reliable connection for your outdoor camera. However, if troubleshooting the network connection did not solve the problem, proceed to the next troubleshooting step.
Reinstalling Camera Software
If you’re still grappling with a lost picture on your outdoor camera, reinstalling the camera’s software may help resolve any software-related issues that could be causing the problem. Here’s what you can do:
- Uninstall Existing Software: Start by uninstalling the camera software or app from your computer or mobile device. This ensures a clean installation of the software.
- Download Latest Software Version: Visit the manufacturer’s website and download the most up-to-date version of the camera software or app. Make sure you select the version that is compatible with your camera model.
- Install the Software: Follow the installation instructions provided by the manufacturer to install the software on your computer or mobile device. Make sure to carefully read any prompts or selections during the installation process.
- Configure the Camera: After reinstalling the software, follow the setup instructions provided by the manufacturer to connect and configure your camera. Ensure that you enter the correct settings, such as the camera’s IP address and login credentials, if required.
- Test the Picture Feed: Once the camera software is reinstalled and configured, verify if the lost picture issue has been resolved. Check the live view or recorded footage to ensure that the camera is now transmitting the picture feed properly.
Reinstalling the camera software can help address any software glitches or conflicts that may be causing the lost picture issue. However, if reinstalling the software did not fix the problem, it may be necessary to contact the manufacturer’s technical support for further assistance.
Before contacting technical support, gather all relevant information about your camera, including the model number, serial number, and a detailed description of the issue you’re facing. This will help the support team provide more efficient and accurate guidance.
Now, proceed to the next troubleshooting step if the lost picture problem persists even after reinstalling the camera software.
Contacting Manufacturer Support
If you have tried all the previous troubleshooting steps and are still dealing with a lost picture on your outdoor camera, it may be time to reach out to the manufacturer’s support team for assistance. Here’s how you can go about contacting them:
- Gather Information: Before reaching out to support, gather all relevant information about your camera, including the model number, serial number, and a detailed description of the issue you are facing. This will help the support team provide more efficient and accurate assistance.
- Check the Manufacturer’s Support Resources: Visit the manufacturer’s website and check their support section. Often, you can find helpful articles, FAQs, and troubleshooting guides that address common issues. Review these resources to see if they offer any solutions to the lost picture problem.
- Contact Support: If you are unable to find a resolution from the support resources, look for the contact information of the manufacturer’s support team. This can be an email address, a phone number, or a live chat option. Reach out to them and explain the issue you are experiencing.
- Provide Relevant Information: When contacting support, make sure to provide all the relevant information you gathered earlier, such as the camera’s model number, serial number, and a detailed description of the issue. The more information you provide, the better equipped the support team will be to assist you.
- Follow Support Instructions: Once you have contacted support, follow their instructions carefully. They may ask you to perform additional troubleshooting steps or provide specific information to assist with diagnosing the problem. Be patient and cooperative throughout the process.
- Document Correspondence: Keep a record of your interactions with the support team, including the date and time of contact, the names of the support representatives you spoke with, and any instructions or solutions provided. This can be helpful for future reference.
Contacting the manufacturer’s support team can be beneficial, as they have in-depth knowledge of their products and can provide specialized assistance. They may be able to offer advanced troubleshooting steps or guide you through any hardware-related issues that require professional intervention.
Remember, remain calm and polite when communicating with support representatives. They are there to help you resolve the issue and ensure your satisfaction as a customer.
If all else fails or if your camera is still under warranty, the manufacturer may provide a replacement or repair service. Follow their instructions and procedures for warranty claims if necessary.
Now, with the help of manufacturer support, you can address the lost picture problem on your outdoor camera effectively and efficiently.
Read more: How Clean An Outdoor Camera
Conclusion
Dealing with a lost picture on your outdoor camera can be frustrating, but by following the troubleshooting steps outlined in this guide, you can work towards resolving the issue and restoring the picture feed. Understanding the potential causes, checking camera connections, resetting the camera, updating firmware, adjusting camera settings, checking the network connection, and reinstalling camera software are all important steps to take when troubleshooting this problem.
While each situation may be unique, these steps provide a comprehensive approach to resolving the lost picture issue. By methodically working through these steps, you can identify and address the cause of the problem. It’s important to remember that if one step does not yield a solution, proceed to the next until you find the root cause.
In some cases, contacting the manufacturer’s support team is necessary, especially if the troubleshooting steps do not resolve the issue. They have the expertise and resources to provide further assistance and guidance tailored to your specific camera model.
Remember, maintaining a strong and stable network connection, regularly updating firmware, and performing necessary maintenance on your outdoor camera can help prevent future issues with the picture feed. Regularly check for software updates and inspect camera connections to ensure optimal performance.
By taking proactive measures and following the troubleshooting steps outlined in this guide, you can ensure that your outdoor camera provides a clear and reliable picture feed to enhance the security of your property and loved ones.
Reclaim the peace of mind that comes with knowing your outdoor camera is capturing and transmitting images effectively, allowing you to rest easy knowing your security and surveillance system is functioning optimally.
Frequently Asked Questions about How To Fix Outdoor Camera Lost Picture
Was this page helpful?
At Storables.com, we guarantee accurate and reliable information. Our content, validated by Expert Board Contributors, is crafted following stringent Editorial Policies. We're committed to providing you with well-researched, expert-backed insights for all your informational needs.
