
Articles
How To Install Vivint Doorbell Camera
Modified: May 6, 2024
Learn how to install the Vivint Doorbell Camera with our comprehensive articles. Get step-by-step instructions and expert tips to ensure a successful installation.
(Many of the links in this article redirect to a specific reviewed product. Your purchase of these products through affiliate links helps to generate commission for Storables.com, at no extra cost. Learn more)
Introduction
Welcome to the world of smart home security! Installing a Vivint Doorbell Camera is a great way to enhance the safety and convenience of your home. With its advanced features and seamless integration with the Vivint app, this doorbell camera provides you with peace of mind and complete control over your front door. In this article, we will guide you through the step-by-step process of installing your Vivint Doorbell Camera, from gathering the necessary tools to testing the camera’s functionality.
Before we begin, it’s important to note that the installation process may vary slightly depending on the specific model of the Vivint Doorbell Camera you have purchased. However, the general steps outlined in this guide should apply to most installations. Let’s dive in!
Key Takeaways:
- Enhance home security and convenience by installing a Vivint Doorbell Camera. Follow the step-by-step guide for seamless integration and complete control over your front door.
- Enjoy peace of mind with advanced features like motion detection, two-way audio, and remote access through the Vivint app. Easily monitor your front door and stay connected to your home from anywhere.
Read more: How To Remove Vivint Doorbell Camera
Step 1: Gather the necessary tools
Before diving into the installation process, it’s essential to ensure you have all the necessary tools at hand. Here’s a checklist of what you’ll need:
- Philips screwdriver
- Drill with a 3/32-inch drill bit
- Tape measure
- Level
- Wire stripper
- Wire nuts
- Vivint Doorbell Camera
- Mounting bracket
- Screws and anchors
Make sure you have these tools ready before starting the installation process. This will help streamline the process and ensure a smooth experience.
Step 2: Prepare for installation
Now that you have gathered all the necessary tools, it’s time to prepare for the installation of your Vivint Doorbell Camera. Here are the key steps:
- Identify a suitable location: Choose a location near your front door that provides a clear view of the area you want the camera to monitor. Ensure there is a power source nearby and a stable Wi-Fi signal.
- Prepare the mounting area: Use a tape measure and level to mark the spot where you will install the camera. Make sure the mounting area is clean and free from any obstruction.
- Check your doorbell wiring: If you are replacing an existing doorbell, check the wiring to ensure it is compatible with the Vivint Doorbell Camera. If necessary, consult the user manual or seek professional assistance to upgrade your wiring.
- Charge the doorbell camera: If your Vivint Doorbell Camera requires charging, connect it to a power source using the provided USB cable and allow it to charge fully before proceeding with the installation.
By preparing the installation area and ensuring the camera is fully charged, you’re setting yourself up for a successful installation process.
Step 3: Remove the existing doorbell
If you have an existing doorbell, you will need to remove it before installing your Vivint Doorbell Camera. Follow these steps to safely remove the old doorbell:
- Turn off the power: Locate the circuit breaker that controls the power to your doorbell and switch it off. This will ensure your safety during the removal process.
- Remove the cover plate: Gently pry off the cover plate of the existing doorbell using a screwdriver. Set aside the cover plate and screws for future use, if applicable.
- Disconnect the wires: Carefully disconnect the wires attached to the old doorbell. Take note of which wire is connected to each terminal for easier installation of the Vivint Doorbell Camera.
- Remove the doorbell: Unscrew the mounting screws that secure the old doorbell to the wall or door frame. Once the screws are removed, you can take off the old doorbell and set it aside.
- Inspect the wiring: Take a moment to inspect the wiring for any damage or wear. Replace any damaged wires and ensure the remaining wiring is in good condition.
With the existing doorbell removed, you’re now ready to proceed with the installation of your new Vivint Doorbell Camera. Keep the wires accessible and be cautious of any electrical hazards as you move forward with the installation process.
Step 4: Install the Vivint doorbell camera
Now that you have removed the old doorbell, it’s time to install your Vivint Doorbell Camera. Follow these steps to ensure a proper installation:
- Attach the mounting bracket: Take the mounting bracket provided with your Vivint Doorbell Camera and align it with the holes on your wall or door frame. Use the appropriate screws and anchors to secure the bracket in place. Make sure the bracket is level.
- Connect the wires: Gently thread the doorbell camera wires through the mounting bracket and connect them to the corresponding terminals. Use wire nuts to securely fasten the connections. Double-check that the wires are properly attached.
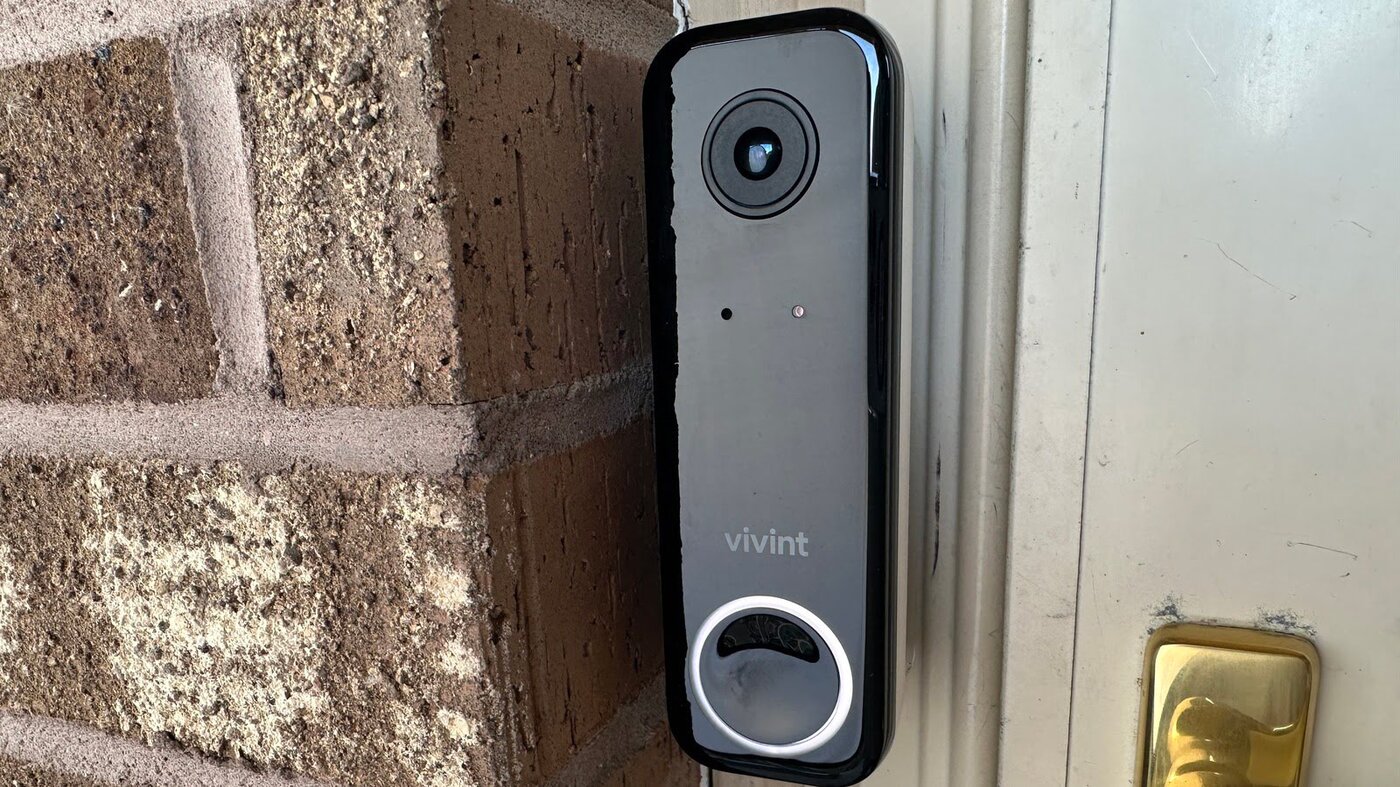
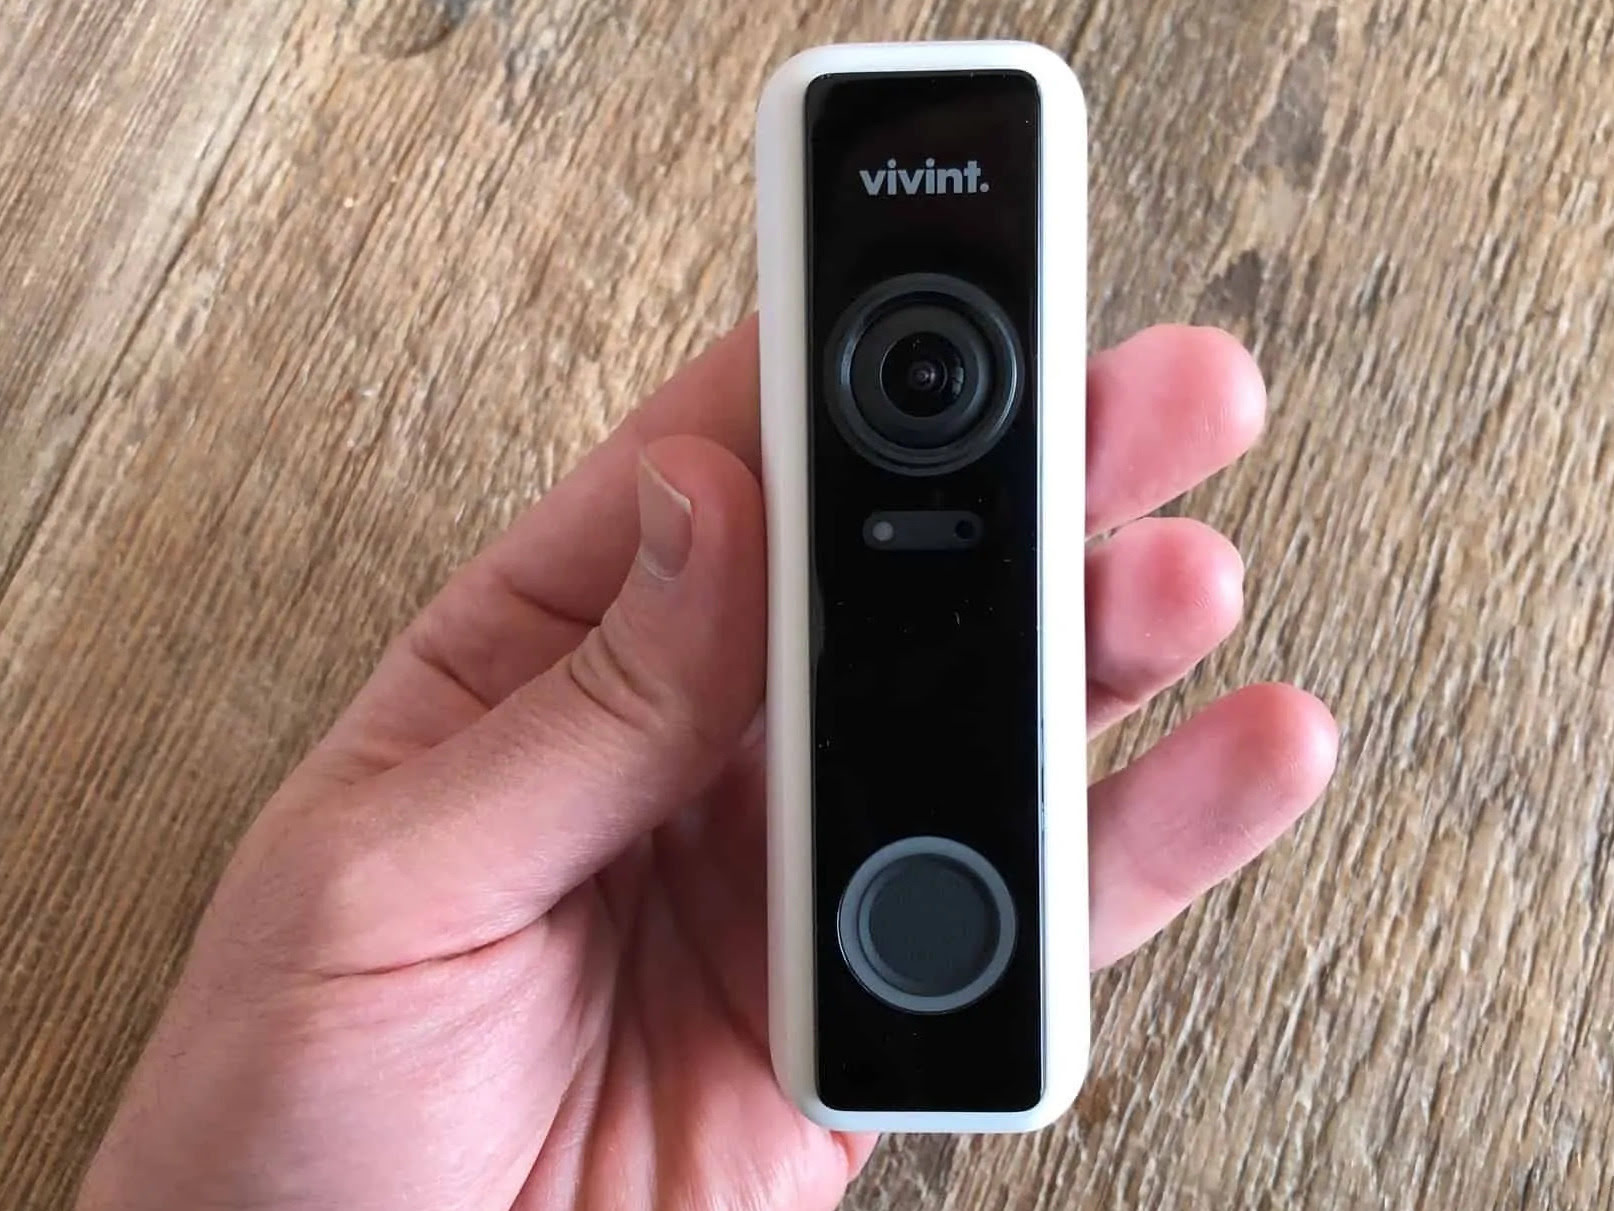
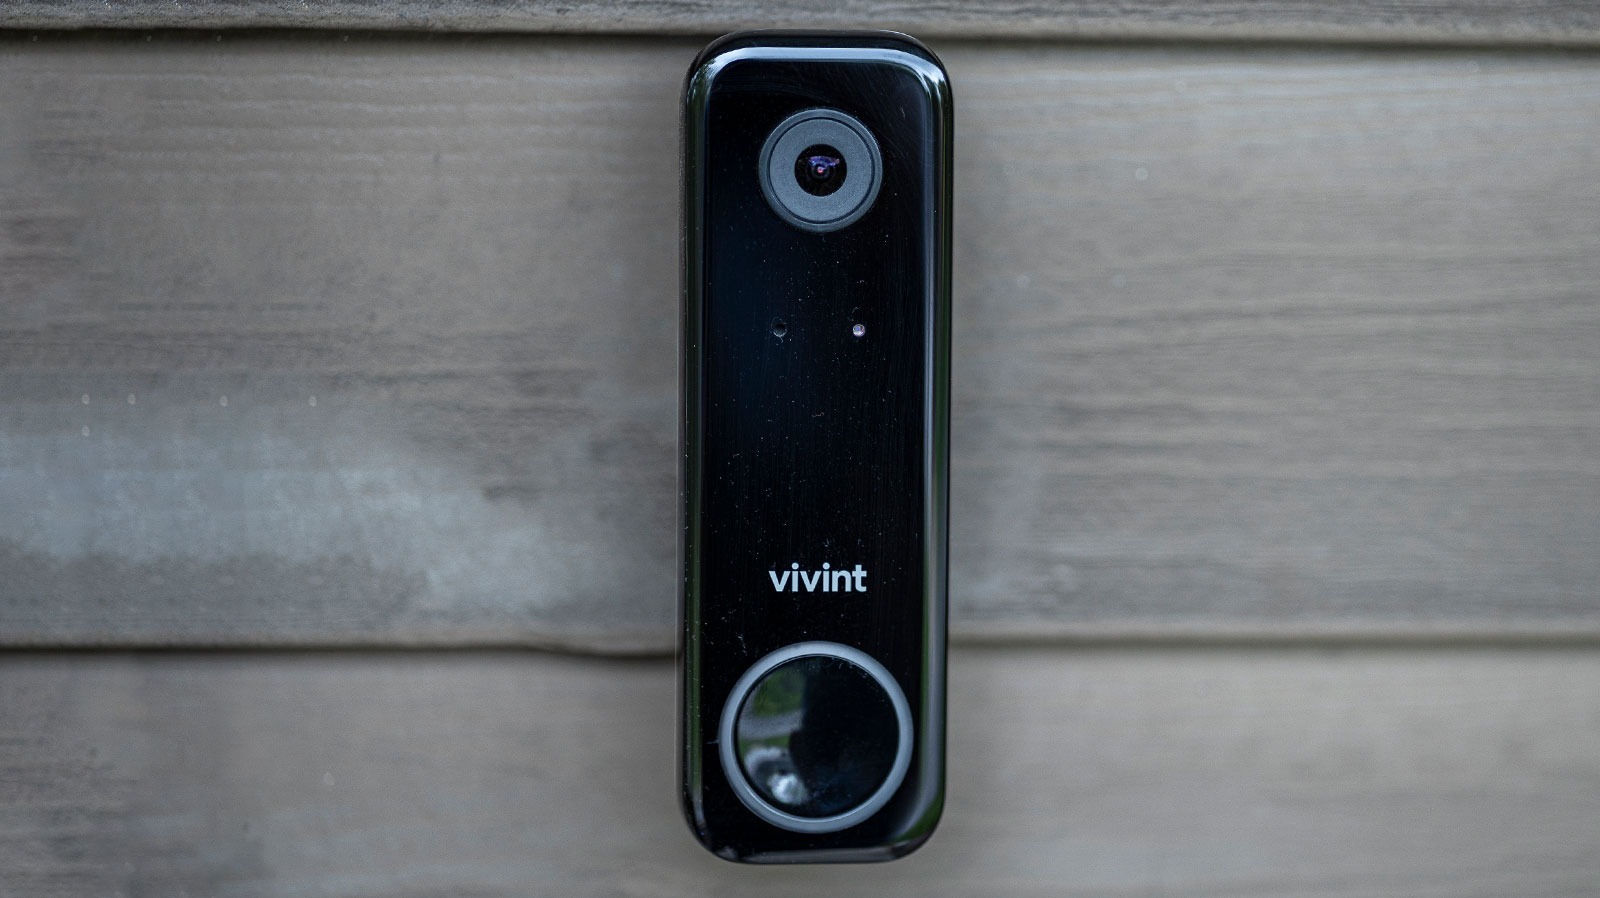
- Align the camera: Place the Vivint Doorbell Camera onto the mounting bracket, ensuring that it aligns properly and securely snaps into place. Adjust the camera’s position as needed to achieve the desired viewing angle.
- Tighten the screws: Once the camera is aligned, use the provided screws to secure it to the mounting bracket. Make sure the camera is firmly attached and does not wobble.
- Test the camera’s stability: Gently tug on the camera to ensure it is securely installed and doesn’t move or come loose. If necessary, tighten the screws further to enhance stability.
By following these steps, you will have successfully installed your Vivint Doorbell Camera. The mounting bracket and screws provided ensure a secure and stable installation, allowing the camera to capture clear footage of your front door area.
Before installing the Vivint Doorbell Camera, ensure that your Wi-Fi signal is strong near the installation location to ensure a reliable connection.
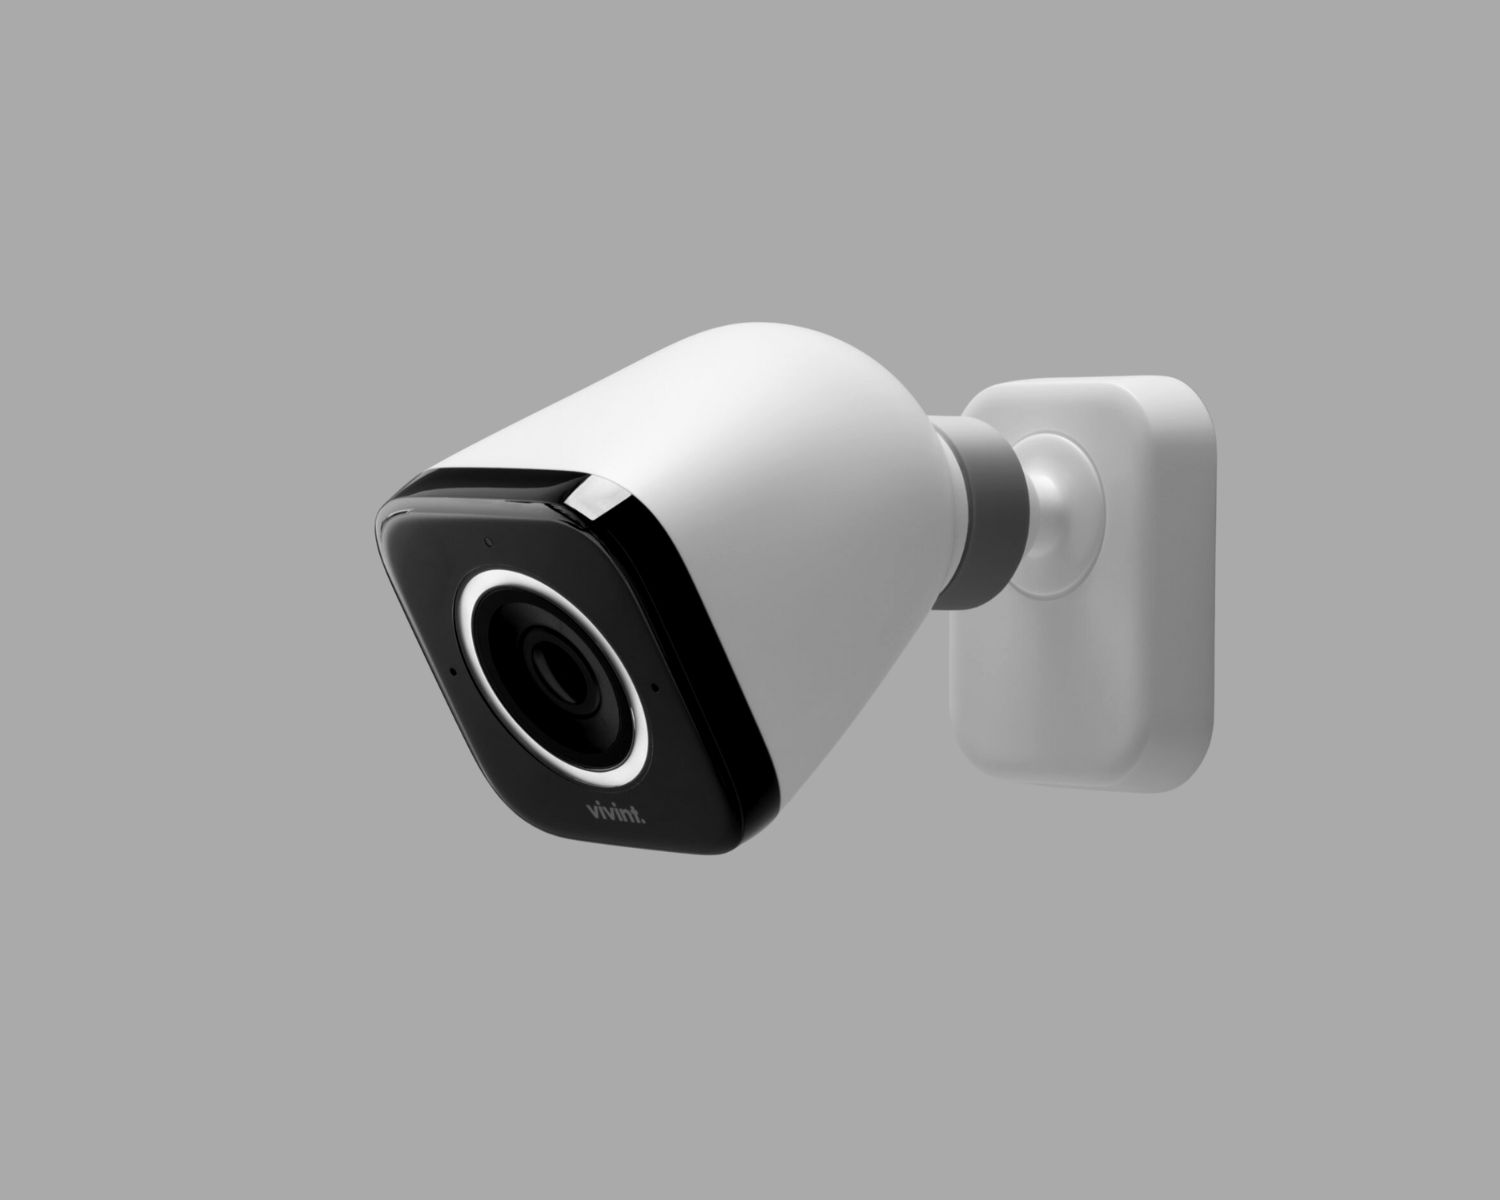
Read more: How To Install A Vivint Outdoor Camera
Step 5: Connect the doorbell to power
With your Vivint Doorbell Camera installed, it’s now time to connect it to power. Follow these steps to ensure a proper power connection:
- Locate the power source: Identify the power source near the installation area. This can be an existing doorbell transformer or an available power outlet. Ensure the power source provides the correct voltage for the Vivint Doorbell Camera.
- Turn off the power: Before making any electrical connections, turn off the power at the circuit breaker or unplug the power source, depending on the type of power supply.
- Connect the power wires: Take the power wires from the Vivint Doorbell Camera and connect them to the power source. This may involve connecting the wires to the transformer or plugging them into the power outlet. Follow the manufacturer’s instructions for proper wiring.
- Secure the wire connections: Once the power wires are connected, use wire nuts or other appropriate connectors to secure the wire connections. Ensure they are tightly fastened to prevent any loose or exposed wiring.
- Restore power: Once you have completed the power connection and secured the wire connections, restore power by turning on the circuit breaker or plugging the power source back in.
It is crucial to ensure a proper power connection to the Vivint Doorbell Camera for it to function correctly. Double-check all the connections before restoring power to avoid any electrical issues or damage.
Step 6: Connect the doorbell to Wi-Fi
Now that your Vivint Doorbell Camera is powered up, it’s time to connect it to your Wi-Fi network. Follow these steps to establish a Wi-Fi connection:
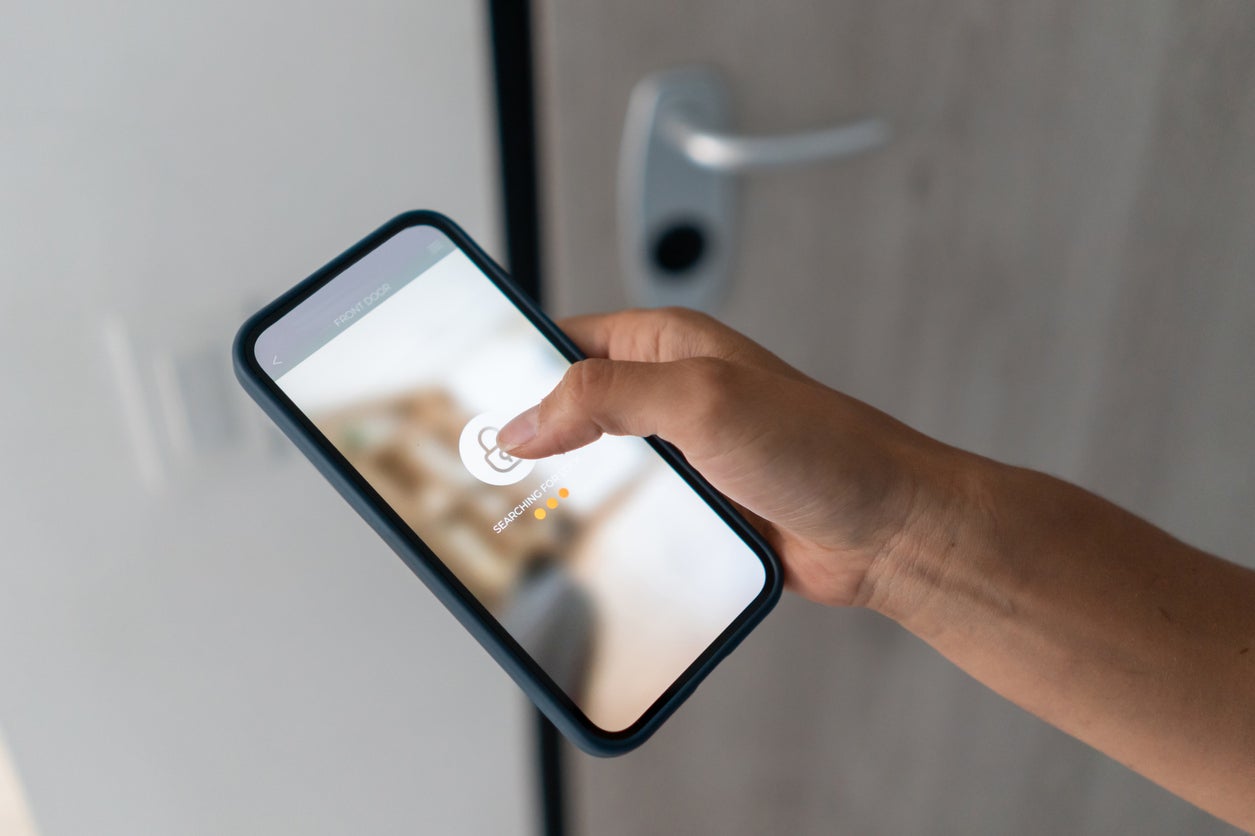
- Launch the Vivint app: Open the Vivint app on your smartphone or tablet. If you haven’t installed the app yet, download it from the App Store or Google Play Store and create an account if necessary.
- Add the doorbell camera: In the Vivint app, navigate to the device add section and select the doorbell camera option. Follow the on-screen instructions to add the camera to your account.
- Enter your Wi-Fi credentials: During the setup process, you will be prompted to enter the Wi-Fi credentials (network name and password) for your home Wi-Fi network. Enter the correct information to proceed.
- Wait for the connection: After entering the Wi-Fi credentials, the app will initiate the pairing process. Wait for the doorbell camera to connect to your Wi-Fi network. This may take a few moments.
- Verify the connection: Once the doorbell camera is successfully connected to Wi-Fi, the app will display a confirmation message. Verify that the camera is online and accessible in the app.
By following these steps and ensuring a stable Wi-Fi connection, you will be able to access and control your Vivint Doorbell Camera remotely through the Vivint app. This allows you to monitor your front door and receive alerts directly on your smartphone or tablet.
Step 7: Set up the Vivint app
Now that your Vivint Doorbell Camera is connected to Wi-Fi, it’s time to set up the Vivint app on your smartphone or tablet. The app allows you to control and manage your doorbell camera, as well as access its features and settings. Follow these steps to set up the Vivint app:
- Download and install the app: If you haven’t already done so, download the Vivint app from the App Store or Google Play Store. Install the app on your smartphone or tablet.
- Sign in or create an account: Launch the Vivint app and sign in using your Vivint account credentials. If you don’t have an account, create one by following the on-screen instructions.
- Add the doorbell camera: Once you’re signed in, go to the camera section of the app and select the option to add a device. Follow the prompts to add your Vivint Doorbell Camera to the app.
- Customize settings: Once the doorbell camera is successfully added to the app, you can customize various settings, such as motion detection sensitivity, notification preferences, and recording options. Explore the available options to tailor the camera to your specific needs.
- Test the app functionality: After setting up the Vivint app and configuring the doorbell camera settings, test the app’s functionality. Check if you can view the live feed from the camera, receive notifications, and access any additional features provided by the app.
With the Vivint app set up, you can now conveniently control and manage your Vivint Doorbell Camera from the palm of your hand. The app’s intuitive interface and range of features make it easy to keep an eye on your front door and enhance the security of your home.
Step 8: Test the doorbell camera
After completing the installation and setup process, it’s crucial to test your Vivint Doorbell Camera to ensure it is functioning correctly. Follow these steps to test the camera’s functionality:
- Check the live feed: Open the Vivint app on your smartphone or tablet and navigate to the camera section. Check if you can view the live feed from your doorbell camera. Ensure the video quality is clear and the camera provides a wide viewing angle.
- Trigger motion detection: Move in front of the doorbell camera to trigger the motion detection feature. Verify that the camera detects and records motion accurately. Test different sensitivity settings to find the optimal level for your needs.
- Test two-way audio: Utilize the two-way audio feature to communicate through the Vivint app. Talk into your smartphone or tablet and verify that the camera’s speaker picks up your voice clearly. Listen through the app to check the audio quality.
- Receive notifications: Walk near your front door or have someone ring the doorbell to test the notification feature. Ensure that the Vivint app sends you timely notifications when there is motion detected or someone rings the doorbell.
- Review recorded footage: Access the recorded footage in the Vivint app and ensure that it captures and stores the video clips correctly. Play back the recordings to verify the quality and ensure all necessary events are recorded.
By thoroughly testing your Vivint Doorbell Camera, you can be confident that it is set up and working properly. Address any issues or adjustments needed during this testing phase to maximize the camera’s performance.
Read more: How To Install A Camera Doorbell
Conclusion
Congratulations, you have successfully installed and set up your Vivint Doorbell Camera! By following the step-by-step guide outlined in this article, you have taken a significant step towards enhancing your home security and convenience.
The Vivint Doorbell Camera offers advanced features, such as motion detection, two-way audio, and remote access through the Vivint app, giving you complete control and awareness of your front door. With its easy installation process and seamless integration into your smart home ecosystem, this doorbell camera provides an added layer of safety for you and your loved ones.
Remember to periodically check and maintain your Vivint Doorbell Camera to ensure it continues to function optimally. Clean the lens, adjust motion detection settings if needed, and keep the camera’s firmware up to date. Regular maintenance will prolong the life of your doorbell camera and keep it performing at its best.
Now that your Vivint Doorbell Camera is up and running, enjoy the peace of mind that comes with knowing you can monitor your front door from anywhere. Stay connected to your home and never miss an important moment or delivery again!
bye
Now that you're savvy on installing the Vivint Doorbell Camera, why stop there? Enhancing your property's safety doesn't have to be overwhelming. For insights into the broader benefits of securing your home, check out our detailed guide on the necessity of robust home security measures. Whether you're new to home protection or looking to update your current system, this article will provide valuable information and peace of mind.
Frequently Asked Questions about How To Install Vivint Doorbell Camera
Was this page helpful?
At Storables.com, we guarantee accurate and reliable information. Our content, validated by Expert Board Contributors, is crafted following stringent Editorial Policies. We're committed to providing you with well-researched, expert-backed insights for all your informational needs.

0 thoughts on “How To Install Vivint Doorbell Camera”