Home>Home Security and Surveillance>How To Stream A Wireless Security Camera To Youtube
Home Security and Surveillance
How To Stream A Wireless Security Camera To Youtube
Modified: October 21, 2024
Learn how to stream your wireless security camera live to YouTube for home security and surveillance purposes.
(Many of the links in this article redirect to a specific reviewed product. Your purchase of these products through affiliate links helps to generate commission for Storables.com, at no extra cost. Learn more)
Introduction
Welcome to the world of wireless security cameras and live streaming! With the advancement in technology, it is now possible to stream the live feed of your wireless security camera directly to popular platforms like YouTube. This allows you to keep an eye on your home or office in real-time, and even share the stream with family, friends, or the wider online community.
In this article, we will guide you through the step-by-step process of streaming a wireless security camera to YouTube. Whether you are a home security enthusiast or a business owner looking to enhance surveillance, this article will provide you with all the information you need to get started.
Before we dive into the technical aspects, let’s take a moment to understand the benefits of streaming your wireless security camera to YouTube. Firstly, it allows for easy access to the live feed from anywhere, as long as you have an internet connection. This means you can monitor your property remotely, ensuring peace of mind when you are away.
Secondly, streaming to YouTube provides an additional layer of security. By hosting your stream on a popular platform, you can leverage the security measures and infrastructure provided by YouTube, reducing the risk of unauthorized access to your camera feed.
Last but not least, streaming your wireless security camera to YouTube opens up the possibility of sharing the live feed with others. This can be particularly useful for collaborative projects, community surveillance, or even just showing off your amazing camera setup to friends and family.
Now that we understand the benefits, let’s get started with the step-by-step process of streaming your wireless security camera to YouTube. But before we jump in, it’s important to note that the specific steps may vary depending on the brand and model of your wireless security camera. Always refer to the camera’s user manual for detailed instructions.
Key Takeaways:
- You can stream your wireless security camera to YouTube for real-time monitoring and sharing. Choose the right camera, set it up, connect it to YouTube, and enjoy the benefits of live streaming for home security or business surveillance.
- By following step-by-step instructions, you can easily set up your wireless security camera to stream on YouTube. Enjoy the convenience of remote monitoring, enhanced security, and the ability to share live feeds with others.
Read more: How To Connect Wireless Security Cameras?
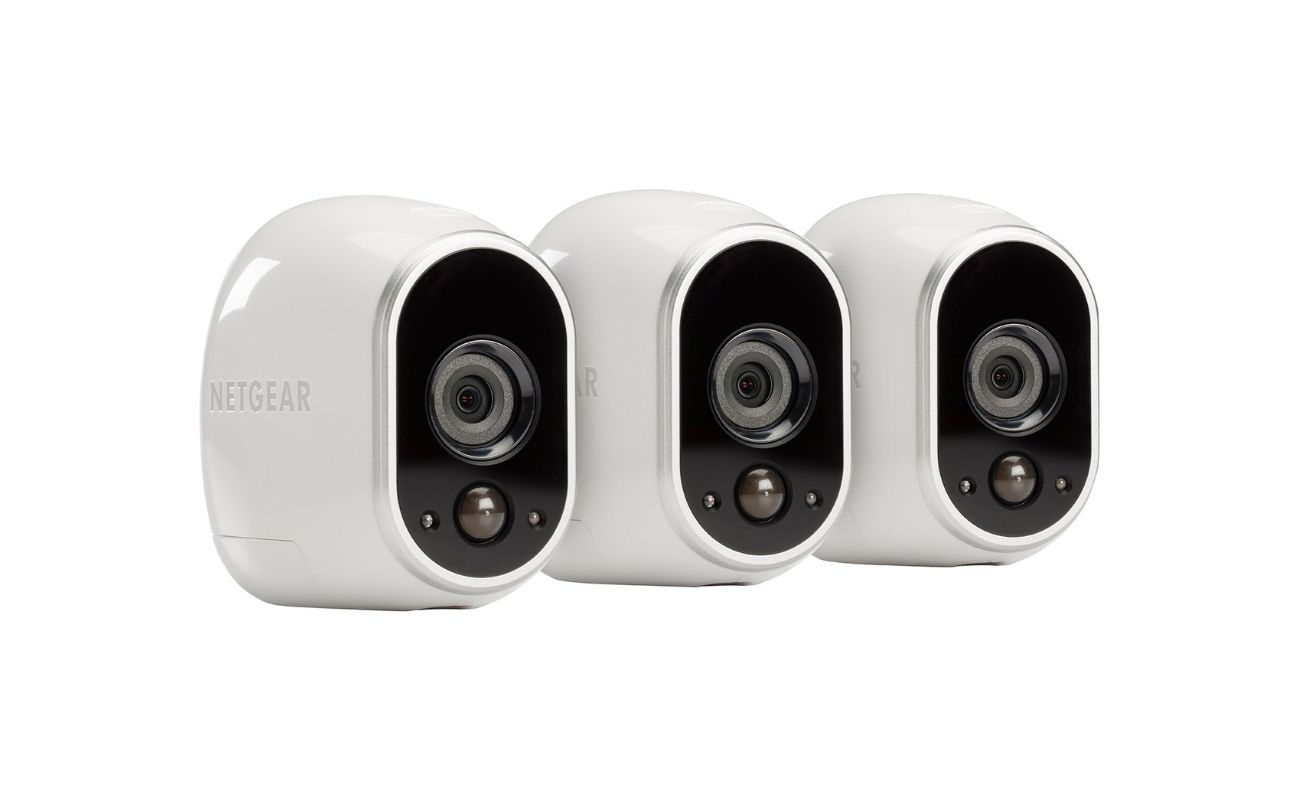
Step 1: Choosing a Wireless Security Camera
The first step in streaming a wireless security camera to YouTube is selecting the right camera for your needs. With a wide range of options available, it’s important to consider features such as video quality, night vision capabilities, motion detection, and two-way audio.
When choosing a wireless security camera, opt for a model that supports live streaming to a third-party platform like YouTube. This will ensure compatibility and make the setup process easier.
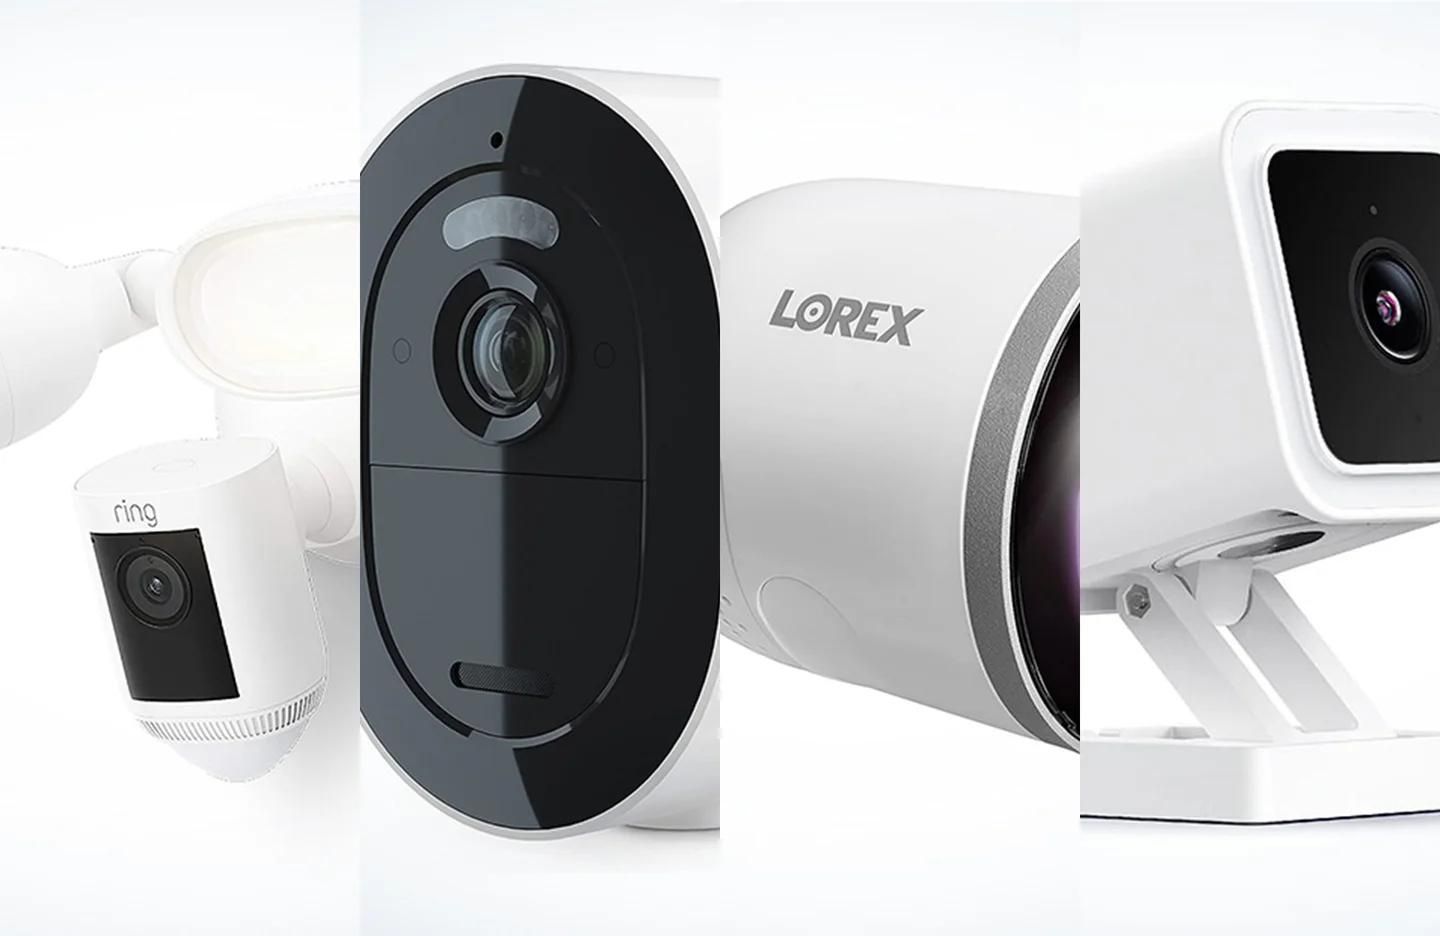
Here are a few factors to consider when selecting a wireless security camera:
1. Video Quality: Look for cameras that offer high-definition (HD) or even 4K resolution, as this will provide clearer and more detailed footage.
2. Night Vision: If you require surveillance capabilities during nighttime, choose a camera with infrared LEDs or low-light sensors for enhanced visibility in the dark.
3. Motion Detection: Cameras with built-in motion sensors can send real-time alerts to your smartphone or email when motion is detected, allowing you to take immediate action if necessary.
4. Two-Way Audio: This feature enables you to communicate with people near the camera. It can be especially useful for home security or monitoring pets.
5. Cloud Storage: Consider cameras that offer cloud storage options, allowing you to securely store and access recorded footage remotely.
Additionally, take into account the camera’s connectivity options. It should support Wi-Fi or other wireless protocols, ensuring a stable and reliable connection to your network.
Once you have chosen your wireless security camera, it’s time to move on to the next step: setting up the camera and connecting it to your network.
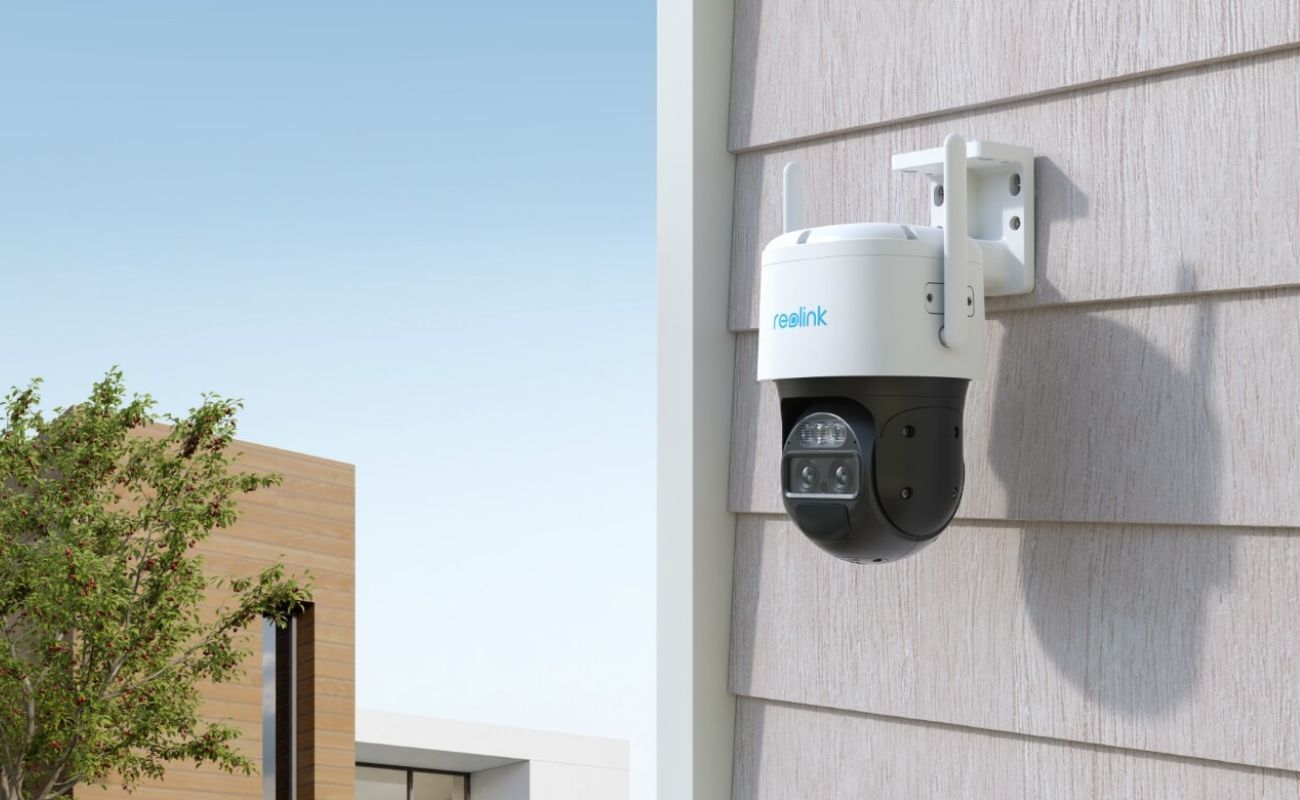
Step 2: Setting up the Wireless Security Camera
Now that you have chosen your wireless security camera, it’s time to set it up and connect it to your network. The setup process may vary depending on the camera brand and model, so it’s essential to follow the instructions provided by the manufacturer.
Here is a general guide to setting up a wireless security camera:
- Find an optimal location: Choose a strategic location for your camera that provides a wide coverage area and captures important areas of your property. Ensure there is a power source nearby for the camera to function.
- Install the camera: Mount the camera securely using the provided mounting brackets and screws. Make sure it is positioned at the desired angle and direction for optimal surveillance.
- Power up the camera: Plug the camera into a power outlet or use a suitable power source. Some cameras may require a separate power adapter, so refer to the manufacturer’s instructions.
- Connect to your network: Most wireless security cameras utilize Wi-Fi to connect to your network. Follow the camera’s instructions to connect it to your Wi-Fi network using the provided app or software. Ensure that your Wi-Fi signal is strong and stable in the camera’s location.
- Configure camera settings: Once the camera is connected to your network, access its settings through the app or software. Set up essential configurations such as time/date, video quality, and motion detection sensitivity.
- Test the camera: After setting up the camera, test its functionality by viewing the live feed on your smartphone or computer. Ensure that the camera captures clear and crisp footage and that all features are working correctly.
Remember, each camera brand and model may have specific setup instructions, so it’s crucial to refer to the user manual and documentation provided by the manufacturer for accurate guidance.
With your wireless security camera set up and connected to your network, you are now ready to move on to the next step: configuring the camera’s live stream settings for YouTube.
Step 3: Configuring the Camera’s Live Stream Settings
Once your wireless security camera is set up and connected to your network, the next step is to configure its live stream settings for broadcasting to YouTube. While the specific steps may vary depending on the camera brand and model, the general process is as follows:
- Access the camera’s settings: Use the camera’s app or software to access its settings. This can usually be done by opening the app on your smartphone or logging in to the camera’s web interface on your computer.
- Enable live streaming: Look for the option to enable live streaming or streaming mode. This setting may be located in the camera’s video settings or broadcasting settings.
- Choose the streaming platform: Select YouTube as the streaming platform. Some cameras may have built-in integrations with YouTube, making the process even easier.
- Authorize the camera with YouTube: Follow the prompts to authorize the camera to connect with your YouTube account. This will require signing in to your YouTube account and granting permission for the camera to stream to your channel.
- Configure stream settings: Set the stream quality, resolution, and other related parameters according to your preferences. It is recommended to choose the highest quality settings that your camera and internet connection can handle for optimal viewing experience.
- Generate a stream key: In order to establish a connection between the camera and YouTube, you will need to generate a stream key. This key is unique to your YouTube account and ensures secure transmission of the camera feed. Follow the camera’s instructions to generate and enter the stream key.
Once you have completed the above steps, your wireless security camera will be configured to live stream to YouTube. However, before you can begin streaming, you need to create a YouTube Live Stream event and connect your camera to it.
In the next step, we will guide you through the process of creating a YouTube Live Stream event for your wireless security camera.
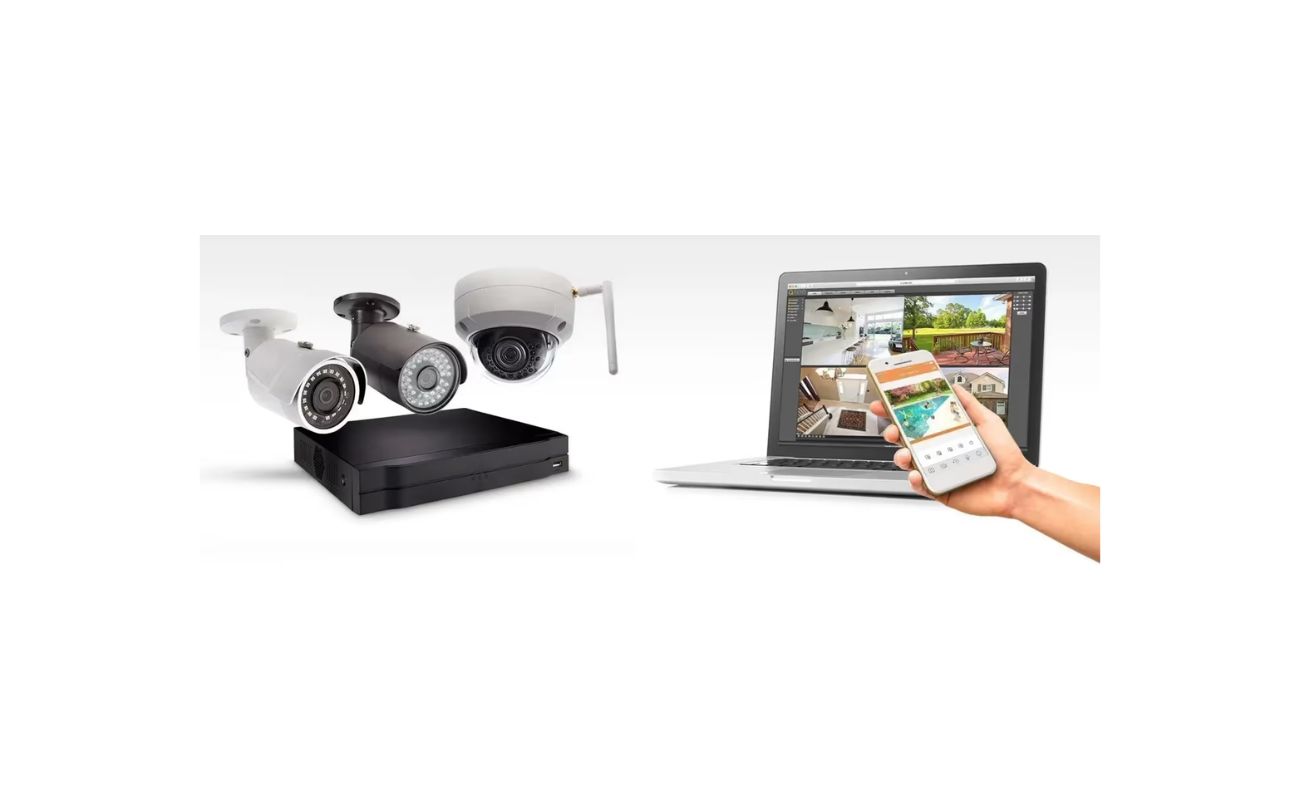
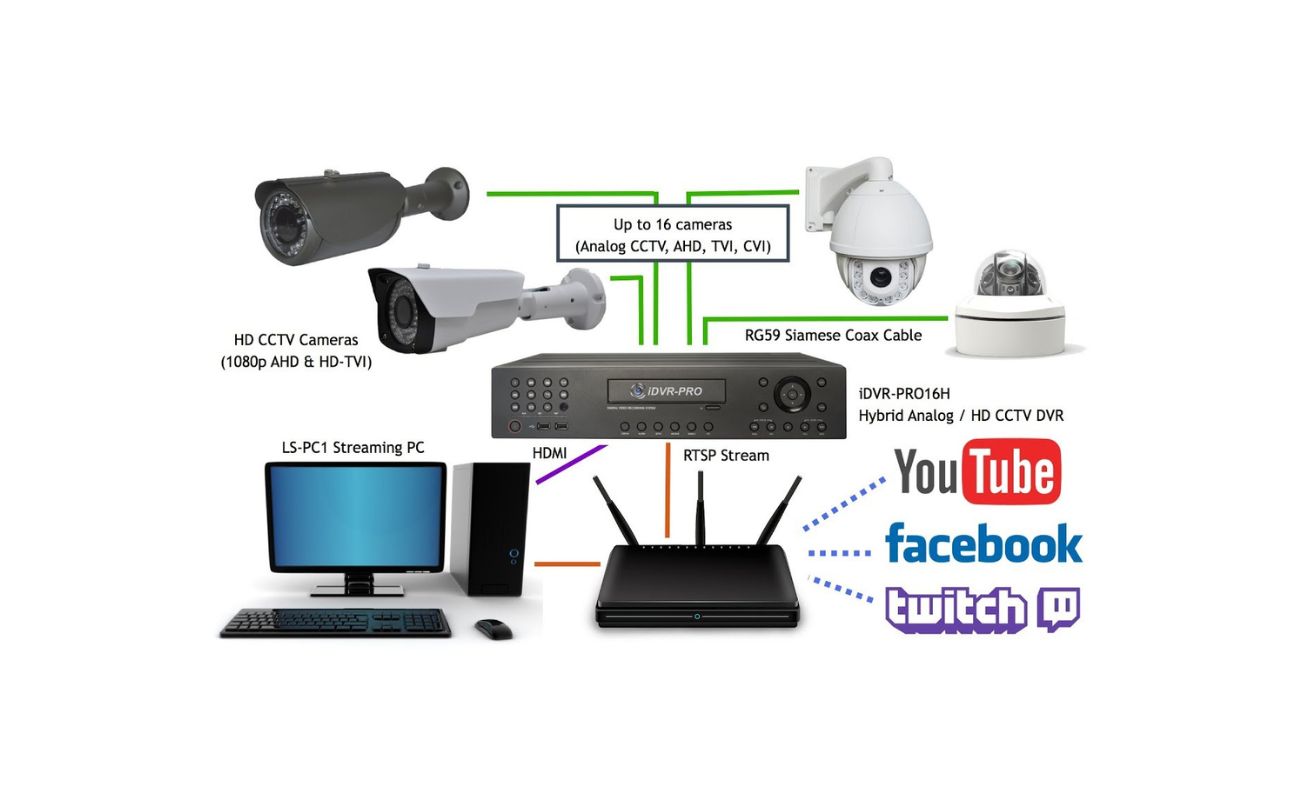
Make sure your wireless security camera is compatible with live streaming to YouTube. Use a streaming device or software to connect the camera to your computer, then set up a YouTube live stream and link it to your camera. Test the connection before going live.
Step 4: Creating a YouTube Live Stream Event
In order to stream your wireless security camera to YouTube, you need to create a Live Stream event on your YouTube channel. This event will act as the destination for your camera’s live feed. Here’s how to create a YouTube Live Stream event:
- Login to your YouTube account: Visit the YouTube website and login to your account using your credentials. Make sure you have the necessary permissions to create Live Stream events on your channel.
- Access YouTube Studio: Once logged in, click on your profile picture and select “YouTube Studio” from the dropdown menu. This will take you to the Creator Studio dashboard.
- Navigate to Live Stream settings: On the left-hand side of the dashboard, click on the “Live” tab to access the Live Stream settings.
- Create a new Live Stream event: Click on the “Create” button to start creating a new Live Stream event. You will be prompted to provide details such as the title, description, privacy settings, and start time of the event.
- Configure advanced settings: Under the advanced settings, you can specify additional options such as monetization, chat settings, and DVR (Digital Video Recorder) functionality. Customize these settings according to your preferences.
- Save the Live Stream event: Once you have filled in the necessary details and customized the settings, click on the “Create Stream” or “Save” button to save the Live Stream event.
- Obtain the Live Stream URL and stream key: After saving the event, you will be provided with a unique Live Stream URL and stream key. These details are necessary to connect your wireless security camera to the YouTube Live Stream event.
Keep the Live Stream URL and stream key handy, as you will need them in the next step when connecting your camera to YouTube. It’s important to note that the stream key is sensitive information, so ensure it’s kept confidential to maintain the security of your Live Stream.
With the YouTube Live Stream event created, you are now ready to connect your wireless security camera and start streaming the live feed to your YouTube channel.
In the next step, we will guide you through the process of connecting your camera to YouTube.
Read more: How To Hack Into A Wireless Security Camera
Step 5: Connecting the Camera to YouTube
Now that you have created a Live Stream event on your YouTube channel, it’s time to connect your wireless security camera to YouTube. This will allow the camera to stream its live feed directly to the Live Stream event. The process may vary depending on the camera brand and model, but the general steps are as follows:
- Access the camera’s settings: Open the camera’s app or software and navigate to the settings section.
- Find the live streaming options: Look for the live streaming or streaming settings in the camera’s settings menu. It may be located under the integration or broadcasting tab.
- Enter the stream information: Input the Live Stream URL and stream key that you obtained when creating the Live Stream event on YouTube. These details will establish the connection between the camera and YouTube.
- Save the settings: After entering the stream information, save the settings to ensure that the camera is configured to stream to the correct YouTube Live Stream event.
- Test the connection: Once the settings are saved, test the connection by starting the camera’s live stream. Verify that the camera feed is being transmitted to the YouTube Live Stream event and appearing on your YouTube channel.
During the connection process, it’s crucial to ensure that the network connection is stable and strong. A weak or intermittent connection may cause disruptions in the live stream.
It’s important to note that some advanced wireless security cameras may offer additional features such as scheduling, event triggers, and multi-camera support. Explore the camera’s settings to take full advantage of these capabilities for enhanced surveillance and security.
With the camera successfully connected to YouTube, it’s time to move on to the next step, where we will test the live stream and make sure everything is functioning as expected.
But before that, congratulations! You have accomplished a significant milestone in the journey of streaming your wireless security camera to YouTube.
Step 6: Testing the Live Stream
After connecting your wireless security camera to YouTube, it’s crucial to test the live stream to ensure that everything is functioning as expected. Testing the live stream allows you to check the quality of the feed, verify the connection, and make any necessary adjustments before going live to a wider audience. Here’s how to test your live stream:
- Access your YouTube Live Stream event: Open your YouTube account and navigate to the Live Stream event you created earlier.
- Start the live stream on your camera: Using the camera’s app or software, initiate the live stream by pressing the appropriate button or selecting the live streaming option.
- Monitor the YouTube Live Stream: Keep an eye on your YouTube channel or the Live Stream event page to see if the camera feed appears. Make sure the video and audio are clear, and that there are no technical issues or interruptions.
- Interact with the live stream: Test the interactivity features such as live chat if you have enabled them. Engage with viewers and see if the communication is smooth and seamless.
- Check for any discrepancies: Monitor the live stream for a few minutes to determine if there are any delays, buffering, or other issues that may affect the viewer experience. Take note of any problems that need to be addressed.
If you encounter any issues during the testing phase, refer to the camera’s user manual or documentation for troubleshooting steps. It’s also a good idea to check your internet connection and ensure that it’s stable and capable of supporting the live stream.
Once you are satisfied with the test results and confident that the live stream is working smoothly, you can proceed to broadcast your wireless security camera’s feed to a wider audience, whether it’s for home monitoring, business surveillance, or sharing with friends and family.
Remember to periodically test your live stream to ensure its ongoing reliability. It’s also a good practice to keep your camera firmware and software up to date, as manufacturers often release updates that can improve performance and fix any known issues.
Congratulations! You have successfully tested the live stream, and now you’re ready to enjoy the benefits of streaming your wireless security camera to YouTube.
Conclusion
Streaming your wireless security camera to YouTube provides an efficient and convenient way to monitor your property in real-time and share the live feed with others. With the right camera and proper setup, you can enhance your home security or business surveillance capabilities while enjoying the benefits of live streaming.
In this article, we walked you through the step-by-step process of streaming a wireless security camera to YouTube. We started by choosing the right camera and setting it up on your network. Then, we guided you through configuring the camera’s live stream settings and creating a YouTube Live Stream event.
Next, we demonstrated how to connect your camera to YouTube and test the live stream to ensure everything is functioning smoothly. By following these steps and considering factors like video quality, night vision, motion detection, and connectivity, you can create a seamless and reliable streaming experience.
Remember, always refer to the user manual and instructions provided by your camera manufacturer for specific setup and configuration steps, as they may vary depending on the brand and model.
Streaming your wireless security camera to YouTube brings numerous advantages. It allows you to easily access the live feed from anywhere with an internet connection, provides an additional layer of security by leveraging YouTube’s infrastructure, and enables you to share the stream with others for collaboration or community surveillance purposes.
Lastly, don’t forget to regularly check and maintain your camera’s firmware and software to ensure optimal performance and security. Stay informed about updates and new features that may further enhance your streaming experience.
Now that you are equipped with the knowledge and steps to stream your wireless security camera to YouTube, it’s time to get started. Enjoy the convenience, peace of mind, and sharing capabilities that live streaming offers. Keep an eye on what matters most and share the moments that count.
Frequently Asked Questions about How To Stream A Wireless Security Camera To Youtube
Was this page helpful?
At Storables.com, we guarantee accurate and reliable information. Our content, validated by Expert Board Contributors, is crafted following stringent Editorial Policies. We're committed to providing you with well-researched, expert-backed insights for all your informational needs.