Home>Home Security and Surveillance>How To Install Sharper Image Wireless Motion Detector Light
Home Security and Surveillance
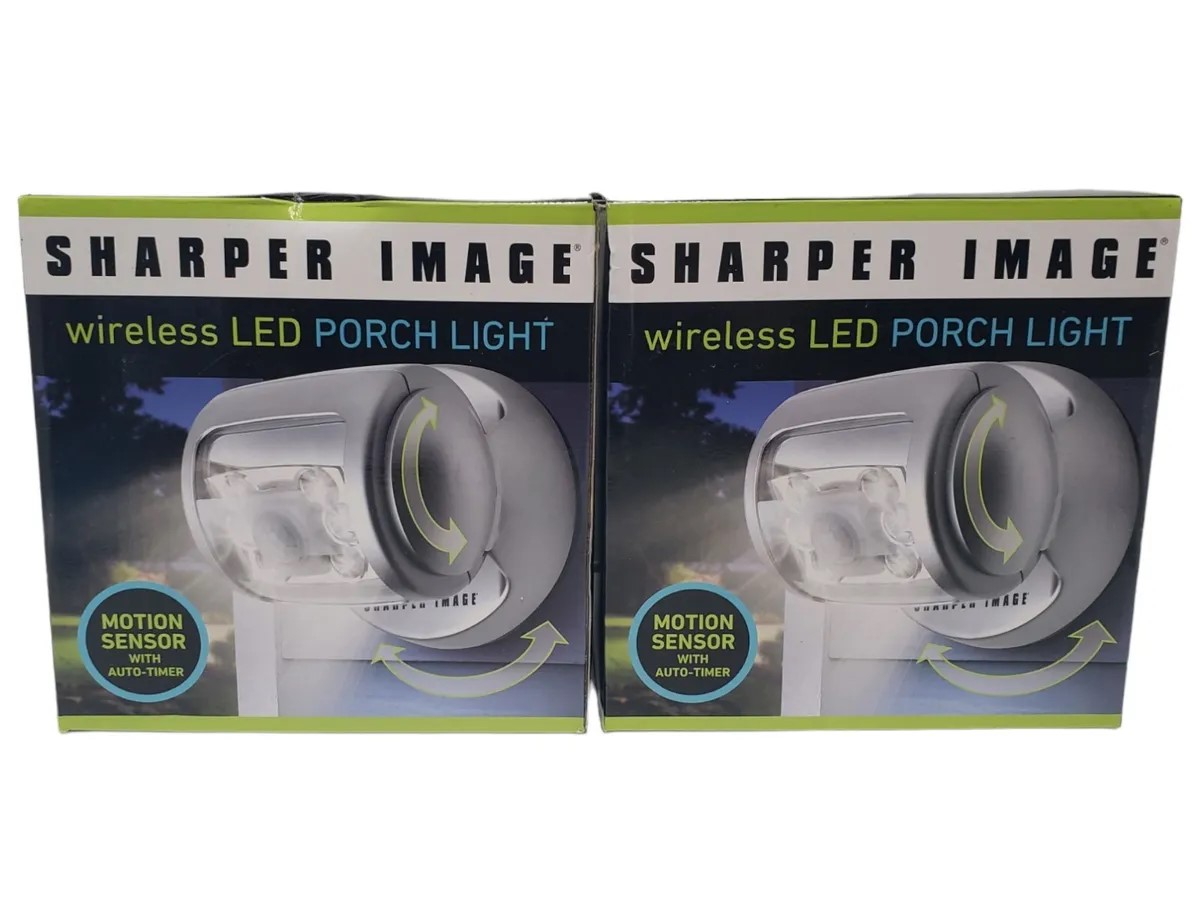
How To Install Sharper Image Wireless Motion Detector Light
Modified: March 6, 2024
Learn how to enhance your home security with the Sharper Image Wireless Motion Detector Light. Install this convenient and effective surveillance tool in just a few simple steps.
(Many of the links in this article redirect to a specific reviewed product. Your purchase of these products through affiliate links helps to generate commission for Storables.com, at no extra cost. Learn more)
Introduction
Welcome to this comprehensive guide on how to install the Sharper Image wireless motion detector light. Whether you’re looking to enhance the security of your home or simply add some convenience to your outdoor lighting, this wireless motion detector light is a fantastic choice. In this article, we will walk you through the step-by-step process of installing this innovative device.
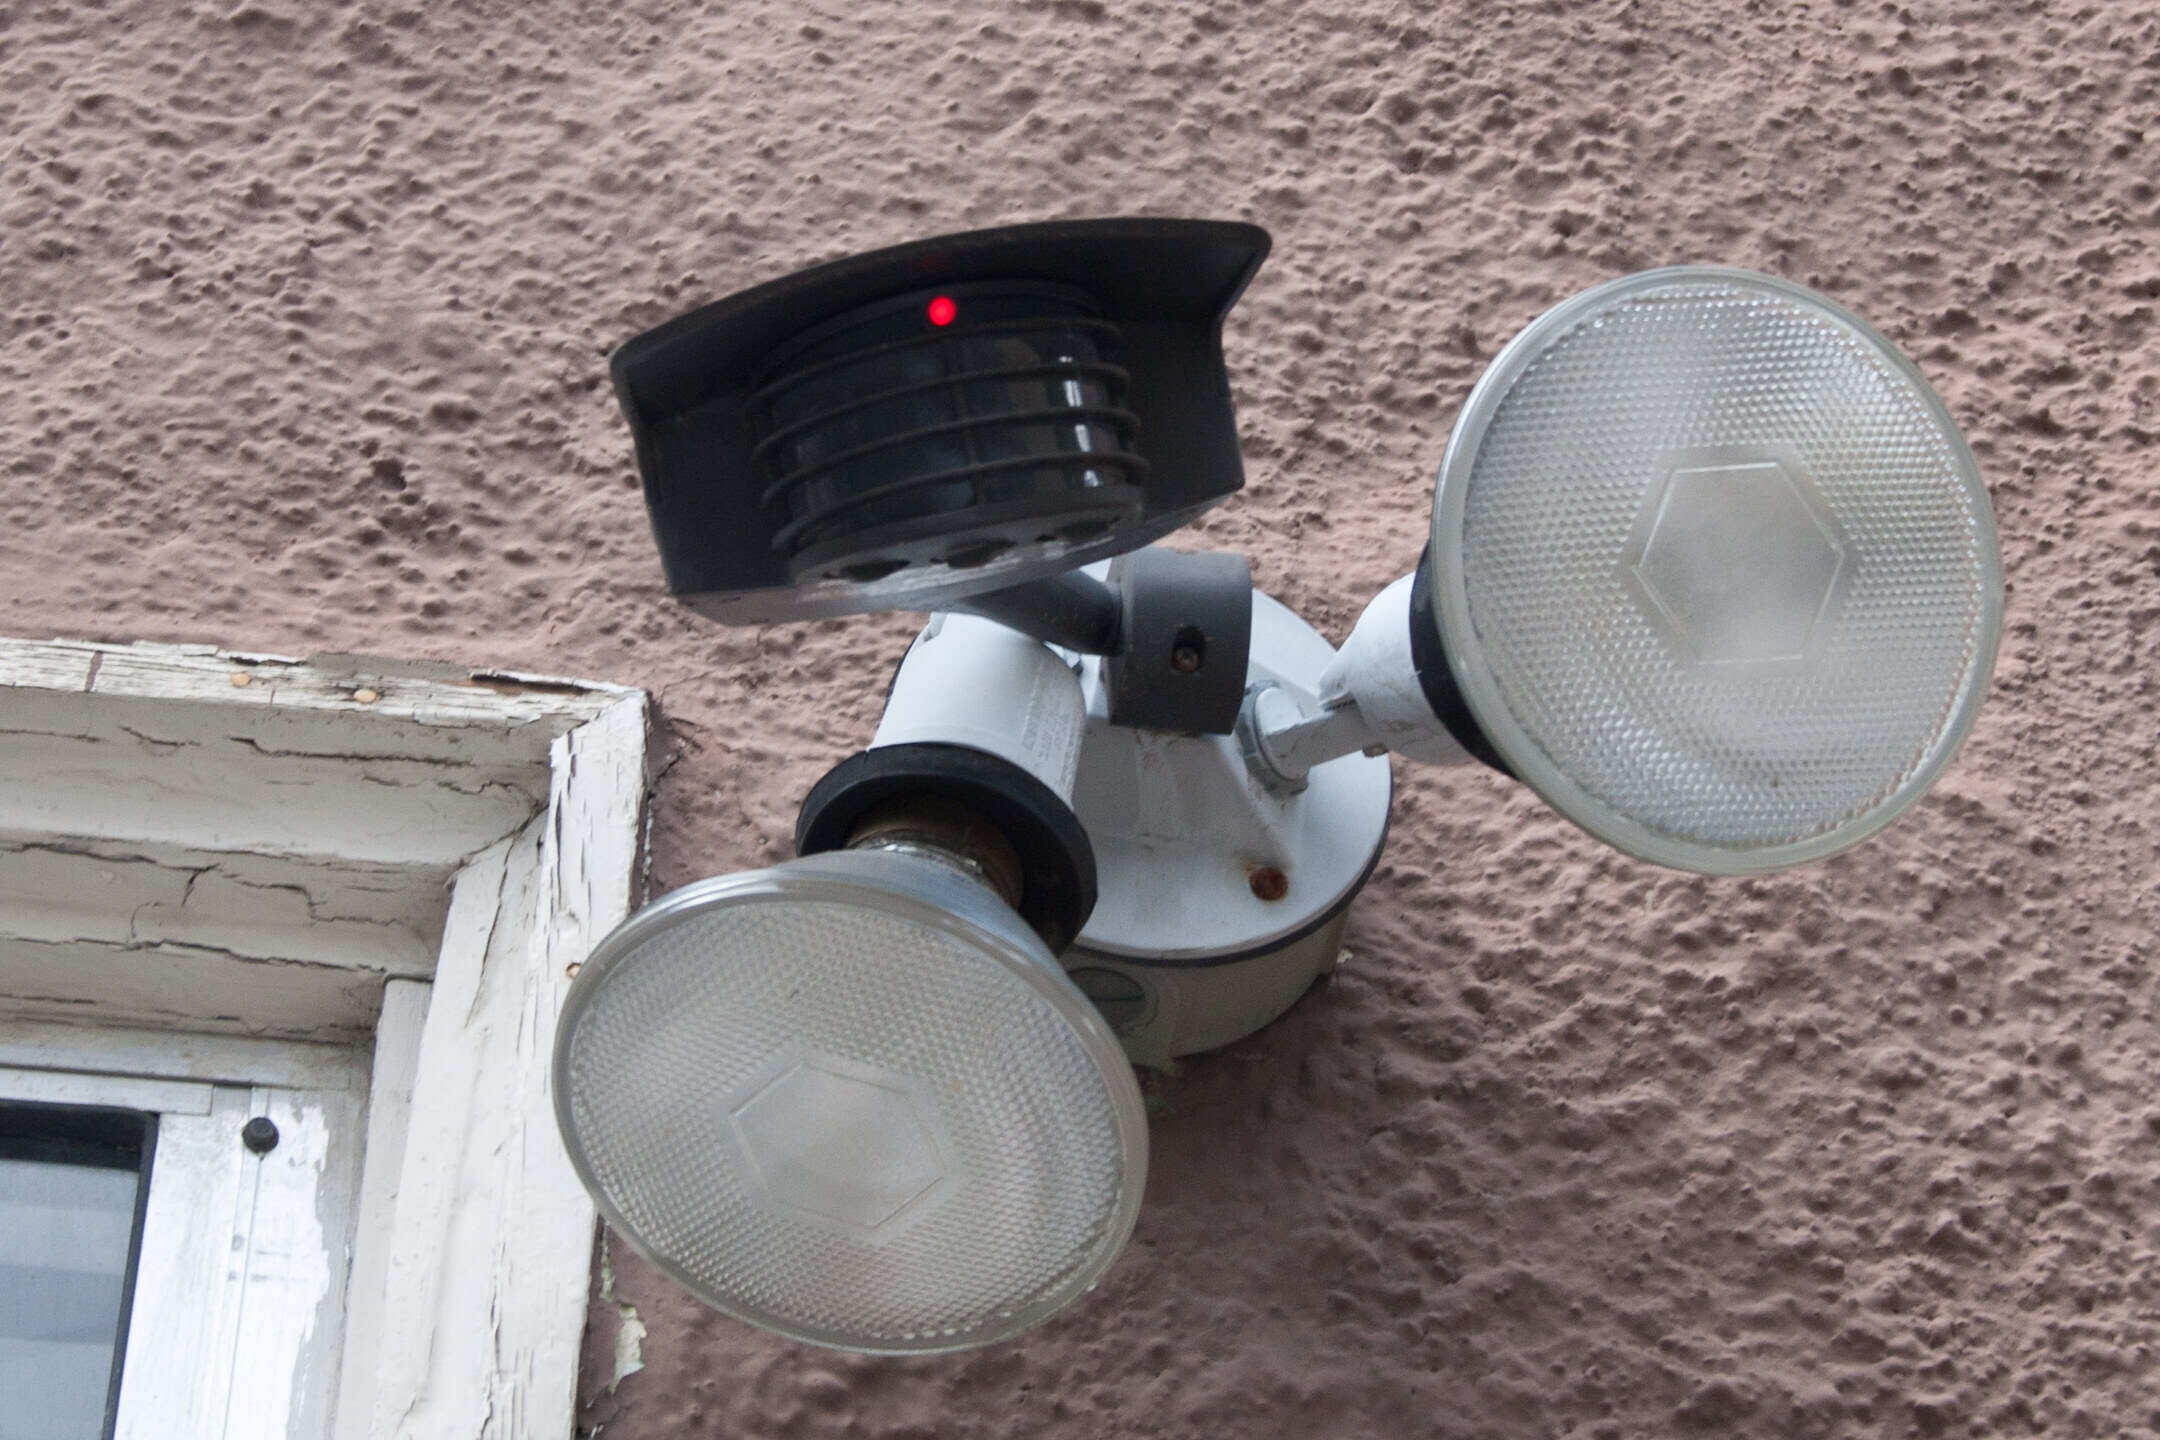
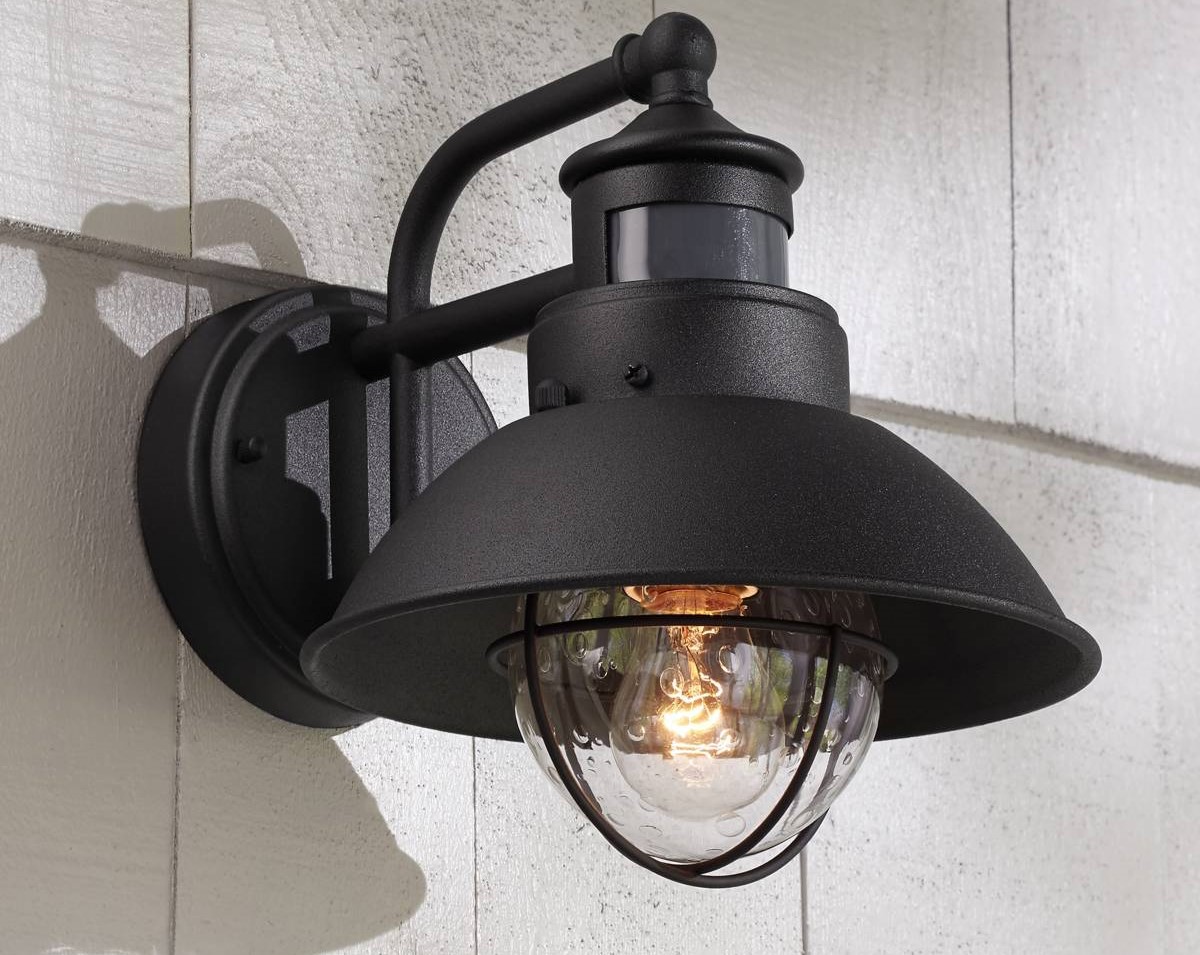
The Sharper Image wireless motion detector light is designed to automatically switch on when it detects motion, providing you with a bright and reliable lighting solution. With adjustable motion detection settings and a wireless design, this light offers flexibility and ease of use. Plus, with its sleek and contemporary design, it can complement any outdoor décor.
Before we dive into the installation process, let’s take a moment to gather all the necessary tools and materials you’ll need:
- Sharper Image wireless motion detector light kit
- Mounting bracket and hardware
- Screwdriver or drill
- Wire strippers
- Electrical tape
Now that we have all the tools and materials ready, let’s move on to the next step: locating a suitable installation area.
Key Takeaways:
- Installing the Sharper Image wireless motion detector light is a breeze with the right tools and careful planning. Choose the perfect spot, connect the wiring, and adjust the settings for a customized and effective home security solution.
- By following the step-by-step guide, you can enjoy the convenience and peace of mind that comes with automated lighting and enhanced security. Keep your home safe and well-lit with this versatile motion detector light.
Read more: How To Install Motion Detector Flood Lights
Step 1: Gather the necessary tools and materials
Before starting the installation process, it’s important to gather all the tools and materials you’ll need. Having these items ready will ensure a smooth and efficient installation. Here’s a list of what you’ll need:
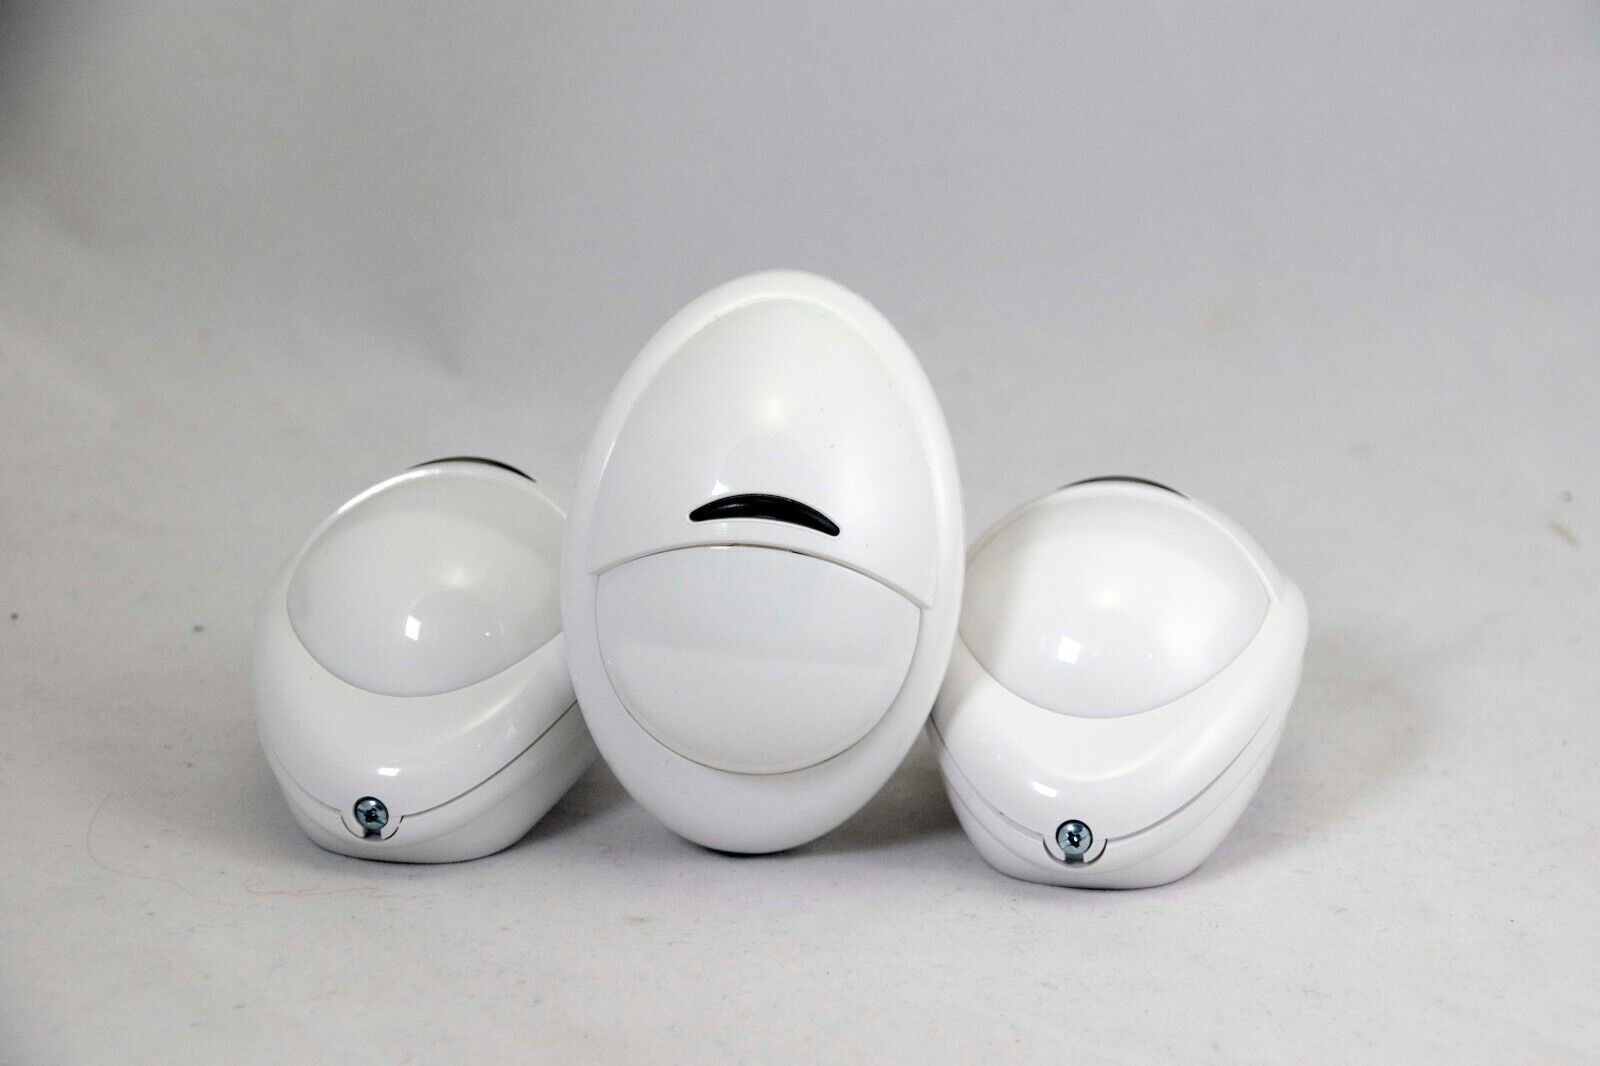
- Sharper Image wireless motion detector light kit: This includes the motion detector light itself, as well as any additional components that may be included in the kit.
- Mounting bracket and hardware: The mounting bracket is used to securely attach the motion detector light to the desired location. Ensure that you have all the necessary hardware, such as screws and anchors, to properly install the bracket.
- Screwdriver or drill: Depending on the type of mounting bracket and the surface you’ll be installing the light on, you may need either a screwdriver or a drill. Make sure you have the appropriate tool available.
- Wire strippers: These will be used to strip the insulation off the wires, allowing for proper electrical connections.
- Electrical tape: Electrical tape is essential for insulating wire connections and ensuring electrical safety.
Before starting the installation process, take a moment to familiarize yourself with the components of the motion detector light kit. Read through the manufacturer’s instructions and ensure that you have all the necessary items mentioned in the instructions.
It’s also a good idea to double-check that you have the correct tools and materials for the installation. This will save you time and frustration during the installation process.
Once you have gathered all the necessary tools and materials, you’re ready to move on to the next step: locating a suitable installation area.
Step 2: Locate a suitable installation area
Choosing the right location for your wireless motion detector light is crucial for its effectiveness and functionality. Here are a few factors to consider when selecting an installation area:
1. Range and coverage: Determine the range and coverage area of the motion detector light. This will help you identify the optimal location where it can detect motion effectively.
2. Outdoor space: Consider the outdoor space where you want to install the motion detector light. Look for areas that require additional lighting, such as pathways, driveways, or entryways.
3. Accessibility: Ensure that the chosen location is easily accessible for maintenance or adjustments. You may need to change batteries or adjust the motion detection settings in the future, so easy access is important.
4. Mounting surface: Evaluate the mounting surface, such as walls or posts, for stability and suitability. Ensure that it can support the weight of the motion detector light and withstand outdoor elements.
5. Obstructions: Check for any obstacles that may hinder the motion detection capabilities of the light, such as tall vegetation or structures. Clearing these obstructions will optimize its performance.
Once you’ve considered these factors, select the best installation area that meets your requirements. Keep in mind that mounting the motion detector light at a height of 6-10 feet is often recommended for optimum performance.
Once you have identified the suitable location for installation, proceed to the next step: attaching the mounting bracket to the desired location.
Step 3: Attach the mounting bracket to the desired location
Now that you have determined the ideal installation area for your wireless motion detector light, it’s time to attach the mounting bracket. The mounting bracket provides a secure base for the motion detector light and ensures its stability. Follow these steps:
1. Prepare the mounting bracket: Take out the mounting bracket from the wireless motion detector light kit. Ensure that all the necessary hardware, such as screws and anchors, are included.
2. Position the mounting bracket: Hold the mounting bracket against the desired installation surface at the chosen location. Use a pencil to mark the screw hole positions on the surface. Make sure the bracket is level and aligned properly.
3. Drill pilot holes: Using a drill and an appropriate size drill bit, carefully drill pilot holes at the marked positions. Pilot holes help prevent the surface from splintering or cracking when you insert the screws.
4. Attach the mounting bracket: Align the holes in the mounting bracket with the pilot holes you drilled. Securely attach the bracket to the surface using the provided screws and anchors. Use a screwdriver or drill to tighten the screws, making sure the bracket is firmly fixed in place.
5. Double-check the stability: Once the mounting bracket is attached, give it a gentle tug to ensure it is securely fastened. The bracket should not move or wobble.
6. Verify the alignment: Check the alignment of the mounting bracket once again to ensure it is straight and level. Make any necessary adjustments before proceeding to the next step.
It’s important to follow the manufacturer’s instructions regarding the specific installation process for your wireless motion detector light. If the mounting bracket provided with the light differs from the instructions mentioned here, refer to the manufacturer’s guidelines for accurate installation steps.
With the mounting bracket securely attached, you’re ready to move on to the next step: connecting the wiring.
Step 4: Connect the wiring
Now that you have securely attached the mounting bracket, it’s time to connect the wiring for your wireless motion detector light. Follow these steps carefully:
1. Gather the wires: Inside the motion detector light kit, you will find wires that need to be connected. Ensure that you have identified the correct wires, typically labeled as “live,” “neutral,” and “ground.”
2. Turn off the power: Before handling any electrical connections, it’s crucial to turn off the power supply at the circuit breaker. This step ensures your safety during the installation process.
3. Strip the wire insulation: Use wire strippers to carefully strip off a small section of insulation from the end of each wire. This will expose the metal conductor for proper connection.
4. Connect the wires: Connect the corresponding wires together for proper electrical connections. Typically, the black (live) wire should be connected to the live wire from your electrical source, the white (neutral) wire to the neutral wire, and the green or bare (ground) wire to the ground wire.
5. Secure the connections: After connecting the wires, use wire connectors or twist them tightly together. Ensure that there are no loose or exposed wires. To ensure electrical safety and prevent any short circuits, wrap each connection with electrical tape.
6. Tuck the wires: Once the connections are secured, tuck the connected wires carefully into the mounting bracket or junction box. This will keep them organized and protected from the elements.
7. Double-check the connections: Before proceeding to the next step, double-check all the connections to ensure they are secure and properly insulated. Any loose or exposed wires can cause electrical hazards and affect the functionality of the motion detector light.
Remember, if you are unsure about any step or if you are not familiar with electrical connections, it is always recommended to consult a professional electrician for assistance. Safety should be the utmost priority during any electrical installations.
With the wiring connected, you can now move on to the next step: attaching the motion detector light to the mounting bracket.
When installing the Sharper Image Wireless Motion Detector Light, make sure to carefully read the instructions provided with the product. Ensure that the light is placed in a location with good visibility and within the recommended range for the motion detector to work effectively.
Step 5: Attach the motion detector light to the mounting bracket
Now that the wiring is connected, it’s time to attach the motion detector light to the mounting bracket. Follow these steps to securely fasten the light in place:
1. Prepare the motion detector light: Take the wireless motion detector light from the kit and remove any packaging or protective covers. Familiarize yourself with the different parts of the light, such as the body, sensor, and adjustment knobs.
2. Align the light: Hold the motion detector light in a position where it aligns with the mounting bracket attached to the surface. The screw holes on the back of the light should line up with the holes in the bracket.
3. Insert and tighten screws: Insert the provided screws through the holes in the motion detector light and into the corresponding holes in the mounting bracket. Use a screwdriver or drill to tighten the screws securely. Ensure that the light is firmly attached to the bracket and doesn’t move or wobble.
4. Adjust the angle: Most wireless motion detector lights come with an adjustable angle feature. Use the adjustment knobs or levers on the light to position it at the desired angle. This will allow you to aim the motion detection area and the light output to your specific needs.
5. Double-check the attachment: Once the motion detector light is attached and adjusted, give it a gentle shake or tug to ensure it is securely fastened. It should be stable and remain in place.
6. Verify the functionality: Before completing the installation, ensure the motion detection feature and light activation are working correctly. Follow the manufacturer’s instructions to test the light and adjust the sensitivity or range if necessary.
With the motion detector light securely attached to the mounting bracket, you’re almost ready to enjoy its benefits. However, before you can fully utilize its capabilities, you need to adjust the motion detection settings. Proceed to the next step, Step 6: Adjust the motion detection settings, to learn how to customize it according to your preferences.
Step 6: Adjust the motion detection settings
After attaching the motion detector light to the mounting bracket, it’s time to customize the motion detection settings according to your preferences. Follow these steps to adjust the settings:
1. Read the manufacturer’s instructions: Before making any adjustments, carefully review the manufacturer’s instructions specific to your wireless motion detector light. This will provide guidance on the specific settings and features of your device.
2. Locate the adjustment controls: Depending on the model, your motion detector light may feature adjustment knobs, switches, or dials. These controls allow you to modify various settings, such as motion sensitivity, time delay, and light intensity.
3. Adjust motion sensitivity: Motion sensitivity determines how easily the motion detector light will activate in response to movement. Find the sensitivity control and adjust it to your desired level. Keep in mind that setting it too high may result in false triggers from small animals or blowing foliage, while setting it too low may cause the light to miss genuine motion events.
4. Set the duration: The duration setting determines how long the light remains illuminated after detecting motion. Locate the time delay control and set it to your preferred duration, such as a few seconds or several minutes. This will depend on your specific needs and the area you want to illuminate.
5. Adjust the light intensity: Some motion detector lights allow you to adjust the brightness or intensity of the light. Locate the light intensity control and set it to your desired level. This can help conserve energy or provide the right level of illumination for different areas.
6. Test the settings: After making the adjustments, conduct a motion test to verify if the settings are appropriate for your needs. Walk within the motion detection range and observe how the light responds. Make any necessary fine-tuning adjustments to achieve the desired results.
7. Consider additional features: Some wireless motion detector lights offer additional features, such as dusk-to-dawn operation, adjustable detection range, or multiple operating modes. Explore these features, if applicable, and adjust them according to your requirements.
Remember to consult the manufacturer’s instructions for guidance on adjusting the specific settings of your motion detector light. Fine-tuning the settings will ensure that the light functions optimally, providing the desired level of security and convenience for your home.
Once you have adjusted the motion detection settings, proceed to the final step: testing the wireless motion detector light.
Step 7: Test the wireless motion detector light
After completing the installation and adjusting the motion detection settings, it’s crucial to test the functionality of your wireless motion detector light. Follow these steps to ensure it is working as expected:
1. Ensure the power supply is on: Double-check that the power supply is turned on at the circuit breaker or switch. Without power, the motion detector light will not function.
2. Verify the motion detection range: Walk within the specified motion detection range to test if the light activates as expected. Observe if the light turns on promptly upon detecting motion. If it doesn’t, you may need to readjust the motion sensitivity settings.
3. Check the time delay: Note the duration for which the light remains illuminated after detecting motion. Ensure that it aligns with the time delay setting you previously adjusted. If the light turns off too quickly or stays illuminated for too long, consider modifying the time delay setting.
4. Inspect the light intensity: Evaluate the brightness or intensity of the light when it activates. Ensure it matches the level you desired. If necessary, adjust the light intensity settings to achieve the desired illumination.
5. Test in different lighting conditions: Perform the test in various lighting conditions. This includes testing during daytime, at dusk, and at night. This will help you ascertain that the light responds appropriately regardless of the time of day.
6. Verify the range and coverage: Walk throughout the intended coverage area to ensure that the motion detector light activates in all desired zones. Make any adjustments to the detection range or angle if necessary to expand or narrow the coverage as needed.
7. Observe battery life (if applicable): If your wireless motion detector light operates on batteries, monitor the battery life during the testing phase. Ensure that the batteries last for a reasonable duration before needing replacement.
8. Make any necessary adjustments: If you notice any issues or inconsistencies during the testing phase, make the necessary adjustments to the motion detection settings, positioning, or other factors. Fine-tuning can enhance the performance of the light.
By thoroughly testing the wireless motion detector light, you can ensure that it meets your expectations and fulfills its intended purpose. Any tweaks or refinements made during the testing phase will help optimize its functionality.
With the motion detector light successfully tested, you can now enjoy the added security and convenience it brings to your home. Remember to periodically review and maintain your wireless motion detector light to ensure its continued effectiveness.
Conclusion
Congratulations! You have successfully completed the installation of your Sharper Image wireless motion detector light. This versatile and convenient lighting solution offers enhanced security and convenience to your home. By following the step-by-step guide outlined in this article, you have ensured a proper and efficient installation process.
With its wireless design and adjustable motion detection settings, the Sharper Image motion detector light provides a customizable lighting solution that can suit your specific needs. Whether you’re looking to illuminate pathways, enhance the security of your entryways, or simply add convenience to your outdoor lighting, this device offers a reliable and efficient solution.
Remember to periodically check and maintain your wireless motion detector light to ensure its optimal performance. This includes cleaning the sensor, inspecting the wiring connections, and replacing batteries if applicable. Additionally, stay updated with any firmware updates or new features released by the manufacturer to further enhance the functionality of your device.
By installing a wireless motion detector light, you have taken a proactive step towards improving the security and functionality of your home. Enjoy the convenience of automated lighting, peace of mind knowing you have added security measures in place, and the energy-saving benefits that come with motion-activated lighting.
Whether you prefer using it for illuminating your outdoor spaces, deterring intruders, or simply enjoying the convenience of hands-free lighting, the Sharper Image wireless motion detector light is a valuable addition to your home security and surveillance system.
Thank you for choosing Sharper Image and taking the time to install the wireless motion detector light. Now, sit back, relax, and enjoy the enhanced safety and convenience that this innovative device brings to your home.
Frequently Asked Questions about How To Install Sharper Image Wireless Motion Detector Light
Was this page helpful?
At Storables.com, we guarantee accurate and reliable information. Our content, validated by Expert Board Contributors, is crafted following stringent Editorial Policies. We're committed to providing you with well-researched, expert-backed insights for all your informational needs.