Home>Home Security and Surveillance>How To Install Your Zmodo Wireless Indoor/Outdoor Cameras
Home Security and Surveillance
How To Install Your Zmodo Wireless Indoor/Outdoor Cameras
Modified: May 6, 2024
Ensure the safety of your home with our step-by-step guide on installing Zmodo's wireless indoor/outdoor cameras for effective home security and surveillance.
(Many of the links in this article redirect to a specific reviewed product. Your purchase of these products through affiliate links helps to generate commission for Storables.com, at no extra cost. Learn more)
Introduction
Welcome to the world of home security and surveillance! With crime rates on the rise, it’s become more important than ever to protect your home and loved ones. An effective home security system can provide peace of mind and act as a deterrent for potential intruders. And one crucial component of any security system is a camera that allows you to monitor your property, whether you’re at home or away.
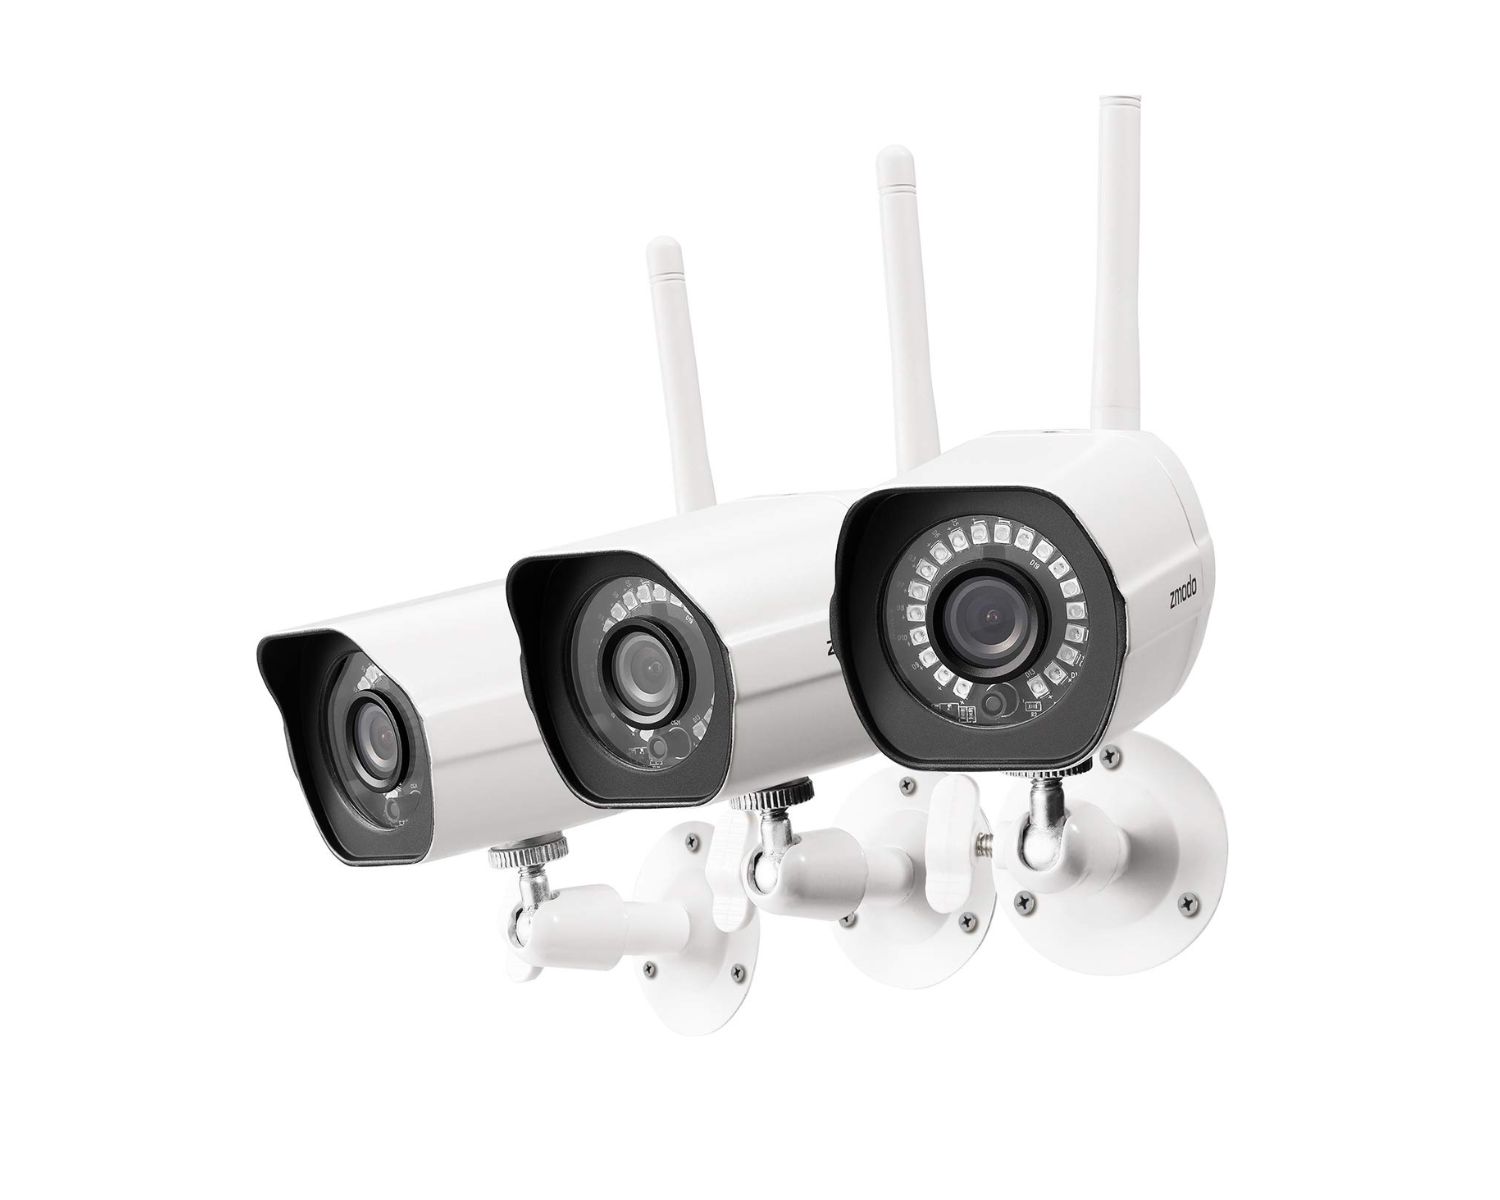
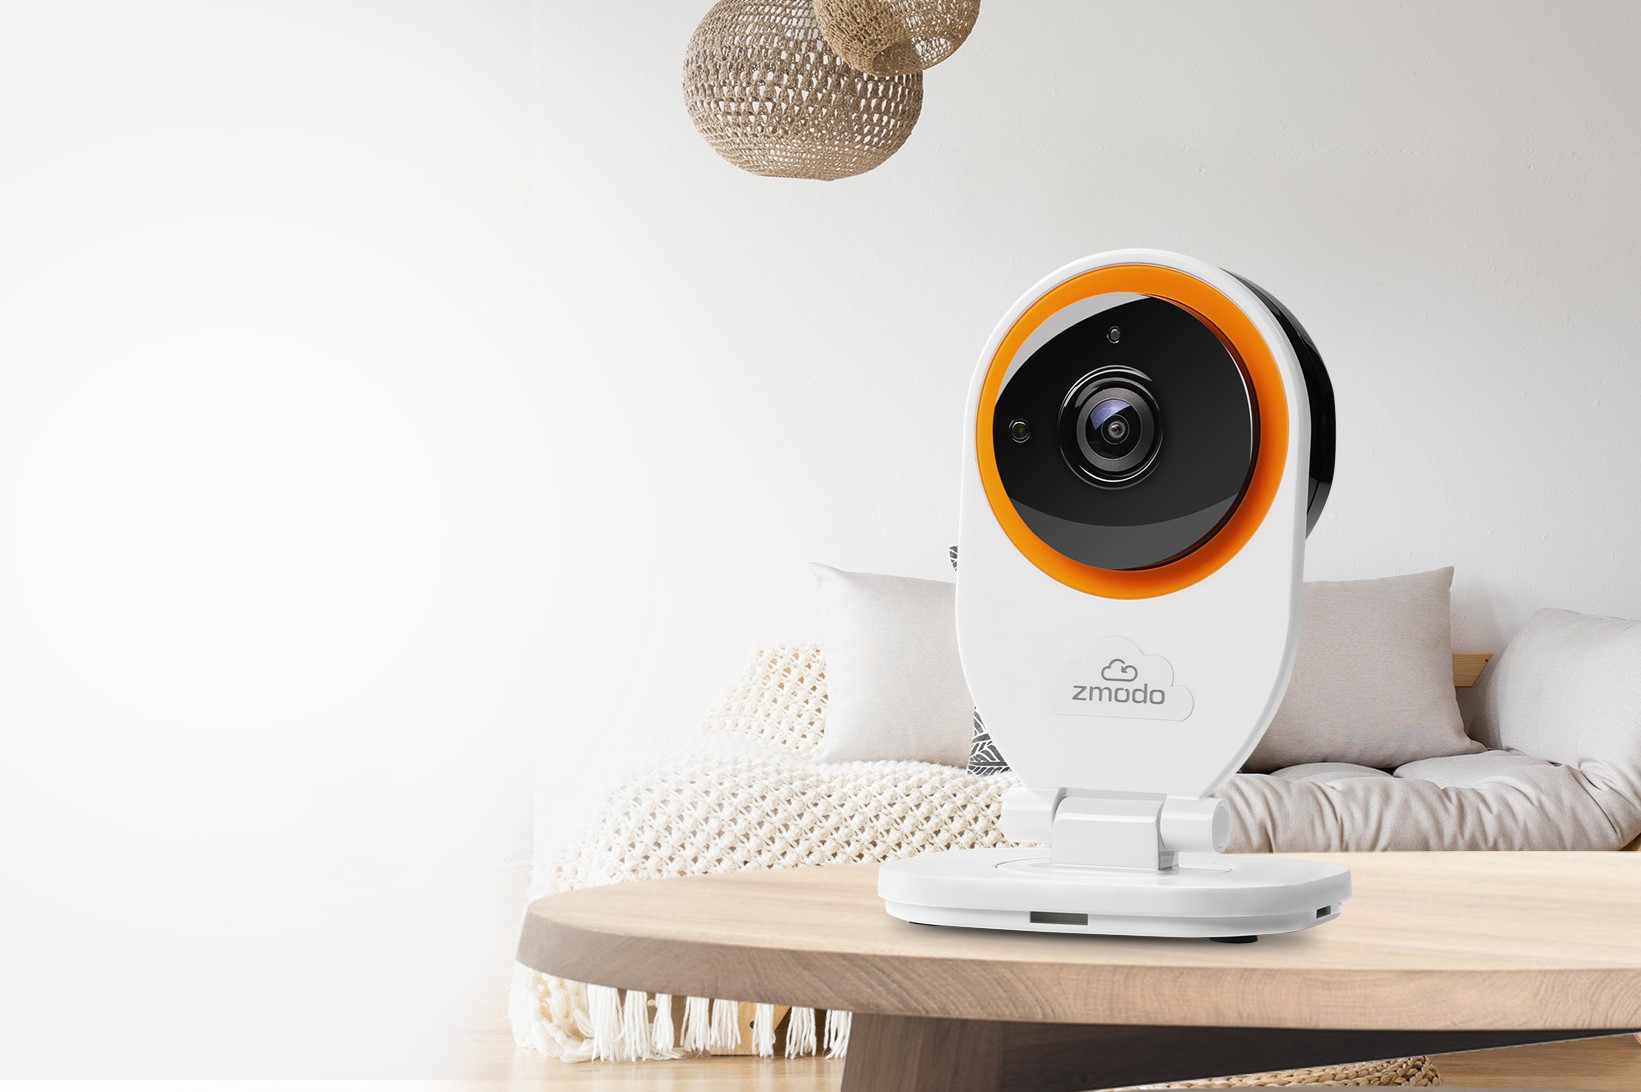
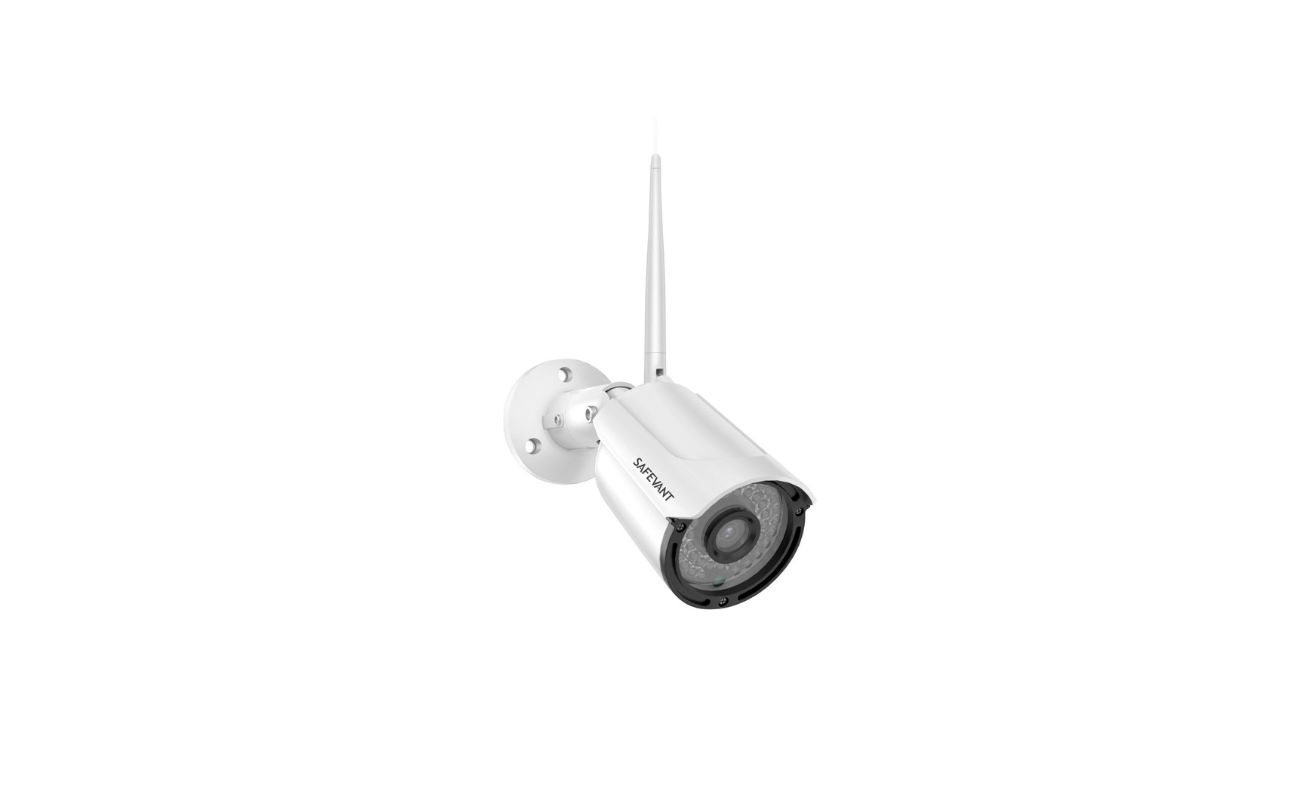
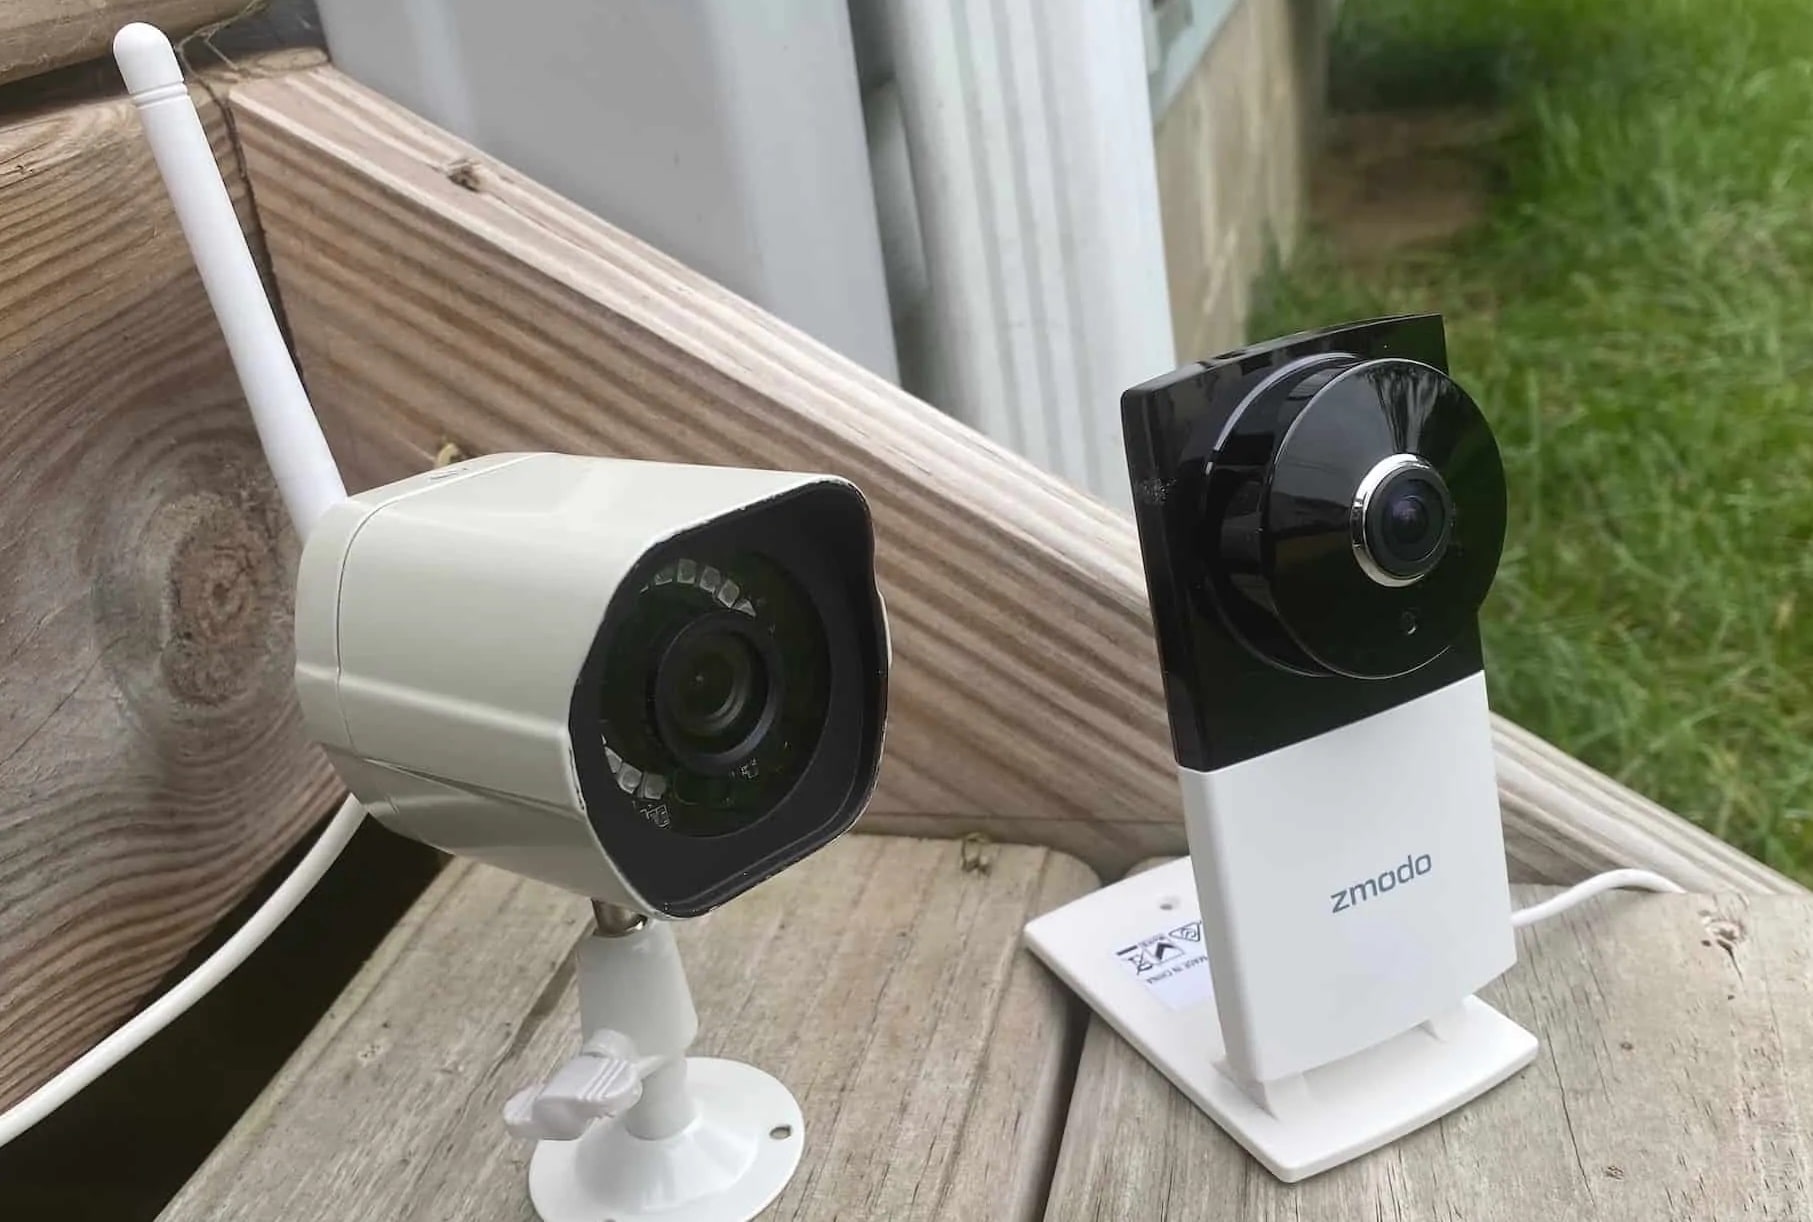
In this article, we will guide you through the process of installing your Zmodo wireless indoor/outdoor cameras. These cameras are renowned for their reliability, ease of use, and high-quality video footage. Whether you’re a beginner or seasoned DIY enthusiast, you’ll find this installation process straightforward and manageable.
Before we dive into the step-by-step installation guide, let’s take a moment to talk about some of the key features and benefits of the Zmodo wireless cameras.
Key Takeaways:
- Installing Zmodo wireless indoor/outdoor cameras is a straightforward process that involves gathering the necessary equipment, choosing the right installation location, and securely mounting the camera bracket.
- After installation, adjusting the camera settings and thoroughly testing its functionality ensures optimal surveillance coverage, motion detection, night vision, and remote access capabilities for enhanced home security.
Step 1: Gathering the necessary equipment
Before you begin the installation process, it’s essential to gather all the necessary equipment. This will ensure a smooth and efficient installation. Here’s a list of the items you’ll need:
- Zmodo wireless indoor/outdoor camera(s)
- Camera mounting brackets
- Power supply adapter(s)
- Power cable(s)
- Drill
- Screws and wall anchors
- Mounting template (if provided)
- Ethernet cable (optional, for wired connection)
- Smartphone or tablet with the Zmodo app installed
Make sure you have all these items ready before you proceed to the next step. It’s always a good idea to check the package contents and ensure that everything is included.
If any items are missing or damaged, contact Zmodo customer support for assistance. They’ll be more than happy to help you resolve any issues and ensure that you have all the necessary equipment to complete the installation successfully.
Once you’ve gathered all the required equipment, you’re ready to move on to the next step: choosing the installation location.
Step 2: Choosing the installation location
Choosing the right location for your Zmodo wireless indoor/outdoor camera is crucial to ensure optimal surveillance coverage. Here are some factors to consider when selecting the installation spot:
- Field of view: Determine the areas you want to monitor and make sure the camera’s field of view covers them effectively. Consider the angle and range of the camera to ensure maximum coverage.
- Accessibility: Choose a location that allows easy access for installation, maintenance, and adjustments. It’s important to be able to reach the camera easily for tasks such as cleaning, repositioning, or changing batteries if applicable.
- Power source: Ensure the chosen location has access to a power source. If the camera requires a wired connection, consider the location in relation to power outlets. If using a wireless camera, make sure it’s within range of your Wi-Fi network.
- Obstructions: Avoid installing the camera in areas with obstructions such as trees, bushes, or walls that may block the field of view or cause false motion detection alerts.
- Weather resistance: If installing the camera outdoors, choose a location that offers some protection from harsh weather conditions such as rain, snow, or direct sunlight. Consider using weatherproof housing or mounting the camera under eaves or awnings.
- Privacy: Be mindful of the privacy of your neighbors and ensure that the camera’s field of view does not intrude on their property or violate any local privacy laws.
Once you’ve considered these factors, select the installation location that meets your requirements and offers the best surveillance coverage. Keep in mind that it’s a good practice to install cameras at both the front and back entrances of your home to provide comprehensive security.
With the installation location selected, you can now move on to the next step: mounting the camera bracket.
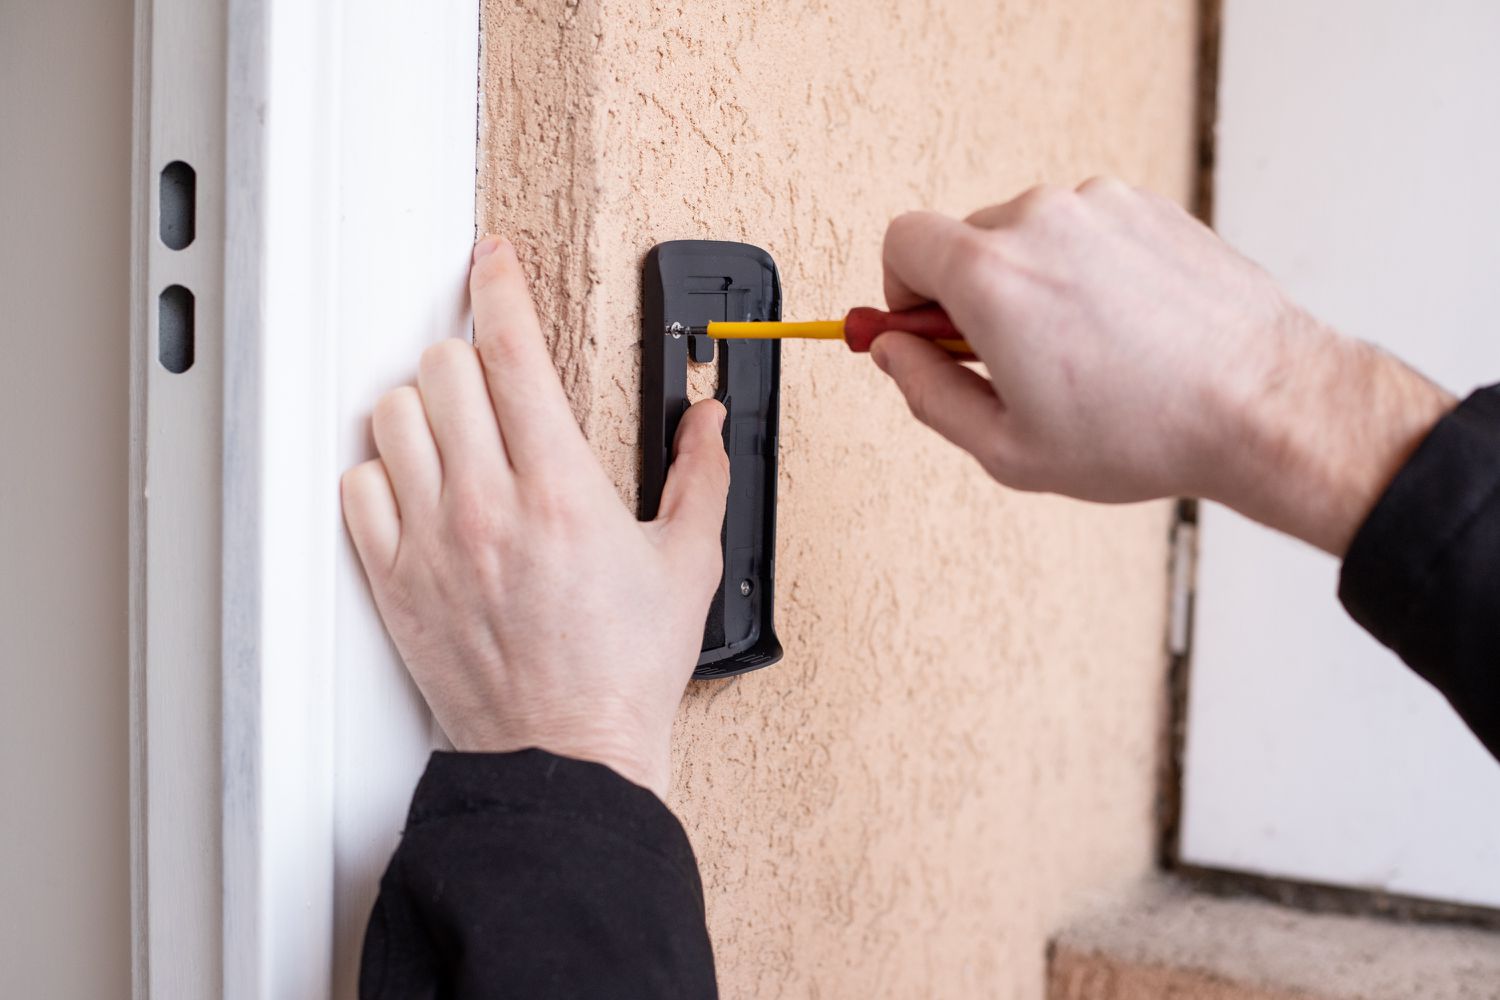
Step 3: Mounting the camera bracket
Now that you’ve chosen the ideal location for your Zmodo wireless indoor/outdoor camera, it’s time to mount the camera bracket. The bracket serves as a support structure and ensures that the camera is securely attached to the chosen surface. Here’s how you can mount the camera bracket:
- Prepare the mounting area: Clean the surface where you intend to mount the camera bracket. Remove any dirt, dust, or debris that could affect the adhesive or mounting process. If necessary, use alcohol wipes to ensure a clean and dry surface.
- Position the bracket: Hold the camera bracket against the chosen surface and align it in the desired direction. Ensure that it is level and straight. You may use a spirit level to assist with this.
- Mark the mounting holes: Once the bracket is in the desired position, use a pencil or marker to mark the locations of the mounting holes. These marks will serve as a guide for drilling.
- Drill pilot holes: Use an appropriately sized drill bit to create pilot holes at the marked locations. Pilot holes will make it easier to insert the screws and reduce the risk of damaging the surface.
- Attach the bracket: Place the camera bracket against the surface again and align the pilot holes with the drilled holes. Secure the bracket in place by inserting screws into the pilot holes and tightening them with a screwdriver or drill.
- Test the stability: Once the bracket is attached, give it a gentle shake to ensure that it’s securely mounted. The bracket should feel stable and resist movement.
Congratulations! You have successfully mounted the camera bracket. Now it’s time to move on to the next step: connecting the power supply.
Step 4: Connecting the power supply
Now that the camera bracket is securely mounted, it’s time to connect the power supply for your Zmodo wireless indoor/outdoor camera. Depending on the camera model, you may have different power options available. Here’s how you can connect the power supply:
- Power outlet: If your camera comes with a power adapter, locate a nearby power outlet and connect the power cable to the adapter. Then, plug the adapter into the power outlet. Ensure that the power cable and adapter are securely connected and that there is no loose wiring.
- Battery-powered: Some Zmodo wireless cameras are battery-powered, eliminating the need for a direct power connection. If your camera uses batteries, follow the instructions provided to install or replace the batteries. Remember to check the battery life regularly and recharge or replace them as needed.
- Power over Ethernet (PoE): If your camera supports PoE, you can use an Ethernet cable to provide both power and data transmission. Simply connect one end of the Ethernet cable to the PoE switch or injector, and the other end to the camera’s Ethernet port. Ensure that the connection is secure and that the cable is not damaged.
Before proceeding, double-check that the power supply is compatible with the camera and meets the required specifications. This will help prevent any potential damage or malfunction.
Once the power supply is connected, you can proceed to the next step: installing the camera.
When installing your Zmodo wireless indoor/outdoor cameras, make sure to carefully follow the manufacturer’s instructions for mounting and connecting the cameras to ensure proper functionality and security coverage.
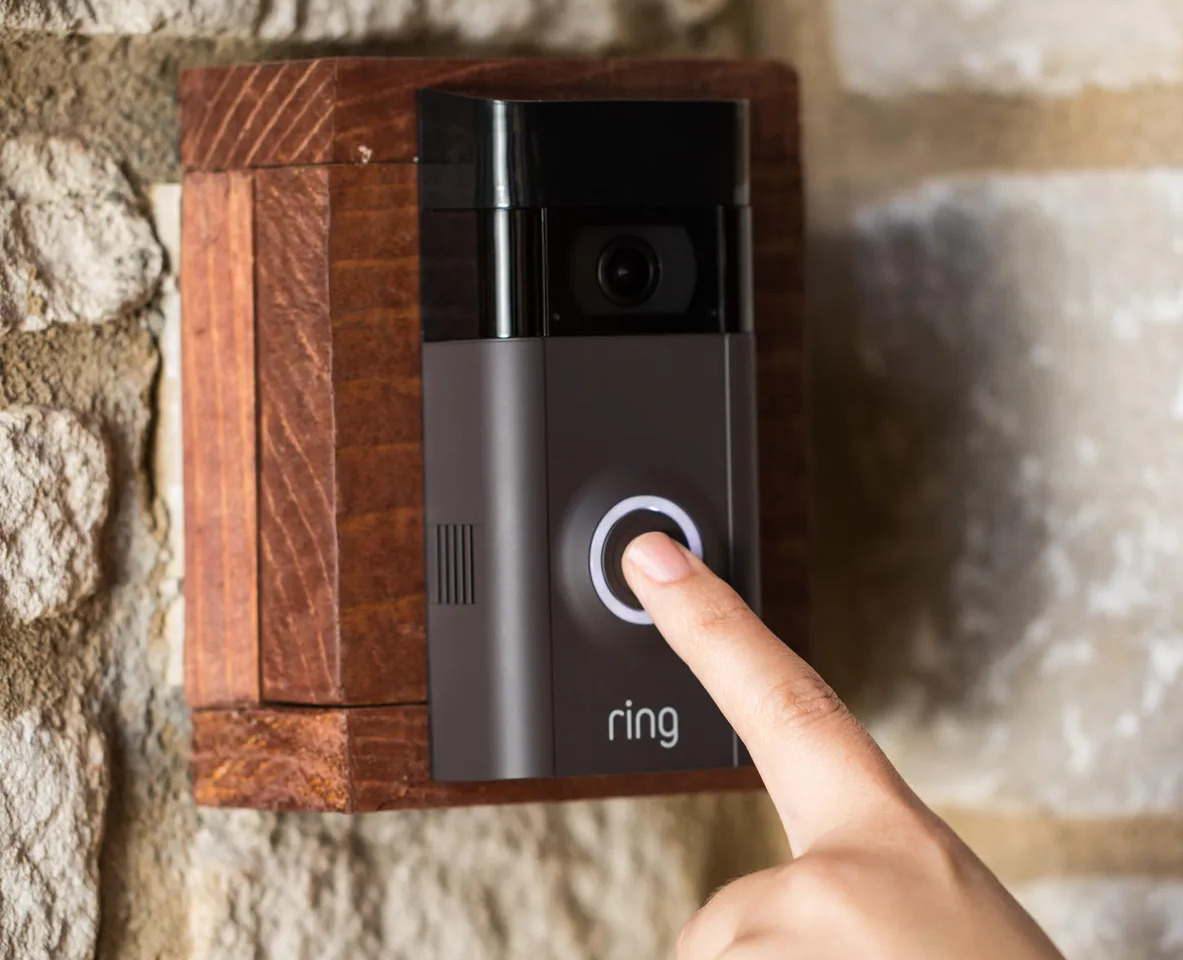
Step 5: Installing the camera
With the camera bracket securely mounted and the power supply connected, it’s time to install your Zmodo wireless indoor/outdoor camera. Here’s how you can do it:
- Position the camera: Align the camera with the camera bracket and slot it into place. Ensure that the camera is securely seated and properly aligned with the desired field of view. If your camera allows for adjustment, you can fine-tune the position later.
- Secure the camera: Depending on the design of your camera and bracket, there may be screws, latches, or other mechanisms to secure the camera in place. Follow the manufacturer’s instructions to lock the camera onto the bracket and ensure that it’s firmly attached.
- Adjust the camera angle: If necessary, adjust the camera angle to ensure optimal coverage of the desired area. Most Zmodo cameras offer tilt and pan functionality, allowing you to adjust the angle remotely through the Zmodo app or manually by repositioning the camera on the bracket. Make sure to tighten any adjustment screws, if applicable, to secure the camera angle.
- Check camera orientation: Double-check that the camera is properly oriented, aligning it to be upright and level. This will ensure accurate video monitoring and minimize distortion or inconvenience caused by a misaligned camera.
- Ensure proper connections: Confirm that all the necessary connections, such as power cables or Ethernet cables, are securely connected to the camera. Check for any loose or dangling wires that could affect the camera’s functionality.
Once the camera is installed and properly aligned, you’re ready to move on to the next step: adjusting camera settings.
Step 6: Adjusting camera settings
After installing your Zmodo wireless indoor/outdoor camera, it’s crucial to adjust the camera settings to optimize its performance. Here are the steps to adjust the camera settings:
- Download and open the Zmodo app: If you haven’t done so already, download the Zmodo app from the App Store or Google Play Store. Open the app and log in to your Zmodo account or create a new one if needed.
- Add the camera to your account: Follow the app’s on-screen instructions to add the newly installed camera to your Zmodo account. This process typically involves scanning a QR code on the camera or entering its unique identification number.
- Access the camera settings: Once the camera is successfully added to your account, you can access its settings by selecting the camera from the app’s camera list. Look for the settings icon or menu option to access the camera’s configuration options.
- Configure network settings: If you’re using a wireless camera, ensure that it’s connected to your Wi-Fi network. Enter your network’s SSID and password in the camera’s settings to establish a stable connection. If using a wired connection, confirm that the Ethernet cable is securely plugged into the camera and the connected device.
- Adjust video quality and resolution: Set the desired video quality and resolution for your camera. Higher resolutions may provide clearer and more detailed footage but may consume more storage space and bandwidth. Find the optimal balance that suits your surveillance needs.
- Enable/disable motion detection: Configure the motion detection settings according to your preferences. You can adjust the sensitivity level, define motion detection zones, and set up alerts to receive notifications when motion is detected. Fine-tuning these settings will help minimize false alarms.
- Configure recording and storage options: Determine how you want the camera to record and store the captured footage. You may choose to record continuously or only when motion is detected. Select the desired storage options, such as local storage on an SD card or cloud storage provided by Zmodo.
- Explore additional features: Depending on your camera model, there may be additional features and settings available. Take some time to explore the app and familiarize yourself with the camera’s capabilities, such as two-way audio, night vision, or PTZ (pan-tilt-zoom) functionality.
Once you’ve adjusted the camera settings to your liking, you’re ready for the final step: testing the camera.
Step 7: Testing the camera
Now that you’ve installed and adjusted the settings of your Zmodo wireless indoor/outdoor camera, it’s time to test its functionality. Follow these steps to ensure that the camera is working properly:
- Check live video feed: Open the Zmodo app on your smartphone or tablet and select the camera you installed. Verify that you can see a live video feed from the camera. Pay attention to the clarity, color accuracy, and any visible obstructions or distortions.
- Test motion detection: Move within the camera’s field of view to trigger the motion detection feature. Check if you receive notifications or alerts on your smartphone or tablet when motion is detected. Verify whether the camera accurately captures and records the motion.
- Test night vision: If your camera has night vision capabilities, test this feature by moving to a dark area. Ensure that the camera switches to night vision mode and that the captured footage is clear and visible, even in low-light conditions.
- Verify two-way audio: If your camera supports two-way audio, try speaking through the app and listening for the audio output from the camera. Ensure that the sound is clear and that you can effectively communicate through the camera.
- Review storage and playback: Check if the recorded footage is being stored correctly, whether locally on an SD card or in the cloud. Access the stored footage from the app and verify that you can play it back without any issues.
- Test remote access: If you intend to access the camera remotely, ensure that you can view the live feed and access the camera’s settings from outside your home network. This will allow you to monitor your property and adjust settings even when you’re away.
- Reposition if necessary: Review the camera’s positioning and field of view during the testing phase. If you find that certain areas or angles are not adequately covered, you may need to reposition or adjust the camera’s angle for improved surveillance coverage.
By thoroughly testing your camera’s functionality, you can identify any potential issues and make necessary adjustments to ensure efficient and reliable surveillance.
Congratulations! You have successfully installed, configured, and tested your Zmodo wireless indoor/outdoor camera. You can now enjoy enhanced security and peace of mind, knowing that your property is under constant surveillance.
Remember to periodically check the camera’s performance, update the firmware if necessary, and maintain the camera and its surroundings to ensure continued reliability and functionality.
Thank you for choosing Zmodo for your home security needs. Stay safe!
Conclusion
Installing a Zmodo wireless indoor/outdoor camera is a practical and effective way to enhance the security of your home or property. With its reliable performance, user-friendly features, and high-quality video footage, you can have peace of mind knowing that you have a reliable surveillance system in place.
In this article, we have provided a comprehensive guide on how to install your Zmodo camera. From gathering the necessary equipment to adjusting the camera settings and testing its functionality, we’ve walked you through each step to ensure a successful installation.
Remember to carefully choose the installation location, considering factors such as field of view, accessibility, power source, obstructions, weather resistance, and privacy. Mount the camera bracket securely, connect the power supply according to your camera model, and install the camera on the bracket, ensuring proper alignment and stability.
Adjusting the camera settings allows you to customize the functionality to suit your specific surveillance needs, such as configuring network settings, adjusting video quality, enabling motion detection, and setting up recording and storage options. Testing the camera ensures that it captures clear video footage, detects motion accurately, operates in low-light conditions, and provides remote access capabilities.
We hope that this step-by-step guide has been informative and helpful in installing your Zmodo wireless indoor/outdoor camera. By following these instructions, you can ensure that your home security system is in place and functioning optimally.
Remember to regularly check and maintain your camera, update the firmware when available, and familiarize yourself with the features of the Zmodo app to make the most of your camera’s capabilities.
Thank you for choosing Zmodo for your home security and surveillance needs. With your Zmodo camera in place, you can enjoy enhanced peace of mind and security for you, your loved ones, and your property.
Now that you've got your Zmodo cameras set up, why not consider enhancing your home's stealth with some creative hidden camera placements? Delve into our guide on home surveillance for clever ideas that blend security with subtlety. Or, maybe you're ready to take your entire dwelling to the next level of convenience and control? Our roundup of smart home technology for the upcoming year is packed with options that will simplify your life. Don't forget to check out our latest insights on outdoor cameras too, ensuring you choose the best options for guarding the perimeter of your home.
Frequently Asked Questions about How To Install Your Zmodo Wireless Indoor/Outdoor Cameras
Was this page helpful?
At Storables.com, we guarantee accurate and reliable information. Our content, validated by Expert Board Contributors, is crafted following stringent Editorial Policies. We're committed to providing you with well-researched, expert-backed insights for all your informational needs.