Articles
How To Run Electrical Wire From Breaker Box
Modified: October 20, 2024
Learn how to run electrical wire from your breaker box with our informative articles. Find step-by-step guides and expert tips to ensure a safe and efficient installation.
(Many of the links in this article redirect to a specific reviewed product. Your purchase of these products through affiliate links helps to generate commission for Storables.com, at no extra cost. Learn more)
Introduction
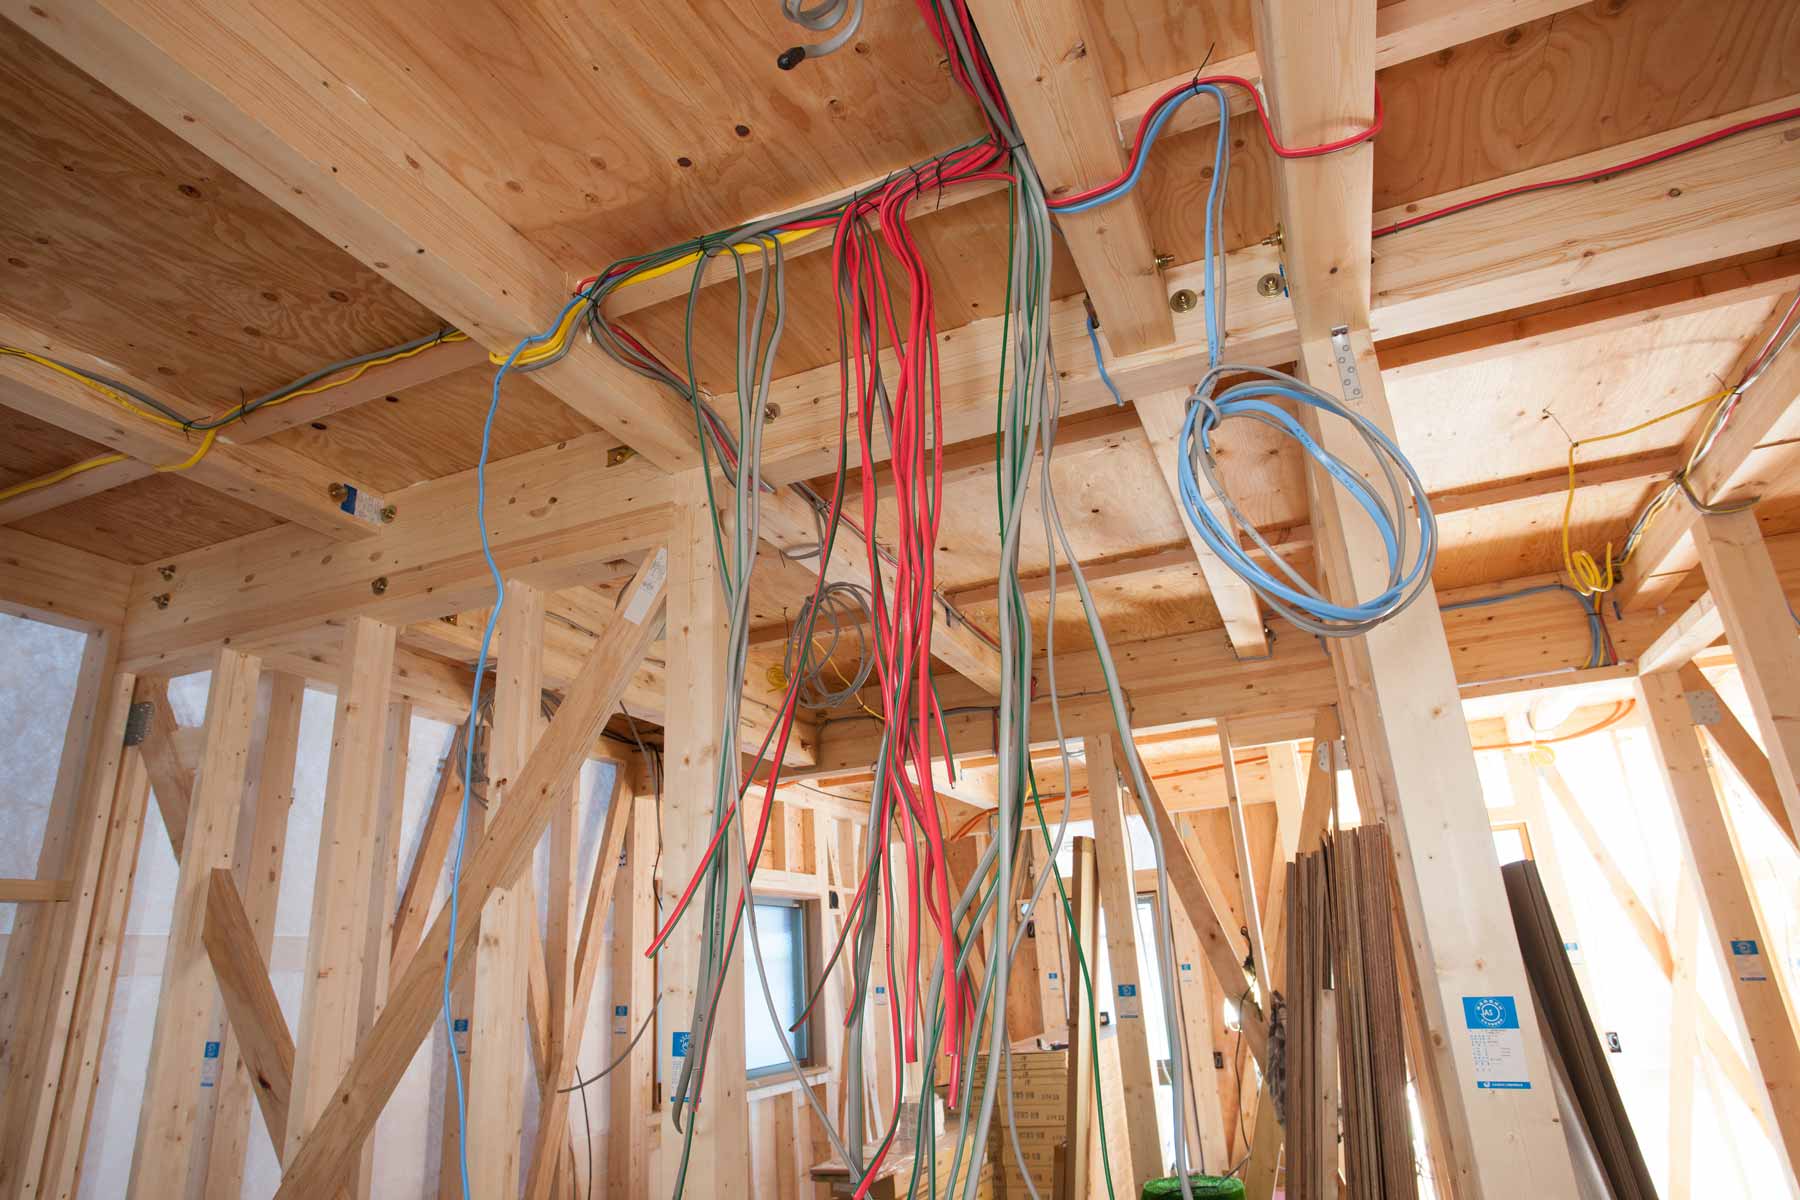
Running electrical wire from a breaker box is an essential skill for any homeowner or DIY enthusiast. Whether you need to install new electrical outlets, lighting fixtures, or appliances, understanding how to safely and correctly route electrical wire is crucial.
With a bit of planning, the right tools, and careful execution, you can ensure that your electrical wiring is up to code and functions safely. In this article, we will guide you through the step-by-step process of running electrical wire from a breaker box, helping you to complete the task with confidence.
Before starting any electrical project, it’s important to familiarize yourself with local building codes and regulations. Additionally, if you are unfamiliar with electrical work, it’s always a good idea to consult with a licensed electrician or seek professional assistance. Remember, your safety is the top priority when working with electricity.
Now, let’s dive into the steps involved in running electrical wire from a breaker box.
Key Takeaways:
- Proper planning, gathering the right tools, and turning off the power are crucial steps when running electrical wire from a breaker box. Following local codes and seeking professional help ensures safety and functionality.
- From determining the wire route to testing electrical connections, attention to detail and adherence to safety protocols are essential. Consulting a licensed electrician for complex projects is highly recommended.
Read more: How To Run Electrical Wire In A House
Step 1: Gather the necessary tools and materials
Before you begin running electrical wire from a breaker box, it’s important to gather all the necessary tools and materials. This will ensure that you have everything you need to complete the project efficiently. Here are the essential tools and materials:
- Electrical wire: Choose the appropriate gauge and type of wire for your specific project. Common types include NM (non-metallic) and THHN (thermoplastic heat and water-resistant nylon).
- Wire cutters and strippers: These tools are essential for cutting and stripping the insulation from the wire.
- Screwdrivers: You’ll need a flathead and Phillips screwdriver for various tasks throughout the project.
- Drill and bits: If you need to install conduit, you’ll need a drill and the appropriate size bits for the job.
- Pliers: Pliers are useful for gripping wire and making connections.
- Electrical tape: This is used to insulate and secure wire connections.
- Conduit (if required): If you need to run the wire through a conduit, make sure you have the appropriate type and size.
- Electrical box and outlet (if applicable): Depending on your project, you may need an electrical box and outlet to connect the wire to.
- Measuring tape and pencil: These will come in handy for measuring and marking the route for the wire.
- Safety equipment: Don’t forget to wear safety glasses, gloves, and appropriate clothing when working with electrical wiring.
By having all of these tools and materials at hand, you can ensure that your project progresses smoothly and without any unnecessary delays. Double-check your supplies before starting to avoid any last-minute trips to the hardware store.
Step 2: Determine the route for the electrical wire
Once you have gathered all the necessary tools and materials, the next step is to determine the route for the electrical wire. Planning the route beforehand will help ensure that the wire is installed in the most efficient and organized manner. Follow these steps to determine the route:
- Identify the starting point: Determine where the wire will originate from in the breaker box. This will typically be a circuit breaker that corresponds to the specific area or appliance you are wiring.
- Identify the end point: Determine where the wire needs to end, such as an electrical outlet, switch, or specific appliance.
- Map out the path: Consider the most direct and efficient path for the wire to follow. Take into account any obstacles, such as walls, floors, or other structures, that may require you to run the wire through conduits or behind walls.
- Check local codes and regulations: Ensure that your planned route complies with local building codes and safety regulations. Certain areas may require specific wiring methods or installation practices.
- Measure and mark: Use a measuring tape and pencil to mark the route for the wire. Make accurate measurements to ensure that you have enough wire length to reach the destination.
Remember to take your time during this step to perfect the wire routing plan. A well-planned route will make the installation process much smoother and result in a neater finished project.
If you are unsure about the best route or if the project involves complex wiring, it is recommended to consult with an electrician or a knowledgeable professional who can provide guidance specific to your situation.
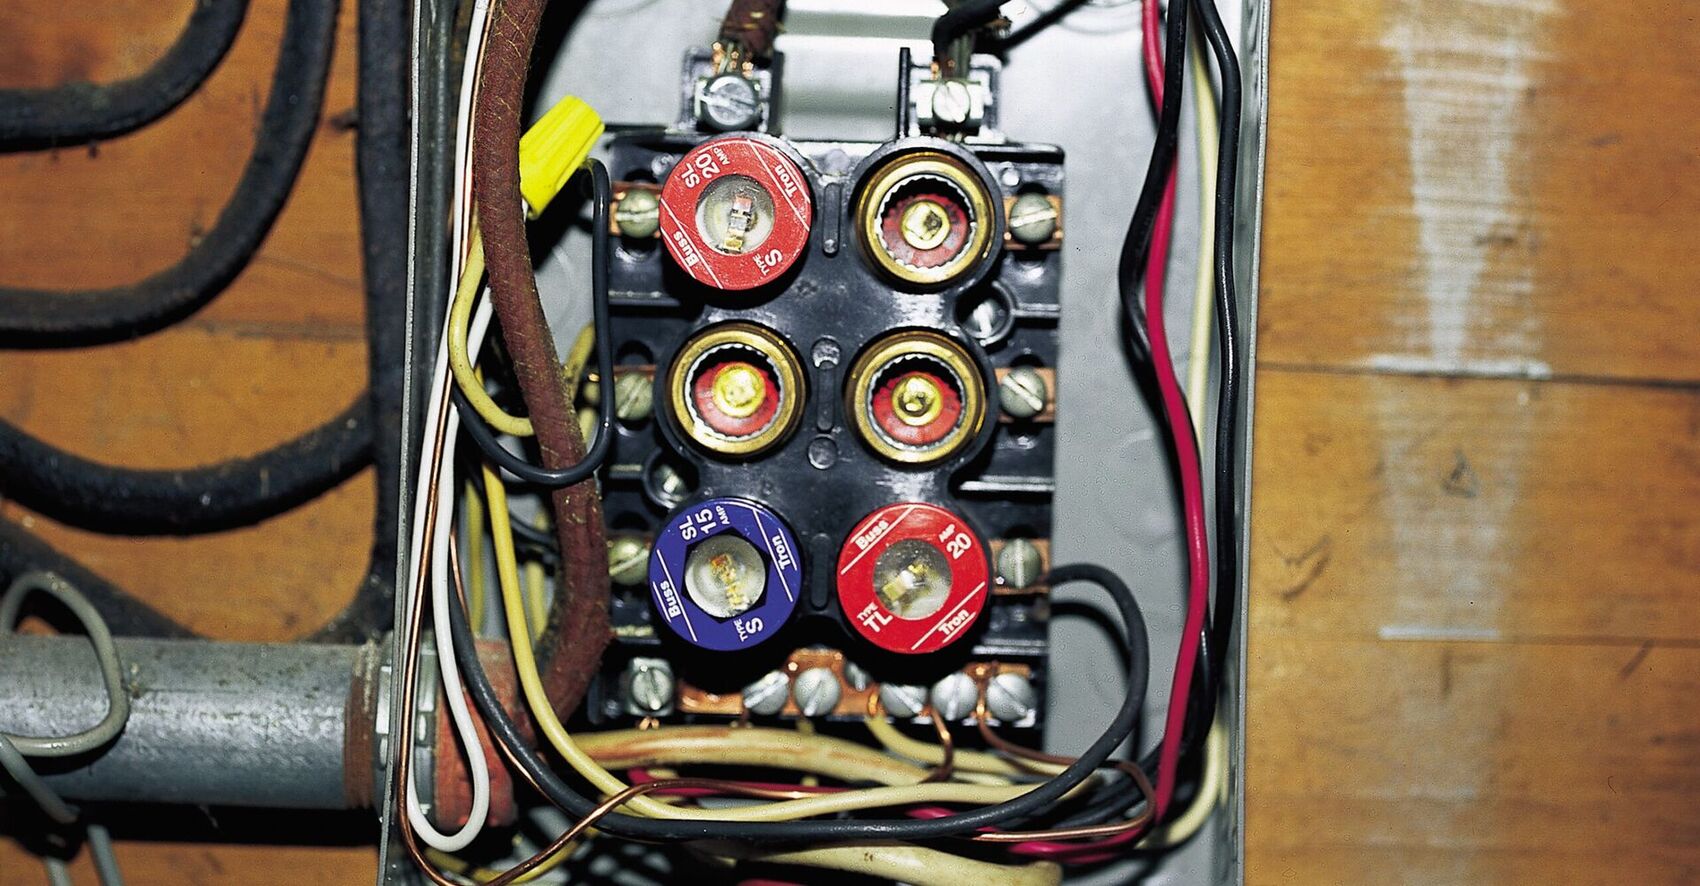
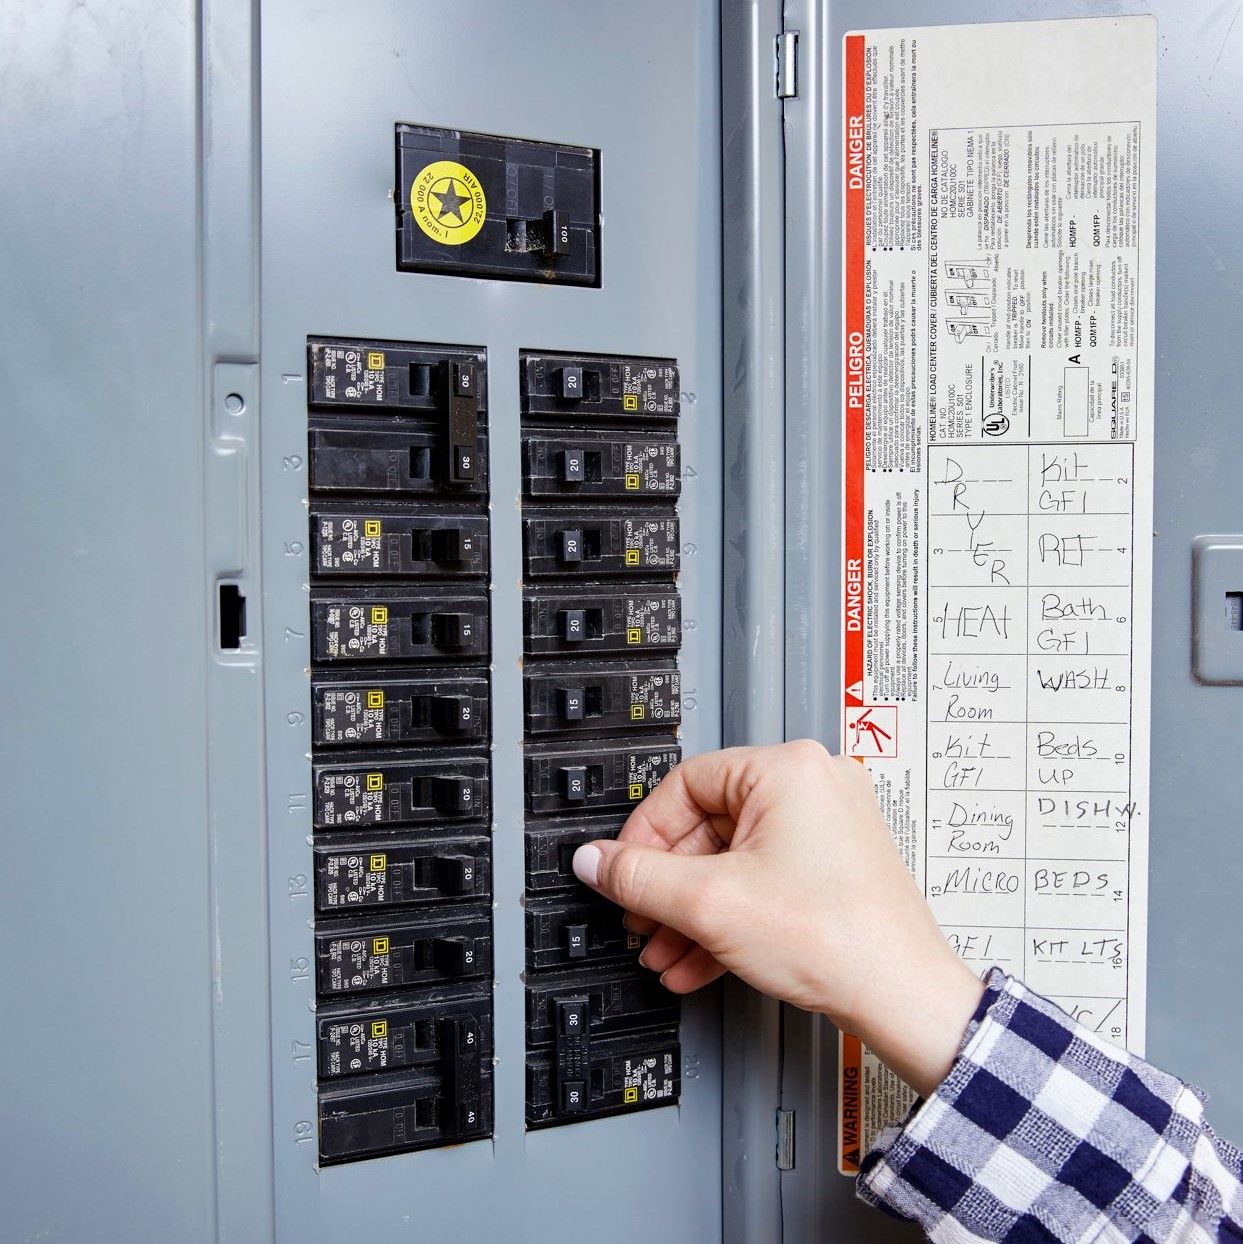
Step 3: Turn off the power to the breaker box
Before you begin working with electrical wire, it is crucial to turn off the power to the breaker box. This step is essential for your safety and to prevent any mishaps during the installation process. Follow these steps to turn off the power:
- Locate the main breaker: In your breaker box, identify the main breaker, which controls the power supply to the entire electrical panel.
- Switch off the main breaker: Carefully flip the main breaker switch to the “Off” position. This will shut off power to all circuits in the breaker box.
- Test for power: Double-check if power is off by using a non-contact voltage tester. This tool will detect the presence of electricity without direct contact with live wires.
- Verify the power is off: To be absolutely certain, test a few outlets or light switches to ensure they are not receiving any power.
- Consider using a lockout/tagout system: If there are multiple people in the vicinity or you want to provide additional safety measures, you can use a lockout/tagout system. This involves attaching a lock and tag onto the main breaker switch to indicate that work is being done and to prevent others from accidentally turning the power back on.
Remember, dealing with electrical wiring can be dangerous, so never skip the step of turning off the power. If you are unsure about the process or uncomfortable working with electricity, it is highly recommended to consult with a licensed electrician for assistance. Your safety should always be the number one priority.
Once the power is turned off and verified, you can proceed with the next steps of the installation process confidently and safely.
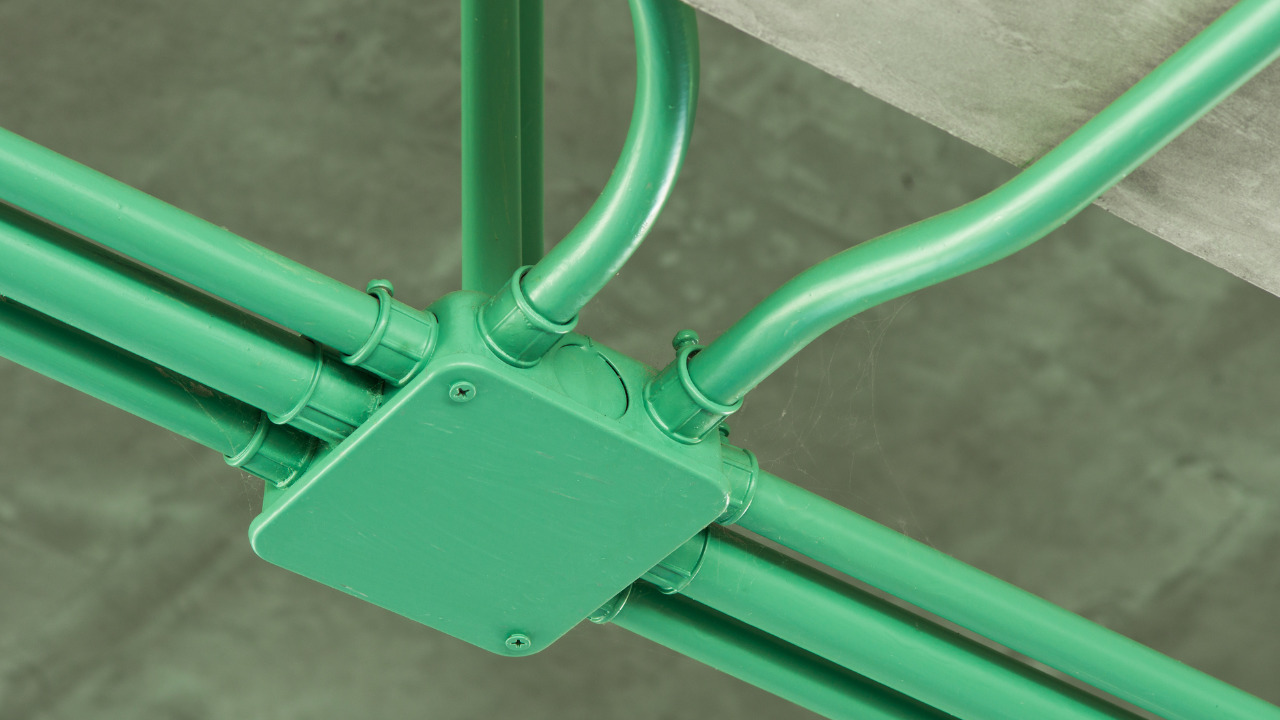
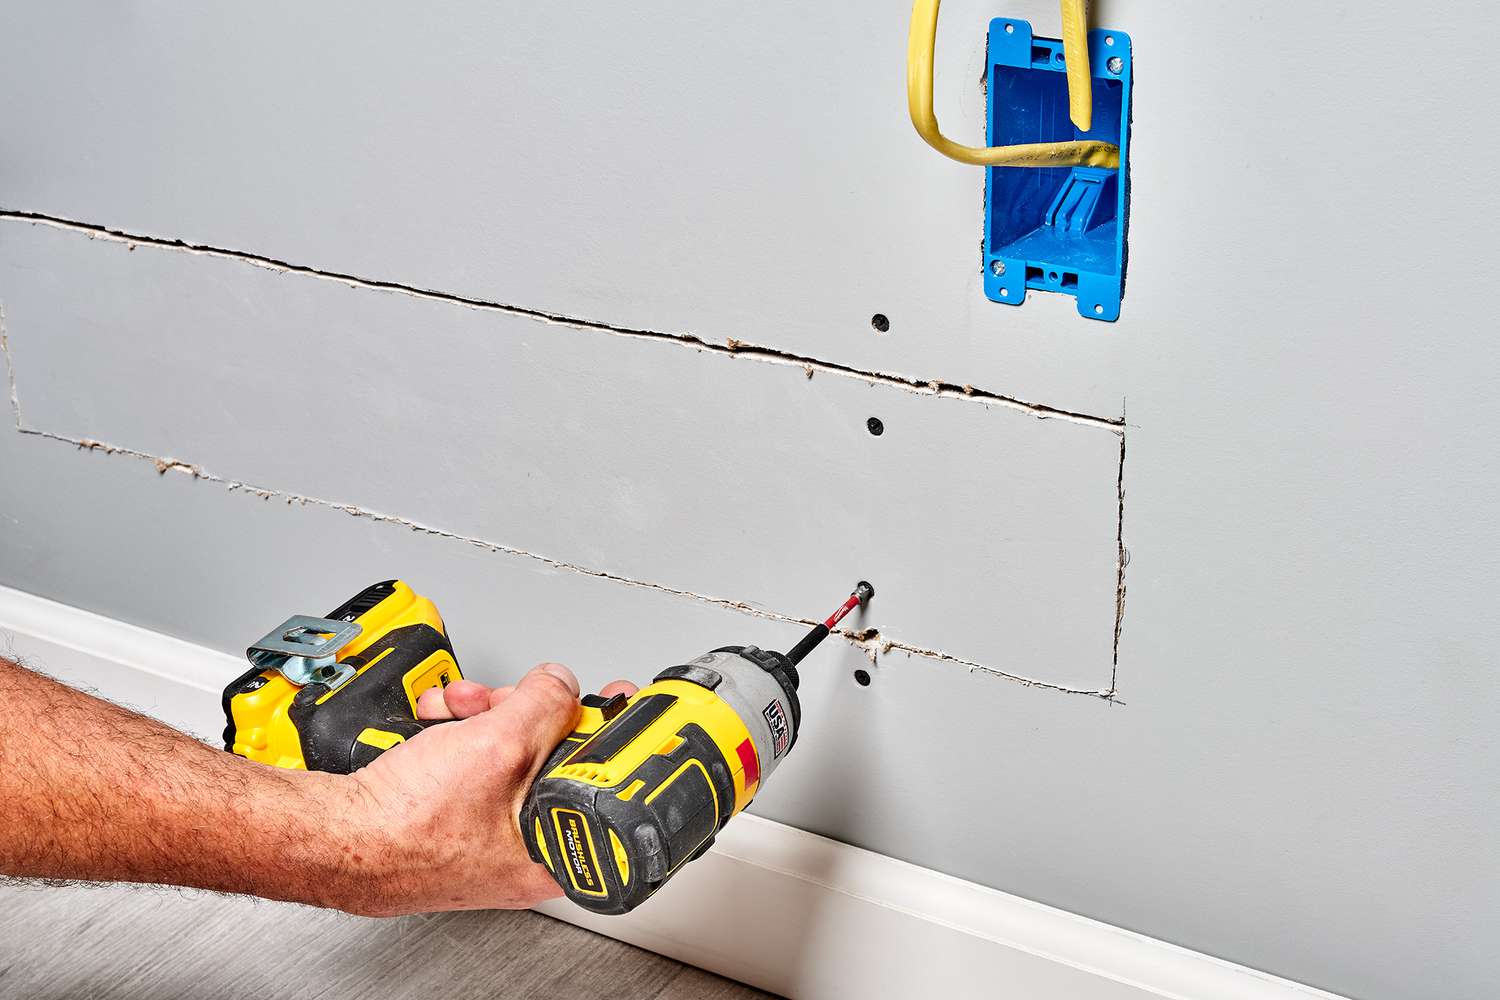
Step 4: Install conduit if necessary
In some cases, it may be necessary to install conduit to protect and route the electrical wire. Conduit is a protective tube that shields the wire from damage and helps to ensure proper organization and neatness. Follow these steps to install conduit if needed:
- Check local codes and regulations: Before installing conduit, familiarize yourself with local building codes and regulations. Some areas may have specific requirements regarding the type and installation methods of conduit.
- Select the appropriate conduit: Choose the right type and size of conduit for your project. Common types include PVC (polyvinyl chloride) and metal conduit. Consider the environment and conditions where the conduit will be installed.
- Measure and cut: Measure the required length of conduit using a measuring tape and mark it with a pencil. Use a hacksaw or conduit cutter to cut the conduit to the correct length.
- Prepare the ends: Use a conduit reamer or file to smooth the cut edges of the conduit. This will make it easier to thread the wire through and prevent any sharp edges from damaging the insulation.
- Attach conduit straps: Secure the conduit to the wall or ceiling using conduit straps or clamps. Make sure to space the straps according to local codes and manufacturer guidelines to provide adequate support.
- Thread the wire through the conduit: Carefully feed the electrical wire through the conduit, making sure it is properly aligned and guided through the entire length of the conduit.
- Connect conduit sections: If your project requires multiple sections of conduit, use appropriate connectors, such as couplings or elbows, to join them securely together.
- Secure the conduit in place: Use additional conduit straps or clamps to secure the conduit along its entire length. This helps to prevent any movement or sagging.
Installing conduit can provide added protection for the electrical wire and promote a more organized and professional-looking installation. However, it is important to ensure that the conduit is installed correctly and according to local regulations. If you are unsure about any aspect of conduit installation, it is recommended to consult with an electrician or a knowledgeable professional to ensure compliance and safety.
Read more: How To Run Outdoor Electrical Wire
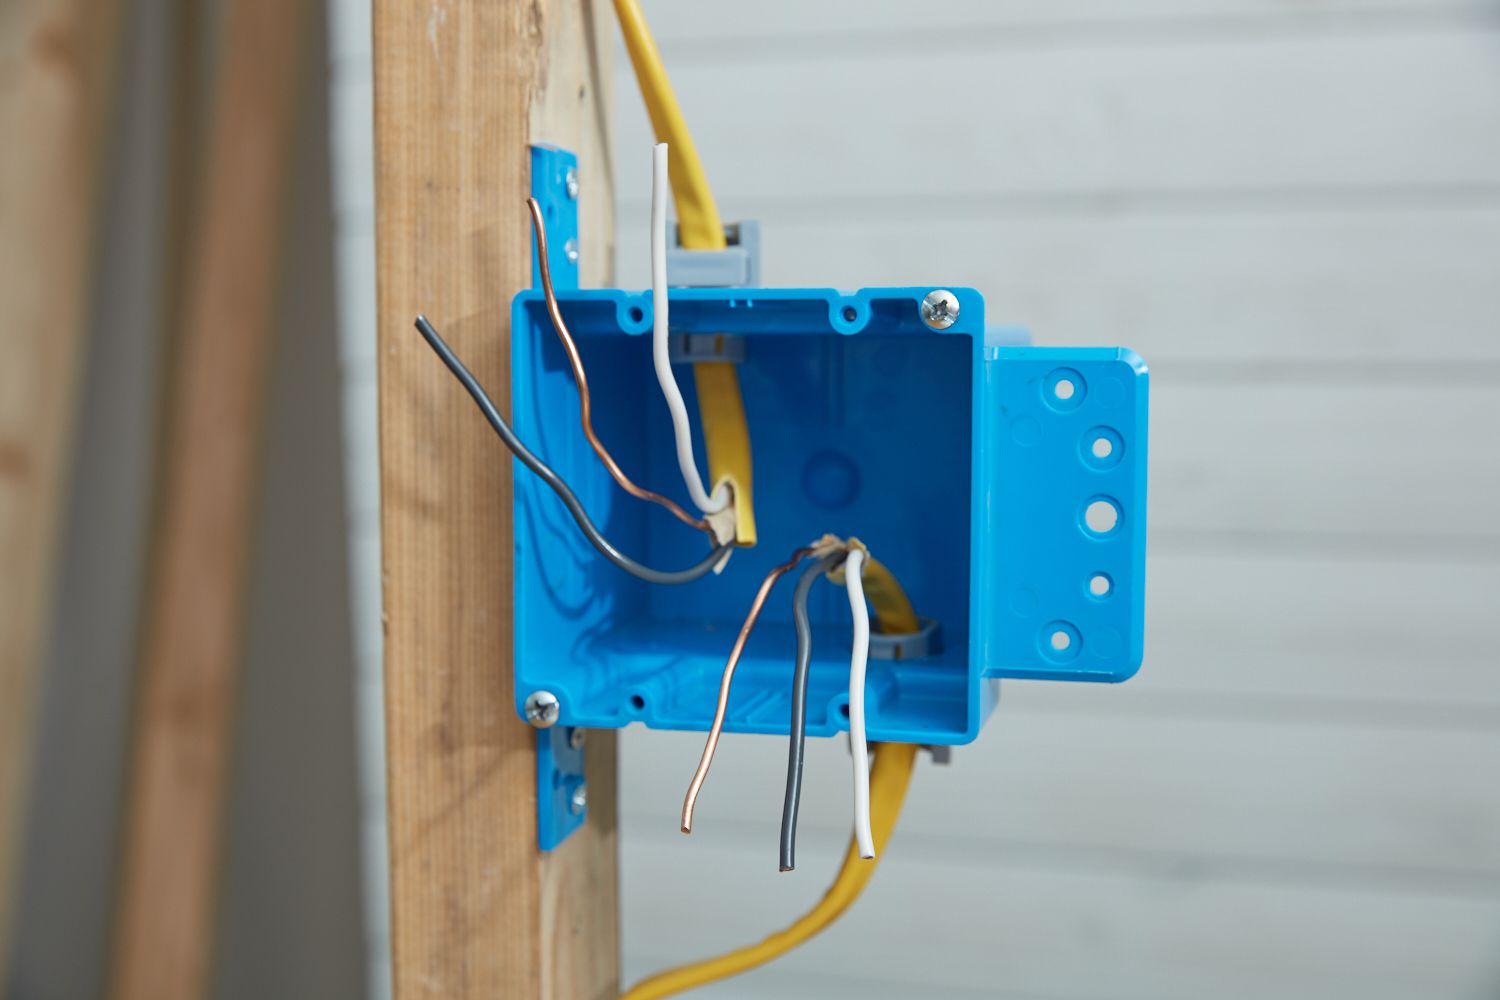
Step 5: Prepare the wire for installation
Before you can start installing the electrical wire, it’s important to properly prepare the wire for installation. This step ensures that the wire is ready to be connected and routed safely. Follow these steps to prepare the wire:
- Measure and cut the wire: Using a wire cutter or appropriate tool, measure and cut the wire to the desired length. Make sure to leave a few extra inches for ease of installation.
- Strip the wire ends: Use a wire stripper to remove the insulation from the ends of the wire. Carefully follow the manufacturer’s instructions or guidelines to strip the appropriate length of insulation.
- Inspect the wire: Before proceeding, examine the wire for any damage or frayed ends. If you notice any cuts or exposed wires, trim them or replace the wire if necessary.
- Separate the wires: If you are working with a multi-conductor wire, such as a Romex cable, separate the individual wires so they can be connected to the breaker or terminal appropriately.
- Twist the wire ends: To make connecting the wire easier, gently twist the exposed wire strands together. This will create a solid and secure connection.
- Add wire connectors if needed: Depending on the specific installation, you may need to use wire connectors, such as wire nuts, to join multiple wires together. Follow the manufacturer’s instructions and ensure the connectors are tightened properly.
Properly preparing the wire ensures that you have clean and secure connections, which are critical for the safe and efficient operation of your electrical system. Take your time during this step to ensure that all wire preparations are done accurately.
Remember, if you are unsure about any aspect of wire preparation or handling electrical wire, seek the assistance of a licensed electrician or consult a professional who can guide you through the process.
When running electrical wire from the breaker box, always make sure to use the correct gauge wire for the specific circuit and to follow local building codes and regulations. It’s also important to turn off the power at the breaker box before beginning any work.
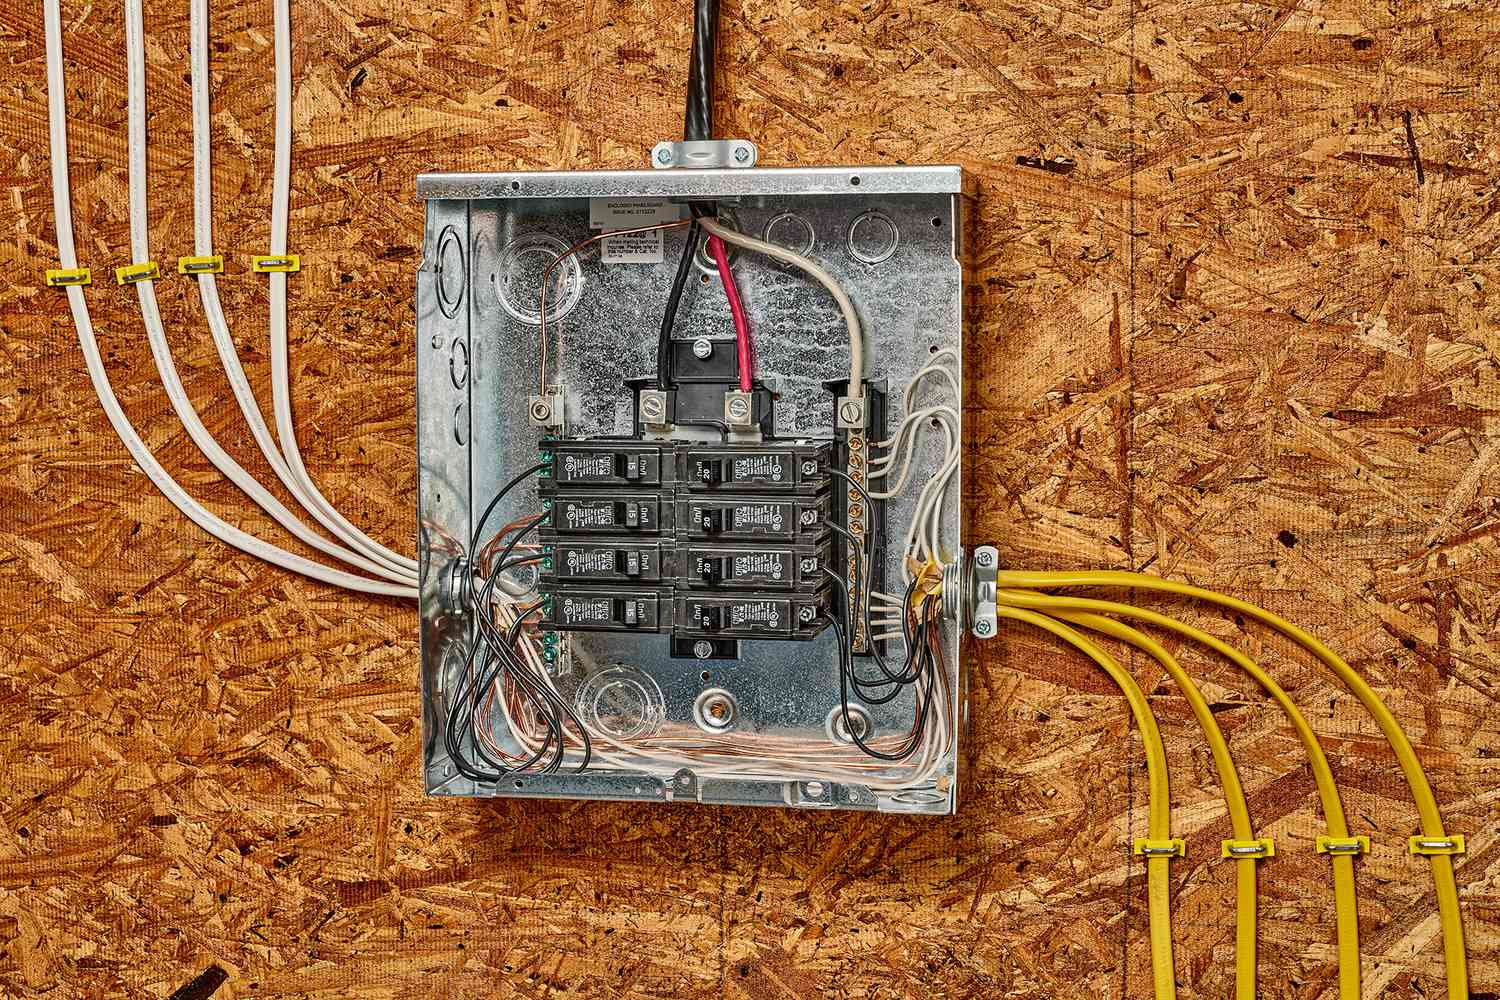
Step 6: Connect the wire to the breaker box
Now that the wire is prepared for installation, it’s time to connect it to the breaker box. This step establishes the electrical connection between the wire and the electrical panel, allowing electricity to flow safely. Follow these steps to connect the wire to the breaker box:
- Identify the appropriate breaker: In the breaker box, locate the circuit breaker that corresponds to the area or appliance you are wiring. Ensure that the breaker is in the “Off” position.
- Remove the breaker panel cover: Carefully remove the cover of the breaker box to access the interior wiring and breakers. Be cautious and avoid touching any live wires or components.
- Insert the wire into the breaker: Depending on the type of breaker, there are different methods to connect the wire. For a standard circuit breaker, insert the prepared wire into the appropriate terminal. If you’re unsure, consult the manufacturer’s instructions or consider seeking professional assistance.
- Tighten the terminal connection: Once the wire is inserted, tighten the terminal connection securely. This ensures a stable and reliable electrical connection.
- Verify the connection: Double-check that the wire is connected to the correct breaker and that the terminal connection is tight. Take a moment to inspect for any loose wires or connections.
- Replace the breaker panel cover: Carefully put the cover back on the breaker box and secure it in place. Make sure it is properly aligned and all fasteners are tightened.
When connecting the wire to the breaker box, it’s essential to handle the wires carefully, ensuring there is no exposed or bare wire visible. If you encounter any difficulties during this step or are unsure about the process, it is best to consult with a licensed electrician to ensure a safe and proper connection.
Remember, working with the electrical panel can be dangerous, so prioritize safety and take all necessary precautions to prevent electrical shock or other hazards.
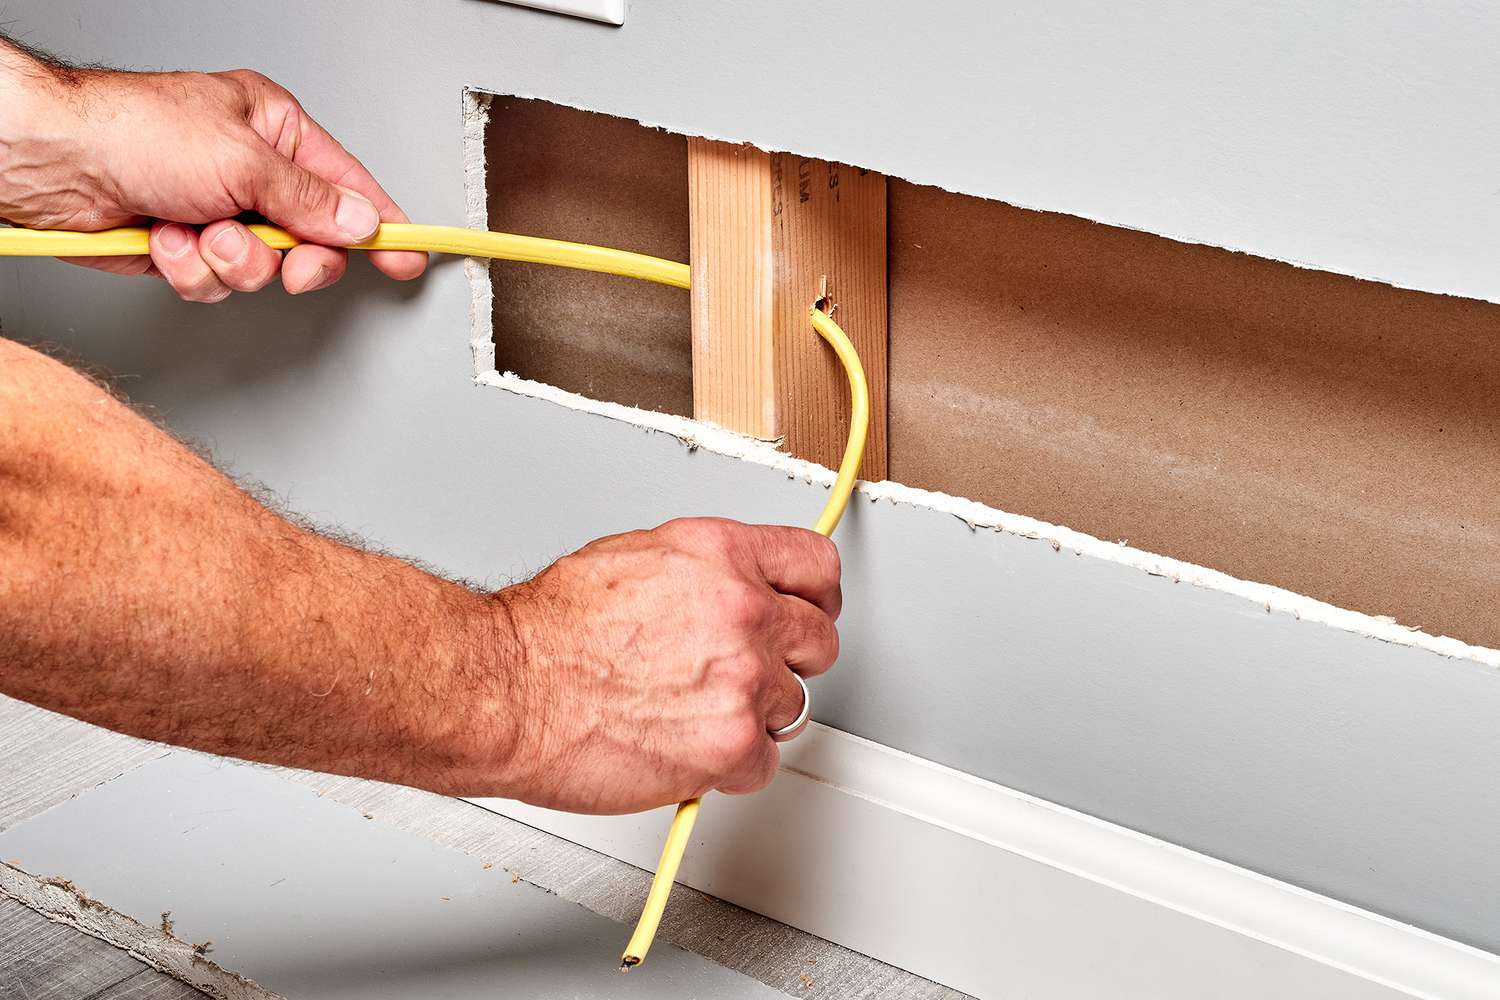
Step 7: Route the wire through the designated path
With the wire connected to the breaker box, the next step is to route it through the designated path to its intended destination. This ensures that the wire is properly installed and positioned for optimal functionality. Follow these steps to route the wire:
- Refer to your previously determined route: Use the markings you made during the planning phase to guide you in routing the wire. Ensure that you follow the most direct and efficient path.
- Thread the wire through any conduits or channels: If you installed conduit or any other types of protective channels, carefully thread the wire through them. Check that the wire is sitting securely within the conduit.
- Avoid tight bends and sharp corners: While routing the wire, be mindful of the path’s angles and avoid sharp bends or corners. Excessive bending can damage the wire or affect its performance.
- Consider using cable staples or clips: Depending on the surface you are routing the wire along, you may need to use cable staples or clips to secure it in place. This will help prevent any accidental movement or damage.
- Keep the wire away from potential hazards: Ensure that the wire is positioned away from any potential hazards such as sharp objects, moisture sources, or heat-emitting appliances. This will help protect the wire from damage and minimize safety risks.
As you route the wire, periodically check that it is properly aligned and positioned. Avoid stretching or pulling the wire too tightly, as this can put undue stress on the connections and insulation. Additionally, be cautious not to crush or damage the wire during installation.
If you encounter any obstacles or are unsure about how to route the wire properly, it is advisable to seek guidance from a licensed electrician or consult a professional with experience in electrical installations. They can provide valuable insight and ensure that the wire is routed correctly and safely.
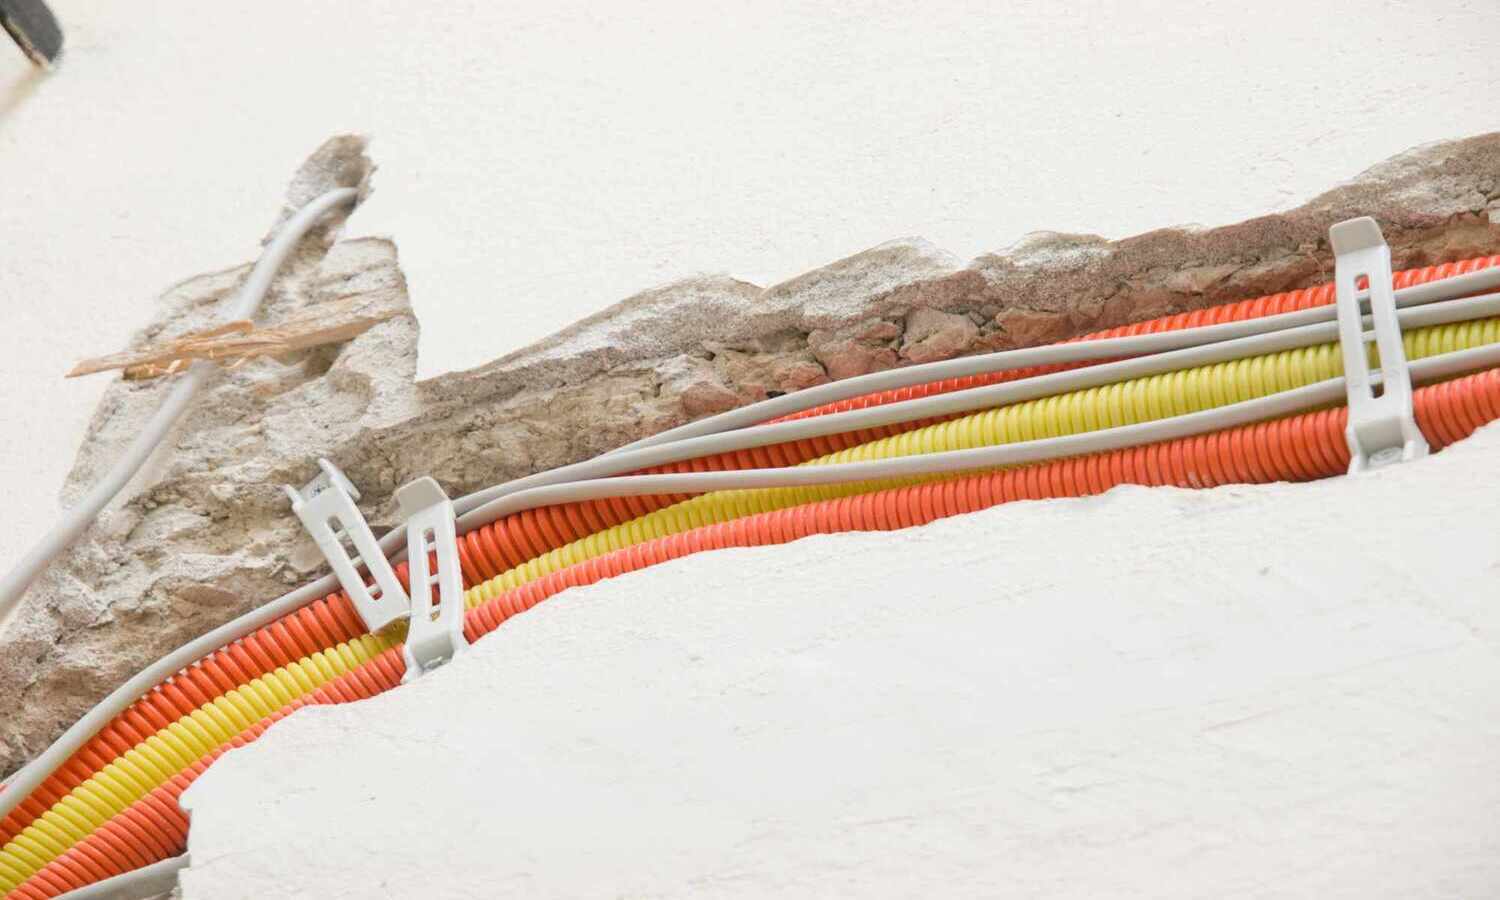
Step 8: Secure the wire in place
After routing the wire through the designated path, it’s important to secure it in place to minimize the risk of accidental damage and ensure a neat and organized installation. Follow these steps to securely fasten the wire:
- Use cable staples or clips: Depending on the surface you are working with, use cable staples or clips to secure the wire at regular intervals. This helps to prevent any movement or sagging.
- Avoid over-tightening: When fastening the wire, be careful not to over-tighten the staples or clips as this can damage the wire or affect its performance. The staples or clips should hold the wire firmly but not crush it.
- Keep spacing uniform: Maintain consistent spacing between the staples or clips along the wire to ensure a professional and tidy appearance. This helps to prevent any uneven pulling or strain on the wire.
- Avoid damaging the insulation: Pay attention when placing the staples or clips to avoid damaging the insulation of the wire. Ensure they are securely fastened but do not penetrate or pierce the wire’s insulation.
- Inspect for any loose sections: Once the wire is secured, inspect the entire length to check for any loose sections. If you notice any areas where the wire is not properly held in place, readjust the staples or clips as needed.
- Consider using plastic conduits or cable trays: If you want to add an extra layer of protection and organization, you can consider using plastic conduits or cable trays to enclose and secure the wire. This can be particularly useful in areas where the wire is exposed or requires additional protection.
By securely fastening the wire in place, you reduce the risk of accidental damage or interference. This also ensures that the wire remains in its intended position, maintaining a clean and professional installation.
If you are unsure about the best method to secure the wire or if your project involves complex wiring, it is recommended to consult with an electrician or a knowledgeable professional who can provide guidance specific to your situation.
Read more: What Electrical Wire To Run Underground
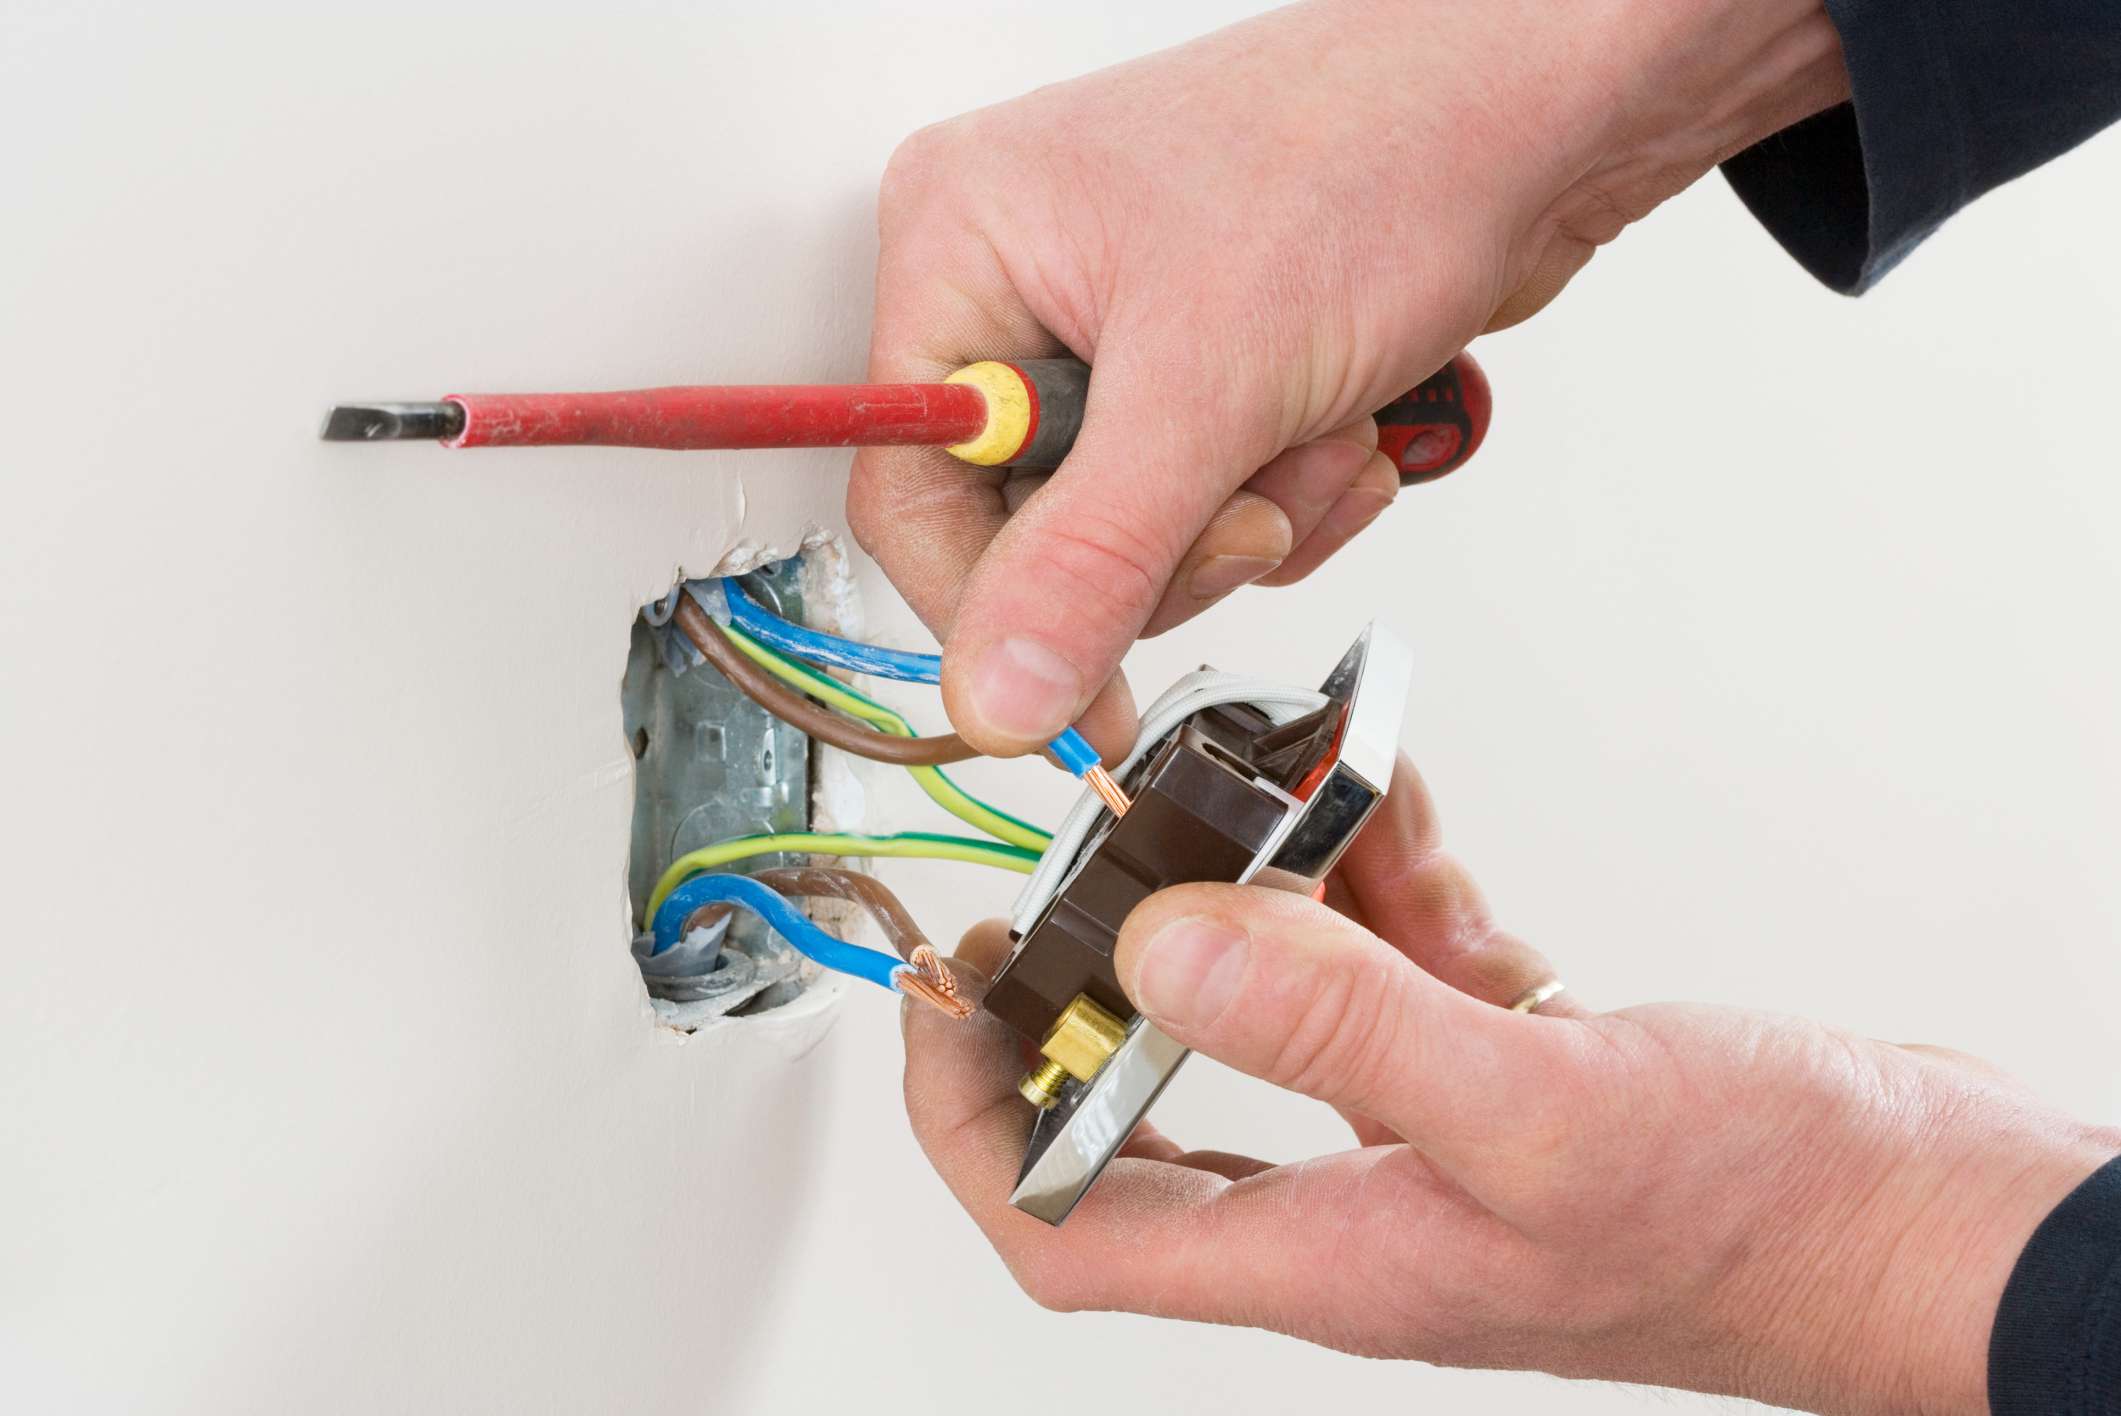
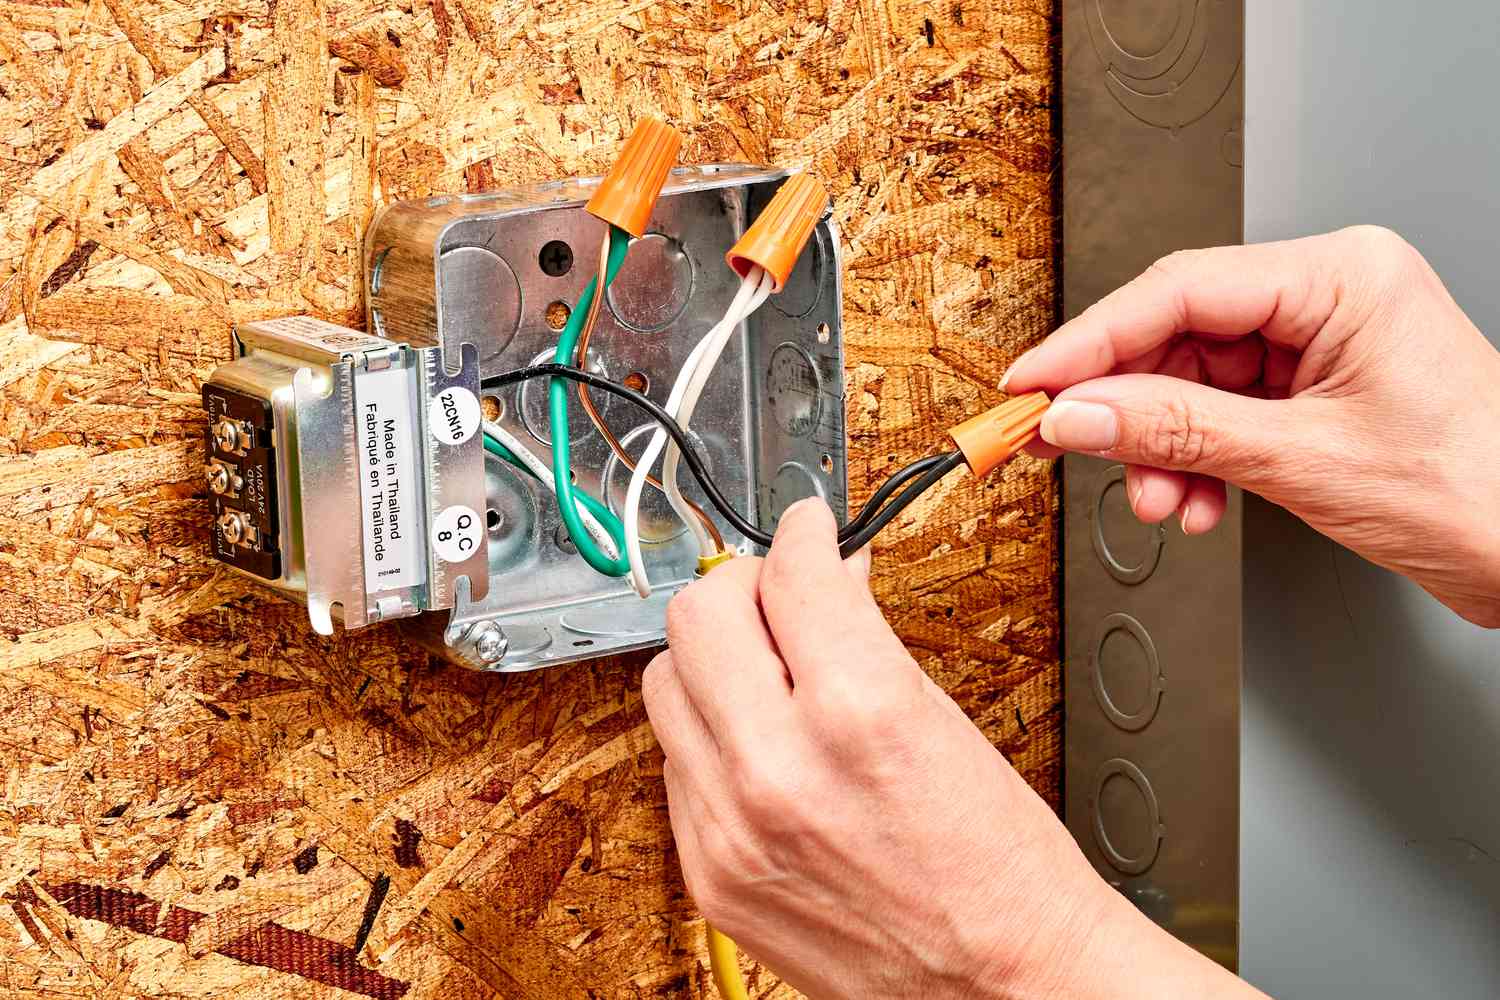
Step 9: Connect the wire to the desired electrical outlets or appliances
With the wire securely routed and fastened in place, it’s time to connect it to the desired electrical outlets or appliances. This step establishes the connection needed for the safe and efficient operation of your electrical system. Follow these steps to connect the wire:
- Identify the connection points: Determine the specific electrical outlets, switches, or appliances where you need to connect the wire. Ensure that you have the necessary components, such as receptacles or switches, for the connection.
- Turn off the power to the specific circuit: Before making any electrical connections, turn off the power supply to the specific circuit where you will be working. This can be done by flipping the corresponding circuit breaker in the breaker box to the “Off” position.
- Examine the wiring requirements: Familiarize yourself with the wiring requirements of the specific connection point. This includes understanding the color coding system for electrical wiring and the proper connections for hot, neutral, and ground wires.
- Make the wire connections: Strip the insulation from the wire ends, if necessary, and carefully make the appropriate connections. Follow the manufacturer’s instructions or consult a wiring diagram to ensure the correct wiring configuration.
- Secure the wire connections: After making the connections, securely tighten any terminal screws or wire connectors. Ensure that the wire is properly seated and there is no loose connection. Use electrical tape or wire nuts to insulate and secure the wire connections, if required.
- Test the electrical connections: Once the wire connections are made, turn on the power to the specific circuit and test the electrical connections. Use a voltage tester to verify that there is power at the desired outlets or appliances. Test any switches or outlets for proper functionality.
It is crucial to follow proper wiring practices and safety guidelines when making electrical connections. If you are unsure about the specific wiring requirements or connections, it is highly recommended to consult with a licensed electrician or a knowledgeable professional to ensure a correctly installed and safe electrical system.
Remember, working with electricity can be dangerous, so always prioritize your safety and take all necessary precautions throughout the connection process.
Step 10: Test the electrical connections
After connecting the wire to the desired electrical outlets or appliances, it is crucial to test the electrical connections to ensure they are functioning correctly and safely. Proper testing helps identify any issues or faults before the system is in operation. Follow these steps to test the electrical connections:
- Ensure the circuit is powered on: Confirm that the circuit breaker for the specific circuit is switched on, allowing power to flow through the connected wire.
- Verify the functionality of switches and outlets: Test the switches and outlets connected to the wire to ensure they are working as intended. Turn switches on and off, and plug in electrical devices to outlets to check for proper functionality.
- Measure voltage output: Use a multimeter or voltage tester to measure the voltage output at the connected outlets or appliances. This will verify that the correct voltage is being delivered.
- Check for any anomalies: During the testing process, be alert for any unusual behavior, such as flickering lights, buzzing sounds, or heat emanating from outlets. These can indicate wiring issues or potential hazards that require further inspection.
- Perform a thorough visual inspection: Examine the wire connections, outlets, and switches for any signs of damage or loose connections. Ensure that all wires are securely connected and properly insulated.
- Consult a professional, if necessary: If you encounter any problems or are unsure about the results of the electrical testing, it is recommended to consult a licensed electrician or a knowledgeable professional. They can provide expert guidance and address any issues to ensure the safety and reliability of the electrical system.
Testing the electrical connections is crucial to ensure that the wiring is functioning correctly and safely. Taking the time to perform thorough testing helps to identify any potential problems early on and allows for necessary adjustments or repairs.
Remember, if you are not confident in your ability to test the electrical connections or if you encounter any issues during the testing process, it is always best to seek professional assistance to ensure a properly functioning electrical system.
Conclusion
Running electrical wire from a breaker box is a task that requires proper planning, knowledge, and attention to detail. By following the step-by-step process outlined in this article, you can successfully complete the installation while ensuring safety and functionality.
Throughout the process, it is essential to gather the necessary tools and materials, plan the route for the wire, and turn off the power to the breaker box. Installing conduit and preparing the wire for installation are crucial steps that should not be overlooked.
Connecting the wire to the breaker box, carefully routing it through the designated path, and securing it in place are important for the longevity of the electrical system. Lastly, properly connecting the wire to the desired outlets or appliances and testing the electrical connections ensure that everything is functioning correctly and safely.
Remember, if you are unsure about any part of the process or feel uncomfortable working with electrical wiring, it is always best to consult with a licensed electrician or seek professional assistance. Your safety should be the top priority.
By following the steps outlined in this article and adhering to local building codes and safety regulations, you can successfully run electrical wire from a breaker box for various projects, such as installing new outlets, lighting fixtures, or appliances.
Electrical work can be complex, and if at any point you are uncertain or face challenges, it is recommended to seek professional guidance. A licensed electrician can provide expert advice and ensure that the installation meets all safety standards.
Remember to always prioritize safety, double-check your work, and take the necessary precautions when working with electricity. With proper planning, execution, and attention to detail, you can successfully run electrical wire from a breaker box and enjoy a well-functioning electrical system in your home or project.
Ready to power up your garage workshop or home office? Running overhead electrical wiring might sound tricky, but we've got you covered with a practical guide that breaks down the process into manageable steps. From choosing the right tools to connecting your final outlet, every detail is designed to ensure your project goes smoothly and safely. Don’t miss out on our next feature, which lights the way to efficient electrical setups in detached buildings.
Frequently Asked Questions about How To Run Electrical Wire From Breaker Box
Was this page helpful?
At Storables.com, we guarantee accurate and reliable information. Our content, validated by Expert Board Contributors, is crafted following stringent Editorial Policies. We're committed to providing you with well-researched, expert-backed insights for all your informational needs.


0 thoughts on “How To Run Electrical Wire From Breaker Box”