Home>Home Security and Surveillance>How To Set Up A Home Security Camera System

Home Security and Surveillance
How To Set Up A Home Security Camera System
Modified: March 6, 2024
Learn how to set up a reliable home security camera system with our step-by-step guide. Ensure the safety of your property with our home security and surveillance tips.
(Many of the links in this article redirect to a specific reviewed product. Your purchase of these products through affiliate links helps to generate commission for Storables.com, at no extra cost. Learn more)
Introduction
Welcome to the world of home security and surveillance! With advancements in technology, setting up a home security camera system has become more accessible and crucial than ever. Whether you’re looking to protect your property, monitor your loved ones, or simply gain peace of mind, a well-designed and properly installed surveillance system is an effective solution.
In this article, we will guide you through the process of choosing, setting up, and optimizing a home security camera system. We will explore different aspects such as selecting the right cameras, determining optimal placement, connecting them to your home network, configuring settings, and more. By the end of this article, you’ll have the knowledge and confidence to set up your own home security camera system.
Before diving into the technical details, it’s essential to understand the importance of home security. Your home is your sanctuary, and protecting it from potential threats should be a top priority. A home security camera system acts as a deterrent, preventing unauthorized access and providing evidence in case of any untoward incidents. It not only helps to safeguard your property but also enables you to keep an eye on your children, elderly parents, pets, and belongings even when you’re away.
Now, let’s embark on this journey to fortify your home and provide you with peace of mind.
Key Takeaways:
- Choose the right home security camera system by considering factors like indoor/outdoor use, resolution, and budget. Proper placement and network connection are crucial for effective surveillance.
- Maintain and troubleshoot your system regularly to ensure optimal performance. Enhance security with features like motion detection, remote access, and professional monitoring for added peace of mind.
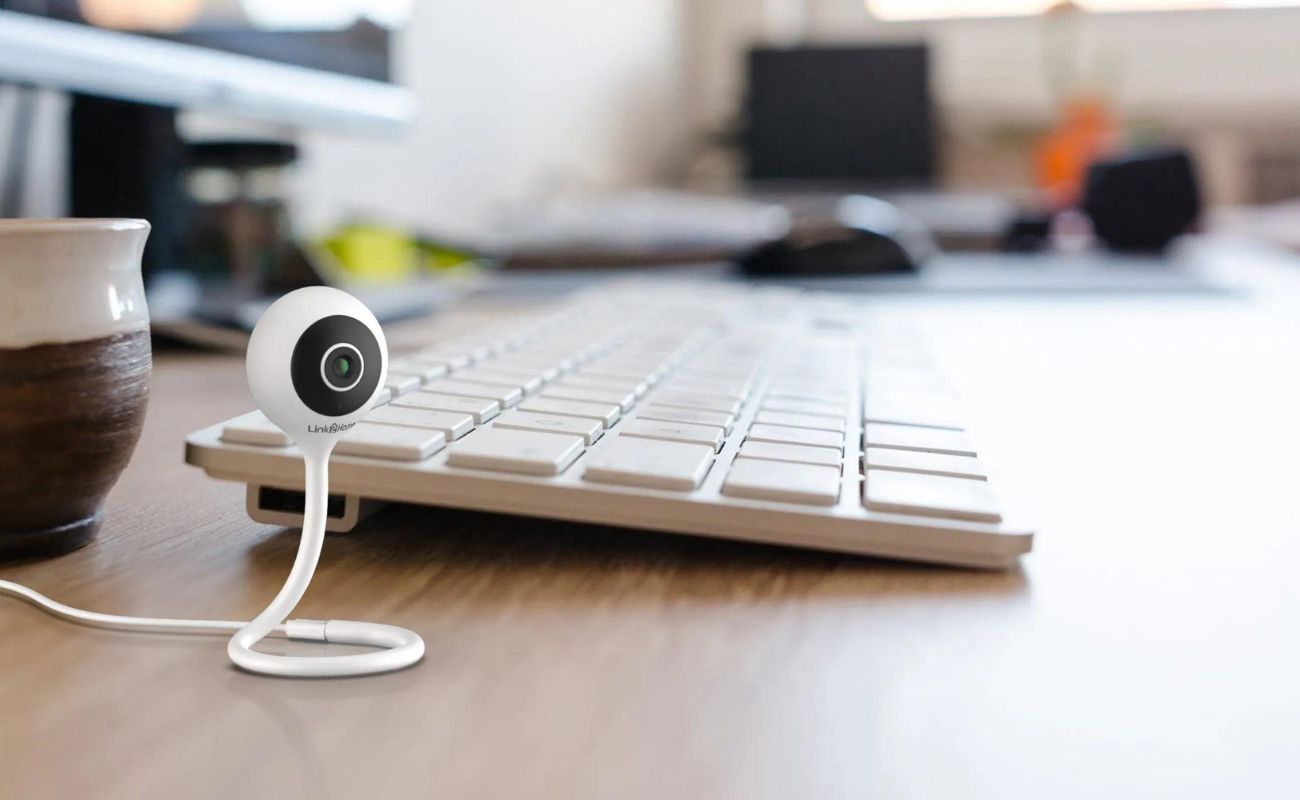
Read more: How To Set Up A Webcam As A Security Camera
Choosing the Right Home Security Camera System
When it comes to choosing a home security camera system, it’s important to consider your specific needs and the level of surveillance you require. Here are some key factors to keep in mind:
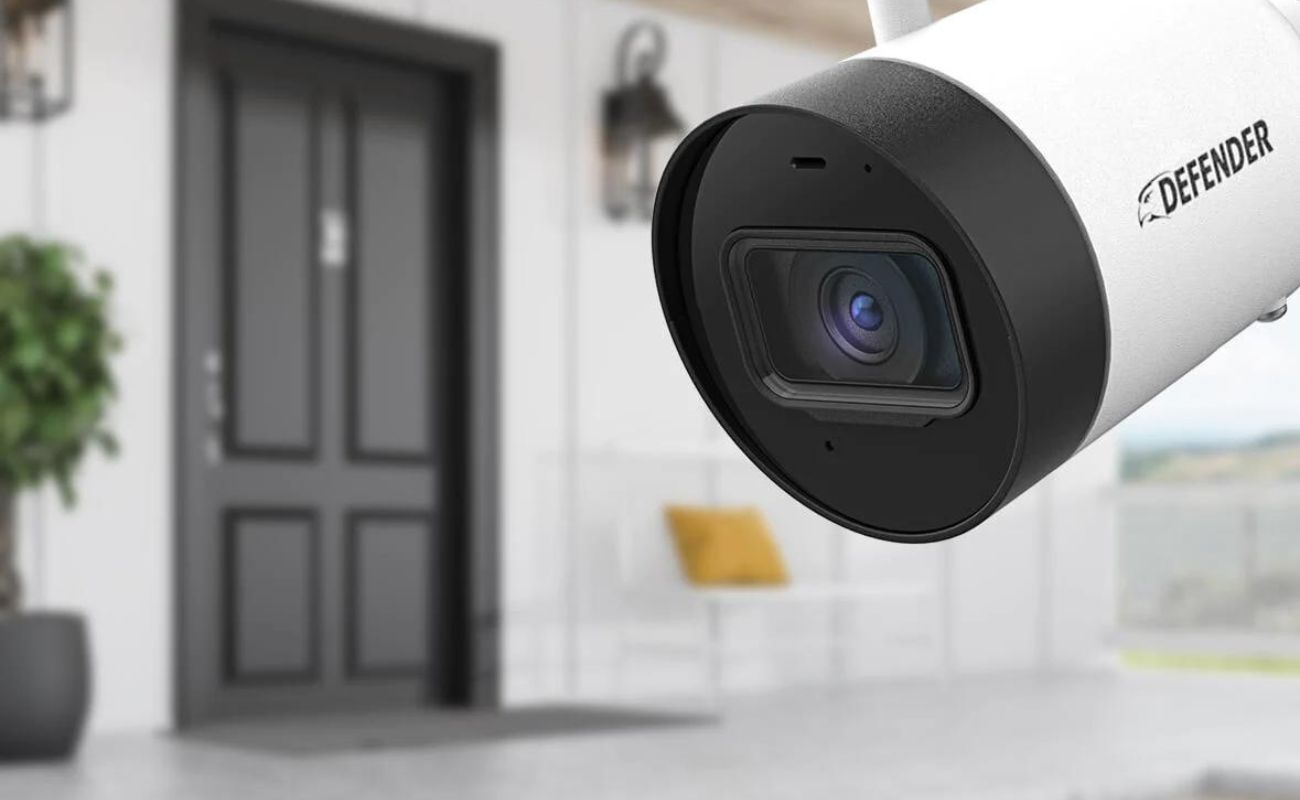
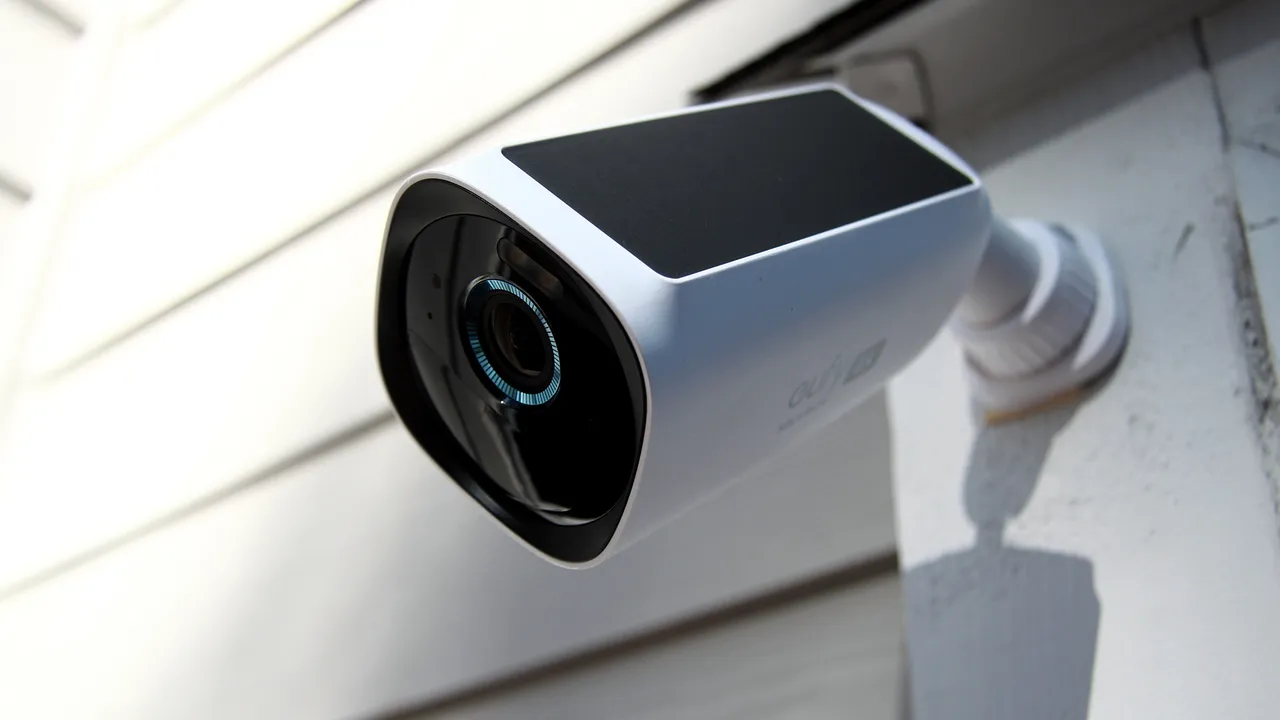
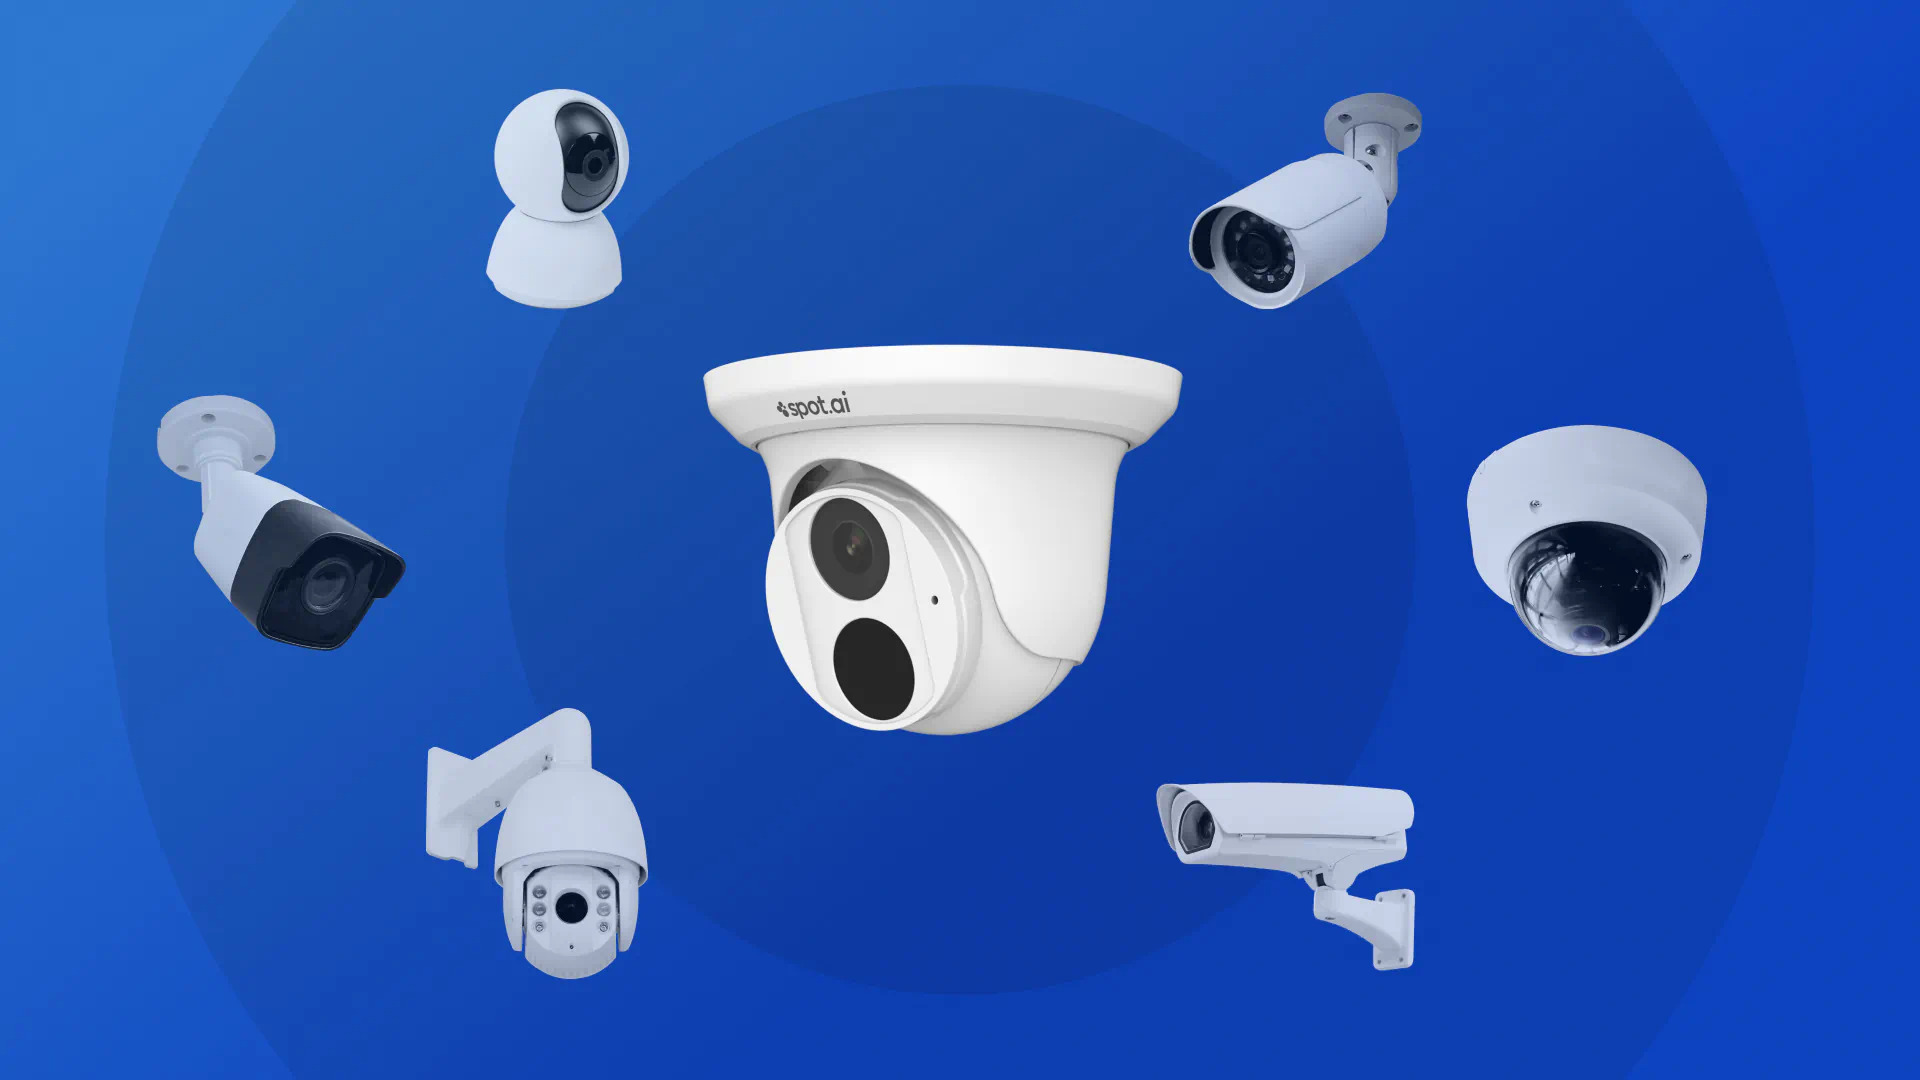
- Indoor or Outdoor: Determine if you need cameras for indoor monitoring, outdoor surveillance, or both. Outdoor cameras should be weatherproof and built to withstand harsh conditions.
- Resolution and Image Quality: Look for cameras with high-resolution capabilities, preferably at least 1080p or higher, to ensure clear and detailed footage.
- Field of View: Consider the camera’s field of view, which determines how much area it can cover. Wide-angle lenses provide a broader view but may sacrifice some details, while cameras with zoom capabilities offer more focused surveillance.
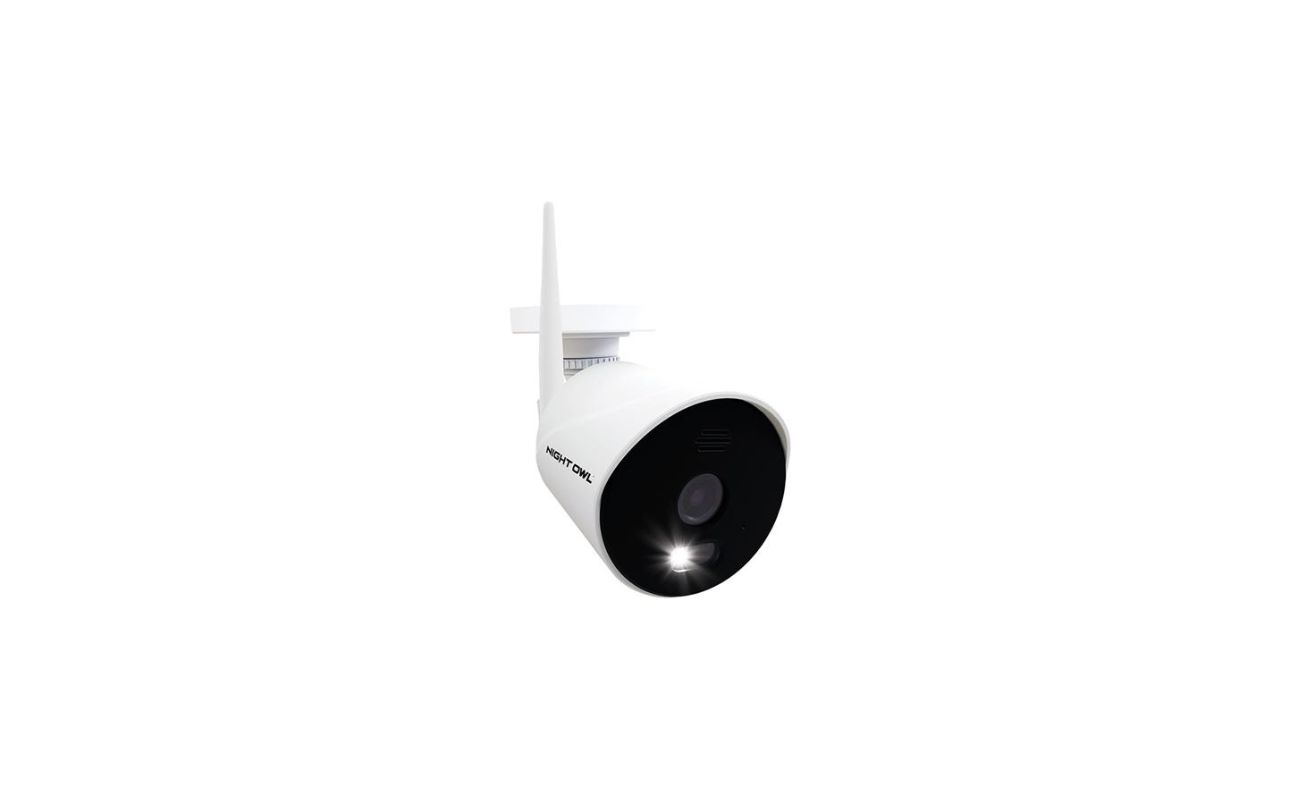
- Connectivity: Decide if you want wired or wireless cameras. Wired cameras generally provide a more stable connection, while wireless cameras offer flexibility in terms of placement.
- Night Vision: If you need surveillance during nighttime or low-light conditions, opt for cameras with infrared LEDs or other night vision technology for clear footage even in the dark.
- Storage Options: Consider the storage options available for storing recorded footage. This can include local storage, cloud storage, or a combination of both.
- Smart Features: Look for cameras with advanced features such as motion detection, two-way audio, mobile app integration, and compatibility with smart home devices for added convenience and functionality.
- Budget: Determine your budget and look for cameras that offer the best value for your money.
Research different brands and read customer reviews to gain insights into the reliability and performance of the camera systems you are considering. It’s also a good idea to consult with a professional or seek guidance from home security experts to ensure you make an informed decision based on your specific requirements.
By considering these factors, you can determine the right home security camera system that meets your needs and provides the level of surveillance required for your home.
Determining the Optimal Camera Placement
Now that you have chosen your home security camera system, it’s time to determine the optimal placement of your cameras. Proper camera placement is crucial for maximizing coverage and ensuring effective surveillance. Here are some tips to guide you:
1. Entry Points: Start by focusing on the entry points of your home, including doors, windows, and garage. These areas are the most vulnerable to break-ins, so placing cameras near these points can act as a deterrent and provide valuable evidence in case of any suspicious activities.
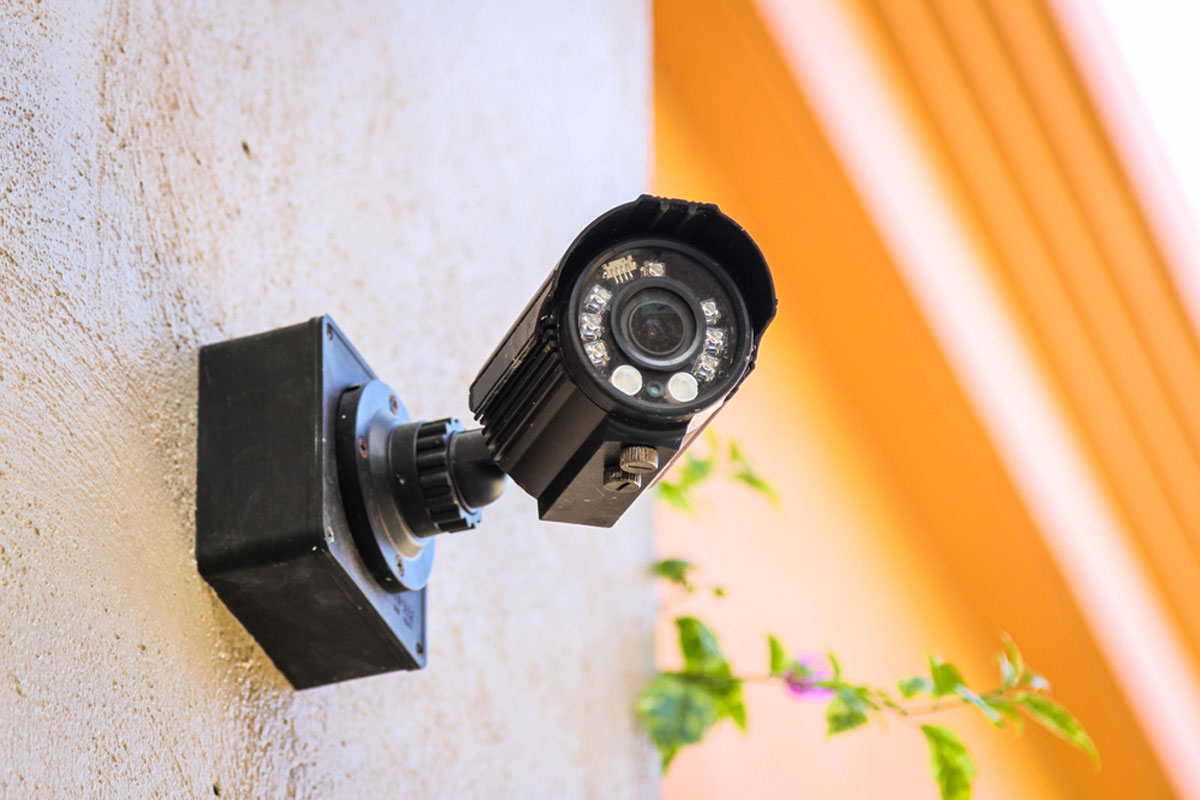
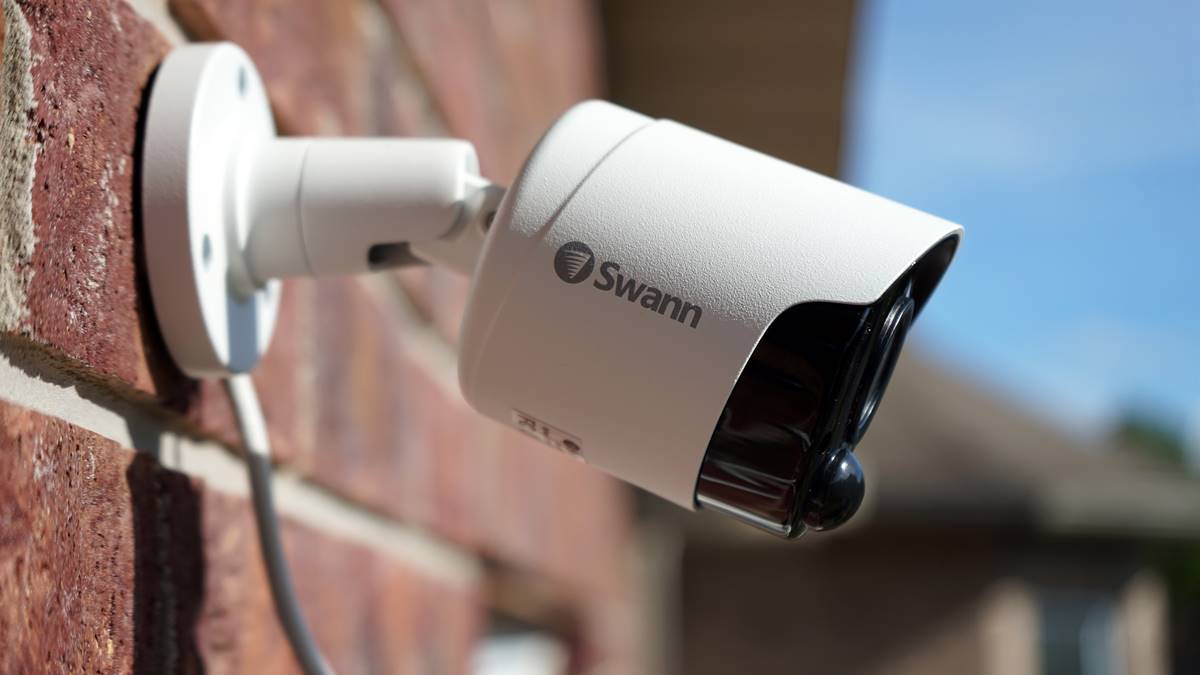
2. Outdoor Coverage: If you have outdoor cameras, position them strategically to cover your entire property. Consider placing them at corners of the building or at high vantage points for a wider field of view. Make sure they are protected from extreme weather conditions and have clear visibility without obstructions.
3. Indoor Coverage: For indoor surveillance, place cameras in areas where valuable assets are stored or where there is frequent activity. Common placement areas include living rooms, kitchens, hallways, and staircases. Ensure the cameras are discreetly positioned to avoid any privacy concerns.
4. Height and Angle: Mount the cameras at an optimal height and angle to capture the best footage. Aim for a height that is out of reach but still within the camera’s range. Adjust the angle to cover the desired area while minimizing blind spots.
5. Consider Lighting: Take into account the lighting conditions in the areas where you plan to place your cameras. Avoid pointing cameras directly towards strong light sources, as that can result in overexposed or washed-out footage. If possible, choose cameras with adjustable settings to optimize the image quality under different light conditions.
6. Privacy Considerations: Be mindful of privacy concerns when placing cameras. Avoid pointing cameras towards neighboring properties or areas where privacy is expected, such as bedrooms or bathrooms.
7. Test and Adjust: Once you have initially placed your cameras, test their field of view and adjust their positions if necessary. Check the camera’s live feed to ensure that no important areas are left uncovered and that there are no blind spots.
Remember, the goal is to have comprehensive coverage of your property while respecting the privacy of yourself and others. By considering these placement tips, you can optimize your camera’s effectiveness and ensure maximum surveillance coverage for your home security system.
Setting Up Your Home Security Camera System
Now that you have chosen the right home security camera system and determined the optimal camera placement, it’s time to set up your system. Follow these steps to get your system up and running:
1. Gather Equipment: Collect all the necessary equipment for installation, including the cameras, power adapters, cables, mounting brackets, and any other accessories provided with your camera system.
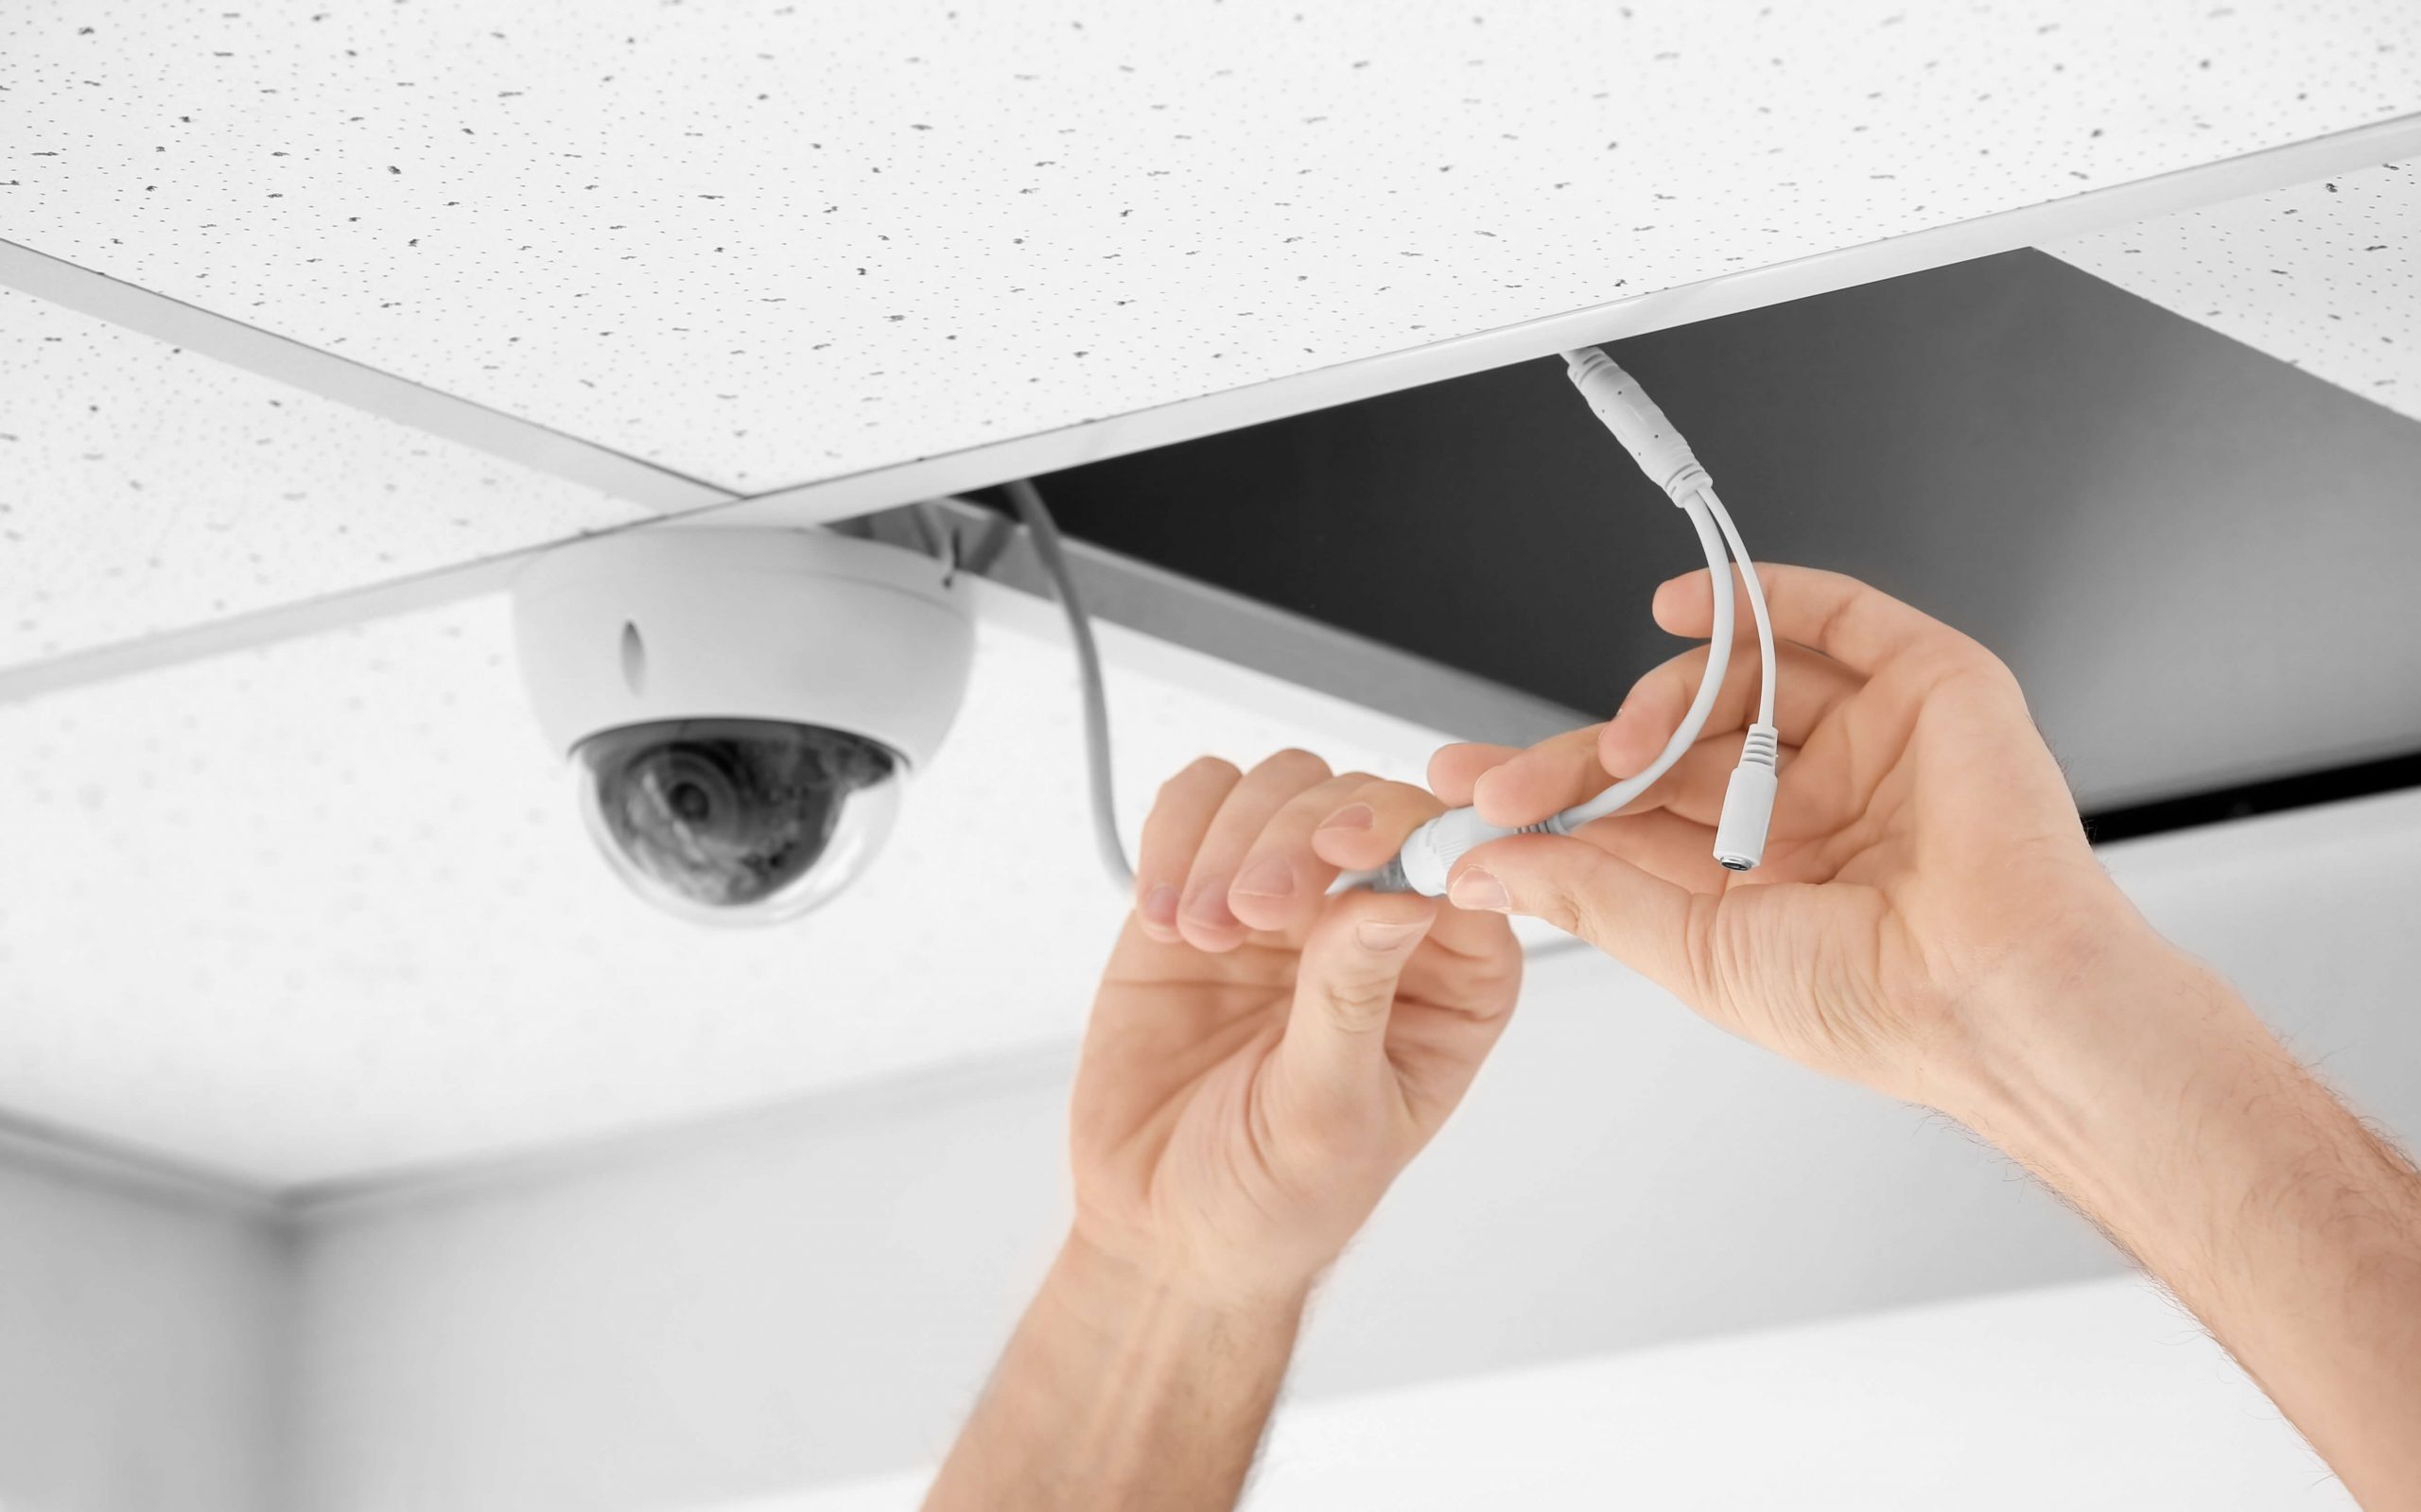
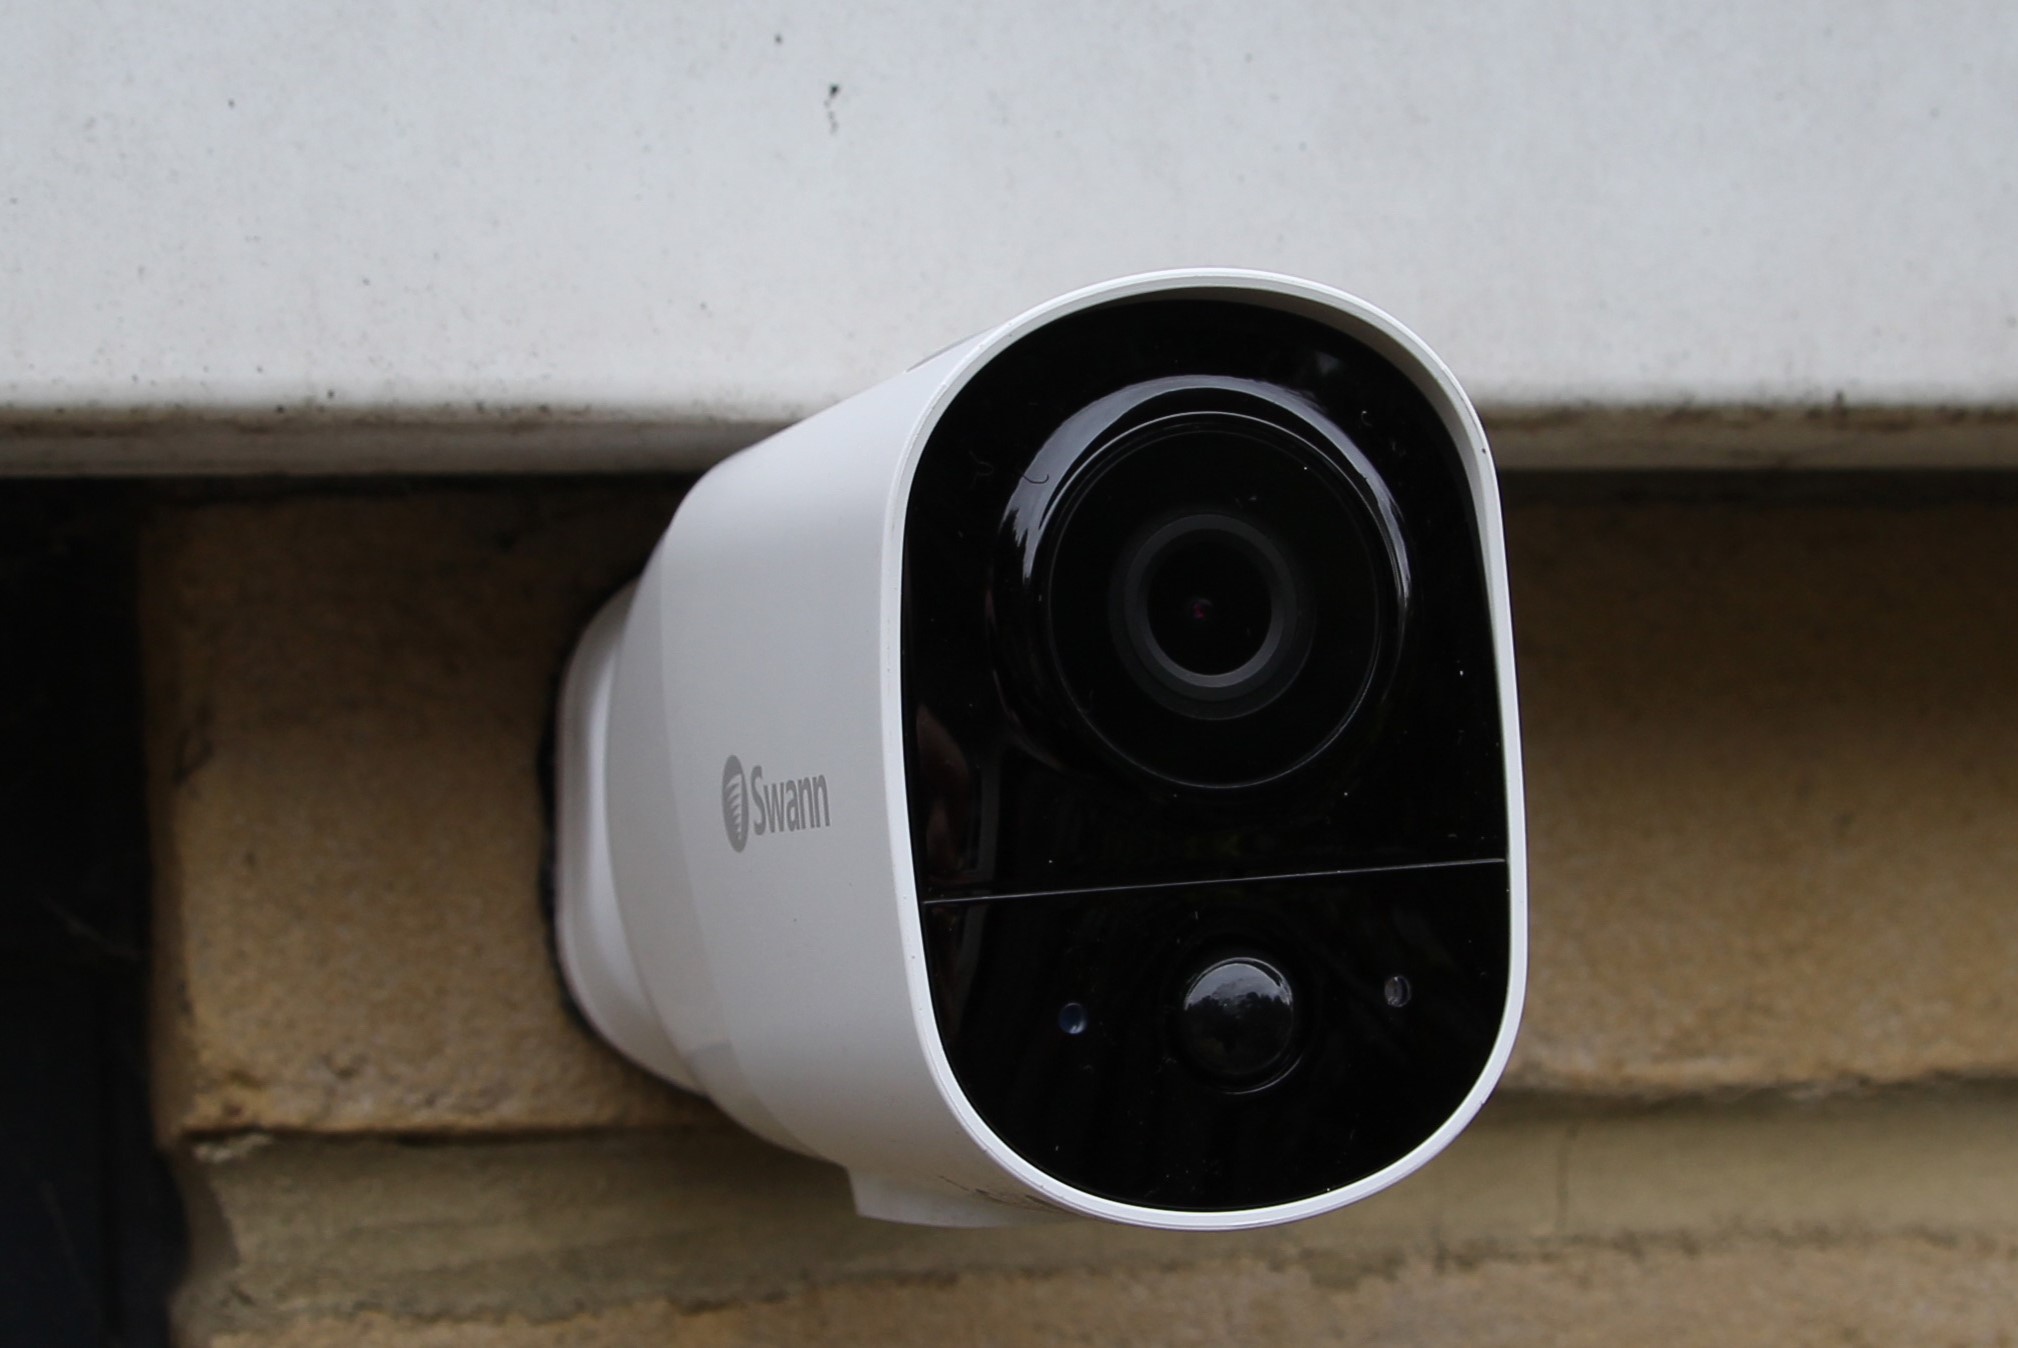
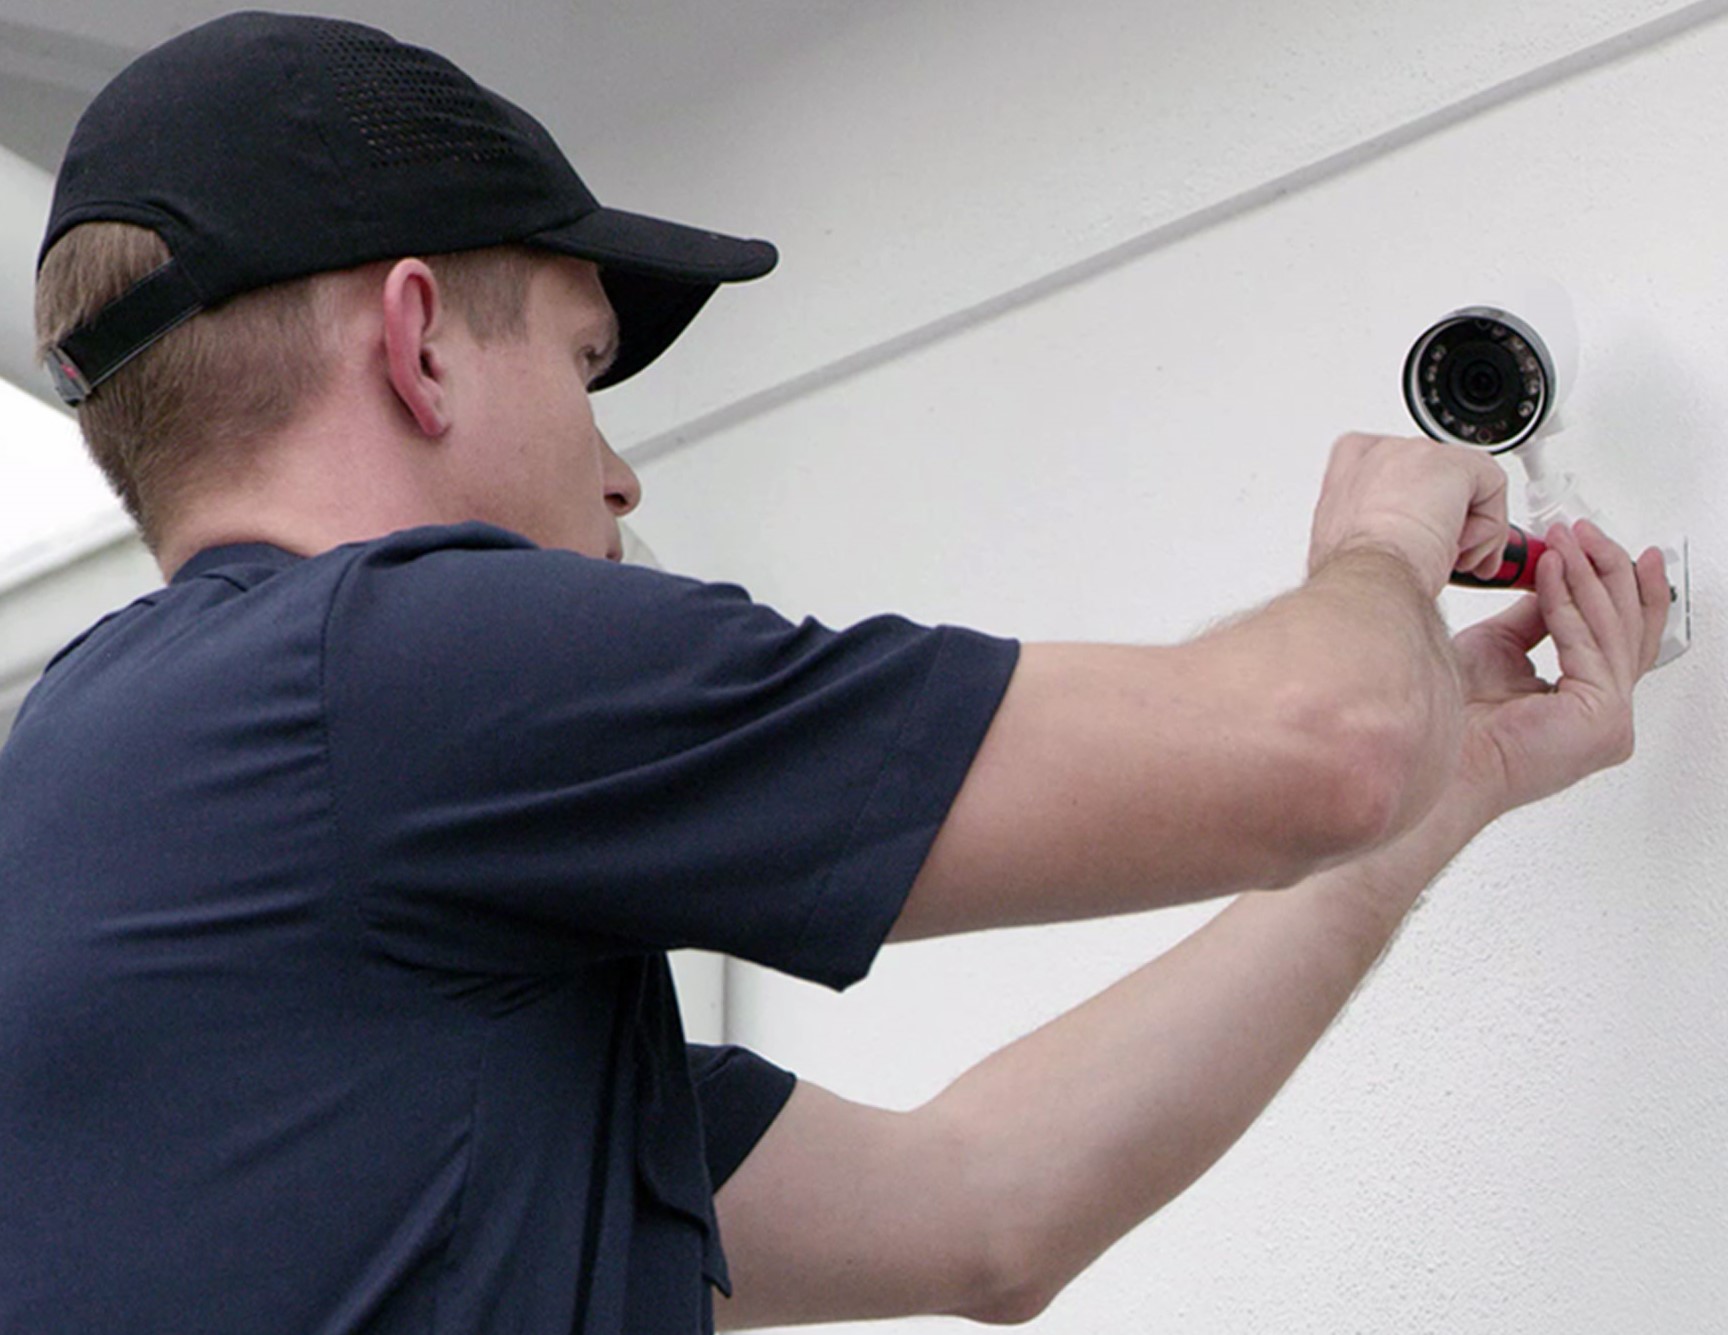
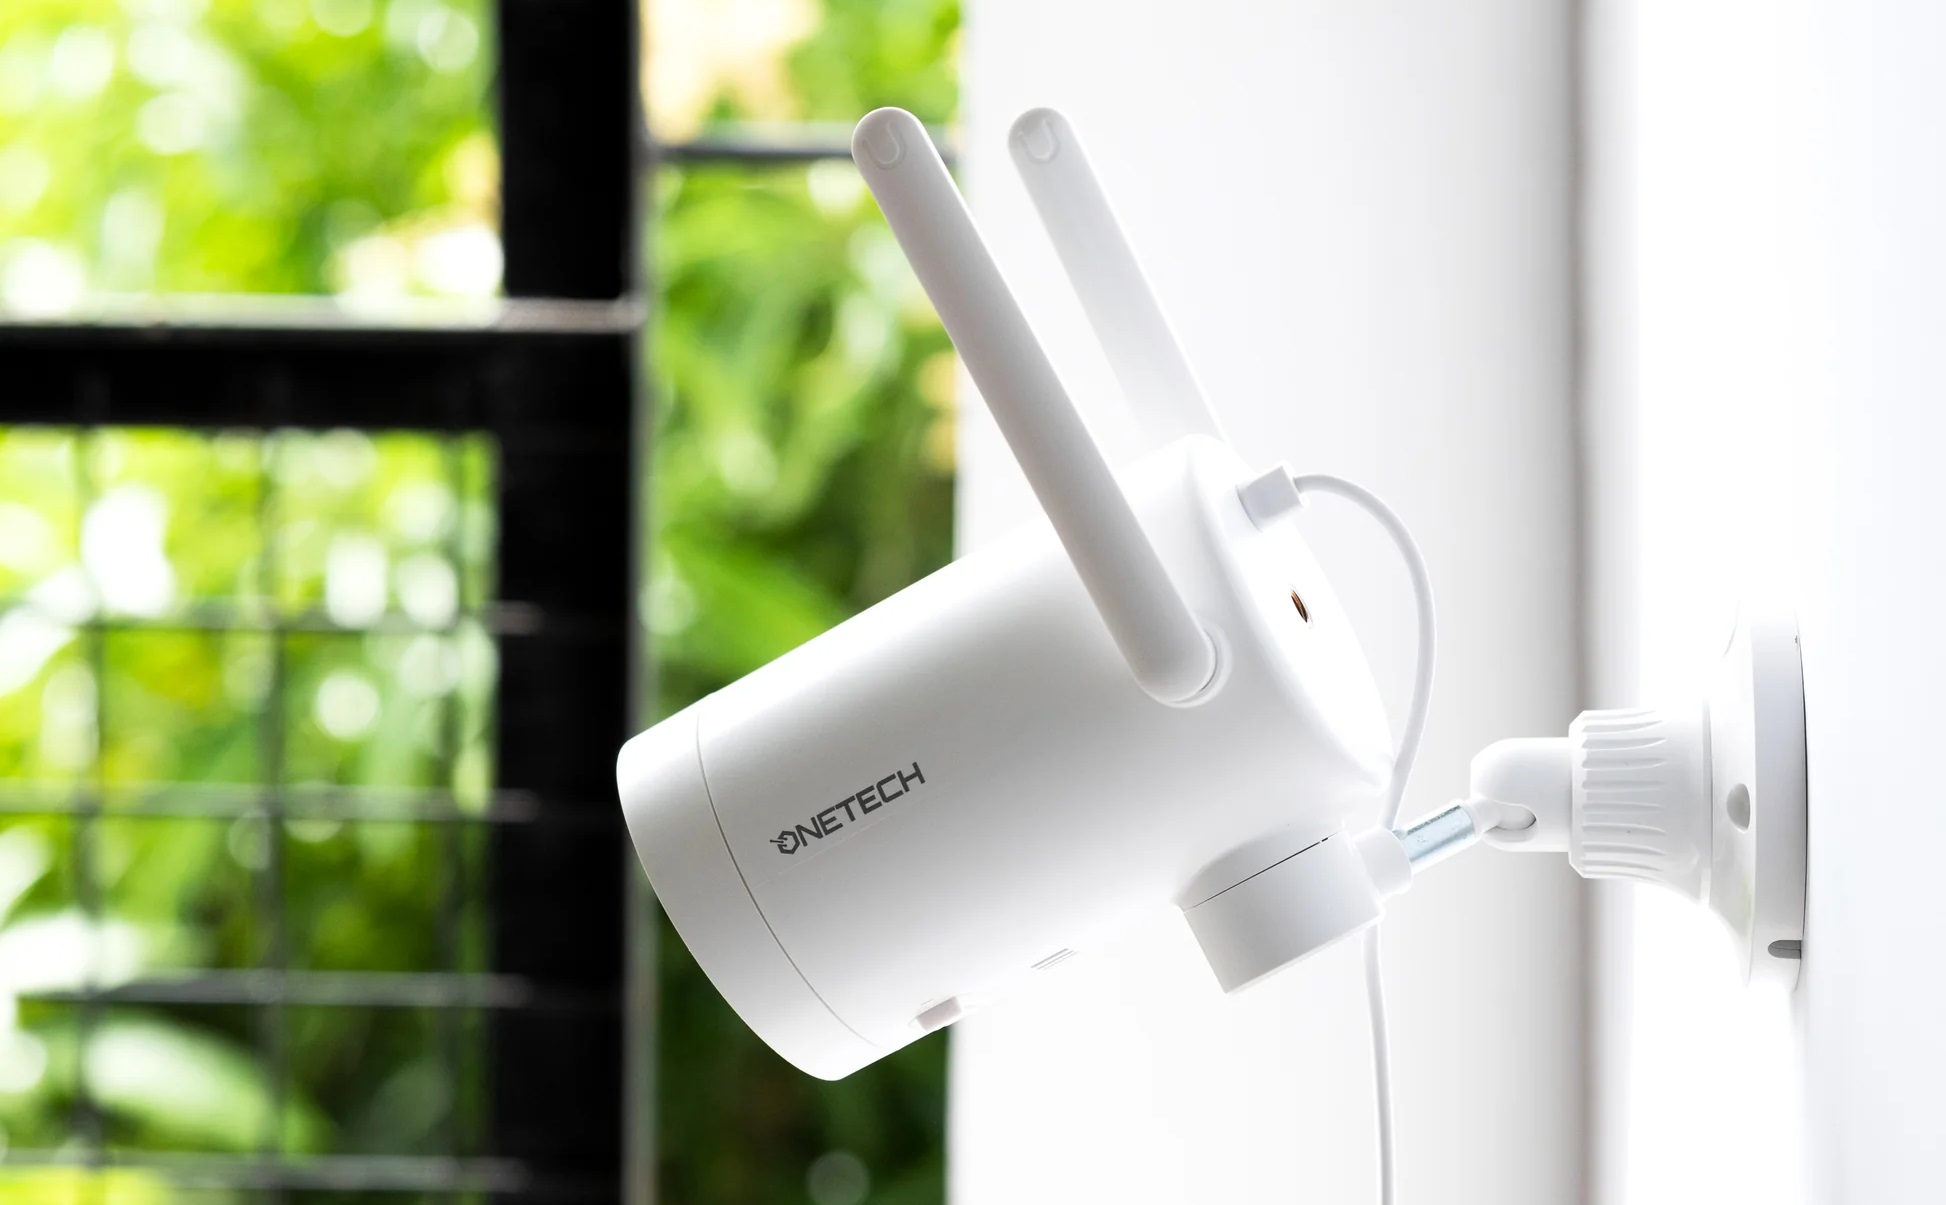
2. Mount the Cameras: Use the mounting brackets and screws provided to securely attach the cameras to the designated locations according to the placement guidelines you determined earlier. Ensure that the cameras are stable and properly aligned.
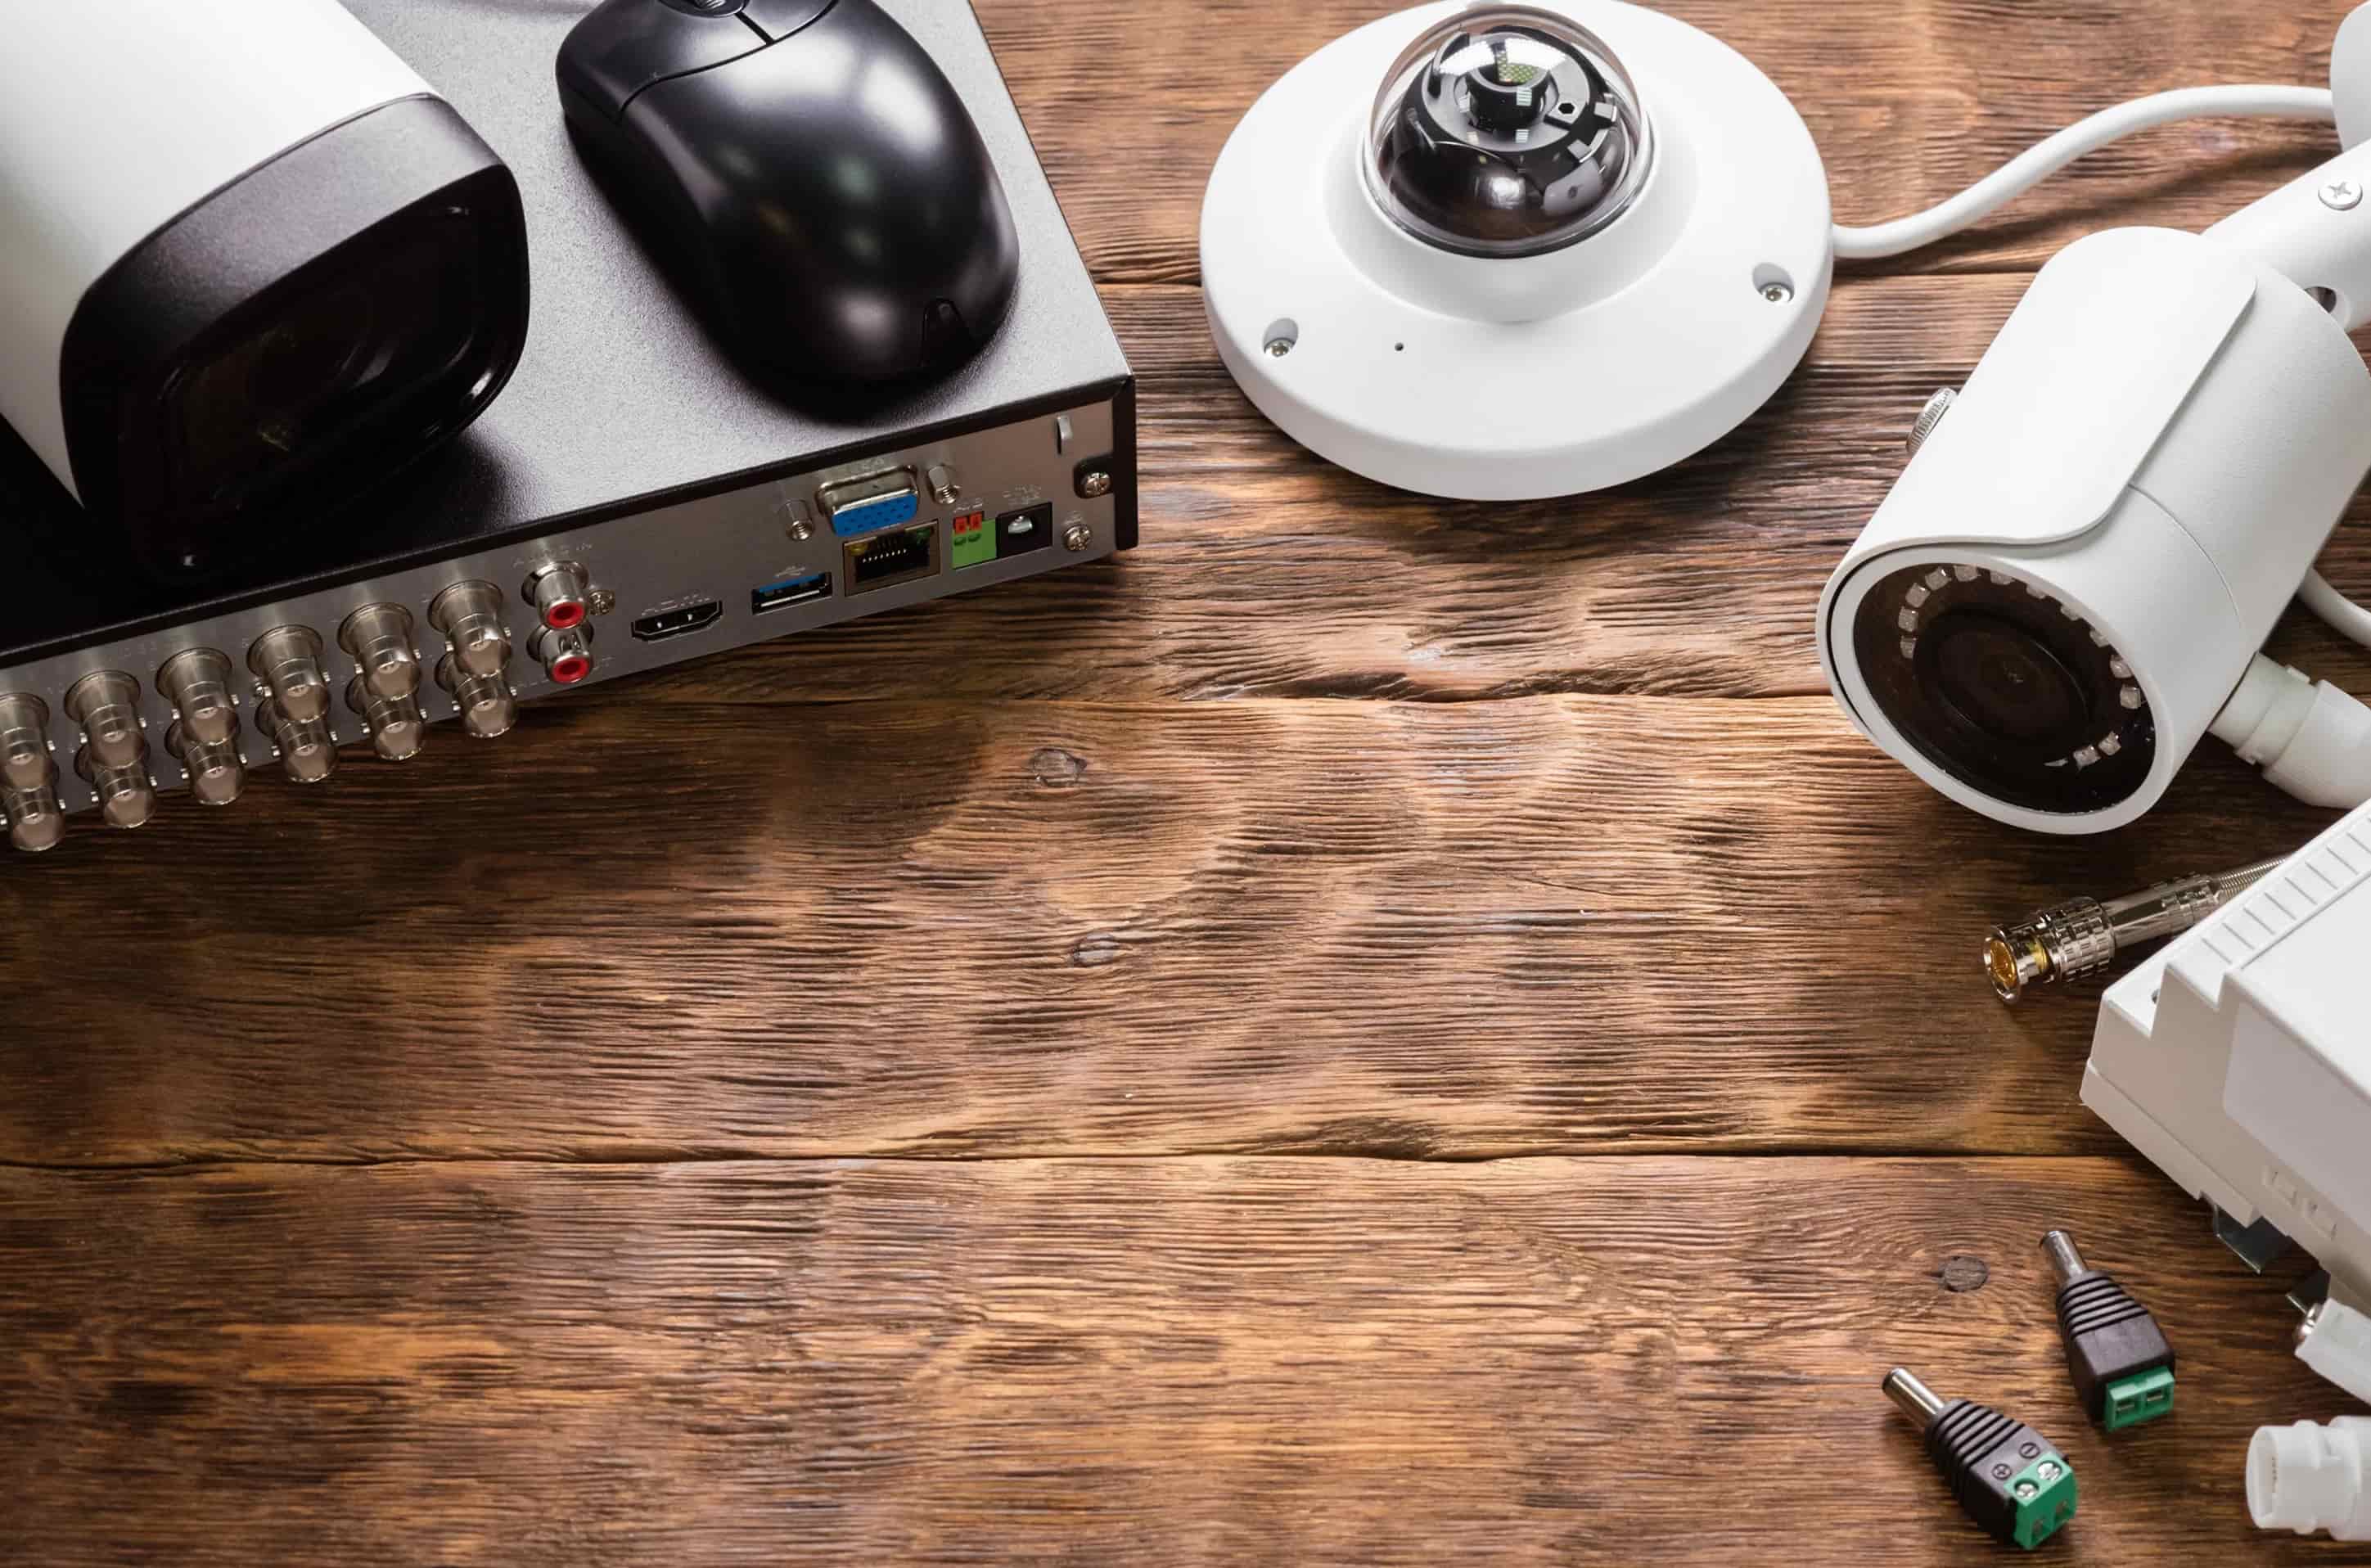
3. Connect the Cables: Connect the cables from each camera to the corresponding ports on the back of the recording device or network video recorder (NVR). Make sure the connections are secure and that the cables are hidden or protected to prevent tampering.
4. Power On the Cameras: Plug in the power adapters for each camera and connect them to a power source. Ensure that the cameras receive power and that the indicator lights or LED displays on the cameras indicate their operational status.
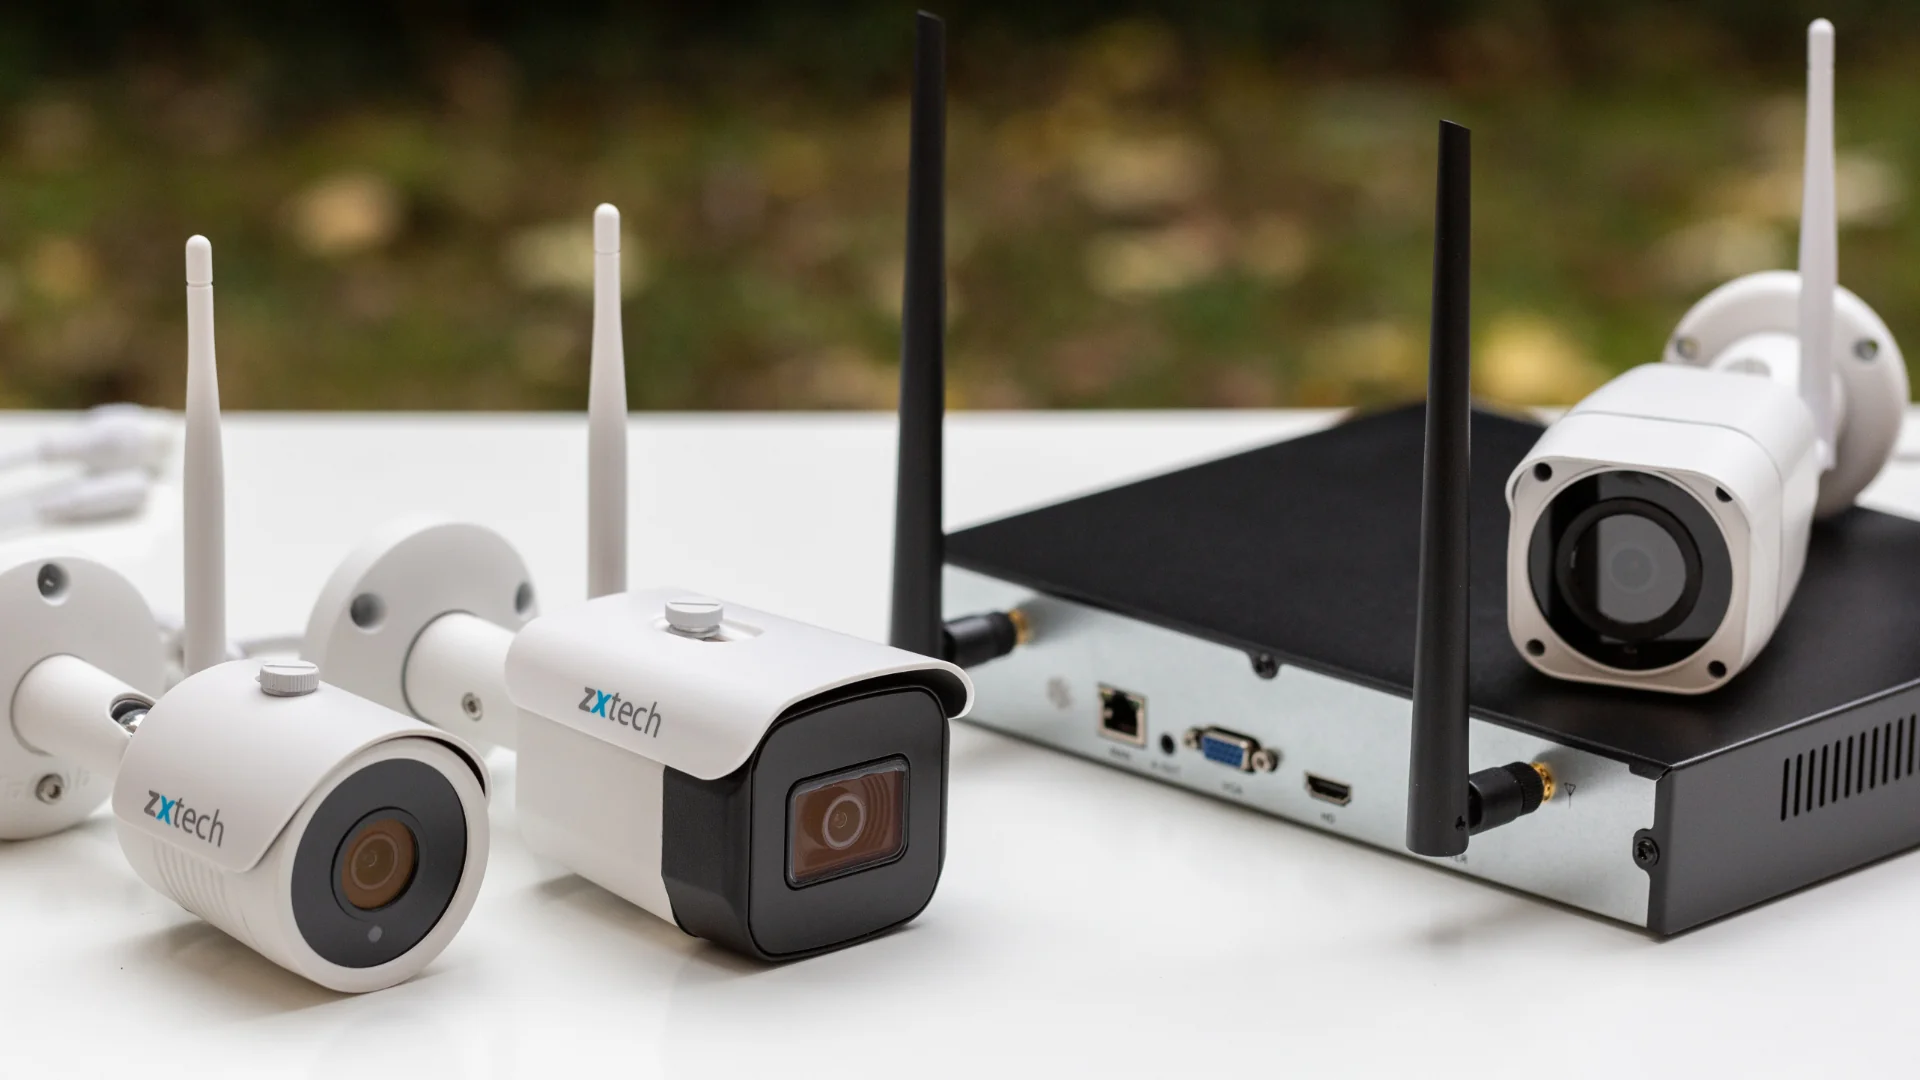
5. Set Up the Recording Device: If your camera system includes a separate recording device, such as an NVR, follow the manufacturer’s instructions to connect it to your home network. This may involve connecting the NVR to your router using an Ethernet cable.
6. Configure Network Settings: Access the camera system’s user interface through a computer or mobile device to configure network settings. Assign an IP address to each camera, set up wireless connectivity, or configure other network settings as required.
7. Test the System: Once the initial setup is complete, test the system by checking the live feed from each camera. Make sure you can view the footage on the recording device or through a mobile app. Adjust camera angles, focus, and other settings if needed to optimize the video quality.
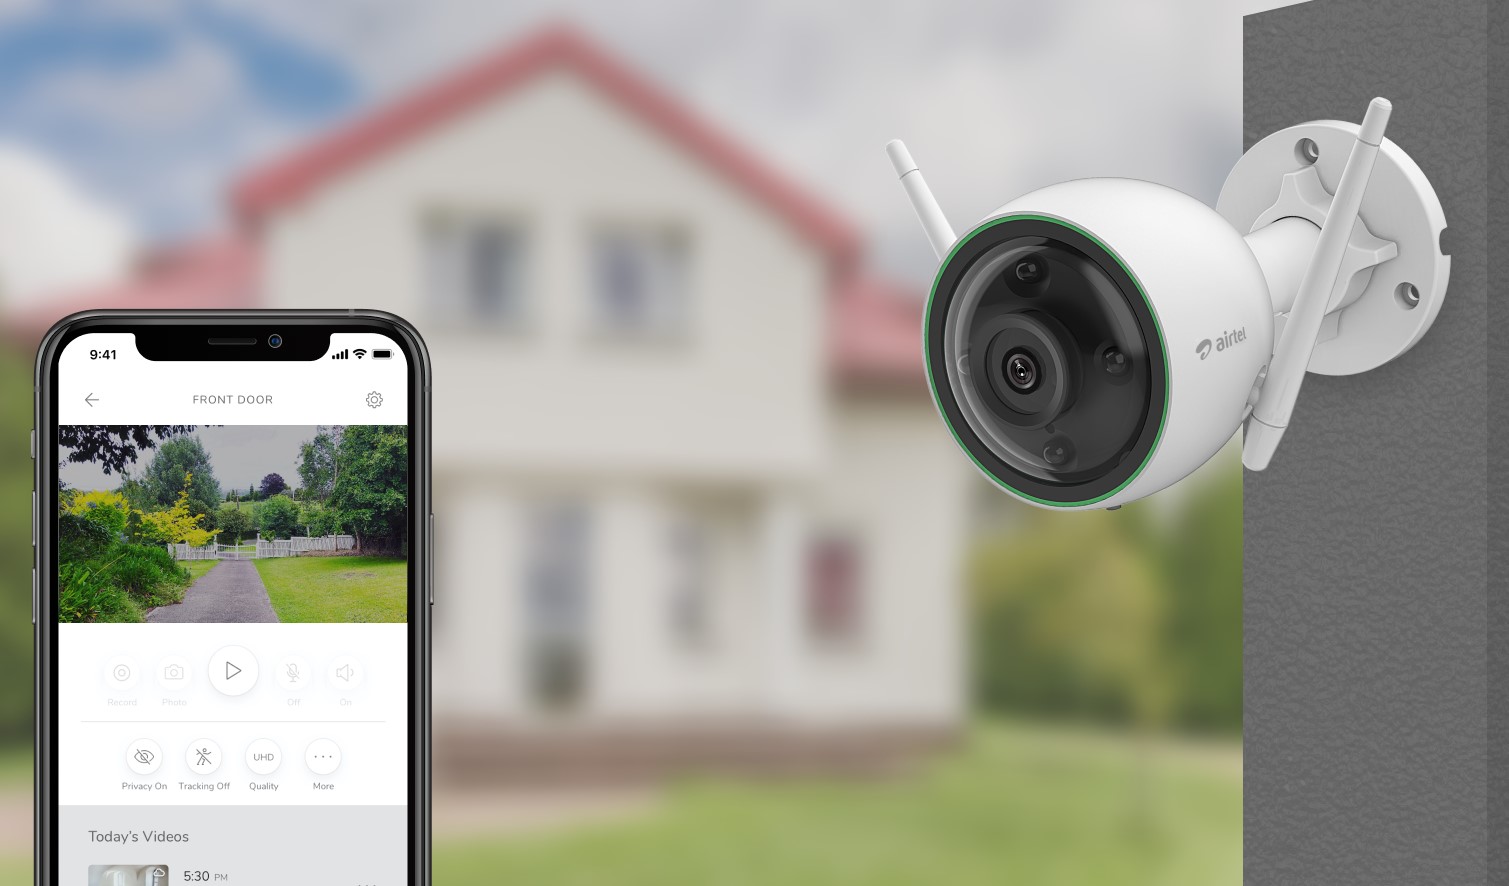
8. Set Up Remote Access: If you want to access your camera system remotely, set up remote access through a mobile app or by configuring the necessary settings on your router. This will allow you to view live footage or access recorded videos from anywhere using your smartphone or computer.
Remember to consult the manufacturer’s instructions and user guides for specific setup steps and troubleshooting tips for your particular camera system. Following these steps will ensure a smooth and successful installation of your home security camera system.
Connecting Your Cameras to the Home Network
Connecting your home security cameras to your home network is essential for accessing live feeds, recording footage, and managing your camera system remotely. Follow these steps to connect your cameras to the home network:
1. Determine Connection Type: Identify the type of connectivity options available for your cameras. This can include wired Ethernet connections or wireless Wi-Fi connections. Check the camera’s specifications or consult the manufacturer’s instructions for guidance.
2. Wired Connection: If your cameras have Ethernet ports, connect an Ethernet cable from each camera to a network switch or directly to your home router. Ensure that the cables are securely connected to provide a stable and reliable connection.
3. Wireless Connection: For cameras with wireless capabilities, access the camera’s settings through the manufacturer’s mobile app or web interface. Follow the instructions to connect the camera to your home Wi-Fi network. Enter the network details, such as the SSID (network name) and password, to establish the wireless connection.
4. Check the Network Connection: Once the cameras are connected, check the network status on the camera’s interface or on the recording device. Ensure that the cameras have obtained an IP address and are successfully connected to the network. Use the network settings or IP configuration menu to verify the connection status.
5. Test Camera Feeds: Access the camera feeds through the manufacturer’s mobile app or web interface to verify that the cameras are streaming live footage. Make sure you can access the individual camera feeds and that the video quality is satisfactory.
6. Configure Port Forwarding: If you want to access your camera system remotely, you may need to set up port forwarding on your router. Consult the camera system’s documentation or support resources for specific instructions on how to enable remote access and configure port forwarding for your particular camera system.
7. Set Up Video Management Software: If you are using a separate video management software (VMS) or network video recorder (NVR), follow the manufacturer’s instructions to connect the cameras to the software or NVR. This typically involves adding the camera’s IP address to the software and configuring recording and monitoring settings.
Remember to use strong and secure passwords for your camera system and home network, as this will help to protect your system from unauthorized access. Regularly update the firmware and software for your cameras and network devices to ensure the latest security improvements.
By following these steps, you can successfully connect your home security cameras to your home network and enjoy seamless access to live feeds and recording capabilities.
When setting up a home security camera system, make sure to place cameras at all entry points and vulnerable areas, such as windows. This will help ensure comprehensive coverage of your home.
Read more: How To Set Up Home Security Camera
Configuring Camera Settings and Monitoring Options
Once your home security cameras are connected to the network, it’s time to configure the settings and monitoring options. This step allows you to optimize the functionality of your camera system and customize it to your specific needs. Follow these guidelines to configure your camera settings:
1. Access Camera Settings: Depending on your camera system, you can access the camera settings through a web interface, mobile app, or dedicated software provided by the manufacturer. Follow the instructions to log in and access the camera settings.
2. Adjust Video Quality: Configure the video quality settings based on your requirements. Adjust the resolution, frame rate, and compression settings to achieve the desired balance between video quality and storage space. Higher resolutions and frame rates result in clearer footage but may require more storage space.
3. Set Up Motion Detection: Enable motion detection on your cameras to receive alerts or trigger recording when movement is detected in the camera’s field of view. Adjust the sensitivity and detection area settings to avoid false alarms caused by small movements or irrelevant activity.
4. Schedule Recording: If your camera system supports scheduled recording, set up specific time periods when you want the cameras to record. This can be useful for optimizing storage space and focusing recording during specific hours of the day or in high-risk situations.
5. Configure Alerts: Set up alerts to receive notifications on your mobile device or email when specific events occur, such as motion detection, camera tampering, or system errors. Customize the alert settings based on your preferences and the urgency of each event.
6. Enable Two-Way Audio: If your cameras support two-way audio, configure the audio settings to enable communication between you and anyone near the camera. This feature can be useful for monitoring and interacting with family members, pets, or visitors.
7. Explore Remote Monitoring Features: Take advantage of any remote monitoring features provided by your camera system. This may include accessing live feeds, reviewing recorded footage, and adjusting settings through a mobile app or web interface. Familiarize yourself with these features for convenient remote management.
8. Set Up Cloud Storage: If your camera system offers cloud storage, configure the necessary settings to automatically upload recorded footage to the cloud. This provides an extra layer of security in case of tampering or theft of the local recording device.
Remember to follow the manufacturer’s instructions and guidelines specific to your camera system when configuring settings. Regularly check for firmware updates and apply them to ensure the camera system’s reliability and security.
By configuring your camera settings and monitoring options, you can customize your home security camera system to align with your specific needs and preferences. This will enhance the functionality and effectiveness of your system in providing round-the-clock surveillance and peace of mind.
Enhancing Home Security with Additional Features
Beyond the basic functionality of a home security camera system, there are several additional features and components that can further enhance the security of your home. Consider implementing these features to bolster your overall security posture:
1. Outdoor Lighting: Install outdoor lighting around the perimeter of your property to deter intruders and improve visibility at night. Motion-activated lights can be particularly effective in illuminating potential threat areas.
2. Security Alarms: Integrate your home security camera system with a comprehensive security alarm system. This can include door/window sensors, motion detectors, and a central control panel that triggers an alarm when unauthorized access is detected.
3. Remote Access: Take advantage of remote access capabilities offered by your camera system. This allows you to monitor your home in real-time, receive push notifications for events, and remotely control your security system from anywhere using a mobile app or web interface.
4. Two-Factor Authentication: Enable two-factor authentication for accessing your camera system and associated accounts. This adds an extra layer of security by requiring a verification code in addition to your username and password.
5. Surveillance Signage: Place signs or stickers indicating that your property is under video surveillance. This can act as a deterrent for potential intruders and alert them to the presence of a monitored security system.
6. Panic Button/SOS Feature: Consider installing a panic button or SOS feature that allows you to quickly trigger an alert to emergency services in case of a threat or emergency situation. This can provide immediate help when needed.
7. Smart Home Integration: Integrate your home security camera system with smart home devices, such as smart lighting, locks, or voice assistants. This enables you to automate security processes and create custom routines for enhanced convenience and control.
8. Video Analytics: Explore advanced video analytics capabilities offered by some camera systems. These features can include facial recognition, object detection, and license plate recognition, providing additional layers of security and identification.
9. Professional Monitoring: Consider subscribing to a professional monitoring service that provides round-the-clock monitoring of your home security system. In the event of an emergency, professionals will be alerted and can dispatch authorities if required.
10. Secure Cloud Storage: If your camera system offers cloud storage, ensure that the storage solution is secure and encrypted to protect your recorded footage from unauthorized access or tampering.
Remember, each home security feature should be tailored to your specific needs and budget. Assess your requirements and consult with experts to determine the additional features that are most suitable for your home security setup.
By enhancing your home security with these additional features, you can create a more comprehensive and robust security system that provides an extra level of protection for your home and loved ones.
Maintenance and Troubleshooting Tips
Maintaining and troubleshooting your home security camera system is essential to ensure its optimal performance and longevity. Follow these tips to keep your system in top shape:
1. Regular Cleaning: Clean the camera lenses and housing regularly to prevent dirt, dust, and debris from obstructing the view. Use a soft, lint-free cloth and a mild cleaning solution to gently wipe the lenses and surfaces. Avoid using abrasive materials or harsh chemicals that could damage the cameras.
2. Check for Firmware Updates: Regularly check for firmware updates provided by the camera manufacturer. These updates often include bug fixes, security enhancements, and new features. Install updates promptly to keep your camera system up to date.
3. Monitor Storage Space: Keep an eye on your camera system’s storage space, especially if you are using local storage or a dedicated recording device. Ensure that there is enough space to record new footage, and consider implementing automatic cleanup settings to delete old recordings and free up space.
4. Test Cameras and Connections: Periodically test the camera feeds to ensure they are functioning properly. Check the connections between the cameras and the recording device or network to ensure they are secure and stable. If you notice any issues, troubleshoot and address them promptly.
5. Evaluate Camera Angles and Coverage: Regularly assess the camera angles and coverage to ensure they are still effective. Adjust or reposition cameras if needed to address any blind spots or changes in the property layout that could impact coverage.
6. Monitor Power Supply: Check the power supply for each camera to ensure it is functioning correctly. If you notice any power issues, such as cameras not turning on or inconsistent power delivery, investigate and resolve the problem promptly.
7. Review and Organize Footage: Regularly review and organize recorded footage to ensure easy access when needed. Delete unnecessary recordings and categorize important footage for quick retrieval if required for an investigation or incident.
8. Test Alarms and Alerts: Periodically test your security system’s alarms and alerts to ensure they are functioning correctly. Trigger motion detection or other events to confirm that you receive notifications and that the alarm systems are working as intended.
9. Update User Access and Passwords: Regularly update user access for your camera system and associated accounts. Change passwords periodically and ensure that you follow strong password practices to protect against unauthorized access.
10. Consult Technical Support: If you encounter any technical issues or are unsure how to resolve a problem, seek assistance from the camera system’s manufacturer or technical support team. They can provide guidance and troubleshooting steps to address any issues.
By following these maintenance and troubleshooting tips, you can ensure your home security camera system remains in optimal working condition, providing reliable surveillance and peace of mind for your home and loved ones.
Conclusion
Setting up a home security camera system is a crucial step in protecting your home, loved ones, and valuable assets. With the advancements in technology, it is now easier than ever to install and configure a comprehensive surveillance system that meets your specific needs.
In this article, we have explored the process of choosing the right home security camera system, determining optimal camera placement, connecting the cameras to your home network, configuring settings, and enhancing security with additional features. By following these steps, you can create a robust and effective home security setup that provides round-the-clock surveillance and peace of mind.
Remember to carefully consider your specific requirements when selecting a camera system, ensuring it aligns with your budget, desired features, and the level of security you need. Consider factors such as resolution, field of view, connectivity options, and storage preferences to make an informed decision.
Proper camera placement is crucial for maximizing coverage and effectiveness. Take the time to strategically position your cameras, focusing on entry points and vulnerable areas. Regularly review and adjust the camera angles and coverage as needed to address any changes in your property layout.
Connecting your cameras to your home network allows for remote access, live monitoring, and recording capabilities. Ensure a stable and secure network connection, and utilize additional features such as motion detection, alerts, and remote monitoring to enhance the functionality of your system.
Maintenance and troubleshooting are essential to keep your camera system operating at its best. Regularly clean the cameras, install firmware updates, monitor storage space, and test the system’s functionality. By addressing any issues promptly and performing routine maintenance, you can ensure optimal performance and reliability.
In conclusion, a properly installed and maintained home security camera system provides peace of mind, deters potential intruders, and offers valuable evidence in the event of any incidents. By investing in the right camera system, configuring it effectively, and taking the necessary maintenance steps, you can protect your home and loved ones with confidence.
Remember to consult the manufacturer’s instructions and guidelines specific to your camera system for detailed setup and troubleshooting procedures. Stay informed about the latest advancements in home security technology to continually improve and adapt your system as needed.
Now it’s time to take action and secure your home with a reliable and comprehensive home security camera system.
Frequently Asked Questions about How To Set Up A Home Security Camera System
Was this page helpful?
At Storables.com, we guarantee accurate and reliable information. Our content, validated by Expert Board Contributors, is crafted following stringent Editorial Policies. We're committed to providing you with well-researched, expert-backed insights for all your informational needs.
