Home>Home Security and Surveillance>How To Wire Home Security Camera System

Home Security and Surveillance
How To Wire Home Security Camera System
Modified: October 28, 2024
Learn how to wire a home security camera system for effective home security and surveillance. Find step-by-step instructions and expert tips to ensure a reliable setup.
(Many of the links in this article redirect to a specific reviewed product. Your purchase of these products through affiliate links helps to generate commission for Storables.com, at no extra cost. Learn more)
Introduction
Welcome to our comprehensive guide on how to wire a home security camera system. In today’s fast-paced world, ensuring the safety and security of our homes has become a top priority. With advancements in technology, home security systems have become more accessible and affordable. One essential component of a robust home security system is a surveillance camera network. These cameras not only act as a deterrent to potential intruders but also provide valuable evidence in the event of a break-in or other security threat.
While there are wireless options available, wired home security camera systems offer a reliable and more secure solution. By understanding the wiring process, you can successfully install and set up your own system, saving both time and money.
In this guide, we will walk you through the process of choosing the right home security camera system, understanding the essential components, planning the camera placement, and, most importantly, the step-by-step process of wiring the system.
Whether you are a homeowner looking to enhance your security or a DIY enthusiast eager to tackle a new project, this guide is here to help you. So, let’s get started!
Key Takeaways:
- Wiring a home security camera system involves careful planning and proper installation to ensure reliable surveillance. Choosing the right components, understanding camera placement, and testing connections are essential for a successful setup.
- Regular maintenance, privacy considerations, and seeking professional assistance when needed are crucial for maintaining an effective and secure home security camera system. Following guidelines and best practices ensures peace of mind.
Read more: How To Hack Into A Wired Security Camera
Choosing the Right Home Security Camera System
When it comes to selecting a home security camera system, there are several factors to consider. Taking the time to evaluate your specific needs will help you make an informed decision and ensure the system meets your expectations. Here are some key points to keep in mind:
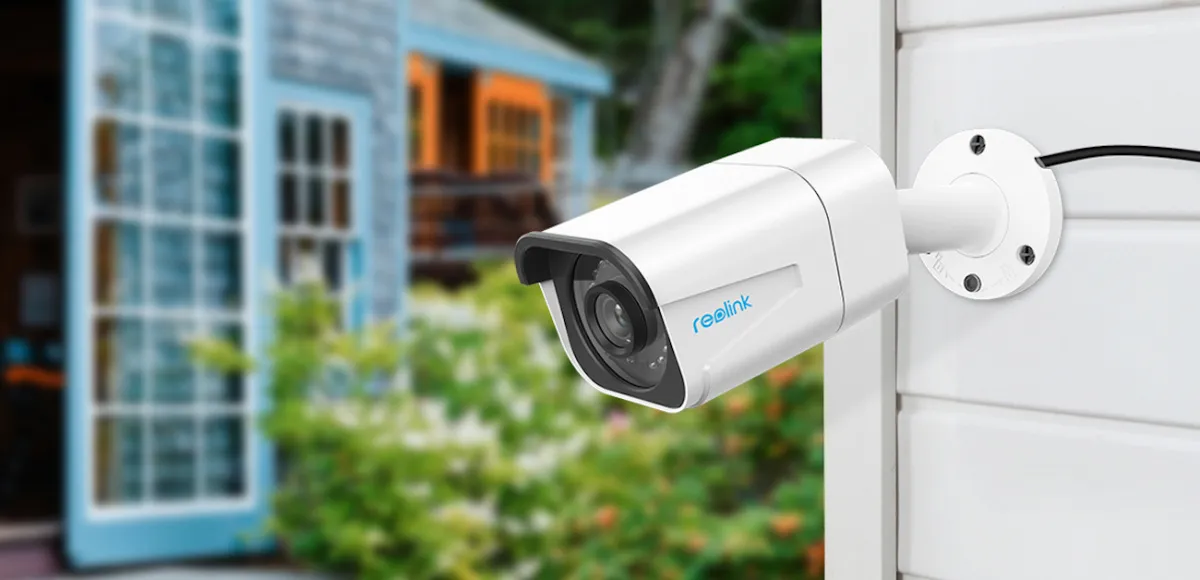
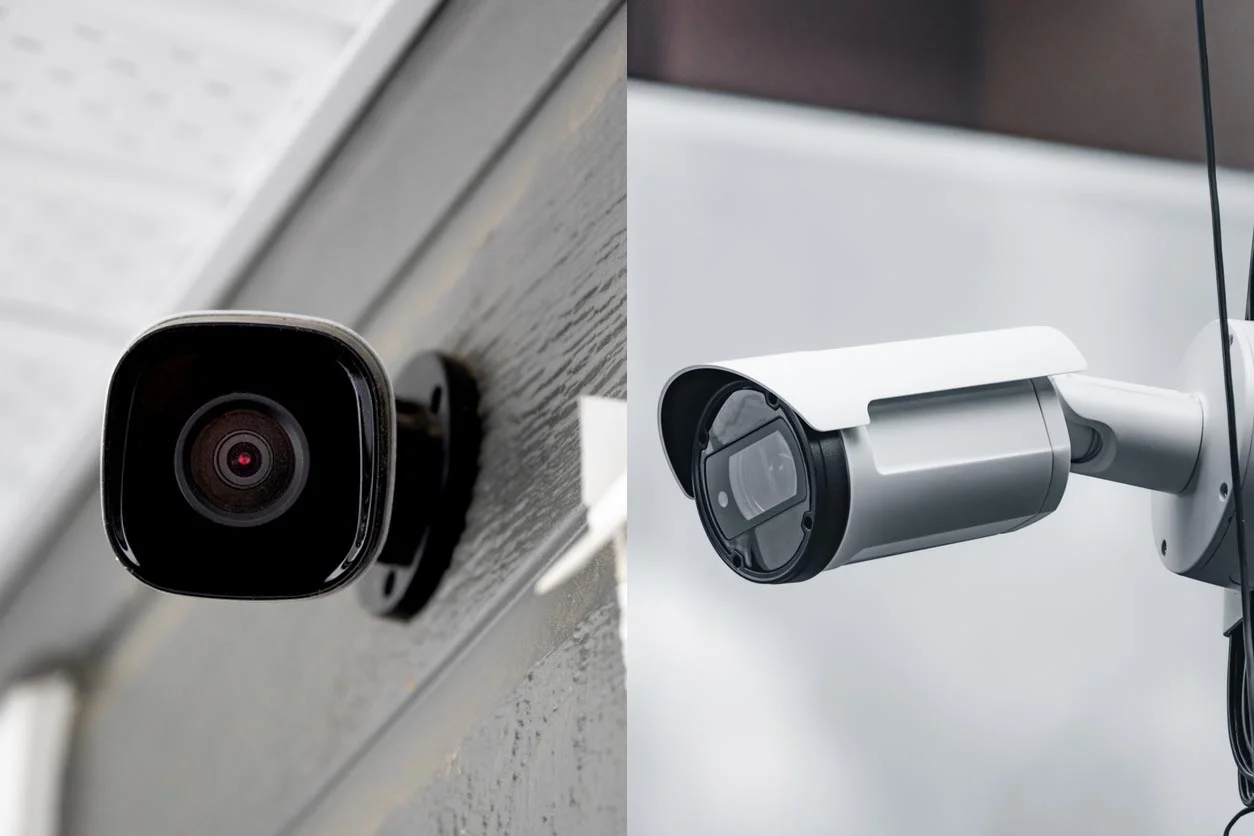
- Indoor or Outdoor: Determine whether you need cameras for outdoor surveillance, indoor monitoring, or both. Outdoor cameras should be weatherproof and able to withstand harsh conditions.
- Resolution: The resolution of the camera determines the clarity of the images and videos it captures. High-definition (HD) cameras provide clearer details, making it easier to identify faces and objects.
- Field of View: Consider the field of view offered by the camera. A wider field of view means a larger area is covered, reducing the number of cameras required to monitor your property.
- Night Vision: If you need surveillance at night or in low-light conditions, opt for cameras with infrared (IR) night vision capabilities. These cameras use IR LEDs to capture clear footage even in complete darkness.
- Recording Options: Determine how you want to store and access the footage. Some systems offer local storage through a digital video recorder (DVR) or a network video recorder (NVR), while others provide cloud storage options.
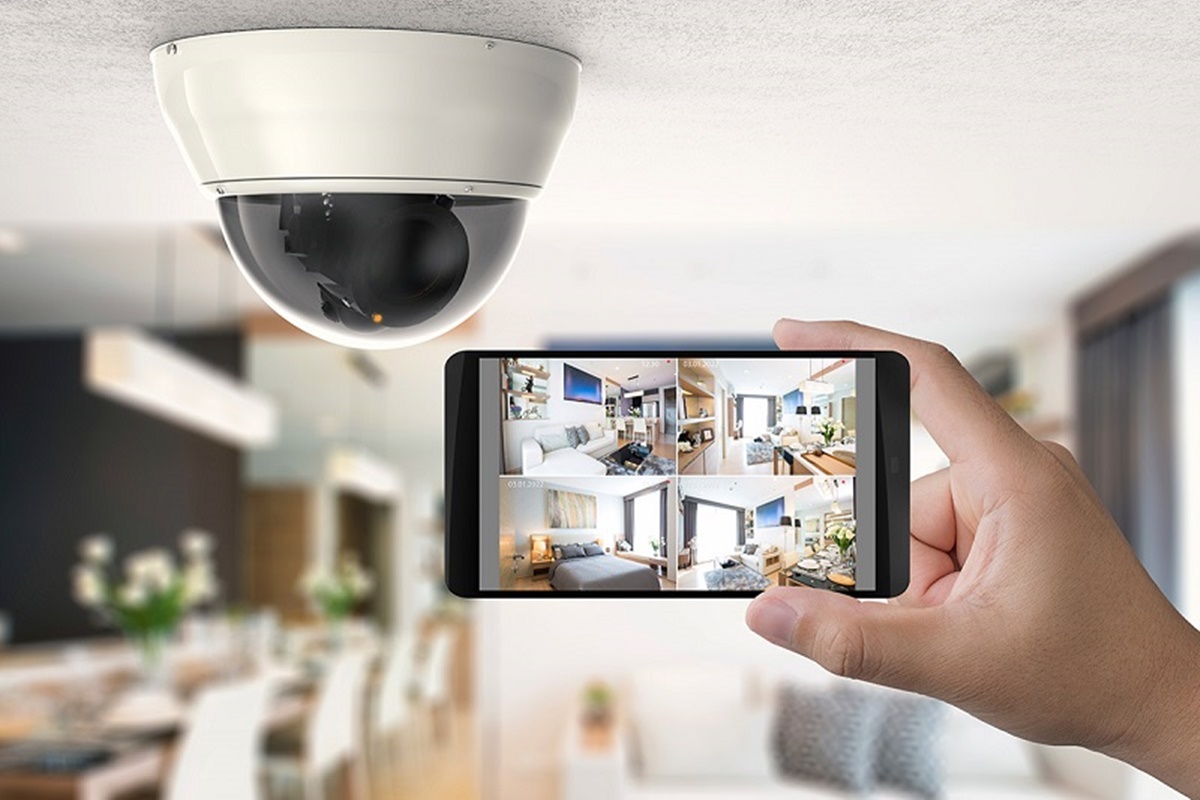
- Remote Viewing: Look for systems that allow you to monitor your cameras remotely through a smartphone app or a web browser. This feature enables you to check on your property from anywhere in the world.
- Integration with Other Devices: If you have an existing smart home ecosystem, consider cameras that integrate seamlessly with your other devices, such as voice assistants or home automation systems.
- Budget: Set a budget and stick to it. There are options available to suit various budgets, so prioritize features based on your needs.
By considering these factors, you can narrow down your options and select a home security camera system that aligns with your requirements. Remember, investing in a reliable and high-quality system will provide peace of mind and help protect your property and loved ones.
Essential Components of a Home Security Camera System
A home security camera system is comprised of several essential components, each playing a crucial role in its overall functionality. Understanding these components will help you make informed decisions during the installation process. Let’s take a look at the key components:
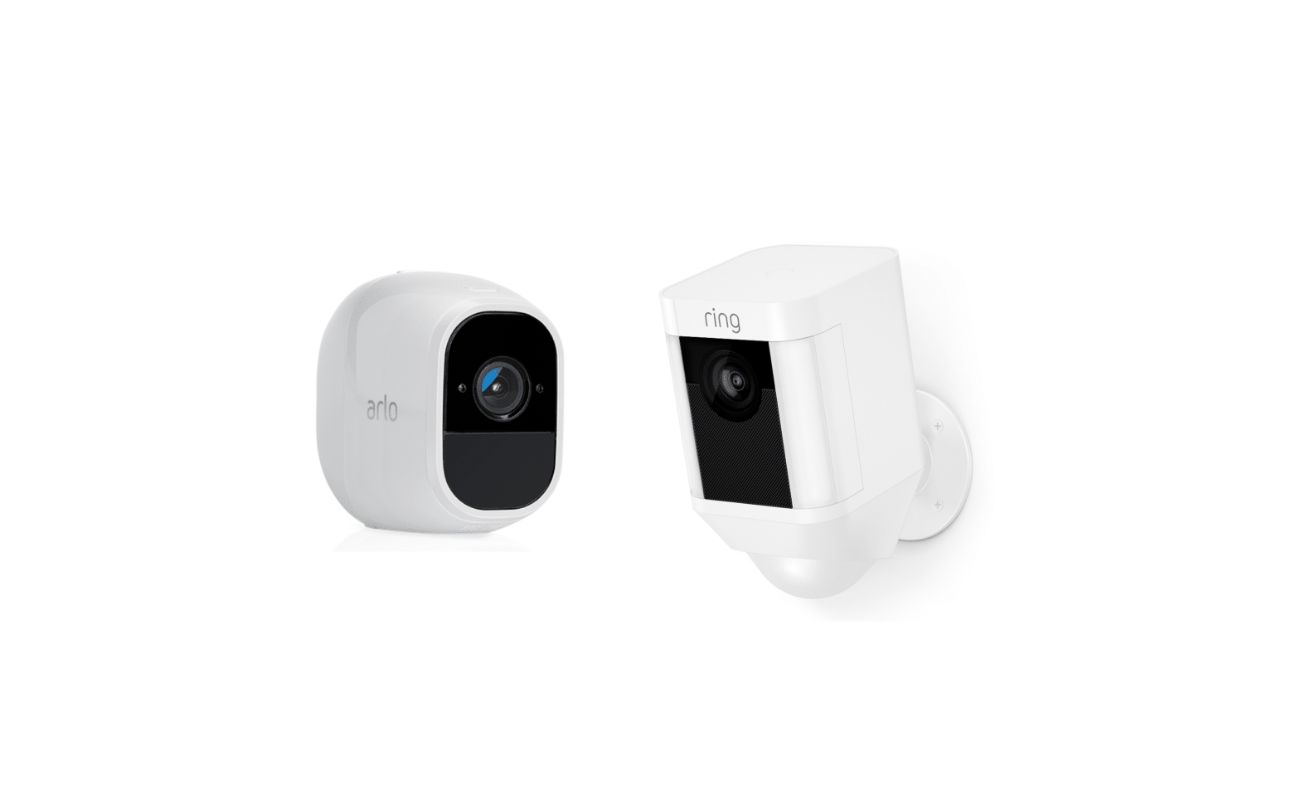
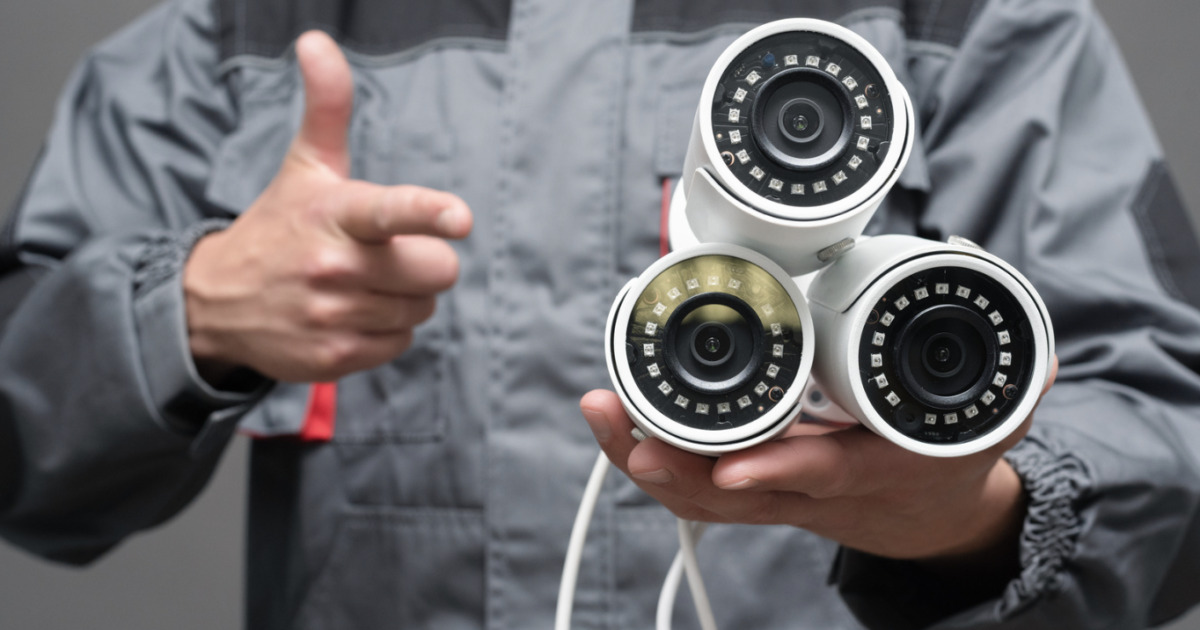
- Cameras: Cameras are the main component of any security system. They capture video footage of your property, allowing you to monitor and record activities. Choose cameras based on your specific needs, such as indoor or outdoor surveillance, resolution, and night vision capabilities.
- Power Supply: Cameras require a power source to operate. Depending on the system you choose, cameras may be powered through a wired connection or wirelessly using batteries or power over Ethernet (PoE) technology. Ensure that your power supply is reliable and provides a constant flow of electricity to your cameras.
- Recorder: A recorder, also known as a digital video recorder (DVR) or network video recorder (NVR), is responsible for recording and storing the video footage captured by the cameras. It allows you to review the footage at a later time and provides a crucial piece of evidence in the event of a security incident. Choose a recorder based on the number of cameras you plan to install and the storage capacity you require.
- Monitor: A monitor is used to view live or recorded footage from your security cameras. It can be a computer monitor, a dedicated security monitor, or even your smartphone or tablet using a corresponding app. Ensure that your monitor is compatible with the output of your recorder and provides a clear and high-resolution display.
- Network Setup: If you plan to access your cameras remotely or use a wireless system, a network setup becomes crucial. This involves setting up your cameras and recorder on a network, either through a wired connection or a Wi-Fi network. Choose a secure network setup that encrypts your data and prevents unauthorized access.
- Cables and Connectors: Depending on your system, you may require various cables and connectors to connect your cameras, recorder, and power supply. These include coaxial cables, Ethernet cables, power cables, and BNC connectors. Ensure that you have the necessary cables and connectors to establish proper connections.
- Accessories: Consider additional accessories that enhance the functionality and convenience of your security system. This may include mounting brackets, extension cables, surge protectors, and weatherproof housing for outdoor cameras.
By understanding the essential components of a home security camera system, you can ensure that you have all the necessary equipment for a successful installation. Take the time to research and choose high-quality components that align with your needs and provide a reliable and robust security solution.
Planning the Camera Placement
Proper planning of camera placement plays a critical role in maximizing the effectiveness of your home security camera system. By strategically positioning your cameras, you can ensure optimal coverage of your property and minimize blind spots. Here are some essential tips to consider when planning the placement of your cameras:
- Identify Vulnerable Areas: Assess your property and identify areas that are vulnerable to break-ins or other security threats. These may include entry points such as doors, windows, and garage doors, as well as areas with valuable assets.
- Entryways and Exits: Place cameras near entryways and exits to capture the faces of anyone entering or leaving your property. Aim to cover both the interior and exterior of these areas.
- High-Traffic Areas: Position cameras in high-traffic areas to capture any suspicious activity or movements. This may include hallways, staircases, or common areas where people tend to gather.
- Perimeter Coverage: Install cameras around the perimeter of your property to monitor any unauthorized access or suspicious activity near your boundaries. This includes fences, gates, and driveways.
- Backyard and Garden: If you have a backyard or garden, consider placing cameras to cover these areas. They serve as a deterrent for burglars and provide surveillance for outdoor activities.
- Secondary Entry Points: Don’t forget to secure secondary entry points such as basement windows, patio doors, or balcony entrances. These areas are often overlooked but can be potential targets for intruders.
- Visibility and Deterrence: Make sure your cameras are visible to serve as a deterrent. Intruders are less likely to target a property with visible surveillance equipment. Additionally, ensure that the cameras have a clear line of sight and are not obstructed by obstacles.
- Consider Lighting: Adequate lighting is crucial for capturing clear footage. If possible, install cameras in well-lit areas or use cameras with built-in infrared (IR) night vision to capture footage in low-light conditions.
- Privacy Concerns: Be mindful of your neighbors’ privacy and ensure that the placement of your cameras does not invade their personal space. Orient the cameras towards your property and avoid capturing footage from neighboring properties.
- Adjustable Angles: Opt for cameras with adjustable angles or motorized pan-tilt-zoom (PTZ) functions. This allows you to adapt the field of view and focus based on your changing security needs.
Remember, the goal is to have comprehensive coverage of your property without any blind spots. Take into account the layout of your home, the specific characteristics of your property, and your security priorities when planning the camera placement. By doing so, you can create an effective surveillance network that enhances the security of your home.
Wiring Requirements for Home Security Camera System
Wiring is an essential aspect of installing a wired home security camera system. Proper wiring ensures reliable and consistent power supply, video transmission, and data connectivity between the cameras, recorder, and other components of the system. Here are the key wiring requirements to consider:
- Power Wiring: Each camera needs to be connected to a power source to operate. This can be achieved through a direct electrical outlet or by using a power adapter. Ensure that you have access to power outlets near each camera location or plan your wiring to reach the designated areas.
- Video Transmission Wiring: To transmit video signals from the cameras to the recorder, you need to use coaxial cables or network cables. Coaxial cables, such as RG59 or RG6, are commonly used for analog camera systems, while network cables, such as Ethernet cables (CAT5e or CAT6), are used for IP camera systems. These cables should be properly run from each camera to the recorder, ensuring a secure and stable connection.
- Data Connectivity Wiring: If you plan to access your security system remotely or connect it to your network for additional functionality, you will need to run network cables between the recorder and your router or switch. This allows you to access the footage and control the system using a computer or mobile device.
- Power over Ethernet (PoE) Wiring: If you are using PoE cameras, you can combine data transmission and power supply into a single Ethernet cable. This simplifies the wiring process by eliminating the need for separate power cables. However, you will require a PoE switch or injector to supply power to the cameras over the Ethernet cables.
- Cable Length and Considerations: When planning and running your cables, consider the cable length limitations and requirements for your specific system. Coaxial cables have distance limitations, so ensure your cables do not exceed the recommended length. Network cables, on the other hand, can cover longer distances, but performance may be affected if they are too long. Use cable management techniques to keep the cables organized and protected.
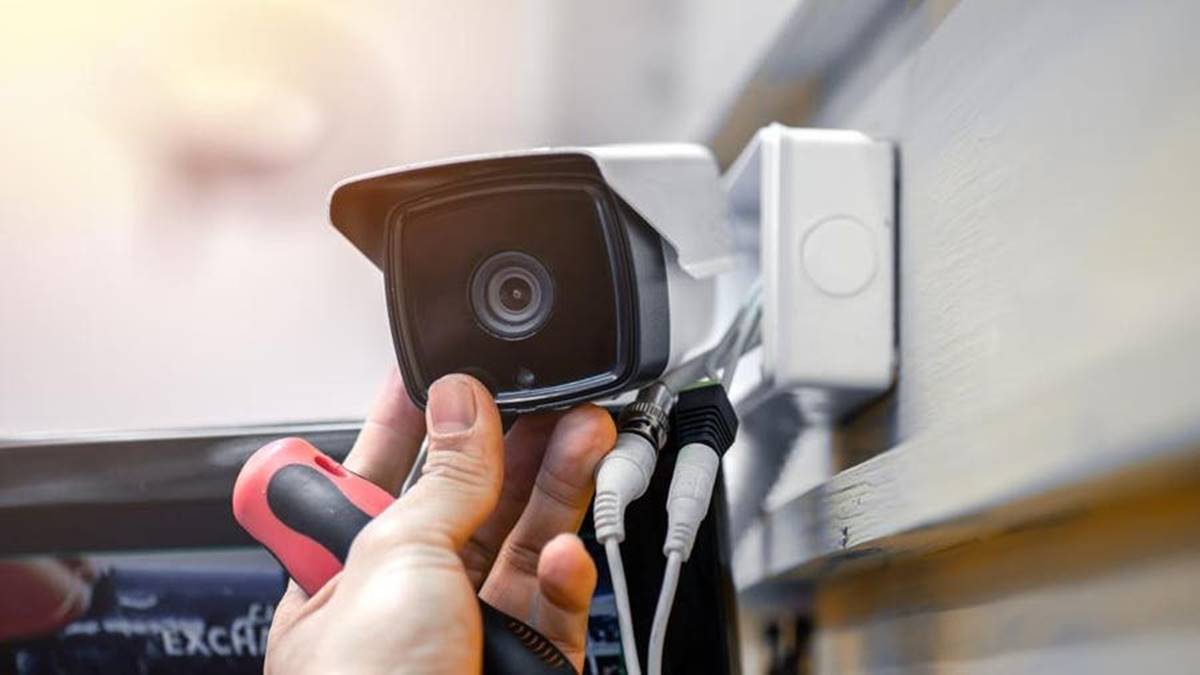
- Connectors and Terminations: Properly terminate your cables with the appropriate connectors. BNC connectors are commonly used for analog cameras, while RJ45 connectors are used for network cables. Use crimping tools or compression fittings to ensure secure and reliable connections.
It is important to have a clear understanding of the wiring requirements for your specific home security camera system. Proper wiring ensures that your cameras receive power, video signals are transmitted without interference, and the system functions optimally. If you are unsure about the wiring process, consider consulting a professional installer or referring to the manufacturer’s guidelines for your system.
Tools and Materials Needed
Before you begin wiring your home security camera system, it is important to gather the necessary tools and materials to ensure a smooth installation process. Having the right equipment at hand will save you time and effort. Here are the essential tools and materials you will need:
Tools:
- Cordless Drill: A cordless drill will make it easier to create holes for mounting the cameras and running the cables.
- Drill Bits: Depending on the mounting hardware for the cameras, you may need various drill bits to create the appropriate holes.
- Screwdriver Set: A set of screwdrivers, including Phillips and flat-head screwdrivers, will be needed to secure the cameras and other components.
- Crimping Tool: If you are terminating network cables with RJ45 connectors, a crimping tool will be necessary to make secure connections.
- Wire Strippers: Wire strippers are used to remove the insulation from the cables, exposing the conductors for termination.
- Fish Tape or Wire Pulling Tools: These tools are helpful for running cables through walls, ceilings, or conduit to keep the installation neat and organized.
- Level: A level is essential for ensuring that the cameras are properly aligned and mounted horizontally or vertically.
- Fish Tape or Wire Pulling Tools: These tools are helpful for running cables through walls, ceilings, or conduit to keep the installation neat and organized.
- Tape Measure: A tape measure will help you ensure accurate measurements for camera placement and cable routing.
Materials:
- Coaxial Cables: If you are using analog cameras, you will need coaxial cables, such as RG59 or RG6, to transmit video signals. Ensure you have the appropriate length for each camera run.
- Network Cables: For IP cameras or data connectivity, you will need Ethernet cables, such as CAT5e or CAT6. Again, make sure you have the right length for each camera and for connecting the recorder to your router or switch.
- Power Cables or Power over Ethernet (PoE) Equipment: Depending on your camera system, you will need either power cables to supply electricity to each camera or PoE equipment, like PoE switches or injectors, to provide power over Ethernet cables.
- BNC Connectors: If you are using coaxial cables, you will need BNC connectors for terminating the cables. Consider using crimp-on BNC connectors for a secure connection.
- RJ45 Connectors: If you are terminating Ethernet cables, you will need RJ45 connectors. Opt for high-quality, gold-plated connectors for better performance.
- Mounting Hardware: Depending on the cameras you have, you may need mounting brackets, screws, and anchors to securely mount the cameras on walls, ceilings, or other surfaces.
Having these tools and materials readily available will ensure that you have everything you need to wire your home security camera system. Be sure to check the specific requirements of your system and consult the manufacturer’s guidelines if necessary. With the right tools and materials, you’ll be well-prepared to install your system efficiently and effectively.
Step-by-Step Guide to Wire the Home Security Camera System
Wiring a home security camera system requires careful planning and execution to ensure a successful installation. Follow these step-by-step instructions to wire your system effectively:
- Plan Camera Locations: Begin by deciding where to place each camera based on your security needs. Consider vulnerable areas, entry points, and high-traffic areas.
- Prepare the Power Supply: Ensure you have access to power outlets near the camera locations. If using PoE cameras, connect the PoE switch or injector to the power source.
- Run the Power Cables: Run power cables from the power source to each camera location. Use appropriate cable management techniques to keep the wires organized and secure.
- Terminate the Power Cables: Strip and terminate the power cables, connecting them to the power supply or power adapter for each camera. Ensure secure connections using appropriate connectors.
- Run the Video Transmission Cables: Run the coaxial or network cables from each camera to the recorder location. Use fish tapes or wire pulling tools to navigate through walls, ceilings, or conduit if required.
- Terminate the Video Transmission Cables: Terminate the coaxial or network cables with the appropriate connectors, such as BNC or RJ45 connectors. Use crimping tools for secure connections.
- Connect Power and Video: Connect the power cables from each camera to the power supply or PoE equipment. Connect the video transmission cables from each camera to the corresponding inputs on the recorder.
- Connect the Recorder to the Network: If you want remote access or network connectivity, connect an Ethernet cable from the recorder to your router or switch.
- Power on the System: Plug in the power supply for the cameras and the recorder. Ensure that each camera receives power and properly boots up.
- Test the Connections: Verify that the cameras are successfully transmitting video signals to the recorder. Use the monitor or smartphone app to view the live footage from each camera.
- Secure the Cables: Secure the cables using cable clips, cable ties, or cable conduits to prevent them from becoming tripping hazards or getting damaged.
Following these step-by-step instructions will help you wire your home security camera system efficiently and effectively. Remember to take necessary safety precautions when working with electrical connections and consult the manufacturer’s guidelines for specific instructions related to your system. Finally, conduct thorough testing to ensure that all cameras are functioning properly before completing the installation process.
Read more: What Is The Best Wired Security Camera
Testing and Troubleshooting the Wiring Connections
After wiring your home security camera system, it’s crucial to test the connections to ensure that everything is working properly. Proper testing will help identify any issues or malfunctions, allowing you to troubleshoot and resolve them promptly. Follow these steps to test and troubleshoot the wiring connections:
- Check Power Supply: Verify that all cameras are receiving power by checking if they are powered on and functioning. Ensure that the power cables are securely connected and that the power source is providing a consistent power supply.
- Review Video Quality: Take a close look at the live video footage from each camera using the monitor or smartphone app. Ensure that the video quality is clear, with no distortion or interference. If the video is unclear, check the connections of the video transmission cables and connectors.
- Monitor Video Reception: Confirm that the recorder is receiving video signals from each camera. Check the video inputs on the recorder to ensure that they are correctly connected to the corresponding cameras. If any cameras are not displaying video, recheck the connections and terminations.
- Test Remote Access: If you desire remote access to the system, verify that you can connect to the cameras and view the live footage using the smartphone app or web browser. Make sure that the network connection between the recorder and router/switch is established properly.
- Check Recording Functionality: Initiate a test recording on the recorder and review the recorded footage. Ensure that the recording is of good quality and that all cameras are being recorded properly. Check the storage capacity of the recorder to ensure it can accommodate the desired duration of recording.
- Inspect Camera Angles: Verify that the camera angles and positions are correctly aligned to capture the intended areas. Make any adjustments if necessary to optimize the view and eliminate any blind spots.
- Troubleshoot Connection Issues: If you encounter any issues during testing, such as a camera not receiving power or a video signal, double-check the connections. Ensure that all cables are securely connected and that the terminations are properly crimped. Inspect the connectors for any damage or loose connections.
- Seek Professional Assistance: If you are unable to resolve any issues or if you are uncertain about the troubleshooting process, it’s advisable to seek professional assistance from a qualified installer or contact the manufacturer’s support.
By thoroughly testing and troubleshooting the wiring connections, you can identify and resolve any issues promptly, ensuring that your home security camera system operates as intended. Regular maintenance and periodic testing will help maintain the optimal functionality of the system and keep your home and loved ones protected.
Final Thoughts and Additional Tips
Installing a home security camera system can significantly enhance the safety and protection of your property. Following the proper wiring process ensures that your cameras function optimally and provide reliable surveillance. Here are some final thoughts and additional tips to consider:
- Regular Maintenance: Periodically inspect the wiring connections, cables, and cameras to ensure they are in good condition. Clean the lens of the cameras to maintain clear video footage.
- Backup Power Supply: Consider using an uninterruptible power supply (UPS) or backup power source for your security system. This provides a continuous power supply in case of power outages, ensuring uninterrupted surveillance.
- Secure Network: If you plan to access your security system remotely, secure your network with strong passwords and enable encryption to prevent unauthorized access to your cameras and recordings.
- Maintain Privacy: Respect the privacy of others by positioning cameras to capture only your property and avoid recording areas that may invade others’ privacy.
- Read the Manuals: Familiarize yourself with the user manuals of your camera system components. Each manufacturer may have specific instructions and settings for proper installation and operation.
- Consider Professional Installation: If you are unsure about the wiring process or would rather have a professional handle the installation, hiring a qualified installer can ensure a seamless and expertly executed setup.
- Expandability: Choose a camera system that allows for future expansion, in case you decide to add more cameras or upgrade your system. Ensure that the recorder has enough capacity to accommodate additional cameras or increased recording duration.
- Test and Train: Familiarize yourself with the operation of your security system and regularly conduct tests to ensure all features are functioning properly. Train other family members or occupants on how to use the system effectively.
- Comply with Local Regulations: Before installing a camera system, ensure that you are aware of any local laws or regulations regarding surveillance and privacy. Comply with these regulations to avoid any legal issues.
By following these final thoughts and additional tips, you can ensure the optimal performance and longevity of your home security camera system. With a well-planned and properly wired setup, you’ll have peace of mind knowing that your property is protected and your loved ones are safe.
Frequently Asked Questions (FAQs)
Here are some frequently asked questions about wiring a home security camera system:
1. Do I need to have a wired security camera system?
No, it is not mandatory to have a wired security camera system. Wireless options are also available, but wired systems offer a more reliable and secure solution. Wired systems ensure a constant power supply and stable video transmission, reducing the risk of interference or signal loss.
Read more: How To Repair A Security Camera Wire
2. Can I install a home security camera system on my own?
Yes, you can install a home security camera system on your own, provided that you have a basic understanding of wiring and the necessary tools. However, if you are unsure or uncomfortable with the installation process, it is recommended to seek professional assistance from a qualified installer.
3. What type of cable should I use for the video transmission?
The type of cable you should use depends on your camera system. Coaxial cables, such as RG59 or RG6, are commonly used for analog camera systems. Ethernet cables, such as CAT5e or CAT6, are used for IP camera systems. Ensure that you choose the appropriate type of cable for your specific system.
4. How far can I run the cables between the cameras and the recorder?
The maximum cable length depends on the type of cable you are using and the signal type. Coaxial cables have distance limitations, typically around 300-500 feet. Ethernet cables can cover longer distances, but performance may be affected if the cables are too long. It is best to consult the manufacturer’s guidelines for your specific system to determine the recommended cable length.
5. Can I access my security cameras remotely?
Yes, many modern security camera systems allow remote access. By connecting your recorder to the internet and using a smartphone app or web browser, you can view the live footage and control your cameras from anywhere in the world.
Read more: How To Wire A Home Security Camera
6. How do I ensure the privacy of my recorded footage?
To ensure the privacy of your recorded footage, it is important to secure your network with strong passwords and enable encryption. Additionally, position your cameras to capture only your property and avoid recording areas that may invade others’ privacy.
7. What should I do if I encounter technical issues with my camera system?
If you encounter technical issues with your camera system, check the connections and terminations for any loose or damaged cables. Refer to the user manuals and troubleshooting guides provided by the manufacturer. If you are unable to resolve the issue, contact the manufacturer’s technical support or consult a professional installer for assistance.
These are just a few of the commonly asked questions about wiring a home security camera system. If you have any specific concerns or inquiries, it is always best to consult the manufacturer’s guidelines or seek professional advice for your particular system.
When wiring a home security camera system, make sure to use high-quality, weatherproof cables and connectors to ensure a reliable and durable connection. Properly plan the layout and routing of the cables to minimize exposure and potential damage.
Conclusion
Wiring a home security camera system is a crucial step in ensuring the safety and protection of your property. By following the proper procedures and guidelines, you can create a reliable and effective surveillance network. A well-planned camera placement, proper power and video transmission wiring, and thorough testing are key elements in a successful installation.
Choosing the right home security camera system, understanding the essential components, and considering factors such as resolution, field of view, and night vision capabilities are essential for meeting your security needs.
When wiring your system, ensure that power and video transmission cables are properly installed and terminated. Use the appropriate tools and materials, and follow best practices for cable management to maintain a neat and organized setup. Regular maintenance and periodic testing will help in identifying any issues and ensure that your system operates optimally.
Remember to comply with any local regulations regarding privacy and surveillance. Respect the privacy of others and position your cameras in a responsible manner. Secure your network and monitor access to maintain the privacy and security of your recorded footage.
If you are unsure about the installation process or encounter technical issues, don’t hesitate to seek professional assistance. A qualified installer can provide the expertise needed for a seamless setup and troubleshooting.
By implementing these guidelines and taking appropriate measures, you can enjoy the peace of mind that comes with having a reliable and effective home security camera system. Protect your property, loved ones, and valuables with the added security and surveillance provided by a well-wired camera system.
Frequently Asked Questions about How To Wire Home Security Camera System
Was this page helpful?
At Storables.com, we guarantee accurate and reliable information. Our content, validated by Expert Board Contributors, is crafted following stringent Editorial Policies. We're committed to providing you with well-researched, expert-backed insights for all your informational needs.