Home>Home Security and Surveillance>How To Wire A Home Security Camera
Home Security and Surveillance
How To Wire A Home Security Camera
Modified: August 28, 2024
Learn how to wire a home security camera for maximum home security and surveillance. Step-by-step guide on installing and connecting your camera system safely and effectively.
(Many of the links in this article redirect to a specific reviewed product. Your purchase of these products through affiliate links helps to generate commission for Storables.com, at no extra cost. Learn more)
Introduction
Welcome to the world of home security and surveillance! In today’s fast-paced and interconnected world, ensuring the safety and security of your home has become a top priority for many homeowners. Whether you’re concerned about protecting your family, deterring burglars, or simply keeping an eye on your property while you’re away, a home security camera system can provide you with peace of mind and a sense of security.
Wiring a home security camera system may sound daunting, but with the right tools and knowledge, it can be a straightforward process. In this article, we will guide you through the step-by-step process of wiring a home security camera system, covering everything from gathering the necessary tools and materials to configuring the camera settings.
Before we dive into the details, it’s important to note that while we will provide general instructions, it’s always a good idea to consult the installation manual that comes with your specific camera system. Additionally, if you’re not comfortable working with electrical wiring, it’s best to consult a professional to ensure the job is done correctly and safely.
Now, let’s get started and learn how to wire a home security camera system!
Key Takeaways:
- Setting up a home security camera system involves gathering tools, planning camera placement, running cables, and configuring settings. It’s a DIY project that enhances home security and peace of mind.
- Thoroughly testing each camera ensures proper functionality, covering live feeds, motion detection, recording quality, and remote access. Regular maintenance and updates are essential for long-term effectiveness.
Read more: How To Hack Into A Wired Security Camera
Step 1: Gather the necessary tools and materials
Before you begin the wiring process, it’s essential to gather all the tools and materials you’ll need. Here’s a list of the items you should have on hand:
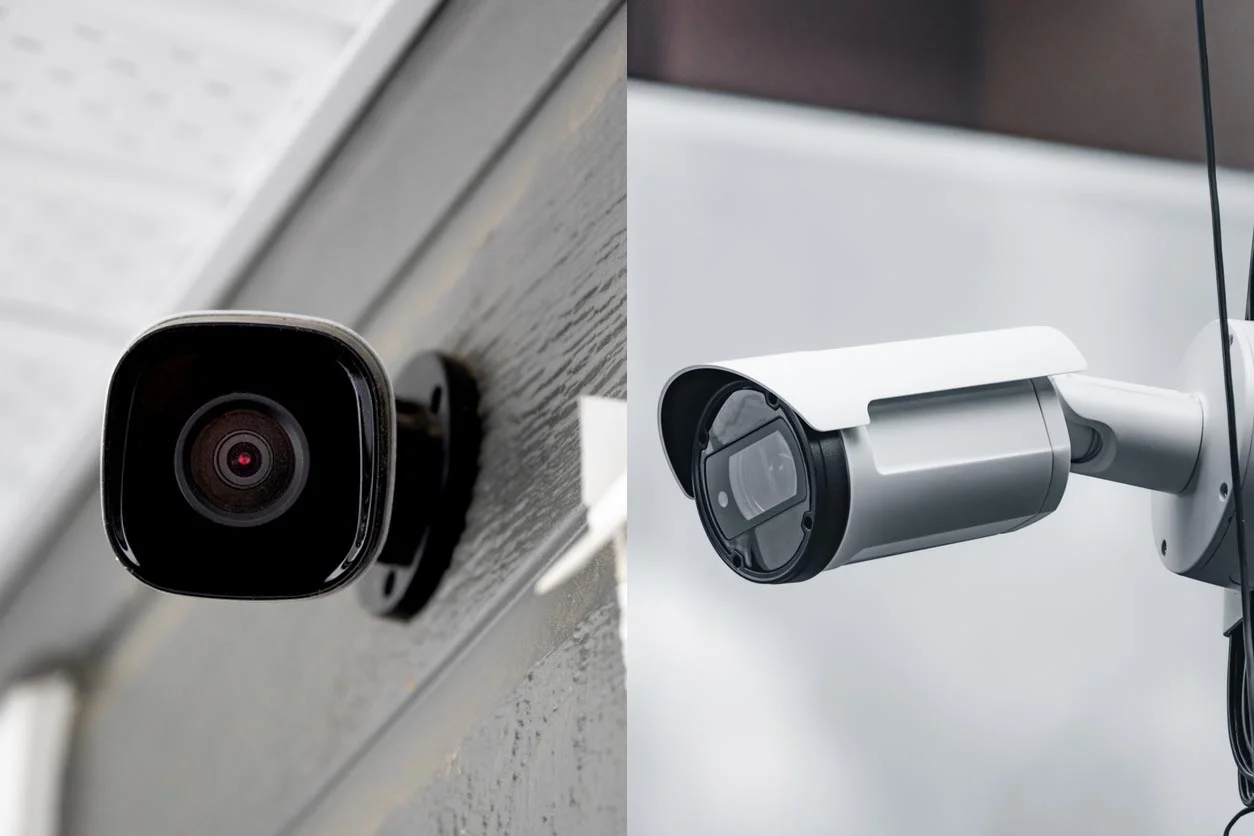
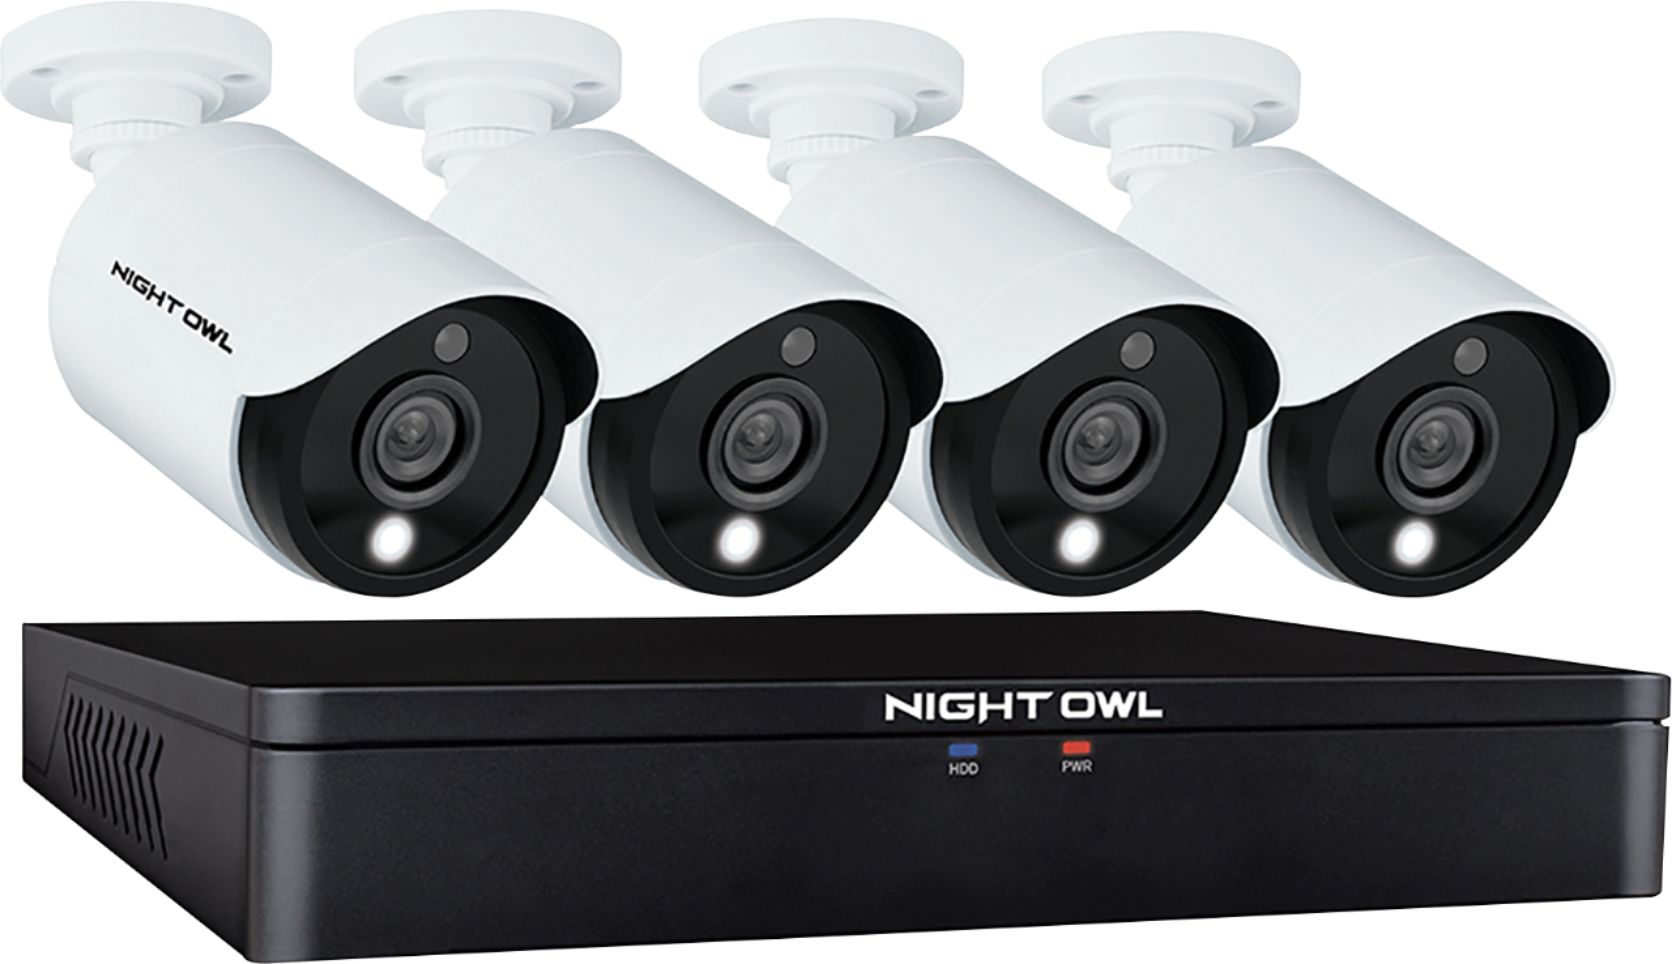
- Security cameras: Determine the number and type of cameras you need for your home security system. Consider factors such as indoor or outdoor use, resolution, and night vision capabilities.
- DVR/NVR: This stands for Digital Video Recorder or Network Video Recorder. It’s the central hub that records and stores the video footage from the security cameras. Make sure it’s compatible with the cameras you’ve chosen.
- Power supply: Depending on your camera system, you may need a separate power supply or power over Ethernet (PoE) injectors.
- Coaxial cables: These cables are used to transmit video signals from the cameras to the DVR/NVR. Choose the appropriate length for your installation.
- Ethernet cables: If your cameras support network connectivity, you’ll need Ethernet cables to connect them to your router or switch.
- Connectors and adapters: These are necessary to securely attach the cables to the cameras and DVR/NVR.
- Drill and screws: These tools are needed to mount the cameras in the desired locations.
- Wire strippers and crimping tool: These tools will help you strip the insulation from the cables and crimp connectors securely.
- Ladder: If you’re installing cameras at high points, a ladder will be necessary for safe access.
By ensuring you have all the required tools and materials ready, you can save time and avoid any unnecessary interruptions during the installation process.
Step 2: Determine the camera placement
After gathering the necessary tools and materials, the next step is to determine the placement of your security cameras. This is a crucial step as it directly affects the effectiveness of your surveillance system. Here are some factors to consider:
- Entry points: Identify areas such as doors, windows, and garage entrances that are potential entry points for intruders. Placing cameras near these areas helps capture any suspicious activity.
- Perimeter coverage: Assess the layout of your property and determine the areas where you want to maintain constant surveillance. Consider placing cameras strategically to cover the entire perimeter.
- High-risk areas: If there are specific areas of your property that are at a higher risk of theft or vandalism, prioritize installing cameras in those locations.
- Visibility: Ensure that your cameras are visible enough to act as a deterrent for potential intruders. However, be cautious about making them easily accessible for tampering.
- Lighting conditions: Take into account the lighting conditions of the areas where you plan to install cameras. Some cameras have built-in IR night vision capabilities, while others may require additional lighting.
- Coverage overlap: Avoid any blind spots by overlapping the coverage of adjacent cameras.
Once you’ve determined the camera placement, mark the spots where you intend to install them. It’s helpful to create a layout diagram of your property and map out the locations of each camera for reference during the installation process.
Remember, the goal is to maximize the effectiveness of your surveillance system by strategically placing your cameras in key areas to ensure optimal coverage of your property.
Step 3: Run the cables from the camera to the DVR/NVR
Now that you’ve determined the camera placements, it’s time to run the cables from the cameras to the DVR/NVR. Follow these steps to ensure proper installation:
- Start by identifying the shortest and most direct path from each camera location to the DVR/NVR. Avoid running cables across walkways or high-traffic areas to minimize the risk of damage or tripping hazards.
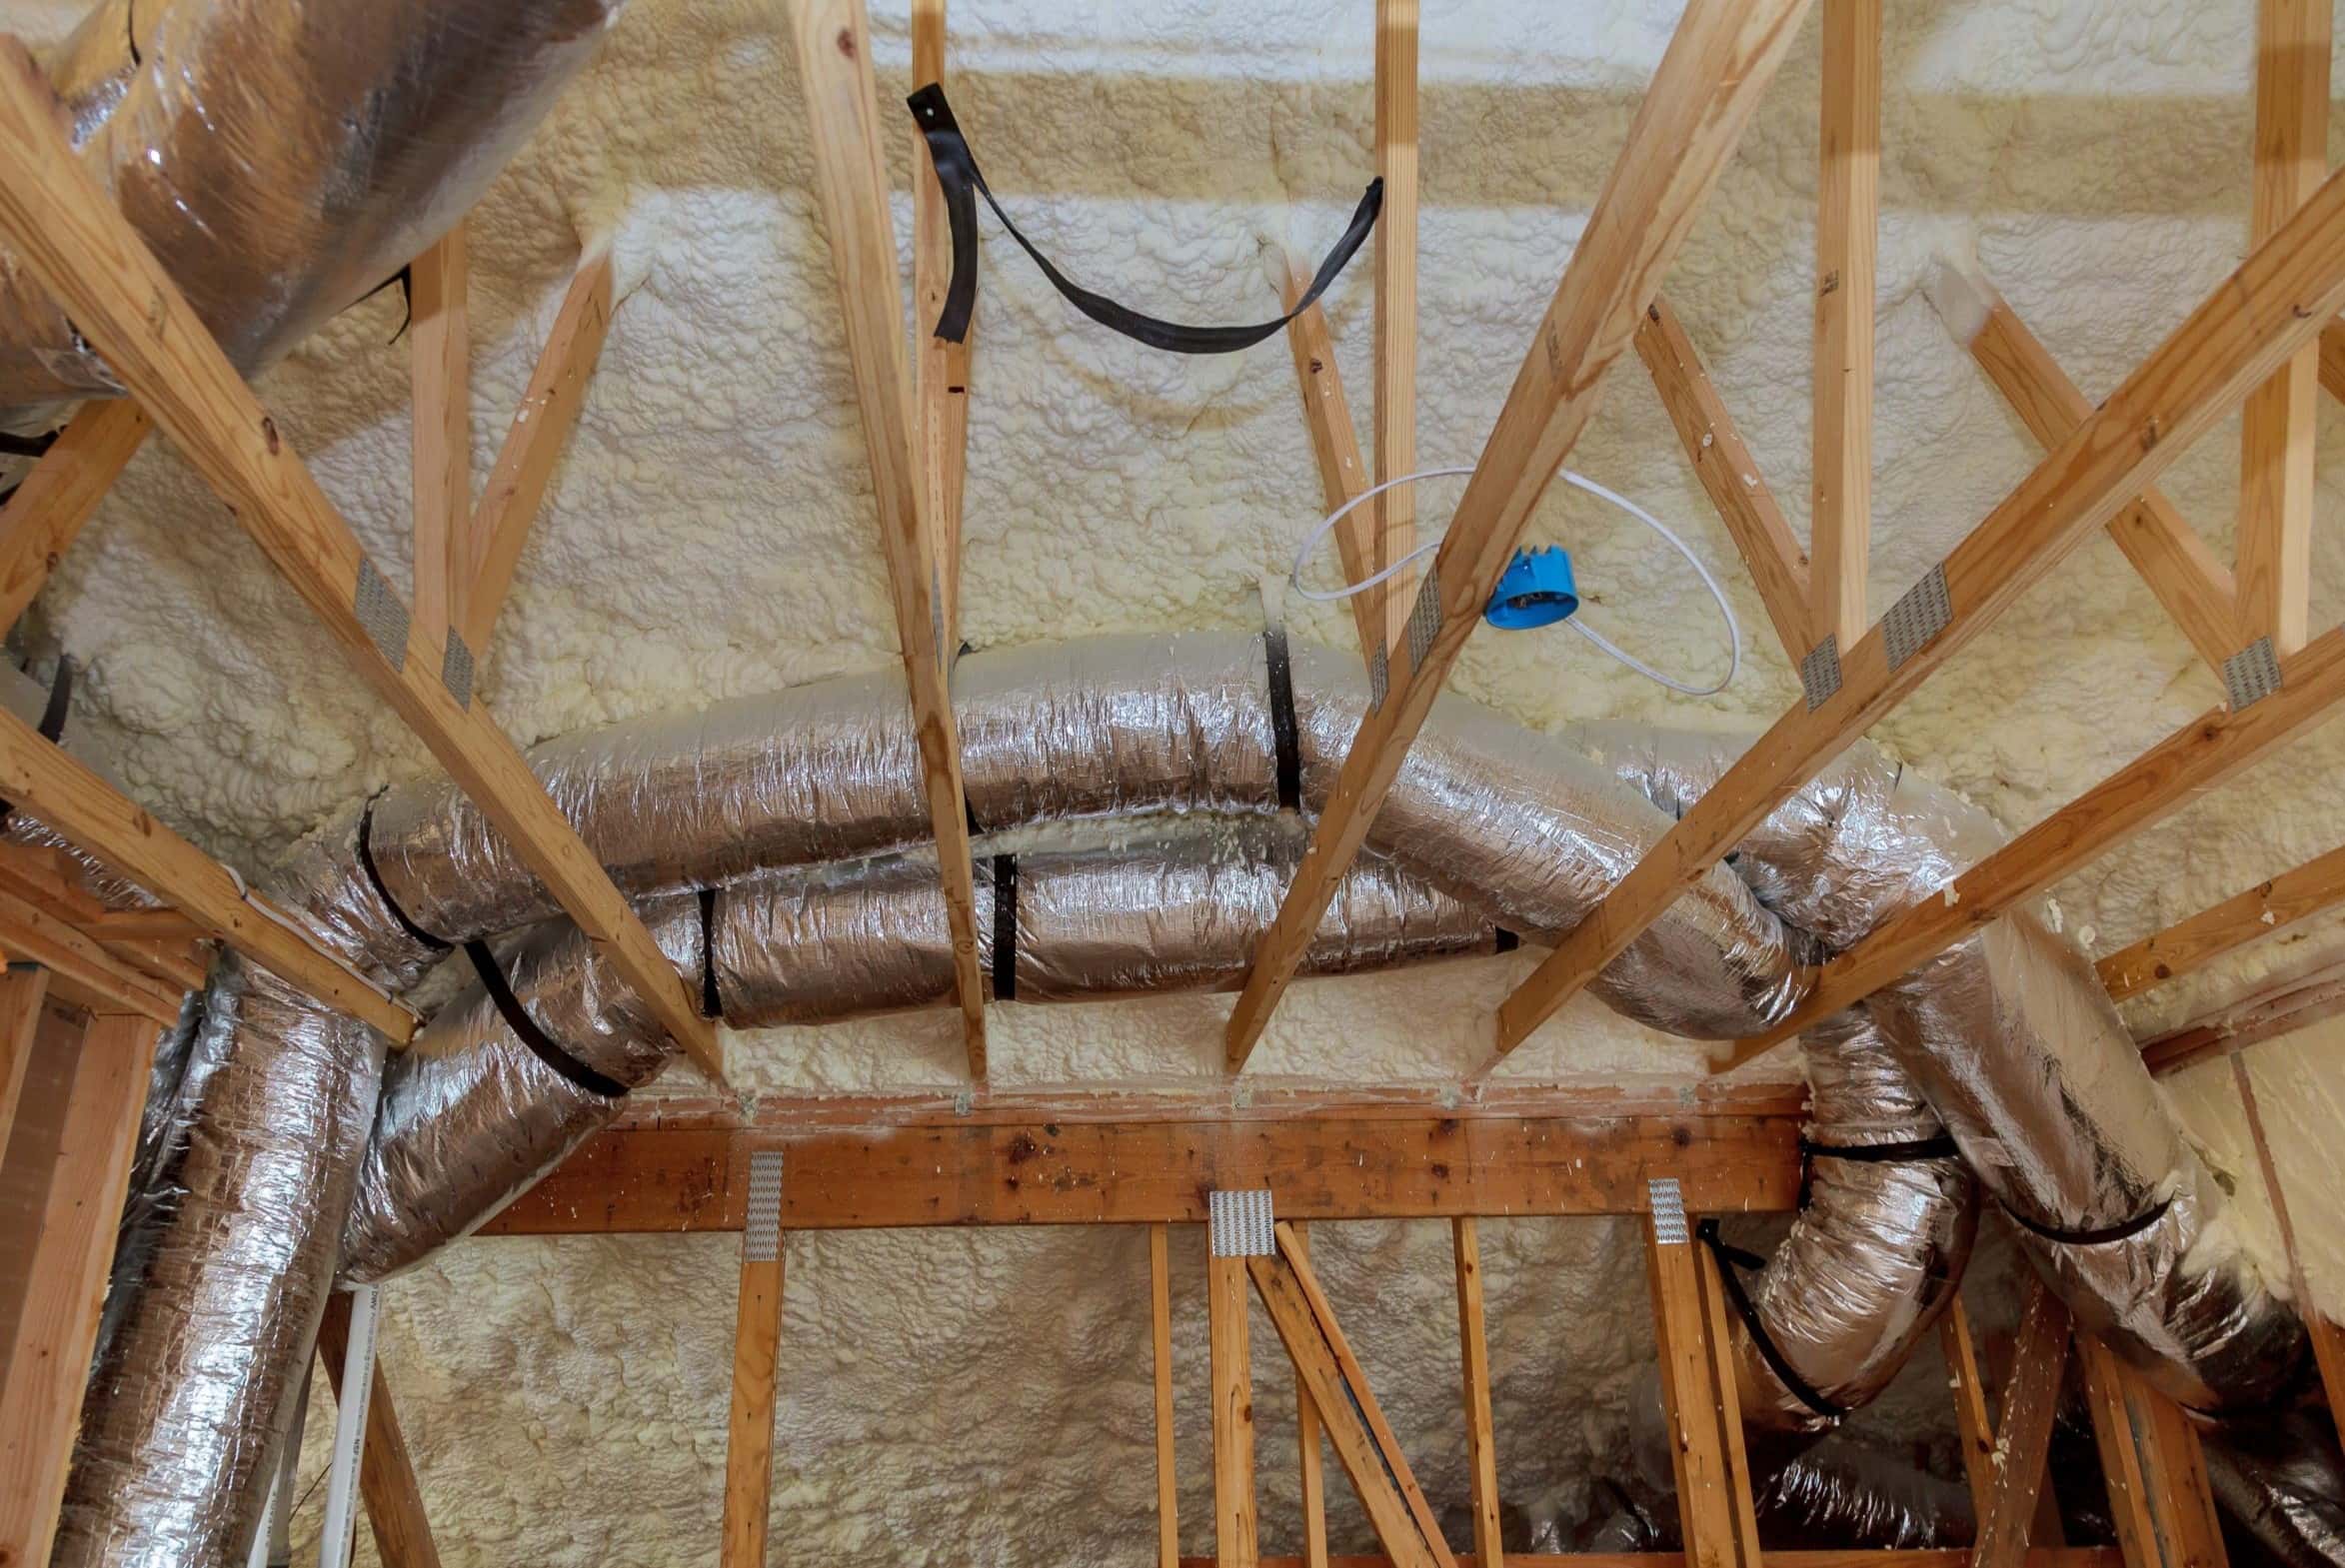
- Use a drill and appropriate-sized drill bits to create holes or access points where the cables will pass through walls, ceilings, or floors. Make sure the holes are clean and smooth to avoid damaging the cables.
- Carefully thread the cables through the drilled holes, ensuring that they are securely fastened and protected from potential damage caused by sharp edges or friction.
- For outdoor installations, consider using weatherproof conduit or protective casing to shield the cables from the elements.
- Take note of the length of cable required for each camera and cut the cables accordingly, leaving a bit of extra length for flexibility. It’s better to have a slightly longer cable than one that’s too short.
- Once the cables are in place, use cable clips or staples to secure them neatly along walls, baseboards, or other suitable surfaces. This helps prevent accidental damage and keeps the installation tidy.
- If you need to connect multiple cables together, use appropriate connectors or junction boxes and ensure a secure and reliable connection.
Throughout the cable installation process, be mindful of maintaining the integrity of the cables and connectors. Avoid bending the cables at sharp angles or forcefully pulling them, as this could cause signal loss or damage.
By running the cables from the cameras to the DVR/NVR in a clean and organized manner, you’ll ensure a reliable and efficient surveillance system.
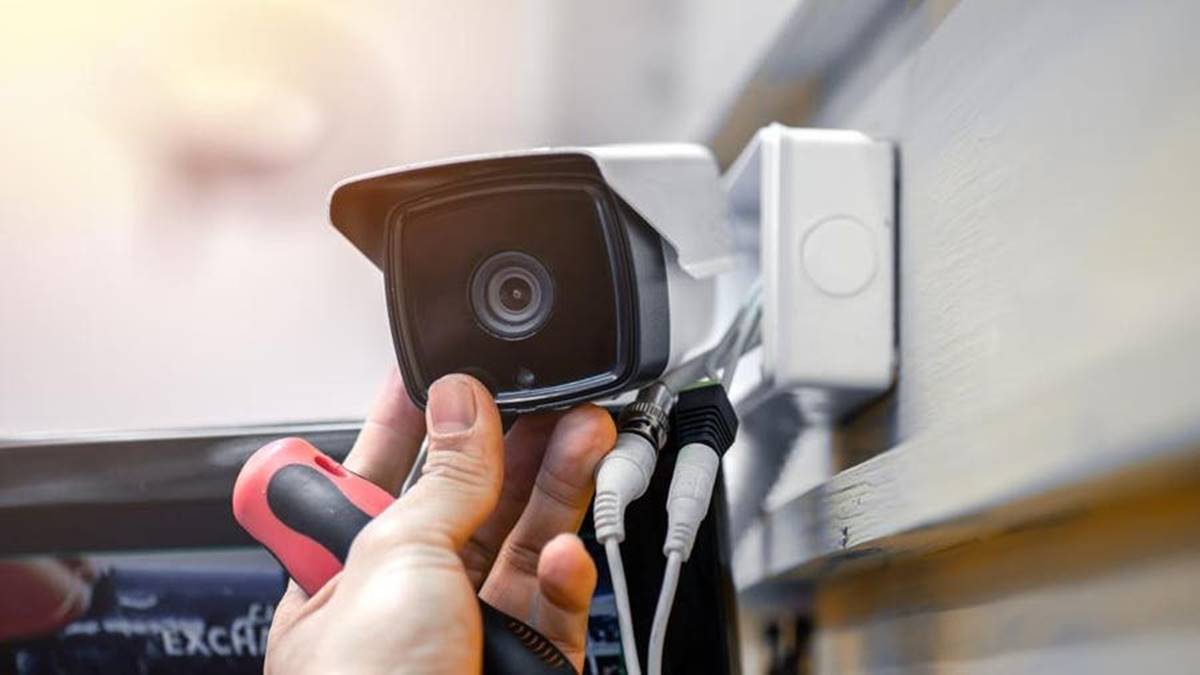
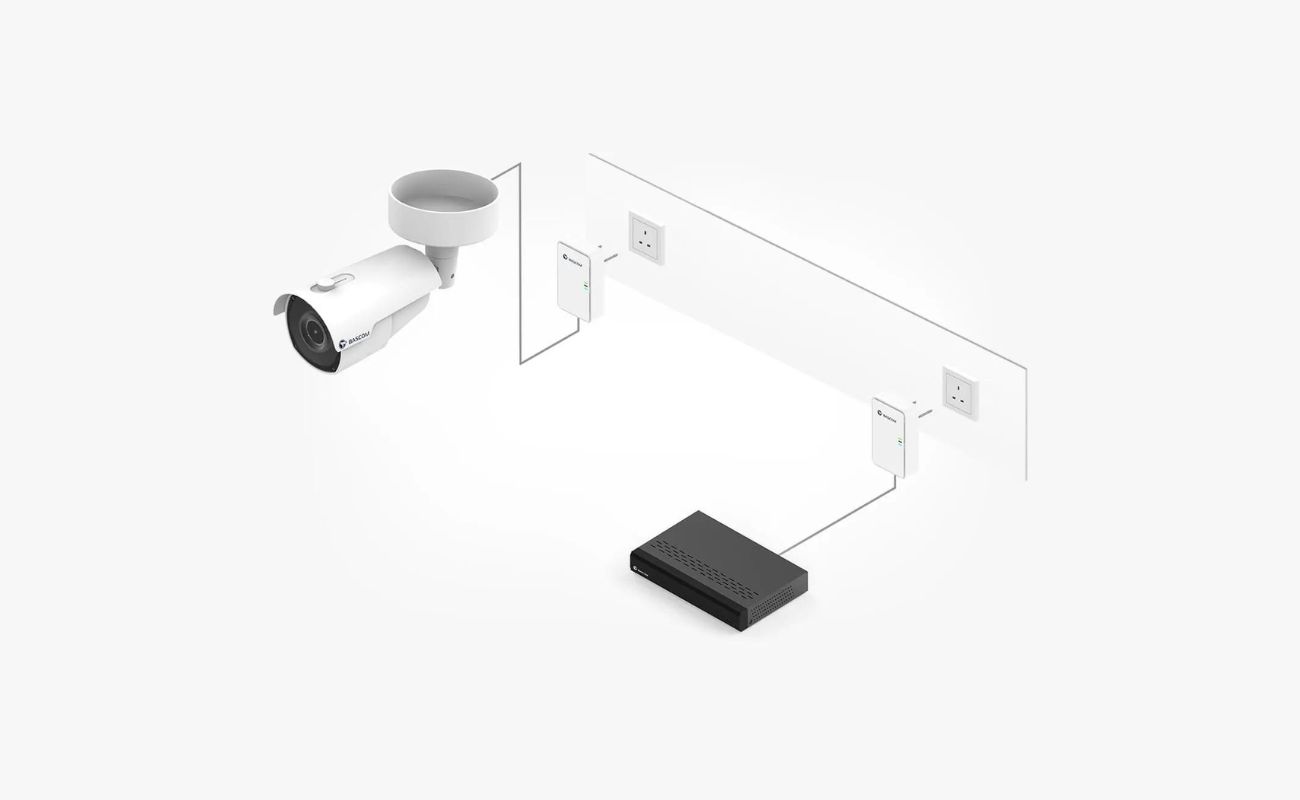
Step 4: Connect the power source to the camera
With the cables in place, it’s time to connect the power source to the security cameras. Follow these steps to ensure a secure and reliable power connection:
- Identify the power supply requirements of your cameras. Some cameras may require a separate power source, while others can be powered through the same cable used for data transmission (Power over Ethernet or PoE).
- If your cameras require a separate power source, determine the best location for the power supply unit. It should be easily accessible and protected from weather conditions if installed outdoors.
- Connect the power supply unit to a nearby electrical outlet. Ensure that the power source is compatible with the voltage requirements of your cameras.
- For cameras that use PoE, connect the Ethernet cable from the camera to the PoE injector or PoE switch. The power will be transmitted through the Ethernet cable.
- For cameras that require a separate power supply, connect the power cable to the camera’s power input port. Follow the manufacturer’s instructions to ensure a proper connection.
- If you’re using an Ethernet cable for data transmission, securely connect the other end of the cable to the corresponding port on the DVR/NVR.
- Double-check all the connections to ensure they are secure and properly aligned.
During the power connection process, be cautious of any electrical hazards. Ensure that the power supply unit is not overloaded and that all connections are made in accordance with safety guidelines.
Once the power connections are complete, you’re one step closer to having a fully operational home security camera system.
When wiring a home security camera, always use weatherproof cables and connectors to protect the wiring from outdoor elements. This will ensure a reliable and long-lasting connection for your camera system.
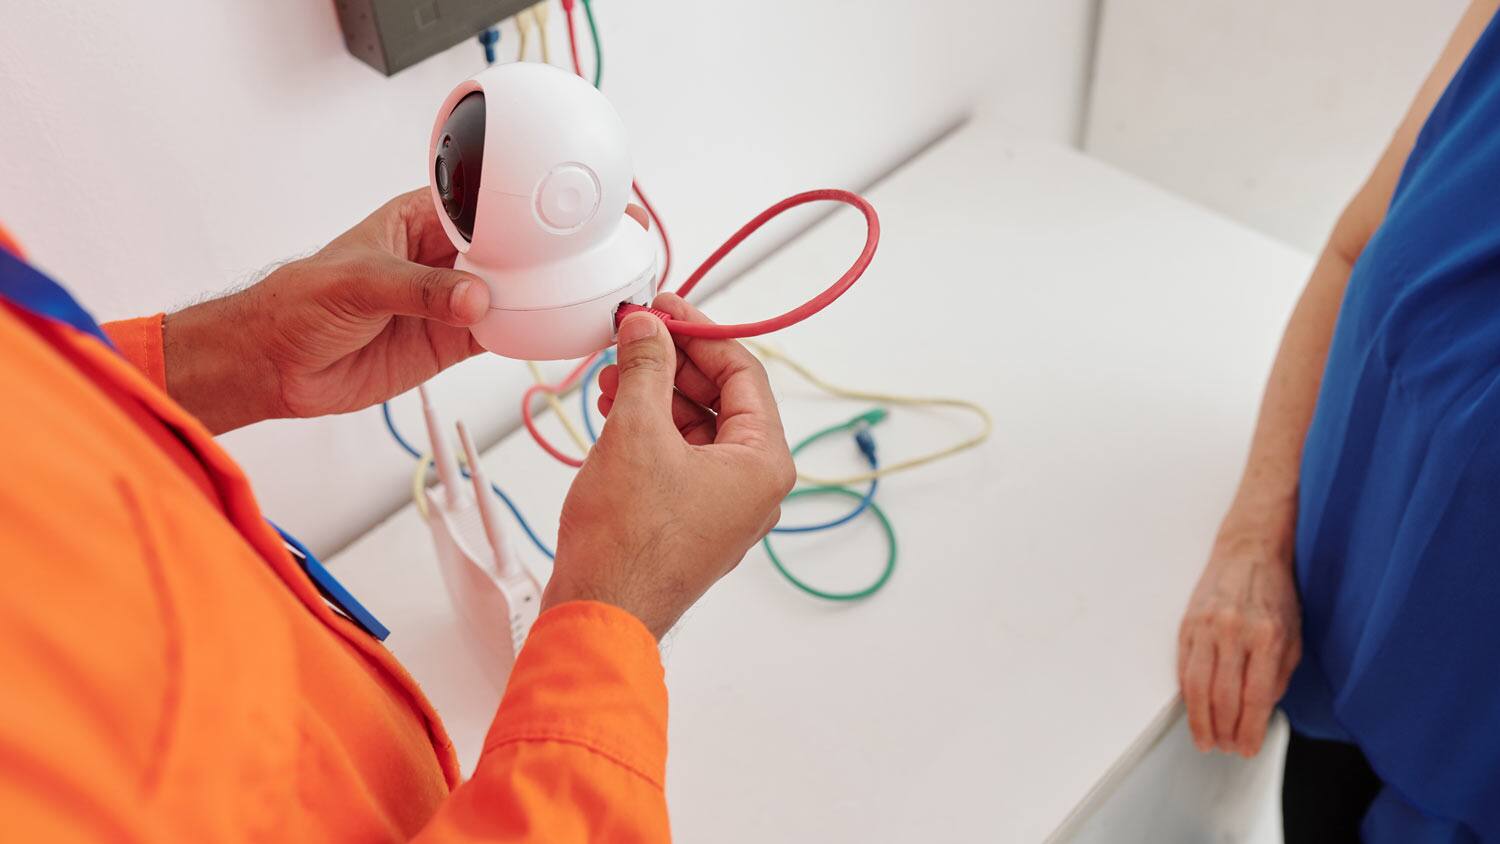
Step 5: Connect the camera to the DVR/NVR
After successfully connecting the power source to the security cameras, the next step is to establish the connection between the cameras and the DVR/NVR. Follow these instructions to ensure a proper and stable connection:
- Locate the video output port on each camera. This is typically an RCA or BNC connector.
- Identify the corresponding video input ports on the DVR/NVR. These ports may vary depending on the model, but they are commonly labeled as “INPUT,” “VIDEO IN,” or similar.
- Using the appropriate type of cable (usually coaxial), connect the video output port of each camera to the respective video input port on the DVR/NVR. Ensure a secure and snug connection.
- For cameras that support IP or network connectivity, connect an Ethernet cable from the camera to an available Ethernet port on the DVR/NVR. This allows for video transmission over the network.
- Double-check the connections to make sure they are properly aligned and securely fastened.
When connecting the cameras to the DVR/NVR, make sure to follow the manufacturer’s instructions and use compatible cables. Using the wrong cables or improper connections may result in a weak or unreliable video signal.
If your DVR/NVR has a user interface, you may need to configure the system to recognize and display the connected cameras. Consult the user manual for instructions on how to set up and configure the cameras within the DVR/NVR system.
With the cameras successfully connected to the DVR/NVR, you’re now ready to move on to the next step: configuring the camera settings.
Step 6: Configure the camera settings
With the physical connections in place, it’s time to configure the settings of your security cameras. This step is crucial for optimizing the performance and functionality of your surveillance system. Follow these steps to ensure proper configuration:
- Access the user interface or software of your DVR/NVR system. This can typically be done through a web browser or dedicated software provided by the manufacturer.
- Locate the camera settings section within the user interface. This may vary depending on the specific system you’re using.
- Assign unique names or labels to each connected camera for easy identification. This is particularly helpful if you have multiple cameras installed.
- Configure the camera resolution and video quality settings. Higher resolutions generally provide clearer images but may require more bandwidth and storage space.
- Adjust the camera’s field of view or angle to ensure optimal coverage of the desired areas. Some cameras may offer zoom, tilt, or pan functionality that can be adjusted through the user interface.
- If your cameras have additional features such as motion detection or night vision, configure these settings according to your specific needs. Adjust sensitivity levels and customize any other settings provided.
- Set up recording schedules or motion detection triggers to start capturing video footage when specific events occur. This helps optimize storage space and ensures you only capture relevant footage.
- Configure remote access to your security cameras. Depending on your system, this may involve setting up a mobile app or enabling access through a web browser. This allows you to monitor your cameras from anywhere using a smartphone, tablet, or computer.
- Save and apply the camera settings within the user interface. Some systems may require a reboot or refresh for the changes to take effect.
It’s important to consult the user manual or manufacturer’s documentation for specific instructions on configuring the camera settings for your particular system.
By properly configuring the camera settings, you can ensure that your surveillance system is tailored to meet your specific requirements and capture high-quality video footage.
Step 7: Test the camera
After completing the installation and configuration of your home security camera system, it’s essential to thoroughly test each camera to ensure it’s functioning properly. Follow these steps to test your cameras effectively:
- Power on the DVR/NVR and check that all connected cameras are recognized and displayed within the user interface or software.
- Review the live feeds from each camera to ensure you have a clear and uninterrupted video signal.
- Verify that the camera angles and field of view cover the desired areas without any significant blind spots.
- Test the camera’s motion detection by walking or placing objects within the camera’s monitored area. Ensure that the camera detects and records these movements accurately.
- Conduct a test recording to evaluate the video quality and verify that the footage is being captured and stored correctly. Check the playback functionality to ensure seamless access to recorded videos.
- If your system supports remote access, test the ability to view camera feeds and recorded footage on a smartphone, tablet, or computer. Verify that the remote access is working correctly and that the live feeds are accessible from outside your home network.
- Additionally, test any additional features or functionalities that your cameras may provide, such as audio recording or two-way communication.
- Check the camera’s night vision capabilities by observing the image quality in low-light conditions or darkness. Ensure that the infrared (IR) LEDs or any other night vision technology is functioning correctly.
During the testing phase, document any issues or concerns you encounter. This information can be valuable when troubleshooting or seeking assistance from the manufacturer or technical support team.
By thoroughly testing each camera, you can identify and address any potential issues, ensuring that your home security camera system is fully operational and providing the level of security and peace of mind you desire.
Conclusion
Congratulations! You’ve successfully wired and set up your home security camera system. By following the steps outlined in this guide, you are well on your way to enhancing the security and surveillance of your home.
Remember, the key to a reliable and effective home security camera system lies in careful planning, proper installation, and thorough testing. By gathering the necessary tools and materials, determining camera placements, running the cables, connecting the power source, and configuring the camera settings, you’ve taken important steps towards creating a robust security infrastructure for your home.
With your cameras installed and properly configured, you can now monitor your property, deter potential intruders, and have peace of mind knowing that you can keep a watchful eye on your home even when you’re away.
It’s important to periodically check and maintain your camera system. Ensure that cables are intact, cameras are clean, and software or firmware updates are applied as needed. Regularly testing your cameras and reviewing recorded footage can help identify any issues early on and ensure the continued functionality of your system.
If you encounter any difficulties or have specific requirements, don’t hesitate to consult the manufacturer’s documentation or seek professional assistance. They can provide expert advice and guidance tailored to your system.
By investing in a home security camera system and taking the time to wire and set it up properly, you are taking a proactive step towards safeguarding your home and loved ones. Enjoy the peace of mind that comes with knowing your property is protected and secure, all thanks to your own DIY installation skills!
Frequently Asked Questions about How To Wire A Home Security Camera
Was this page helpful?
At Storables.com, we guarantee accurate and reliable information. Our content, validated by Expert Board Contributors, is crafted following stringent Editorial Policies. We're committed to providing you with well-researched, expert-backed insights for all your informational needs.