Home>Home Security and Surveillance>How To Install A Security Camera On Soffit
Home Security and Surveillance
How To Install A Security Camera On Soffit
Modified: August 28, 2024
Learn how to install a security camera on your soffit for enhanced home security and surveillance. Step-by-step guide to ensure a seamless installation process.
(Many of the links in this article redirect to a specific reviewed product. Your purchase of these products through affiliate links helps to generate commission for Storables.com, at no extra cost. Learn more)
Introduction
Welcome to our guide on how to install a security camera on soffit. With the rise in home security concerns, many homeowners are turning to surveillance systems to protect their property and loved ones. Installing security cameras can provide you with peace of mind, as you can monitor your home and deter potential intruders.
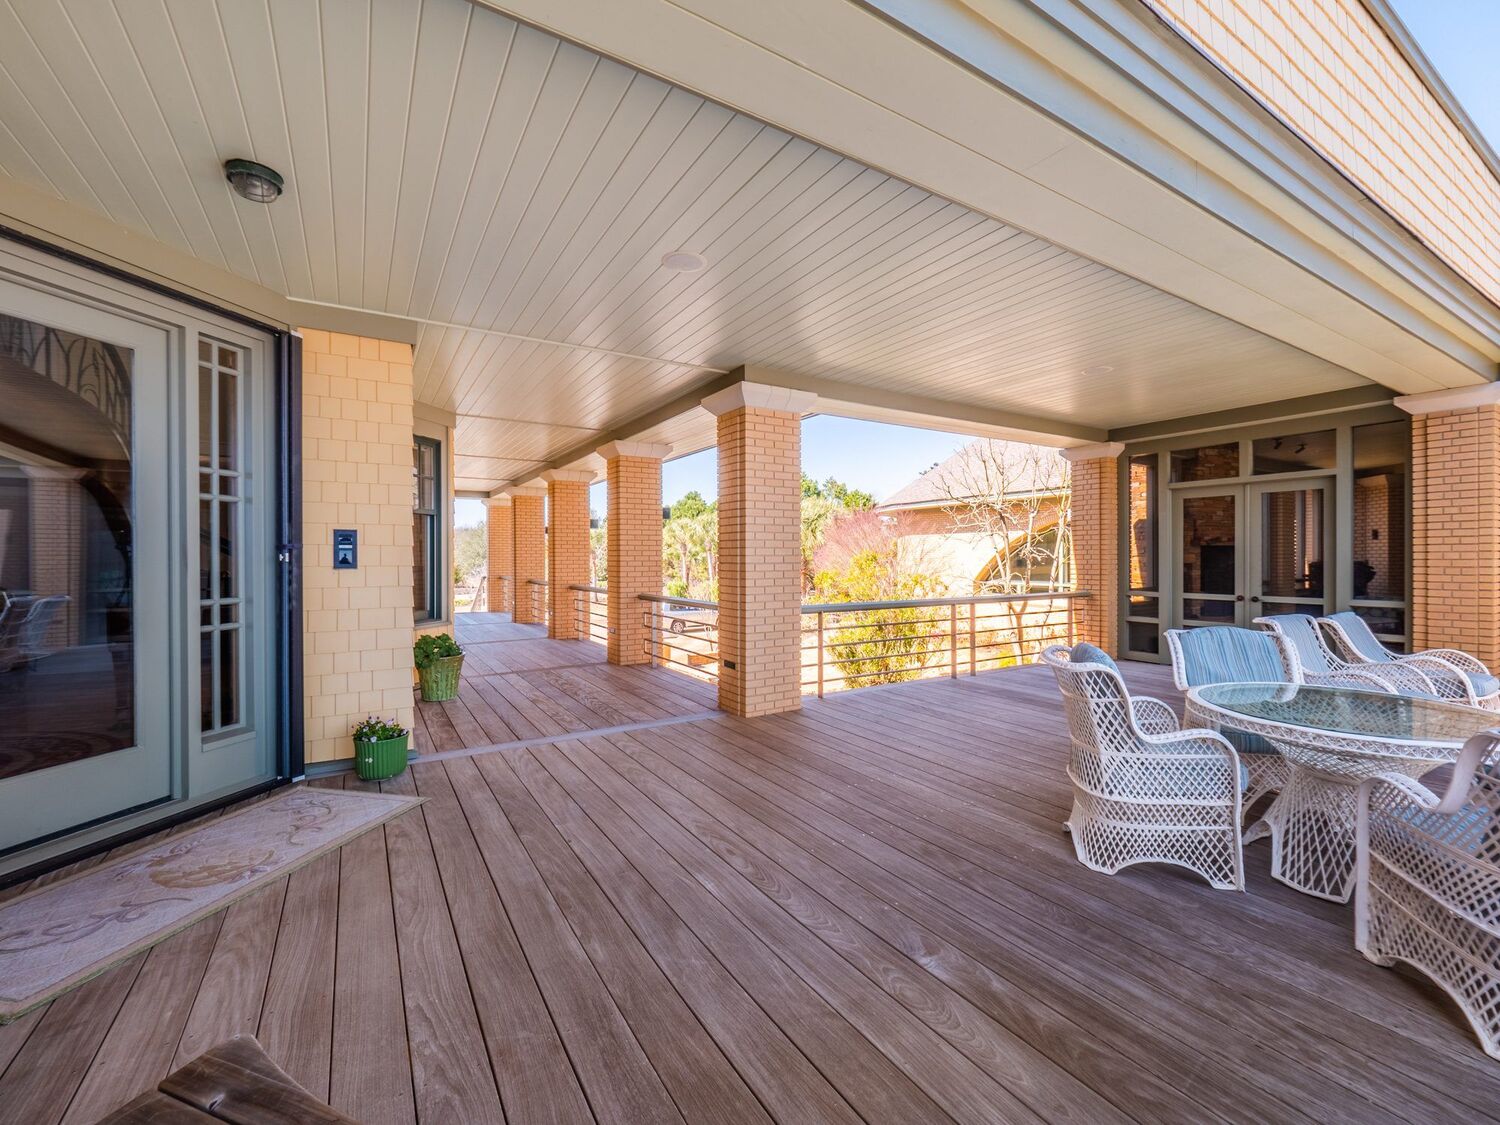
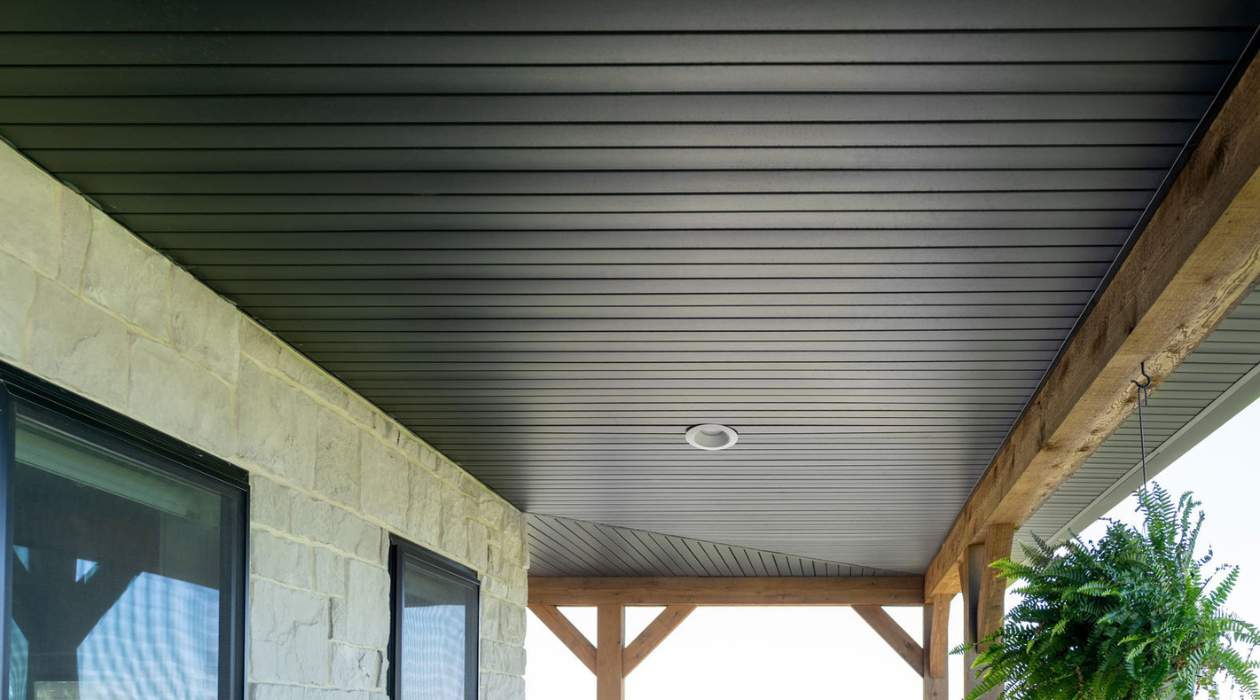
While there are different ways to install security cameras, mounting them on the soffit of your home offers several advantages. The soffit is the underside of the eaves or the overhanging section of the roof, making it an ideal location to install cameras for better coverage and less obstruction.
In this step-by-step guide, we will walk you through the process of installing a security camera on the soffit of your home. Whether you are a do-it-yourself enthusiast or a beginner, this guide will provide you with the necessary knowledge and tips to successfully complete the installation.
Before we begin, it’s essential to note that the specific steps may vary depending on the type of security camera and soffit you have. Always refer to the manufacturer’s instructions for your particular model to ensure a safe and effective installation.
So, let’s get started on installing your security camera on the soffit and taking the first step towards strengthening your home security.
Key Takeaways:
- Installing a security camera on your home’s soffit is a practical way to enhance security. Follow the step-by-step guide to choose the right location, securely mount the camera, and ensure optimal surveillance coverage.
- After installing the camera, test its functionality to ensure clear footage, motion detection, and remote access. Enjoy the peace of mind that comes with enhanced home security and real-time monitoring.
Read more: Who Installs Security Cameras
Step 1: Gather the necessary tools and materials
Before you begin the installation process, it’s important to gather all the tools and materials you will need. This will ensure a smooth and efficient installation without any interruptions. Here are the essential tools and materials you will need:
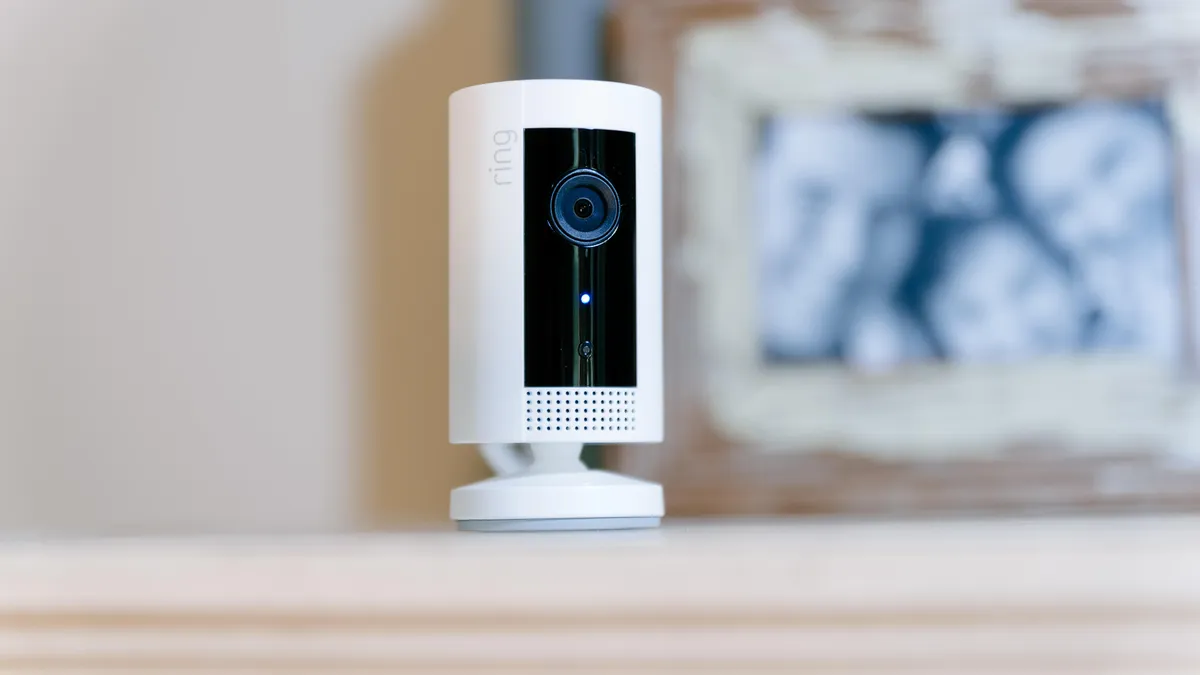
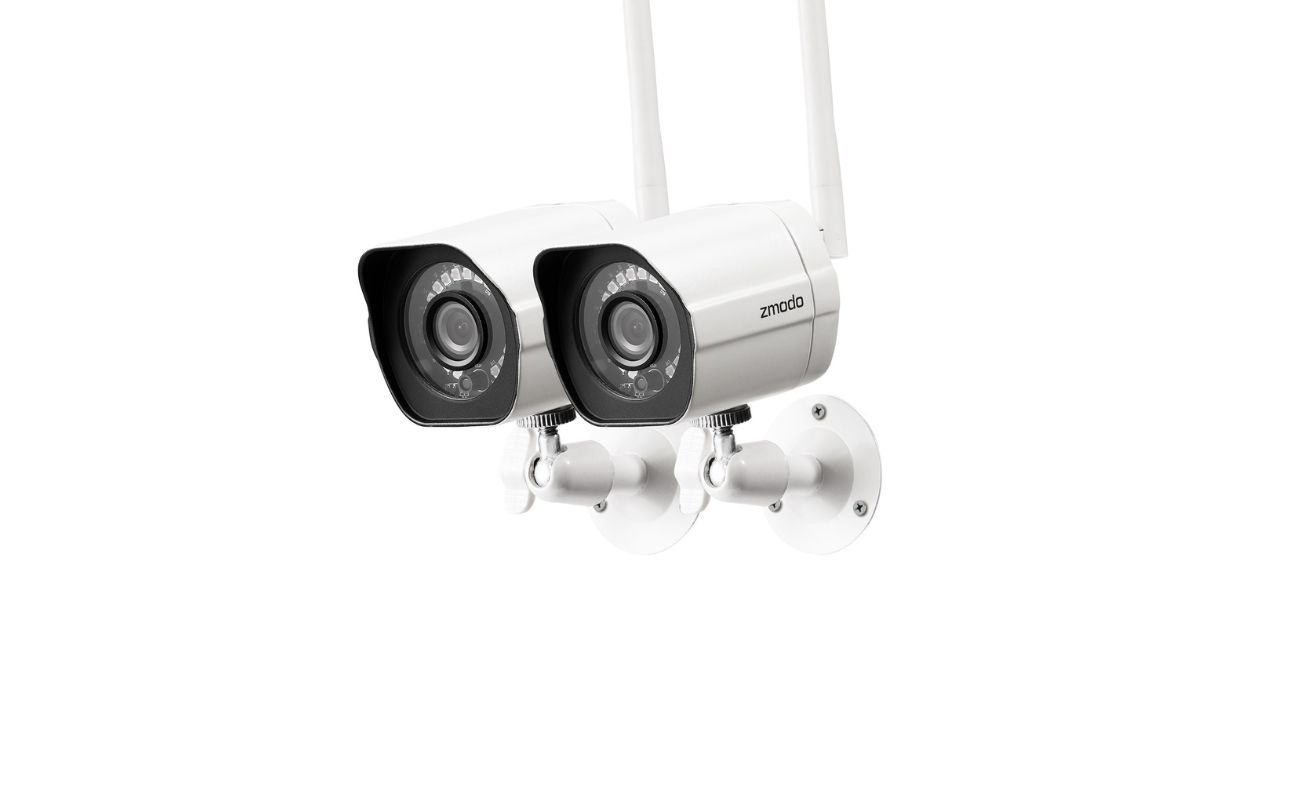
- Security camera: Choose a high-quality camera that suits your specific surveillance needs. Make sure it is designed for outdoor use and has the features you require, such as night vision or motion detection.
- Soffit mounting bracket: This is a specialized bracket designed to attach the security camera to the soffit. Ensure that the bracket is compatible with your camera model.
- Power drill: You will need a power drill to create holes in the soffit and mount the camera bracket securely.
- Drill bits: Use appropriate drill bits that are suitable for the material of your soffit. For example, if your soffit is made of wood, use wood drill bits, and if it is made of metal, use metal drill bits.
- Screws and anchors: Depending on the composition of your soffit, you may need screws and anchors to secure the camera bracket in place. Make sure they are durable and suitable for outdoor use.
- Wiring and connectors: If your security camera requires wiring, ensure that you have the necessary cables and connectors to establish the power and network connections.
- Ladder or scaffold: You will need a stable platform to safely access and work on the soffit. Choose a ladder or scaffold that can support your weight and provide a comfortable working height.
- Safety equipment: Safety should be a top priority during the installation process. Wear appropriate safety gear, such as protective eyewear and gloves, to prevent any potential injuries.
- Measuring tape and pencil: These tools will be essential for marking the drilling points and ensuring accurate placement of the camera bracket.
Once you have gathered all the necessary tools and materials, you are ready to move on to the next step: choosing the appropriate location on the soffit to mount your security camera.
Step 2: Choose the appropriate location on the soffit
Selecting the right location on the soffit for your security camera is crucial for optimal surveillance coverage. Here are some factors to consider when choosing the placement:
1. Visibility: Ensure that the camera has an unobstructed view of the area you want to monitor. Avoid installing it in areas with dense foliage or where other structures may block the view.
2. Coverage: Identify the specific areas of your property that require surveillance. This could include entry points, driveways, or high-risk areas. Position the camera in a way that maximizes coverage and minimizes blind spots.
3. Height: Mount the camera at a height that provides a clear view of the target area. This will help capture facial details and other important information if an incident occurs. Aim for a height between 8 to 10 feet for optimal results.
4. Protection from the elements: Consider the weather conditions in your area and choose a location that offers some protection from direct sunlight, rain, and snow. This will help prevent damage to the camera and ensure accurate surveillance footage.
5. Accessibility: Keep in mind that you may need to access the camera for maintenance or adjustments. Select a location that is easily accessible for future needs.
Once you have determined the ideal location, mark it on the soffit using a pencil. Double-check the positioning to ensure it meets your requirements before moving on to the next step.
In the next step, we will guide you through marking the drilling points on the soffit to prepare for the installation of the camera bracket.
Step 3: Mark the drilling points on the soffit
Now that you have chosen the appropriate location for your security camera on the soffit, it’s time to mark the drilling points to prepare for installation. Follow these steps:
1. Position the camera bracket: Hold the camera bracket against the soffit, aligning it with the marked location. Ensure that it is level and straight.
2. Mark the screw holes: Using a pencil or marker, carefully mark the screw holes on the soffit through the holes in the camera bracket. Make sure the marks are visible and accurate.
3. Double-check the positioning: Before proceeding further, verify that the markings align with your desired camera placement. This will help avoid any mistakes during the drilling process.
It’s essential to take your time and ensure precision when marking the drilling points. Double-checking the location will help prevent any unnecessary adjustments or errors during the installation.
In the next step, we will guide you through drilling holes in the soffit to mount the camera bracket securely.
Step 4: Drill holes for mounting the camera bracket
With the drilling points marked on the soffit, it’s time to move on to the next step: drilling holes to secure the camera bracket in place. Follow these steps:
1. Prepare the drill: Insert the appropriate drill bit into your power drill based on the material of your soffit. Make sure the drill bit is securely attached.
2. Drill the holes: Carefully position the drill bit on one of the marked drilling points and start drilling. Apply steady pressure and keep the drill perpendicular to the soffit to create a clean hole. Repeat this step for all the marked holes.
3. Remove debris: After drilling the holes, use a brush or blower to remove any debris or dust from the drilled holes. This will ensure a proper fit for the screws when mounting the camera bracket.
4. Check the size and alignment: Double-check the size and alignment of the drilled holes. Make sure they match the size of the screws and align with the camera bracket’s mounting holes. If necessary, adjust the holes accordingly to ensure a secure fit.
Remember to wear safety goggles and gloves during the drilling process to protect yourself from any flying debris. Additionally, use caution while handling the power drill to avoid accidents or injuries.
Once you have drilled the holes, you are ready to proceed to the next step: attaching the camera bracket to the soffit.
Read more: How To Install Lorex Security Camera
Step 5: Attach the camera bracket to the soffit
Now that the holes are drilled, it’s time to attach the camera bracket to the soffit. Follow these steps to securely mount the bracket:
1. Align the bracket: Position the camera bracket against the soffit, lining up the holes on the bracket with the drilled holes on the soffit. Ensure that the bracket is level and straight.
2. Insert the screws: Take one of the screws and insert it through the mounting hole on the bracket and into the corresponding hole on the soffit. Use a screwdriver or drill with a screw bit to drive the screw in, but be cautious not to overtighten.
3. Secure the bracket: Repeat the previous step for each of the remaining screws, driving them into the remaining holes of the bracket. Make sure they are tightened securely but avoid applying excessive force that could damage the soffit or bracket.
4. Double-check the stability: Once all the screws are in place, give the camera bracket a gentle shake to ensure it is securely attached to the soffit. If there is any noticeable movement, tighten the screws accordingly until the bracket feels stable.
It’s essential to maintain the levelness and alignment of the bracket throughout this step to ensure the proper positioning of the security camera. Taking your time to securely attach the bracket will help prevent any potential issues or damage in the future.
Now that the camera bracket is securely mounted, you are ready to move on to the next step: mounting the security camera onto the bracket.
When installing a security camera on soffit, make sure to use a mounting bracket designed for soffit installation. This will ensure a secure and stable attachment to the underside of the eaves.
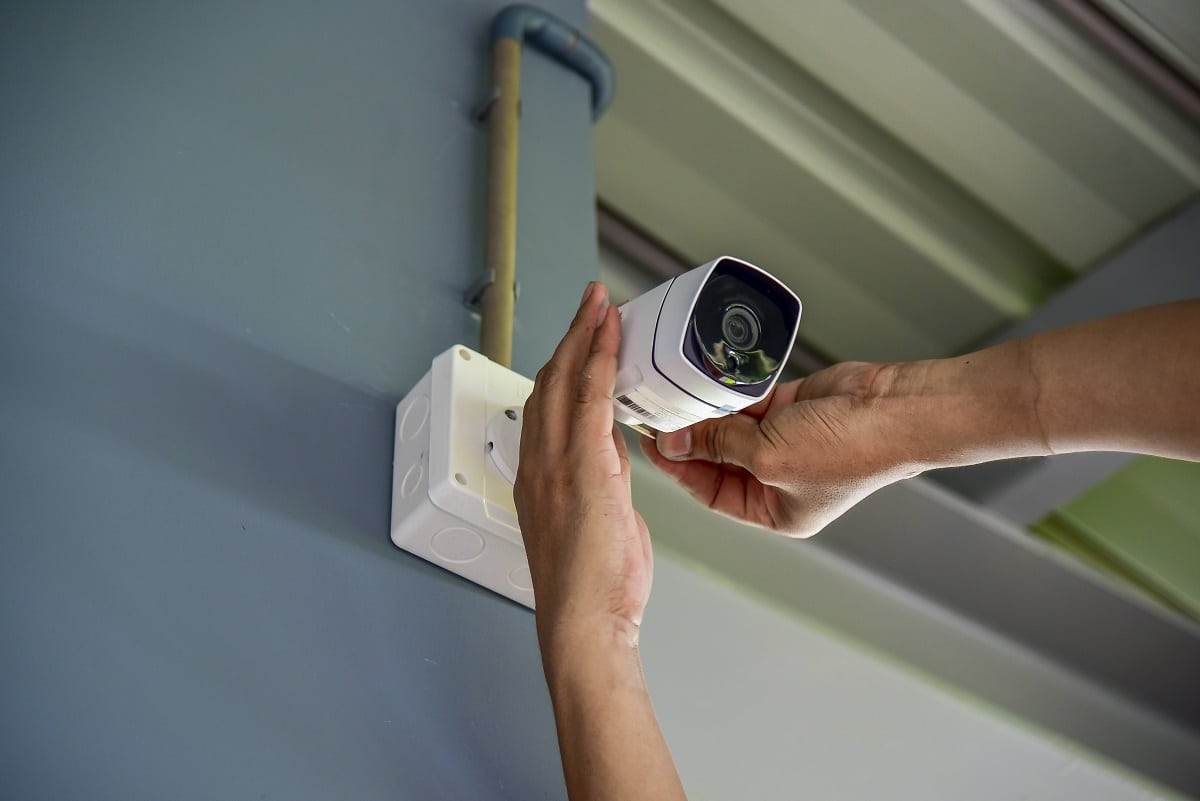
Step 6: Mount the security camera onto the bracket
With the camera bracket securely attached to the soffit, it’s time to mount the security camera onto the bracket. Here’s how to do it:
1. Locate the camera mounting screw: Most security cameras have a mounting screw located at the bottom or back of the camera body. This screw is used to attach the camera to the bracket.
2. Align the camera with the bracket: Hold the camera in a position that aligns the mounting screw with the opening on the camera bracket. Ensure that the camera is level and facing the desired field of view.
3. Insert the mounting screw: Gently insert the mounting screw through the camera’s mounting hole and into the opening on the camera bracket. Use a screwdriver to tighten the screw, but be careful not to over-tighten and damage the camera.
4. Adjust the camera angle: Once the camera is securely attached to the bracket, adjust its angle or position if needed. Most brackets allow for some degree of tilt or rotation to fine-tune the camera’s field of view. Make sure the camera is pointing in the direction you want to monitor.
5. Confirm stability: After adjusting the camera angle, ensure that the camera is stable and will not move or shift on its own. A secure and stable attachment is crucial to ensure proper surveillance.
It’s important to follow the manufacturer’s instructions for your specific camera model during the mounting process. Some cameras may require additional steps or specific methods for proper attachment. Refer to the camera’s user manual or online documentation for any specific guidelines.
With the camera securely mounted onto the bracket, you’re now ready to proceed to the next step: connecting the camera to power and the network.
Step 7: Connect the camera to power and network
Now that the security camera is mounted onto the bracket, it’s time to connect it to power and the network for proper functionality. Follow these steps to ensure a seamless connection:
1. Power source: Identify the power source for your security camera. Some cameras may require an electrical outlet nearby, while others may be powered via Ethernet (PoE) or have battery-powered options. Ensure that you have the appropriate power source available.
2. Power cable connection: If your camera requires a power cable, connect one end of the cable to the camera’s power input port and the other end to the power source. Make sure the connections are secure and that the cable is not exposed to any potential hazards.
3. Network connection: Determine the network connectivity option for your camera. This may include wired Ethernet connection or wireless connection via Wi-Fi. Follow the camera’s manufacturer instructions to establish the network connection.
4. Ethernet connection: If your camera has an Ethernet port, connect one end of the Ethernet cable to the camera and the other end to your router or network switch. Ensure that the connection is securely plugged in.
5. Wi-Fi setup: If your camera offers wireless connectivity, follow the setup instructions provided by the manufacturer. This typically involves connecting to the camera’s Wi-Fi network using a smartphone or computer and configuring the settings.
6. Test the connections: After connecting the camera to power and the network, verify that both the power and network connections are functioning properly. Check for any status indicators or lights on the camera that indicate a successful connection.
It’s crucial to ensure a stable and reliable power and network connection for your security camera. This will allow you to access and control the camera remotely, as well as receive real-time footage and alerts.
Now that the camera is connected, you can move on to the next step: adjusting the camera angle and direction for optimal surveillance coverage.
Step 8: Adjust the camera angle and direction
With the security camera connected to power and the network, the next step is to adjust the camera angle and direction for optimal surveillance coverage. Follow these steps to ensure the camera is positioned correctly:
1. Assess the field of view: Take a moment to assess the area you want the camera to monitor. Identify any key entry points, vulnerable areas, or other locations where surveillance is important.
2. Use the camera’s adjustment features: Most security cameras have features that allow you to adjust the angle and direction. These may include tilting, panning, or rotating. Use these features to position the camera towards the desired area.
3. Consider camera height: Determine the ideal camera height for your specific needs. A higher position can provide a broader view, but may reduce the ability to capture detailed facial features. Find a balance that suits your requirements.
4. Test camera angles: While adjusting the camera, it’s helpful to view the camera’s live feed. This can be done through a mobile app or monitoring software. Use this real-time feedback to fine-tune the camera’s angle and direction.
5. Minimize blind spots: Ensure that there are no blind spots in the camera’s view. Adjust the angle and direction to cover as much of the desired area as possible, while avoiding obstructions such as trees or walls.
6. Consider privacy concerns: Be mindful of privacy laws and respect the privacy of your neighbors. Adjust the camera’s angle to focus strictly on your property and avoid capturing sensitive areas of neighboring properties.
7. Fine-tune the position: Once you’ve found the optimal angle and direction, secure the camera in place. Double-check that it’s securely mounted and that it won’t easily shift or move over time.
By adjusting the camera angle and direction, you can maximize its surveillance capabilities and ensure that important areas are properly monitored. Taking the time to get the positioning just right will enhance the effectiveness of your security setup.
In the next step, we will guide you through testing the camera functionality to ensure it’s working correctly.
Read more: How Much To Install A Security Camera
Step 9: Test the camera functionality
After completing the installation and adjusting the camera angle, it’s important to test the camera’s functionality to ensure it is capturing clear footage and operating as expected. Follow these steps to test the camera:
1. Check the live feed: Use the camera’s mobile app or monitoring software to access the live feed from the camera. Make sure you can view the footage and that it is clear and of high quality. Adjust the settings if necessary to improve the image quality.
2. Test the motion detection: If your camera has motion detection capabilities, walk through the camera’s field of view to ensure it captures any movement. Verify that you receive alerts or notifications on your mobile device or via email, depending on the camera’s settings.
3. Adjust the camera settings: Explore the camera’s settings to customize features such as recording modes, resolution, night vision, and scheduling. Familiarize yourself with these settings and make any necessary adjustments for your specific needs.
4. Test the night vision: If your camera has night vision capabilities, perform a test in low-light or nighttime conditions to ensure that the night vision feature is working correctly. Make any necessary adjustments to improve the visibility in dark environments.
5. Check the recording storage: If your camera has local storage or is connected to a cloud storage service, verify that the camera is recording and saving footage properly. Test accessing and reviewing the recorded footage to ensure it is being captured accurately.
6. Test remote access: If you plan to access the camera remotely, such as through a mobile app or web portal, ensure that you can successfully connect to the camera from a different network. This will allow you to monitor your property even when you are away.
7. Verify any additional features: If your camera has other features such as two-way audio or advanced analytics, test these features to ensure they are functioning correctly.
Taking the time to test the camera’s functionality will give you peace of mind and ensure that it is performing as expected. If you encounter any issues during the testing process, consult the camera’s user manual or contact the manufacturer for troubleshooting support.
Congratulations! You have successfully installed and tested your security camera. With the camera up and running, you can now enjoy enhanced home security and monitor your property with ease.
Conclusion
Installing a security camera on the soffit of your home is a practical and effective way to enhance your home security. By following the step-by-step guide outlined in this article, you can successfully install a security camera and have peace of mind knowing that your property is being monitored.
We started by gathering the necessary tools and materials, ensuring that we had everything we needed for the installation. We then moved on to choosing the appropriate location on the soffit, considering factors such as visibility, coverage, and protection from the elements.
After marking the drilling points on the soffit, we drilled holes to mount the camera bracket securely. With the camera bracket in place, we proceeded to mount the security camera onto the bracket, ensuring that it was properly aligned and tightened.
Next, we connected the camera to power and the network, establishing a reliable connection for remote access and real-time monitoring. We then adjusted the camera angle and direction to optimize the surveillance coverage, minimizing blind spots and ensuring optimal performance.
Finally, we thoroughly tested the camera functionality, checking the live feed, motion detection, night vision, recording storage, and remote access. By verifying the camera’s performance, we can have confidence that our security system is working effectively.
With your security camera successfully installed and tested, you can now enjoy the benefits of improved home security and peace of mind. Remember to periodically check the camera and perform routine maintenance to ensure it continues to operate optimally.
Install a security camera on your soffit today and take control of your home security. With advanced surveillance technology at your fingertips, you can protect your home and loved ones with confidence. Stay vigilant, stay secure!
Now that you've got the hang of setting up a security camera on your soffit, why stop there? Securing your home goes beyond just installation. Dive deeper into the essentials of protecting your living space with our detailed guide on why safeguarding your residence is paramount. Learn more about proactive measures and the benefits of a robust security system.
Frequently Asked Questions about How To Install A Security Camera On Soffit
Was this page helpful?
At Storables.com, we guarantee accurate and reliable information. Our content, validated by Expert Board Contributors, is crafted following stringent Editorial Policies. We're committed to providing you with well-researched, expert-backed insights for all your informational needs.