Home>Home Security and Surveillance>How To Turn My Laptop Into A Free Home Surveillance Camera

Home Security and Surveillance
How To Turn My Laptop Into A Free Home Surveillance Camera
Modified: March 6, 2024
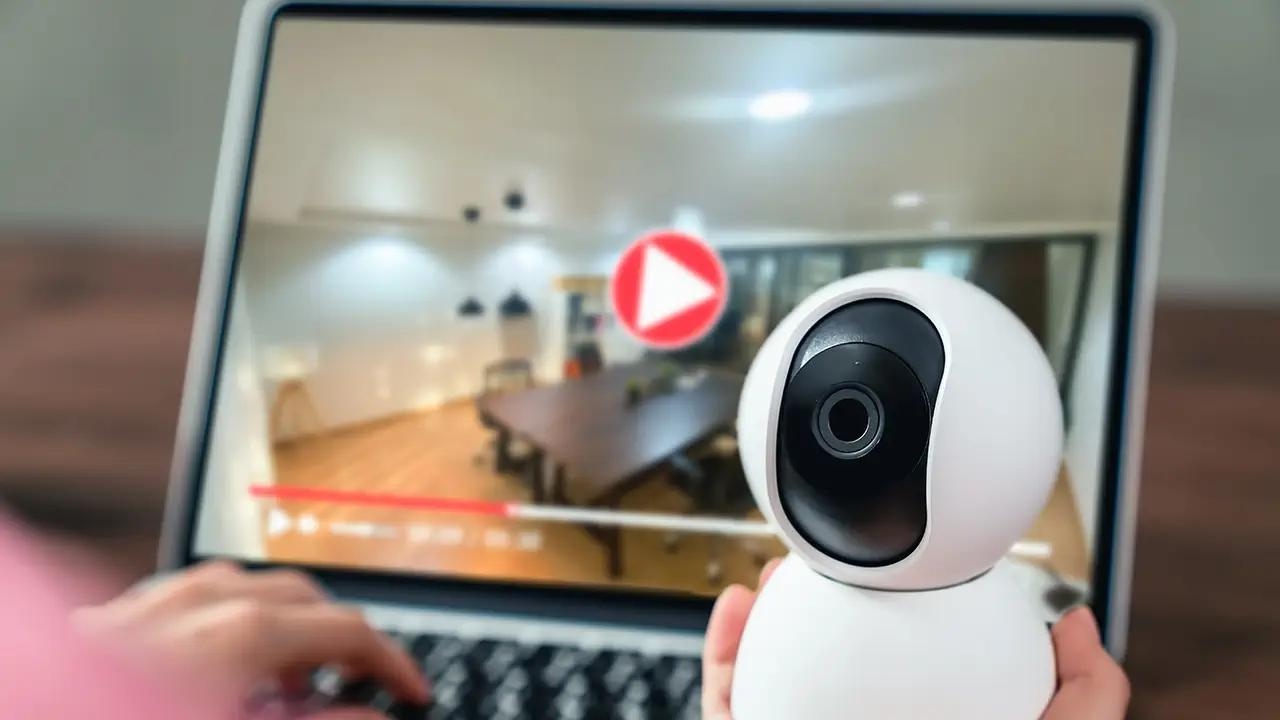
Learn how to turn your laptop into a free home surveillance camera and enhance your home security and surveillance measures.
(Many of the links in this article redirect to a specific reviewed product. Your purchase of these products through affiliate links helps to generate commission for Storables.com, at no extra cost. Learn more)
Introduction
Home security is a top priority for many homeowners. While there are various options available in the market, some of them can be expensive and require professional installation. However, did you know that you can turn your laptop into a free home surveillance camera? With the right software and configuration, you can transform your laptop into a powerful security tool that allows you to monitor your home remotely.
In this article, we will guide you through the process of setting up your laptop as a surveillance camera. You don’t need any advanced technical skills, just a laptop with a camera and an internet connection. So let’s get started!
Key Takeaways:
- Turn your laptop into a free home surveillance camera by following simple steps. Check your laptop’s camera, install surveillance software, and configure motion detection for added security.
- Enhance your home security with advanced features like cloud storage, mobile app integration, and two-way audio. Transform your laptop into a powerful surveillance tool to protect your loved ones and belongings.
Read more: How To Use Laptop As A Security Camera
Step 1: Check the laptop’s camera capabilities
The first step in turning your laptop into a home surveillance camera is to check if your laptop has a built-in camera. Most modern laptops come equipped with a webcam, but it’s important to verify its functionality and quality.
To do this, open any video calling application or software that allows you to use the camera. Test the camera by capturing a picture or recording a short video. Assess the image quality and make sure the camera is working properly without any glitches or hardware issues.
If your laptop doesn’t have a built-in camera, you can consider purchasing an external webcam. These webcams are affordable and can easily be connected to your laptop via USB. Make sure to choose a webcam with good resolution and low-light capabilities for optimal surveillance results.
Once you have confirmed that your laptop’s camera is functioning properly, you can proceed to the next step of installing surveillance software.
Step 2: Install surveillance software
Now that you have confirmed that your laptop’s camera is in working order, the next step is to install surveillance software. There are several options available, both free and paid, that you can choose from depending on your specific needs and preferences.
One popular choice is the iSpy software, which is open-source and free to use. It offers a range of features, including motion detection, remote access, and cloud storage. Another option worth considering is Yawcam, which is also free and offers similar functionalities.
To install the surveillance software, visit the respective software’s website and download the installation file. Run the installer and follow the on-screen instructions to complete the installation process.
Once the software is installed on your laptop, you can proceed to the next step of configuring the surveillance software.
Step 3: Configure the surveillance software
After installing the surveillance software on your laptop, it’s time to configure the settings to tailor it according to your specific needs. This step allows you to customize various aspects of the surveillance system and optimize its performance.
First, open the surveillance software and navigate to the settings or preferences menu. Here, you can adjust parameters such as video resolution, frame rate, and storage location. It’s important to strike a balance between video quality and storage space, especially if you plan to keep recordings for an extended period.
Next, set up a secure username and password to restrict access to the surveillance system. This ensures that only authorized users can view the live stream or access recorded footage.
Additionally, configure the software to start automatically when your laptop starts up. This ensures that the surveillance system is always ready to go and provides continuous monitoring, even if your laptop restarts for any reason.
Some surveillance software also offers advanced features such as scheduling, email notifications, and remote access. Explore these options and adjust them as per your requirements.
Once you have configured the software settings, you can proceed to the next step of setting up motion detection.
Step 4: Set up motion detection
One of the key features of a home surveillance system is motion detection. Configuring motion detection ensures that the camera only captures footage when there is activity, reducing the amount of storage space required and making it easier to review relevant events.
In the surveillance software, navigate to the motion detection settings. Adjust the sensitivity level to your preference. A higher sensitivity level will capture even the slightest movement, while a lower sensitivity level may require more significant motion to trigger recording.
Place your laptop in a strategic position where it can capture the area you want to monitor. Make sure the camera has a clear view and is not obstructed by any objects or furniture.
Test the motion detection by moving around the monitored area. Ensure that the software recognizes the movement and begins recording. Adjust the sensitivity level if needed to avoid false alarms triggered by minor movements such as changes in lighting or curtains moving due to airflow.
You can also set up recording schedules to determine when motion detection should be active. For example, if you only want the surveillance system to capture footage during nighttime hours, you can configure the software to activate motion detection only during that time period.
With motion detection set up, your laptop is ready to capture any activity that occurs in the monitored area. In the next step, we will explore how to connect to a live stream to monitor your home remotely.
You can use free software like iSpy or Manything to turn your laptop into a home surveillance camera. Just install the software, set up your camera preferences, and you’re good to go!
Read more: How To Turn Off Security Cameras
Step 5: Connect to a live stream
Now that you have set up motion detection and configured your surveillance software, it’s time to connect to a live stream so that you can monitor your home remotely.
Start by launching the surveillance software on your laptop. Look for the option to view the live stream or access the camera feed. In most cases, you can find this option on the main interface of the software.
To access the live stream remotely, you need to ensure that your laptop is connected to the internet. Make sure you have a stable internet connection and that your laptop is connected either via Wi-Fi or an Ethernet cable.
Once you have confirmed the internet connection, note down the IP address of your laptop. This can typically be found in the settings or preferences menu of the surveillance software. You may need this IP address to access the live stream on another device.
Next, grab another device such as a smartphone, tablet, or another computer, and open a web browser. In the address bar, type in the IP address followed by the specific port used by the surveillance software. This will redirect you to the live stream page.
You should now be able to view the live stream from your laptop’s camera on the remote device. You can monitor your home in real-time and keep an eye on any suspicious activities or unexpected events.
Remember to keep your laptop powered on and connected to the surveillance software for uninterrupted access to the live stream. You can also explore the option of enabling remote access for added convenience.
In the next step, we will discuss how to enable remote access to your surveillance system.
Step 6: Enable remote access
Enabling remote access to your home surveillance system allows you to view the live stream and access recorded footage from anywhere in the world. This is especially useful if you’re away from home and want to keep an eye on your property.
To enable remote access, you need to configure your router to allow external access to your laptop’s IP address and surveillance software. The process may vary depending on your router model, but generally involves accessing your router’s settings page.
Log in to your router’s administration interface by entering the router’s IP address in a web browser. Refer to your router’s user manual or the manufacturer’s website for specific instructions on how to access the settings page.
Once you’re logged in, locate the “Port Forwarding” or “Virtual Server” section. Here, you need to create a new rule or entry to forward incoming requests for your surveillance software’s port to your laptop’s IP address.
Specify the port number used by the surveillance software and the local IP address of your laptop. Save the settings and apply the changes. This will allow external devices to connect to your surveillance system through your router.
To access the live stream remotely, use your external IP address, which can be found by doing a quick search on websites like “What is my IP address.” Enter the external IP address in a web browser followed by the specific port used by the surveillance software. You should now be able to view the live stream remotely.
It’s important to ensure that your laptop’s IP address remains static. In some cases, the IP address may change each time the router is restarted. If this happens, consider setting up a static IP address for your laptop to avoid losing remote access functionality.
And there you have it! You have successfully enabled remote access to your home surveillance system, allowing you to monitor your home from anywhere.
Lastly, there are some optional advanced features that you can explore to further enhance your home surveillance system, which we will discuss in the next step.
Step 7: Optional advanced features
Now that you have set up your laptop as a home surveillance camera and enabled remote access, there are a few optional advanced features you can explore to enhance your home security system.
1. Cloud storage: Consider utilizing cloud storage services to store your recorded footage securely. This provides an additional layer of protection in case your laptop is damaged or stolen. Cloud storage also allows you to access your recordings from anywhere without the need to store them locally.
2. Mobile app integration: Many surveillance software solutions offer mobile apps that allow you to monitor your home on the go. Install the mobile app on your smartphone or tablet and access the live stream, view recorded footage, and receive motion detection notifications directly from your mobile device.
3. Two-way audio: Some surveillance software supports two-way audio, enabling you to communicate with anyone near the camera. This feature can be useful for interaction with family members or to deter potential intruders by speaking through the laptop’s speakers.
4. Integration with smart home devices: If you have a smart home ecosystem, explore the compatibility of your surveillance software with your existing devices. You can integrate your home security system with devices such as smart lights, alarms, or voice assistants to create a cohesive and automated security setup.
5. Multiple camera setup: If you have multiple laptops or cameras, you can synchronize them with the surveillance software to create a comprehensive and multi-angle surveillance system. This allows you to monitor different areas of your home simultaneously.
Remember to regularly update your surveillance software and keep your laptop’s antivirus software up to date to ensure the security of your system. Also, make sure to comply with local laws and regulations regarding surveillance and privacy.
By exploring these optional advanced features, you can customize your home surveillance system to meet your specific needs and enhance the security of your property.
To conclude, turning your laptop into a free home surveillance camera is a cost-effective and convenient solution for monitoring your home. Follow these steps and make the most of your existing laptop’s capabilities to ensure the safety and security of your household.
Conclusion
Transforming your laptop into a free home surveillance camera is a practical way to enhance the security of your home without investing in expensive surveillance systems. By following the steps outlined in this article, you can easily set up your laptop to monitor your home remotely.
Start by checking your laptop’s camera capabilities and ensuring it is in working order. If necessary, consider purchasing an external webcam with good resolution and low-light capabilities. Install and configure the surveillance software of your choice, adjusting the settings to suit your preferences.
Set up motion detection to capture relevant events and reduce storage space usage. Connect to a live stream from another device by accessing your laptop’s IP address and specific port. Enable remote access by configuring your router to allow external connections to your surveillance software.
For advanced features, consider using cloud storage for secure footage storage and remote access from anywhere. Explore mobile app integration, two-way audio, integration with smart home devices, and set up a multiple camera system for enhanced surveillance capabilities.
Remember to regularly update your software and take necessary security precautions to safeguard your home surveillance system.
With your laptop transformed into a home surveillance camera, you can have peace of mind knowing that you can monitor your home remotely and keep an eye on any suspicious activities or unexpected events.
So, take advantage of your existing resources and turn your laptop into a powerful home security tool to protect your loved ones and valuable belongings.
Frequently Asked Questions about How To Turn My Laptop Into A Free Home Surveillance Camera
Was this page helpful?
At Storables.com, we guarantee accurate and reliable information. Our content, validated by Expert Board Contributors, is crafted following stringent Editorial Policies. We're committed to providing you with well-researched, expert-backed insights for all your informational needs.
