Home>Ideas and Tips>Home Bar Kegerator Installation: Fresh Draft Beer at Home
Ideas and Tips
Home Bar Kegerator Installation: Fresh Draft Beer at Home
Modified: October 29, 2024
Learn how to install a kegerator in your home bar for fresh draft beer anytime. Follow our step-by-step guide for a perfect setup.
(Many of the links in this article redirect to a specific reviewed product. Your purchase of these products through affiliate links helps to generate commission for Storables.com, at no extra cost. Learn more)
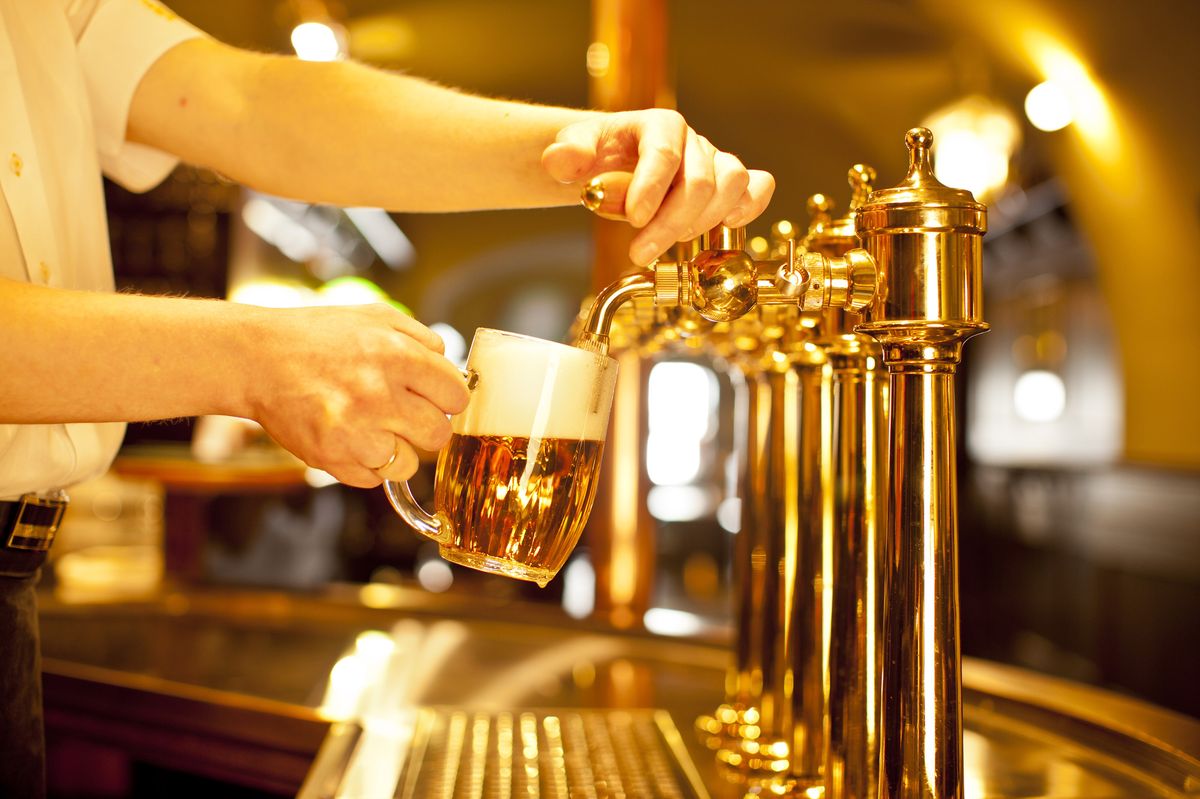
Welcome to Storables, your premier source for home improvement tips and tricks. Today, we’re excited to dive into the world of draft beer and explore how you can set up a kegerator in your home bar. Whether you’re a beer enthusiast or simply looking to elevate your entertaining game, this guide will walk you through every step of the process, from choosing the right equipment to ensuring your beer is always fresh and delicious.
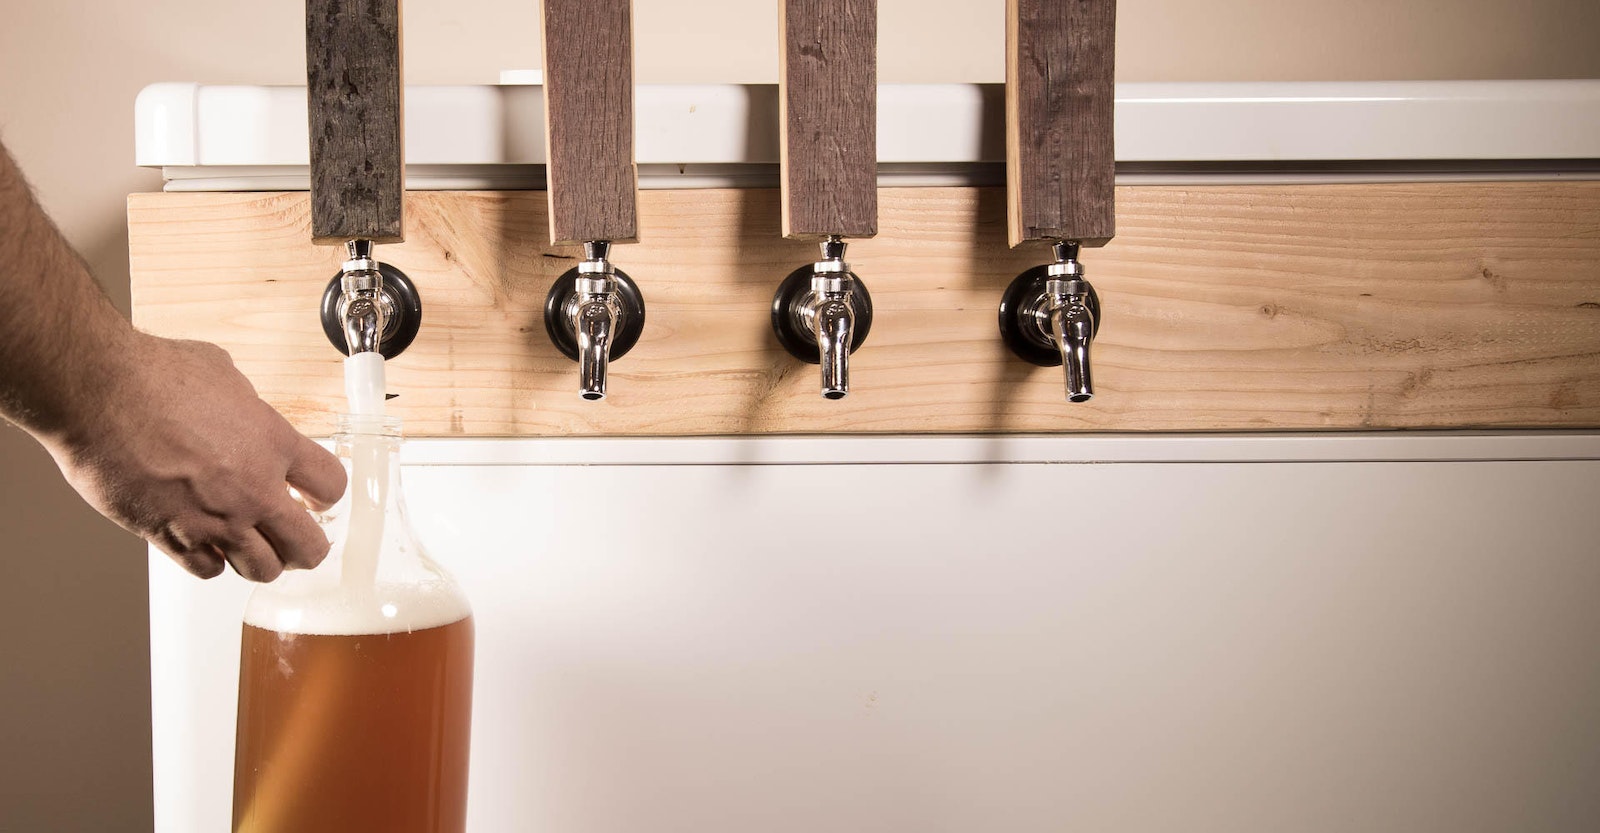
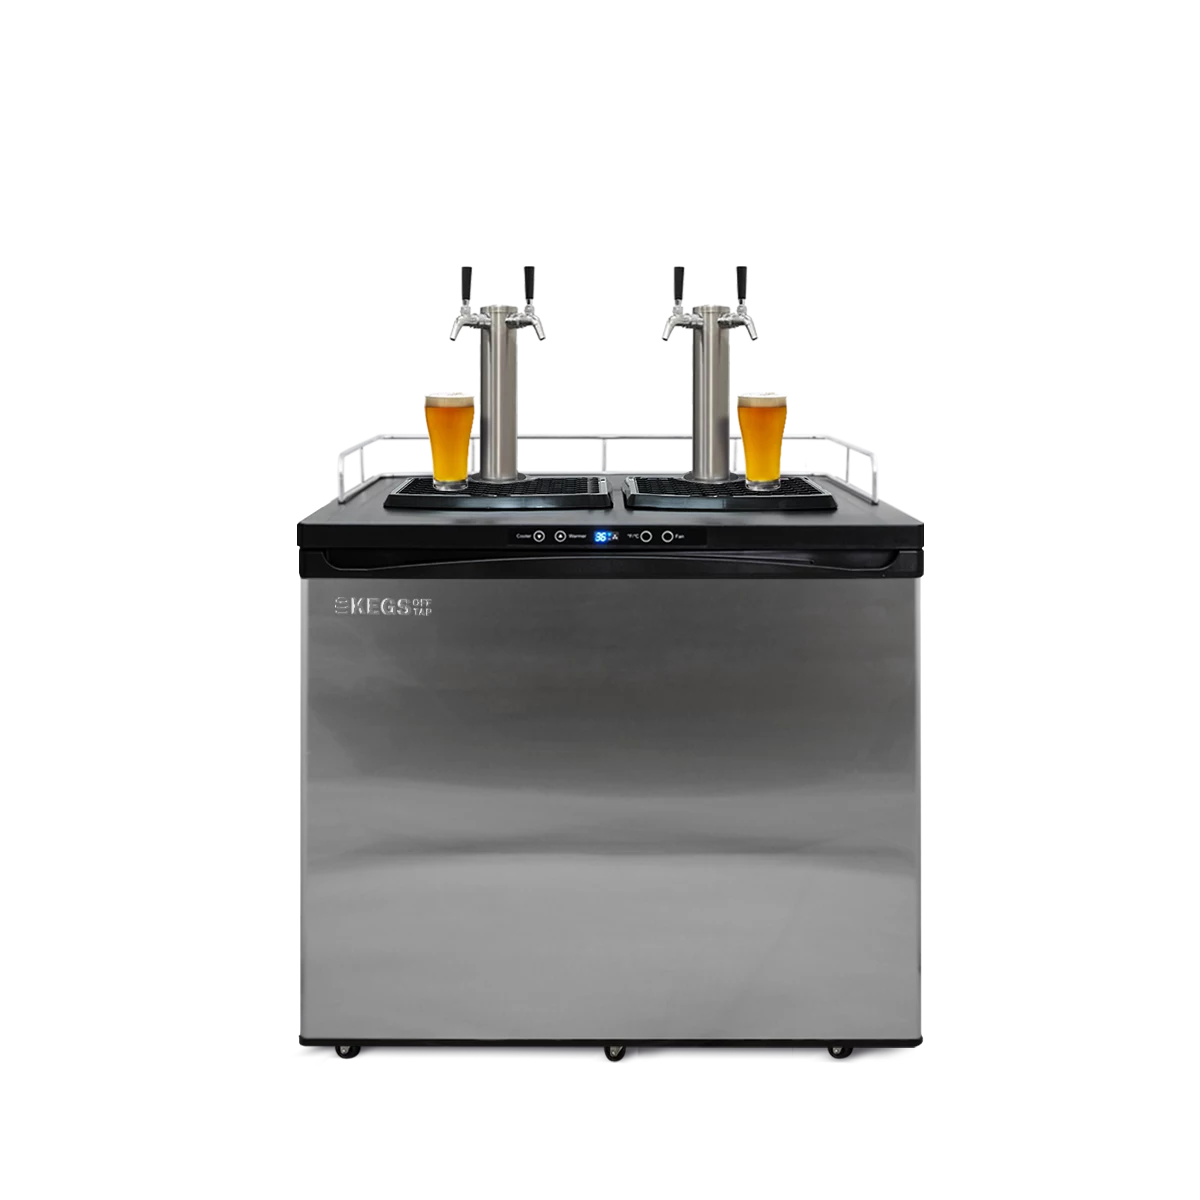
Choosing the Right Kegerator
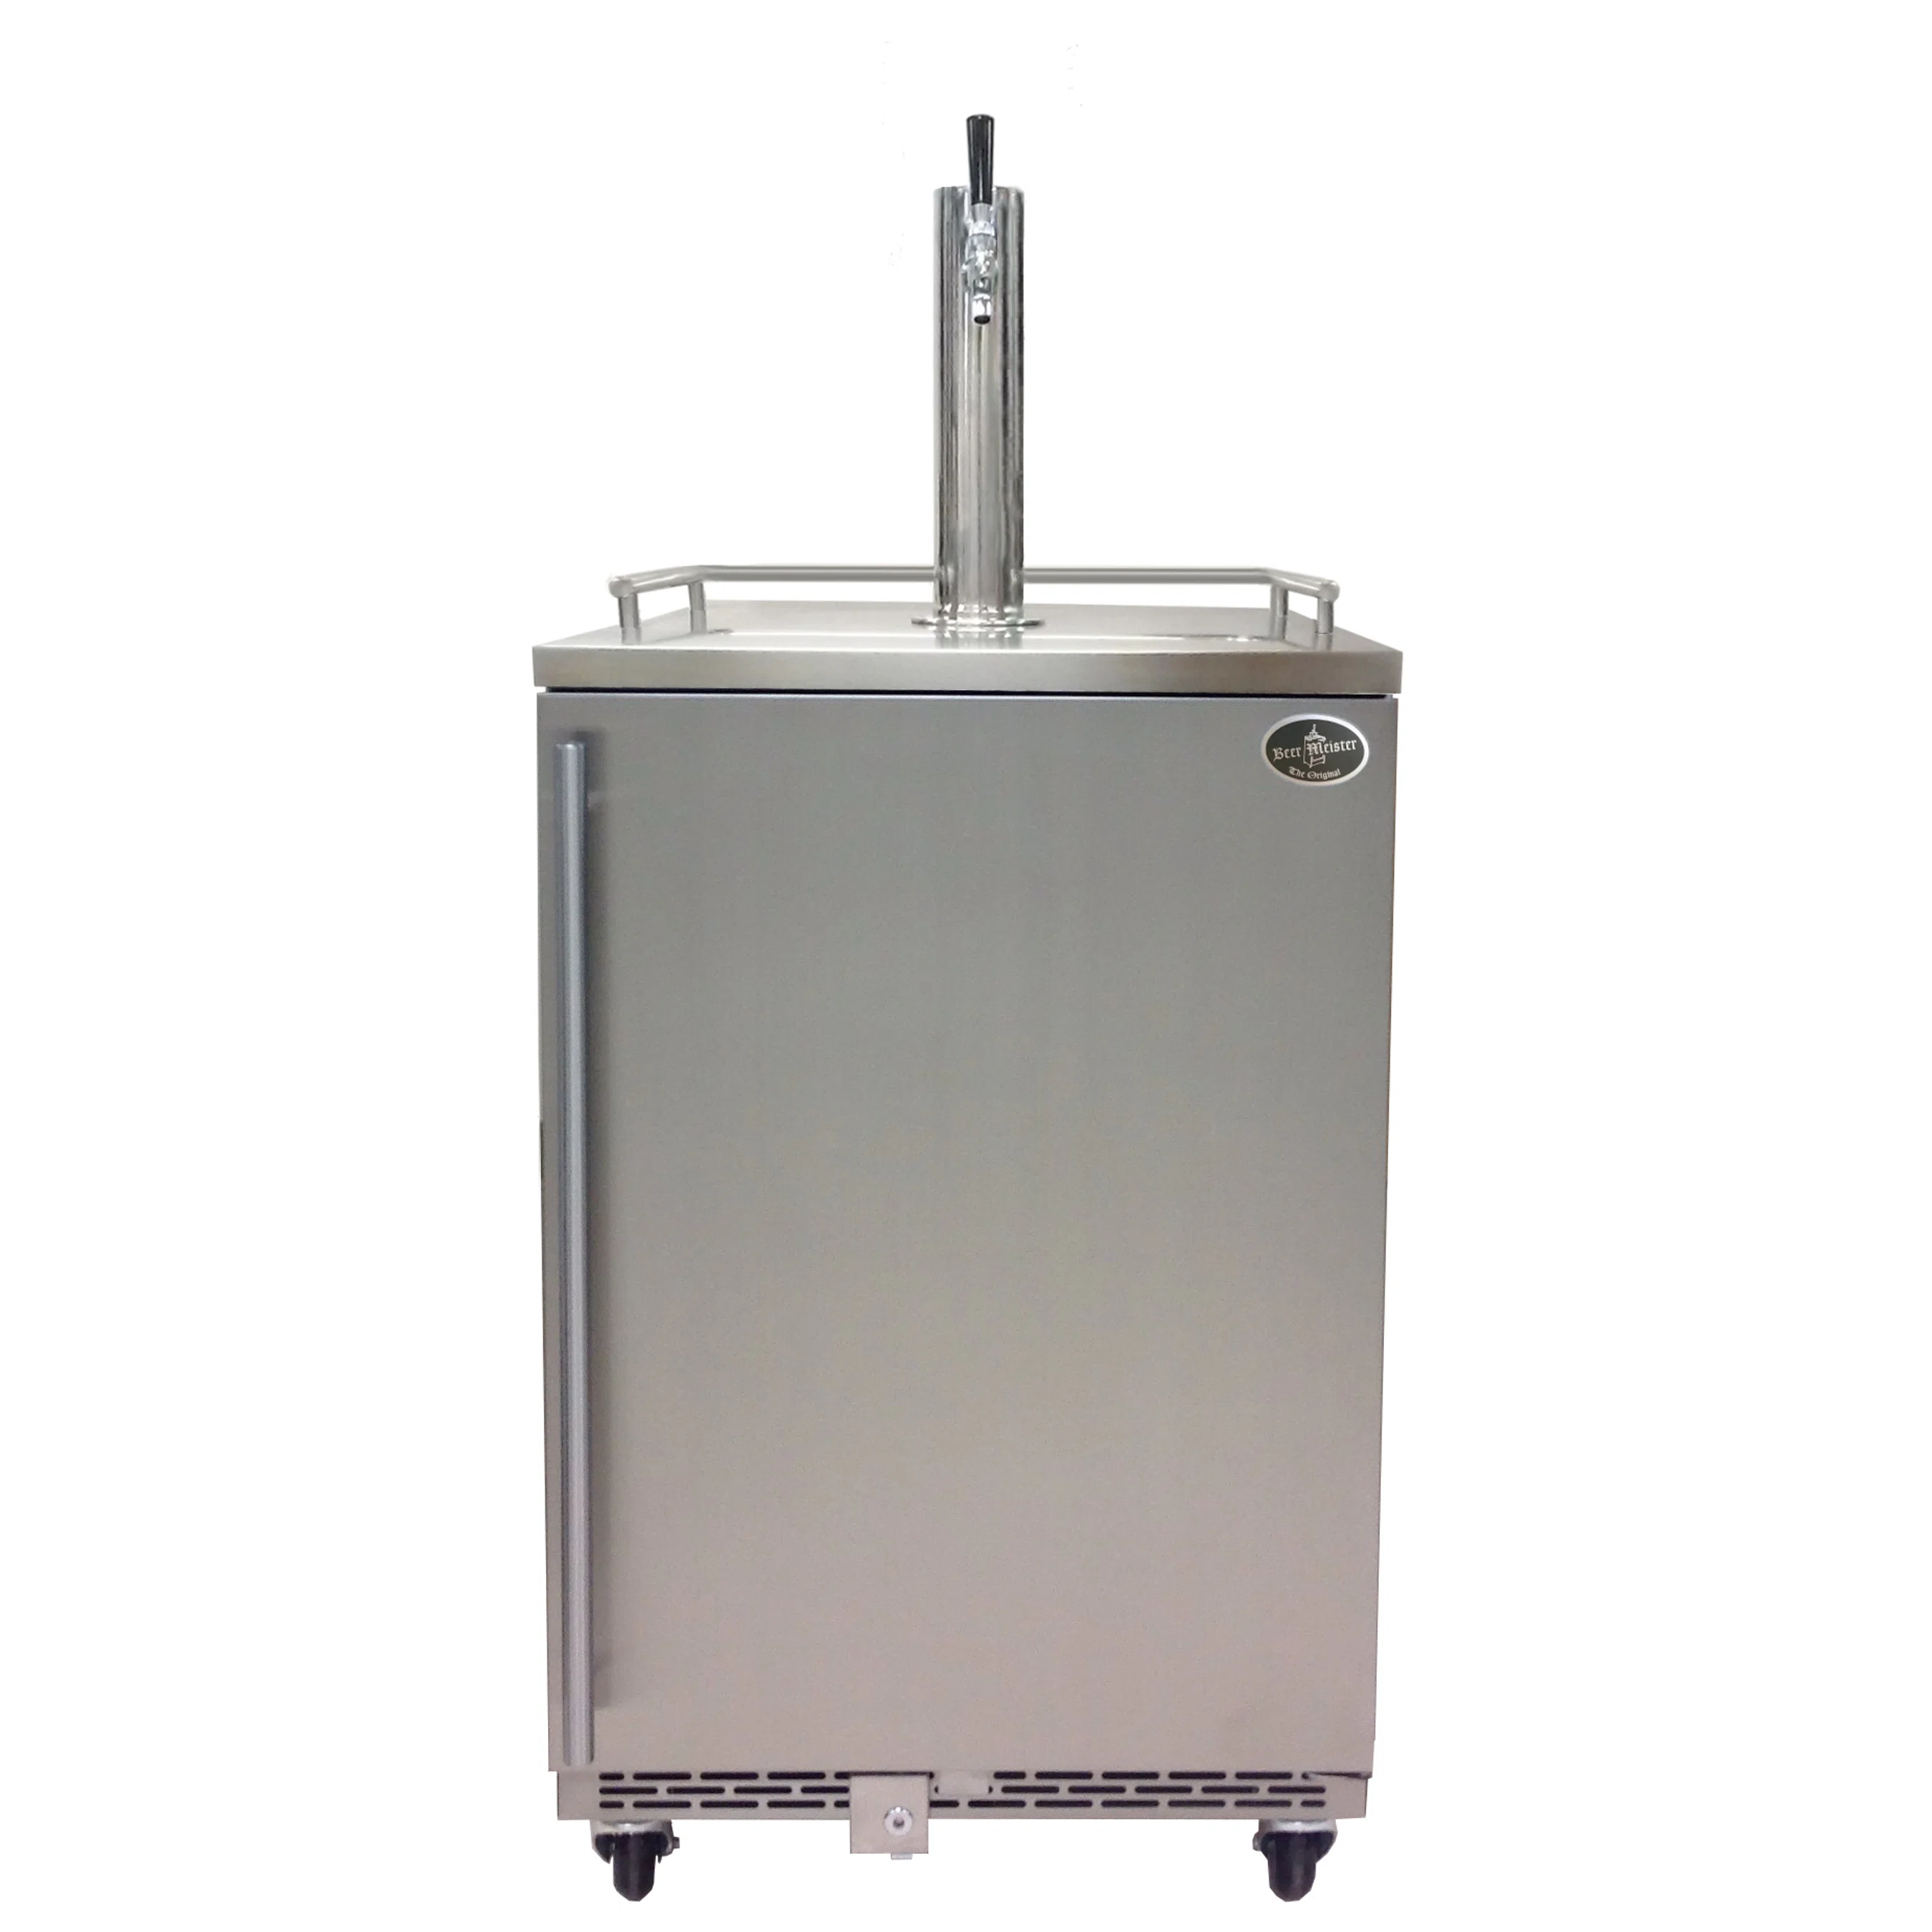
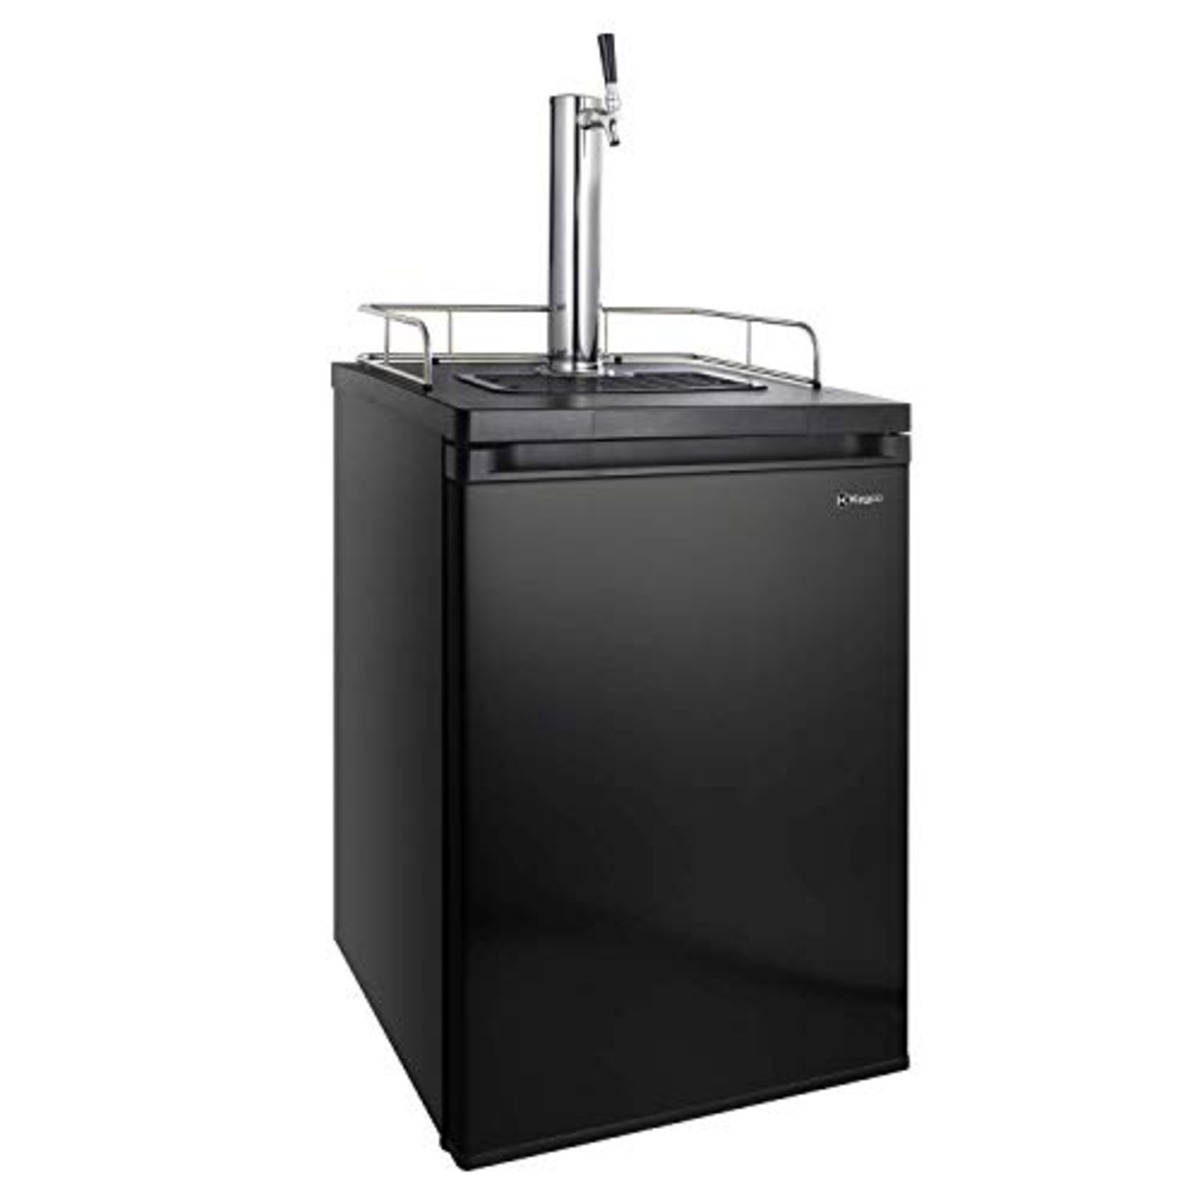
Before we begin, it’s essential to understand what a kegerator is and what options are available. A kegerator is a self-contained refrigerated beverage dispenser designed specifically for serving draft beer. These units come in various styles, each catering to different needs and spaces:
-
Freestanding Kegerators: These units can be placed anywhere with power and often come with casters for easy mobility. They are ideal for those who want a versatile and portable solution.
-
Under Counter Kegerators: These models are designed to be built into a bar area or under a kitchen counter. They are equipped with proper ventilation to manage warm exhaust air created by the motor.
-
Outdoor Kegerators: For those who want to enjoy draft beer outdoors, there are kegerators built with stainless steel exteriors to prevent rusting and sealed backs to protect electrical components from moisture.
When selecting a kegerator, consider the space where it will be installed, the number of kegs you plan to store, and any additional features you might need (like temperature control or multiple taps).
Read more: Where To Buy Kegerator Draft Towers
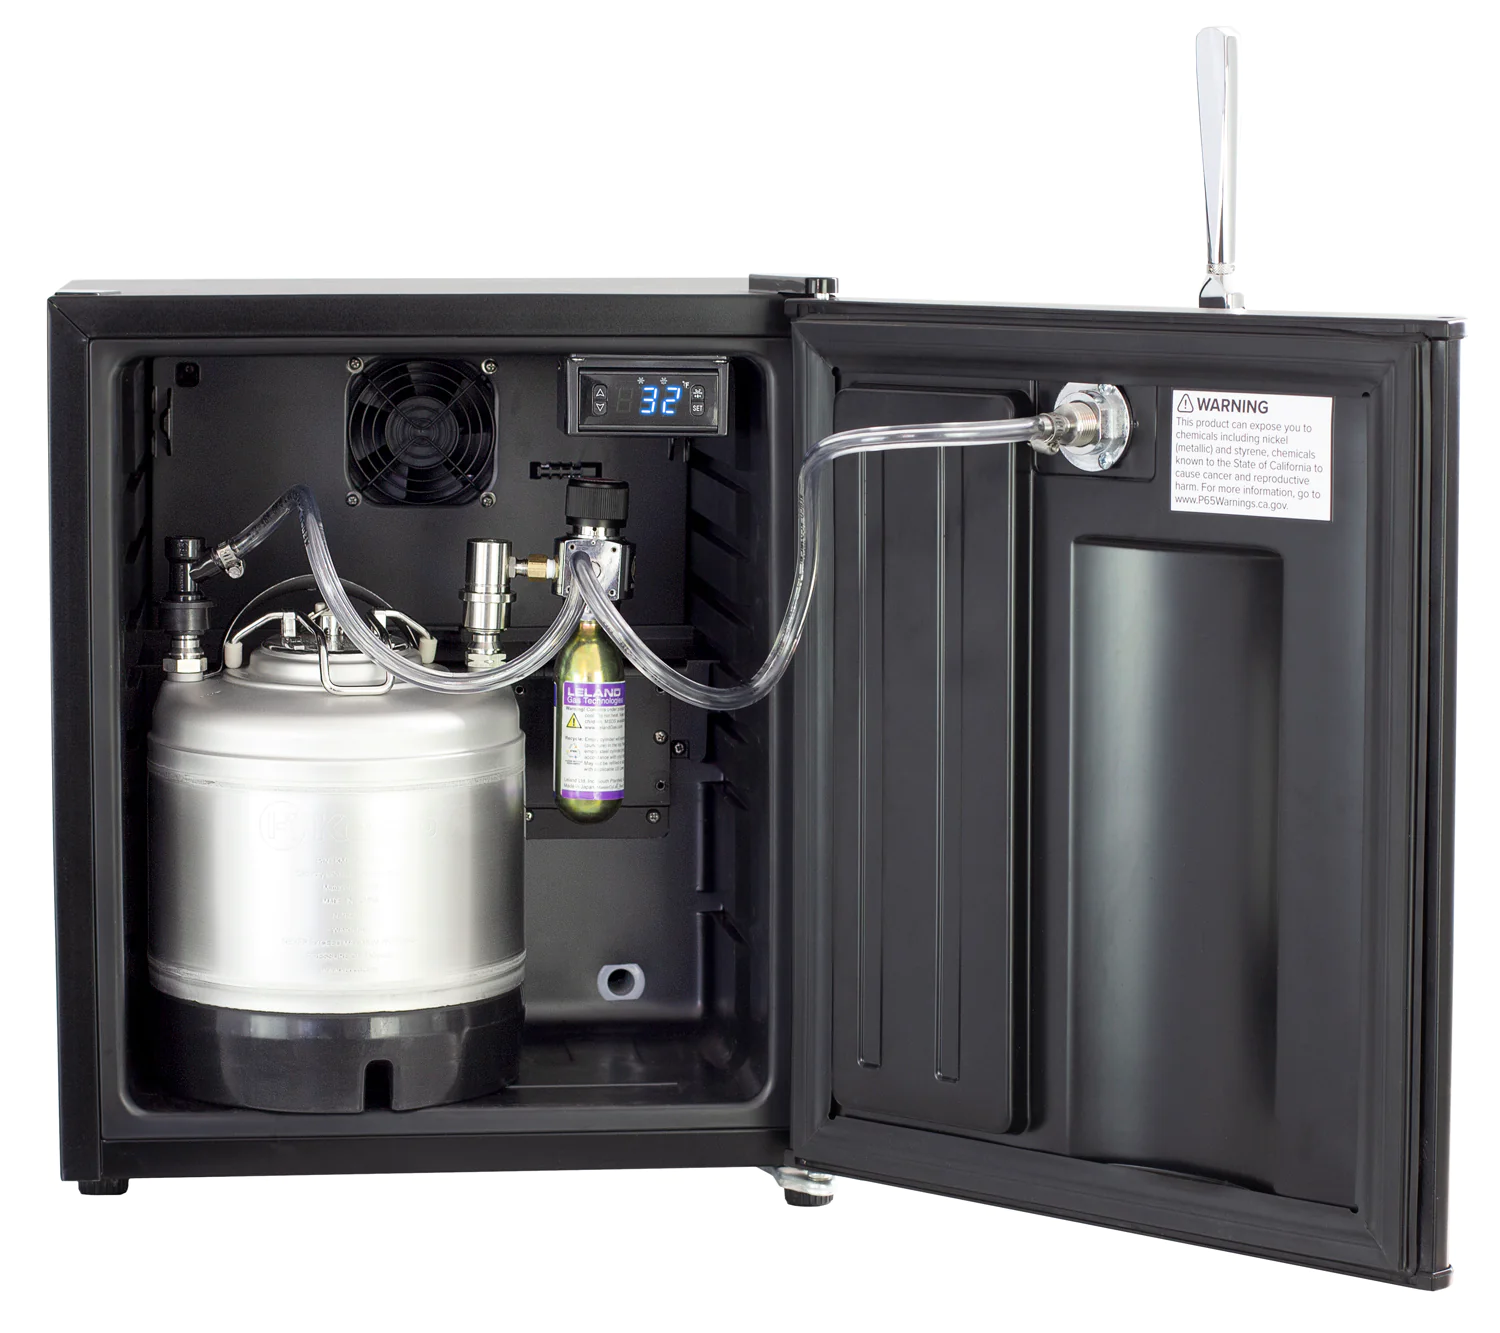
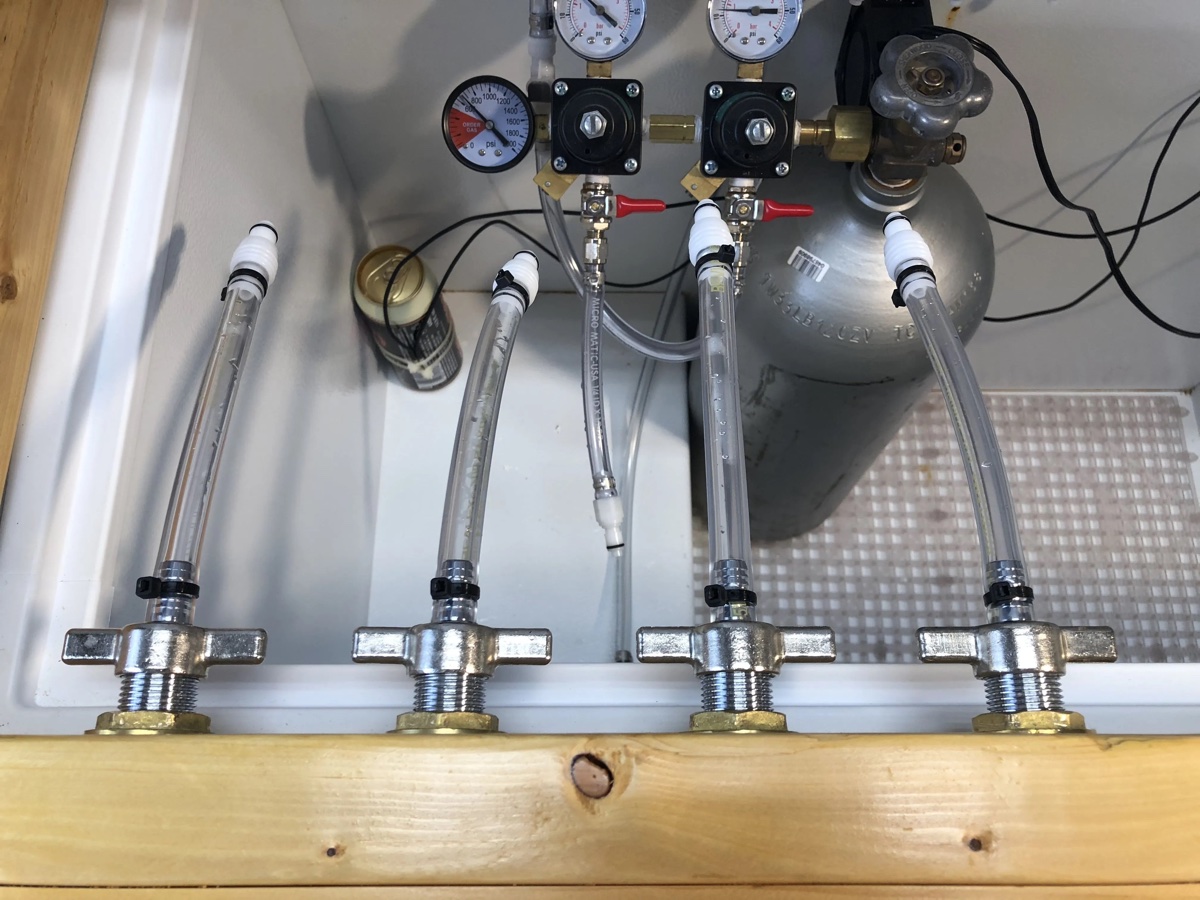
Essential Components of a Kegerator
To understand how a kegerator works, let’s break down its essential components:
-
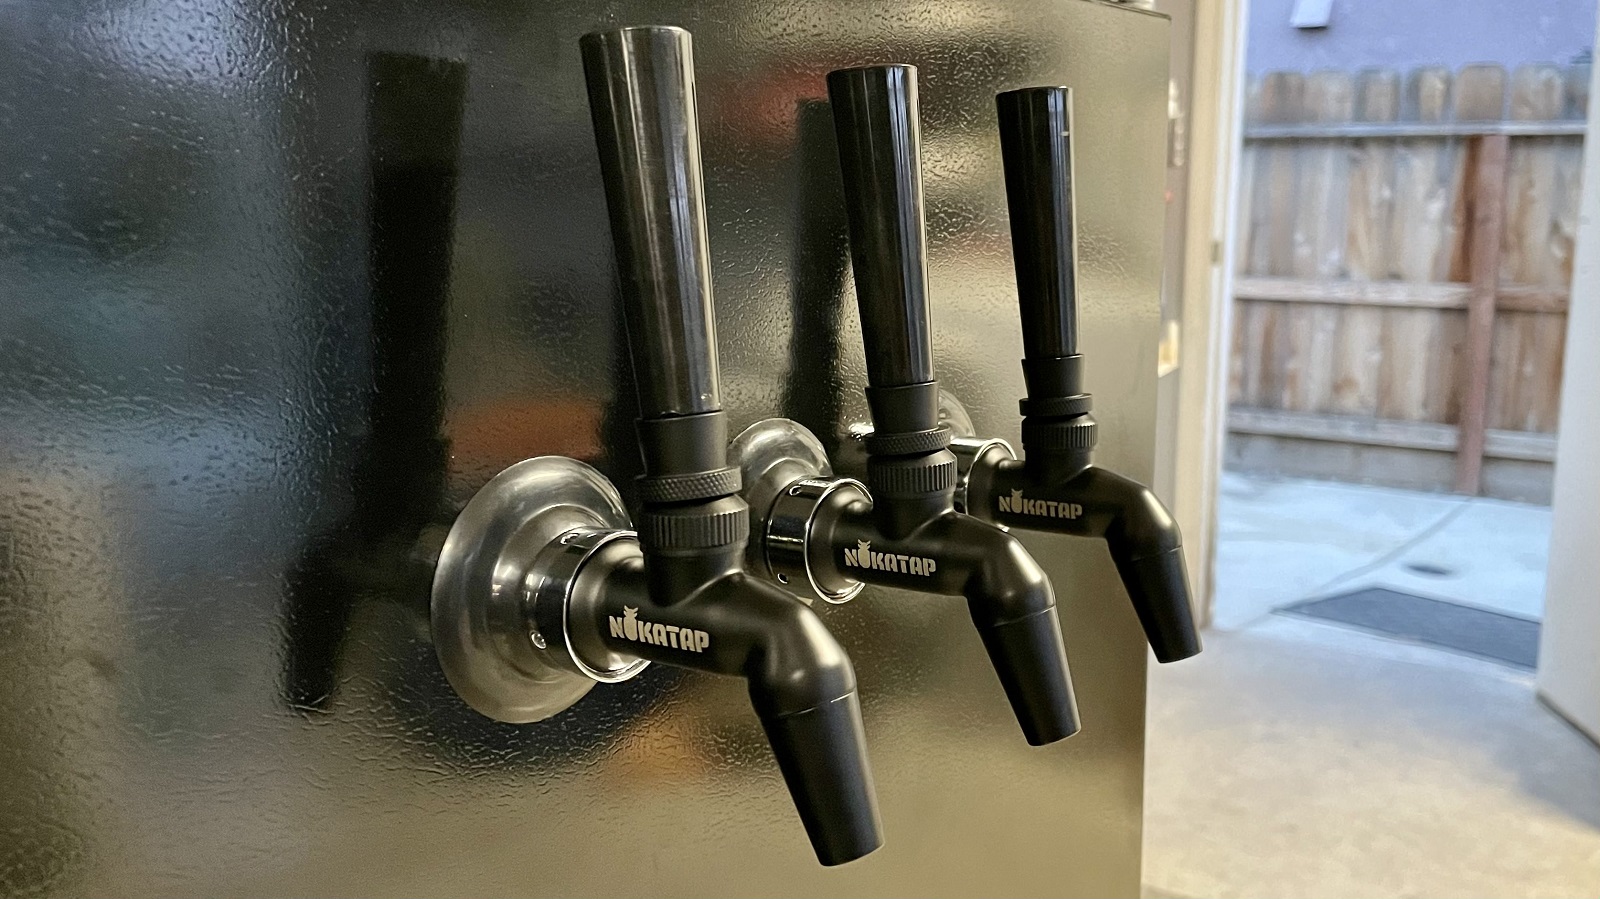
Faucet Handle: This is the part you’ll use to dispense the beer.
-
Faucet: The actual mechanism that pours the beer.
-
Beer Tower: This is where the beer lines connect to the faucet.
-
Guard Rail: A safety feature to prevent spills.
-
Drip Tray: A tray underneath the faucet to catch any drips.
-
Double Gauge Regulator: Regulates the CO2 pressure.
-
Air Line: Connects the CO2 tank to the keg coupler.
-
CO2 Air Tank: Holds compressed carbon dioxide gas.
-
Air Tank Holder: Secures the CO2 tank in place.
-
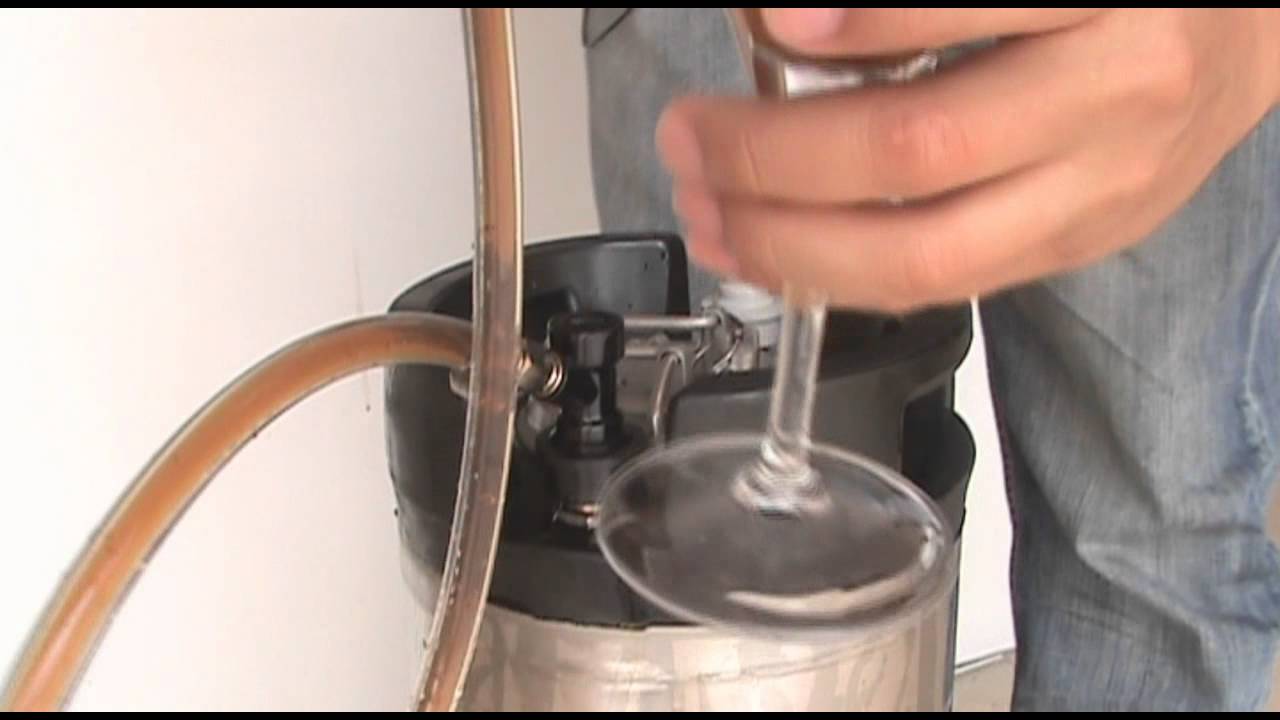
Tower Beer Line: Connects from the keg coupler to the beer tower.
-
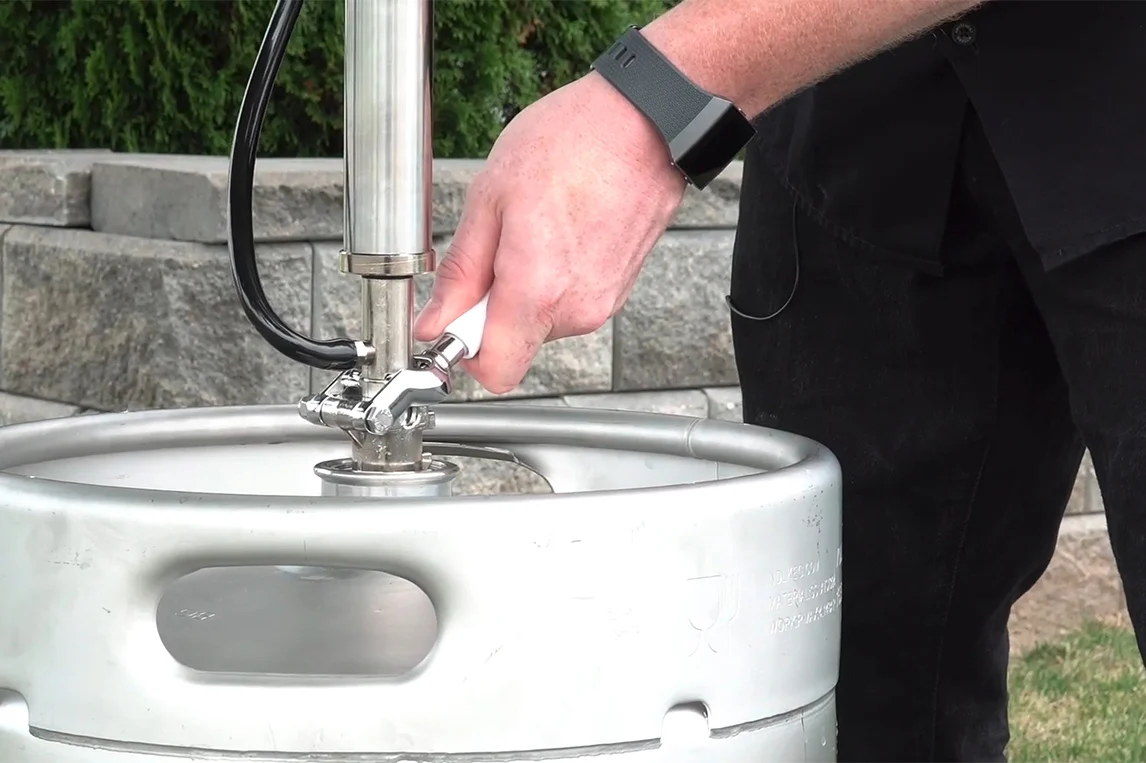
Keg Coupler: Attaches to the keg and allows gas flow.
-
Metal Keg Floor Support: Supports half kegs if needed.
-
Castors (optional): For moving freestanding kegerators.
-
Nylon Washer & Rubber Washers: Used for sealing connections.
-
Screw Clamps & Spanner Wrench: Tools for tightening connections.
Step-by-Step Installation Guide
Now that we have an understanding of what each component does, let’s move on to setting up your kegerator step-by-step:
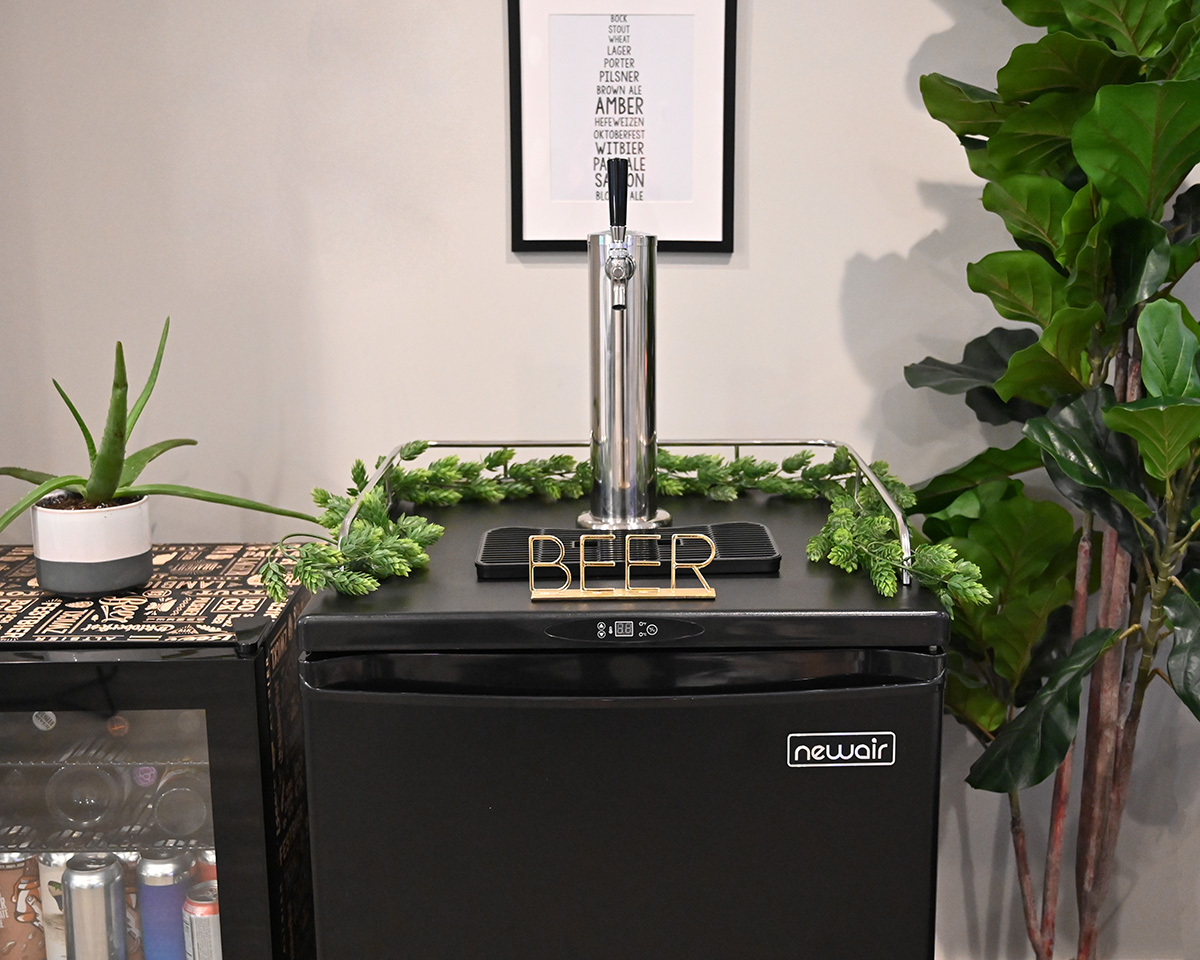
Step 1: Install Top Railing
The first step is to install the top railing. This usually involves snapping it into place without needing any tools. The railing will have holes that match up with those on your kegerator fridge, making it easy to secure.
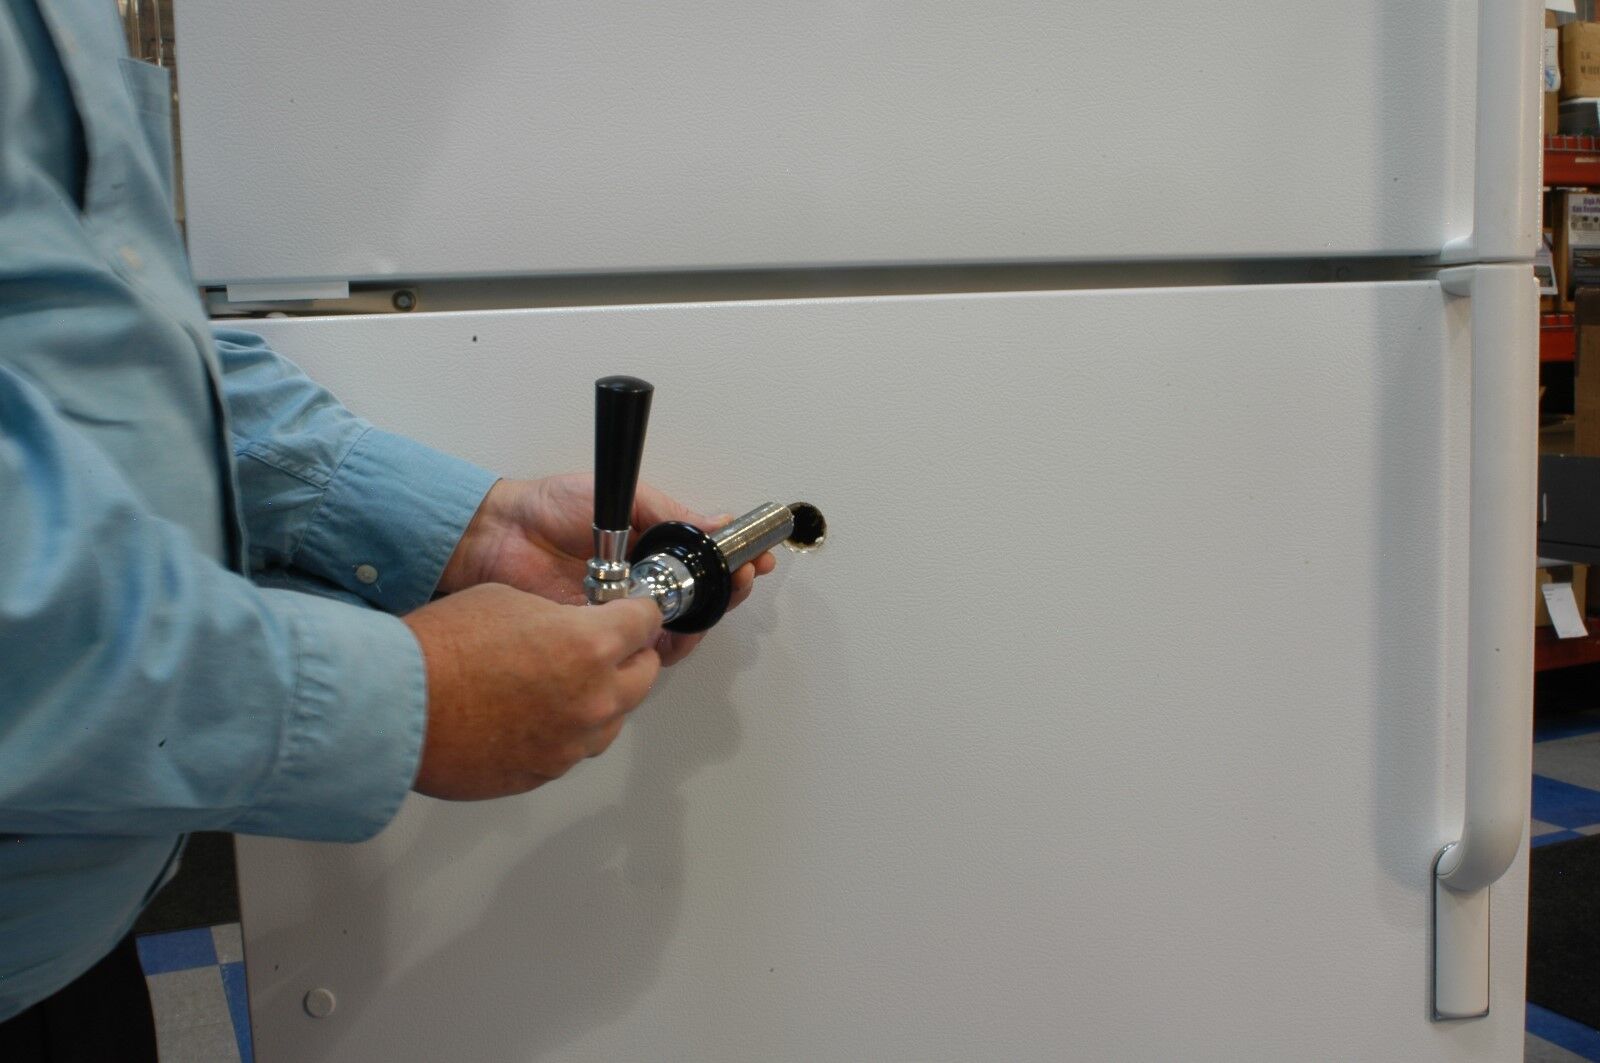
Step 2: Install Draft Tower
Next, you need to install the draft tower. This involves removing any plug covering the hole where it will be inserted and then screwing it into place through gaskets and holes atop your kegerator fridge. Make sure to feed the vinyl beer line all the way through before securing it with tower screws.
Step 3: Attach Tap Faucet
Attach your tap faucet using a spanner wrench and rubber washer for a firm attachment to the kegerator tap tower. The spanner wrench fits directly into holes on the side of the beer faucet, helping avoid leaks in your draft system.
Step 4: Attach Tap Handle
The tap handle screws easily into place on top of your faucet tap. You can also screw it in from below while holding it in place so it ends up facing in the desired direction. This is perfect if you're using a custom tap handle to decorate your bar.
Step 5: Connect Beer Line to Keg Coupler
Attach one end of your beer line to one side of your keg coupler using a rubber washer before connecting it. Tighten with a hex nut wrench to ensure everything is secure.
Step 6: Attach Air Line to Regulator
Attach one end of your air line to your regulator output barb using screw clamps. Tighten these clamps securely but avoid over-tightening which could damage parts.
Step 7: Connect Opposite End of Air Line to Keg Coupler
Connect the opposite end of your air line back into another side of your keg coupler again using screw clamps. Make sure these are tightened properly as well.
Step 8: Attach Regulator to CO2 Tank
Place a rubber washer between your regulator and CO2 tank for added protection against leaks. Attach them together using a CO2 wrench provided specifically for this purpose.
Step 9: Attach Coupler to Keg
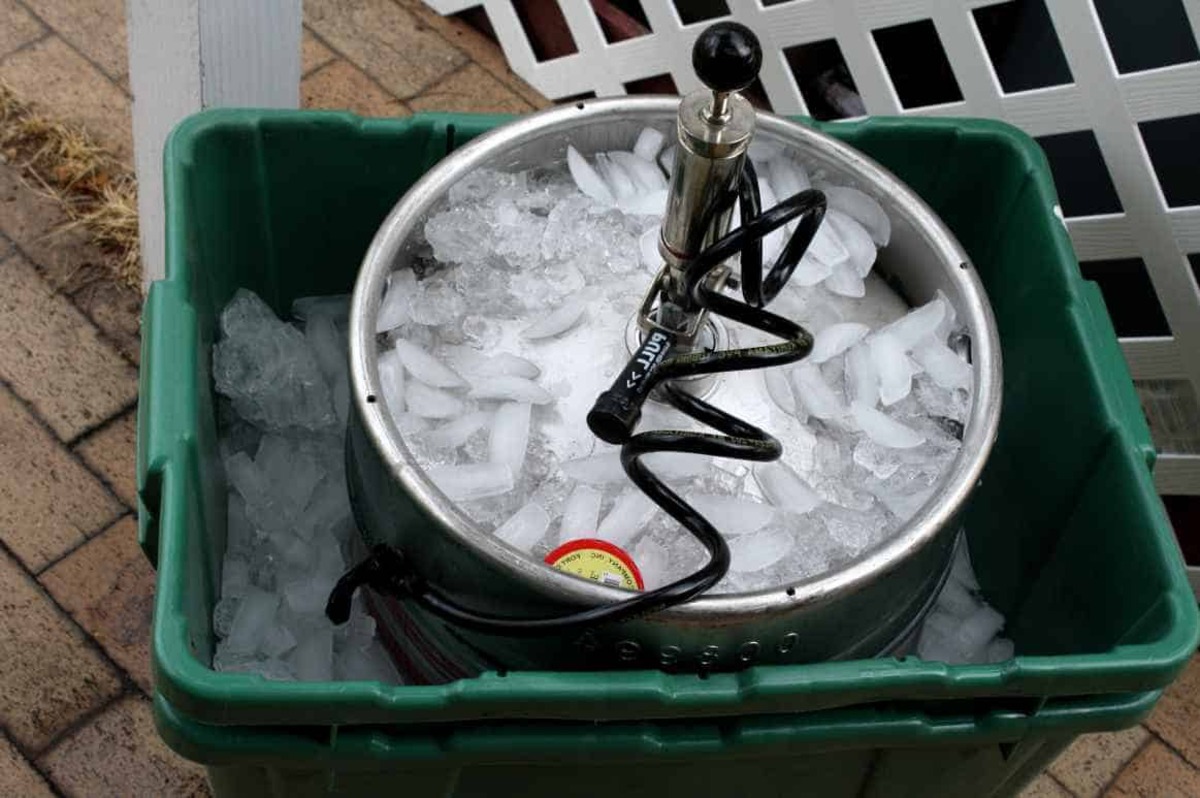
Turn your keg coupler clockwise until it's fully engaged with your half barrel keg. Push down on the handle until beer starts flowing through vinyl lines into your draft tower.
Step 10: Open Up Air Tank
Turn open valve on hand wheel located at top part near shut-off valve allowing compressed gas inside tank flow freely outwards towards regulator adjusting pressure levels accordingly based upon desired settings typically ranging between 10-15 PSI depending upon type being dispensed whether it’s lager or ale style brews.
Step 11: Adjust Regulator Properly
Use flathead screwdriver provided within kit adjust regulator output pressure levels precisely ensuring optimal flow rates maintaining consistency throughout entire dispensing process avoiding over-carbonation issues resulting foamy pours instead smooth pours desired outcome achieved successfully every time without fail guaranteed satisfaction guaranteed!
Step 12: Carefully Place CO2 Tank Inside Kegerator Fridge
Handle compressed gas tanks carefully placing them upright securely within designated holders provided within fridge unit itself ensuring stability preventing accidental tipping over causing potential damage leading costly repairs down line saving money long run investing quality equipment upfront paying dividends later down road enjoying perfect pours every single time without fail guaranteed satisfaction guaranteed!
Step 13: Set Temperature Properly
Set ideal temperature range between 36° – 40°F maintaining consistent cold temperatures throughout entire system preventing excessive foaming issues encountered previously mentioned earlier steps ensuring smooth pours every single time without fail guaranteed satisfaction guaranteed!
Additional Tips & Considerations
While setting up your kegerator is relatively straightforward, there are some additional tips and considerations worth noting:
-
Temperature Control: Maintaining proper temperature is crucial for preventing excessive foaming and ensuring smooth pours. Ideal temperatures range between 36° – 40°F.
-
Beer Line Insulation: Insulating beer lines helps keep them cold reducing condensation inside walls potentially causing moisture-related issues down line saving money long run investing quality insulation materials upfront paying dividends later down road enjoying perfect pours every single time without fail guaranteed satisfaction guaranteed!
-
Glycol Loops: For those looking at more complex installations involving multiple taps or larger setups glycol loops around lines inside insulated tubes can provide additional cooling solutions keeping everything cold consistently throughout entire system ensuring smooth pours every single time without fail guaranteed satisfaction guaranteed!
-
Outdoor Installations: If planning outdoor installations consider stainless steel exteriors preventing rusting sealed backs protecting electrical components moisture ensuring durability longevity long-lasting performance years come enjoying perfect pours every single time without fail guaranteed satisfaction guaranteed!
-
Customization Options: With various customization options available ranging novelty generic custom tap handles decorative elements adding personal touch unique style enhancing overall aesthetic appeal home bar setup making it truly special memorable experience guests alike enjoying perfect pours every single time without fail guaranteed satisfaction guaranteed!
Conclusion
Setting up a home bar kegerator is an exciting project that can elevate your entertaining game significantly providing fresh draft beer convenience comfort right within own home. By following these steps carefully considering additional tips considerations outlined above ensuring smooth operation long-lasting performance years come enjoying perfect pours every single time without fail guaranteed satisfaction guaranteed Whether you’re beer enthusiast looking enhance home bar setup or simply want enjoy delicious fresh draft beer comfort convenience right within own home kegerator installation fresh draft beer home perfect solution every occasion guaranteed satisfaction guaranteed!
Read more: How To Install Kegerator In Bar
References: How to Assemble a Kegerator: Draft Beer at Home – YouTube Guide to Building, Using & Maintaining Draft Beer Systems – KegWorks How to Set Up a Kegerator: A Step-by-Step Assembly Guide – KegWorks
By following this comprehensive guide, you’ll be well on your way to creating an impressive home bar setup complete with fresh draft beer at your fingertips. Happy brewing
Was this page helpful?
At Storables.com, we guarantee accurate and reliable information. Our content, validated by Expert Board Contributors, is crafted following stringent Editorial Policies. We're committed to providing you with well-researched, expert-backed insights for all your informational needs.

0 thoughts on “Home Bar Kegerator Installation: Fresh Draft Beer at Home”