Articles
How To Paint Bathroom Vanity Top
Modified: February 22, 2024
Discover the best articles on how to paint your bathroom vanity top and transform your space. Get expert tips and step-by-step guides for a flawless finish.
(Many of the links in this article redirect to a specific reviewed product. Your purchase of these products through affiliate links helps to generate commission for Storables.com, at no extra cost. Learn more)
Introduction
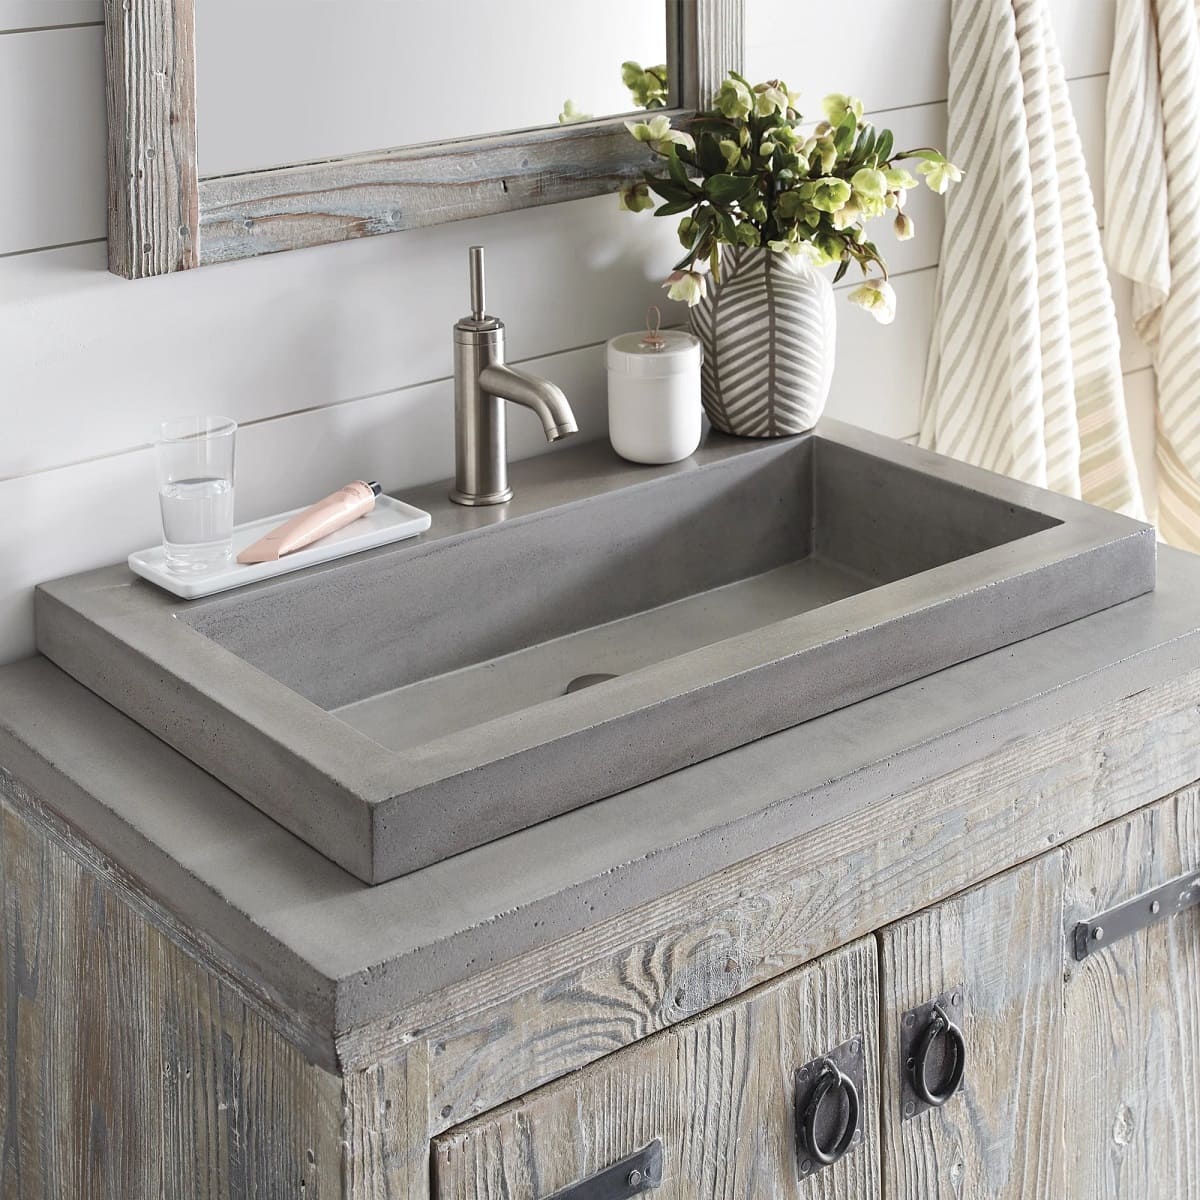
When it comes to bathroom renovations, updating the vanity top can make a significant impact. Whether you want to change the color or simply refresh the existing surface, painting the bathroom vanity top is a cost-effective and relatively easy DIY project. Not only does it give your bathroom a fresh new look, but it also allows you to customize the design to suit your personal taste and style.
In this article, we will guide you through the step-by-step process of painting your bathroom vanity top. We will discuss the materials needed, preparation steps, and the proper techniques to ensure a professional-quality finish. By following these instructions, you can transform your bathroom vanity top from outdated to fabulous in no time!
Before getting started, it’s important to note that different types of vanity tops may require slightly different approaches. Be sure to check the specific instructions and recommendations for your particular vanity top material. With that said, let’s dive into the project!
Key Takeaways:
- Transform your bathroom vanity top with a fresh coat of paint! Follow the step-by-step guide to achieve a professional-looking finish and enhance the overall aesthetic of your space.
- Update and personalize your bathroom vanity top with a cost-effective and creative DIY project. Enjoy the satisfaction of a well-done transformation and admire the impact of a simple coat of paint on your space.
Read more: How To Paint A Vanity
Materials Needed
Before you begin painting your bathroom vanity top, gather the necessary materials to ensure a smooth and successful project. Here’s a list of items you’ll need:
- Paint – Choose a high-quality paint suitable for bathroom surfaces. Opt for a paint that is specifically formulated for cabinets or countertops, as these tend to be more durable and resistant to moisture.
- Primer – A good primer is essential for achieving proper adhesion and a smooth finish. Look for a primer that is compatible with both your chosen paint and your vanity top material.
- Sandpaper – Select sandpaper with a medium grit (around 120-150) for sanding the vanity top’s surface. If you’re working with a glossy or slick finish, you may also need fine-grit sandpaper (around 220-240) for additional surface preparation.
- Tack Cloth or Microfiber Cloth – Use a tack cloth or a microfiber cloth to thoroughly clean the vanity top surface after sanding, ensuring there are no dust particles or debris left behind.
- Painter’s Tape – Use painter’s tape to protect any areas you don’t want to paint, such as the edges of the vanity top, the backsplash, or the surrounding walls.
- Drop Cloth or Plastic Sheets – Cover the floor and any surrounding surfaces with a drop cloth or plastic sheets to protect them from paint splatters or spills.
- Paintbrushes and Rollers – Choose high-quality brushes and rollers suitable for the type of paint you’re using. A small brush is ideal for corners and edges, while a foam or microfiber roller is great for achieving a smooth finish on larger surfaces.
- Protective Topcoat – Depending on your vanity top material, you may want to apply a clear protective topcoat to enhance durability and resistance to moisture.
- Optional: Respirator Mask and Ventilation – If you’re working with oil-based paint or in a poorly ventilated area, it’s advisable to wear a respirator mask and ensure proper ventilation to minimize exposure to fumes.
Make sure you have all these materials ready before you start, as it will save you time and make the process more efficient.
Step 1: Prepare the Vanity Top
Before you can start painting your bathroom vanity top, it’s important to properly prepare the surface. This ensures better adhesion of the paint and a smoother, more professional-looking finish. Follow these steps to prepare your vanity top:
- Remove any items from the vanity top – Take out all items, such as soap dispensers, toothbrush holders, or any other personal belongings, from the vanity top. This will make it easier to work on the surface without any obstructions.
- Clean the surface – Use a mild cleaner or a mixture of warm water and mild detergent to thoroughly clean the vanity top surface. Remove any dirt, grime, or residue from previous products. Rinse well and allow the surface to dry completely before proceeding to the next step.
- Remove hardware – If there are any knobs, handles, or other hardware attached to the vanity top, remove them using a screwdriver. Set them aside in a safe place to prevent them from getting lost or damaged during the painting process.
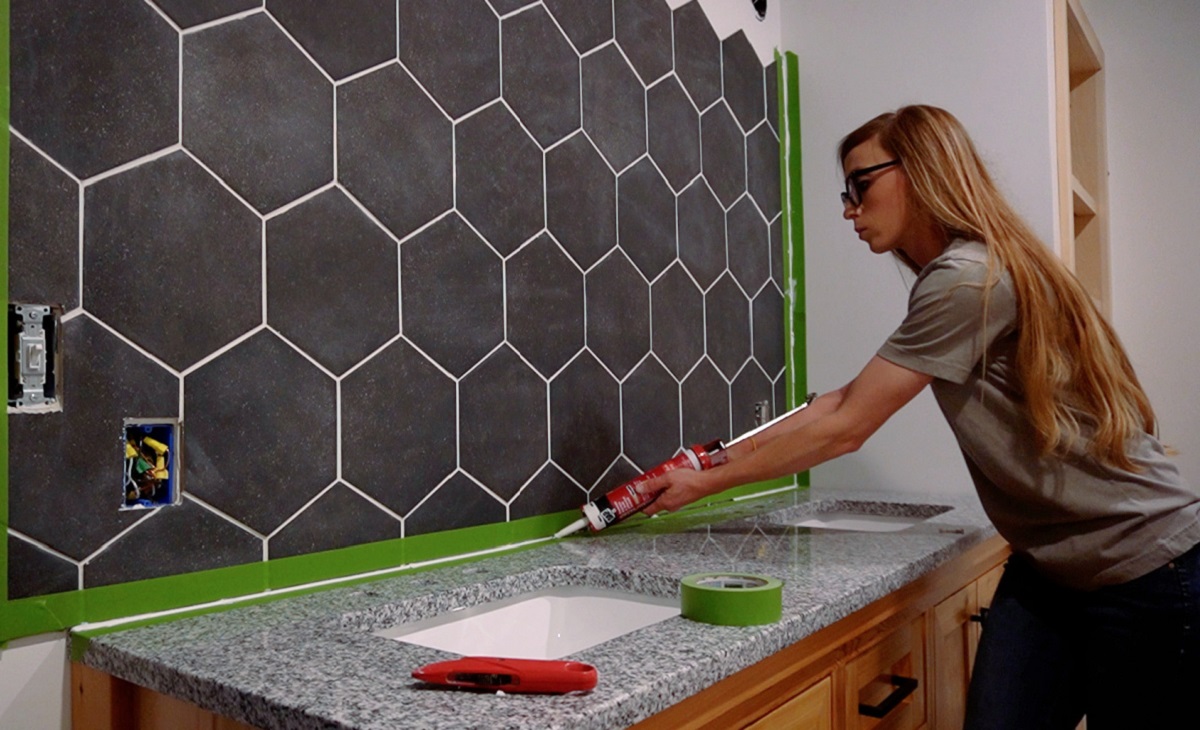
- Protect the surrounding areas – Place painter’s tape along the edges of the vanity top, backsplash, and any other areas you want to keep free from paint. Cover the floor and nearby surfaces with a drop cloth or plastic sheets to protect them from any paint splatters or spills.
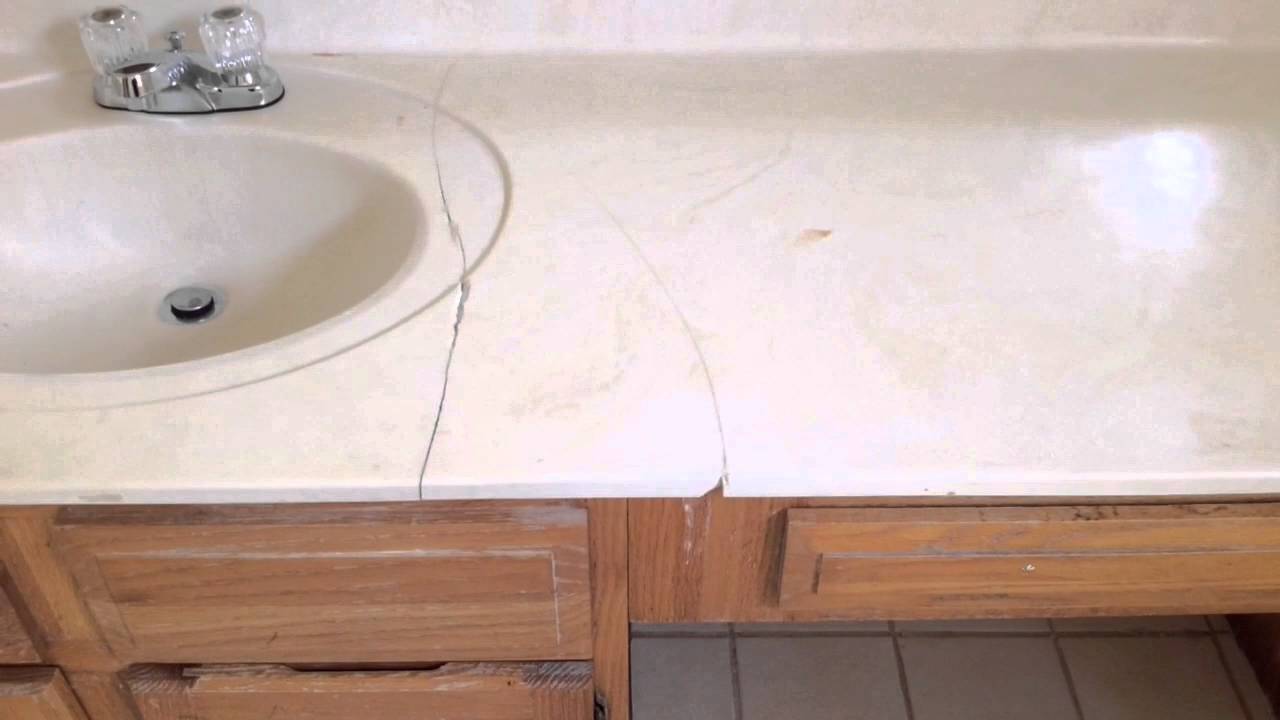
- Fill any imperfections – Inspect the vanity top for any noticeable imperfections, such as cracks, chips, or dents. Fill them with an appropriate filler or putty, following the manufacturer’s instructions. Allow the filler to dry and then sand it smooth using sandpaper.
- Mask off the sink – If your vanity top has an integrated sink, cover it with plastic wrap or cling film to protect it from paint splatters or accidental brush strokes.
Once you have completed these steps, you’re ready to move on to the next phase of the process: removing the existing finish from the vanity top.
Step 2: Remove Existing Finish
Before applying a fresh coat of paint to your bathroom vanity top, it’s important to remove the existing finish. This step ensures that the new paint will adhere properly and provides a smooth surface for the paint to bond to. Follow these steps to remove the existing finish:
- Use a suitable remover – Depending on the type of finish on your vanity top, you’ll need to use an appropriate remover. For oil-based finishes, use a solvent-based paint stripper. For water-based finishes, use a water-based paint stripper. Always follow the manufacturer’s instructions when using a paint stripper.
- Apply the paint stripper – Apply a generous amount of the paint stripper to the vanity top surface using a brush or roller. Make sure to cover the entire surface evenly, ensuring that the stripper penetrates the existing finish.
- Wait for the paint stripper to work – Allow the paint stripper to sit on the surface for the recommended amount of time specified by the manufacturer. This usually ranges from 15 minutes to a few hours, depending on the type and thickness of the existing finish.
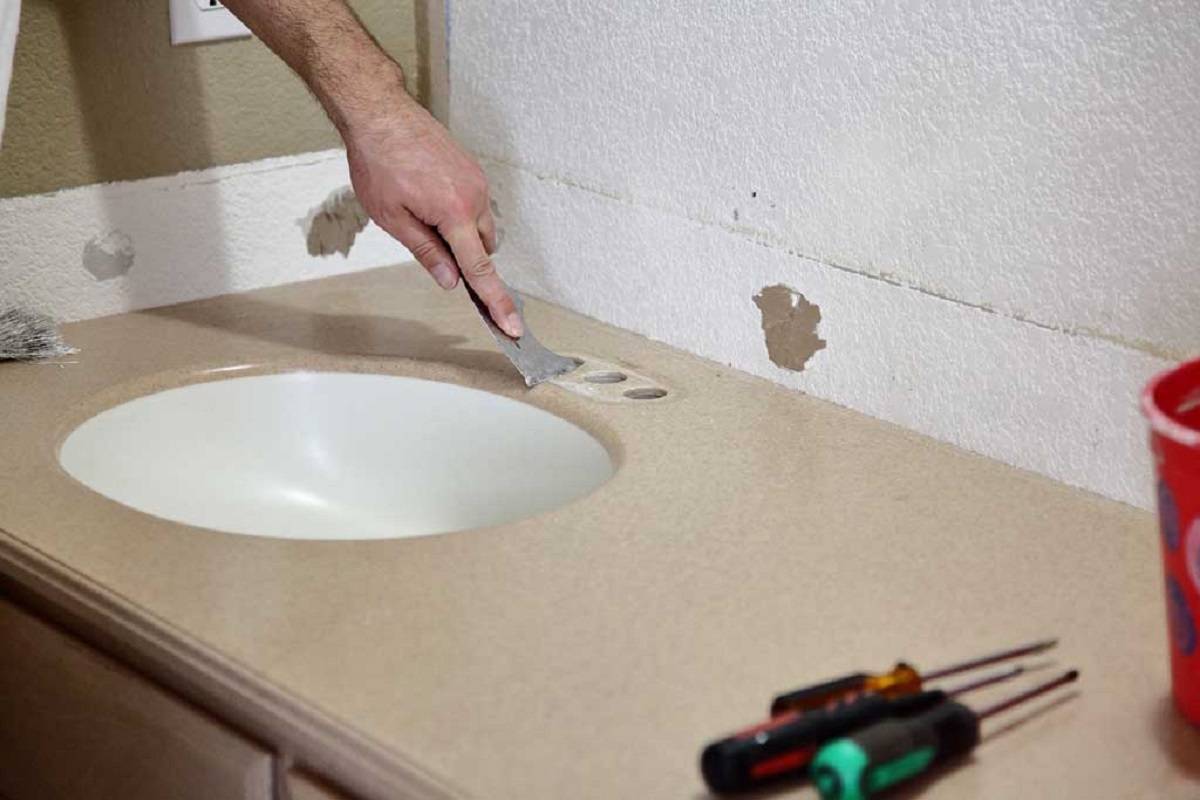
- Scrape off the old finish – Once the paint stripper has had enough time to work, use a scraper or putty knife to gently scrape off the old finish. Start from one edge of the vanity top and carefully work your way across, applying light pressure to remove the finish without damaging the surface.
- Repeat if necessary – In some cases, you may need to repeat the stripping process if there are stubborn areas or multiple layers of finish. Apply another coat of paint stripper, let it sit, and then scrape off the remaining finish.
- Clean the surface – After removing the old finish, thoroughly clean the vanity top surface with a mild cleaner or a mixture of warm water and mild detergent. This will remove any residue from the paint stripper and ensure a clean surface for the next steps.
- Sand the surface – Lightly sand the vanity top using medium-grit sandpaper (around 120-150) to smooth out any rough spots or imperfections. This step helps to create a smooth surface for the primer and paint to adhere to.
Once you have completed the process of removing the existing finish and preparing the surface, you are ready to move on to the next step: sanding the surface.
Step 3: Sanding the Surface
After removing the existing finish from your bathroom vanity top, the next step is to sand the surface. Sanding helps to smooth out any rough spots, remove any remaining residue, and create a better surface for the primer and paint to adhere to. Follow these steps to sand the surface of your vanity top:
- Choose the right sandpaper grit – Use medium-grit sandpaper, around 120-150, to sand the vanity top surface. If your vanity top has a glossy or slick finish, you may also need to use fine-grit sandpaper, around 220-240, for additional surface preparation.
- Start sanding – Begin by sanding the vanity top using a back-and-forth motion. Apply even pressure to ensure that you are sanding the surface evenly. Make sure to sand all areas, including the edges and corners.
- Smooth out any rough spots – Pay attention to any rough spots, imperfections, or uneven areas on the surface. Use circular motions to focus on these areas and smooth them out, creating a more uniform surface.
- Remove sanding dust – After sanding, use a tack cloth or a microfiber cloth to thoroughly remove any sanding dust from the vanity top. This step is crucial to ensure a clean surface for proper paint adhesion.
- Inspect the surface – Take a close look at the sanded surface to ensure that it is smooth and free from any blemishes or roughness. If you notice any remaining imperfections, repeat the sanding process until you achieve a uniformly smooth surface.
- Clean the surface – Once you are satisfied with the sanding results, clean the vanity top surface with a mild cleaner or a mixture of warm water and mild detergent. Remove any dust or debris, then rinse well and allow the surface to dry completely before proceeding.
Sanding the surface of your bathroom vanity top is a crucial step in the painting process. It not only helps to create a smooth and even surface for the paint but also promotes better paint adhesion and durability. With the surface properly sanded and cleaned, you’re now ready to move on to the next step: applying the primer.
When painting a bathroom vanity top, be sure to thoroughly clean and sand the surface before applying primer and paint. Use a high-quality paint specifically designed for use in high-moisture areas to ensure durability.
Read more: How To Seal Vanity Top
Step 4: Apply Primer
Once you have prepared and sanded the surface of your bathroom vanity top, the next step is to apply a primer. Primer serves as a crucial foundation for the paint, promoting better adhesion, durability, and ensuring a smooth and long-lasting finish. Here’s how to apply primer to your vanity top:
- Choose the right primer – Select a primer that is specifically designed for the type of paint you will be using and is suitable for your vanity top material. Consider using a primer that is formulated for smooth surfaces and offers good coverage.
- Prepare the primer – Stir the primer well to ensure that it is thoroughly mixed and ready for application. Follow the manufacturer’s instructions for any specific preparation steps.
- Start priming – Using a paintbrush or foam roller, begin applying the primer to the vanity top surface. Start from the edges and corners, working your way towards the center. Apply the primer in thin, even coats to prevent drips or excessive buildup.
- Ensure even coverage – Make sure that the primer is evenly applied across the entire vanity top surface. Pay extra attention to any areas that may require additional coverage or have uneven texture.
- Allow the primer to dry – Follow the drying time indicated on the primer’s packaging. Typically, primers require a couple of hours to dry completely. Ensure proper ventilation during the drying process to aid in the evaporation of any fumes.
- Inspect the primed surface – Once the primer has dried, carefully inspect the surface. Look for any spots that may require additional priming or touch-ups. If necessary, apply a second coat of primer to ensure complete coverage and a solid foundation for the paint.
- Clean up – Clean your brushes or rollers immediately after applying the primer. Use soap and warm water for water-based primers or mineral spirits for oil-based primers.
Applying a primer to your bathroom vanity top is a crucial step in the painting process. It helps to create a smooth surface and enhances the durability and adhesion of the paint. Once the primer has dried and any necessary touch-ups are complete, you are now ready to move on to the exciting part: painting the vanity top!
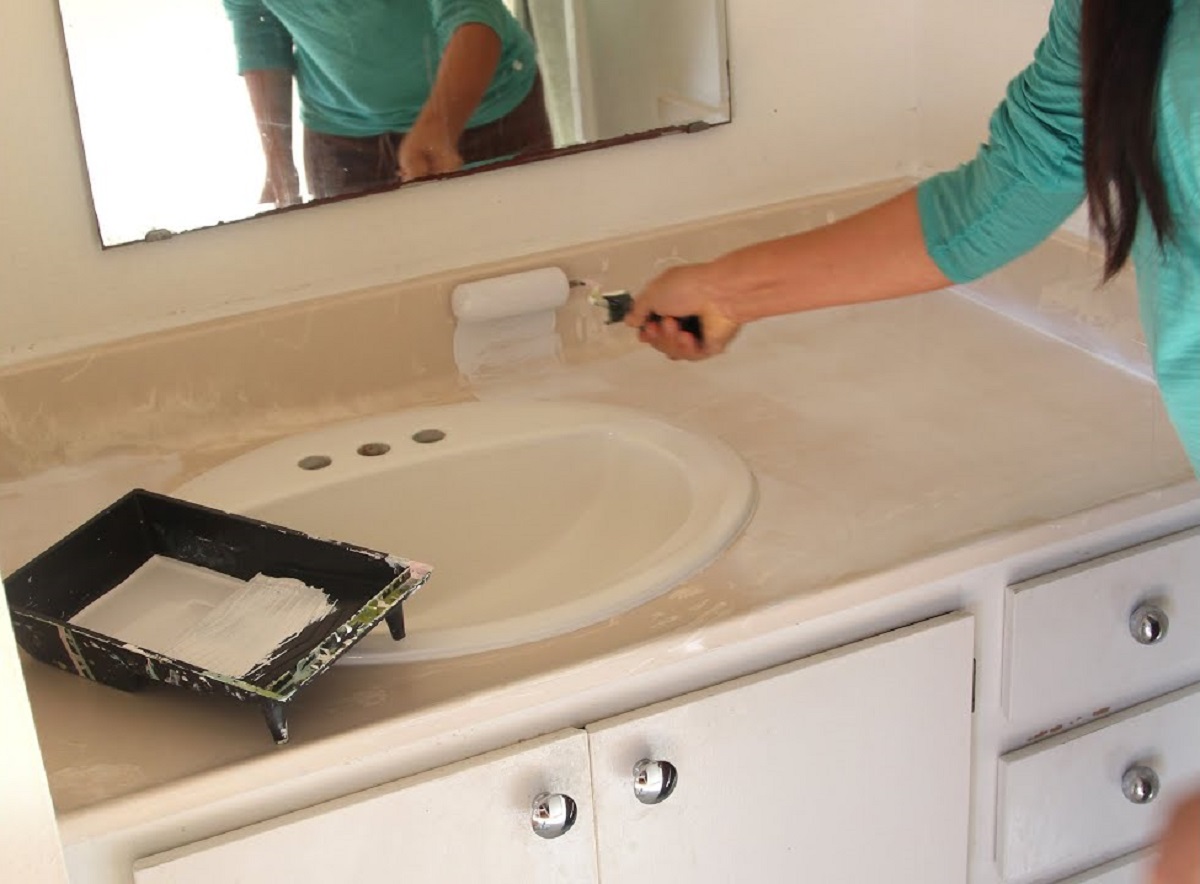
Step 5: Paint the Vanity Top
Now that you have prepared the surface and applied the primer, it’s time to paint your bathroom vanity top. This step allows you to add color and style to your space, transforming the look of your vanity. Follow these steps to ensure a smooth and successful painting process:
- Choose the right paint – Select a paint specifically formulated for bathroom surfaces and suitable for your vanity top material. Consider using a paint with a semi-gloss or high-gloss finish, as these are typically more durable and easier to clean.
- Prepare the paint – Stir the paint well to ensure it is thoroughly mixed. If necessary, thin the paint according to the manufacturer’s instructions for better application consistency.
- Start painting – Using a brush or foam roller, begin applying the paint to the vanity top surface. Start from the edges and corners, working your way towards the center. Apply the paint in thin, even coats to prevent drips or brush strokes.
- Ensure even coverage – Make sure the paint is evenly applied across the entire vanity top surface. Pay extra attention to any areas that may require additional coverage or have uneven texture. Allow each coat to dry before applying the next one, following the drying time specified by the manufacturer.
- Apply multiple coats if needed – Depending on the desired color and the coverage of the paint, you may need to apply multiple coats. Allow adequate drying time between each coat, and ensure proper ventilation to help with the drying process.
- Clean up any mistakes – If you make any mistakes or notice any paint drips or brush strokes, gently sand the affected area between coats and touch up with paint as needed.
- Let the final coat dry – Once you have achieved the desired color and coverage, allow the final coat of paint to dry completely. Follow the manufacturer’s instructions for the suggested drying time.
Painting your bathroom vanity top allows you to customize the look of your space and bring a fresh new vibe to your bathroom. With proper application techniques and the right paint, you can achieve a smooth and professionally finished outcome. Once the paint has fully dried, you’re almost done! The next step is to apply a protective topcoat.
Step 6: Apply a Protective Topcoat
After painting your bathroom vanity top, it’s important to apply a protective topcoat to enhance durability and safeguard the finish. The topcoat provides an extra layer of protection against moisture, stains, and everyday wear and tear. Here’s how to apply a protective topcoat to your vanity top:
- Choose the right topcoat – Select a topcoat that is compatible with the type of paint you used for your vanity top. Look for a topcoat specifically designed for bathroom surfaces or countertops. Consider using a water-based clear coat for ease of application and minimal odor.
- Prepare the topcoat – Stir the topcoat well to ensure it is thoroughly mixed. If necessary, thin the topcoat according to the manufacturer’s instructions for better application consistency.
- Start applying the topcoat – Using a brush or foam roller, begin applying the topcoat to the vanity top surface. Work in the same manner as you did when painting, starting from the edges and corners and working your way towards the center. Apply the topcoat in thin, even coats, following the manufacturer’s recommended coverage and drying time.
- Ensure even coverage – Make sure the topcoat is evenly applied across the entire vanity top surface. Pay extra attention to any areas that may require additional coverage or have uneven texture. Allow each coat to dry before applying the next one, following the drying time specified by the manufacturer.
- Apply multiple coats if needed – Depending on the level of protection and the desired result, you may need to apply multiple coats of topcoat. This will provide a stronger and more durable finish. Allow adequate drying time between each coat, and ensure proper ventilation.
- Inspect the final results – Once the topcoat has dried completely, inspect the surface for any imperfections or areas that may require touch-ups. If necessary, lightly sand any irregularities and apply additional topcoat to create a smooth and uniform finish.
- Clean up – Clean your brushes or rollers immediately after applying the topcoat. Use soap and warm water for water-based topcoats or the appropriate cleaning solution for oil-based topcoats.
Applying a protective topcoat adds an extra layer of defense to your freshly painted bathroom vanity top. It helps to prolong the life of the paint and protects it from stains, moisture, and daily use. Once the topcoat has dried and any necessary touch-ups are complete, you’re almost done! The final step is to allow everything to dry completely before using your newly refreshed vanity top.
Step 7: Let it Dry
After completing the painting and topcoat application for your bathroom vanity top, it’s crucial to allow ample time for everything to dry properly. This final step ensures that the paint and topcoat fully cure, resulting in a durable and long-lasting finish. Here’s what you need to do:
- Check the drying time – Refer to the manufacturer’s instructions on the paint and topcoat containers to determine the recommended drying time. This can vary depending on the type of paint and topcoat you used.
- Provide proper ventilation – Ensure that the area where you painted the vanity top has proper ventilation. Open windows or turn on fans to promote air circulation and aid in the drying process.
- Avoid using the vanity top – During the drying period, avoid using the vanity top to prevent any damage or smudging of the freshly applied paint and topcoat. It’s best to find an alternative space to store and use your bathroom essentials temporarily.
- Be mindful of the curing time – Remember that drying time is different from curing time. While the surface may feel dry to the touch after the specified drying time, it’s important to note that the paint and topcoat may take longer to fully cure. Avoid placing heavy objects or applying excessive pressure on the vanity top until it has completely cured.
- Follow additional recommendations – Some paints and topcoats may have specific recommendations or instructions regarding curing times or other post-painting care. Ensure that you follow these instructions to achieve the best possible results.
Allowing sufficient drying and curing time is crucial to ensure the longevity and durability of your newly painted bathroom vanity top. Rushing this step may result in a compromised finish. It’s essential to exercise patience and wait until the paint and topcoat are completely dry and cured before using your vanity top as normal.
Once the recommended drying and curing time has passed, you can confidently enjoy your revamped bathroom vanity top for years to come!
Read more: How To Attach A Vanity Top
Conclusion
Update and transform your bathroom vanity top with a fresh coat of paint! Painting your vanity top is a cost-effective and creative way to breathe new life into your bathroom. By following the step-by-step process outlined in this article, you can achieve a professional-looking finish that will enhance the overall aesthetic of your space.
Remember to gather all the necessary materials before starting the project, including paint, primer, sandpaper, brushes, and a protective topcoat. Properly prepare the vanity top by cleaning the surface, removing any hardware, and filling any imperfections. Take the time to sand the surface to ensure a smooth base for the paint.
Apply a high-quality primer to promote better adhesion and durability. Once the primer has dried, proceed to paint the vanity top with thin, even coats. Allow each coat to dry before applying additional layers, if needed. Finally, apply a protective topcoat to safeguard the finish and prolong the lifespan of your newly painted vanity top.
Before using the vanity top, ensure that the paint and topcoat are completely dry and cured. This will ensure their durability and resistance to daily use. Remember to exercise patience throughout the process to achieve the best possible results.
By following these steps and giving your bathroom vanity top a fresh new look, you can significantly enhance the appearance of your bathroom. Enjoy the satisfaction of a DIY project well done, and admire the transformation that a simple coat of paint can bring to your space.
So, what are you waiting for? Roll up your sleeves, gather your materials, and let your creativity shine as you paint your bathroom vanity top.
Frequently Asked Questions about How To Paint Bathroom Vanity Top
Was this page helpful?
At Storables.com, we guarantee accurate and reliable information. Our content, validated by Expert Board Contributors, is crafted following stringent Editorial Policies. We're committed to providing you with well-researched, expert-backed insights for all your informational needs.
0 thoughts on “How To Paint Bathroom Vanity Top”