Articles
How To Put Up Wall Art Without Nails
Modified: December 7, 2023
Learn how to easily hang wall art without nails using these helpful articles. Discover innovative techniques and adhesive options for damage-free decorating.
(Many of the links in this article redirect to a specific reviewed product. Your purchase of these products through affiliate links helps to generate commission for Storables.com, at no extra cost. Learn more)
Introduction
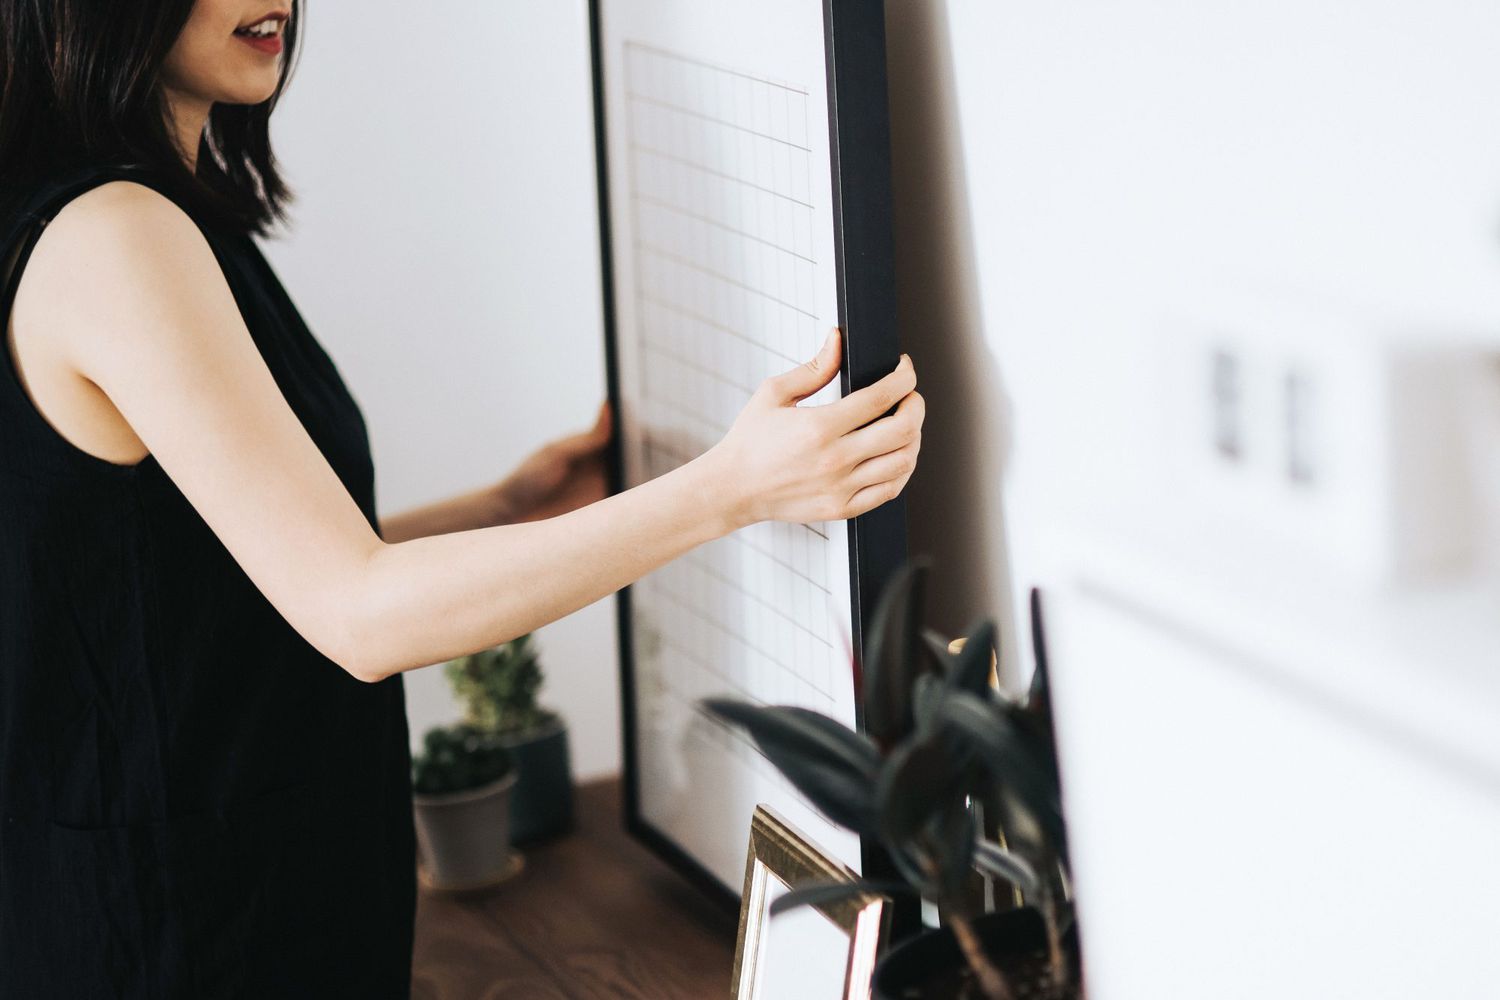
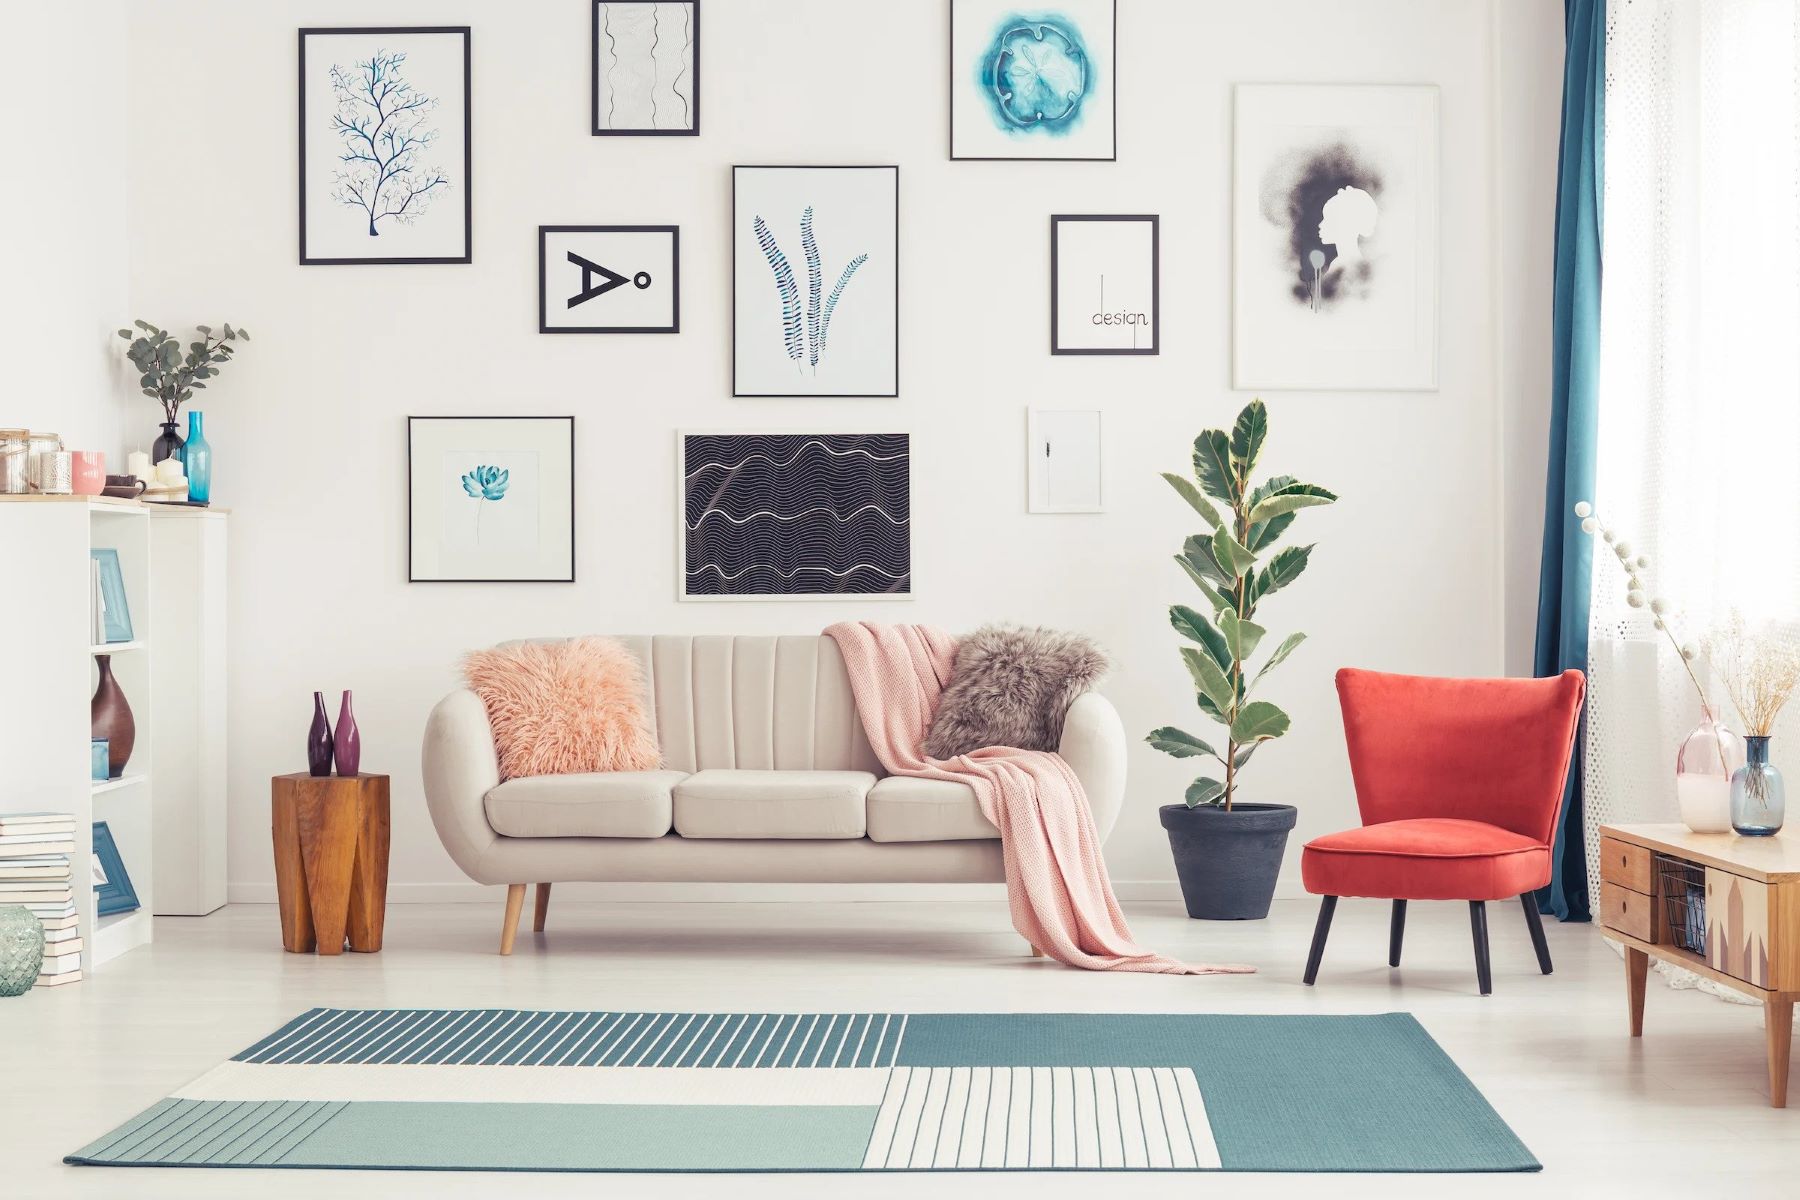
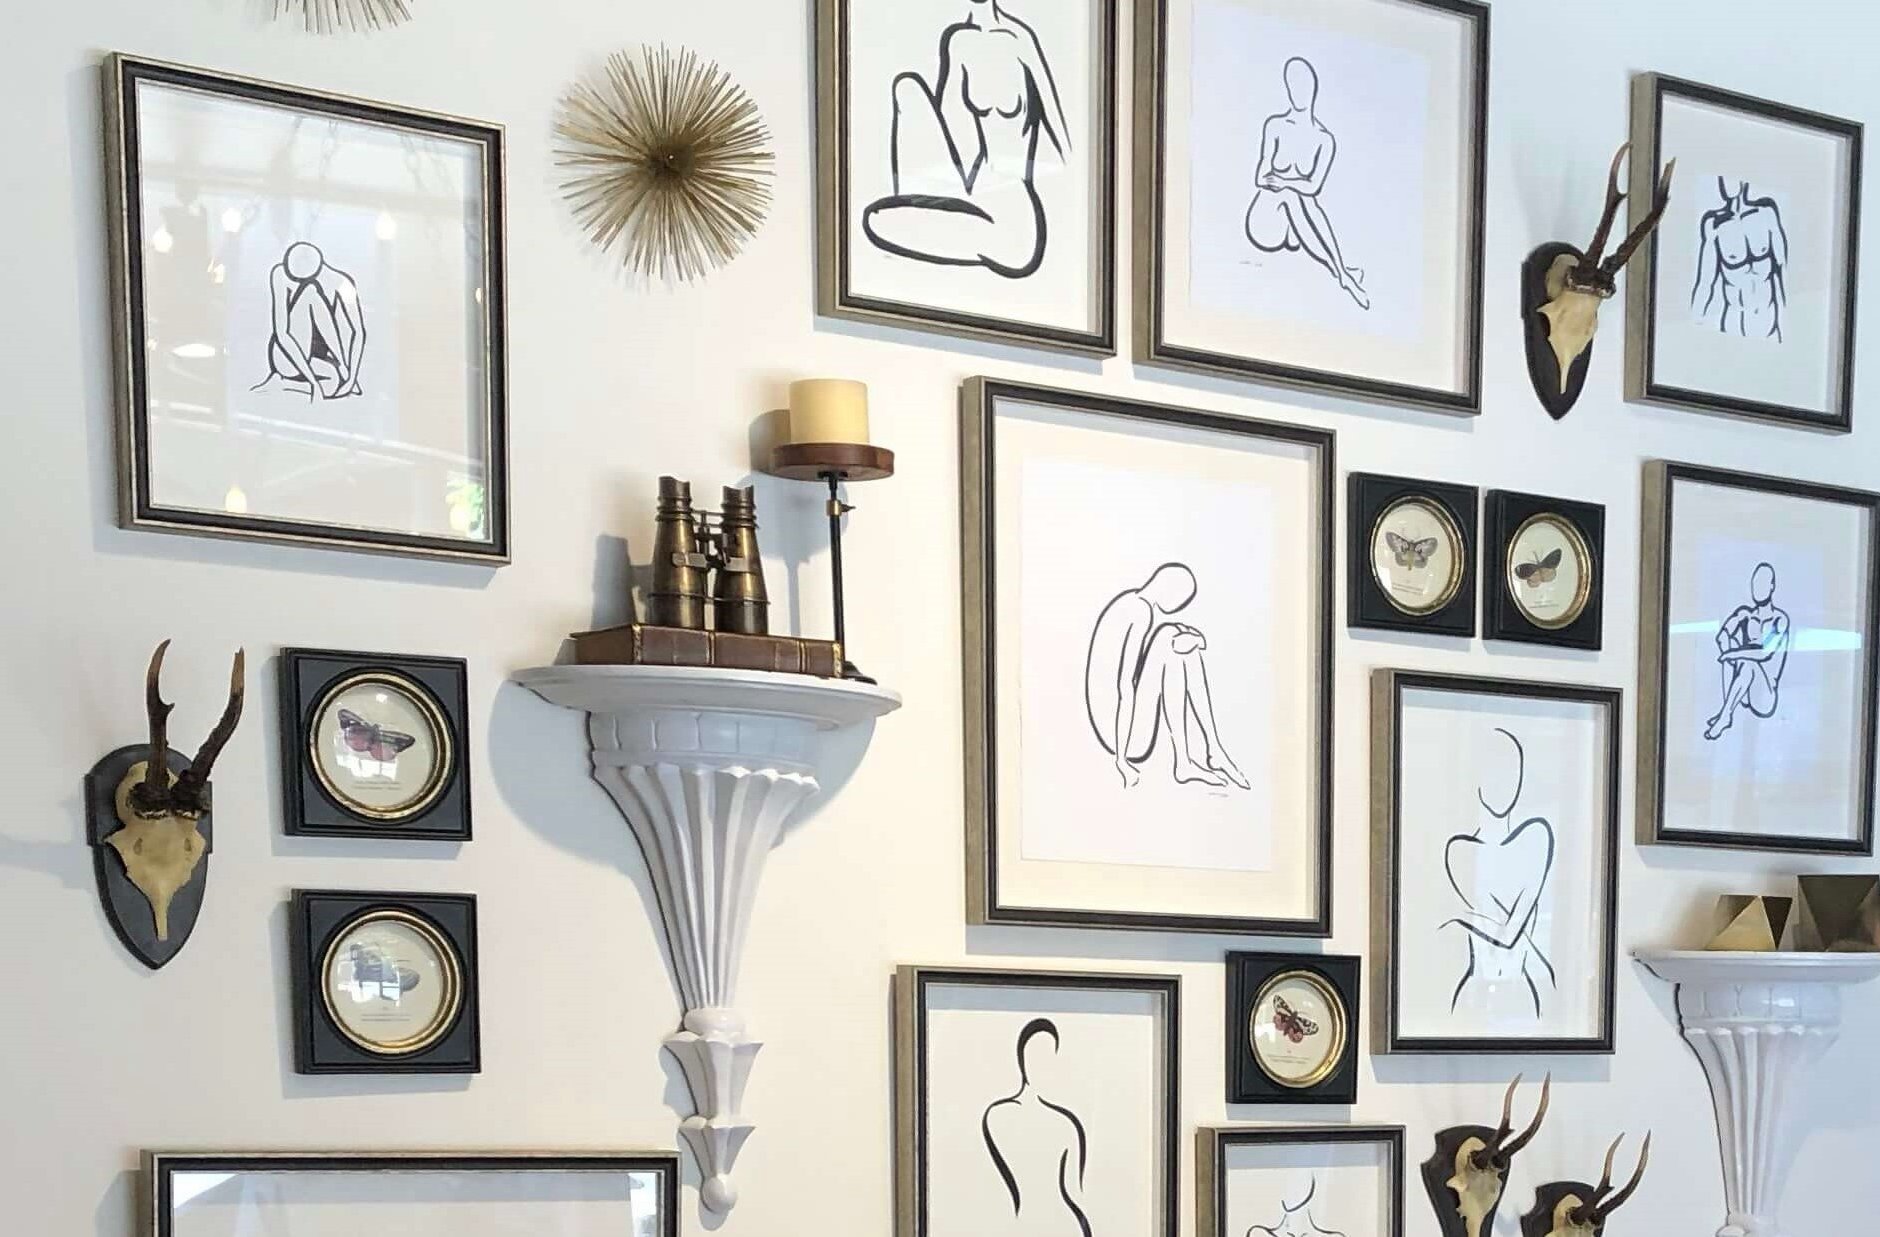
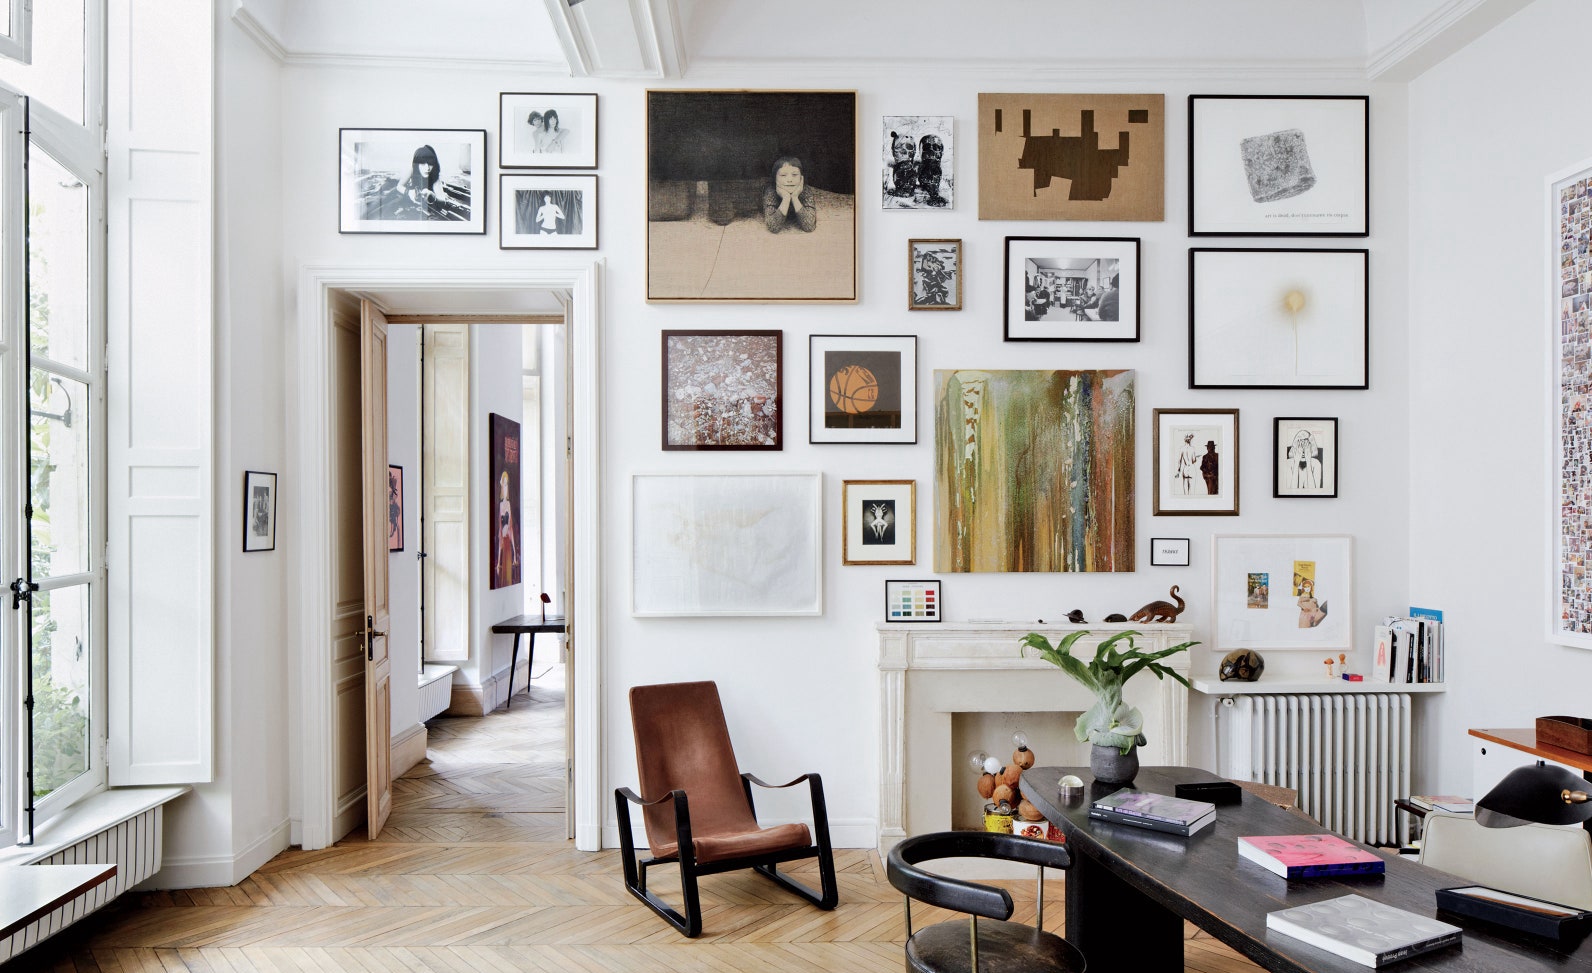
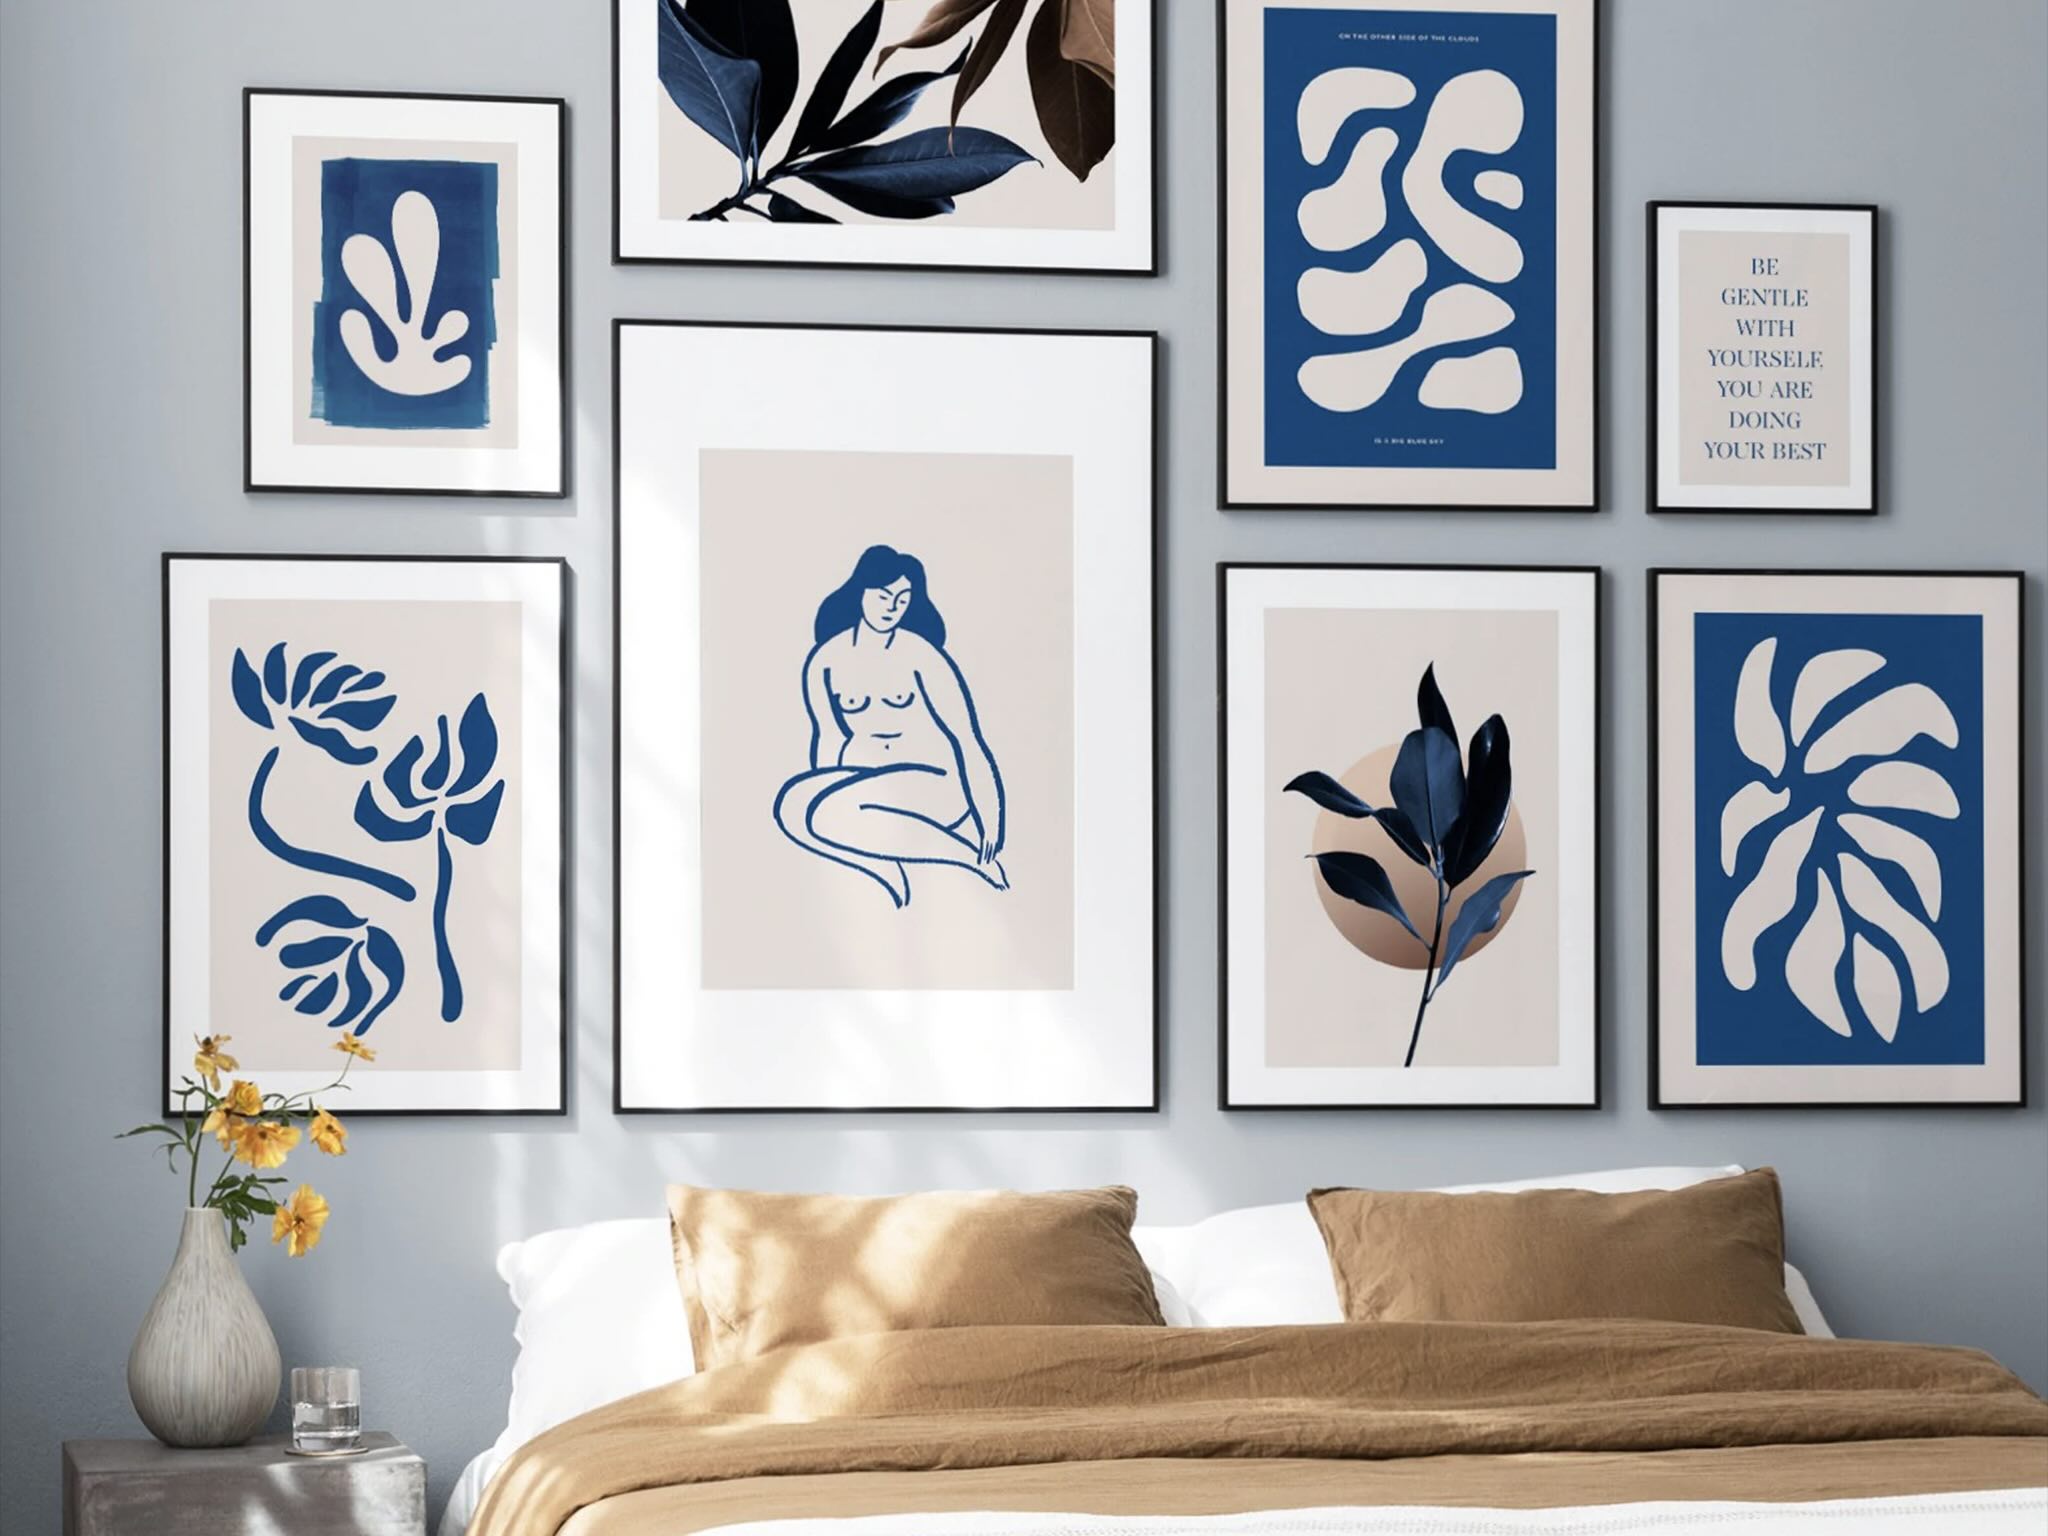
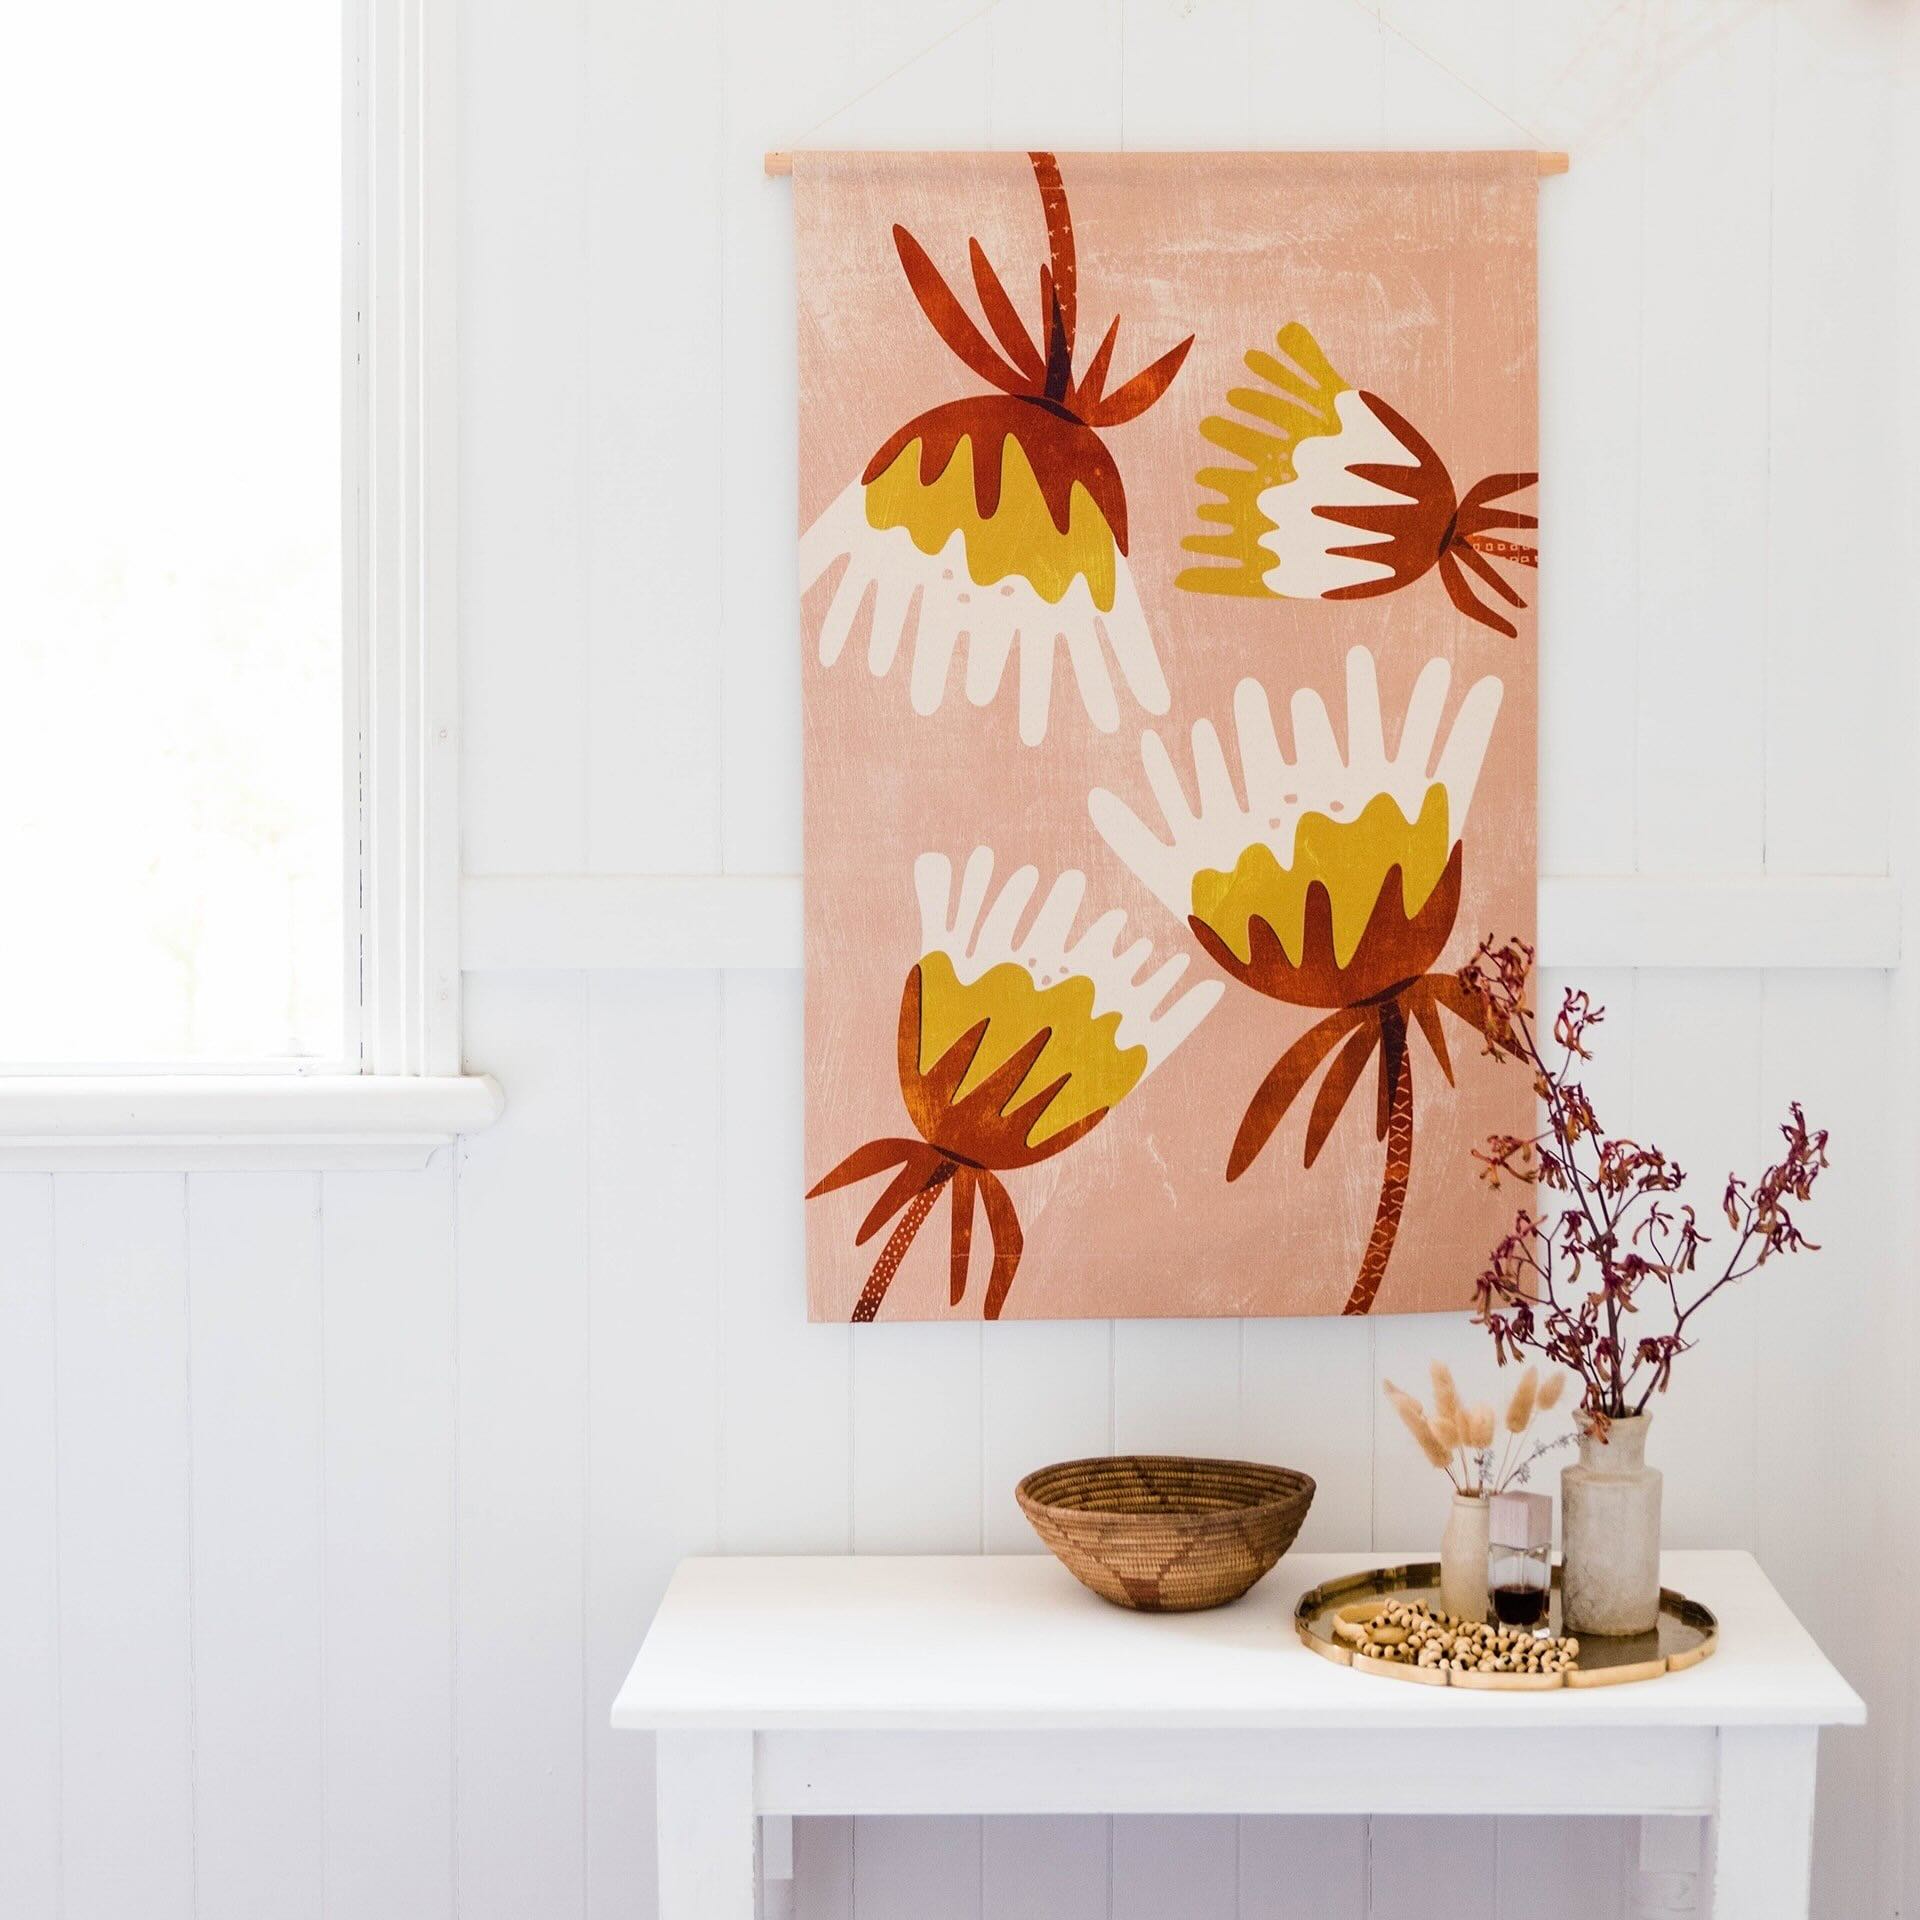
Wall art adds a touch of personality and style to any space. Whether it’s a beautiful painting, a collection of photographs, or a decorative wall hanging, art can transform the ambiance of a room. However, many people are hesitant to hang wall art because they don’t want to damage their walls with nails or screws.
The good news is that there are several alternative methods for hanging wall art without nails. In this article, we will explore four popular options: adhesive hooks, picture hanging strips, tension rods, and Command strips. Each method has its own advantages and considerations, so you can choose the one that suits your needs best.
By using these alternatives, you can safely hang your wall art and enjoy a beautifully decorated space, without worrying about leaving marks or holes in the walls. Let’s take a closer look at each option and learn how to put up wall art without nails.
Key Takeaways:
- Say goodbye to nails and hello to creativity! With adhesive hooks, picture hanging strips, tension rods, and Command strips, you can easily hang wall art without damaging your walls. Enjoy hassle-free decorating and let your personality shine through your space.
- Embrace versatility and convenience with nail-free wall art hanging options. Whether you’re a renter or a decor enthusiast, these alternative methods offer strong holds, easy removal, and the freedom to change up your wall art whenever inspiration strikes.
Read more: How To Hang Up Wall Art
Option 1: Adhesive Hooks
Adhesive hooks are a popular choice for hanging wall art without nails. They are easy to use, removable, and don’t require any tools or drilling. Adhesive hooks can support a variety of weights, depending on the brand and type you choose.
Before hanging your wall art with adhesive hooks, it’s important to choose the right type of hook that can bear the weight of your artwork. Consider the weight of the art, the type of surface you’re hanging it on, and any specific instructions provided by the hook manufacturer. Some hooks are designed for smooth surfaces like painted walls, while others are suitable for rough surfaces like textured walls.
Here is a step-by-step guide for hanging wall art with adhesive hooks:
- Clean the surface of the wall where you plan to hang the art. Make sure it is free from dust, dirt, and grease. Use a mild detergent if necessary.
- Take the adhesive hook out of its packaging and remove the backing from the adhesive strip.
- Press the adhesive strip firmly against the back of the hook to ensure it sticks properly.
- Position the hook on the wall at the desired height and press it firmly against the surface for a few seconds.
- Wait for the adhesive to fully set according to the manufacturer’s instructions. This usually takes a few hours.
- Once the adhesive has set, hang your wall art on the hook carefully. Make sure it is secure and level.
Keep in mind that adhesive hooks may not work well on certain surfaces, such as brick, concrete, or textured walls. It’s always a good idea to test the hook on a small, inconspicuous area before hanging your art. If the hook doesn’t adhere properly or damages the wall, consider exploring other options.
Adhesive hooks can be a convenient and damage-free way to hang wall art. Just remember to choose the right hooks for your specific needs and follow the manufacturer’s instructions for best results.
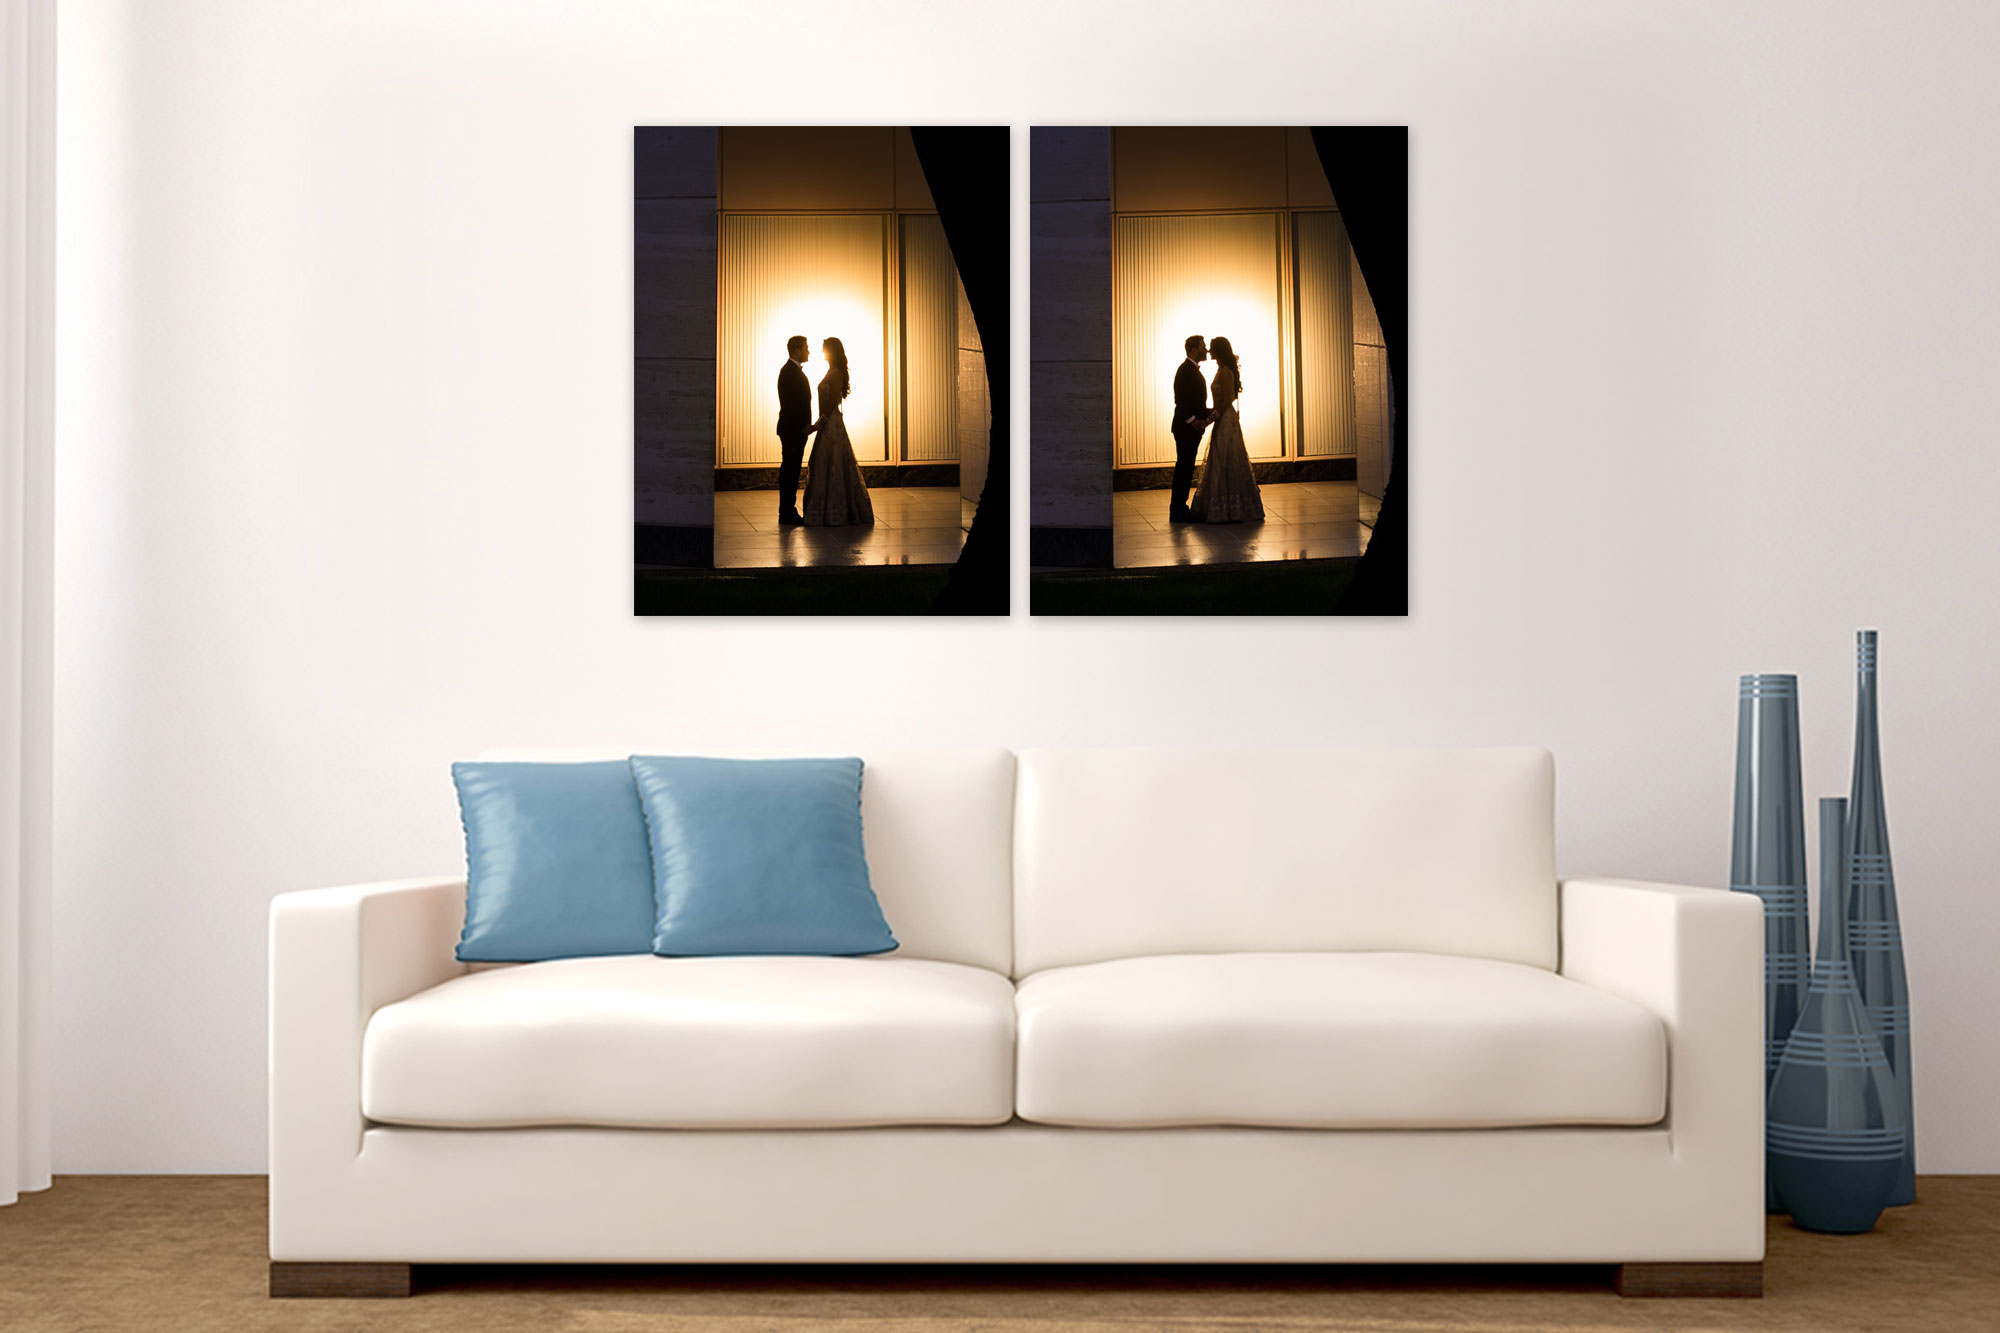
Option 2: Picture Hanging Strips
Picture hanging strips are another popular alternative to hanging wall art without nails. These strips are designed to hold the weight of framed artwork securely, while also being easy to remove without leaving any residue or damaging the walls.
Here are some of the benefits of using picture hanging strips:
- No damage to walls: Picture hanging strips are designed to be removable without leaving any marks or holes on the wall. This makes them a great option for renters or those who frequently change their wall art.
- Strong and durable: Picture hanging strips can support a significant amount of weight, depending on the brand and type you choose. They are designed to hold the artwork securely on the wall.
- Easy installation: Using picture hanging strips is a simple and straightforward process. You don’t need any tools or special skills to hang your wall art.
Here is a step-by-step guide for hanging wall art with picture hanging strips:
- Clean the surface of the wall and the back of the frame to ensure proper adhesion. Use a mild detergent if necessary and dry the surfaces thoroughly.
- Separate the two sides of the picture hanging strip. One side should attach to the back of the frame, while the other side will stick to the wall.
- Remove the protective liner from one side of the picture hanging strip and press it firmly onto the back of the frame.
- Remove the protective liner from the other side of the strip and position the frame on the wall at the desired height.
- Press the frame against the wall firmly for a few seconds to ensure a strong bond.
- Wait for the required amount of time indicated on the packaging before adding any weight to the frame.
To remove the wall art, simply grab the bottom corners of the frame and pull it straight towards you to release the adhesive. Avoid lifting the frame upward, as this may cause damage to the wall. Follow the packaging instructions for best practices on removing the picture hanging strips.
Picture hanging strips are a versatile and convenient option for hanging wall art without nails. They provide a strong hold and easy removal, making it simple to change or rearrange your artwork whenever you desire.
Use adhesive hooks or strips designed for hanging wall art without nails. Make sure to clean the wall surface before applying the adhesive and follow the weight guidelines for the hooks or strips.
Option 3: Tension Rods
Tension rods are a versatile and non-permanent solution for hanging wall art. These rods are adjustable and rely on tension to hold them securely in place, eliminating the need for nails or screws. They are particularly useful for hanging lightweight and fabric art pieces.
Here is an overview of using tension rods for hanging wall art:
- Types of tension rods: Tension rods come in various sizes and styles to suit different wall widths and decor preferences. Some rods have decorative finials on each end, while others are plain and adjustable.
- Choosing the right rod length: Measure the width of your wall or the space where you want to hang the art. Select a tension rod that extends to fit snugly between the walls without falling or sliding.
- Installing the tension rod: Twist the rod to extend it to the desired length. Place one end against one wall and position the other end against the opposite wall. Apply pressure to both ends to create tension and secure the rod in place.
- Hanging the wall art: Depending on the design of your tension rod, you can hang wall art directly on the rod or use hooks or clips to hold the art in place. Make sure the art is properly balanced and secure before releasing the pressure on the tension rod.
The process of installing and hanging wall art with tension rods is relatively straightforward and doesn’t require any additional tools or hardware. However, it’s important to ensure that your tension rod is appropriate for the weight of your wall art. Lightweight and fabric-based art pieces are better suited for tension rods, as they may not provide enough support for heavier or framed artwork.
Tension rods provide a temporary and adjustable solution for hanging wall art without nails. They are ideal for renters or those who frequently change their wall decor, allowing for easy installation and removal without damaging the walls.
Option 4: Command Strips
Command strips are a popular choice for hanging wall art without nails. These adhesive strips are specifically designed for hanging pictures and other lightweight items on walls. They provide a strong hold and are easy to remove without leaving any residue or damaging the walls.
Here are some benefits of using Command strips for hanging wall art:
- No damage to walls: Command strips are designed to be removable without leaving any marks or holes on the wall. This makes them an excellent option for renters or those who want to avoid damaging their walls.
- Various weight capacities: Command strips come in different sizes and weight capacities, allowing you to choose the appropriate strip for your artwork. They can support a range of weights, from small frames to larger pieces.
- Easy installation: Using Command strips is a simple and hassle-free process. You don’t need any tools or special skills to hang your wall art.
Here is a step-by-step guide for hanging wall art with Command strips:
- Clean the surface of the wall where you plan to hang the art. Ensure it is free from dust, dirt, and grease. Use a mild detergent if necessary.
- Separate the Command strip by peeling off the liner on one side.
- Stick the adhesive side of the Command strip to the back of your artwork, ensuring that it is positioned correctly.
- Peel off the remaining liner from the Command strip, revealing the sticky side.
- Position the artwork on the wall at the desired location and press it firmly against the surface. Hold it in place for a few seconds to ensure a strong bond.
- Repeat the process if you’re hanging multiple pieces of art or want to ensure additional support.
To remove the wall art, simply grasp the bottom corners of the frame and gently pull straight towards you. This will stretch the Command strip, releasing its adhesive grip. Avoid pulling the strip away from the wall at an angle to minimize the risk of leaving residue behind. If any residue remains on the wall, gently peel it off or use a mild adhesive remover, following the manufacturer’s instructions.
Command strips offer a convenient and damage-free solution for hanging wall art without nails. They provide a secure hold and easy removal, making it simple to change and reposition your artwork as desired.
Read more: How To Light Up Wall Art
Conclusion
Hanging wall art without nails is not only possible, but it is also easy and convenient, thanks to a variety of alternative methods. Whether you’re a renter who wants to avoid damaging the walls or someone who enjoys changing their wall decor frequently, options like adhesive hooks, picture hanging strips, tension rods, and Command strips provide effective solutions.
Adhesive hooks offer a simple and removable way to hang wall art, as long as you choose the right hooks for the weight and surface. Picture hanging strips provide a strong hold and easy removal, making it effortless to rearrange or replace your artwork. Tension rods are versatile and adjustable, perfect for lightweight wall art and fabric pieces. Command strips offer a secure hold and residue-free removal, ideal for a wide range of wall art.
Before selecting the method that best suits your needs, consider the weight of your artwork, the type of surface you’re hanging it on, and any specific instructions provided by the manufacturer. Take the time to clean the wall surface thoroughly and follow the installation instructions carefully to ensure proper adhesion.
Remember, no matter which option you choose, it’s always a good idea to test it on a small, inconspicuous area before committing to hanging your entire wall art collection. This way, you can ensure compatibility with your wall surface and minimize any risk of damage.
With the availability of these alternative methods, there’s no need to refrain from decorating your walls with beautiful art. Enjoy the process of transforming your space without the worry of leaving marks or holes behind. Explore these options, experiment with different arrangements, and let your creativity shine through the art you display on your walls.
So go ahead, try out these nail-free methods to hang your wall art, and discover how easy and convenient it can be to create a visually stunning and personalized space.
Frequently Asked Questions about How To Put Up Wall Art Without Nails
Was this page helpful?
At Storables.com, we guarantee accurate and reliable information. Our content, validated by Expert Board Contributors, is crafted following stringent Editorial Policies. We're committed to providing you with well-researched, expert-backed insights for all your informational needs.

0 thoughts on “How To Put Up Wall Art Without Nails”