Home>Interior Design>How To Tile A Backsplash: Step By Step

Interior Design
How To Tile A Backsplash: Step By Step
Modified: October 20, 2024
Learn how to tile a backsplash in your interior design project with this step-by-step guide. Create a stunning and functional space with our easy-to-follow instructions.
(Many of the links in this article redirect to a specific reviewed product. Your purchase of these products through affiliate links helps to generate commission for Storables.com, at no extra cost. Learn more)
Introduction
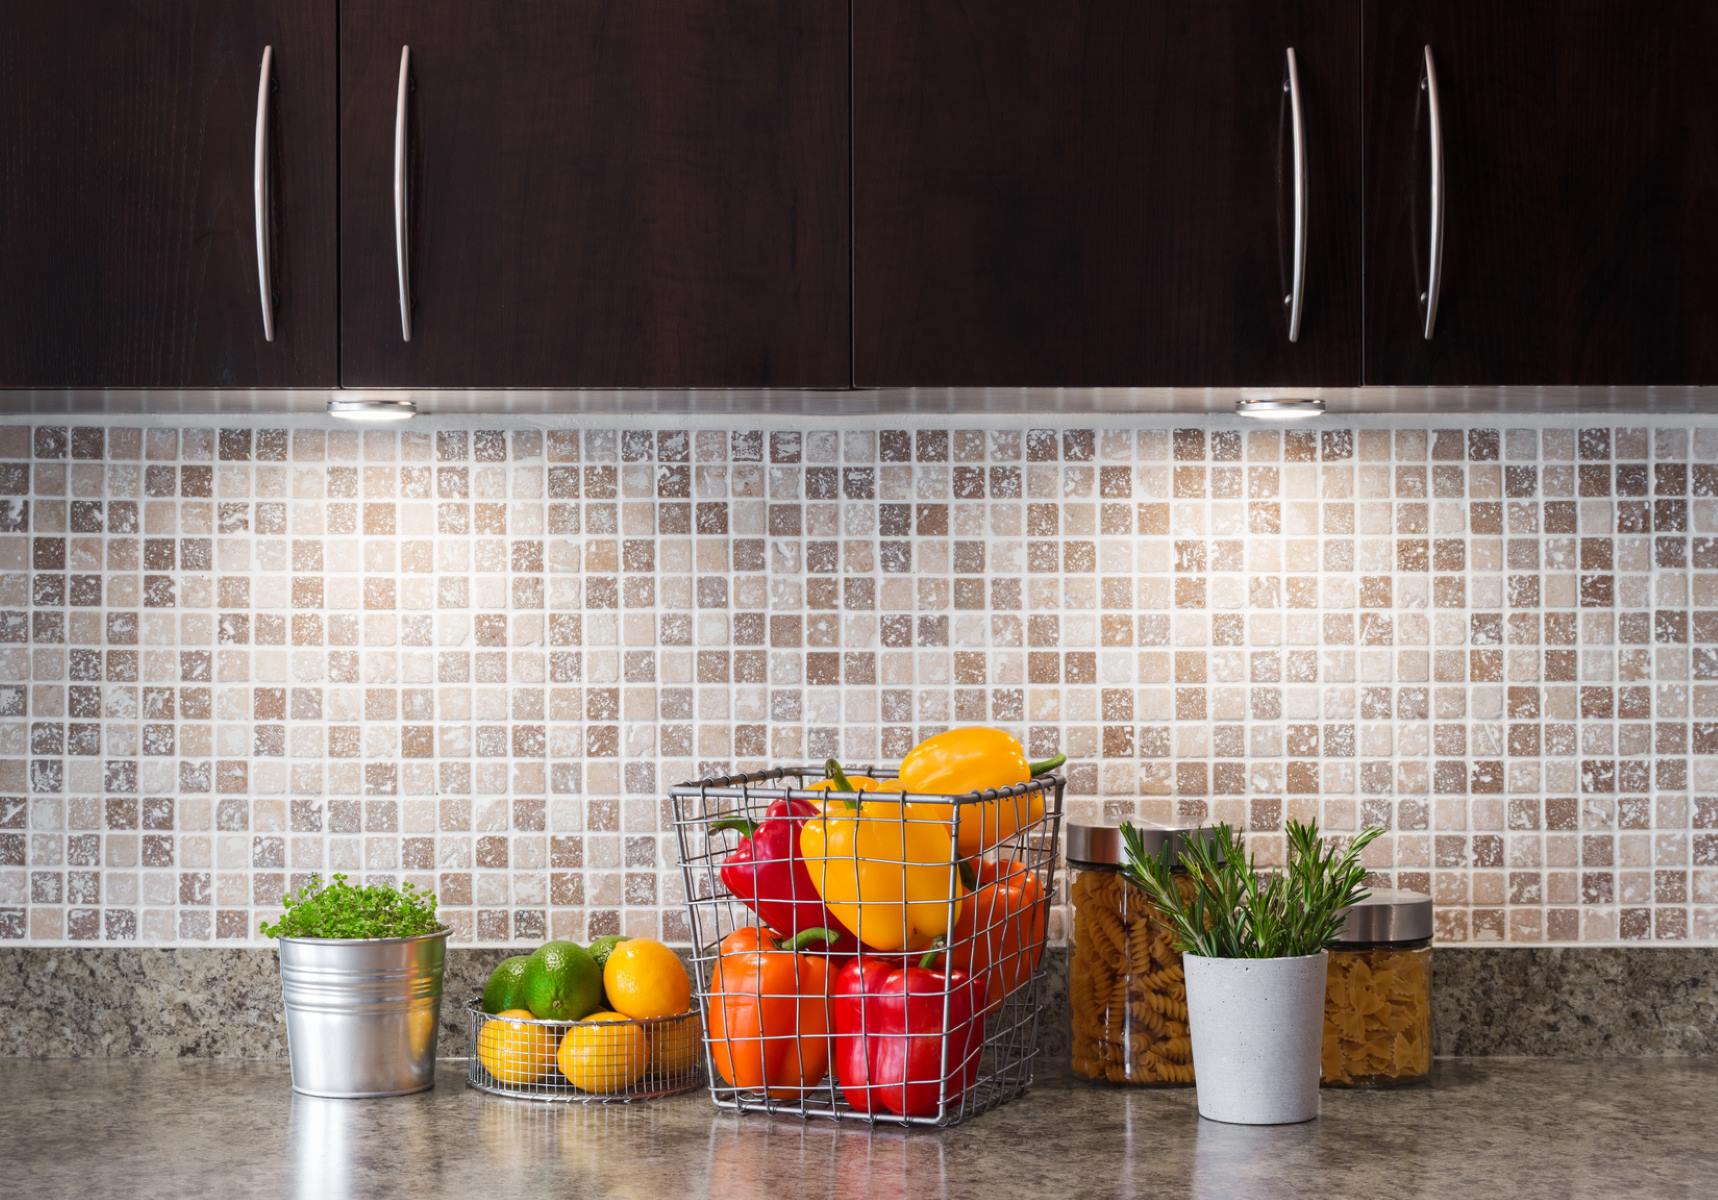
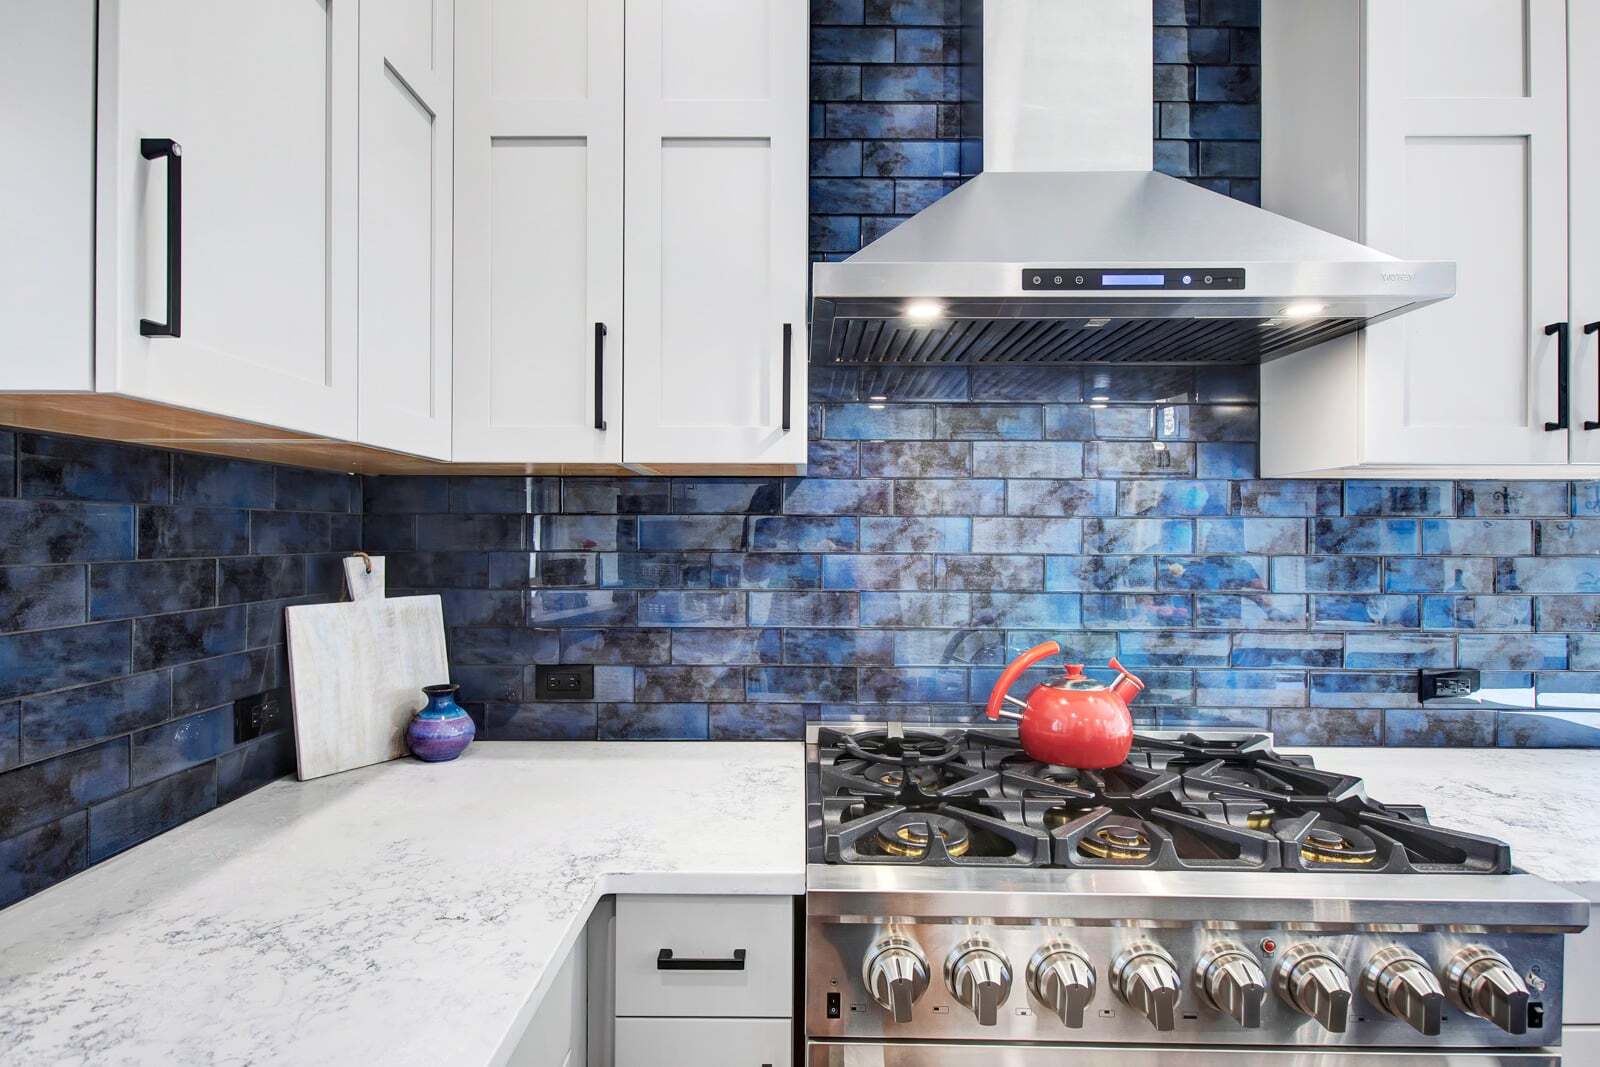
In any kitchen or bathroom, the backsplash is not only functional, but it also adds personality and style to the space. A well-designed backsplash can elevate the overall look of the room, making it more inviting and visually appealing. One popular choice for a backsplash is tiling, as it offers durability, versatility, and an almost limitless range of design possibilities.
If you’re looking to learn how to tile a backsplash, you’ve come to the right place. In this step-by-step guide, we will walk you through the process of tiling a backsplash, from gathering the necessary materials and tools to applying the grout and finishing touches. Whether you’re a DIY enthusiast or a homeowner looking to save on labor costs, this guide will provide you with the knowledge and confidence to tackle this project.
Before we dive into the details, let’s briefly cover why tiling is a popular choice for backsplashes. Firstly, tiles are incredibly durable and resistant to heat, moisture, and stains—essential features for an area prone to splashes and spills. Secondly, tiles offer endless design options, allowing you to choose from a wide variety of colors, patterns, shapes, and sizes to match your personal style and the overall aesthetic of your kitchen or bathroom. Lastly, tiling is relatively easy to clean and maintain, making it a practical choice for high-traffic areas.
Now that you understand the benefits, let’s get started on tiling your backsplash!
Key Takeaways:
- Transform your kitchen or bathroom with a stylish and durable backsplash using the step-by-step guide. From gathering materials to adding final touches, achieve a professional-looking result and elevate your space.
- Gain the knowledge and skills needed to tile a backsplash with confidence. Learn the importance of surface preparation, precise measurements, and proper maintenance for a stunning and long-lasting installation.
Read more: How To Grout Tiles: Step-by-step
Step 1: Gather materials and tools
Before you begin tiling your backsplash, it’s important to gather all the necessary materials and tools. This will ensure a smooth and efficient tiling process. Here are the items you’ll need:
- Tiles: Measure the area of your backsplash to determine the quantity of tiles you’ll need. Consider the size, color, and pattern of the tiles to complement your kitchen or bathroom design.
- Tile adhesive: Choose a suitable adhesive that is recommended for the type of tiles you’re using and the surface you’re tiling on.
- Tile spacers: These small plastic pieces are used to maintain consistent spacing between tiles, creating a professional-looking finish.
- Tile cutter or wet saw: Depending on the complexity of your design and the type of tiles you’re using, you’ll need either a manual tile cutter or a wet saw to cut the tiles to the desired size and shape.
- Trowel: A notched trowel is used to apply the adhesive evenly on the surface.
- Grout: Choose a grout color that complements your tiles and overall design. Consider whether you want a sanded or unsanded grout, depending on the width of the grout lines.
- Grout float: This tool is used to apply the grout evenly and press it into the spaces between the tiles.
- Sponge and bucket: You’ll need a sponge and bucket of water to clean the tiles and remove excess grout.
- Level and measuring tape: These tools are essential for ensuring that your tiles are straight and accurately placed.
- Protective gear: To protect yourself during the tiling process, wear safety goggles, work gloves, and a dust mask.
Once you have gathered all the necessary materials and tools, you’ll be well-prepared to move on to the next step: preparing the surface.
Step 2: Prepare the surface
Proper surface preparation is crucial for ensuring a successful and long-lasting backsplash installation. Follow these steps to prepare the surface before tiling:
- Clean the surface: Start by thoroughly cleaning the area where the backsplash will be installed. Remove any dirt, grease, or residue from the walls using a mild detergent and water. Ensure that the surface is completely dry before proceeding to the next step.
- Remove any existing backsplash: If you have an existing backsplash, you’ll need to remove it before installing the new tiles. Use a putty knife to gently pry off the old tiles or a heat gun to soften the adhesive and make removal easier. Make sure to wear protective gear and work slowly and carefully to avoid damaging the wall.
- Repair any damage: Inspect the wall for any cracks, holes, or uneven areas. Fill in any gaps or imperfections with a suitable filler or spackle, and use sandpaper to smoothen the surface. Allow the repairs to dry completely.
- Apply a primer (if necessary): If you’re tiling on a porous or uneven surface, it’s recommended to apply a primer to promote better adherence of the adhesive. Follow the manufacturer’s instructions to apply the primer evenly and allow it to dry as directed.
By properly preparing the surface, you’re ensuring that the tiles adhere well and the finished backsplash looks seamless and professional. Once the surface is clean, smooth, and dry, you’re ready to move on to the next step: measuring and planning the layout.
Step 3: Measure and plan the layout
Accurate measurements and careful planning are key to achieving a visually appealing and symmetrical backsplash. Follow these steps to measure and plan the layout of your tiles:
- Measure the area: Use a measuring tape to determine the height and width of the backsplash area. Multiply these measurements to calculate the square footage of the space.
- Mark the centerline: Use a level and a pencil to draw a vertical line in the center of the backsplash area. This will serve as a reference point for your tile installation.
- Dry-lay the tiles: Before applying any adhesive, arrange the tiles on the surface without adhering them. This dry-laying allows you to visualize how the tiles will look and make adjustments if needed. Consider the position of electrical outlets, switches, and any other obstacles on the wall. Adjust the tiles to ensure symmetry and aesthetic appeal.
- Plan the tile cuts: Take note of any areas where the tiles will need to be cut or trimmed to fit. Be mindful of the pattern and alignment of the tiles as you plan the cuts. If possible, try to minimize the number of cuts needed for a cleaner and more seamless look.
- Account for grout lines: Determine the desired size of your grout lines. Generally, a 1/8 – 1/4 inch grout line is recommended for most tile backsplashes. Adjust your layout accordingly to account for the width of the grout lines.
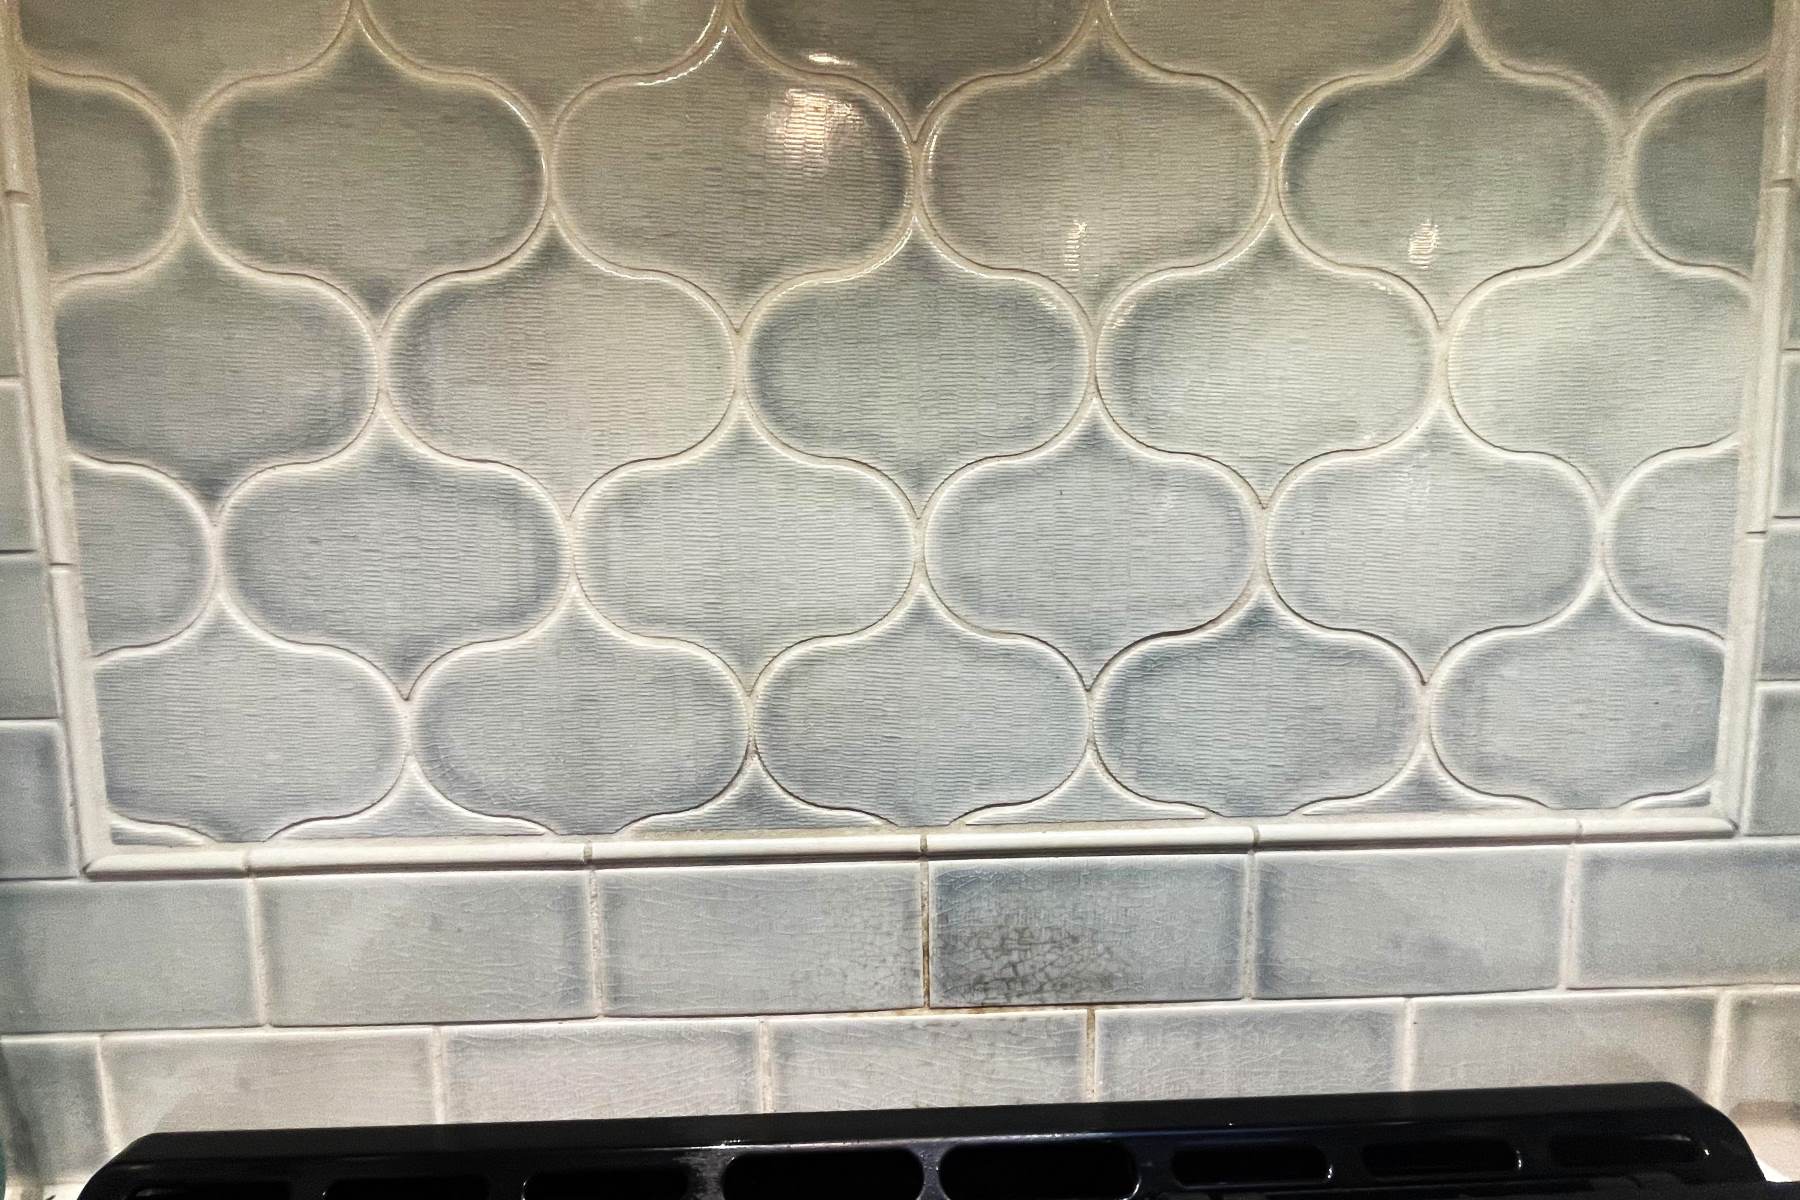
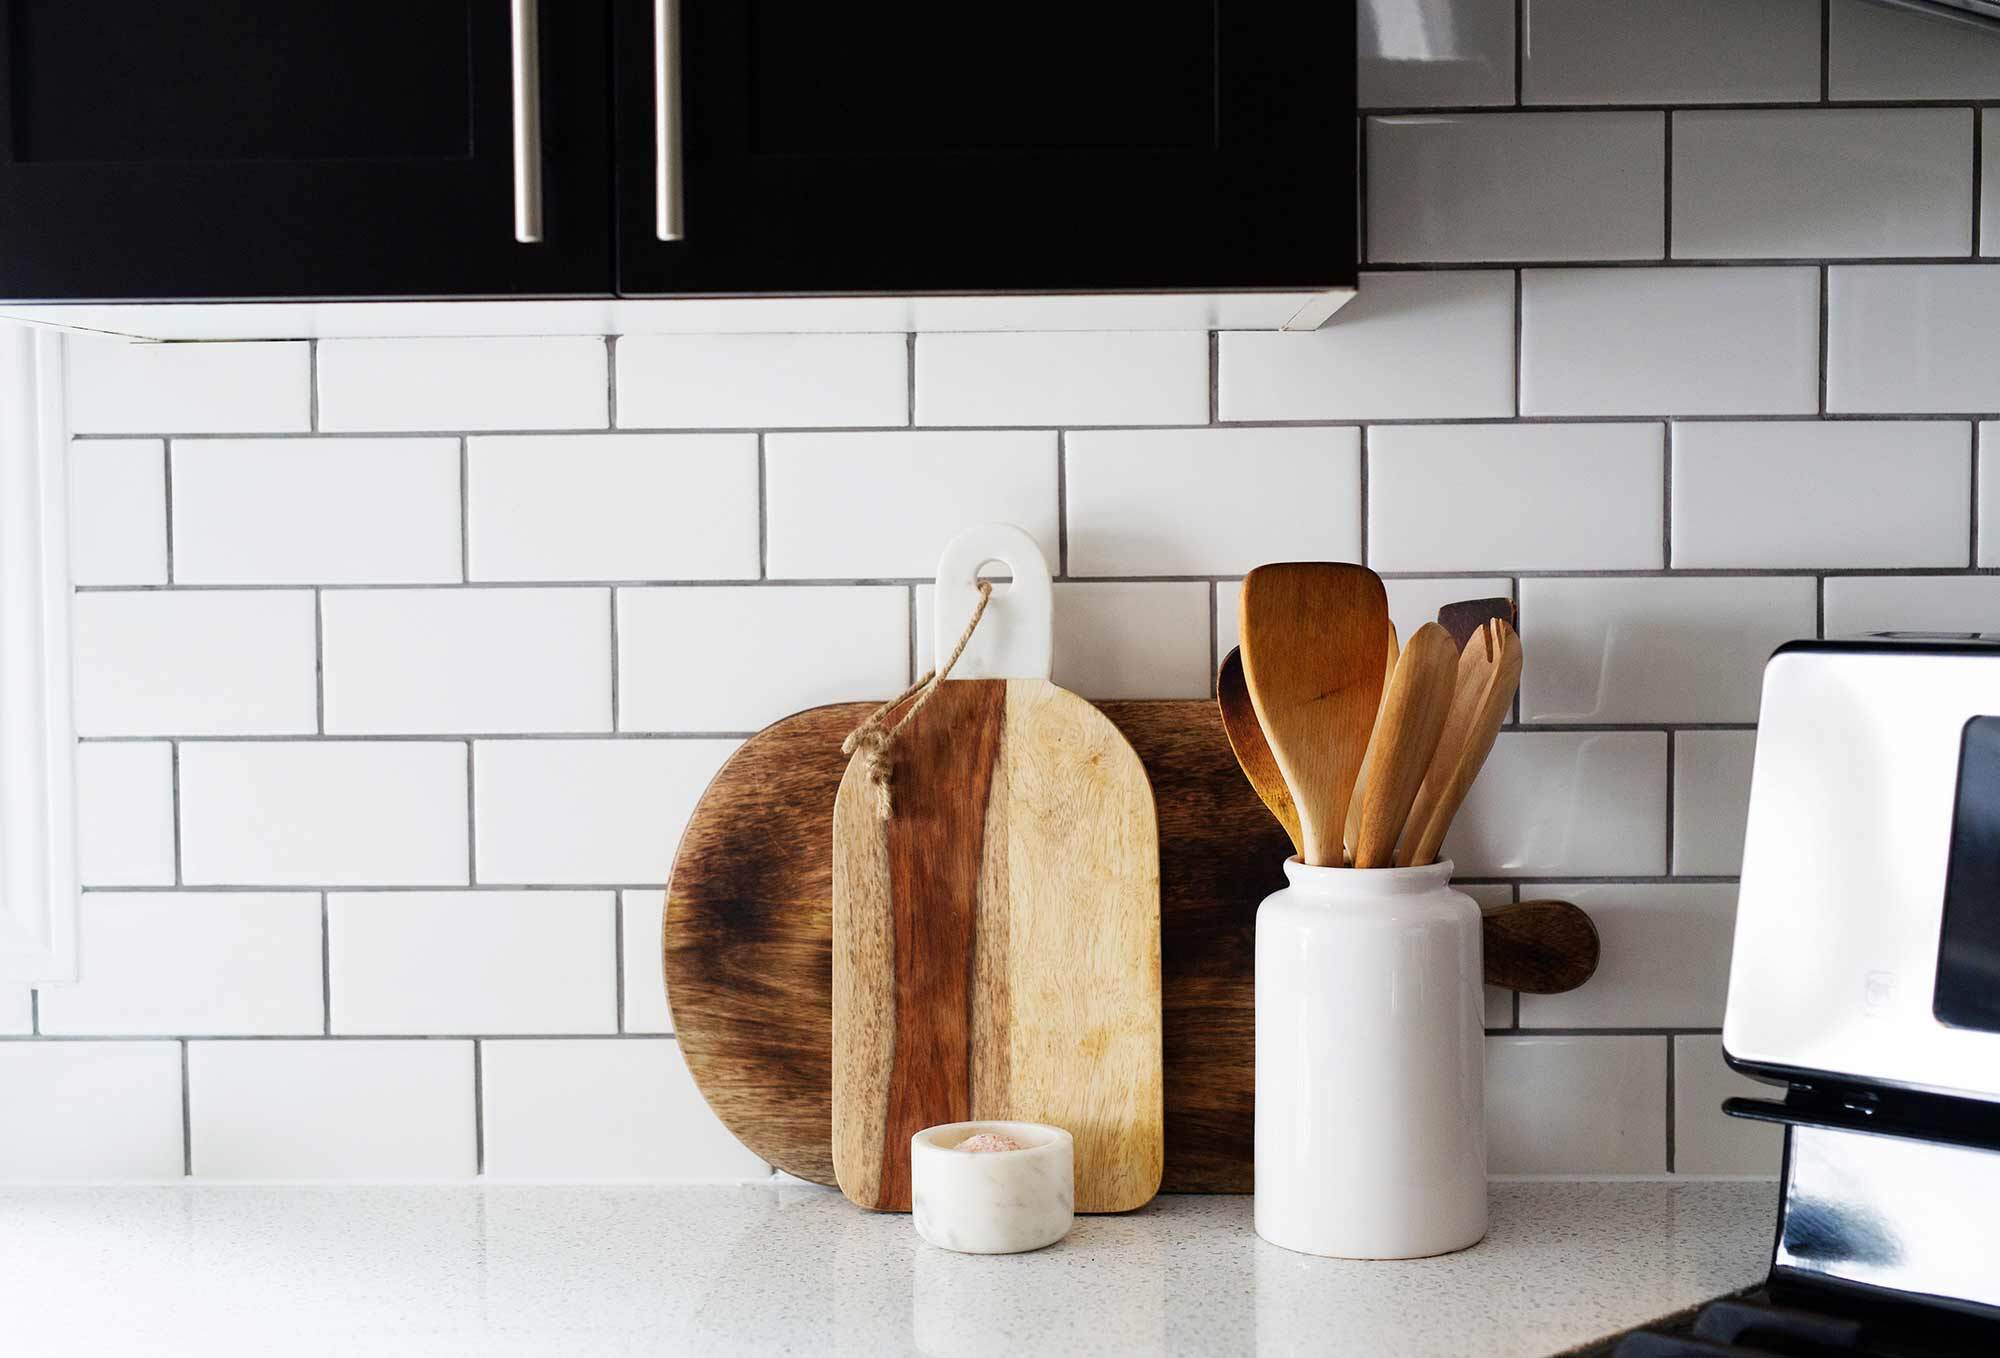
- Consider tile placement: Decide on the tile placement pattern, such as straight, diagonal, herringbone, or subway. This will influence the overall look and feel of your backsplash. Experiment with different layouts to find the one that best suits your style.
- Take photos: Once you’re satisfied with the dry-laid tile arrangement, take photos or make sketches to reference during the installation process. These visuals will help you recreate the planned layout accurately.
By measuring and planning the layout of your tiles, you minimize the chances of mistakes and ensure a well-balanced and visually pleasing backsplash. With your layout planned out, you’re now ready to move on to the next step: applying the adhesive.
Step 4: Apply the adhesive
Applying the adhesive is a crucial step in the tiling process as it ensures the tiles adhere securely to the surface. Here’s how to apply the adhesive for your backsplash:
- Mix the adhesive: Follow the manufacturer’s instructions to prepare the tile adhesive. Use a clean bucket and a mixing paddle or drill attachment to achieve a smooth and lump-free consistency.
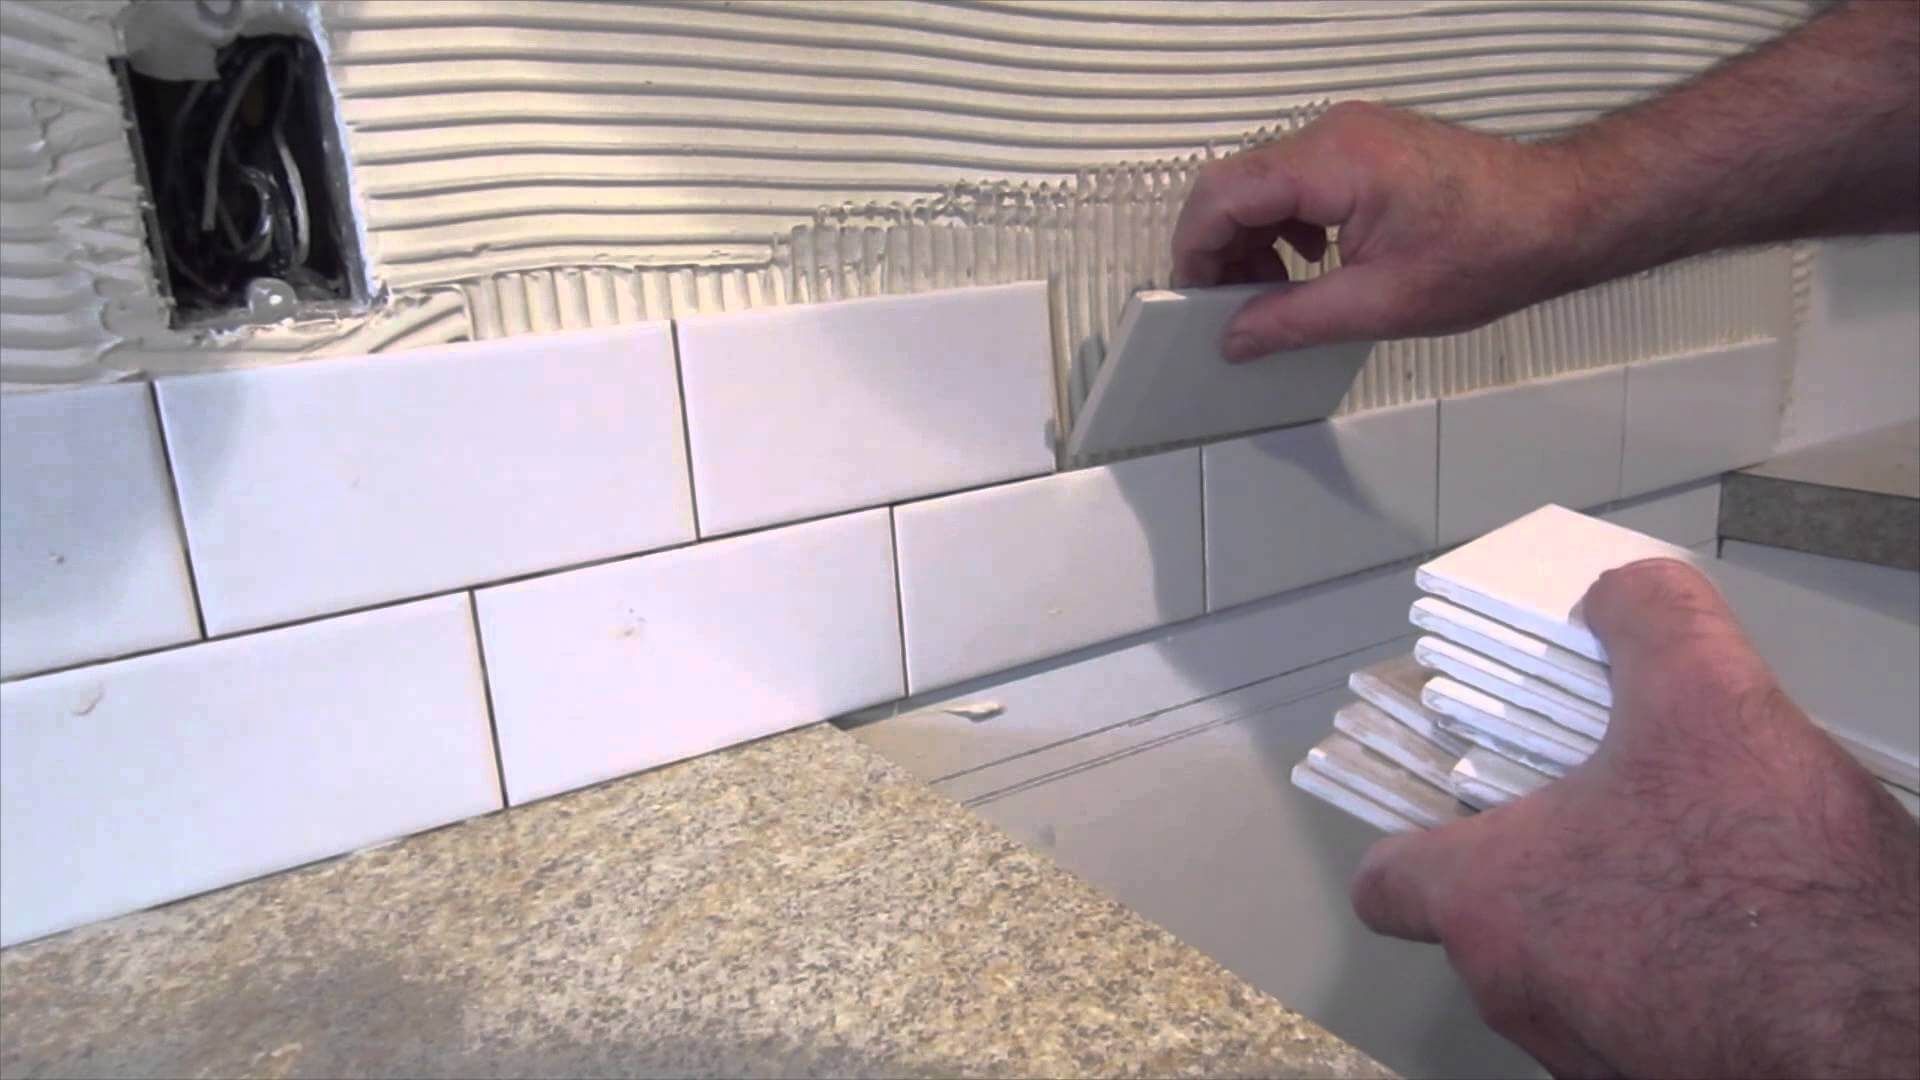
- Start with a small area: Working in sections ensures that the adhesive doesn’t dry out before the tiles are applied. Begin by applying adhesive to a small area using a notched trowel. This will give you enough time to set the tiles before the adhesive dries.
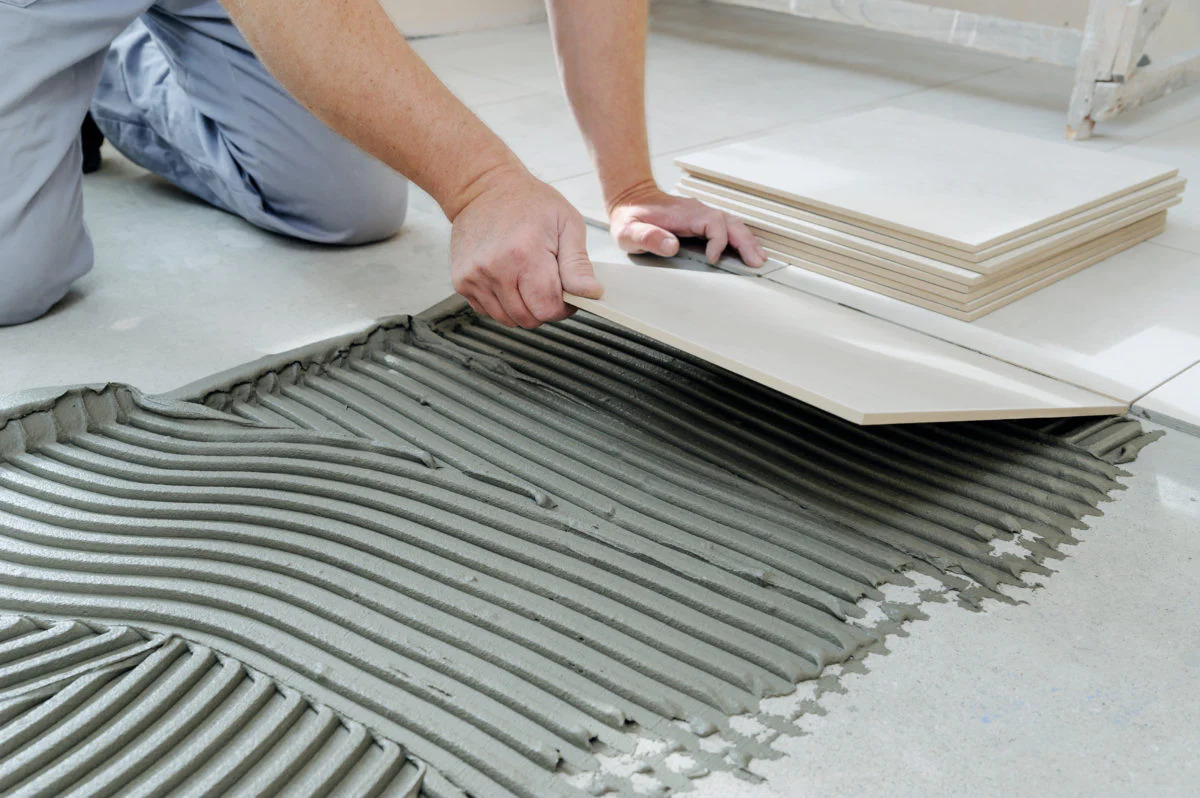
- Spread the adhesive: Hold the trowel at a 45-degree angle and spread the adhesive evenly over the surface. Use the notched side of the trowel to create ridges in the adhesive. These ridges allow for better adhesion and help to level the tiles.
- Apply additional adhesive: As you work, continue spreading adhesive in small sections, only applying as much as you can tile within 15-20 minutes. This minimizes the risk of the adhesive drying out too quickly.
- Smooth the adhesive: Run the flat side of the trowel over the ridges to flatten them, ensuring a consistent layer of adhesive. This helps to achieve a level surface for the tiles.
Remember to work neatly and avoid smearing adhesive onto areas where you don’t intend to place tiles. Once the adhesive is applied, you’re ready to move on to the next step: tiling!
Read more: How To Cut Backsplash Tiles
Step 5: Start tiling
With the adhesive applied, it’s time to start tiling your backsplash. Follow these steps to ensure a smooth and successful tiling process:
- Begin at the centerline: Start tiling from the centerline you marked earlier. This helps to ensure a balanced and symmetrical installation. Use the flat side of the trowel to press the first tile firmly into the adhesive, working from the bottom and sliding it into place.
- Add spacers: Place tile spacers on all sides of the first tile to maintain consistent grout lines. These spacers will create even spacing between the tiles, allowing for a professional finish.
- Continue tiling: Working outwards from the center, continue applying tiles one by one, pressing them into the adhesive and using spacers to maintain consistent spacing. Be mindful of the pattern and placement, referring to the layout plan you created earlier.
- Check for level and alignment: Use a level to ensure the tiles are straight and aligned correctly. Adjust as necessary by tapping the tiles gently with a rubber mallet or repositioning them before the adhesive sets.
- Wipe off excess adhesive: As you go, periodically check for any adhesive that might be squeezing out from the edges of the tiles. Use a damp cloth or sponge to wipe it off before it dries.
- Work in small sections: Continue tiling in small sections, applying adhesive, placing tiles, and adding spacers as you progress. This method helps to maintain control over the process and ensures that the adhesive remains workable.
- Trim tiles as needed: If you come across areas that require smaller or irregularly shaped tiles, use your tile cutter or wet saw to trim the tiles to fit. Take your time and make precise cuts to achieve a seamless look.
- Check the alignment regularly: Periodically step back and assess the alignment and overall appearance of the tiles. Make any necessary adjustments to maintain consistency and alignment throughout the backsplash.
Continue tiling in sections until you’ve covered the entire backsplash area. Once all the tiles are in place, allow the adhesive to set as per the manufacturer’s instructions. You’re now ready to move on to the next step: cutting and trimming tiles as needed.
When tiling a backsplash, make sure to properly prepare the surface by cleaning and sanding it, and use a good quality adhesive to ensure the tiles stay in place.
Step 6: Cut and trim tiles as needed
As you tile the backsplash, you may come across areas that require smaller or irregularly shaped tiles to fit. This is where cutting and trimming tiles come into play. Follow these steps to cut and trim tiles to ensure a precise and seamless installation:
- Measure and mark: Measure the area where the tile needs to be cut and mark it on the tile surface using a pencil or marker. Double-check the measurements to ensure accuracy.
- Use a tile cutter: For straight cuts, a manual tile cutter is the ideal tool. Place the tile on the cutter, aligning the mark with the cutting line on the cutter. Score the tile along the line, then press down on the handle to snap the tile along the scored line.
- Use a wet saw: If you have more complex cuts or need to cut curves or angles, a wet saw is the best tool for the job. Follow the manufacturer’s instructions for operating the wet saw and wear safety goggles and gloves for protection.
- Avoid chipping: To minimize chipping while cutting, use a sharp blade and cut slowly and steadily. Applying masking tape along the cutting line can also help prevent chipping.
- Test the fit: After cutting the tile, test its fit in the designated area. Make any necessary adjustments to ensure a proper fit before applying adhesive and placing the cut tile.
- Trim edges and corners: Use tile nippers or a tile file to trim any rough or sharp edges on the cut tile. This will ensure a smooth and professional finish.
- Repeat the process: Continue cutting and trimming tiles as needed, working carefully to maintain consistency in appearance and alignment with the rest of the tiles.
Take your time during this step to ensure that the cut tiles fit perfectly and blend seamlessly with the rest of the backsplash. Once all the tiles are cut and trimmed, you’re ready to move on to the next step: applying grout.
Step 7: Apply grout
Applying grout is the next important step in completing your backsplash installation. Grout not only fills the gaps between the tiles but also adds stability and a finished look to the overall design. Follow these steps to apply grout to your backsplash:
- Mix the grout: Follow the manufacturer’s instructions to mix the grout. Use a clean bucket and a grout mixing paddle or drill attachment to achieve a smooth and consistent texture.
- Prep the tile surface: Clean any dust or debris from the tile surface using a wet sponge. Make sure the tiles are dry before applying the grout.
- Apply the grout: Using a grout float, scoop a generous amount of grout onto the float and apply it to the tile surface at a 45-degree angle. Press the grout into the gaps between the tiles, making sure to fill them completely.
- Work in small sections: Grout dries quickly, so it’s best to work in small sections. Apply the grout to an area that you can comfortably reach and finish within 10-15 minutes.
- Remove excess grout: Once you have applied the grout, hold the float at a 90-degree angle and carefully scrape off the excess grout from the tile surface. Use diagonal strokes to avoid pulling the grout out from the gaps.
- Clean off the grout: After scraping off the excess grout, use a damp sponge to gently wipe away the surface grout. Rinse the sponge frequently and wring it out well to avoid leaving excess water on the tiles.
- Cure the grout: Allow the grout to dry for the recommended time specified by the manufacturer. Avoid touching or disturbing the grout during this time to ensure a strong and durable bond.
Once the grout is fully cured, inspect the backsplash for any remaining haze or residue. Use a clean, dry cloth or a grout haze remover to buff away any remaining grout film. With the grout application complete, you’re now ready to move on to the next step: cleaning and finishing the backsplash.
Step 8: Clean and finish the backsplash
After the grout has cured, it’s time to clean and finish your backsplash to reveal its true beauty. Cleaning the tiles properly and adding the finishing touches will ensure a polished and professional-looking result. Follow these steps to clean and finish your backsplash:
- Remove grout residue: Use a clean, dry cloth or a slightly damp sponge to wipe away any remaining grout haze or residue on the tiles. Be gentle and careful not to disturb the grout lines.
- Clean the tiles: Mix a mild detergent or tile cleaner with warm water and use a sponge or soft cloth to gently clean the tiles. Avoid abrasive cleaners or tools that could damage the tile surface.
- Rinse the tiles: After cleaning, rinse the tiles with clean water to remove any soapy residue. Ensure the tiles are completely free of cleaning solution before proceeding.
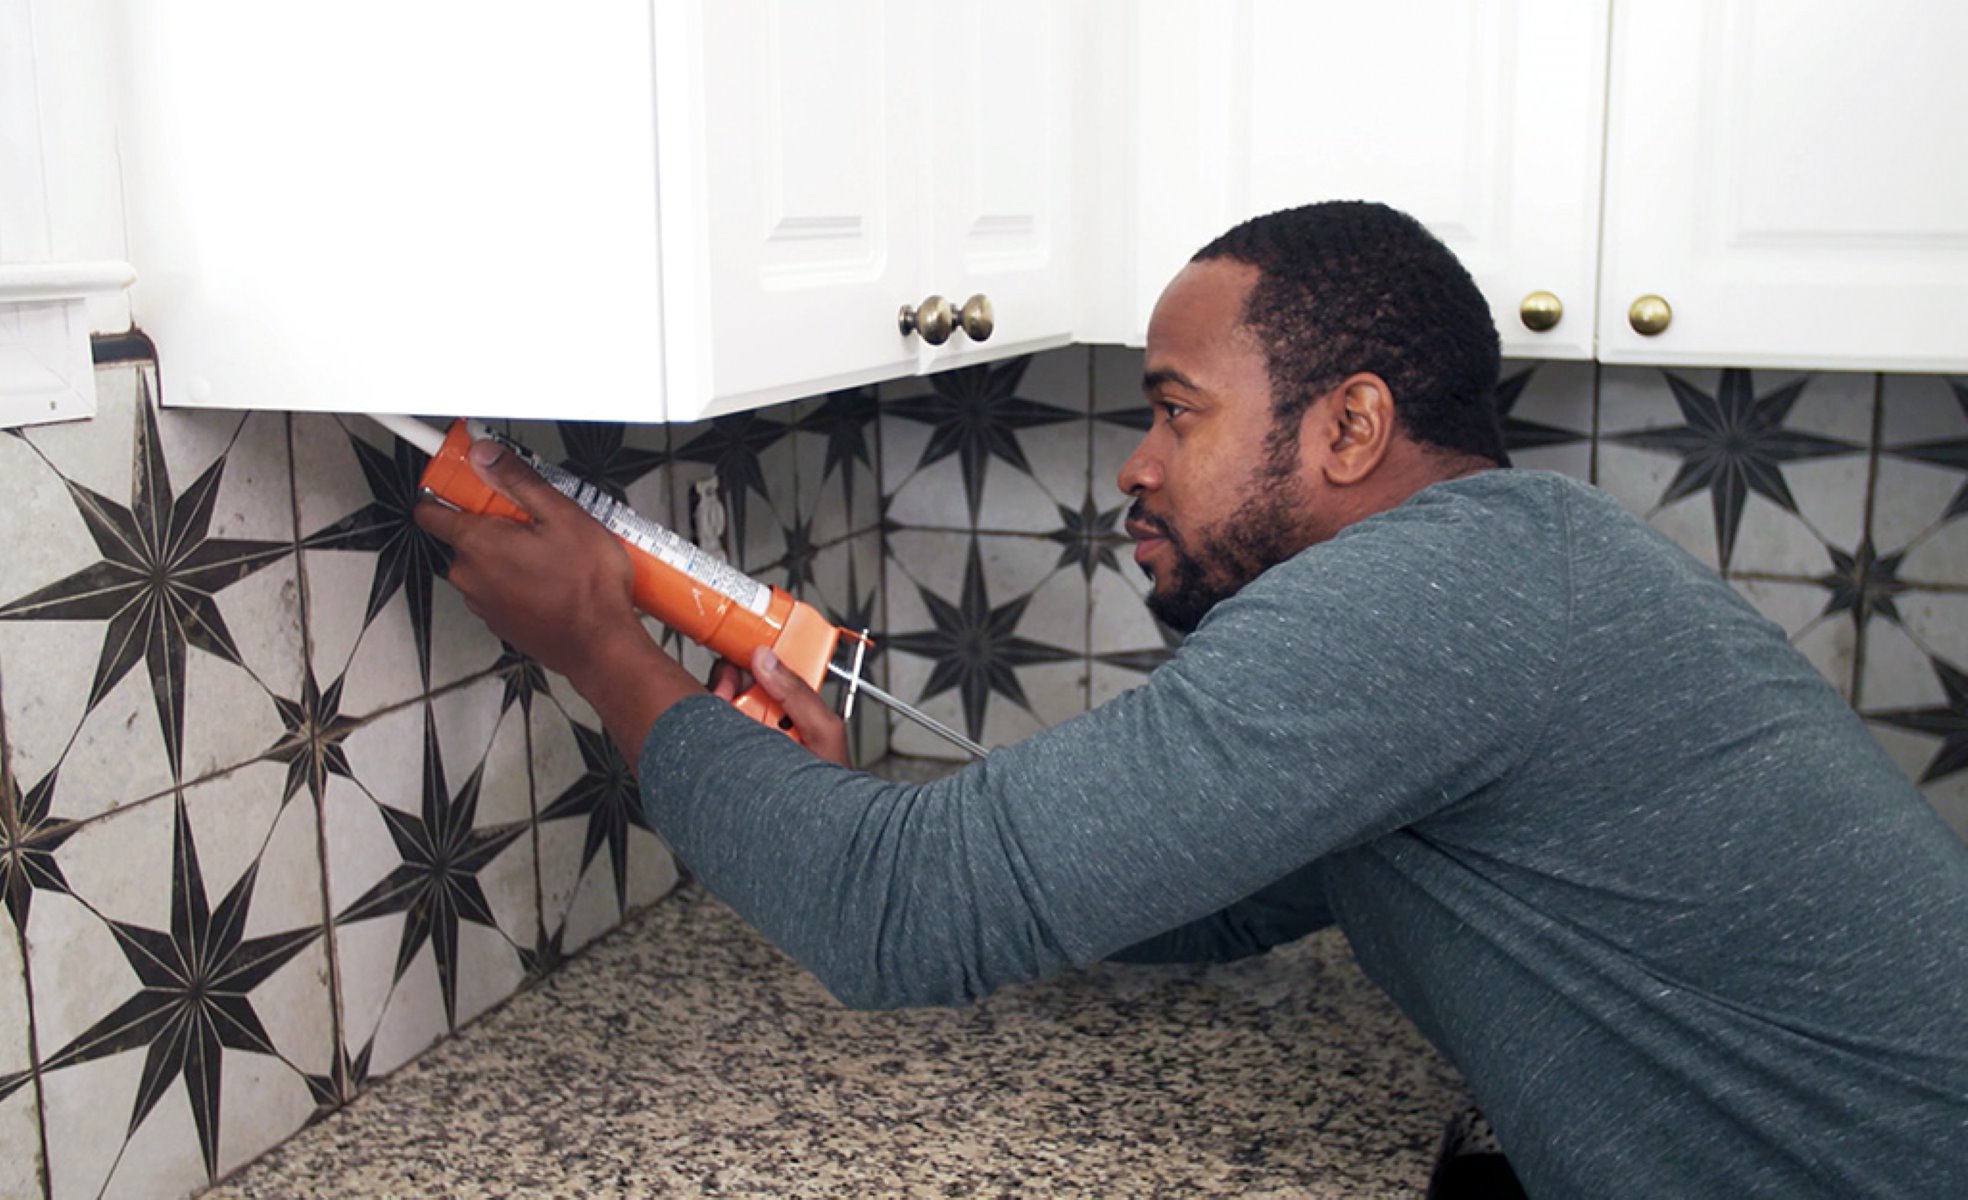
- Seal the grout (optional): Depending on the type of grout you’ve used and personal preference, you may choose to seal the grout to protect it from stains and discoloration. Follow the instructions on the grout sealer product and apply it to the grout lines using a small brush or applicator.
- Inspect for touch-ups: Take a close look at the backsplash to identify any areas that may need touch-ups. Use a grout touch-up pen or a small brush to fix any small imperfections in the grout lines or tile edges.
- Apply a finishing trim (if desired): Adding a finishing trim along the edges of the backsplash can provide a polished and cohesive look. Choose a trim that matches the style and color scheme of your tiles and install it according to the manufacturer’s instructions.
- Clean tools and workspace: Properly clean and store your tools and clean up any mess or debris from the tiling process. This will leave your workspace tidy and ready to enjoy your beautifully finished backsplash.
By completing these cleaning and finishing steps, you ensure that your backsplash is well-maintained and enhances the overall aesthetic of your kitchen or bathroom. With the cleaning and finishing process complete, you can step back and admire your beautiful tiled backsplash.
Read more: How To Remove Glass Tile Backsplash
Step 9: Final touches and maintenance tips
With your backsplash installed and finished, there are a few final touches and maintenance tips to consider to keep it looking beautiful and well-maintained for years to come:
- Remove spacers: Once the grout has fully cured, carefully remove the tile spacers from between the tiles. Gently pull them out or use a tool to pry them loose.
- Clean and polish: Give your backsplash a final cleaning and polishing to remove any remaining dust or residue. Use a soft cloth or a non-abrasive cleaner to gently buff the tiles and grout.
- Protective measures: For added protection, apply a high-quality tile and grout sealer to the surface of the backsplash. This will help guard against stains, moisture, and dirt buildup. Follow the manufacturer’s instructions for application and reapplication.
- Maintenance: Regularly clean your backsplash with a mild detergent and warm water to remove any grease, splatters, or debris. Avoid using abrasive cleaners or scrub brushes that could damage the tile or grout.
- Address stains promptly: If you notice any stains or discoloration on your backsplash, address them promptly. Use a suitable stain remover or a mixture of baking soda and water to gently scrub the affected area. Rinse thoroughly afterward to remove any residue.
- Be cautious with acidic substances: Acidic substances like vinegar or lemon juice can cause etching on certain types of tiles. Clean up spills promptly and avoid using these substances directly on the backsplash.
- Protect against heat: While most tiles are heat-resistant, it’s still advisable to use trivets or hot pads under hot cookware to prevent thermal shock or damage to the surface of the tiles.
- Regular inspection: Periodically inspect your backsplash for any signs of damage, loose tiles, or grout deterioration. Address these issues promptly to prevent further damage and maintain the integrity of the installation.
By following these final touches and maintenance tips, you can ensure that your backsplash remains a stunning focal point in your kitchen or bathroom. Enjoy the beauty and functionality of your newly tiled backsplash!
Conclusion
Congratulations! You have successfully learned how to tile a backsplash step by step. By following this guide, you’ve gained the knowledge and skills needed to transform your kitchen or bathroom with a beautiful and functional backsplash. Tiling a backsplash not only adds a touch of style and personality to your space but also provides protection against splashes and spills.
Throughout this process, you learned how to gather the necessary materials and tools, prepare the surface, measure and plan the layout, apply the adhesive, tile the backsplash, cut and trim tiles as needed, apply grout, clean and finish the backsplash, and implement final touches and maintenance tips. Each step contributes to achieving a professional-looking result.
Remember, attention to detail and careful execution are key to a successful backsplash installation. Take your time to measure accurately, plan the layout, and ensure precise cuts and alignment. Proper surface preparation, adhesive application, and grout technique all play crucial roles in the durability and longevity of your backsplash.
Maintain your backsplash regularly by cleaning it and promptly addressing any stains or damage. By being proactive and taking protective measures, you can keep your backsplash looking vibrant and beautiful for years to come.
Now that you’re equipped with the knowledge and skills to tile a backsplash, it’s time to put your creativity to work. Choose the perfect tiles, experiment with patterns and layouts, and enjoy the process of enhancing your kitchen or bathroom with a stylish and eye-catching backsplash.
Remember, practice makes perfect, so don’t be discouraged if your first attempt isn’t flawless. With each project, you’ll gain confidence and refine your skills. So go ahead, get started on transforming your space and enjoy the satisfaction of a beautifully tiled backsplash!
Frequently Asked Questions about How To Tile A Backsplash: Step By Step
Was this page helpful?
At Storables.com, we guarantee accurate and reliable information. Our content, validated by Expert Board Contributors, is crafted following stringent Editorial Policies. We're committed to providing you with well-researched, expert-backed insights for all your informational needs.





0 thoughts on “How To Tile A Backsplash: Step By Step”