Home>Renovation & DIY>Home Renovation Guides>How To Put Up A Backsplash With Glass Tiles
Home Renovation Guides
How To Put Up A Backsplash With Glass Tiles
Modified: October 19, 2024
Learn how to install a stunning glass tile backsplash in your kitchen with our comprehensive home renovation guide. Upgrade your space today!
(Many of the links in this article redirect to a specific reviewed product. Your purchase of these products through affiliate links helps to generate commission for Storables.com, at no extra cost. Learn more)
Introduction
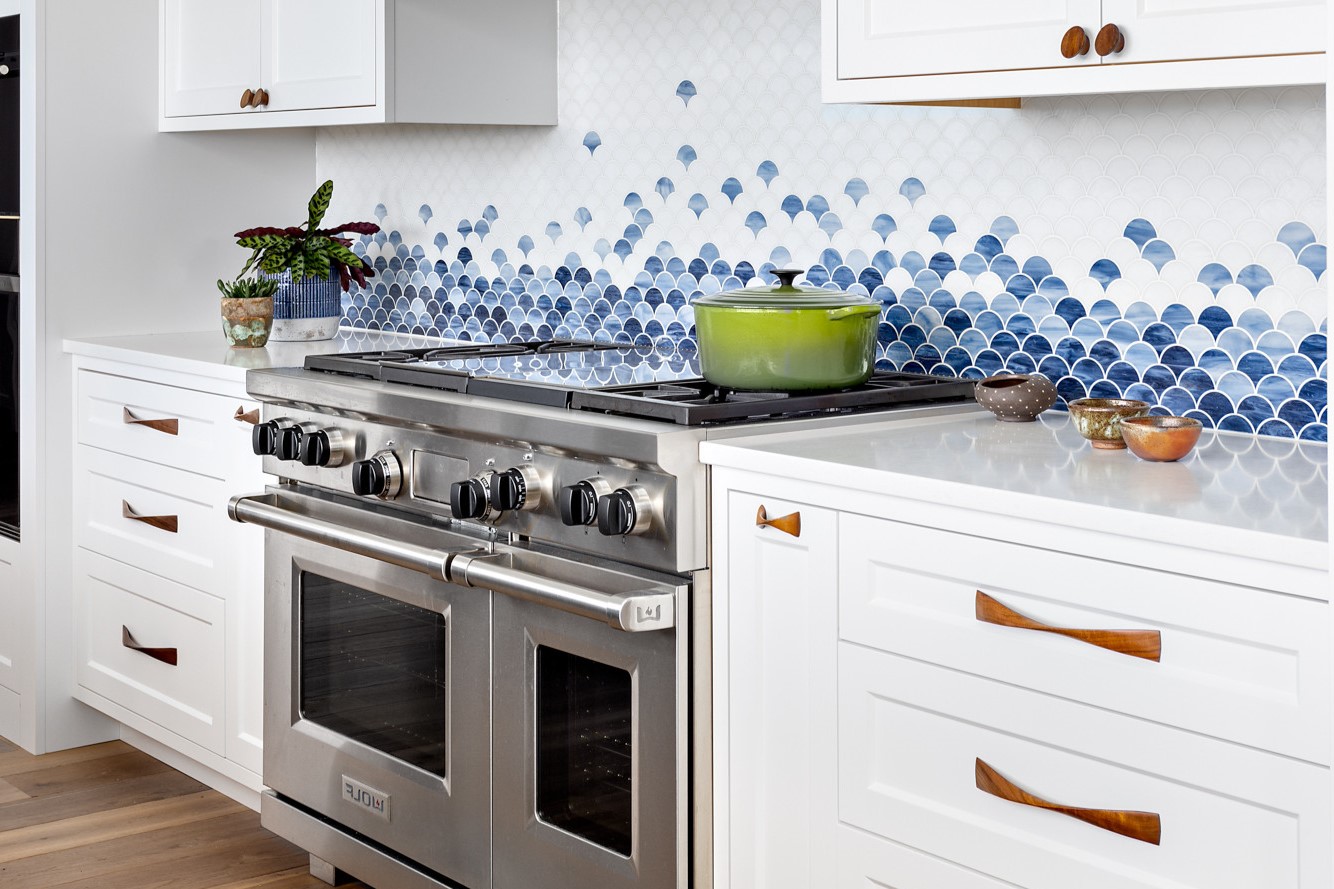
Embarking on a home renovation project can be an exhilarating endeavor, especially when it involves adding a touch of elegance and functionality to your kitchen or bathroom. One of the most impactful ways to achieve this is by installing a stunning glass tile backsplash. Not only does it serve as a protective barrier against moisture and stains, but it also elevates the aesthetic appeal of the space, creating a focal point that exudes sophistication and charm.
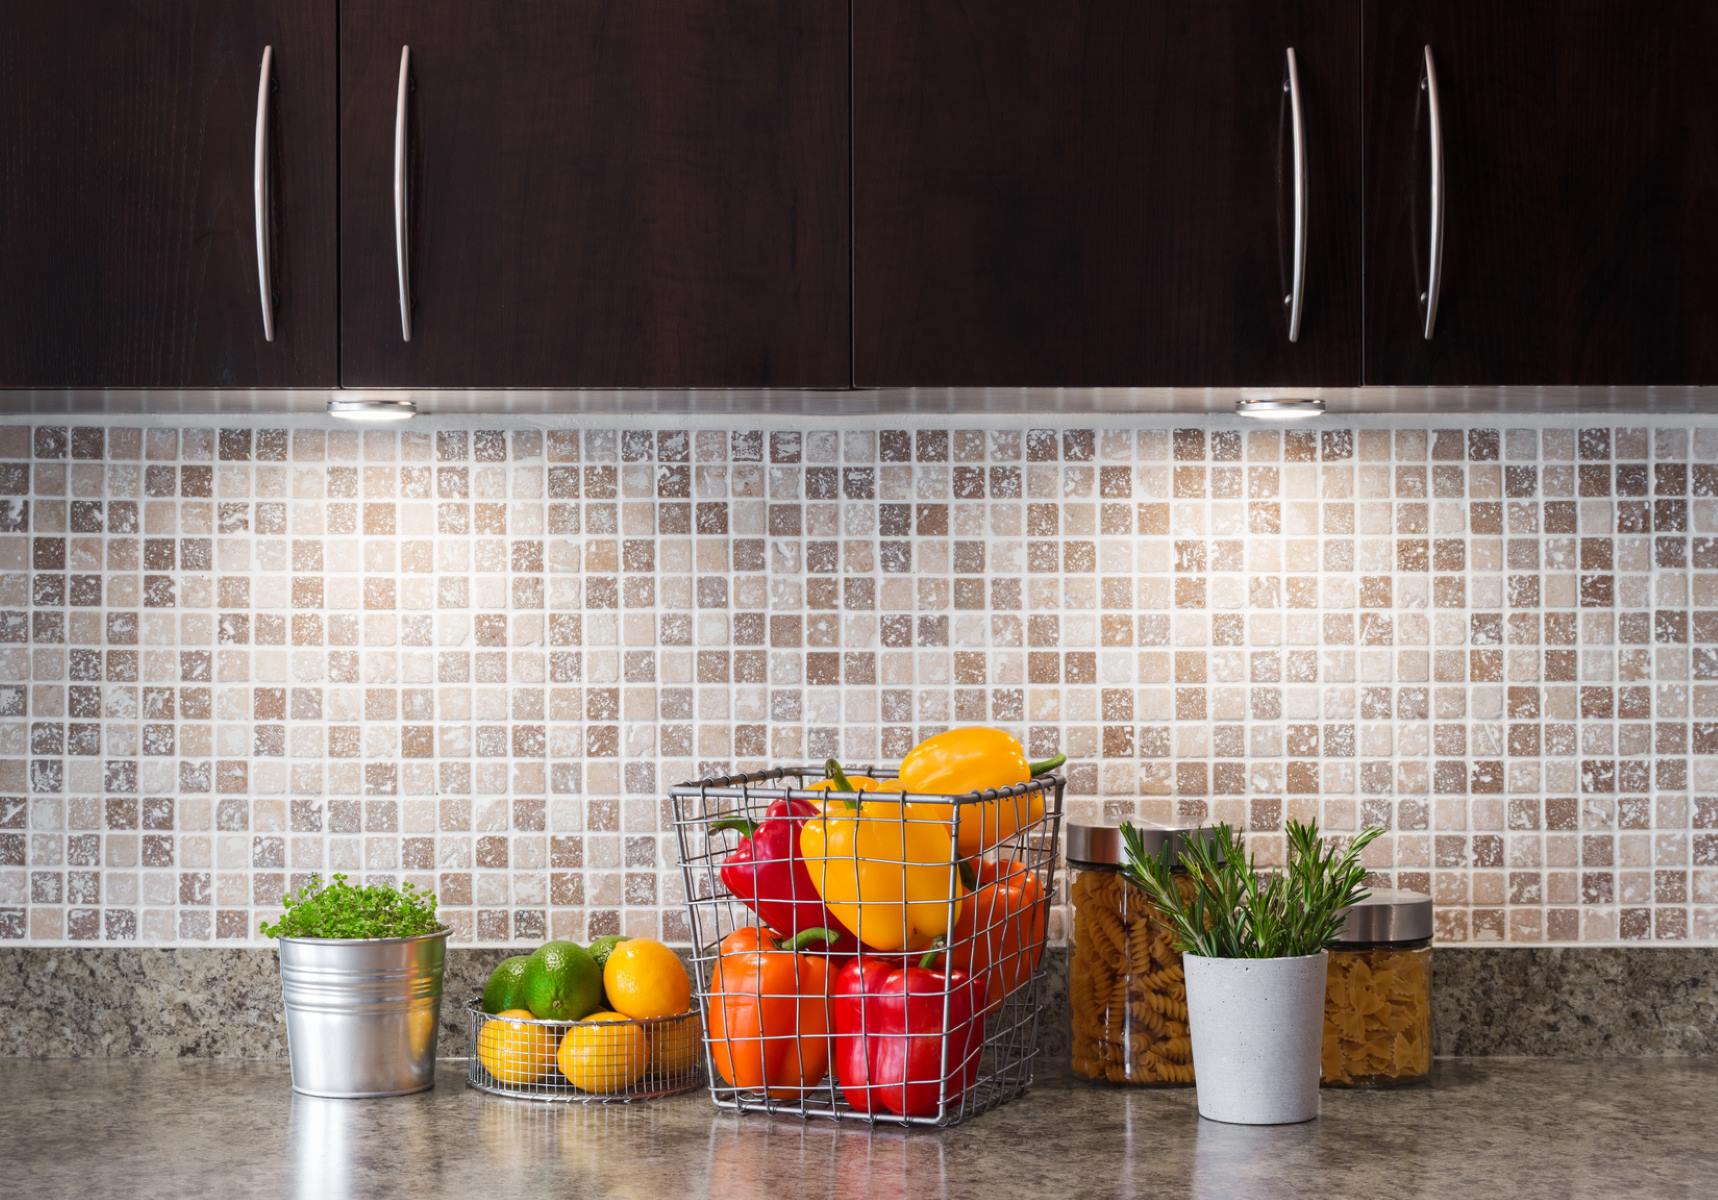
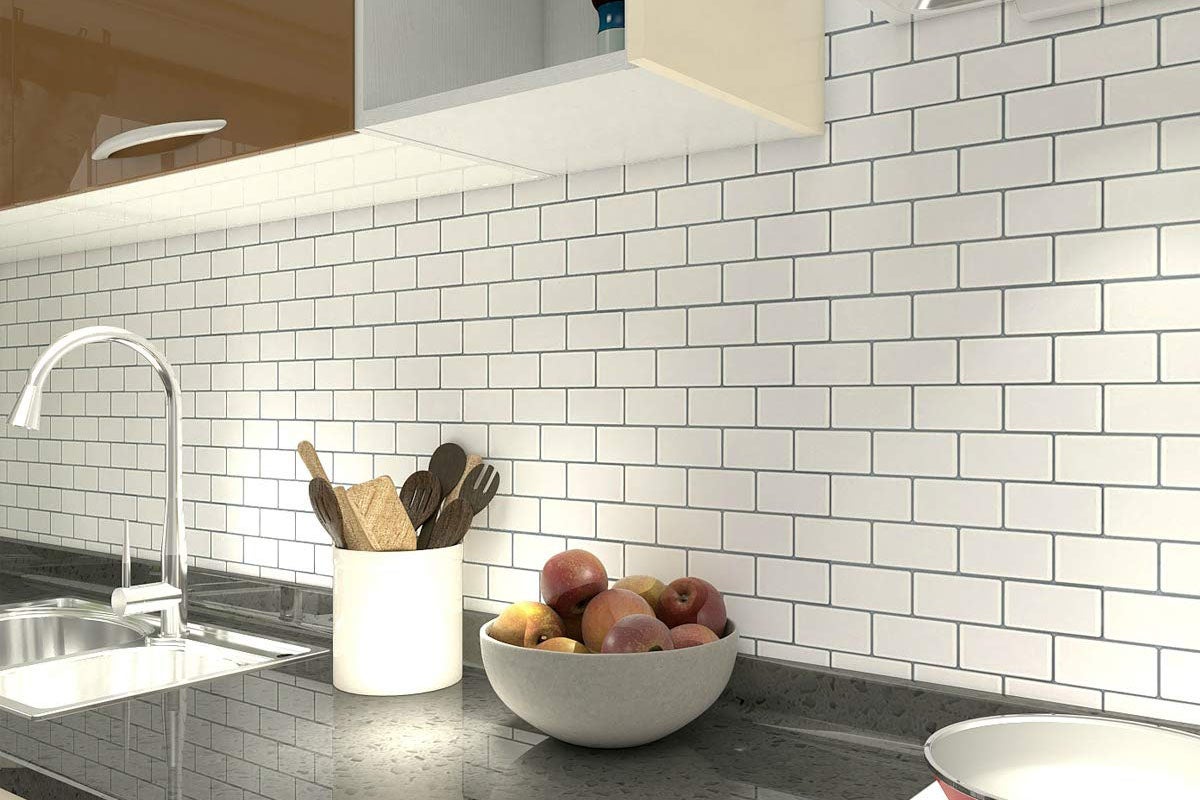
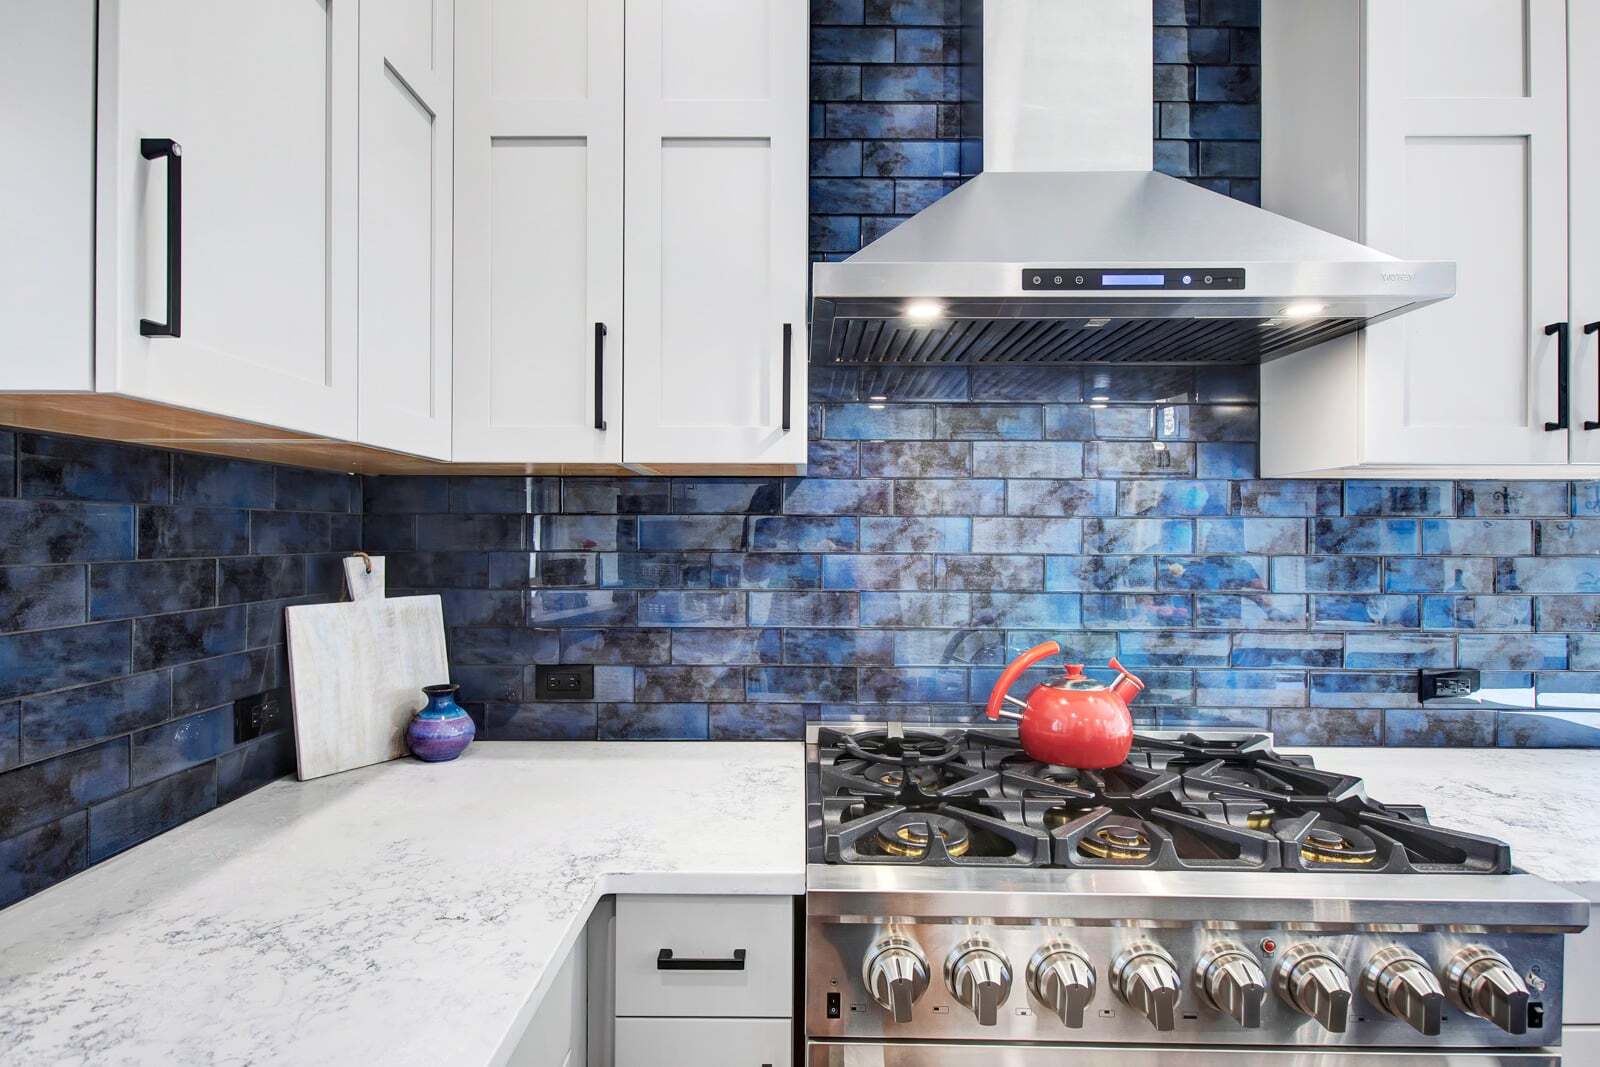
The allure of glass tiles lies in their versatility, as they come in an array of colors, sizes, and finishes, allowing you to unleash your creativity and personalize your living space. Whether you opt for a sleek, modern look with glossy subway tiles or prefer the timeless elegance of iridescent mosaic patterns, the possibilities are as boundless as your imagination.
While the prospect of installing a glass tile backsplash may seem daunting at first, fear not, as this comprehensive guide will walk you through each step with clarity and confidence. From gathering the essential materials and tools to mastering the art of precise measurement and cutting, you'll be equipped with the knowledge and skills to bring your vision to life.
As we delve into the intricacies of this project, you'll discover the gratifying process of transforming a blank canvas into a captivating masterpiece. With careful attention to detail and a sprinkle of creativity, you'll witness the seamless fusion of form and function, culminating in a breathtaking backsplash that not only enhances the aesthetic appeal of your home but also stands the test of time.
So, roll up your sleeves, unleash your inner DIY enthusiast, and let's embark on this rewarding journey of creating a dazzling glass tile backsplash that will undoubtedly become the envy of all who behold it. Let's dive into the first step: gathering the materials and tools needed to bring your vision to fruition.
Key Takeaways:
- Transform your kitchen or bathroom with a stunning glass tile backsplash. Elevate the aesthetic appeal and functionality of your space with creativity and meticulous craftsmanship.
- Gather essential materials and tools, measure and cut with precision, and apply adhesive and grout methodically to create a visually captivating and enduring glass tile backsplash.
Read more: How To Put Up A Backsplash
Step 1: Gather Materials and Tools
Before diving into the exhilarating process of installing a captivating glass tile backsplash, it's crucial to gather all the essential materials and tools to ensure a seamless and efficient workflow. Here's a comprehensive list of everything you'll need to embark on this transformative project:
Materials:
-
Glass Tiles: Select high-quality glass tiles in your preferred color, size, and finish. Whether you opt for classic subway tiles or intricate mosaic patterns, ensure that the tiles complement the overall aesthetic of your space.
-
Tile Adhesive: Invest in a premium-quality tile adhesive that is suitable for glass tiles. Opt for a thin-set mortar specifically designed for glass to ensure a strong and durable bond.
-
Grout: Choose a high-quality grout in a color that complements your glass tiles. Consider epoxy grout for enhanced durability and stain resistance, especially in high-moisture areas such as the kitchen or bathroom.
-
Tile Spacers: Acquire tile spacers to maintain consistent spacing between the glass tiles, ensuring a professional and polished finish.
-
Grout Sealer: Invest in a quality grout sealer to protect the grout from stains and moisture, prolonging the longevity of your backsplash.
-
Primer: If your surface requires priming, ensure you have the appropriate primer to promote adhesion and create a smooth base for the tiles.
-
Painter's Tape: Secure painter's tape to protect adjacent surfaces and create clean, straight lines during the installation process.
-
Cleaning Supplies: Prepare a gentle glass cleaner and soft cloths to clean the glass tiles before installation and remove any adhesive or grout residue afterward.
Tools:
-
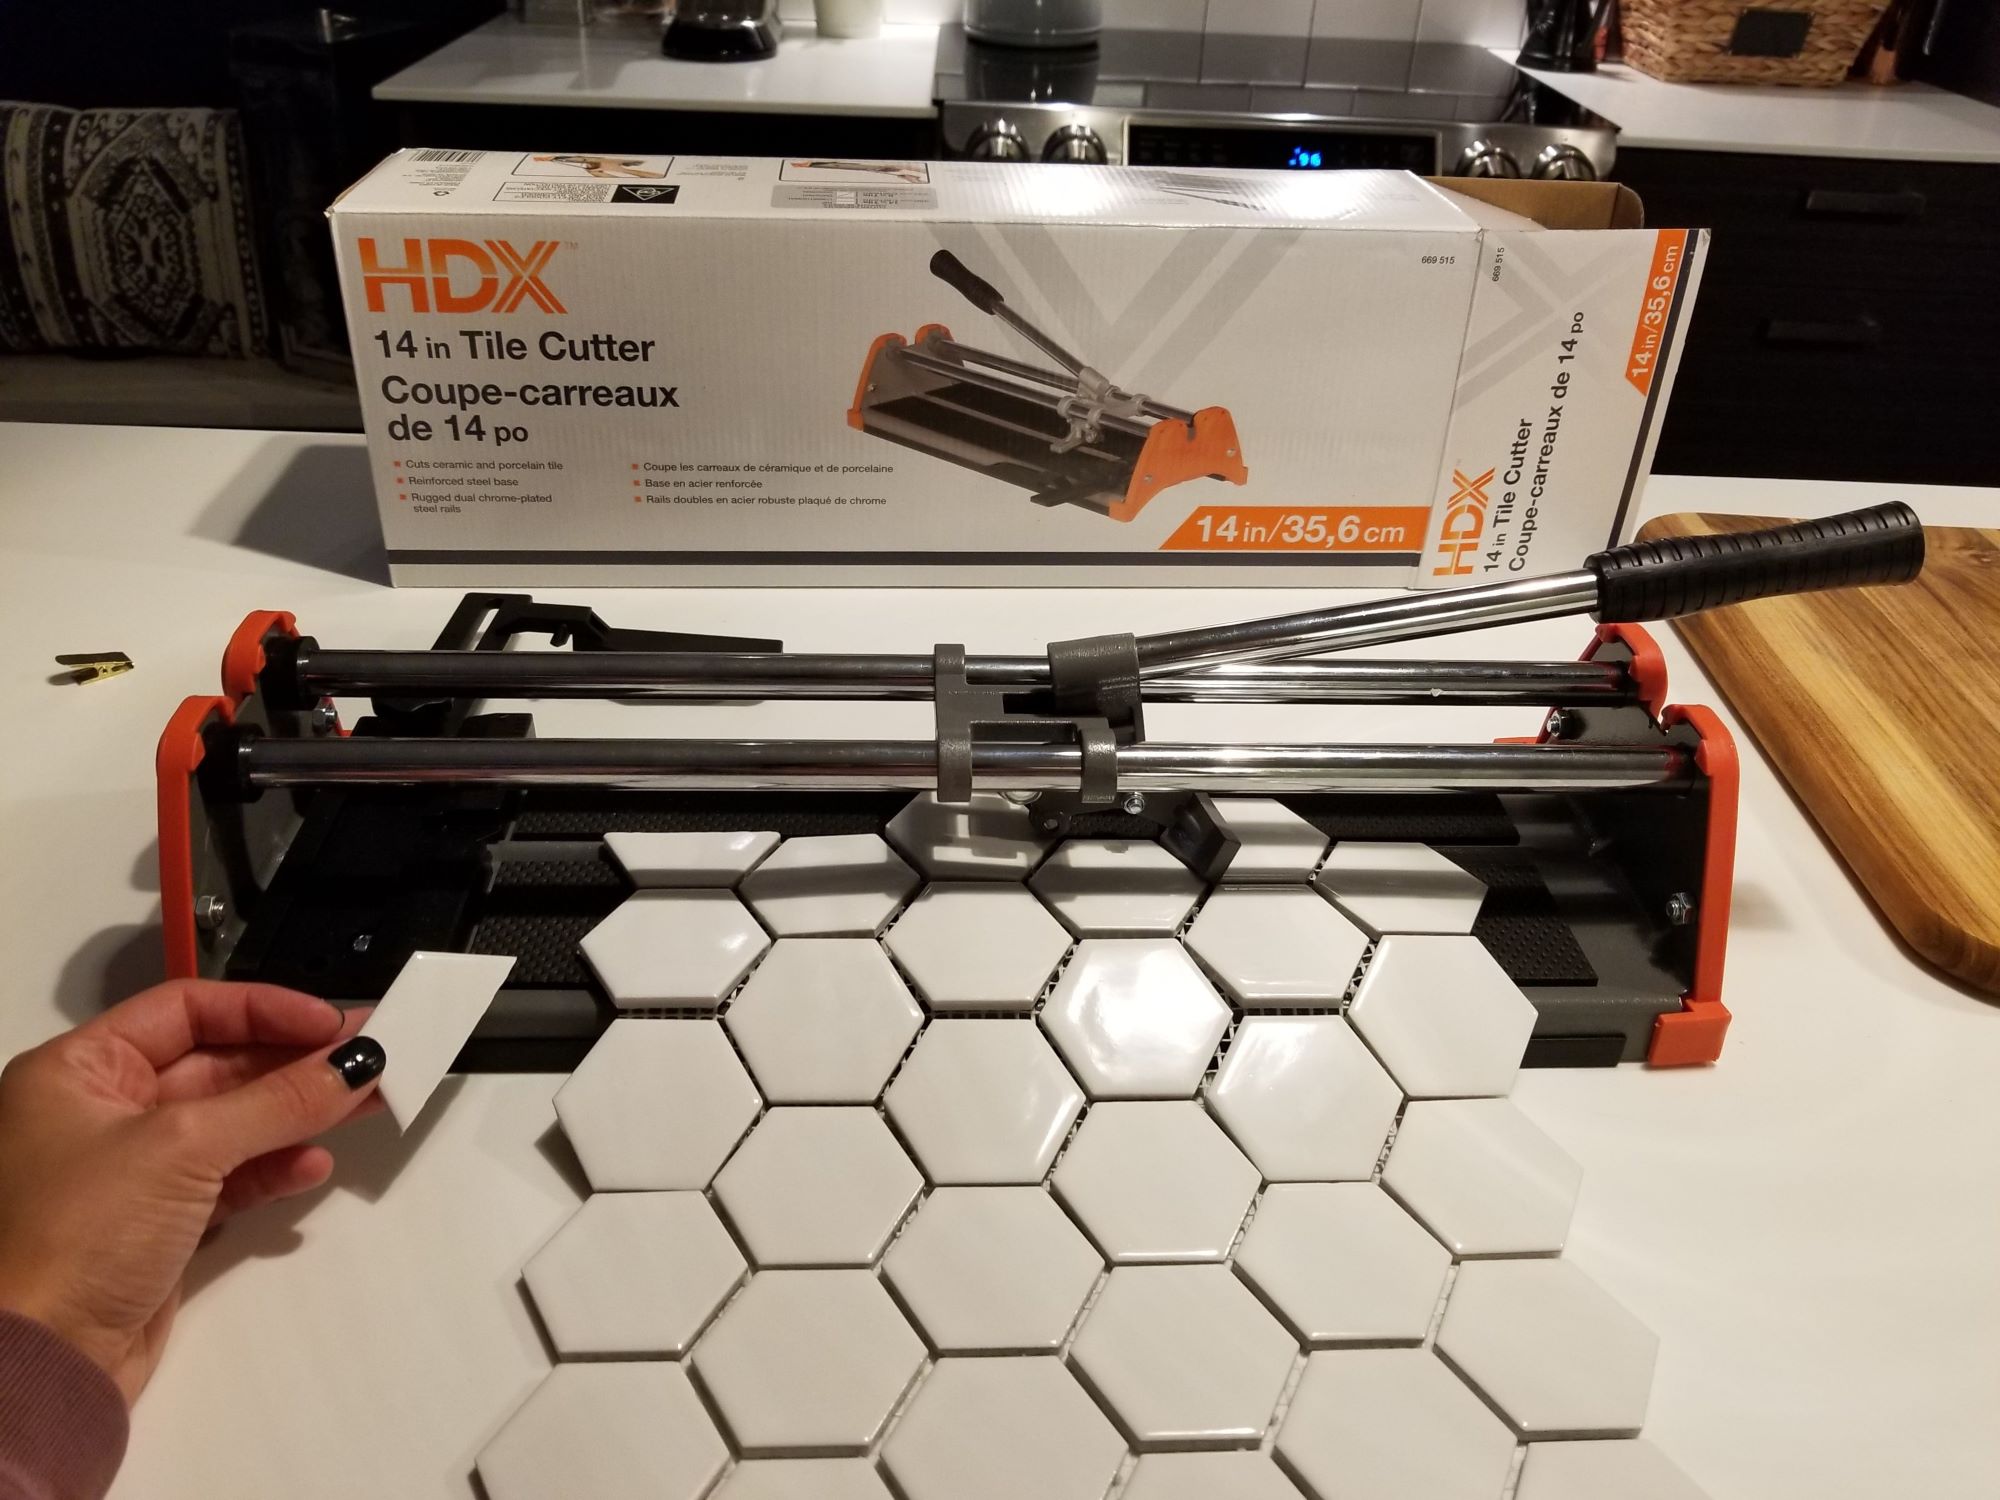
Tile Cutter or Wet Saw: Depending on the complexity of your design, invest in a tile cutter or wet saw to achieve precise cuts for a seamless installation.
-
Notched Trowel: Select a notched trowel with the appropriate notch size recommended for the tile adhesive you'll be using.
-
Grout Float: Acquire a grout float to evenly apply and pack the grout into the spaces between the glass tiles.
-
Tile Nippers: These are essential for making small cuts or adjustments to the glass tiles to fit around outlets, corners, or other obstacles.
-
Level: Ensure your backsplash is perfectly aligned by using a level throughout the installation process.
-
Sponge and Bucket: Prepare a clean sponge and a bucket of water for grout cleanup during the final stages of installation.
By gathering these materials and tools, you'll set the stage for a successful and gratifying glass tile backsplash installation. With everything at your fingertips, you're ready to move on to the next step: preparing the surface for the transformation that awaits.
Step 2: Prepare the Surface
Before diving into the exhilarating process of installing a captivating glass tile backsplash, it's crucial to prepare the surface meticulously to ensure a flawless and enduring result. Proper surface preparation is the cornerstone of a successful installation, as it sets the stage for optimal adhesion and longevity of your glass tiles.
Read more: How To Remove Glass Tile Backsplash
Surface Inspection and Cleaning
Begin by meticulously inspecting the surface where the glass tiles will be installed. Ensure that the wall is structurally sound, free of any cracks, and devoid of moisture or mold. Thoroughly clean the surface to remove any grease, dirt, or residue that could hinder the adhesion of the tiles. A gentle cleanser and warm water, followed by a dry cloth, can effectively eliminate any impurities, providing a clean canvas for the installation.
Priming the Surface
In some cases, especially when dealing with porous or uneven surfaces, priming may be necessary to promote adhesion and create a smooth, uniform base for the glass tiles. Select a high-quality primer suitable for the specific surface material, whether it's drywall, plywood, or cement backer board. Apply the primer evenly and allow it to dry completely according to the manufacturer's instructions.
Marking Guidelines
Once the surface is clean and primed, it's time to establish guidelines to ensure a precise and visually appealing installation. Use a level and a pencil to mark horizontal and vertical guidelines that will serve as a reference for aligning the glass tiles. This meticulous step is instrumental in achieving a professional and polished finish, especially when dealing with intricate patterns or a combination of tile sizes.
Protecting Adjacent Surfaces
Before applying the tile adhesive, take the necessary precautions to protect adjacent surfaces such as countertops and cabinets. Secure painter's tape along the edges to create clean, straight lines and prevent any adhesive or grout from inadvertently adhering to these surfaces.
By meticulously preparing the surface, you're laying the groundwork for a seamless and enduring glass tile backsplash installation. With the surface primed, cleaned, and marked with precision, you're now ready to embark on the next exhilarating step: measuring and cutting the glass tiles to bring your vision to life.
Read more: How To Clean Glass Backsplash Tiles
Step 3: Measure and Cut the Glass Tiles
With the surface meticulously prepared, it's time to delve into the meticulous art of measuring and cutting the glass tiles, a pivotal step that sets the stage for a precise and visually captivating installation. Whether you're working with classic subway tiles or intricate mosaic patterns, the process of measuring and cutting glass tiles demands patience, precision, and a keen eye for detail.
Measuring with Precision
Begin by carefully measuring the area where the glass tiles will be installed, taking into account any obstacles such as electrical outlets, switches, or architectural features. Use a tape measure to determine the exact dimensions, allowing for any necessary adjustments to accommodate the layout and design of the tiles. It's essential to account for spacing and grout lines during the measurement process, ensuring a harmonious and balanced installation.
Cutting Techniques
When it comes to cutting glass tiles, precision is paramount to achieve seamless transitions and a professional finish. Depending on the complexity of your design and the specific cuts required, you may opt for a tile cutter or a wet saw. For straight cuts, a quality tile cutter can swiftly and accurately score and snap the glass tiles, providing clean and precise edges. On the other hand, intricate cuts or notches may necessitate the use of a wet saw, equipped with a diamond blade designed to effortlessly slice through glass tiles with finesse.
Safety Precautions
As you embark on the cutting process, prioritize safety by wearing protective eyewear and gloves to shield yourself from any potential shards or splinters. Additionally, ensure that the work area is well-ventilated to dissipate any dust or debris generated during the cutting process. By adhering to these safety measures, you can proceed with confidence and peace of mind, knowing that your well-being is safeguarded throughout the installation.
Read more: How To Install Glass Tile Backsplash
Test Fitting
Once the glass tiles are meticulously cut to size, perform a test fit to ensure that they seamlessly integrate with the layout and design of the backsplash. This step allows you to make any necessary adjustments and refinements before proceeding with the adhesive application, ensuring a flawless and visually captivating installation.
By mastering the art of measuring and cutting glass tiles with precision and finesse, you're one step closer to witnessing your vision come to life. With the tiles meticulously tailored to fit the intricacies of your design, you're now poised to embark on the next exhilarating step: applying the adhesive to bring your captivating glass tile backsplash to fruition.
Step 4: Apply the Adhesive
With the glass tiles meticulously measured and cut to perfection, the next pivotal step in bringing your captivating glass tile backsplash to life is the precise application of the adhesive. The adhesive serves as the foundation that secures the glass tiles to the surface, ensuring a durable and enduring installation that withstands the test of time.
Begin by selecting a high-quality thin-set mortar specifically designed for glass tiles. This adhesive is formulated to provide a strong and reliable bond while preventing any discoloration or damage to the translucent nature of the glass. Using a notched trowel, apply the thin-set mortar evenly to a small section of the prepared surface, ensuring that the layer is uniform in thickness.
As you apply the adhesive, maintain a consistent ridged pattern using the notched trowel to create grooves that facilitate optimal adhesion. The size of the notches should correspond to the recommendations provided by the adhesive manufacturer, ensuring that the glass tiles adhere securely to the surface without any air pockets or unevenness.
Work methodically and deliberately, focusing on one small section at a time to prevent the adhesive from drying out before the glass tiles are installed. This meticulous approach ensures that the adhesive remains in its optimal state, ready to receive the meticulously cut glass tiles with precision and finesse.
As you proceed with the adhesive application, refer to the marked guidelines on the surface to maintain alignment and ensure a visually appealing installation. Press each glass tile firmly into the adhesive, using gentle pressure to ensure a secure bond while maintaining consistent spacing between the tiles.
By applying the adhesive with precision and care, you're laying the groundwork for a visually captivating and enduring glass tile backsplash. With the glass tiles securely nestled in the adhesive, you're now poised to embark on the next exhilarating step: installing the glass tiles to witness your vision come to life.
Step 5: Install the Glass Tiles
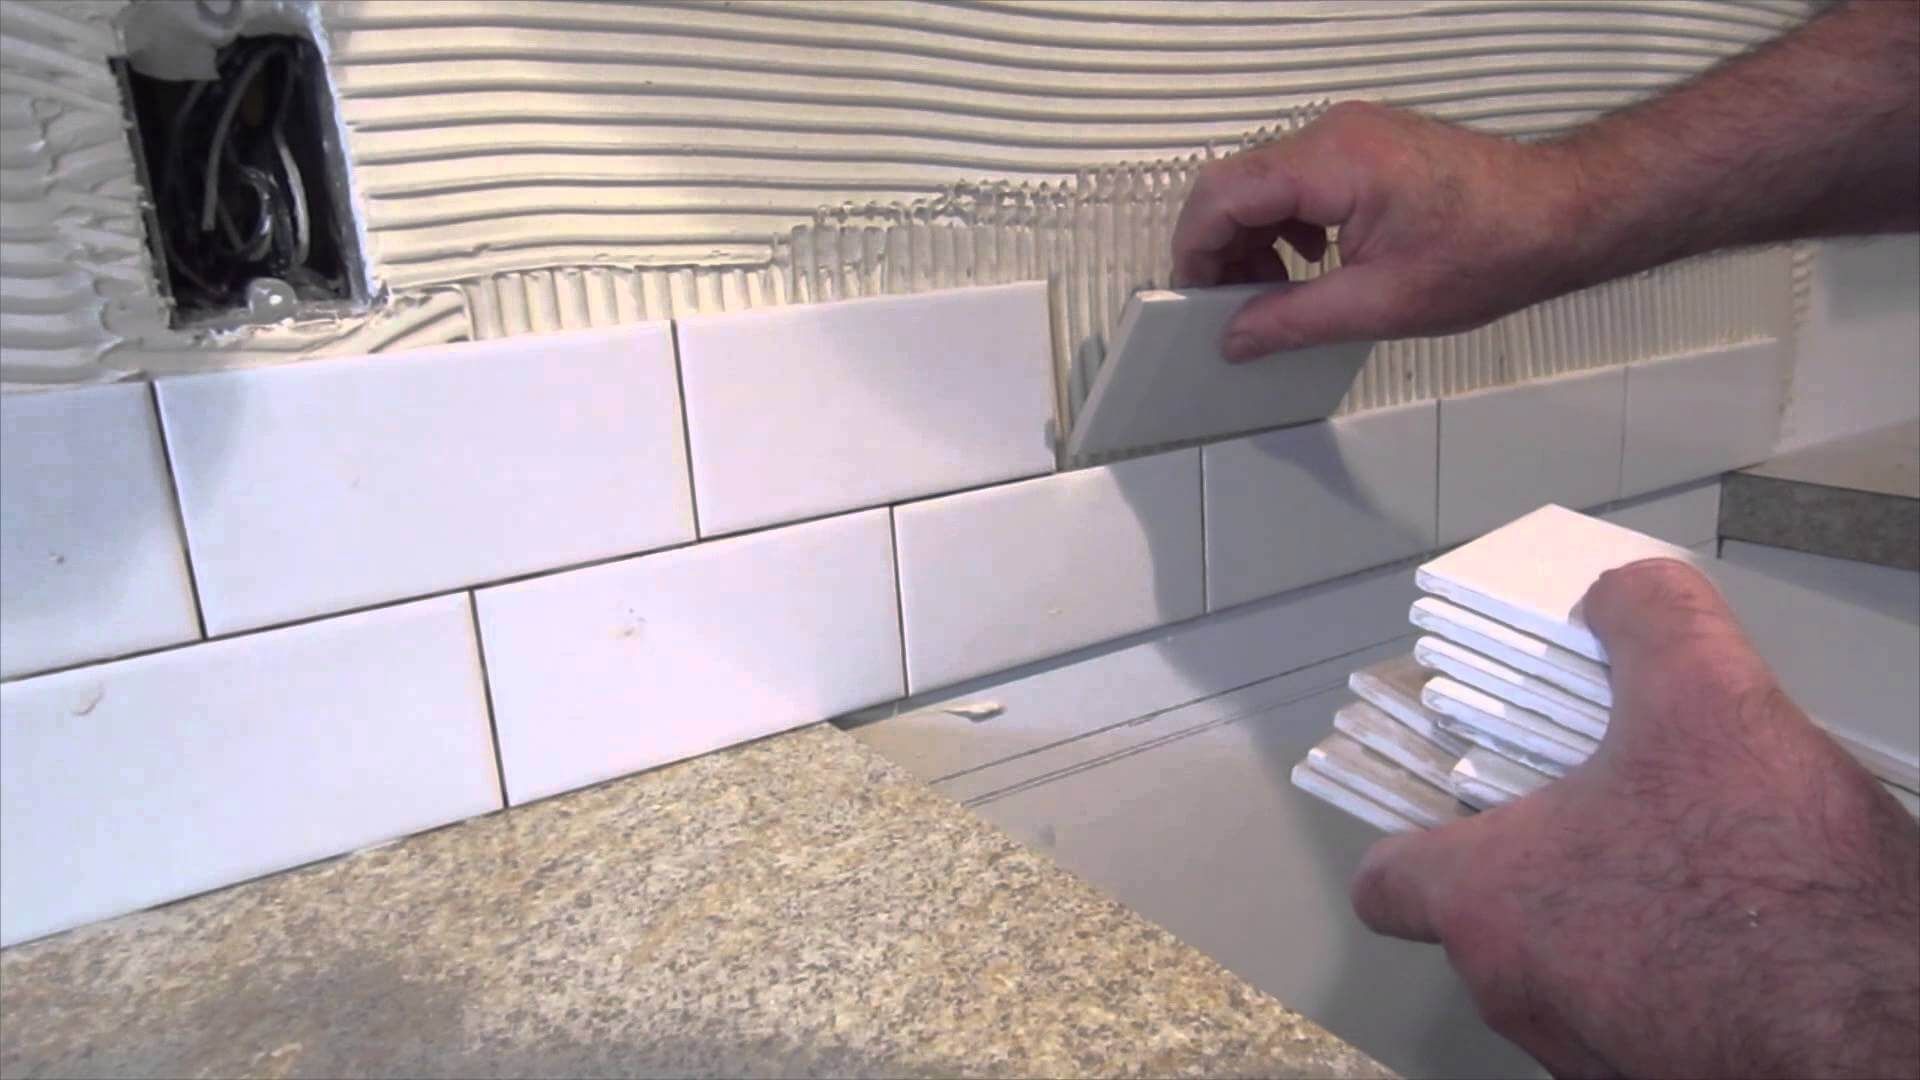
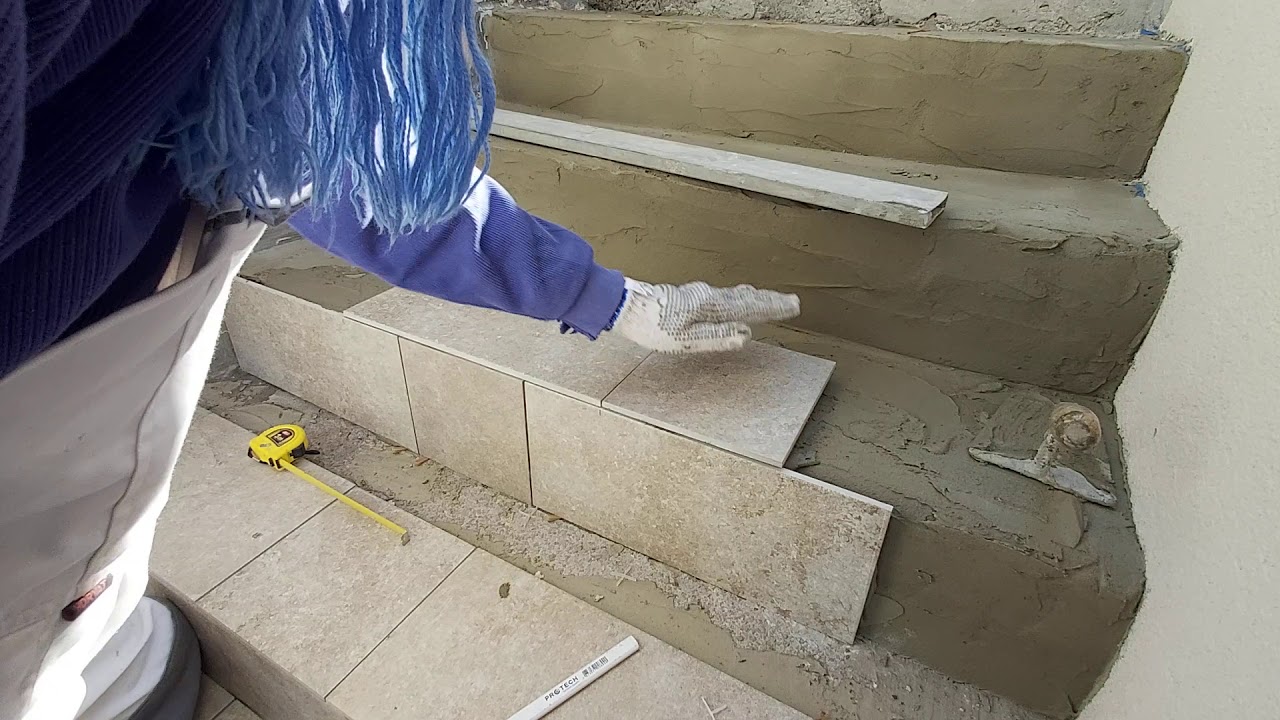
With the adhesive meticulously applied, the exhilarating moment arrives to bring your vision to life by installing the glass tiles. This transformative step requires precision, patience, and a keen eye for detail to ensure a visually captivating and enduring glass tile backsplash.
Begin by carefully placing each meticulously cut glass tile onto the adhesive, aligning it with the marked guidelines to maintain a harmonious and balanced installation. As you position each tile, apply gentle pressure to ensure a secure bond while maintaining consistent spacing between the tiles. The use of tile spacers can aid in achieving uniform gaps, contributing to a polished and professional finish.
Whether you're working with classic subway tiles or intricate mosaic patterns, the installation process demands meticulous attention to detail. Ensure that each glass tile seamlessly integrates with the layout and design of the backsplash, creating a cohesive and visually captivating ensemble. As you progress, periodically step back to assess the overall aesthetic and alignment, making any necessary adjustments to maintain a flawless installation.
For intricate designs or areas requiring custom cuts, such as around outlets or corners, utilize tile nippers to meticulously tailor the glass tiles to fit with finesse. This meticulous approach ensures that every aspect of the installation reflects precision and artistry, culminating in a visually captivating and enduring glass tile backsplash.
As each glass tile finds its place within the mosaic of your design, the transformation unfolds before your eyes, breathing life and character into the space. With each tile meticulously installed, the vision of a captivating and enduring glass tile backsplash becomes a tangible reality, a testament to your meticulous craftsmanship and unwavering dedication to excellence.
By mastering the art of installing glass tiles with precision and finesse, you're one step closer to witnessing the transformative power of a visually captivating and enduring glass tile backsplash. With each tile securely nestled in its place, you're now poised to embark on the next exhilarating step: grouting the tiles to further enhance the beauty and longevity of your masterpiece.
Step 6: Grout the Tiles
With the glass tiles meticulously installed, the next crucial step in the creation of a visually captivating and enduring glass tile backsplash is the meticulous application of grout. Grout not only enhances the aesthetic appeal of the installation but also plays a pivotal role in ensuring the longevity and durability of the backsplash.
Begin by selecting a high-quality grout that complements the color and design of the glass tiles. Epoxy grout is an excellent choice for its enhanced durability and resistance to stains, making it particularly suitable for high-moisture areas such as the kitchen or bathroom. Mix the grout according to the manufacturer's instructions, ensuring a smooth and uniform consistency free of lumps or dry patches.
Using a grout float, apply the grout diagonally across the glass tiles, ensuring that the spaces between the tiles are thoroughly filled. Work methodically, focusing on small sections at a time to prevent the grout from drying out before it can be properly packed into the spaces. As you proceed, use the grout float to pack the grout firmly into the joints, ensuring a solid and uniform fill that contributes to the overall polished appearance of the backsplash.
Once the grout is applied, use a damp sponge to gently remove any excess grout from the surface of the glass tiles. Rinse the sponge frequently and continue to wipe the tiles in a diagonal motion, ensuring that the grout lines are smooth and uniform. This meticulous process not only cleans the tiles but also shapes the grout lines, contributing to a visually appealing and professional finish.
After allowing the grout to set for the time recommended by the manufacturer, use a clean, dry cloth to buff away any remaining haze from the glass tiles. This final touch elevates the clarity and luster of the glass, unveiling the full splendor of your meticulously installed tiles.
As the grout sets and the glass tiles gleam with newfound radiance, the transformation of your space is complete. The visually captivating and enduring glass tile backsplash stands as a testament to your meticulous craftsmanship and unwavering dedication to excellence, enriching your home with timeless elegance and charm.
By mastering the art of grouting with precision and finesse, you've brought your vision to life, creating a captivating and enduring glass tile backsplash that will undoubtedly become the envy of all who behold it. With the grout meticulously applied and the glass tiles gleaming with radiance, you've achieved a transformative masterpiece that elevates the aesthetic appeal and functionality of your living space.
Read more: How To Put Grout On Glass Backsplash
Step 7: Clean and Seal the Backsplash
With the visually captivating and enduring glass tile backsplash now meticulously installed and grouted to perfection, the final step in this transformative journey is to ensure its longevity and radiance through thorough cleaning and sealing. This pivotal phase not only enhances the aesthetic allure of the backsplash but also safeguards its pristine beauty for years to come.
Begin by delicately cleaning the glass tiles and grout lines to remove any residual grout haze, adhesive, or dust that may have accumulated during the installation process. Utilize a gentle glass cleaner and soft, lint-free cloths to meticulously wipe the surface, ensuring that the glass tiles gleam with unobstructed clarity. Pay meticulous attention to the grout lines, gently buffing away any haze to reveal the full splendor of the meticulously installed tiles.
Following the meticulous cleaning process, it's imperative to seal the grout to fortify its resistance to stains and moisture, prolonging the longevity and radiance of the backsplash. Select a premium grout sealer suitable for the specific type of grout used, whether it's traditional cement-based grout or epoxy grout. Apply the sealer evenly to the grout lines, ensuring thorough coverage to create a protective barrier that safeguards against discoloration and moisture infiltration.
As the grout sealer sets, it forms an invisible shield that fortifies the grout, enhancing its durability and resistance to stains. This meticulous step not only preserves the pristine beauty of the glass tile backsplash but also simplifies its maintenance, allowing for effortless cleaning and upkeep in the years to come.
With the glass tiles gleaming with unobstructed clarity and the grout lines fortified against stains and moisture, the visually captivating and enduring glass tile backsplash stands as a testament to meticulous craftsmanship and unwavering dedication to excellence. It enriches your home with timeless elegance and charm, a transformative masterpiece that elevates the aesthetic appeal and functionality of your living space.
By meticulously cleaning and sealing the backsplash, you've ensured its enduring radiance and longevity, allowing it to stand as a captivating centerpiece that exudes sophistication and charm. With this transformative journey now complete, the glass tile backsplash serves as a testament to the transformative power of meticulous craftsmanship and unwavering dedication to excellence.
Conclusion
As we conclude this transformative journey of creating a visually captivating and enduring glass tile backsplash, it's essential to reflect on the remarkable evolution that has unfolded. What began as a blank canvas has blossomed into a captivating masterpiece, enriching your home with timeless elegance and charm. The meticulous craftsmanship and unwavering dedication to excellence have culminated in a transformative centerpiece that elevates the aesthetic appeal and functionality of your living space.
Throughout this journey, we've delved into the intricacies of each step, from gathering the essential materials and tools to meticulously measuring, cutting, and installing the glass tiles with precision and finesse. The meticulous application of adhesive and grout has further enhanced the beauty and longevity of the backsplash, ensuring that it stands as a testament to your unwavering commitment to excellence.
The transformative power of this endeavor extends beyond the creation of a visually captivating backsplash. It embodies the spirit of creativity, perseverance, and the unwavering pursuit of beauty and functionality. Each meticulously installed glass tile reflects not only your attention to detail but also your vision for a living space that exudes sophistication and charm.
As you stand back and behold the visually captivating and enduring glass tile backsplash, it serves as a testament to the transformative power of meticulous craftsmanship. It's a reflection of your unwavering dedication to excellence and your commitment to creating a living space that transcends the ordinary, embracing elegance and functionality in equal measure.
The journey of creating a glass tile backsplash is not merely a home improvement project; it's a testament to the transformative power of creativity and dedication. It's a celebration of the fusion of form and function, where meticulous craftsmanship breathes life into raw materials, culminating in a captivating centerpiece that enriches your daily life.
As you admire the radiant beauty of the glass tiles and the enduring allure of the grout, take pride in the transformative masterpiece that now adorns your home. It's a reflection of your unwavering commitment to excellence and your relentless pursuit of beauty and functionality. This visually captivating and enduring glass tile backsplash stands as a testament to the transformative power of meticulous craftsmanship, enriching your home with timeless elegance and charm.
Frequently Asked Questions about How To Put Up A Backsplash With Glass Tiles
Was this page helpful?
At Storables.com, we guarantee accurate and reliable information. Our content, validated by Expert Board Contributors, is crafted following stringent Editorial Policies. We're committed to providing you with well-researched, expert-backed insights for all your informational needs.


0 thoughts on “How To Put Up A Backsplash With Glass Tiles”