Home>Renovation & DIY>Home Renovation Guides>How To Cut Backsplash Tiles
Home Renovation Guides
How To Cut Backsplash Tiles
Modified: August 17, 2024
Learn how to cut backsplash tiles with our comprehensive home renovation guide. Get expert tips and techniques for a flawless tile installation. Ideal for DIY enthusiasts and homeowners looking to upgrade their kitchen or bathroom.
(Many of the links in this article redirect to a specific reviewed product. Your purchase of these products through affiliate links helps to generate commission for Storables.com, at no extra cost. Learn more)
Introduction
Cutting backsplash tiles is a crucial step in the process of renovating your kitchen or bathroom. Whether you are a seasoned DIY enthusiast or a novice embarking on your first home improvement project, mastering the art of cutting backsplash tiles is essential for achieving a professional and polished look. The backsplash serves as both a protective barrier against moisture and a focal point for the room's aesthetic, making precision and attention to detail paramount in this endeavor.
In this comprehensive guide, we will delve into the intricacies of cutting backsplash tiles, providing you with the knowledge and confidence to tackle this task with finesse. From selecting the right tools and materials to executing precise cuts and seamlessly installing the tiles, we will walk you through each step of the process. By the end of this guide, you will be equipped with the expertise to elevate the visual appeal and functionality of your space through the artful application of backsplash tiles.
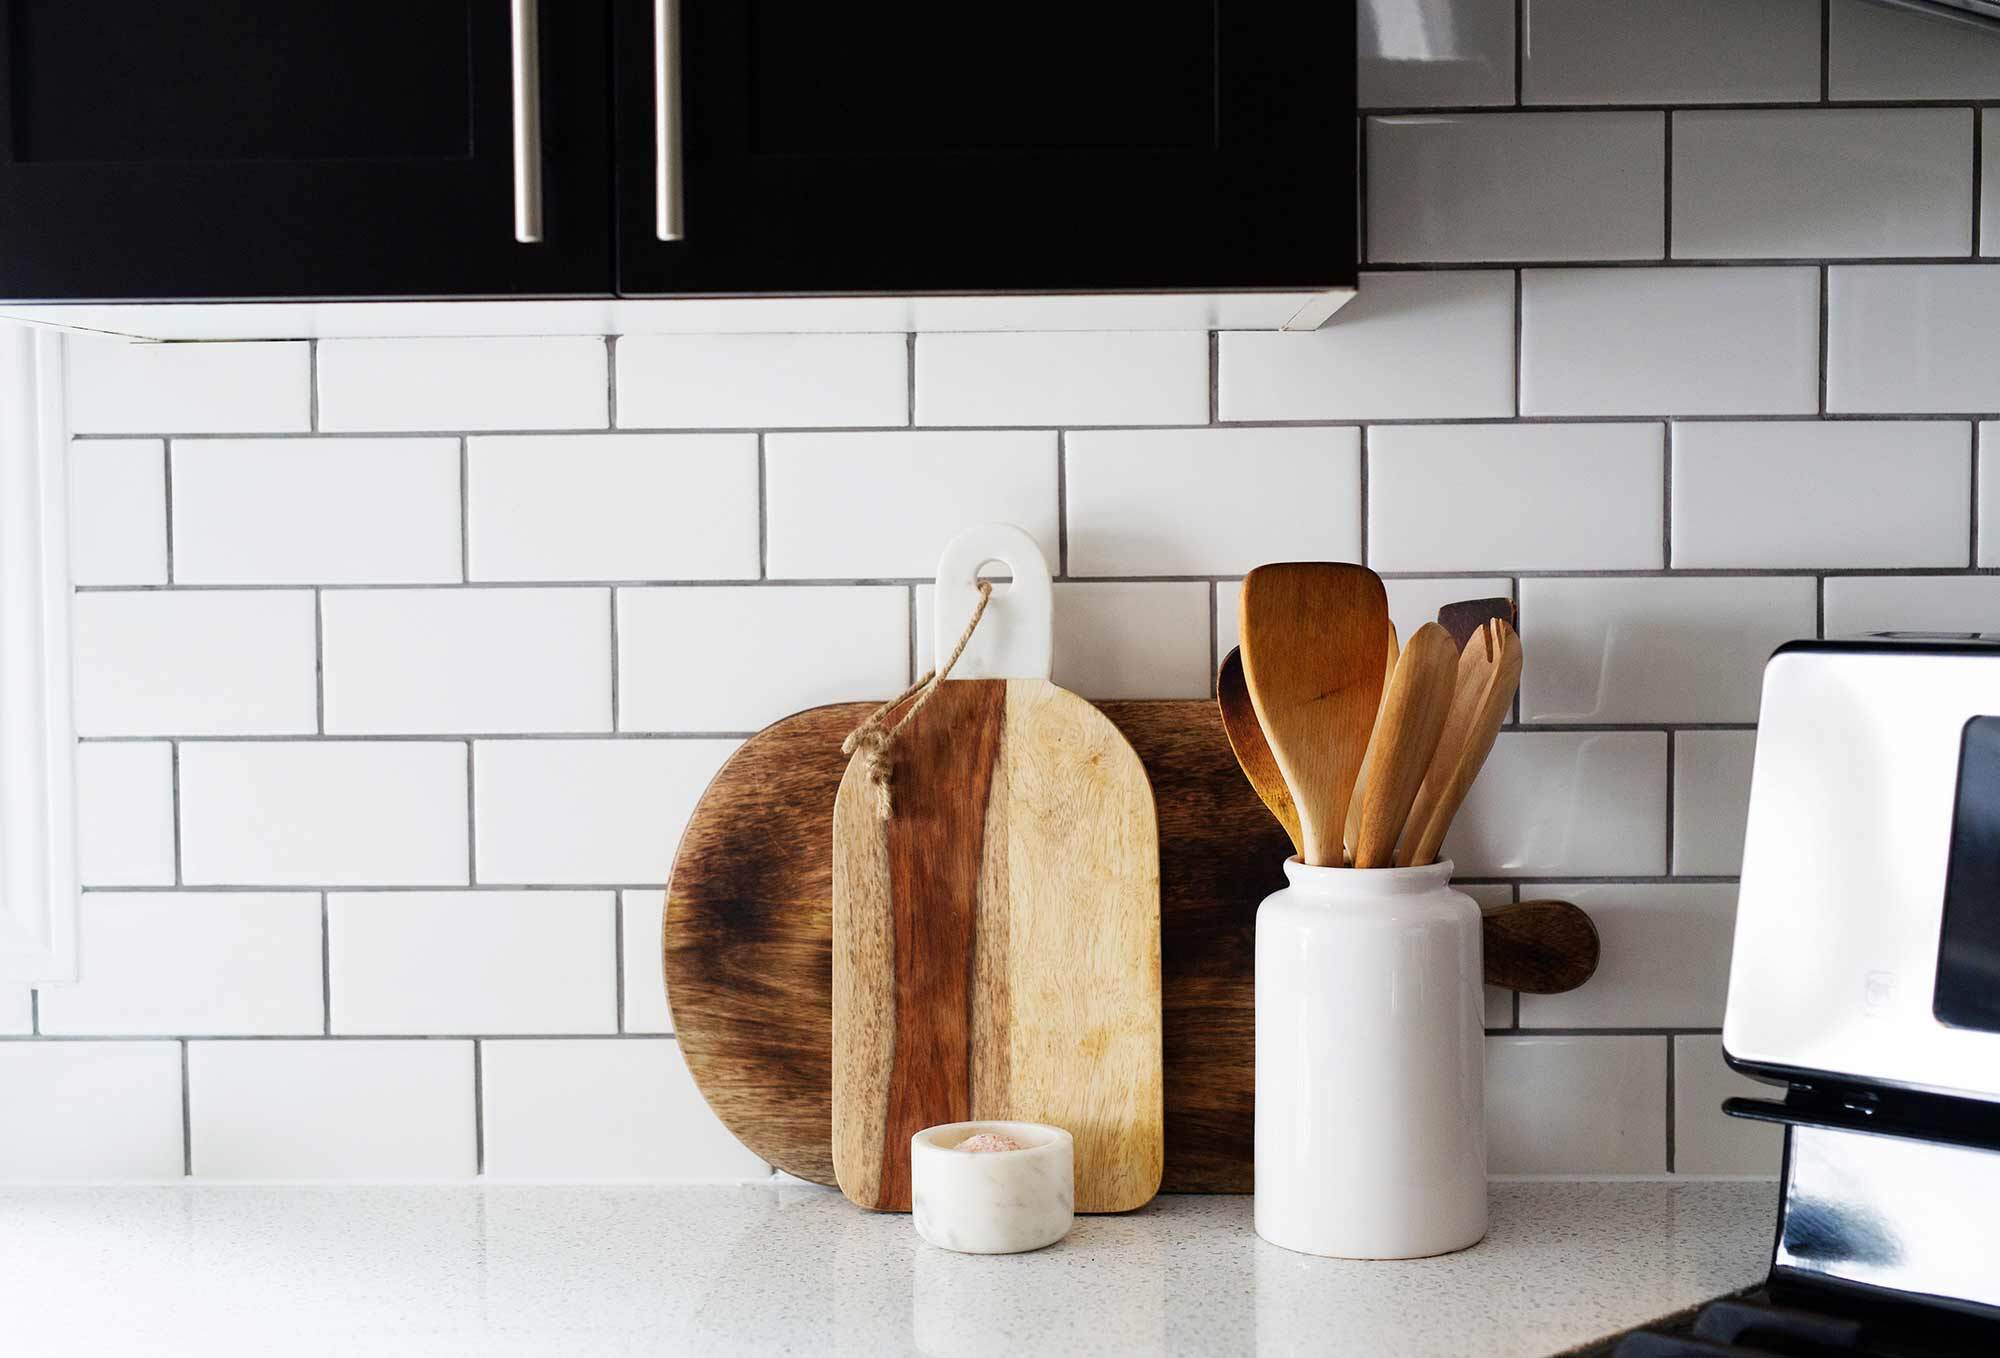
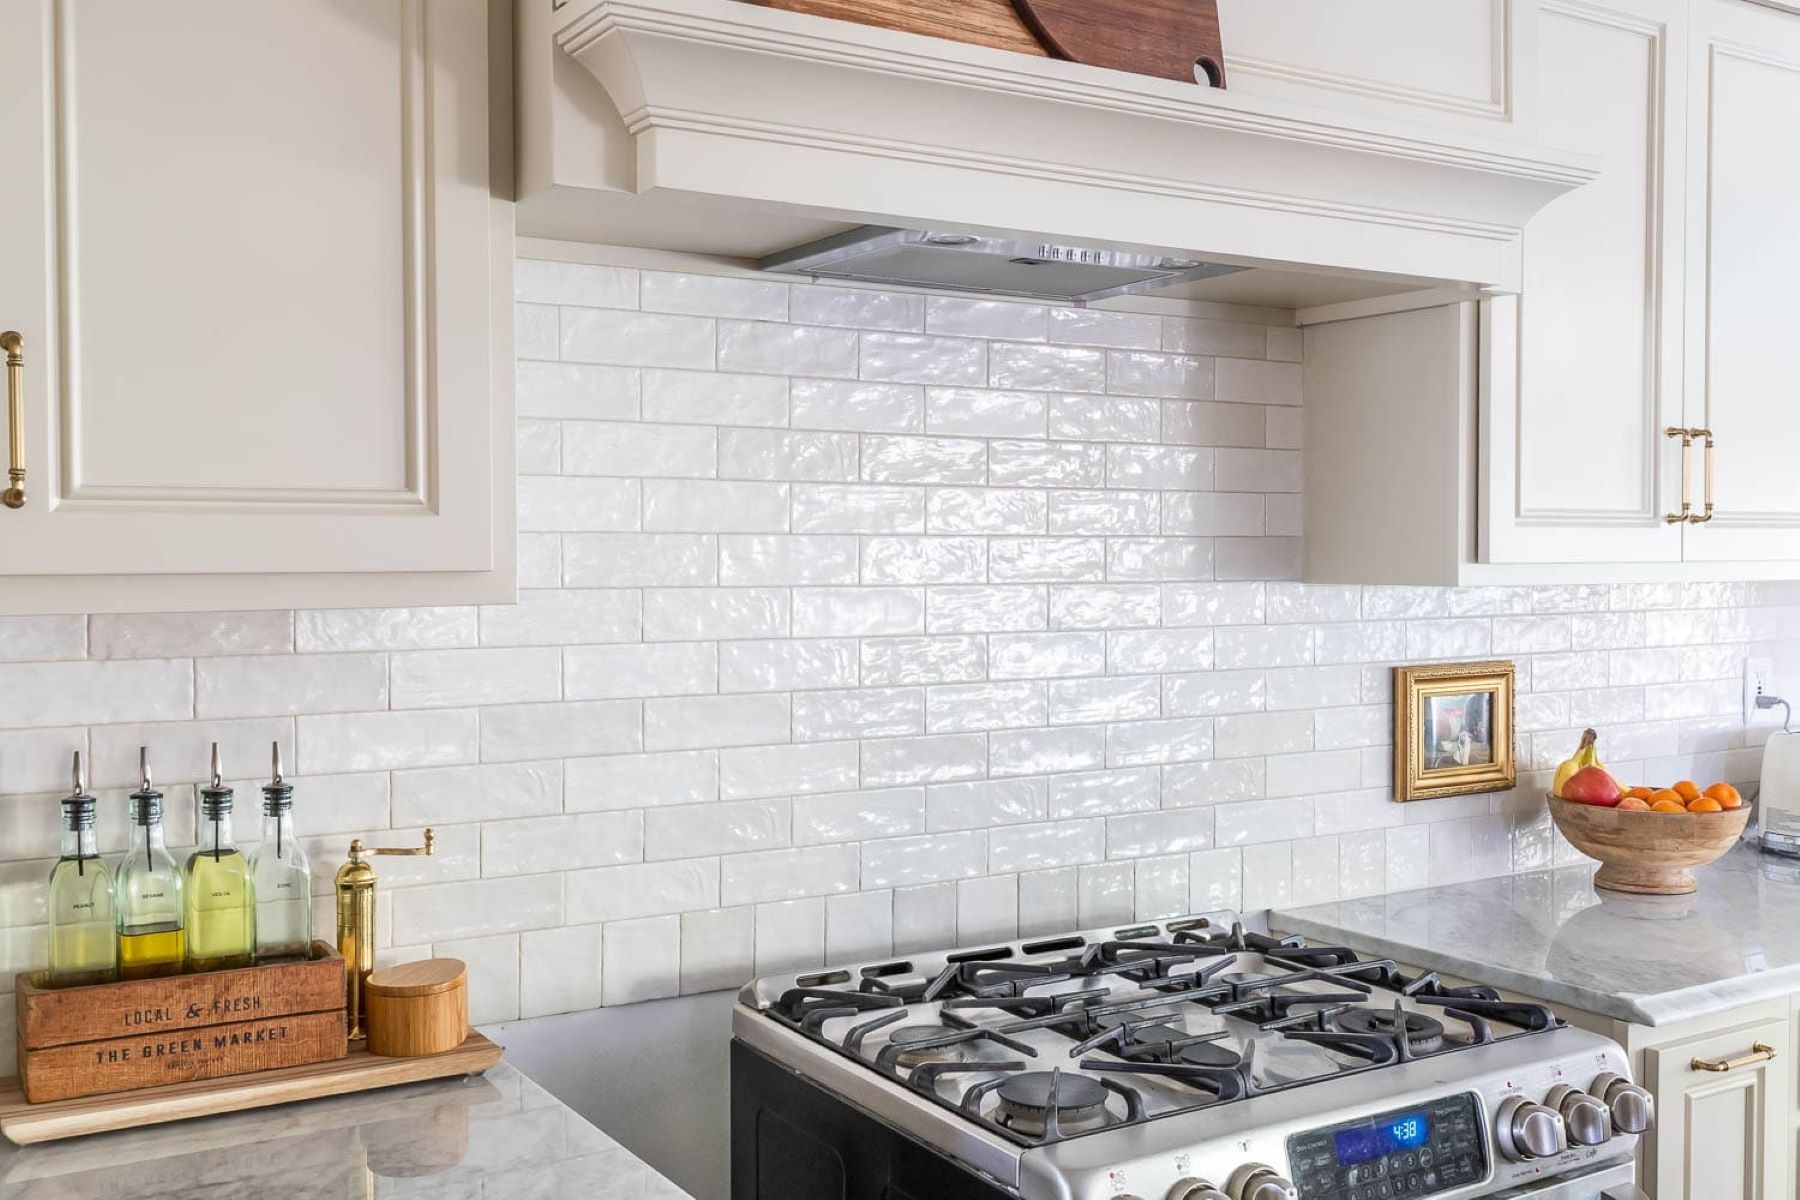
Embarking on a backsplash project offers an opportunity to infuse your personal style and creativity into your living space. Whether you opt for sleek subway tiles, intricate mosaic patterns, or vibrant glass tiles, the backsplash serves as a canvas for self-expression within your home. By mastering the techniques of cutting and installing backsplash tiles, you gain the ability to transform a mundane kitchen or bathroom into a captivating and inviting environment.
As we embark on this journey together, envision the satisfaction of stepping back to admire a flawlessly executed backsplash that seamlessly complements your overall design aesthetic. With the right guidance and a willingness to learn, you can turn this vision into a reality. So, let's roll up our sleeves, gather our tools, and embark on this fulfilling endeavor of cutting and installing backsplash tiles.
Key Takeaways:
- Mastering the art of cutting and installing backsplash tiles transforms your kitchen or bathroom, adding a touch of personal style and creativity while enhancing the space’s functionality and visual appeal.
- Precision, patience, and attention to detail are key in achieving a professional and polished backsplash outcome, reflecting dedication to quality craftsmanship and a passion for home renovation and design.
Read more: How To Remove Glass Tile Backsplash
Tools and Materials Needed
When embarking on the task of cutting backsplash tiles, having the right tools and materials at your disposal is essential for a successful and efficient project. Here's a comprehensive list of the items you'll need to ensure a seamless and professional installation:
Tools:
-
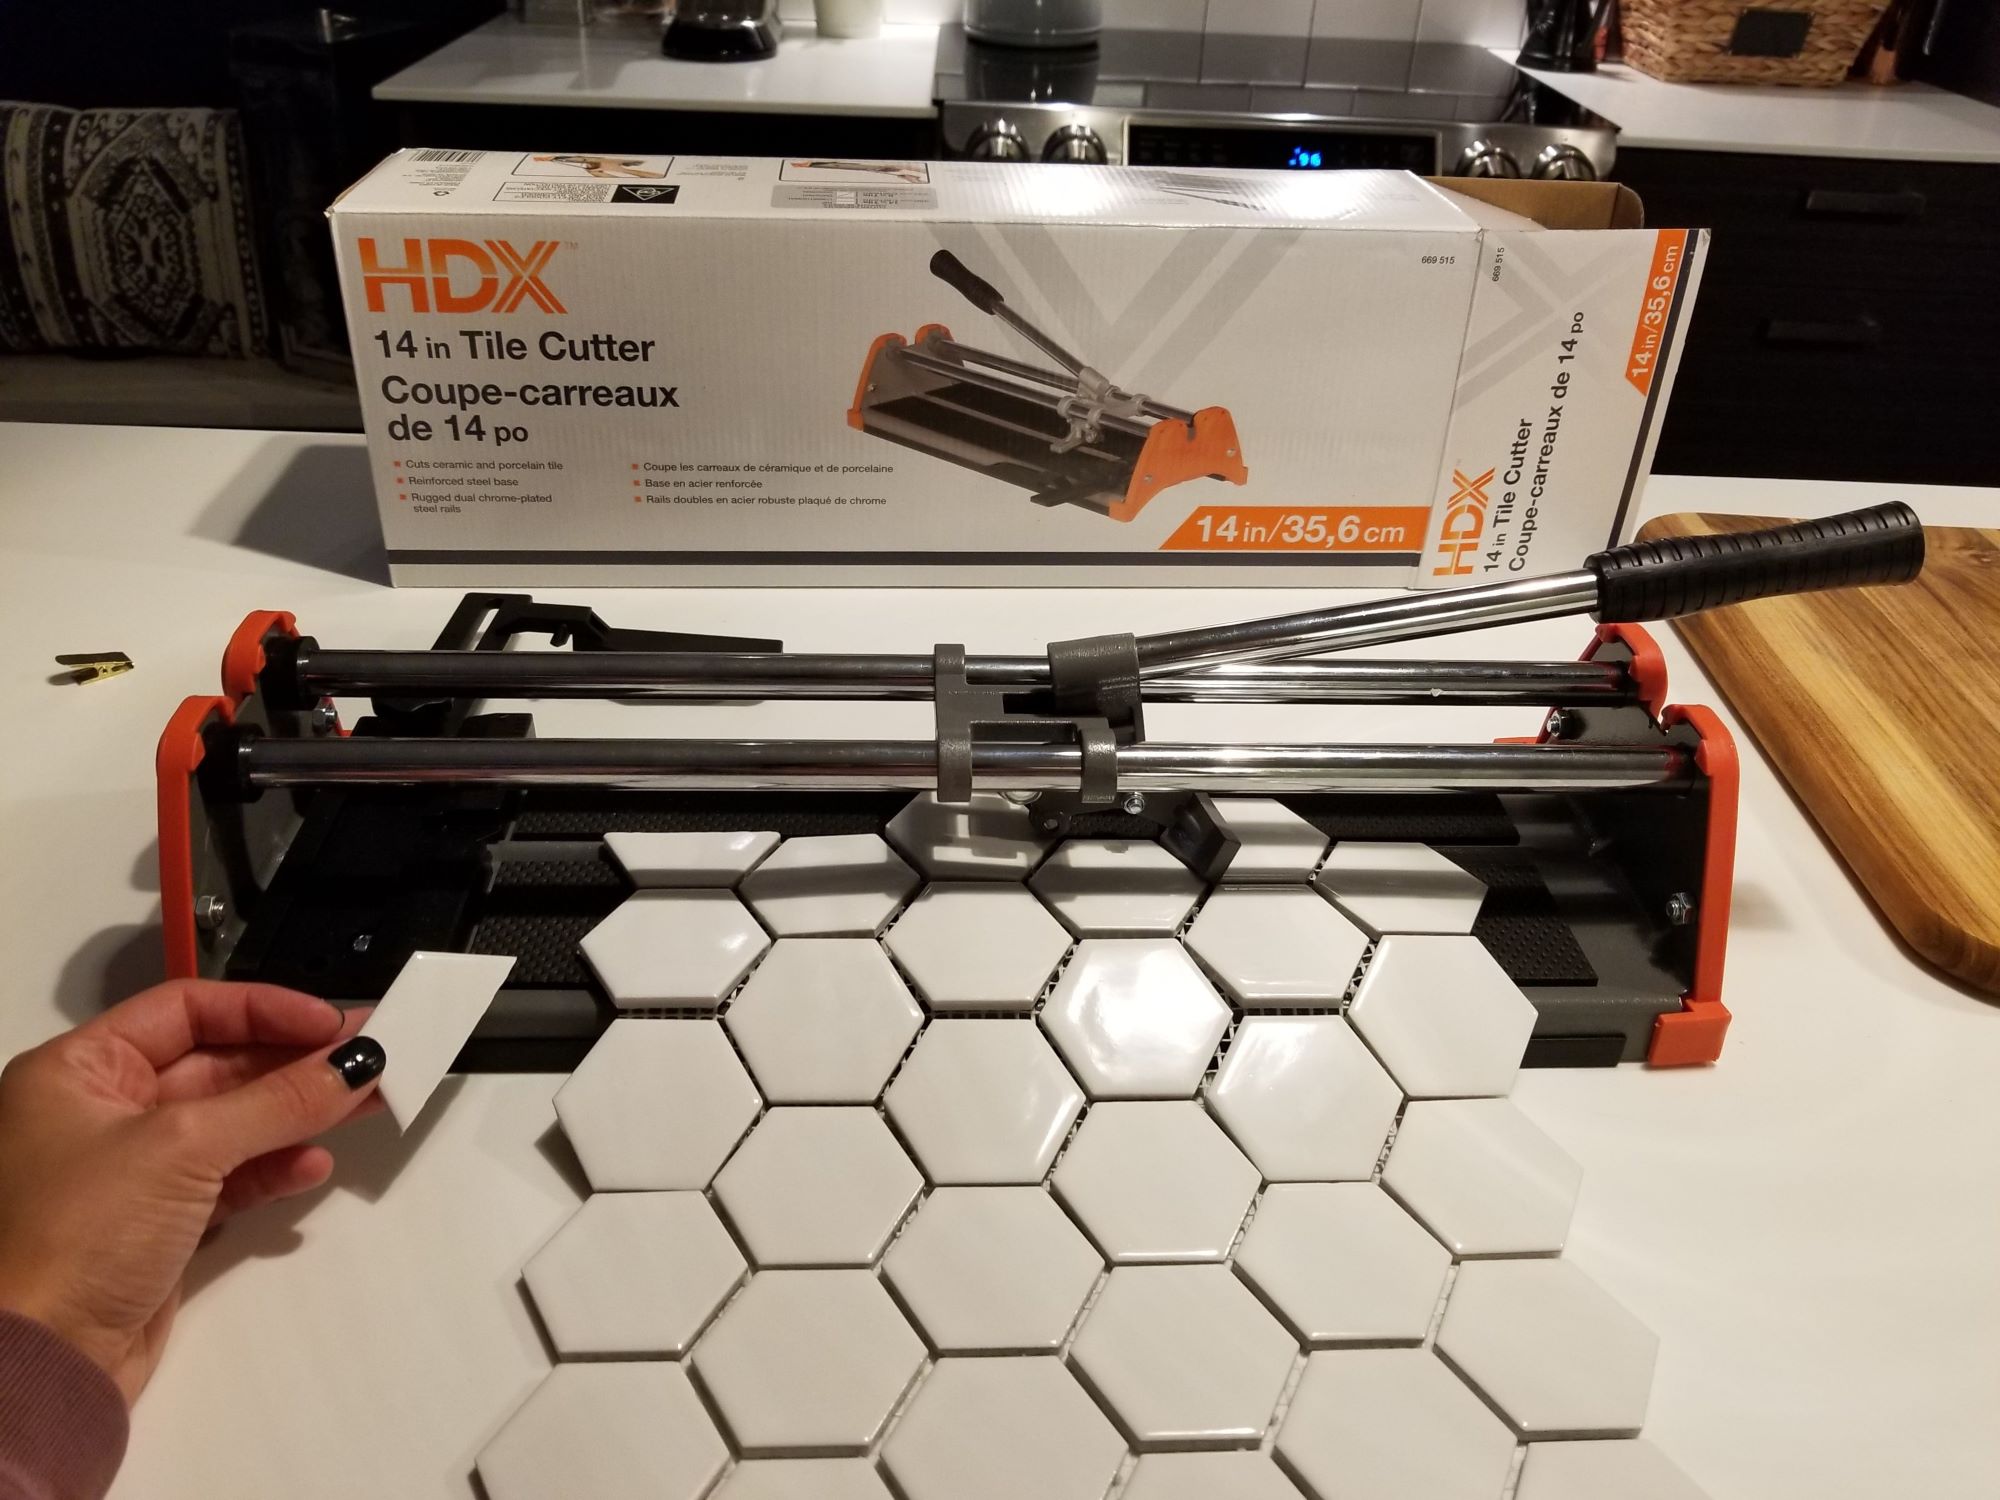
Tile Cutter: A manual tile cutter or a wet saw, depending on the type of tiles you are working with. A manual tile cutter is suitable for straight cuts on ceramic or porcelain tiles, while a wet saw is ideal for cutting natural stone or glass tiles.
-
Tile Nippers: These are essential for making irregular cuts, such as around outlets or corners. They allow for precise shaping and trimming of tiles to fit specific areas.
-
Tile File: Used for smoothing the edges of cut tiles, a tile file ensures a clean and professional finish.
-
Measuring Tape and Ruler: Accurate measurements are crucial for achieving a precise fit. A measuring tape and ruler will help you determine the dimensions for each tile cut.
-
Pencil or Marker: Marking the tiles before cutting is essential for accuracy. A pencil or marker will allow you to indicate where the cuts need to be made.
-
Safety Glasses and Gloves: Protecting your eyes and hands is paramount when working with tiles. Safety glasses shield your eyes from tile shards, while gloves provide a secure grip and protect your hands from sharp edges.
-
Level: Ensuring that your tiles are installed evenly and straight is crucial for a professional finish. A level will help you maintain alignment throughout the installation process.
Materials:
-
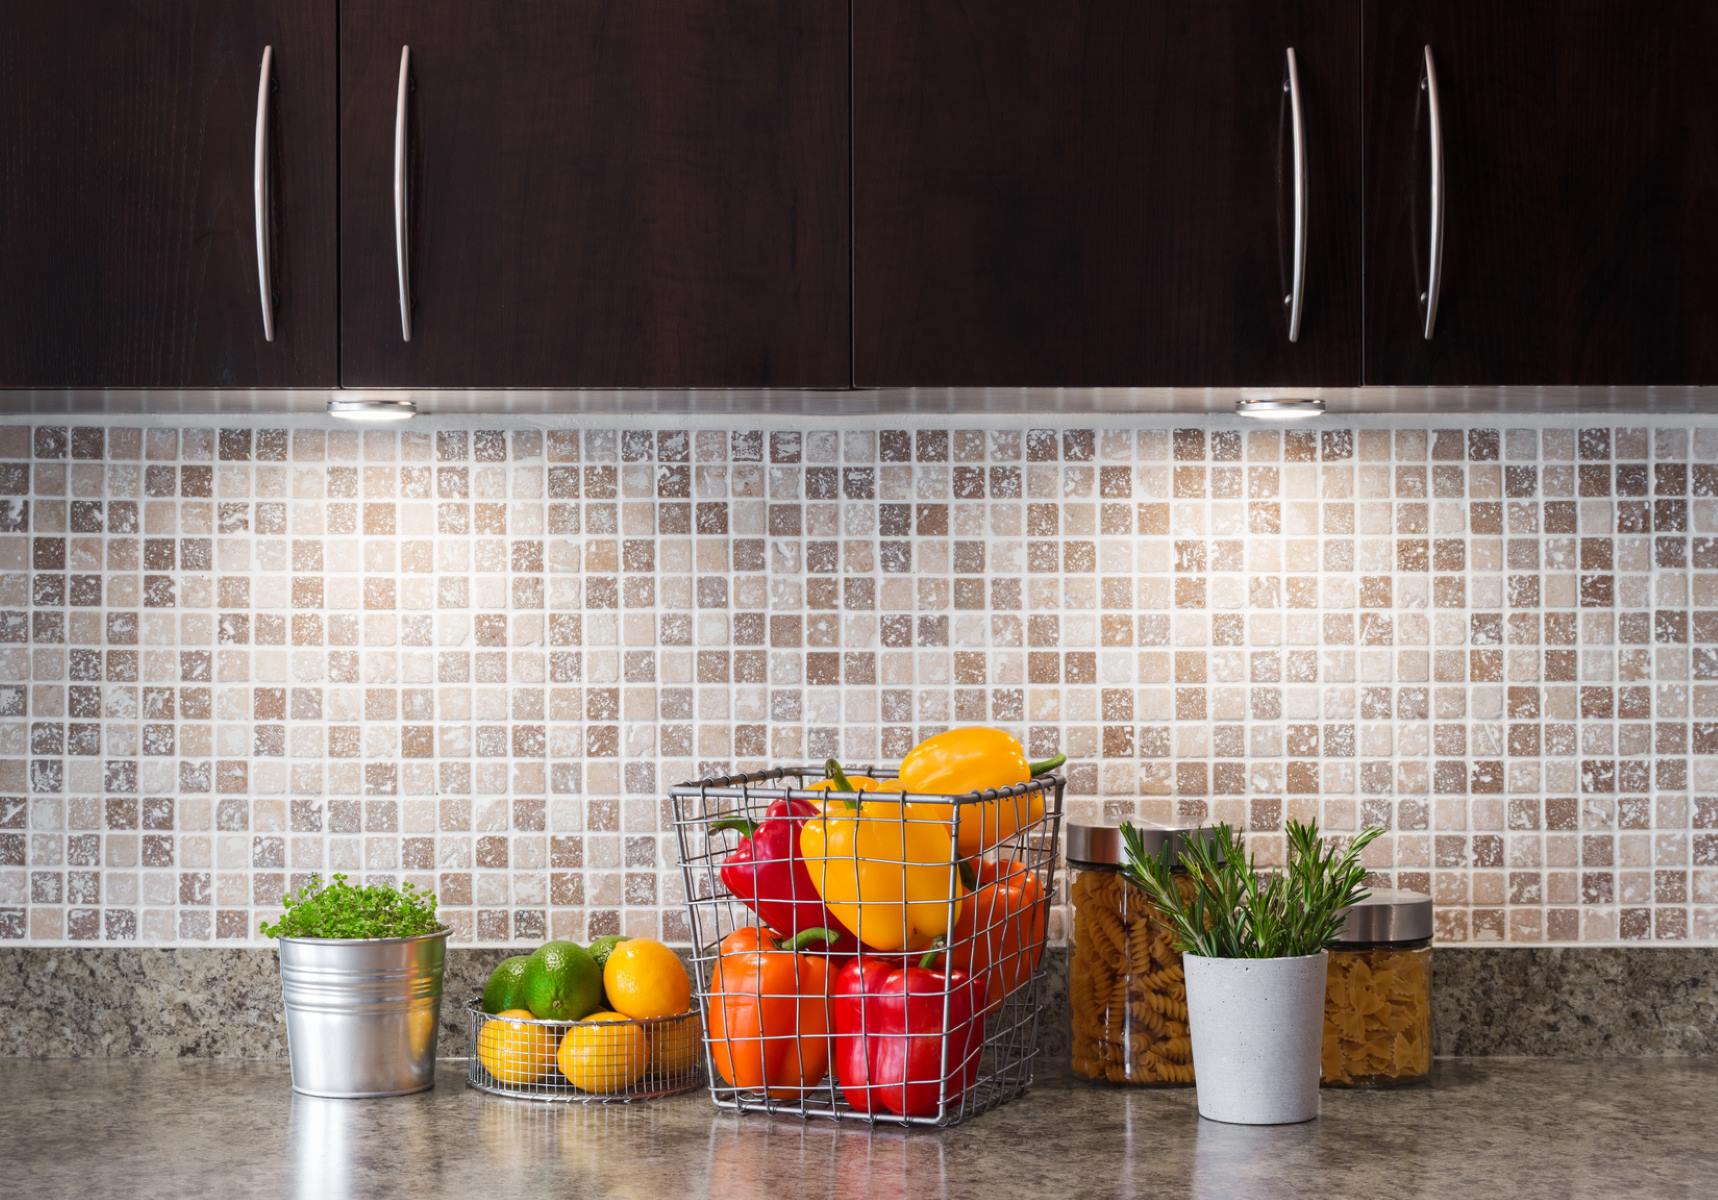
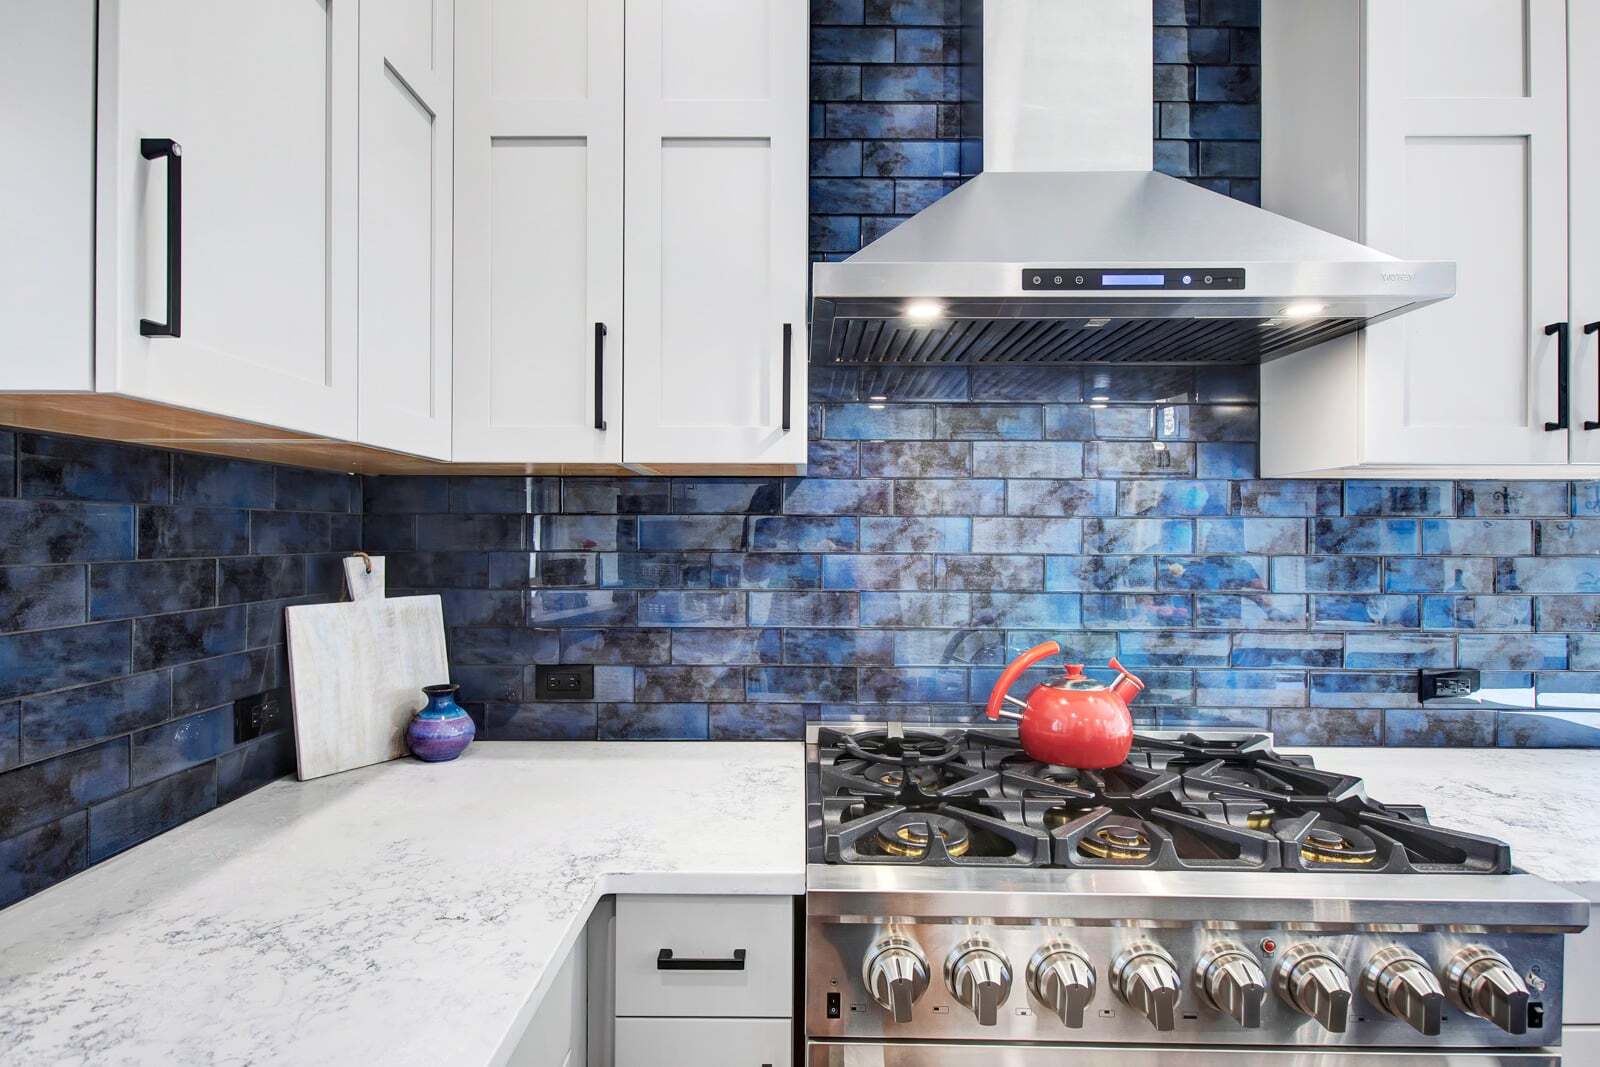
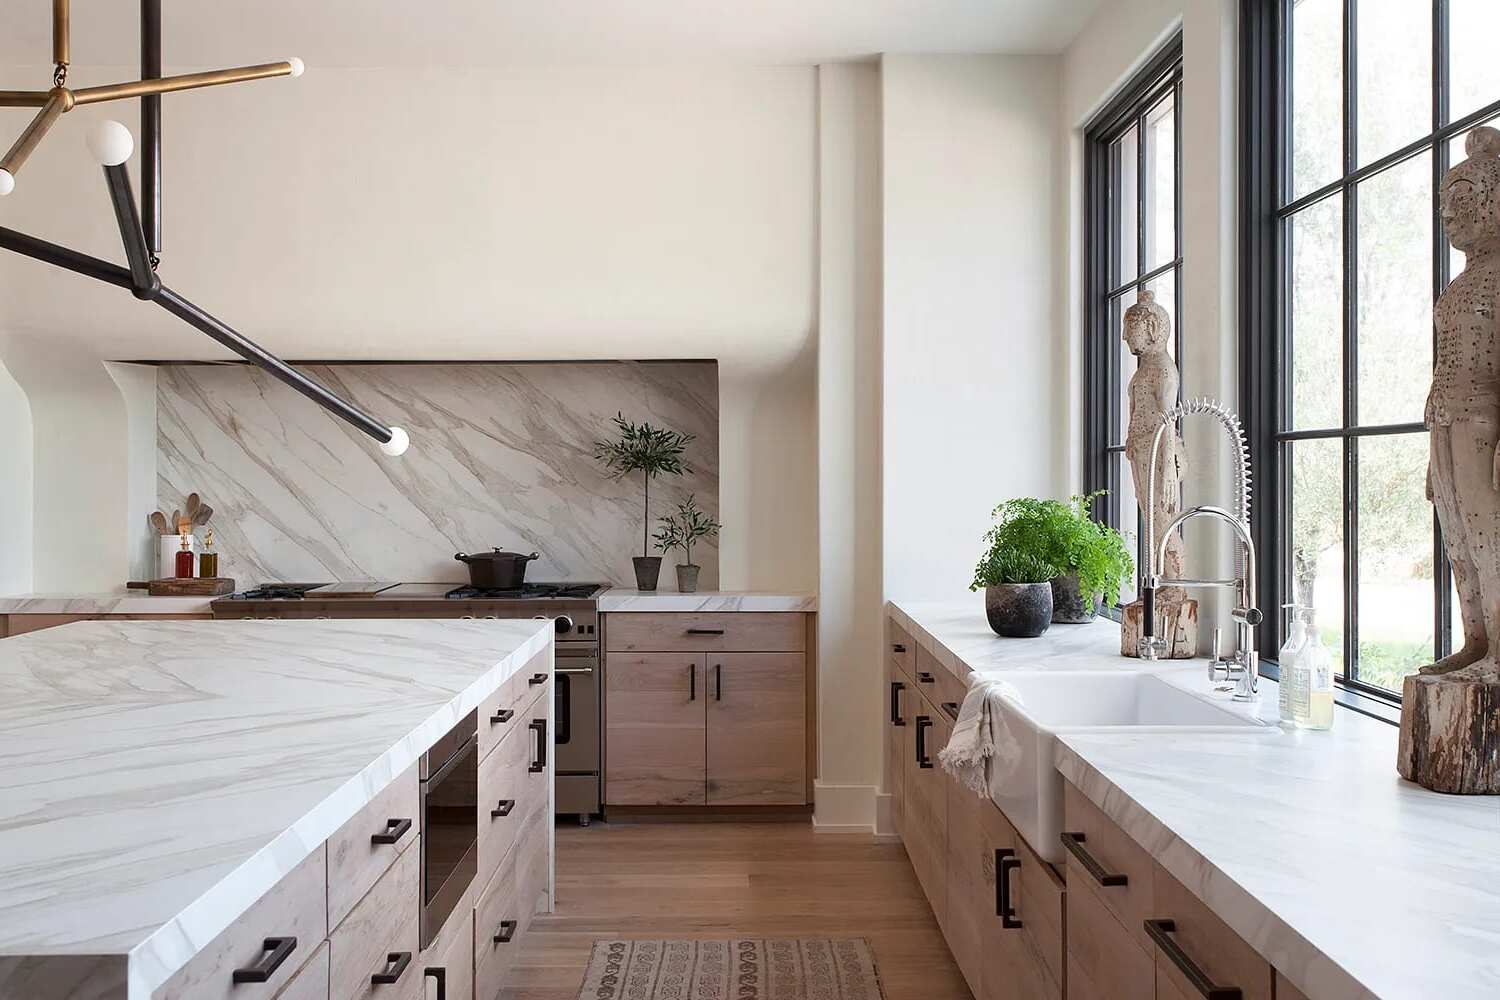
Backsplash Tiles: Select the type and style of tiles that best suit your design preferences and the requirements of the space. Common options include ceramic, porcelain, glass, or natural stone tiles.
-
Tile Adhesive: Choose a high-quality tile adhesive suitable for the type of tiles you are installing. The adhesive should provide a strong bond and be compatible with the material of the tiles and the substrate.
-
Grout: Select a grout color that complements your tiles and enhances the overall aesthetic of the backsplash. Ensure that the grout is appropriate for the tile material and the width of the grout lines.
-
Tile Spacers: These small, plastic crosses or T-shaped spacers are used to maintain consistent spacing between tiles, ensuring a professional and uniform appearance.
-
Primer and Sealant: Depending on the substrate and type of tiles, you may need a primer to prepare the surface for tile installation. Additionally, a sealant may be required to protect the tiles and grout from moisture and stains.
By gathering these essential tools and materials, you will be well-prepared to embark on the process of cutting and installing backsplash tiles with confidence and precision. Each item plays a crucial role in ensuring that your project progresses smoothly and results in a stunning and durable backsplash that enhances the beauty and functionality of your space.
Measuring and Planning
Measuring and planning are the foundational steps in the process of cutting and installing backsplash tiles. Precision and attention to detail during this phase are crucial for achieving a seamless and professional end result. Here's a detailed breakdown of the essential aspects of measuring and planning for your backsplash project:
Assessing the Space:
Before diving into the measurement process, take a comprehensive look at the area where the backsplash will be installed. Evaluate the layout, identifying any obstacles such as outlets, switches, or corners that will require special consideration during the tile cutting and installation process. Understanding the layout of the space will guide your approach to measuring and cutting the tiles to fit seamlessly within the environment.
Accurate Measurements:
Using a measuring tape and ruler, take precise measurements of the backsplash area where the tiles will be installed. Measure both the length and height of the space, accounting for any variations or irregularities in the wall surface. It's essential to measure each section of the backsplash individually, as walls may not always be perfectly straight or level. By obtaining accurate measurements, you can ensure that the tiles will fit snugly and uniformly across the entire backsplash area.
Planning Tile Layout:
Once the measurements are recorded, consider the layout and pattern in which the tiles will be installed. This step is particularly important when working with patterned or textured tiles, as it allows you to visualize how the design will flow across the backsplash. Additionally, plan the placement of any decorative or accent tiles to create a visually appealing and cohesive arrangement. By mapping out the tile layout beforehand, you can anticipate any necessary cuts and ensure a balanced and harmonious aesthetic for the finished backsplash.
Accounting for Cuts and Trim:
When planning the tile layout, take into account the areas where cuts and trim will be necessary. Identify the specific tiles that will require cutting to accommodate obstacles such as outlets, switches, or corners. By strategizing the placement of these cut tiles within the overall layout, you can minimize waste and optimize the use of each tile, resulting in a more cost-effective and efficient installation process.
Read more: How To Tile A Backsplash: Step By Step
Double-Checking Measurements:
Before proceeding to cut the tiles, double-check all measurements to verify their accuracy. It's essential to confirm that the dimensions align with the actual space and that any necessary adjustments are made before initiating the cutting process. Taking the time to review and validate the measurements will help prevent errors and ensure a smooth and precise installation of the backsplash tiles.
By meticulously measuring and planning the installation of your backsplash tiles, you lay a solid foundation for a successful and visually stunning outcome. These initial steps set the stage for the subsequent phases of cutting, installing, and grouting the tiles, ultimately contributing to a seamless and professional finish that enhances the aesthetic and functionality of your kitchen or bathroom.
Cutting the Tiles
Once you have meticulously measured and planned the layout for your backsplash tiles, it's time to delve into the intricate process of cutting the tiles to fit the specific dimensions and design of the space. Precision and attention to detail are paramount during this phase, as accurate cuts will ensure a seamless and professional installation. Here's a comprehensive guide to mastering the art of cutting backsplash tiles:
Selecting the Appropriate Cutting Tool:
The choice of cutting tool depends on the type of tiles you are working with. For ceramic or porcelain tiles, a manual tile cutter is suitable for straight cuts. On the other hand, natural stone or glass tiles require a wet saw for precise and clean cuts. Ensure that the cutting tool is equipped with a sharp blade suitable for the material of the tiles to achieve accurate results.
Marking and Measuring the Tiles:
Before making any cuts, carefully mark the tiles with a pencil or marker to indicate the specific dimensions and angles required. Use a measuring tape and ruler to ensure precise markings, taking into account any necessary allowances for grout lines and trim. Double-check the markings to avoid errors before proceeding with the cutting process.
Read more: How To Cut Ceiling Tile
Executing the Cuts:
When using a manual tile cutter, align the marked line with the cutting wheel and apply firm, even pressure to score the surface of the tile. Once scored, gently press down on the handle to snap the tile along the scored line, resulting in a clean and precise cut. For irregular cuts around outlets or corners, employ tile nippers to carefully trim and shape the tiles to fit the designated areas.
Wet Saw Technique:
When using a wet saw for natural stone or glass tiles, ensure that the water reservoir is filled to prevent overheating and facilitate smooth cutting. Position the tile securely on the saw's cutting surface and guide it steadily through the blade, allowing the saw to make precise and controlled cuts. Exercise caution and wear protective gear, such as safety glasses and gloves, when operating a wet saw.
Smoothing the Edges:
After making the cuts, use a tile file to smooth and refine the edges of the tiles. This step is essential for achieving a professional finish and ensuring that the tiles fit seamlessly within the layout. By carefully filing the edges, you can eliminate any rough or uneven surfaces, resulting in a polished and refined appearance for the cut tiles.
By mastering the techniques of cutting backsplash tiles, you empower yourself to execute a precise and visually captivating installation. Each cut plays a crucial role in achieving a cohesive and seamless backsplash design, elevating the aesthetic appeal and functionality of your kitchen or bathroom. With patience and attention to detail, you can navigate the intricacies of cutting tiles with confidence and finesse, ultimately bringing your vision of a stunning backsplash to fruition.
Installing the Tiles
With the tiles expertly cut and prepared, the next phase of the backsplash installation involves the meticulous process of placing and securing the tiles onto the designated surface. This step is where the vision of your revamped kitchen or bathroom begins to materialize, as each tile contributes to the overall aesthetic and functionality of the space. Here's a detailed guide to navigating the installation of backsplash tiles with precision and finesse:
Read more: How To Cut Glass Tile
Preparing the Surface:
Before applying the tiles, ensure that the surface of the backsplash area is clean, dry, and free of any debris or obstructions. If necessary, use a primer to prepare the surface for optimal adhesion. Additionally, lay out the tiles in the planned pattern to confirm the layout and make any final adjustments before securing them in place.
Applying Tile Adhesive:
Using a notched trowel, spread a uniform layer of tile adhesive onto the prepared surface. The adhesive should be applied evenly, with the notches creating ridges to promote strong adhesion between the tiles and the substrate. Work in manageable sections to prevent the adhesive from drying out before the tiles are placed.
Placing the Tiles:
Carefully press each tile into the adhesive, ensuring that it aligns with the predetermined layout and pattern. Use tile spacers to maintain consistent spacing between the tiles, creating uniform grout lines and a professional finish. As you progress, periodically check the alignment and level of the tiles to guarantee a seamless and visually appealing installation.
Securing the Tiles:
Once the tiles are in place, gently press them to ensure a strong bond with the adhesive. A tile installation mat or board can be used to provide additional support and prevent the tiles from shifting during the curing process. Pay close attention to any decorative or accent tiles, ensuring that they are integrated seamlessly into the overall design.
Read more: How To Clean Glass Backsplash Tiles
Allowing for Curing Time:
After the tiles are installed, allow sufficient time for the adhesive to cure and set firmly. Follow the manufacturer's guidelines regarding the recommended curing duration, as this is essential for the long-term durability and stability of the installation. Exercise caution to avoid disturbing the tiles during this critical phase.
Removing Tile Spacers:
Once the adhesive has fully cured, carefully remove the tile spacers from between the tiles. This step prepares the grouting phase and allows for a clear view of the final layout. Take care not to dislodge the tiles while removing the spacers, maintaining the integrity of the installation.
By navigating the installation of backsplash tiles with meticulous attention to detail and adherence to best practices, you set the stage for a visually stunning and enduring enhancement to your kitchen or bathroom. Each tile placed with precision contributes to the transformation of the space, culminating in a captivating and functional backsplash that reflects your unique style and attention to quality craftsmanship.
Grouting and Finishing Touches
With the tiles securely in place, the final phase of the backsplash installation involves the transformative process of grouting and adding the finishing touches. This pivotal step not only enhances the visual appeal of the backsplash but also ensures the long-term durability and resilience of the tiled surface. Here's a detailed guide to navigating the grouting and finishing touches with precision and finesse:
Preparing the Grout:
Select a high-quality grout that complements the color and style of the tiles while providing a strong and resilient bond. Mix the grout according to the manufacturer's instructions, ensuring a smooth and lump-free consistency. Opt for a grout color that enhances the overall aesthetic of the backsplash, whether it's a subtle complement to the tiles or a contrasting accent that adds depth to the design.
Read more: How To Cut Stainless Steel Backsplash
Applying the Grout:
Using a rubber grout float, apply the mixed grout onto the tiled surface, ensuring that the grout lines are completely filled. Hold the float at a 45-degree angle and work the grout into the spaces between the tiles, using firm and sweeping motions. Pay careful attention to achieving consistent and uniform grout lines throughout the installation, maintaining a professional and polished appearance.
Removing Excess Grout:
After the grout is applied, use the edge of the grout float to remove any excess grout from the tile surfaces. Hold the float at a 90-degree angle and carefully scrape off the surplus grout, taking care not to dislodge the freshly installed tiles. This step contributes to a clean and refined finish, ensuring that the tiles stand out while the grout seamlessly integrates with the overall design.
Cleaning the Tiles:
Once the excess grout is removed, use a damp sponge to gently clean the tiled surface, wiping away any residual grout haze and smoothing the grout lines. Rinse the sponge frequently and avoid applying excessive pressure to prevent dislodging the grout. This meticulous cleaning process is essential for revealing the true beauty of the tiles and achieving a pristine and professional appearance for the finished backsplash.
Sealing the Grout:
After the grout has cured according to the manufacturer's recommendations, consider applying a grout sealer to protect the grout from stains and moisture. A high-quality grout sealer enhances the longevity and resilience of the grout, safeguarding the integrity of the installation and preserving the visual appeal of the backsplash over time.
Read more: How To Install Glass Tile Backsplash
Adding Finishing Touches:
With the grouting complete, take a moment to inspect the entire backsplash for any remaining imperfections or areas that require attention. Use a clean, dry cloth to buff the tiles and ensure a radiant and polished finish. Additionally, consider applying a bead of silicone caulk along the edges of the backsplash to create a watertight seal and enhance the overall durability of the installation.
By meticulously navigating the grouting and finishing touches, you elevate the visual impact and longevity of your newly installed backsplash. Each step contributes to the refinement and resilience of the tiled surface, culminating in a captivating and enduring enhancement to your kitchen or bathroom. With attention to detail and adherence to best practices, the grouting and finishing touches bring your vision of a stunning backsplash to fruition, reflecting your commitment to quality craftsmanship and aesthetic excellence.
Conclusion
In conclusion, the process of cutting and installing backsplash tiles is a transformative journey that culminates in the revitalization of your kitchen or bathroom. From the initial measurements and planning to the meticulous execution of cuts, placement, grouting, and finishing touches, each step contributes to the creation of a visually stunning and enduring backsplash. As you reflect on the completion of this project, it's essential to recognize the impact of your dedication and attention to detail in achieving a professional and polished outcome.
The art of cutting backsplash tiles demands precision, patience, and a keen eye for design. By mastering the techniques of measuring, planning, and executing precise cuts, you have not only enhanced the aesthetic appeal of your space but also imbued it with a touch of your personal style and creativity. The carefully selected tiles, thoughtfully planned layout, and expertly executed cuts have converged to create a backsplash that serves as a captivating focal point within your home.
The installation process, from applying adhesive and placing the tiles to grouting and adding finishing touches, represents a labor of love and a testament to your commitment to quality craftsmanship. Each tile placed with precision and secured with care contributes to the overall durability and resilience of the backsplash, ensuring that it stands the test of time while elevating the functionality of the space.
As you step back to admire the completed backsplash, take pride in the transformation you have achieved. The seamless integration of tiles, the uniformity of grout lines, and the radiant finish reflect your dedication to excellence and your ability to bring a vision to life. The newly installed backsplash not only enhances the visual appeal of the room but also serves as a testament to your skill and creativity in home renovation.
Ultimately, the journey of cutting and installing backsplash tiles is a testament to your ability to transform a functional space into a captivating and inviting environment. Your commitment to precision, attention to detail, and passion for design have converged to create a backsplash that not only enhances the aesthetic appeal of your home but also reflects your personal touch and dedication to quality. As you revel in the completion of this project, may it serve as a source of inspiration and pride, igniting your passion for future endeavors in home renovation and design.
Frequently Asked Questions about How To Cut Backsplash Tiles
Was this page helpful?
At Storables.com, we guarantee accurate and reliable information. Our content, validated by Expert Board Contributors, is crafted following stringent Editorial Policies. We're committed to providing you with well-researched, expert-backed insights for all your informational needs.


0 thoughts on “How To Cut Backsplash Tiles”