Articles
How To Make Tile-Topped Stepping Stones
Modified: October 28, 2024
Learn how to make beautiful tile-topped stepping stones with our expert articles. Discover the secrets to creating stunning DIY projects in your own garden.
(Many of the links in this article redirect to a specific reviewed product. Your purchase of these products through affiliate links helps to generate commission for Storables.com, at no extra cost. Learn more)
Introduction
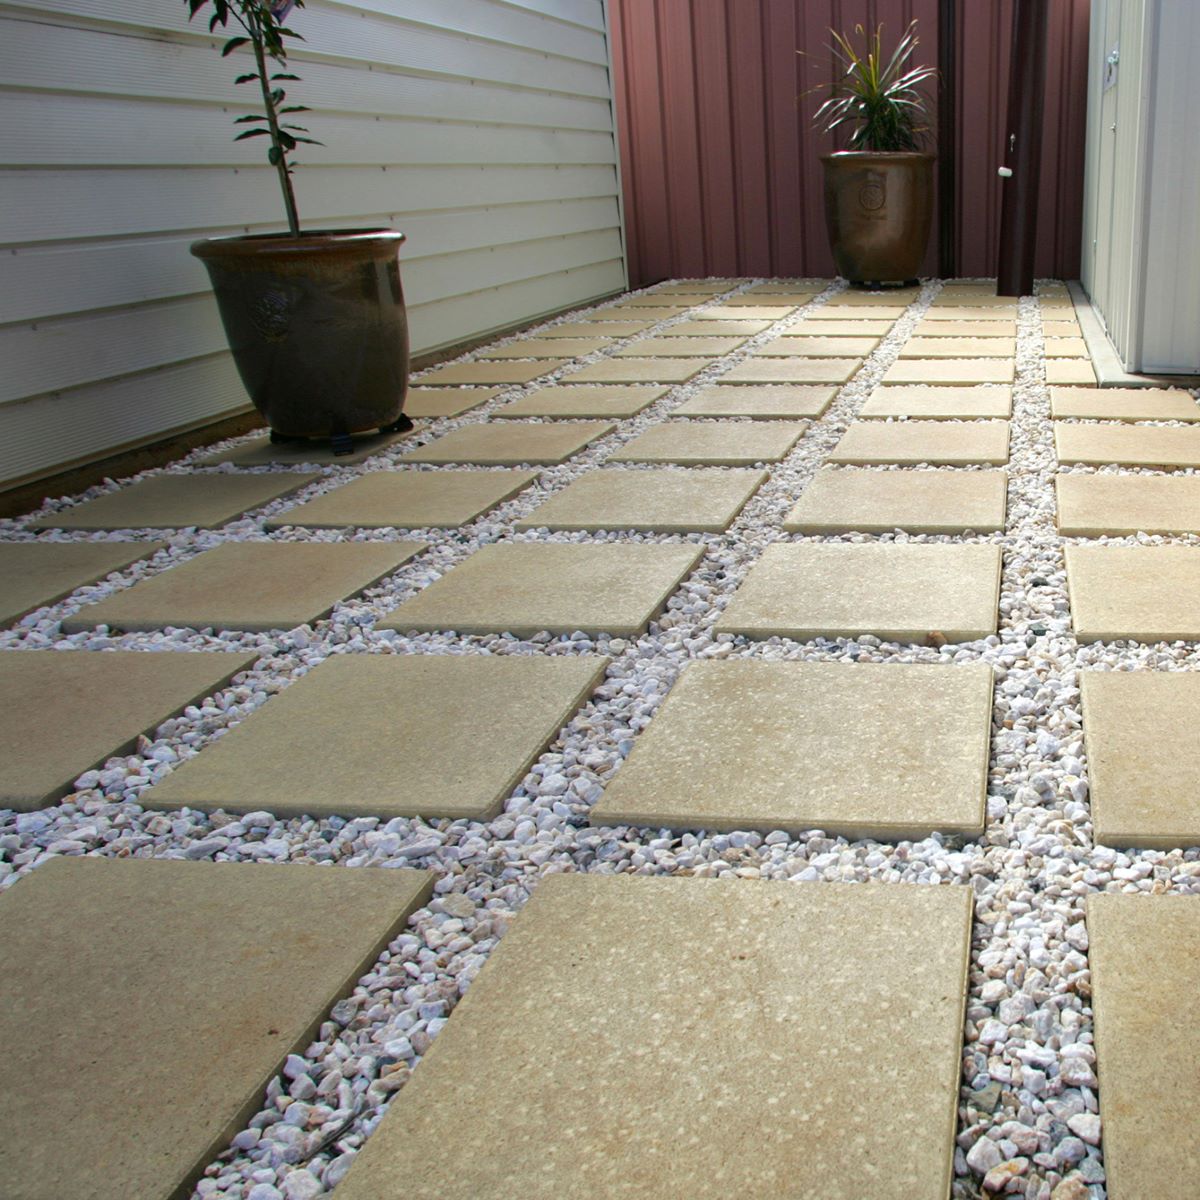
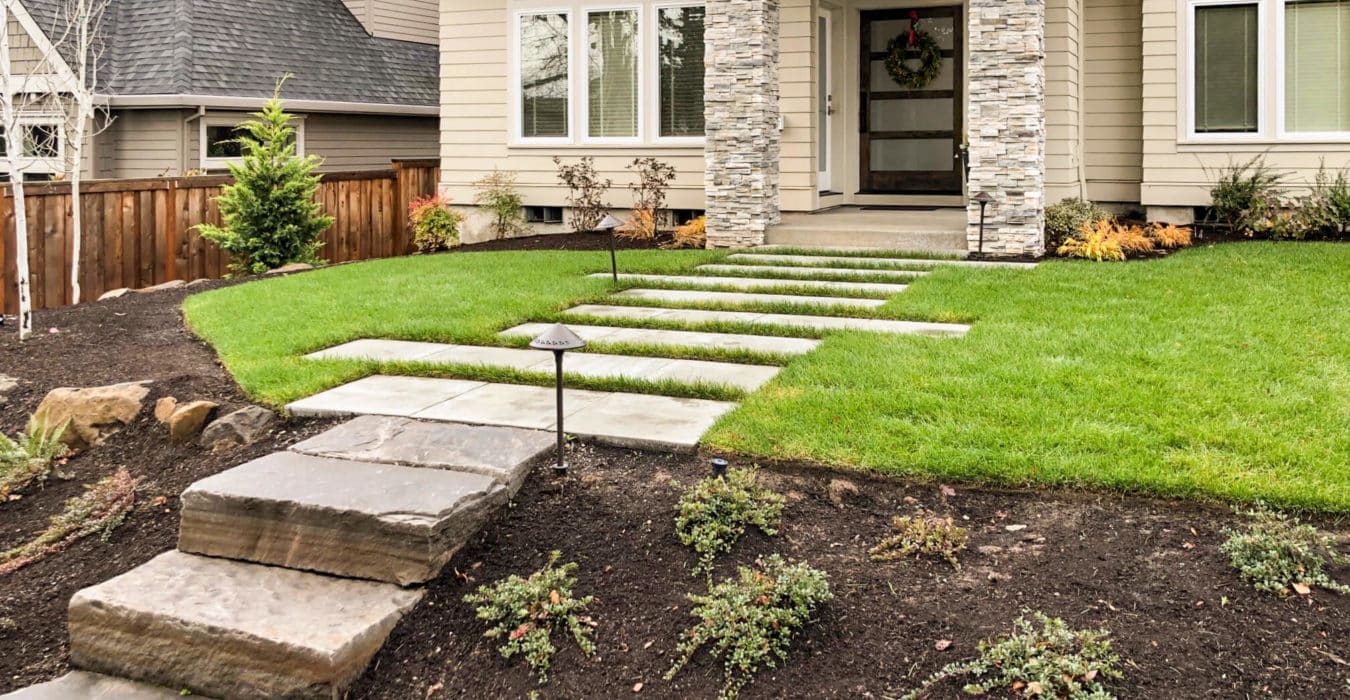
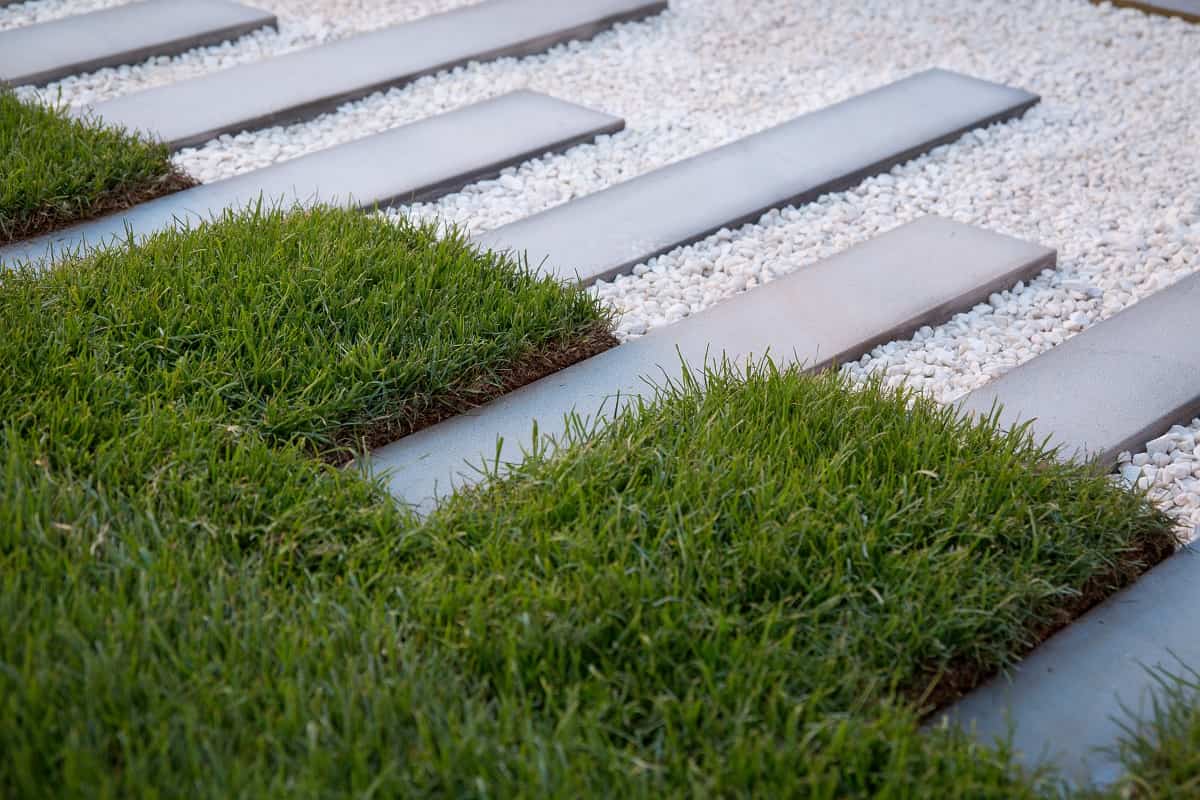
Welcome to the world of DIY stepping stones! There’s something magical about walking through a garden or a pathway adorned with beautiful tile-topped stepping stones. These decorative and functional elements can add a touch of elegance and personality to any outdoor space. Plus, they are surprisingly easy to make!
In this article, we will guide you through the step-by-step process of creating your very own tile-topped stepping stones. Whether you’re a seasoned DIY enthusiast or a beginner looking for a fun and creative project, this guide is for you. We’ll cover everything you need to know, from gathering the materials to curing and removing your finished stepping stones.
So, grab your gardening gloves, dust off your creative spirit, and let’s dive into the world of DIY tile-topped stepping stones!
Key Takeaways:
- Create personalized, durable stepping stones using concrete, tiles, and creativity. Add a touch of elegance and charm to your outdoor space with DIY tile-topped stepping stones.
- Transform ordinary concrete into unique works of art for your garden or pathway. Embrace the joy of DIY and showcase your creativity with beautiful tile-topped stepping stones.
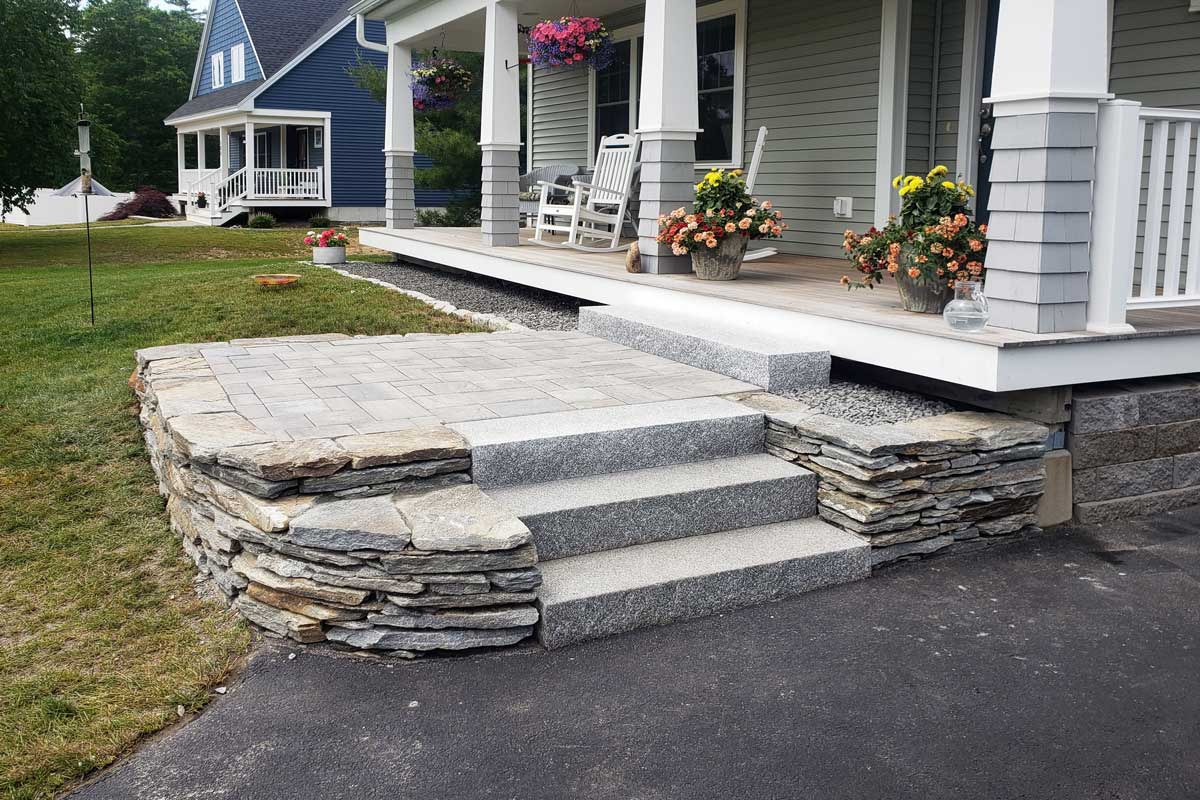
Read more: How To Make Outdoor Stone Steps
Materials Needed
Before we start creating our tile-topped stepping stones, let’s gather all the necessary materials. Here’s a list of what you’ll need:
- Concrete mix: Choose a high-quality concrete mix specifically designed for outdoor use. You can find this at your local hardware store.
- Mold: Look for a mold that is suitable for creating stepping stones. You can buy pre-made molds in various shapes and sizes, or you can even make your own using materials like plywood or plastic containers.
- Tiles: Select tiles that match your design aesthetic and are suitable for outdoor use. Ceramic tiles, glass tiles, or even recycled tiles can all work well for this project.
- Mosaic adhesive: This is required if you’re planning to create a mosaic design with your tiles. Make sure to choose an adhesive that is waterproof and suitable for outdoor applications.
- Grout: If you’re using mosaic tiles, you’ll need grout to fill the gaps between the tiles. Select a grout that is suitable for outdoor use and matches the color of your tiles.
- Water: You’ll need water to mix the concrete and the grout.
- Measuring tools: A measuring cup or bucket will be necessary to measure the water and concrete accurately.
- Mixing tools: Gather a mixing container, such as a wheelbarrow or a large bucket, and a mixing tool like a trowel or a drill with a mixing attachment.
- Protective gear: It’s important to prioritize safety when working with concrete. Wear safety goggles, gloves, and a dust mask to protect yourself from any potential hazards.
- Optional: If you want to add a personal touch to your stepping stones, consider using decorative objects like shells, stones, or marbles to embed into the concrete.
Once you have gathered all the necessary materials, you’re ready to move on to the next steps of creating your tile-topped stepping stones.
Step 1: Preparing the Mold
The first step in creating your tile-topped stepping stones is to prepare the mold. The mold will determine the shape and size of your stepping stone, so it’s important to choose one that suits your preferences.
If you’re using a pre-made mold, make sure it is clean and free of any debris. If you’re making your own mold, here’s a simple method:
- Start by measuring and marking out the desired size and shape of your stepping stone on a piece of plywood or plastic container.
- Using a saw or utility knife, carefully cut along the marked lines to create the mold. Make sure the edges are smooth and even.
- Once you have your mold ready, place it on a flat and level surface, such as a workbench or a sheet of plastic.
- If you’re concerned about the stepping stone sticking to the mold, you can apply a release agent like cooking spray or petroleum jelly to the inside of the mold. This will make it easier to remove the finished stone later.
- Ensure that the mold is stable and won’t move or shift during the pouring and curing process.
With your mold prepared, you’re now ready to move on to the next step – mixing the concrete.
Step 2: Mixing the Concrete
Now that you have your mold prepared, it’s time to mix the concrete for your stepping stones. Follow these steps to ensure the proper mixture:
- Begin by putting on your protective gear, including goggles, gloves, and a dust mask.
- Prepare your mixing container by cleaning it thoroughly and ensuring it’s free of debris.
- Next, measure the appropriate amount of concrete mix according to the package instructions. Typically, this involves combining a specific ratio of concrete mix and water.
- Slowly add water to the mix, using a measuring cup or bucket, while constantly stirring. Be careful not to add too much water at once to avoid creating a soupy consistency.
- Continue stirring the mixture until it reaches a thick and creamy consistency. The concrete should be evenly mixed with no dry patches or lumps.
- Pro tip: If you’re planning to embed decorative objects in the concrete, pour a small amount of the mixture into the mold and spread it evenly. Then, place your decorative objects on top and gently press them into the concrete.
- Once the concrete is thoroughly mixed, it’s time to move on to the next step – pouring it into the mold.
By following these steps, you’ll have a well-mixed concrete mixture, ready to be poured and transformed into your beautiful tile-topped stepping stones.
Step 3: Pouring the Concrete into the Mold
Now that you have the concrete mixture ready, it’s time to pour it into the prepared mold for your stepping stones. Follow these steps for a successful pour:
- Make sure the mold is securely placed on a flat and level surface.
- Using a trowel or a shovel, carefully pour the concrete mixture into the mold, starting from one corner and working your way across. Ensure an even distribution of the mixture.
- As you pour, use the trowel or shovel to spread and level the concrete evenly within the mold. Smooth out the surface for a clean and flat stepping stone.
- If you’re creating multiple stepping stones, repeat the pouring process for each mold you have prepared.
- Once you have poured the concrete, gently tap the mold on the ground a few times to remove any air bubbles trapped within the mixture. This will help prevent potential cracks or voids in the finished stepping stone.
- If desired, you can add a personal touch by embedding additional decorative objects on top of the concrete while it is still wet. Press them gently into the surface, ensuring they are securely embedded.
- Allow the concrete to settle and cure according to the package instructions. This usually takes several days, so be patient and resist the temptation to remove the mold early.
Remember, the pouring process is crucial for creating a solid and stable stepping stone. Take your time and pay attention to detail to ensure a successful outcome.
When making tile-topped stepping stones, be sure to use a strong adhesive to secure the tiles to the concrete base. This will ensure that the tiles stay in place, even with regular use.
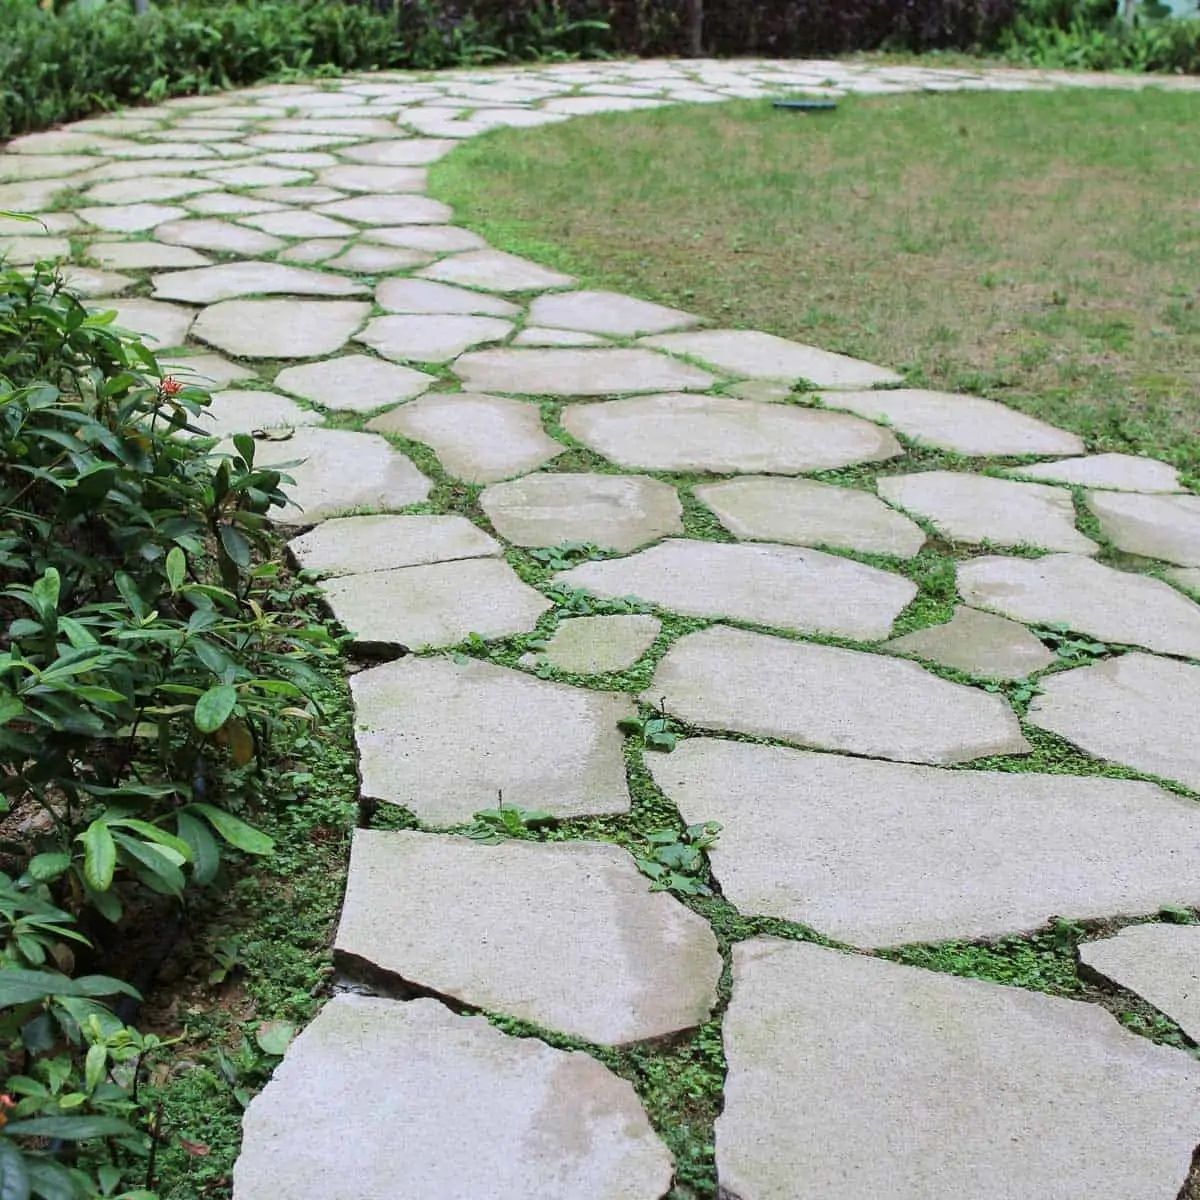
Read more: How To Make A Stepping Stone Path
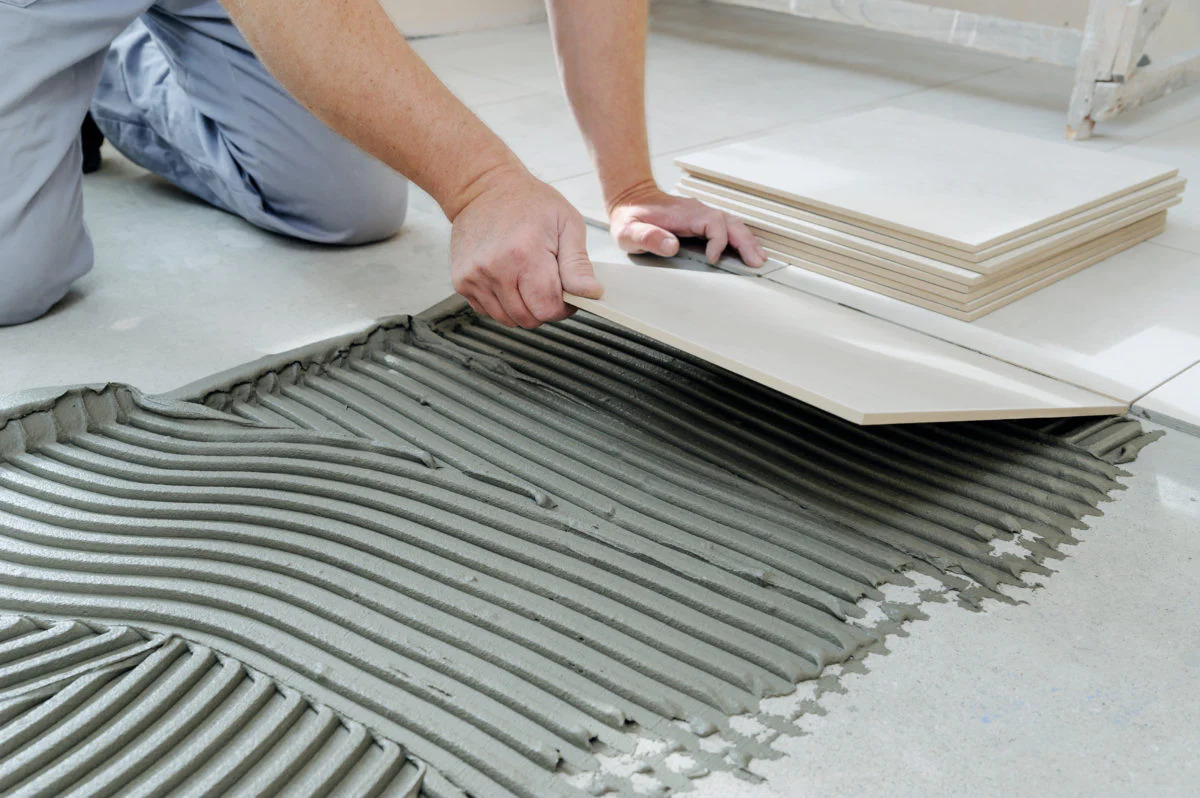
Step 4: Placing the Tiles
Now that your concrete has cured and solidified in the mold, it’s time to add the beautiful tiles that will transform your stepping stones into works of art. Follow these steps to place the tiles:
- Carefully remove the cured stepping stone from the mold. If it’s sticking, gently tap the sides or flex the mold to release it.
- Thoroughly clean the surface of the stepping stone to remove any debris or dust that may have accumulated during the curing process.
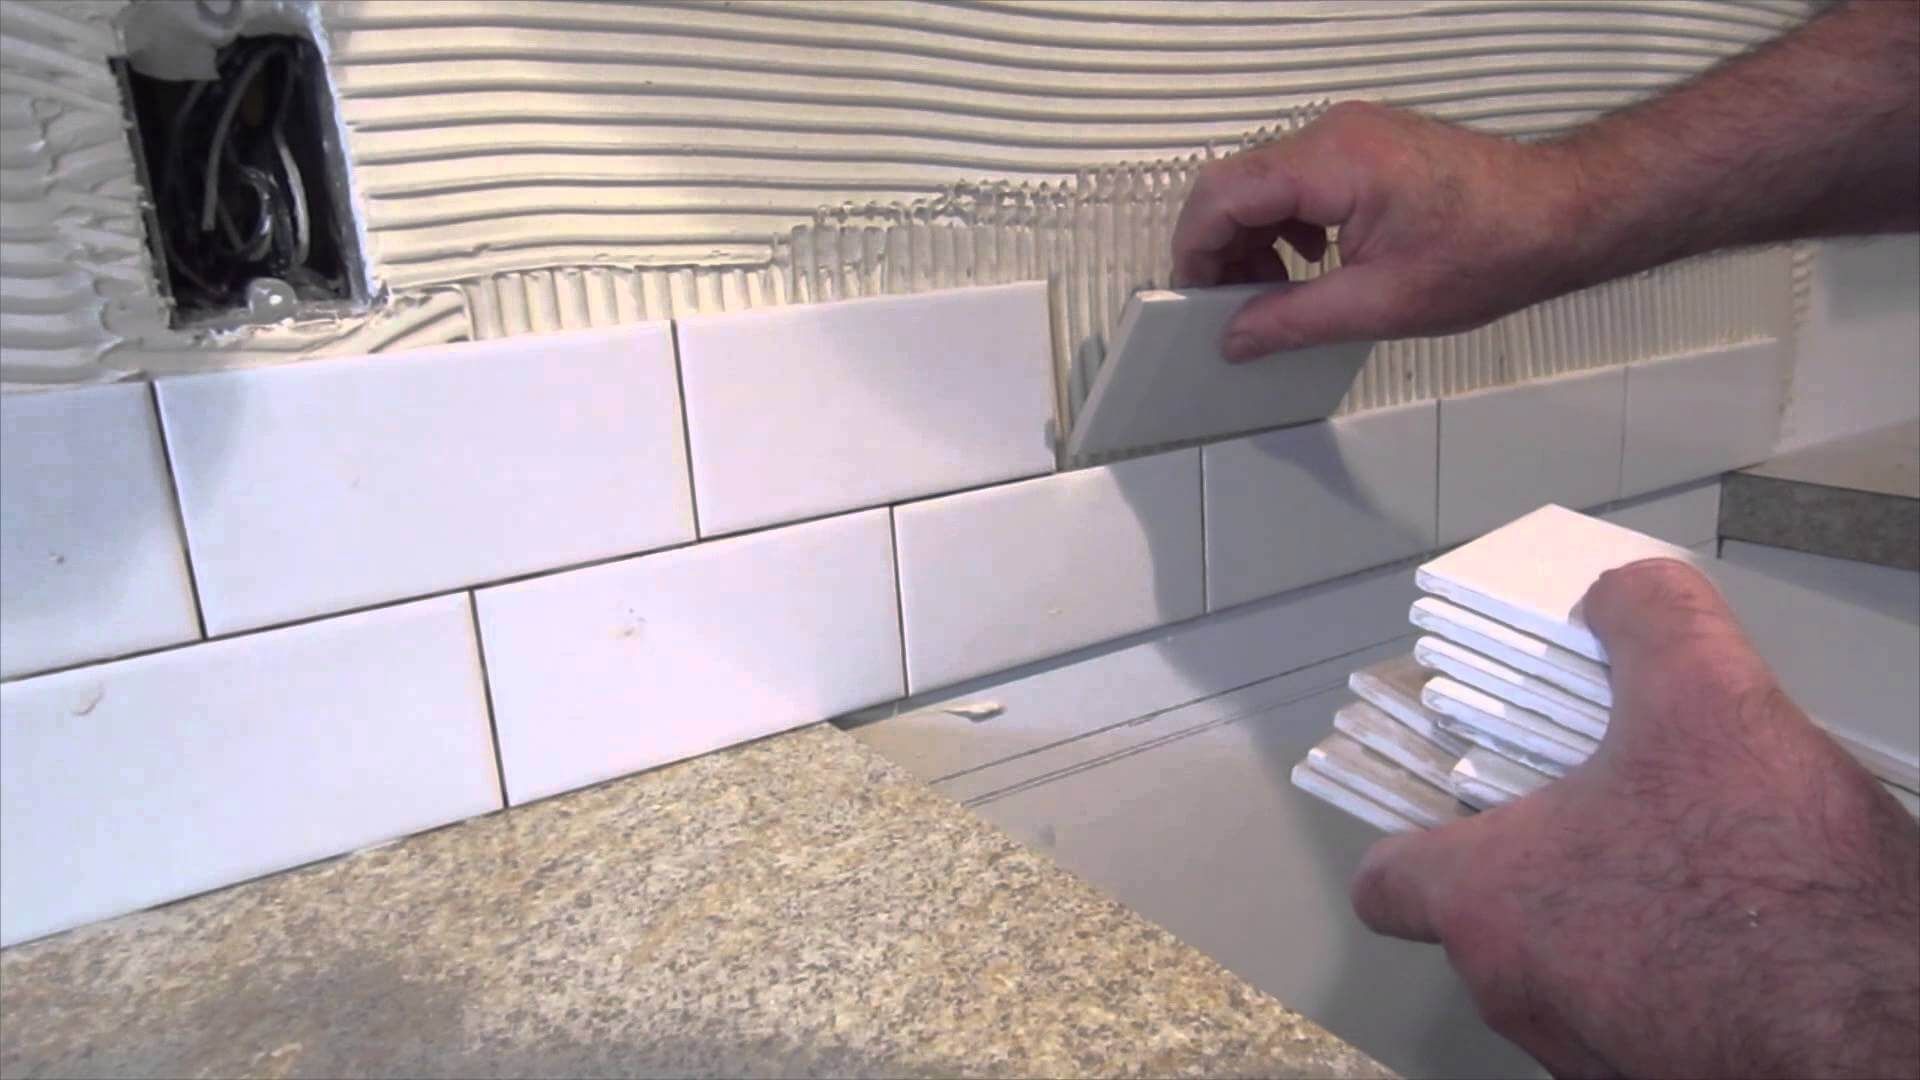
- If you’re planning to create a mosaic design, use a mosaic adhesive to securely attach the tiles to the surface of the stepping stone. Apply the adhesive to the back of each tile and press them firmly onto the concrete, leaving a small space between each tile for the grout.
- For a more straightforward design, you can use a tile adhesive suitable for outdoor use to attach the tiles to the stepping stone.
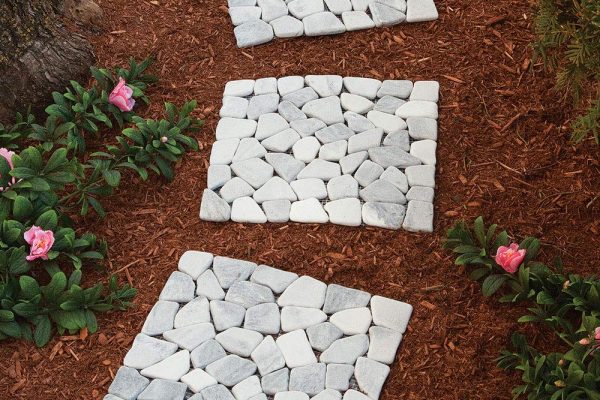
- Experiment with different tile layouts and arrangements to create a visually pleasing and cohesive design. You can mix different colors, shapes, and sizes to add interest to your stepping stone.
- Take your time to ensure each tile is securely placed and aligned with neighboring tiles.
- Once all the tiles are in place, allow the adhesive to dry and cure according to the manufacturer’s instructions.
Placing the tiles is where your creativity can truly shine. Enjoy the process, play around with different designs, and make your stepping stones truly unique.
Step 5: Finishing Touches
Now that the tiles are securely placed on the stepping stone, it’s time to add the finishing touches. Follow these steps to complete your tile-topped stepping stones:
- If you used mosaic tiles, it’s time to apply the grout. Mix the grout according to the manufacturer’s instructions, ensuring a smooth and consistent texture.
- Using a grout float or a small trowel, spread the grout over the entire surface of the stepping stone, making sure to fill the gaps between the tiles.
- Work the grout into the crevices in a diagonal motion, being careful not to dislodge the tiles.
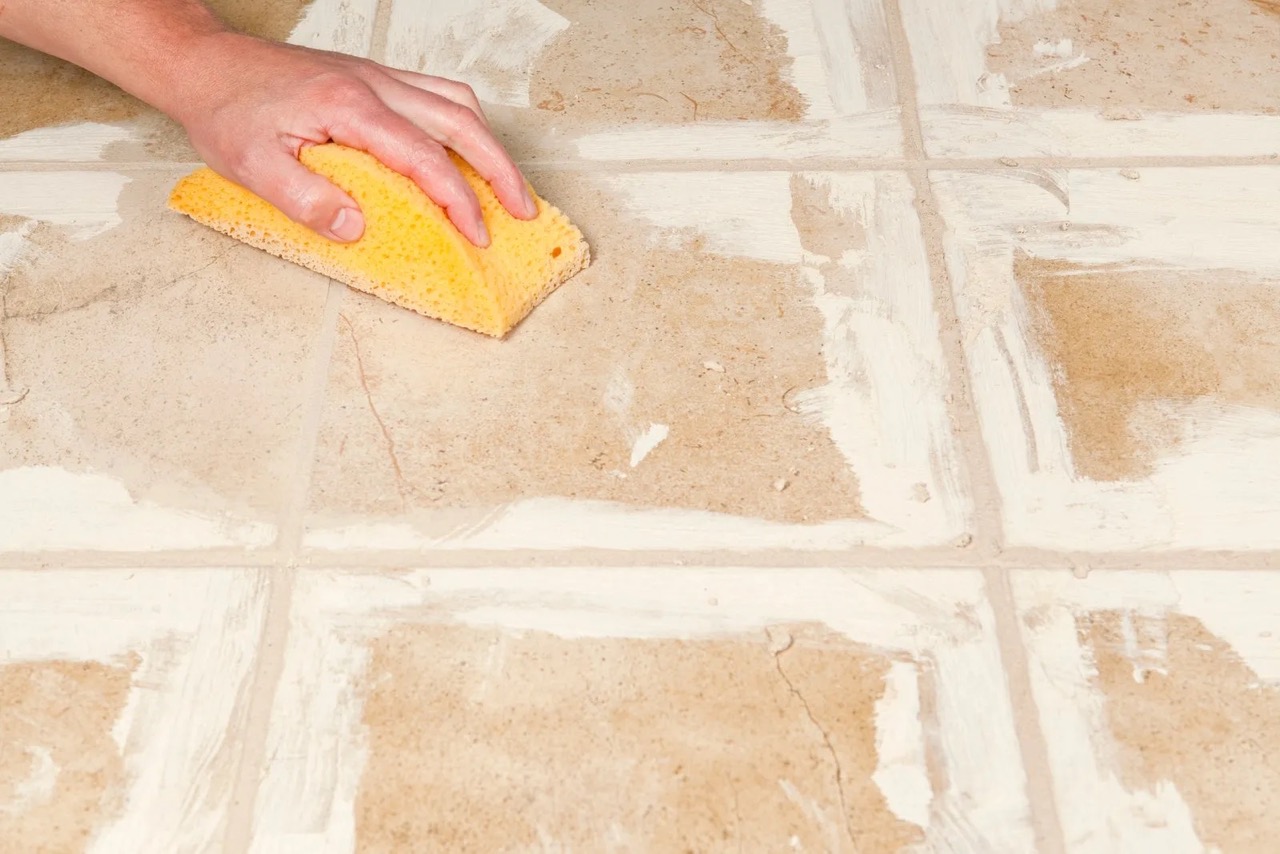
- Remove the excess grout from the surface of the tiles using a damp sponge or cloth. Gently wipe across the tiles, taking care not to remove too much of the grout from the gaps.
- Allow the grout to dry for the recommended time specified by the manufacturer.
- Once the grout has dried, use a soft cloth to polish the tiles and remove any remaining grout haze.
- Inspect the stepping stone for any loose tiles or grout. If necessary, reapply adhesive or grout to secure them.
- Finally, consider applying a sealant to protect the tiles and grout from moisture and other outdoor elements. Follow the sealant manufacturer’s instructions for application and drying time.
These finishing touches will not only enhance the appearance of your stepping stones but also provide durability and longevity to withstand the outdoor environment.
Step 6: Curing and Removing the Stepping Stone
After completing the finishing touches on your tile-topped stepping stone, it’s time to allow it to fully cure and then remove it from the mold. Follow these steps for a successful curing and removal process:
- Place the stepping stone in a dry and well-ventilated area to cure. This process might take several days or even weeks, depending on the type of concrete mix used. Follow the curing instructions provided by the manufacturer.
- During the curing process, it’s crucial to protect the stepping stone from excessive moisture, direct sunlight, and extreme temperature changes. Cover it with a plastic sheet or tarp if necessary.
- Regularly check the stepping stone during the curing period for any signs of cracking or damage. If you notice any issues, take appropriate measures to repair or reinforce the stone.
- Once the stepping stone has fully cured, it’s time to carefully remove it from the mold. Gently flex the mold or tap it on a soft surface to release the stepping stone.
- If the stepping stone is still sticking to the mold, you can use a release agent or apply a small amount of lubricant to help ease its removal.
- Once removed from the mold, inspect the stepping stone for any rough edges or imperfections. Use sandpaper or a file to smooth out any uneven areas.
- Clean the stepping stone thoroughly, removing any residue left from the mold or the curing process.
- Now, your tile-topped stepping stone is ready to find its place in your garden or pathway!
Curing the stepping stone properly and taking care during the removal process will ensure that your creation is strong, durable, and ready to be showcased for years to come.
Conclusion
Congratulations! You have successfully completed the journey of creating your very own tile-topped stepping stones. With just a few materials and some creative effort, you’ve transformed ordinary concrete into unique and beautiful works of art for your garden or pathway.
Throughout the process, you learned how to prepare the mold, mix the concrete, pour it into the mold, place the tiles, add the finishing touches, and finally, cure and remove the stepping stones. Each step required attention to detail and a touch of creativity to bring your vision to life.
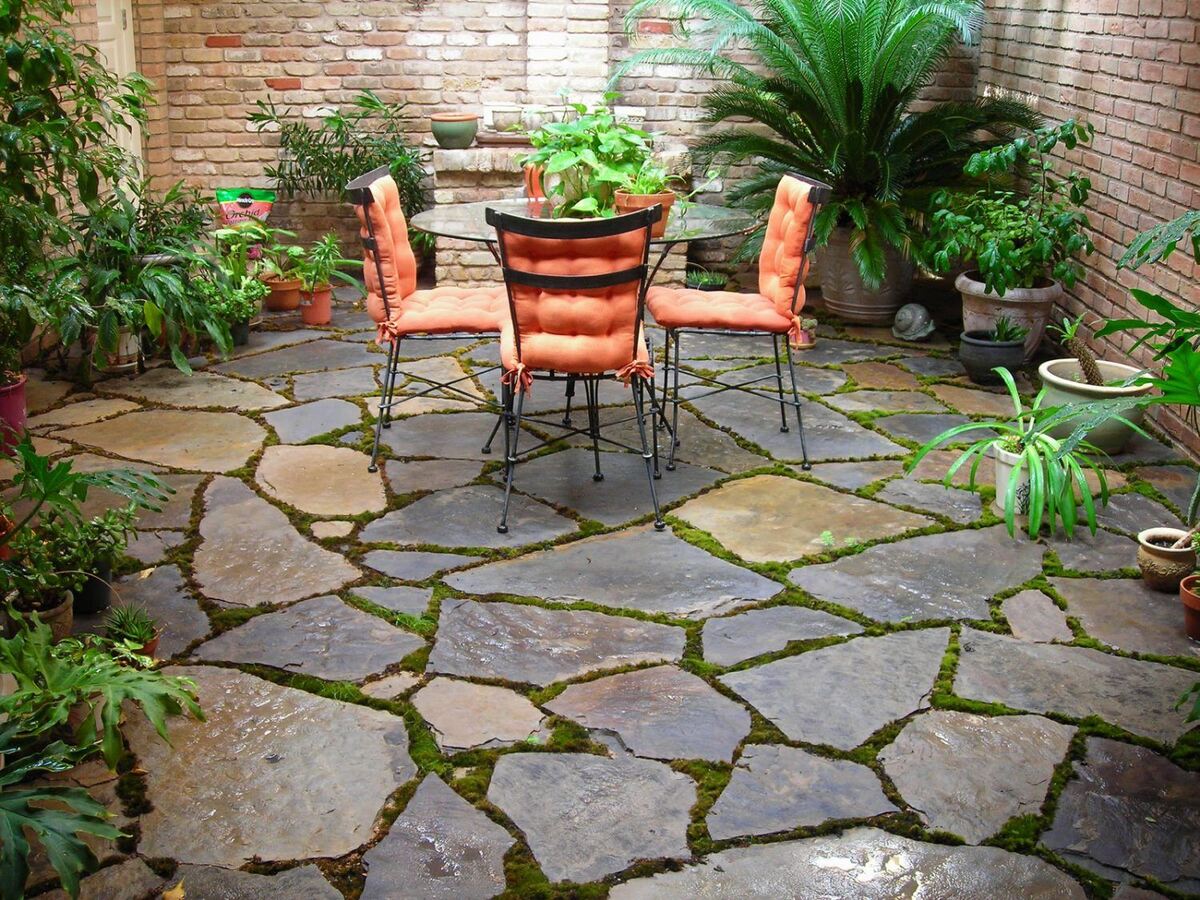
These tile-topped stepping stones not only serve as functional pathways but also add personality and charm to your outdoor space. Each stone tells a story, reflecting your style and creativity. Whether you choose to create an intricate mosaic design or a simple pattern, your stepping stones are sure to become a point of pride and admiration.
Now it’s time to find the perfect spot in your garden or pathway to showcase your creations. Arrange them in a pattern, create a meandering path, or use them as accents among your plants and flowers. Let your stepping stones guide you on a visual journey through your own piece of paradise.
Remember, the possibilities are endless. You can create stepping stones for yourself or as thoughtful gifts for friends and loved ones. Experiment with different tile colors, shapes, and designs to match your unique style and preferences.
So, go ahead and get started on your tile-topped stepping stone project. Allow your creativity to flourish, embrace the joy of DIY, and enjoy the satisfaction of creating something beautiful and meaningful with your own two hands.
Happy stepping stone making!
Frequently Asked Questions about How To Make Tile-Topped Stepping Stones
Was this page helpful?
At Storables.com, we guarantee accurate and reliable information. Our content, validated by Expert Board Contributors, is crafted following stringent Editorial Policies. We're committed to providing you with well-researched, expert-backed insights for all your informational needs.


0 thoughts on “How To Make Tile-Topped Stepping Stones”