Home>Kitchen & Cooking>Kitchen Gadgets & Utensils>How To Adjust Stand Mixer Height
Kitchen Gadgets & Utensils
How To Adjust Stand Mixer Height
Published: January 18, 2024
Learn how to adjust the height of your stand mixer for optimal performance and convenience. Get the most out of your kitchen gadgets and utensils with these simple tips.
(Many of the links in this article redirect to a specific reviewed product. Your purchase of these products through affiliate links helps to generate commission for Storables.com, at no extra cost. Learn more)
Introduction
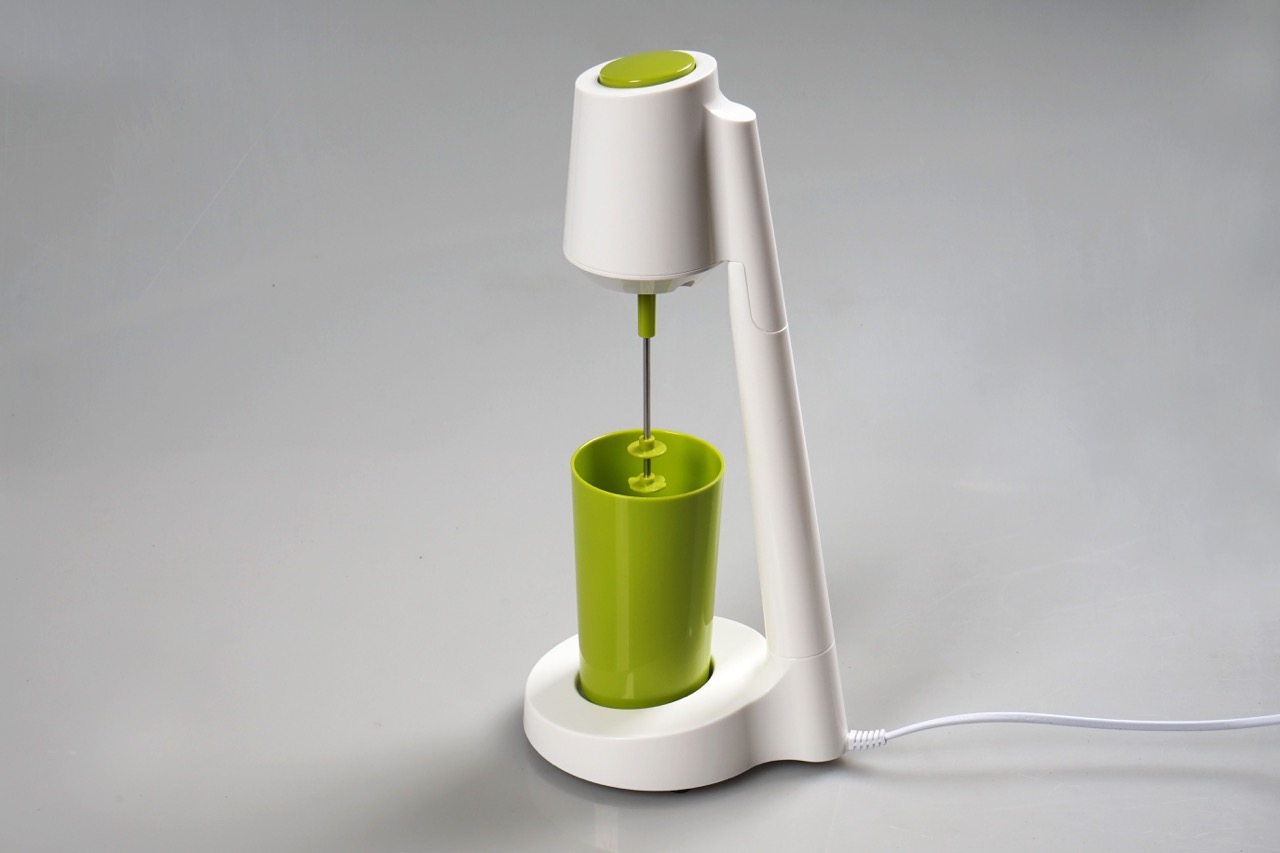
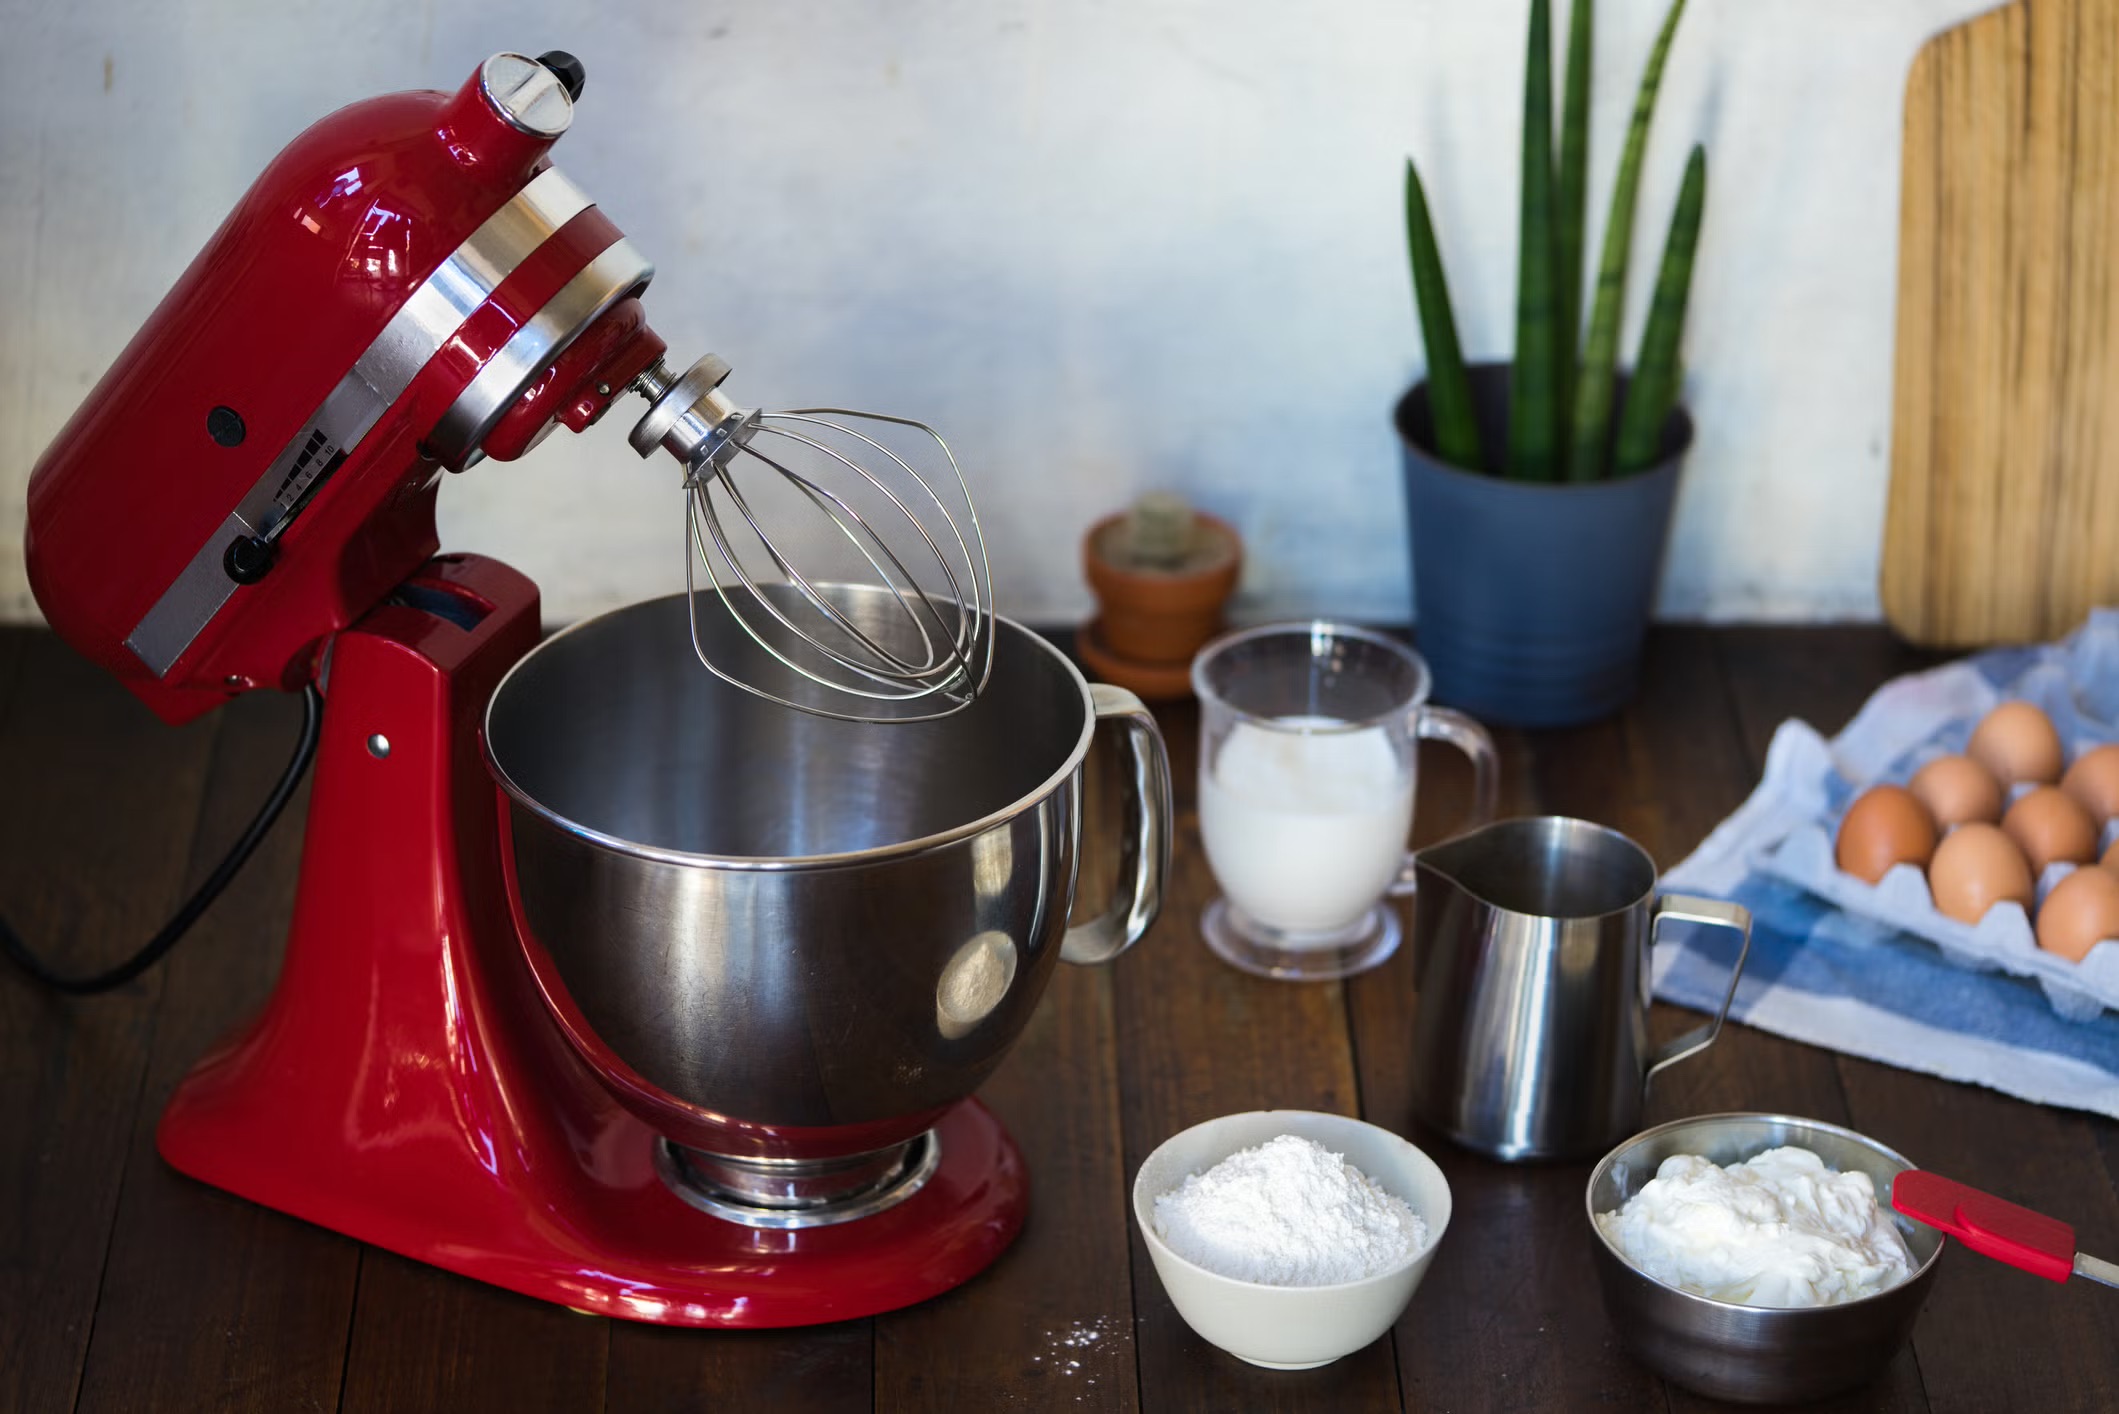
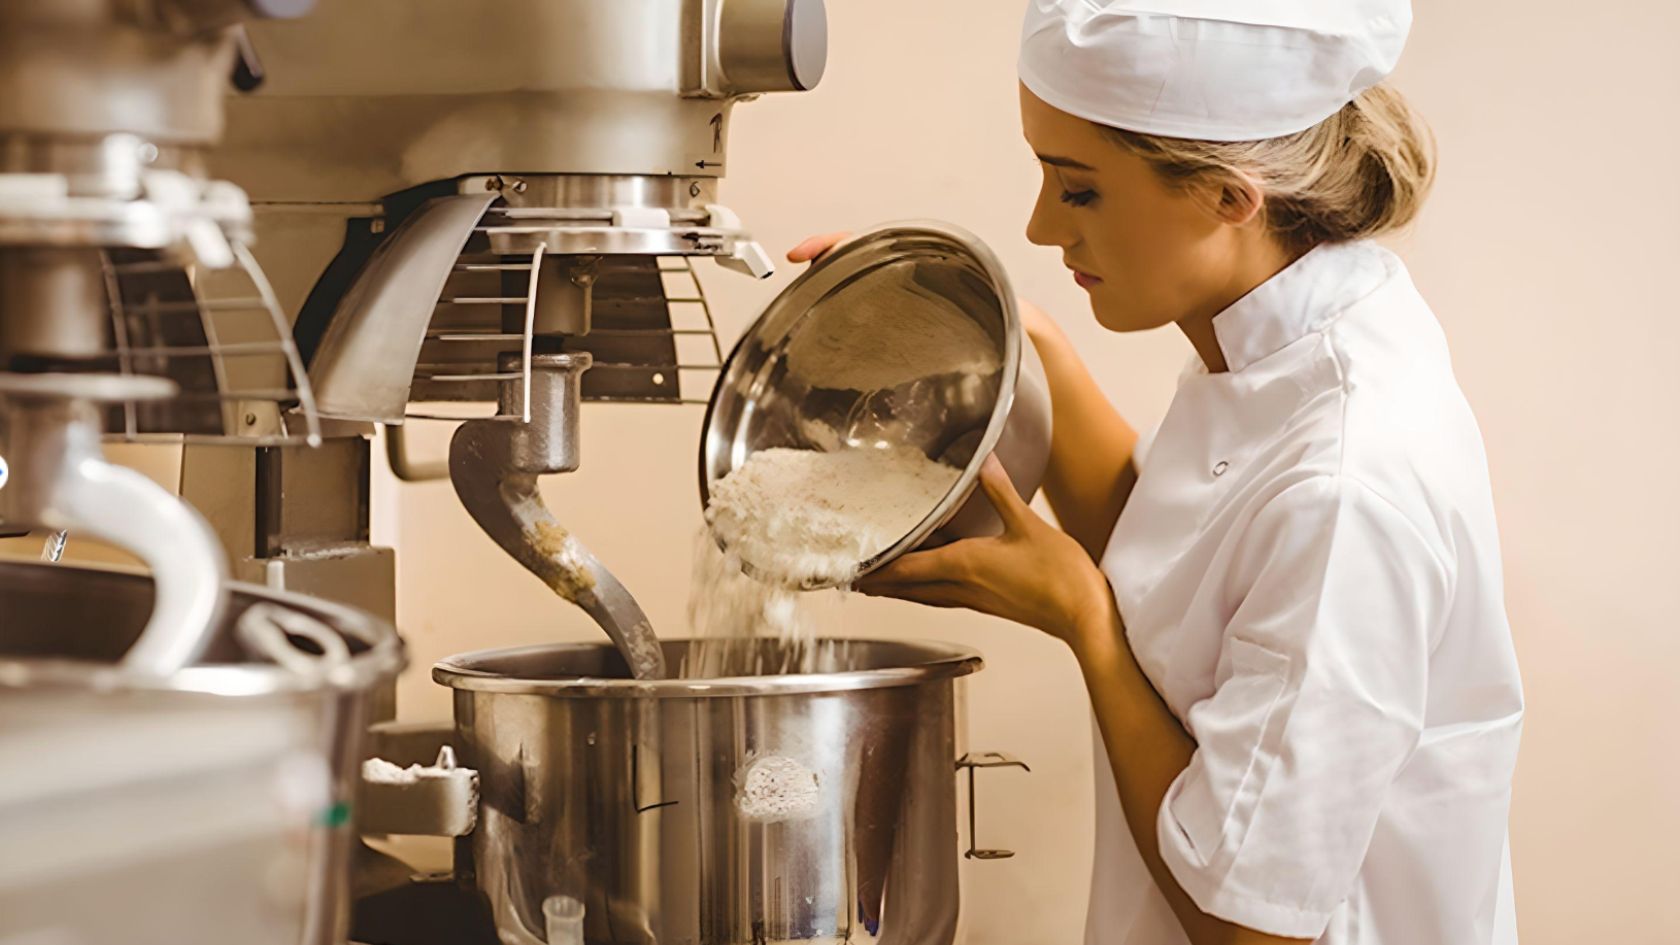
When it comes to the realm of culinary mastery, having the right tools at your disposal can make a world of difference. Among these indispensable tools is the stand mixer, a versatile and powerful appliance that can effortlessly handle a myriad of kitchen tasks, from kneading dough to whipping up fluffy meringues. However, to truly harness the full potential of this kitchen workhorse, it's crucial to ensure that the stand mixer is adjusted to the appropriate height for optimal performance.
In this comprehensive guide, we will delve into the intricacies of stand mixer height, exploring the significance of this often-overlooked aspect and providing step-by-step instructions on how to adjust it to suit your specific needs. Whether you're a seasoned culinary enthusiast or a novice baker, understanding and fine-tuning the height of your stand mixer will undoubtedly elevate your culinary endeavors to new heights.
So, join us as we embark on a journey to unravel the mysteries of stand mixer height adjustment, empowering you to unleash the full potential of this indispensable kitchen gadget.
Key Takeaways:
- Adjusting the height of your stand mixer is crucial for efficient mixing and user comfort. Follow simple steps to customize the height and conduct a test to ensure optimal performance.
- Understanding stand mixer height empowers users to optimize their appliance for superior performance and user comfort. Adjusting the height enhances versatility and ensures optimal performance.
Read more: How To Adjust Kitchenaid Lift Mixer
Understanding Stand Mixer Height
Before delving into the process of adjusting the height of a stand mixer, it’s essential to grasp the significance of this parameter. The height of a stand mixer plays a pivotal role in ensuring efficient and effective mixing, kneading, and blending of ingredients. A properly adjusted stand mixer height not only enhances the appliance’s performance but also contributes to the user’s comfort and overall kitchen experience.
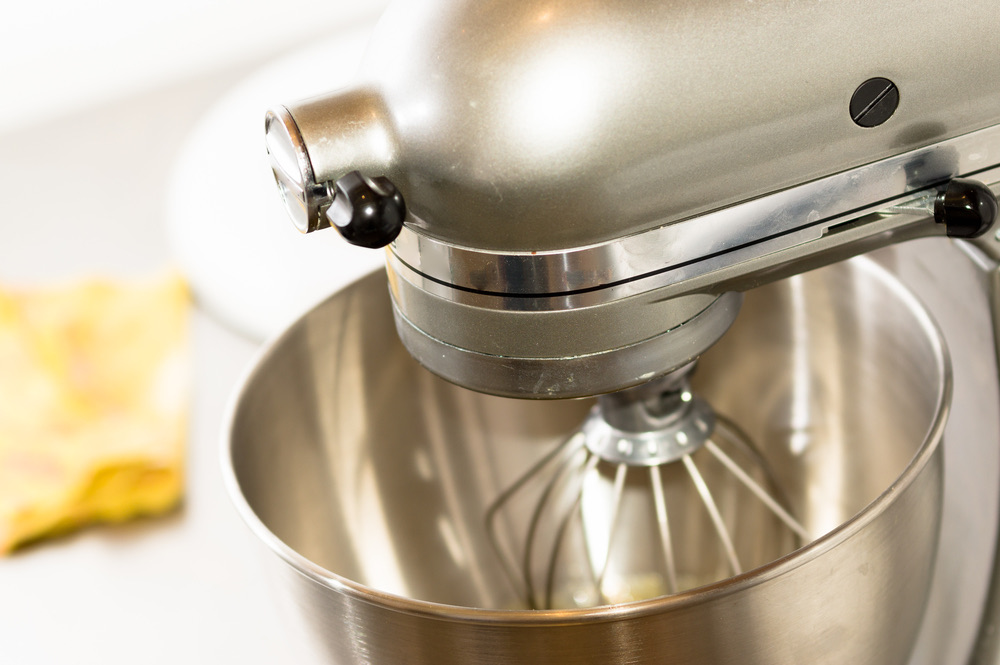
One of the primary considerations when it comes to stand mixer height is the bowl clearance. The distance between the mixing attachment, such as the paddle or whisk, and the bottom of the mixing bowl is critical in determining the thoroughness of the mixing process. Inadequate clearance can result in ingredients not being fully incorporated, while excessive clearance may lead to inefficient mixing and a messier kitchen counter.
Furthermore, the height of the stand mixer also influences the ease of adding ingredients during the mixing process. A well-adjusted stand mixer facilitates seamless ingredient incorporation, allowing the user to add components without interrupting the mixing cycle. This not only saves time but also ensures a more homogeneous mixture.
Another aspect to consider is the ergonomic factor. A stand mixer that is set to the appropriate height minimizes strain on the user’s arms and shoulders, promoting a more comfortable and sustainable mixing experience, particularly when handling larger batches or extended mixing durations.
Understanding the nuances of stand mixer height empowers users to optimize their appliance for superior performance and user comfort. With this knowledge in mind, let’s proceed to the next section, where we will explore the step-by-step process of adjusting the stand mixer height to suit your specific requirements.
Adjusting Stand Mixer Height
Now that we comprehend the importance of stand mixer height, let’s delve into the process of adjusting this critical parameter. Most stand mixers are equipped with a simple mechanism that allows users to modify the height to accommodate different bowl sizes and optimize mixing performance. Follow these steps to adjust the stand mixer height effectively:
- Unplug the Mixer: Safety first! Before making any adjustments, ensure that the stand mixer is unplugged from the power source to prevent any accidental activation.
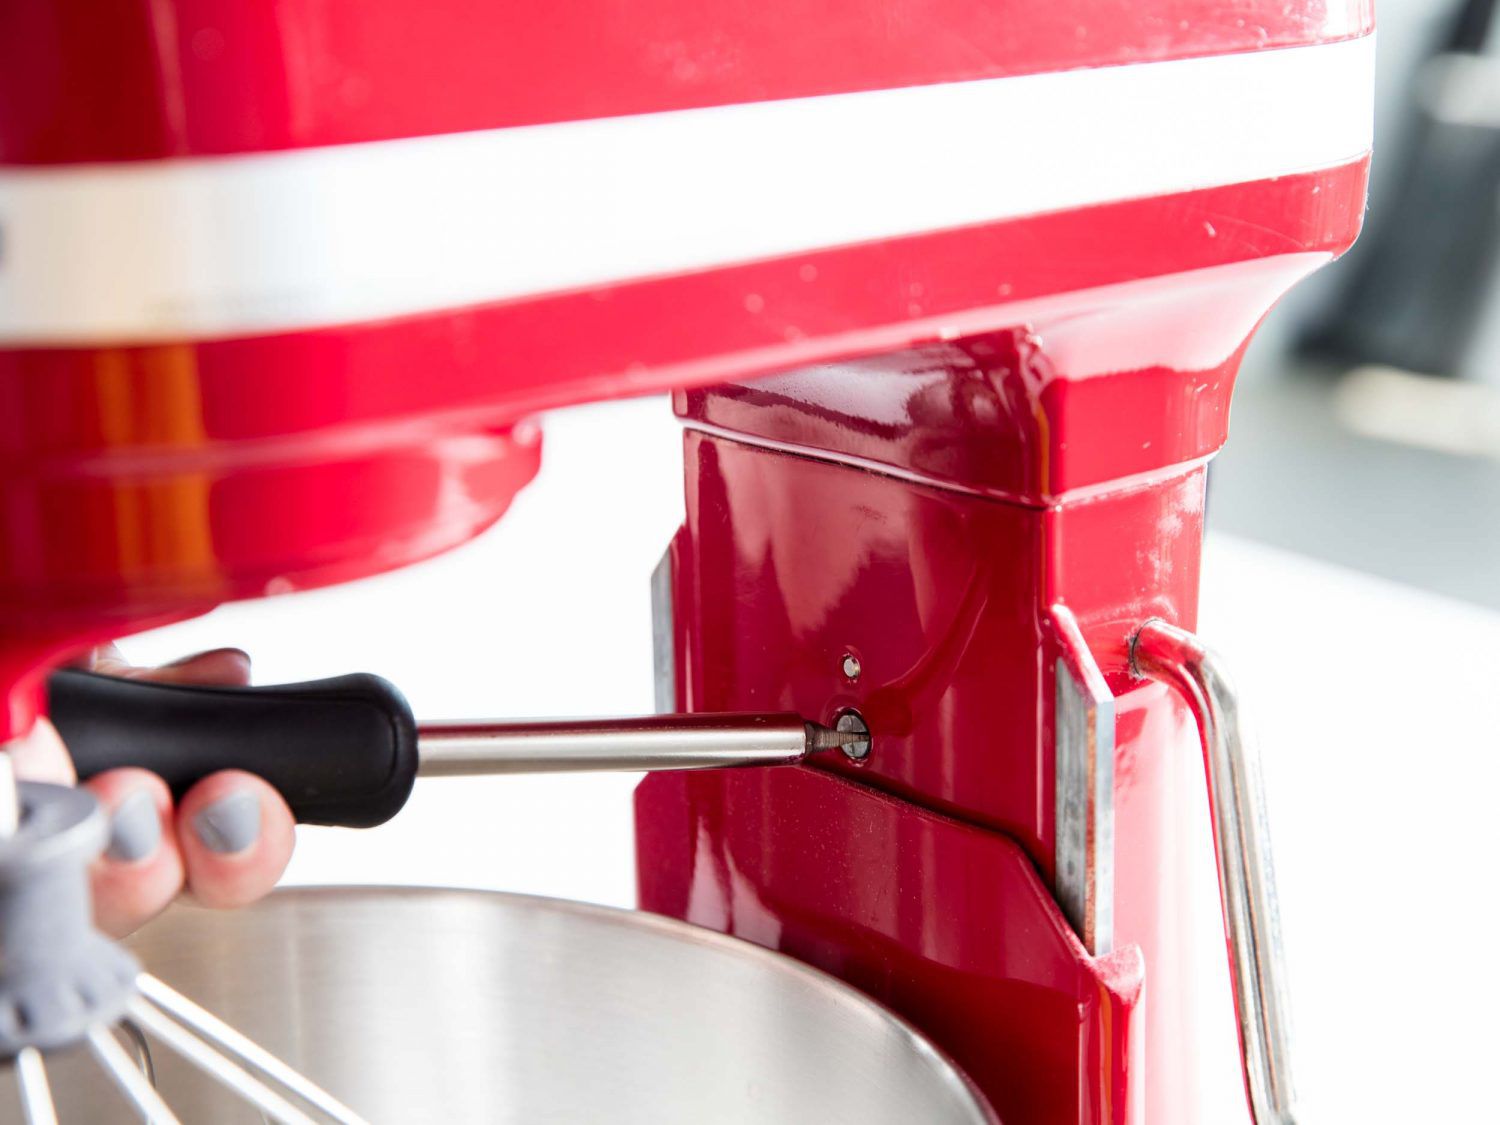
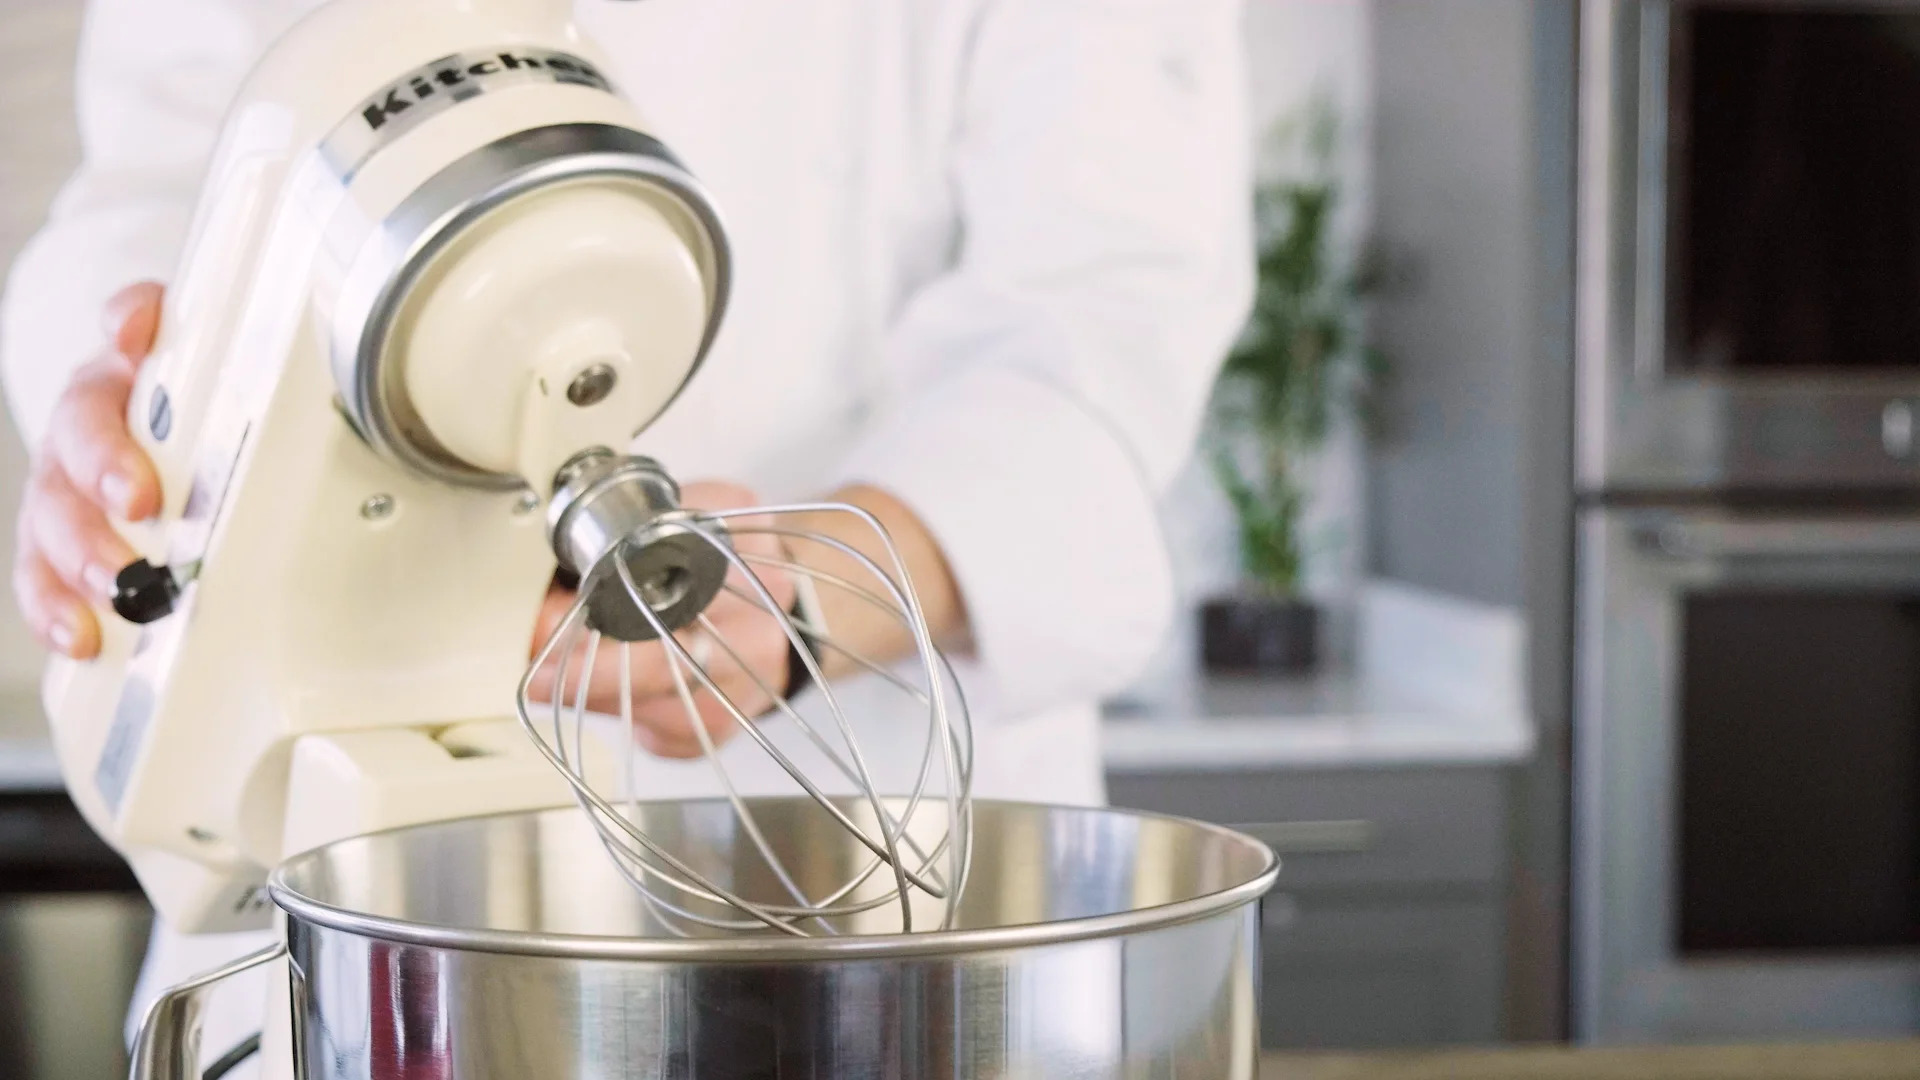
- Locate the Height Adjustment Knob or Lever: Depending on the model of your stand mixer, there will be a knob, lever, or similar mechanism that controls the height of the mixing attachment. This is typically located on the neck of the stand mixer where the attachment connects.
- Adjust the Height: Turn the height adjustment knob or move the lever to raise or lower the mixing attachment to the desired height. Most stand mixers have clear markings or indicators to help you gauge the height adjustment accurately.
- Secure the Adjustment: Once you have set the desired height, ensure that the adjustment mechanism is securely locked in place to prevent any unintended movement during operation.
- Double-Check the Clearance: After making the height adjustment, verify that there is adequate clearance between the mixing attachment and the bottom of the mixing bowl. This can be done by manually rotating the attachment to ensure it does not make contact with the bowl.
It’s important to consult the user manual specific to your stand mixer model for detailed instructions on adjusting the height, as the process may vary slightly between different manufacturers and designs.
By following these straightforward steps, you can tailor the stand mixer height to suit the mixing task at hand, whether you’re working with a large batch of dough or whipping up a delicate meringue. The ability to customize the stand mixer height enhances its versatility and ensures optimal performance across a spectrum of culinary endeavors.
With the stand mixer height duly adjusted, you are now equipped to put this kitchen powerhouse to work. However, before diving into your next culinary creation, it’s essential to verify the effectiveness of the height adjustment through a simple testing process, which we will explore in the next section.
To adjust the stand mixer height, look for the adjustment knob or lever on the stand. Turn the knob or move the lever to raise or lower the mixer head to the desired height for your mixing bowl.
Testing the Adjusted Stand Mixer Height
After adjusting the height of your stand mixer, it’s crucial to conduct a simple yet effective test to ensure that the modification has been successful and that the appliance is primed for optimal performance. This testing process allows you to verify the clearance, mixing efficiency, and overall functionality of the stand mixer following the height adjustment. Here’s how to conduct the test:
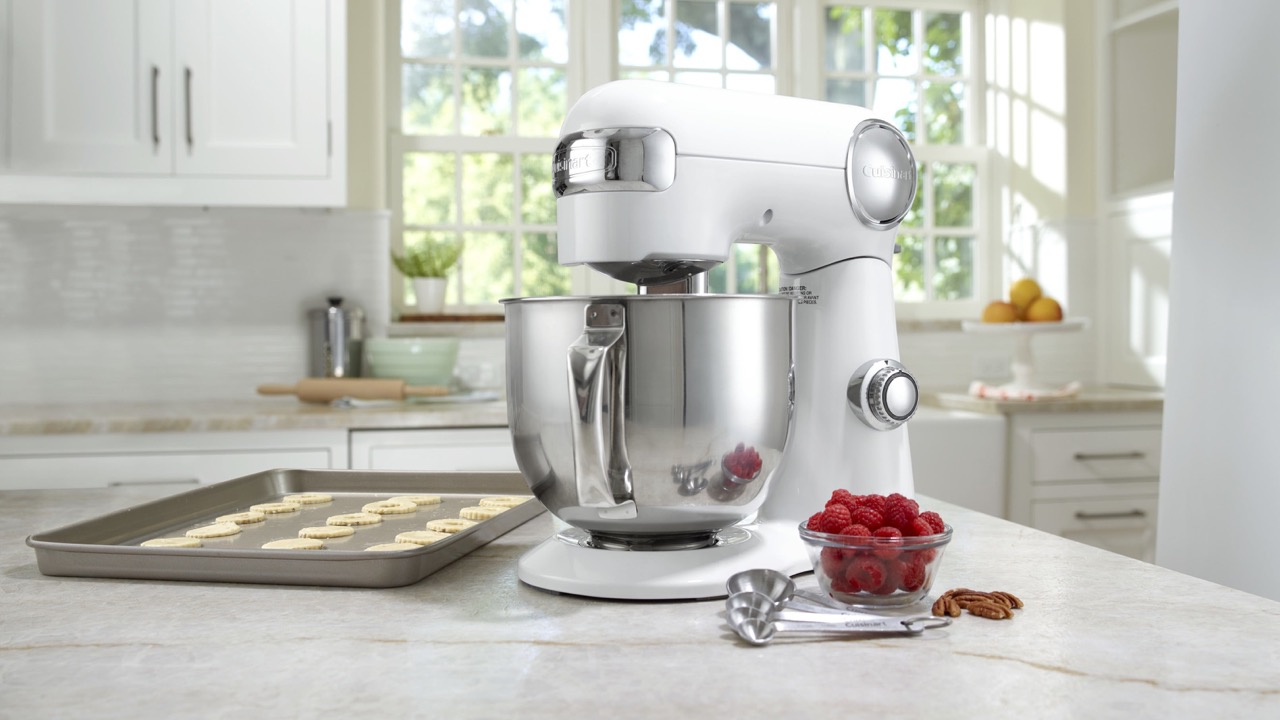
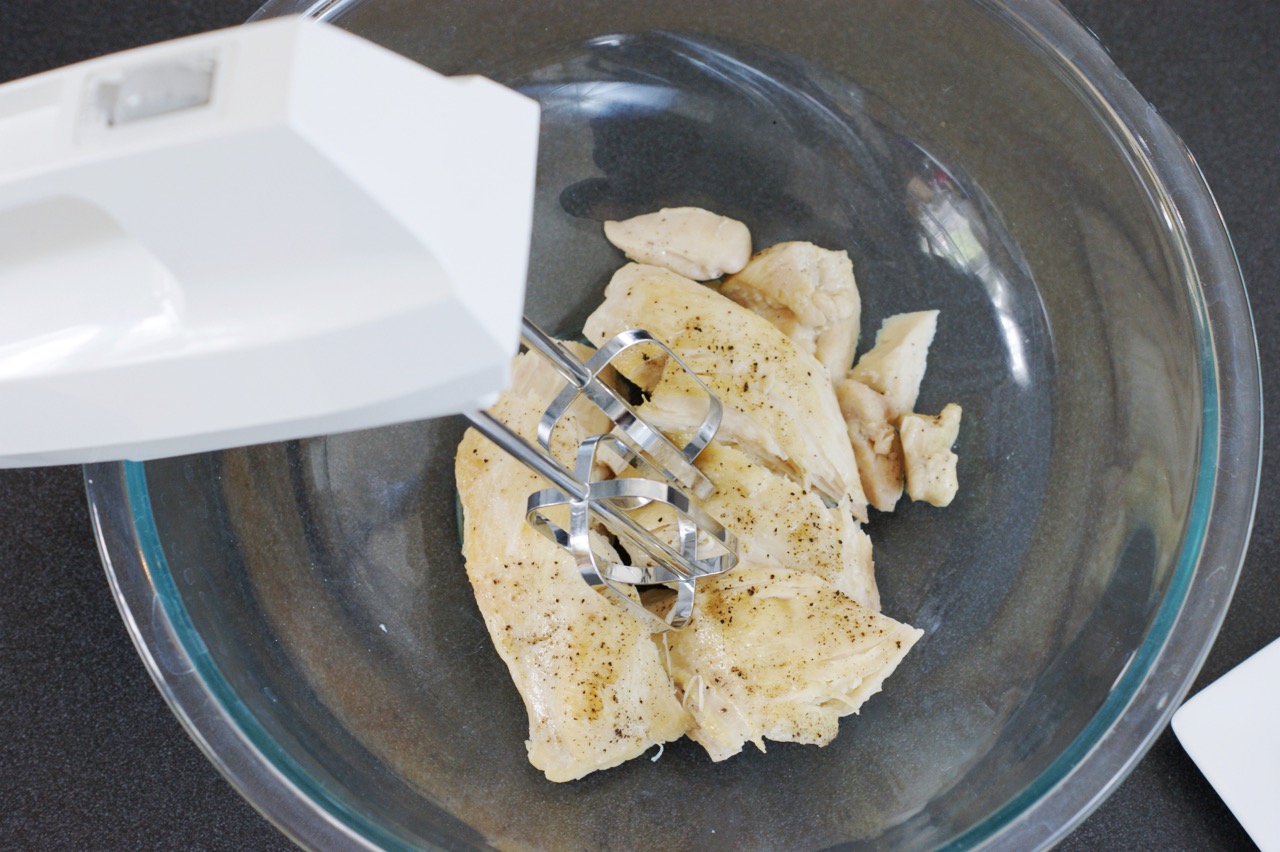
- Prepare the Mixer: Plug in the stand mixer and attach the appropriate mixing tool for the task at hand, whether it’s the paddle for general mixing, the dough hook for kneading, or the whisk for aerating and whipping.
- Position the Bowl: Place the mixing bowl securely in the stand mixer base, ensuring that it is properly seated and locked in place.
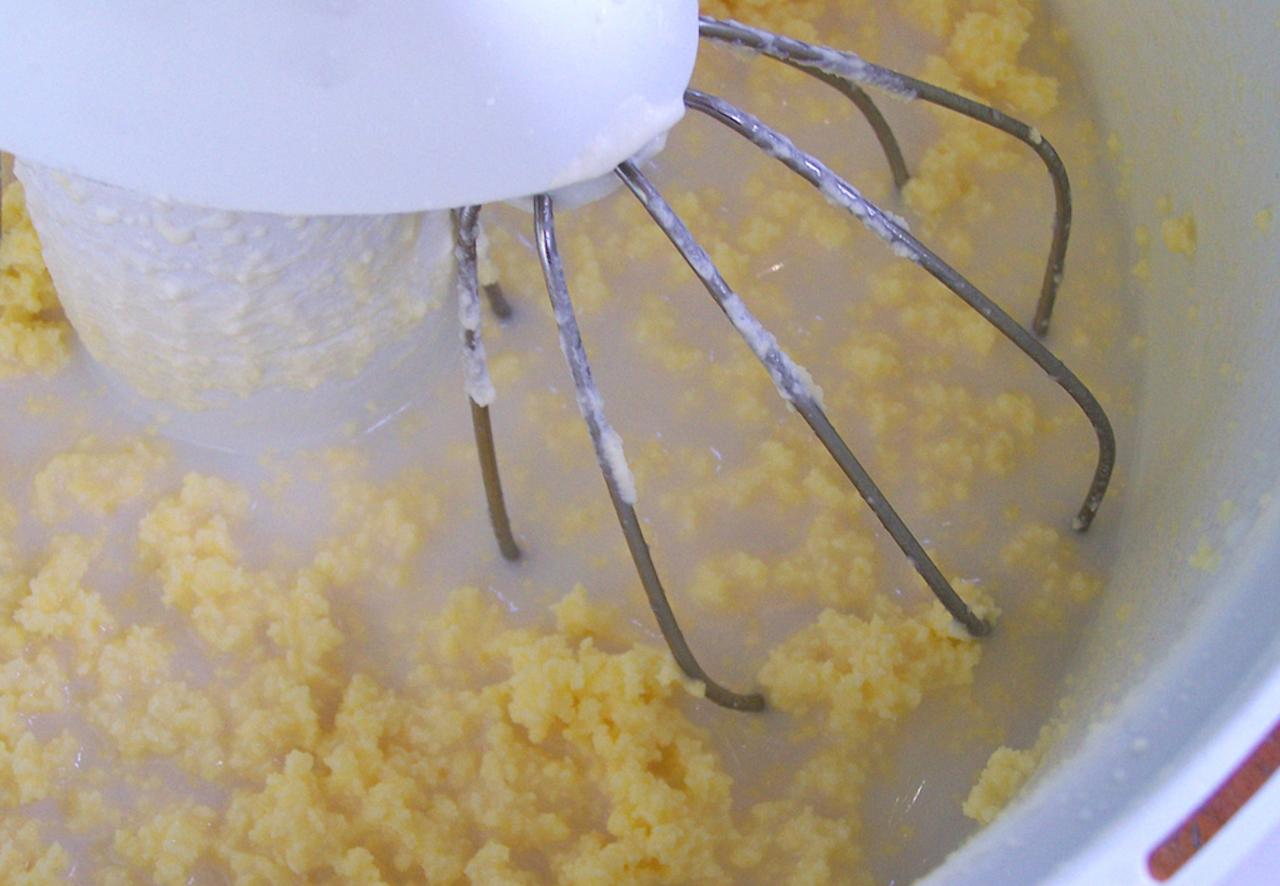
- Engage the Mixer: Start the stand mixer at a low speed to observe the movement of the mixing attachment within the bowl. As the mixer operates, pay close attention to the clearance between the attachment and the bottom of the bowl, ensuring that there is adequate space to prevent contact.
- Observe Mixing Efficiency: If you are mixing ingredients, observe the efficiency of the mixing process. The adjusted height should facilitate thorough and uniform mixing without any undue strain on the motor or excessive splattering.
- Adjust if Necessary: If the test reveals any issues such as inadequate clearance or inefficient mixing, re-evaluate the height adjustment and make further modifications as needed. It may require fine-tuning to achieve the optimal height for your specific mixing requirements.
By conducting this simple yet essential test, you can validate the effectiveness of the stand mixer height adjustment and make any necessary refinements to ensure peak performance. Once you are satisfied with the results of the test and confident in the stand mixer’s adjusted height, you are ready to embark on your culinary endeavors with enhanced precision and efficiency.
With the stand mixer height duly adjusted and tested, you are now equipped with the knowledge and practical skills to optimize this indispensable kitchen appliance for a diverse range of mixing and blending tasks. As we conclude our exploration of stand mixer height adjustment, let’s reflect on the significance of this process and its impact on elevating your culinary experiences.
Conclusion
In the realm of culinary mastery, the stand mixer stands as a stalwart companion, empowering chefs and home cooks alike to effortlessly tackle a multitude of kitchen tasks with finesse and efficiency. However, the often-overlooked aspect of stand mixer height plays a pivotal role in shaping the appliance’s performance, user comfort, and overall effectiveness in the kitchen.
By understanding the nuances of stand mixer height and the significance of bowl clearance, ergonomic considerations, and mixing efficiency, you have gained valuable insights into optimizing this indispensable kitchen gadget. The ability to adjust the stand mixer height to suit specific tasks and user preferences enhances its versatility and ensures that it remains a steadfast ally in your culinary pursuits.
Through the step-by-step guide to adjusting stand mixer height, you have acquired the practical knowledge to fine-tune this essential parameter, tailoring it to your precise requirements and reaping the benefits of improved mixing performance and user comfort. The testing process further reinforces the importance of validating the height adjustment, ensuring that the stand mixer is primed for optimal functionality and efficiency.
As you embark on your culinary adventures, armed with the newfound understanding of stand mixer height and the ability to adjust and test this critical parameter, you are poised to elevate your kitchen endeavors to new heights. Whether you’re kneading dough for artisanal bread, whipping up decadent desserts, or creating culinary delights that captivate the senses, the optimized stand mixer height will be an invaluable ally in your quest for culinary excellence.
In closing, remember that the stand mixer is not merely a kitchen appliance; it is a testament to the artistry and precision that define the culinary craft. By honing your understanding of stand mixer height and embracing the process of adjustment and testing, you have unlocked the full potential of this remarkable tool, paving the way for culinary creations that reflect your passion, skill, and unwavering commitment to excellence.
So, with your stand mixer poised at the perfect height, ready to embark on a symphony of culinary creations, may your kitchen adventures be infused with joy, creativity, and the satisfaction of mastering the art of mixing with precision and finesse.
Frequently Asked Questions about How To Adjust Stand Mixer Height
Was this page helpful?
At Storables.com, we guarantee accurate and reliable information. Our content, validated by Expert Board Contributors, is crafted following stringent Editorial Policies. We're committed to providing you with well-researched, expert-backed insights for all your informational needs.


0 thoughts on “How To Adjust Stand Mixer Height”