Articles
How To Adjust Cuisinart Stand Mixer
Modified: August 27, 2024
Learn how to properly adjust your Cuisinart Stand Mixer with our informative articles. Enhance your baking experience today!
(Many of the links in this article redirect to a specific reviewed product. Your purchase of these products through affiliate links helps to generate commission for Storables.com, at no extra cost. Learn more)
Introduction
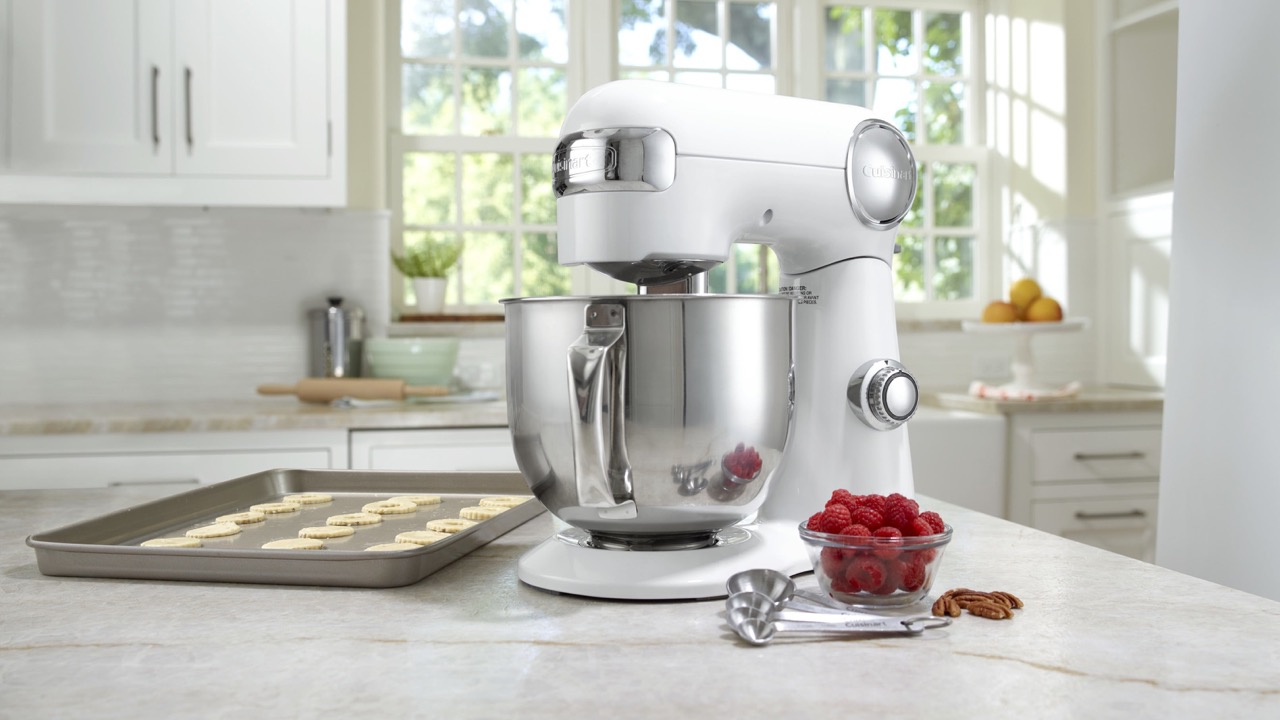
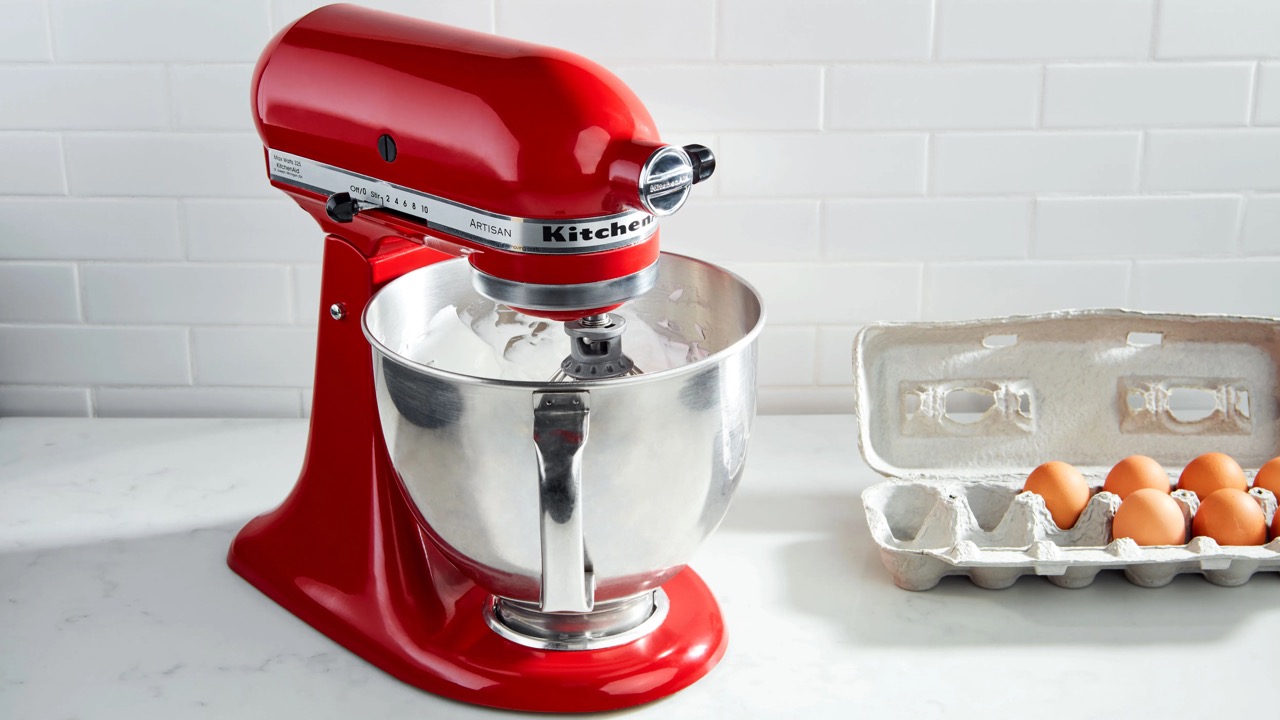
Welcome to the world of Cuisinart Stand Mixers! Whether you’re a professional chef or a passionate home cook, this versatile kitchen appliance is sure to become your new favorite culinary companion. With its powerful motor, multiple speed settings, and a range of attachments, the Cuisinart Stand Mixer offers a convenient and efficient way to tackle all your mixing, kneading, and whipping needs.
In this article, we will guide you through the process of adjusting your Cuisinart Stand Mixer to ensure optimal performance and results. From setting up the mixer to adjusting the speed control and beater height, we will cover everything you need to know to make the most of your appliance.
So, let’s dive in and explore how to adjust your Cuisinart Stand Mixer like a pro!
Key Takeaways:
- Master the art of adjusting your Cuisinart Stand Mixer for optimal performance and results, from setup to attachment changes and maintenance. Enjoy effortless mixing, kneading, and whipping with this versatile kitchen companion.
- Explore the versatility of your Cuisinart Stand Mixer by adjusting speed control, beater height, and attachments. Unleash your creativity in the kitchen and achieve professional-level results with ease.
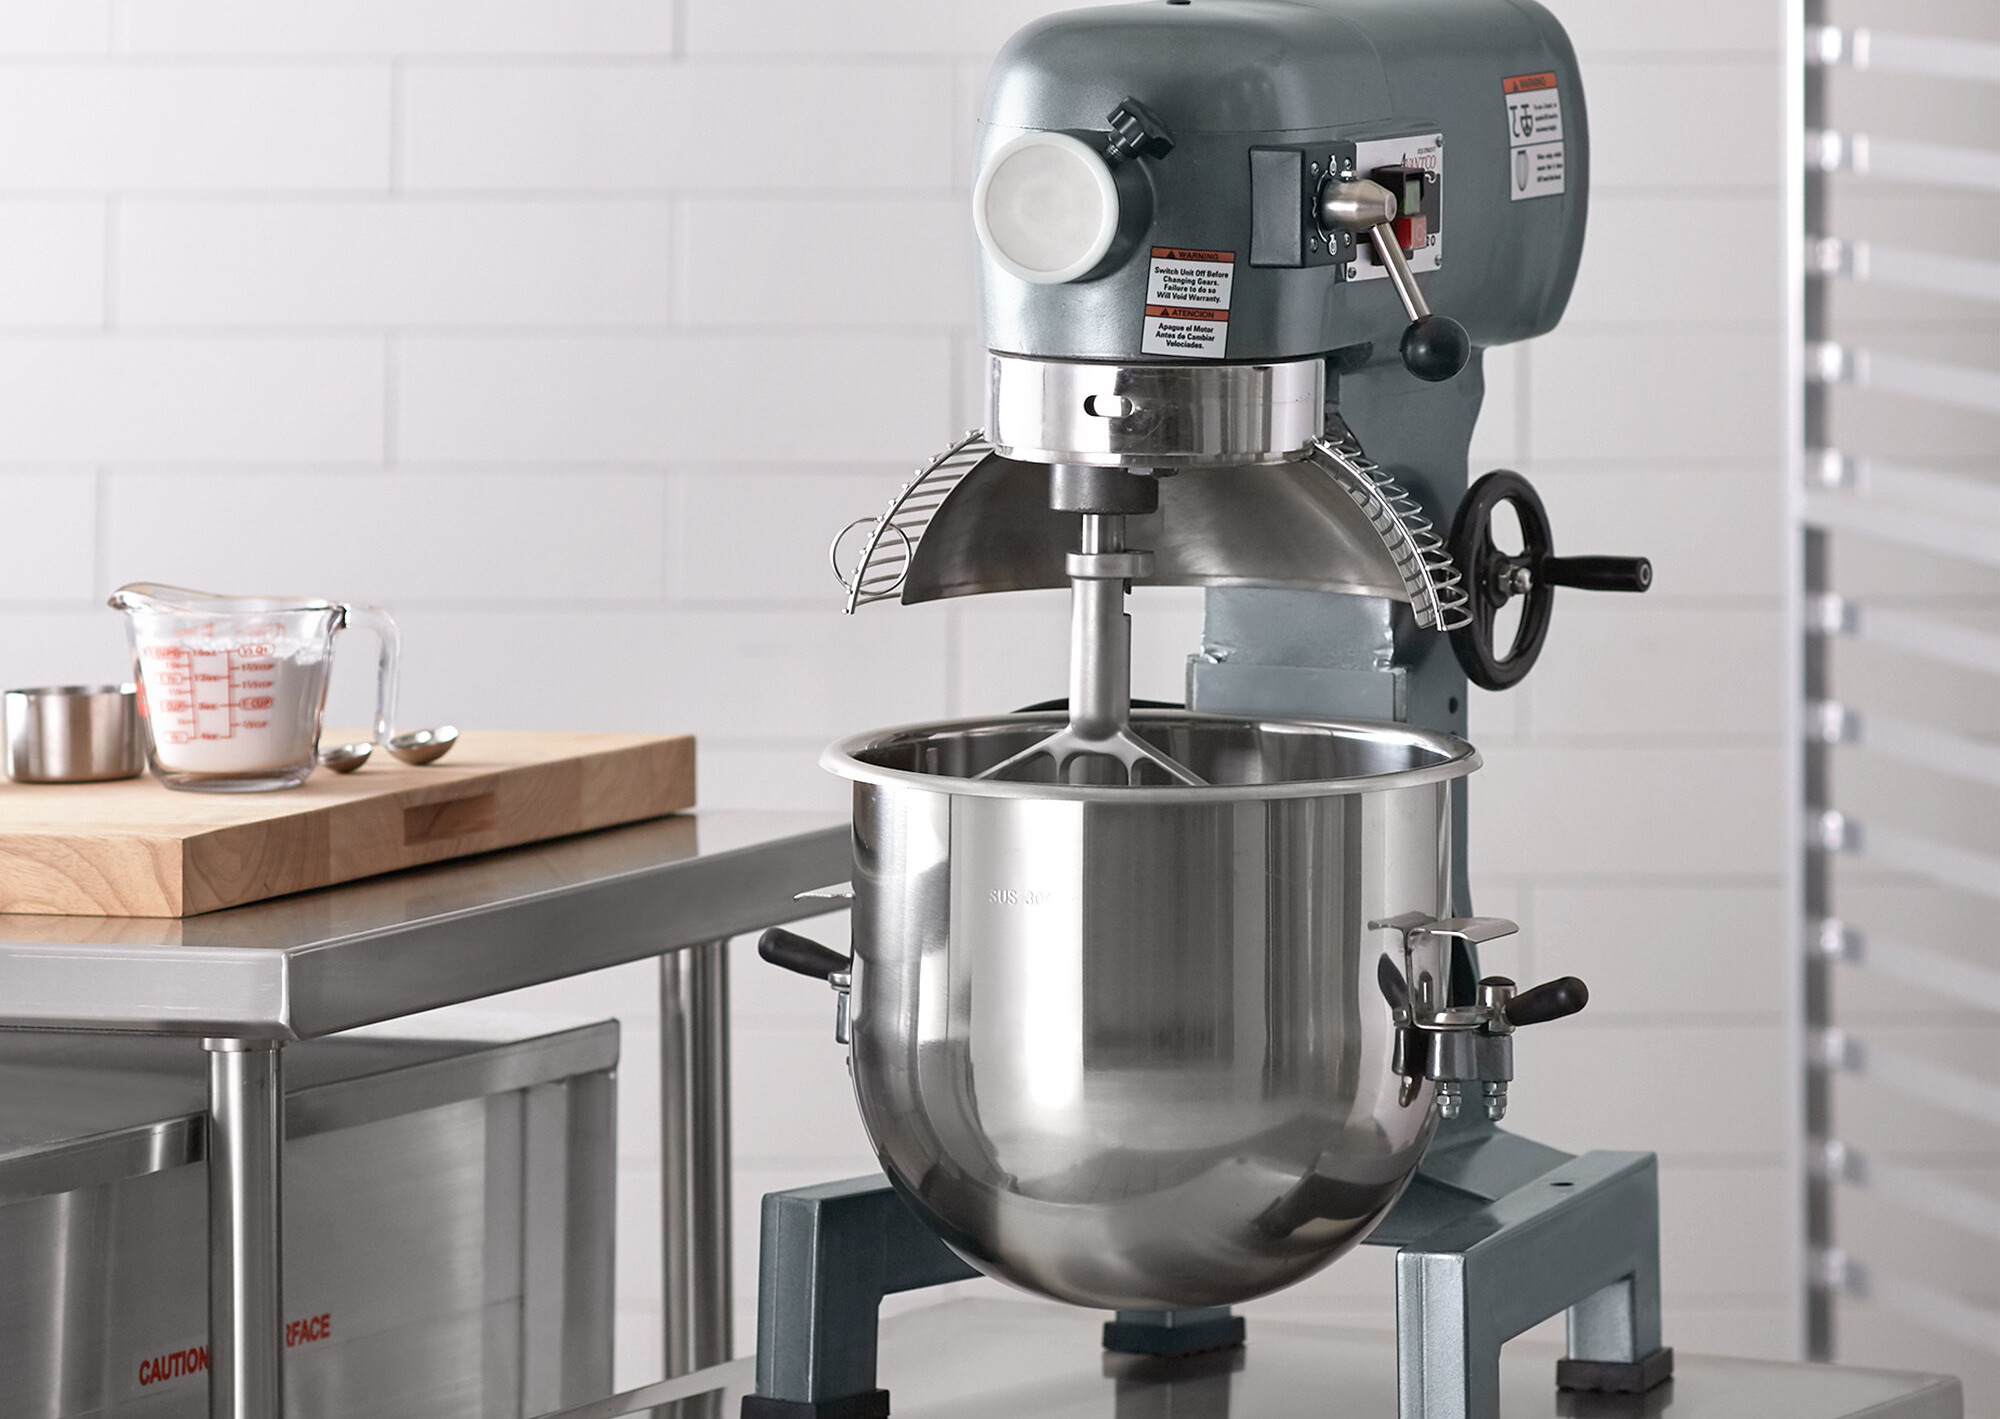
Step 1: Unboxing and Setup
When you first receive your Cuisinart Stand Mixer, it’s important to start with the unboxing and setup process. This will ensure that your mixer is ready to use and functioning properly. Here are the steps to follow:
- Remove all the components from the packaging and ensure that everything is included.
- Place the stand mixer on a stable and level surface in your kitchen.
- Attach the mixing bowl to the stand by aligning it with the base and twisting it clockwise until it locks into place.
- Ensure that the mixing bowl is securely in place by giving it a gentle tug.
- Attach the desired mixing attachment to the mixer. This can include the flat beater, dough hook, or whisk.
- Plug in the stand mixer into a power outlet.
- Check that the power switch is in the off position before plugging in the mixer.
That’s it! Your Cuisinart Stand Mixer is now set up and ready to use. Before diving into your recipe, it’s a good idea to familiarize yourself with the different controls and features of the mixer, which we will cover in the following steps.
Note: Always refer to the user manual provided with your Cuisinart Stand Mixer for specific instructions and safety precautions.
Step 2: Attachments and Accessories
One of the great features of the Cuisinart Stand Mixer is its compatibility with a variety of attachments and accessories. These allow you to expand the functionality of your mixer and perform a wide range of tasks. Here’s how to attach and use different accessories with your Cuisinart Stand Mixer:
- Flat Beater: The flat beater is the default attachment that comes with your mixer. It is ideal for general mixing tasks such as blending batters, mixing doughs, and incorporating ingredients.
- Dough Hook: The dough hook is designed for kneading dough. Attach it to the mixer by inserting it onto the mixing shaft and rotating it clockwise until it locks into place. This attachment is perfect for making bread, pizza dough, and other yeast-based recipes.
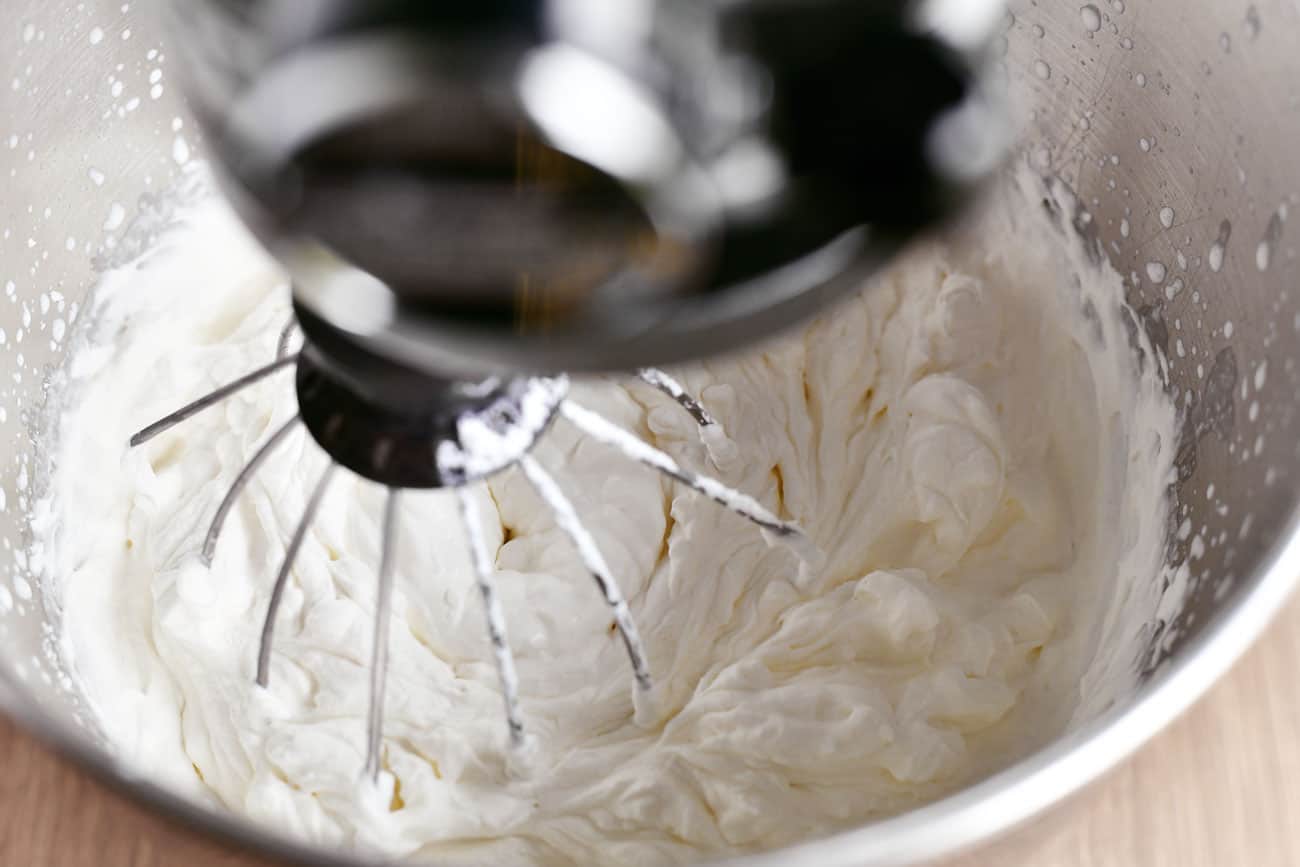
- Whisk: The whisk attachment is used for whipping cream, beating egg whites, and creating light and airy mixtures. Simply attach it to the mixer by inserting it onto the mixing shaft and rotating it clockwise until it locks into place.
- Bowl Cover: Some Cuisinart Stand Mixer models come with a bowl cover accessory. This cover helps prevent ingredients from splattering out of the bowl during high-speed mixing. Attach the bowl cover by placing it on top of the mixing bowl and twisting it clockwise until it locks into place.
- Pouring Shield: Another accessory that may be available with your Cuisinart Stand Mixer is a pouring shield. This shield helps to reduce spills and mess when adding ingredients to the mixing bowl. It fits over the top of the bowl and features a pouring spout.
Remember to always follow the manufacturer’s instructions when attaching and detaching the different accessories. With these attachments at your disposal, you can take full advantage of the versatility of your Cuisinart Stand Mixer and tackle a wide range of recipes with ease.
Step 3: Adjusting the Speed Control
The Cuisinart Stand Mixer offers multiple speed settings to accommodate different mixing tasks. Adjusting the speed control allows you to have precise control over the mixing process, ensuring that ingredients are blended to perfection. Here’s how to adjust the speed control on your Cuisinart Stand Mixer:
- Locate the speed control lever or dial on your mixer. The location may vary depending on the specific model.
- If your mixer has a lever, you can move it to different positions to adjust the speed. Typically, there will be several speed options ranging from low to high.
- If your mixer has a dial, turn it clockwise or counterclockwise to select the desired speed. Follow the manufacturer’s instructions for the specific settings available on your model.
- Start with a low speed setting when initially mixing ingredients to avoid splattering. Gradually increase the speed as needed for the recipe.
- Pay attention to the consistency and texture of the mixture as you adjust the speed. For example, if whipping cream, you may want to start at a low speed and gradually increase it until you achieve soft peaks.
- Remember to always ensure that the mixer is turned off before making any adjustments to the speed control.
Having control over the speed settings allows you to customize your mixing technique based on the recipe requirements. Whether you need gentle blending or powerful whipping, adjust the speed control on your Cuisinart Stand Mixer to achieve the desired results.
When adjusting a Cuisinart stand mixer, start by ensuring the mixer is turned off and unplugged. Then, adjust the speed control lever to the desired setting before turning the mixer back on.
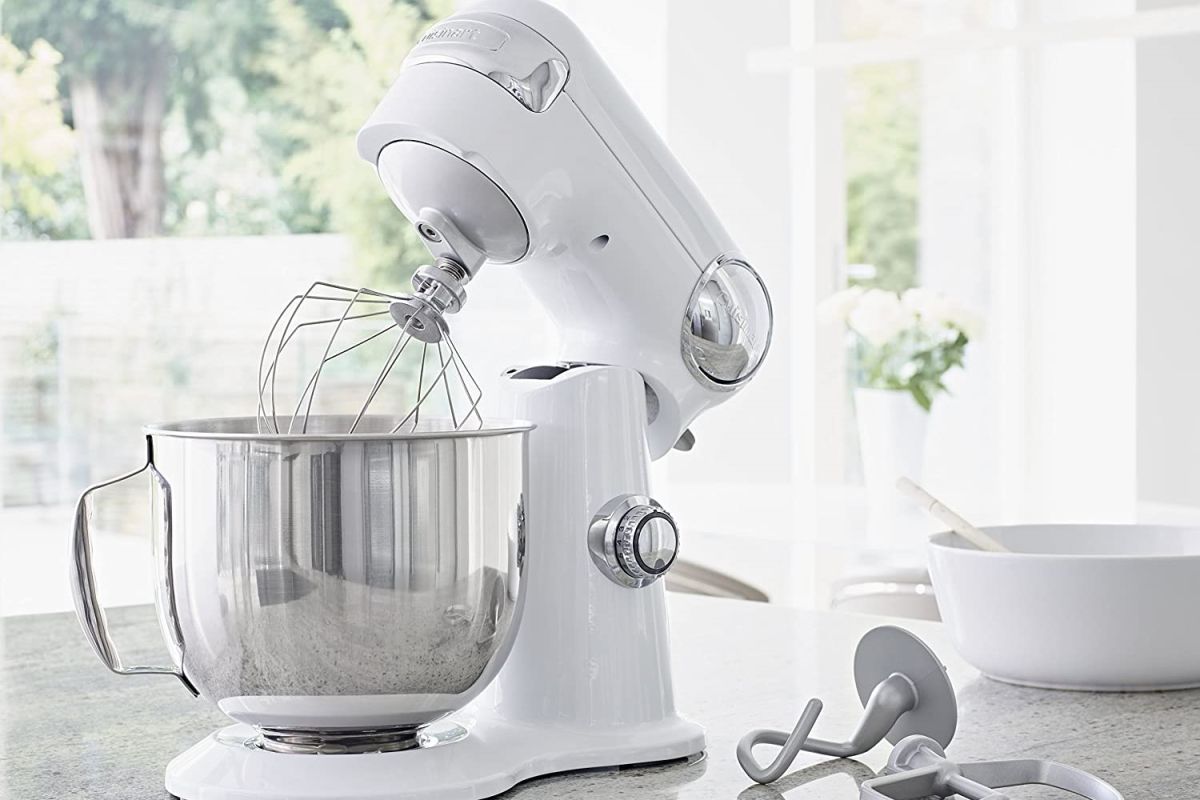
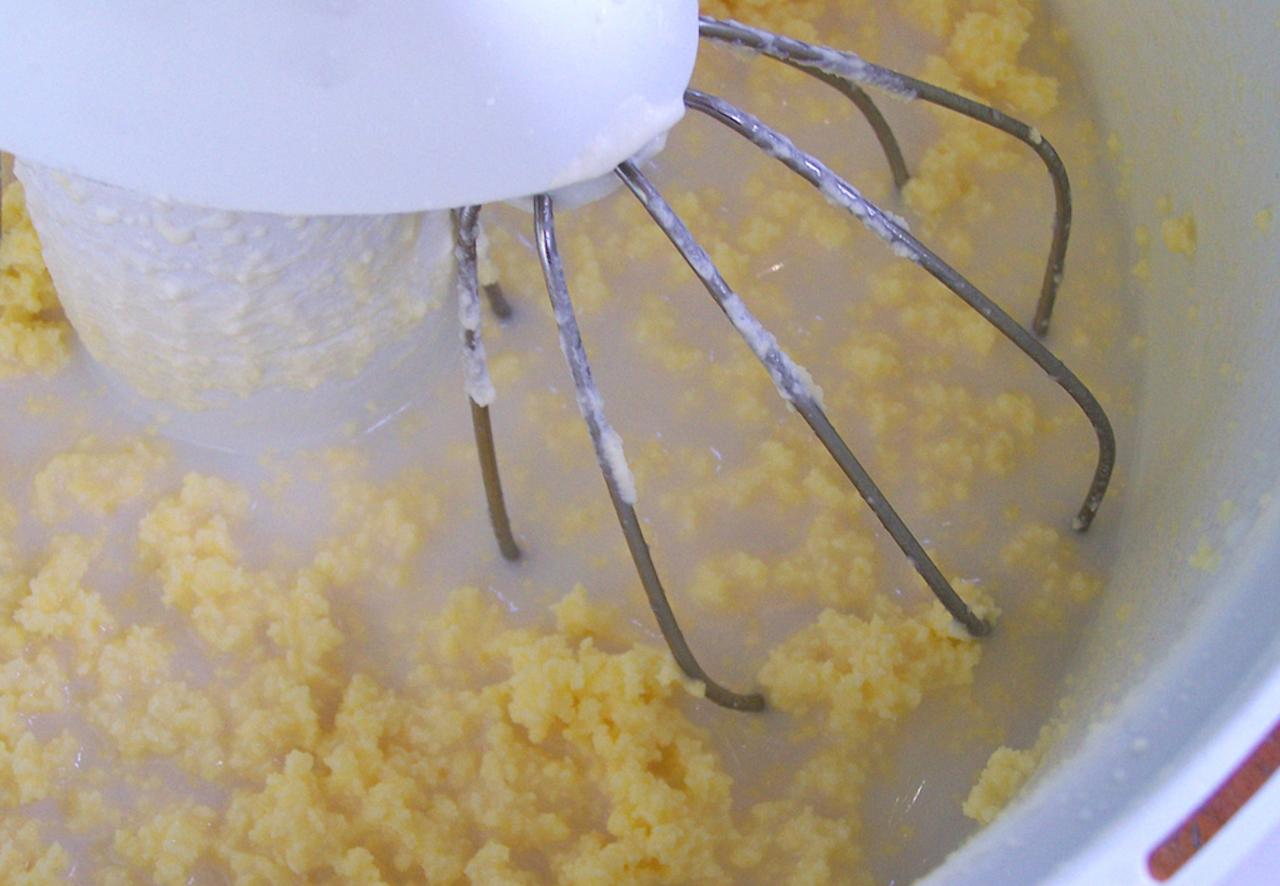
Step 4: Adjusting the Beater Height
Properly adjusting the beater height is essential for optimal mixing and to prevent ingredients from getting stuck on the sides of the bowl. The height adjustment ensures that the beater is in the right position to reach all areas of the mixing bowl. Here’s how to adjust the beater height on your Cuisinart Stand Mixer:
- Ensure that the mixer is turned off and unplugged before making any adjustments.
- Locate the adjustment screw or knob on the stand mixer. The location may vary depending on the specific model.
- Turn the adjustment screw or knob counterclockwise to lower the beater or clockwise to raise it. Start with a moderate adjustment and make finer adjustments as needed.
- Check the clearance between the beater and the bottom of the bowl. The ideal clearance should be around 1/8 inch to 1/4 inch. This will ensure that the beater reaches all areas of the bowl without touching the bottom.
- Once you have adjusted the beater height, tighten the adjustment screw or knob to secure the position.
It’s important to note that the beater height may need to be adjusted depending on the specific recipe or mixing task. For example, when working with thick dough, you may need to increase the beater height slightly to avoid the beater getting stuck.
Regularly checking and adjusting the beater height will ensure consistent results and prevent excessive wear on the beater and the mixing bowl. Experiment with different beater heights to find the perfect setting for your specific mixing needs.
Read also: 15 Amazing Cuisinart Mixer for 2025
Step 5: How to Change the Attachments
One of the great advantages of the Cuisinart Stand Mixer is its ability to accommodate different attachments for various mixing tasks. Whether you need to switch from the flat beater to the dough hook or the whisk, changing the attachments is quick and easy. Follow these steps to change the attachments on your Cuisinart Stand Mixer:
- Ensure that the mixer is turned off and unplugged for safety.
- Unlock and raise the mixer head by lifting the lever or pushing the release button, depending on the model.
- Locate the attachment hub on the mixer base. This is usually a circular port where the attachments connect.
- Insert the desired attachment into the attachment hub. The attachments have a square or hexagon-shaped end that fits into the hub.
- Rotate the attachment clockwise until it locks into place. You might need to give it a gentle twist to ensure a secure connection.
- Lower the mixer head and lock it in place by lowering the lever or pushing the release button.
- Your new attachment is now ready to be used for your recipe.
Make sure to follow the manufacturer’s instructions when changing attachments, as the process might vary slightly depending on the specific Cuisinart Stand Mixer model you have.
With the ability to change attachments, your Cuisinart Stand Mixer becomes a versatile tool for kneading dough, mixing batters, whipping cream, and more. Explore the various attachments available and enjoy the convenience they bring to your baking and cooking endeavors.
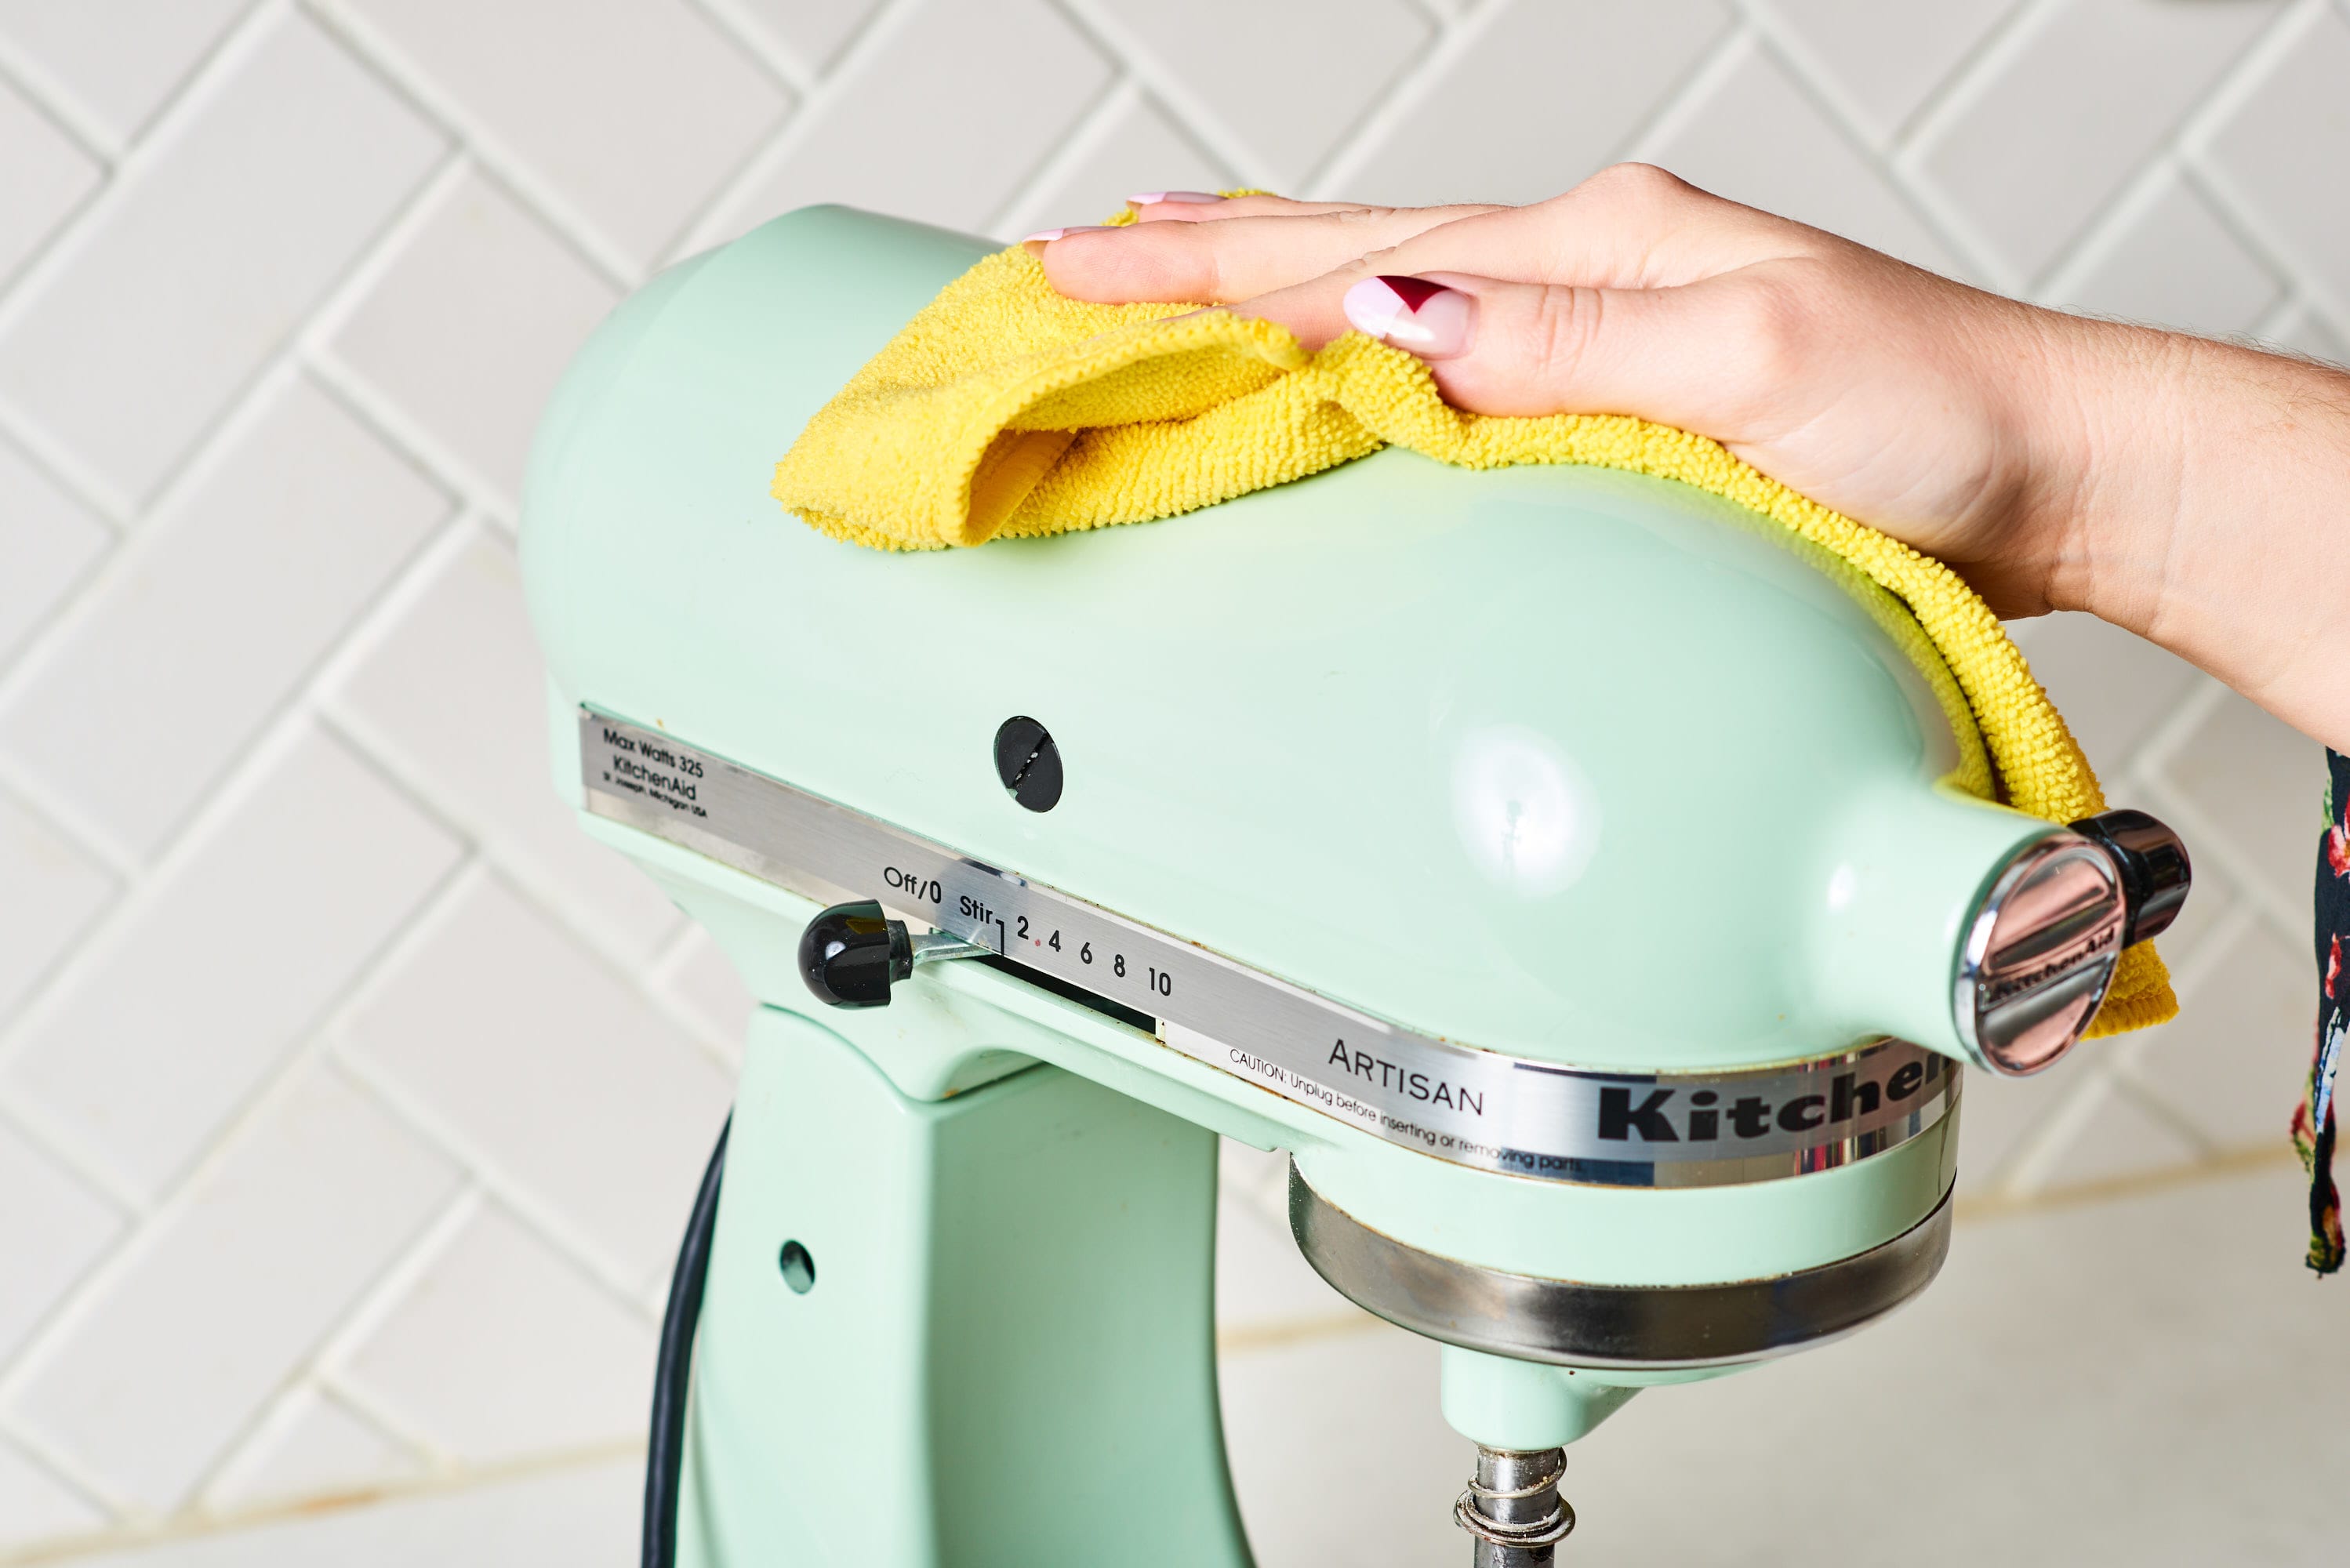
Step 6: Cleaning and Maintenance Tips
Proper cleaning and maintenance of your Cuisinart Stand Mixer will not only prolong its lifespan but also ensure safe and hygienic food preparation. Regular maintenance will keep your mixer in top condition and ready for use whenever you need it. Here are some important cleaning and maintenance tips to follow:
- Unplug the mixer from the power source before cleaning or performing any maintenance.
- Detach any removable parts, such as the mixing bowl, attachments, and accessories.
- Wash the removable parts in warm, soapy water. Use a gentle dish soap and a non-abrasive sponge or cloth to avoid scratching the surfaces.
- Rinse the parts thoroughly and dry them completely before reattaching them to the mixer.
- For the mixer body, wipe it down with a damp cloth to remove any spills or splatters. Dry it with a soft cloth to prevent water spots.
- Pay attention to any crevices or hard-to-reach areas, as food particles can accumulate there. Use a small brush or toothpick to dislodge any debris, and then wipe it clean.
- Avoid submerging the mixer body or any electrical components in water.
- Regularly inspect the power cord and plug for any signs of damage. If you notice any fraying or exposed wires, discontinue use and contact the manufacturer for repairs or a replacement.
- Store your Cuisinart Stand Mixer in a dry and secure place when not in use, to protect it from dust and potential damage.
Following these cleaning and maintenance tips will ensure that your Cuisinart Stand Mixer remains in excellent condition and continues to deliver outstanding performance for years to come.
Remember to always refer to the user manual provided by Cuisinart for specific instructions on maintaining and cleaning your specific model of Stand Mixer.
Conclusion
Congratulations! You have successfully learned how to adjust and make the most out of your Cuisinart Stand Mixer. By following the steps outlined in this article, you can ensure that your mixer is set up correctly, attachments are properly attached, speed control is adjusted, beater height is optimized, and cleaning and maintenance are done effectively.
The Cuisinart Stand Mixer is a versatile and powerful kitchen appliance that can simplify your cooking and baking endeavors. With its ability to handle a variety of mixing tasks, you’ll be able to effortlessly create delicious recipes and achieve professional-level results.
Remember to always refer to the user manual provided with your specific model for detailed instructions and safety precautions. Additionally, don’t hesitate to explore the many recipes and tutorials available online to discover new and exciting ways to unleash the full potential of your Cuisinart Stand Mixer.
So, get ready to whip up mouthwatering cakes, knead perfect doughs, and create delightful culinary creations with your Cuisinart Stand Mixer. Enjoy the process, experiment with different attachments, and let your creativity shine in the kitchen!
Frequently Asked Questions about How To Adjust Cuisinart Stand Mixer
Was this page helpful?
At Storables.com, we guarantee accurate and reliable information. Our content, validated by Expert Board Contributors, is crafted following stringent Editorial Policies. We're committed to providing you with well-researched, expert-backed insights for all your informational needs.


0 thoughts on “How To Adjust Cuisinart Stand Mixer”