Articles
How To Store Photos On Google
Modified: October 20, 2024
Learn how to store and organize your photos on Google with our informative articles. Discover the best practices for photo management and storage to keep your memories safe and accessible.
(Many of the links in this article redirect to a specific reviewed product. Your purchase of these products through affiliate links helps to generate commission for Storables.com, at no extra cost. Learn more)
Introduction
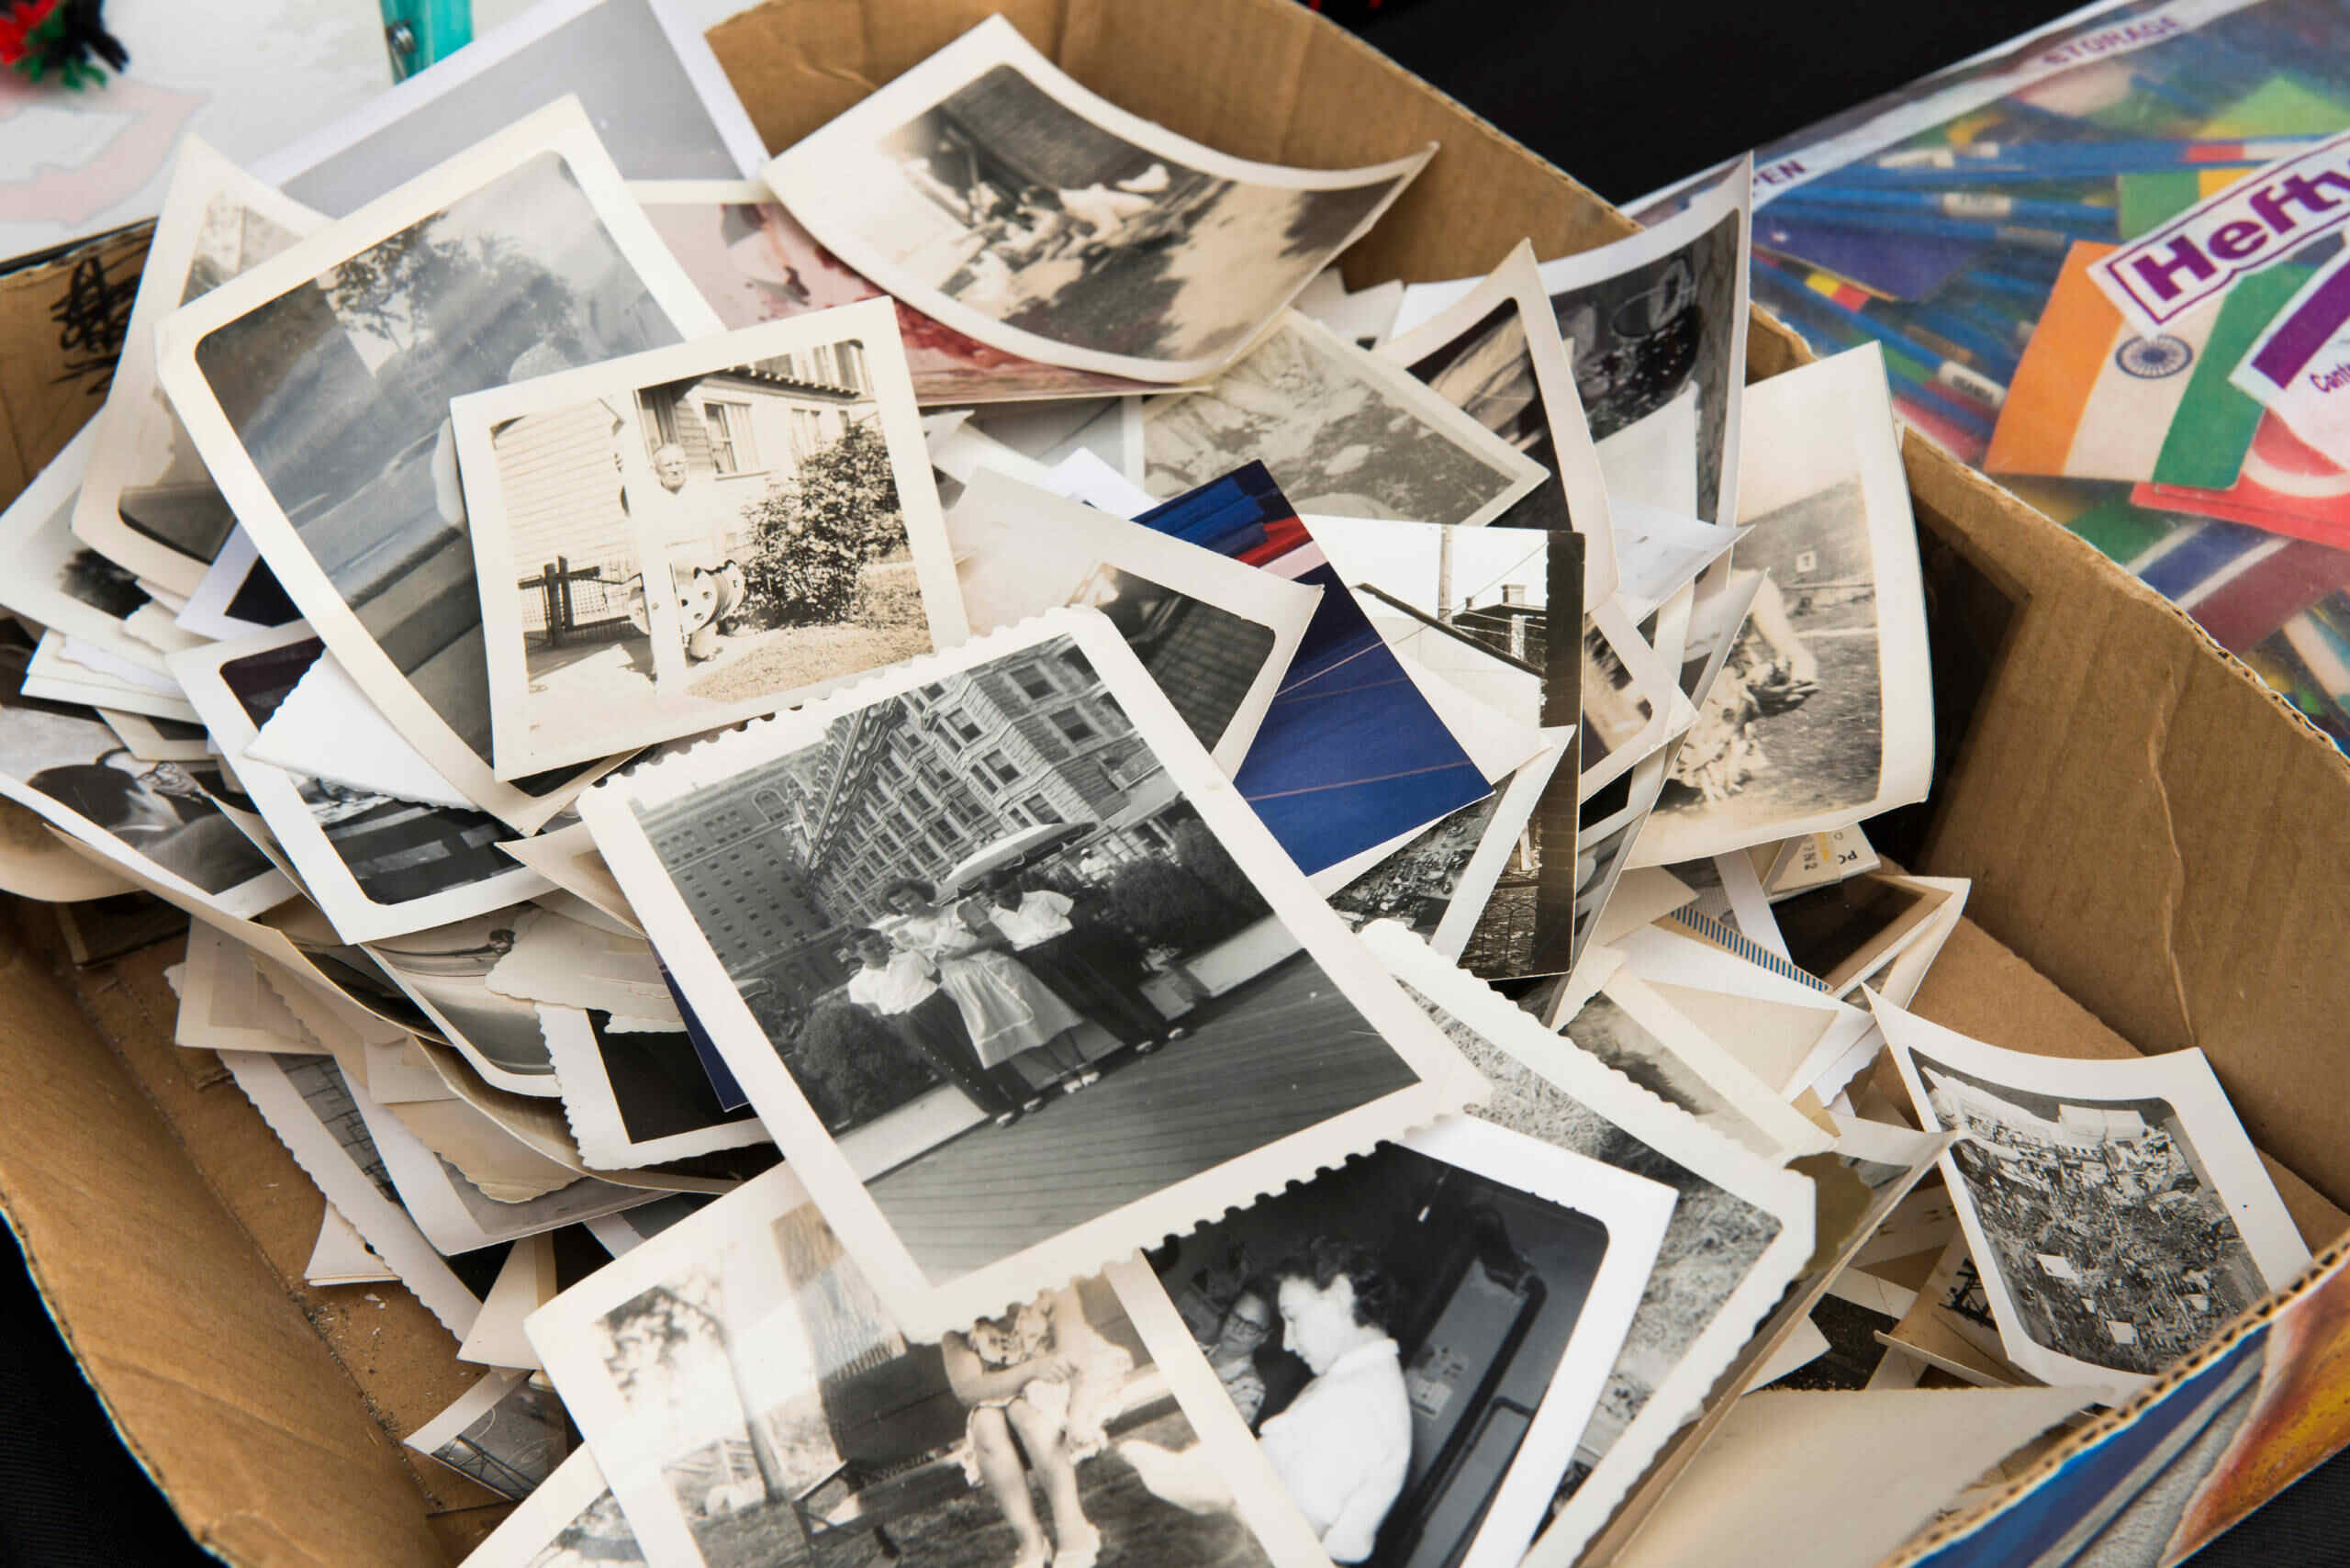
In today’s digital age, we capture countless photos on our smartphones and cameras. Whether it’s a beautiful sunset, a precious family moment, or a stunning vacation destination, these photos hold special memories that we want to preserve. However, storing and organizing these photos can quickly become a daunting task.
This is where Google Photos comes to the rescue. Google Photos is a powerful and user-friendly platform that allows you to store, organize, edit, and share your photos seamlessly. With its generous storage space and intuitive interface, Google Photos has become a go-to solution for millions of users worldwide.
In this article, we will guide you through the process of storing photos on Google Photos. We will cover everything from creating a Google account to uploading, organizing, and sharing your photos. Additionally, we will also discuss how to manage storage space and troubleshoot common issues you may encounter along the way.
By the end of this article, you’ll have a comprehensive understanding of how to make the most of Google Photos and ensure that your precious memories are safely stored and easily accessible whenever you need them.
Key Takeaways:
- Google Photos offers unlimited high-quality storage, advanced image recognition, and intuitive editing tools, making it a seamless and convenient platform for storing, organizing, and sharing precious memories.
- Effective management of storage space, troubleshooting common issues, and leveraging the collaborative features of Google Photos ensures a smooth and enjoyable experience for preserving and reliving cherished moments.
Read more: How To Add Photos To Google Home
Creating a Google Account
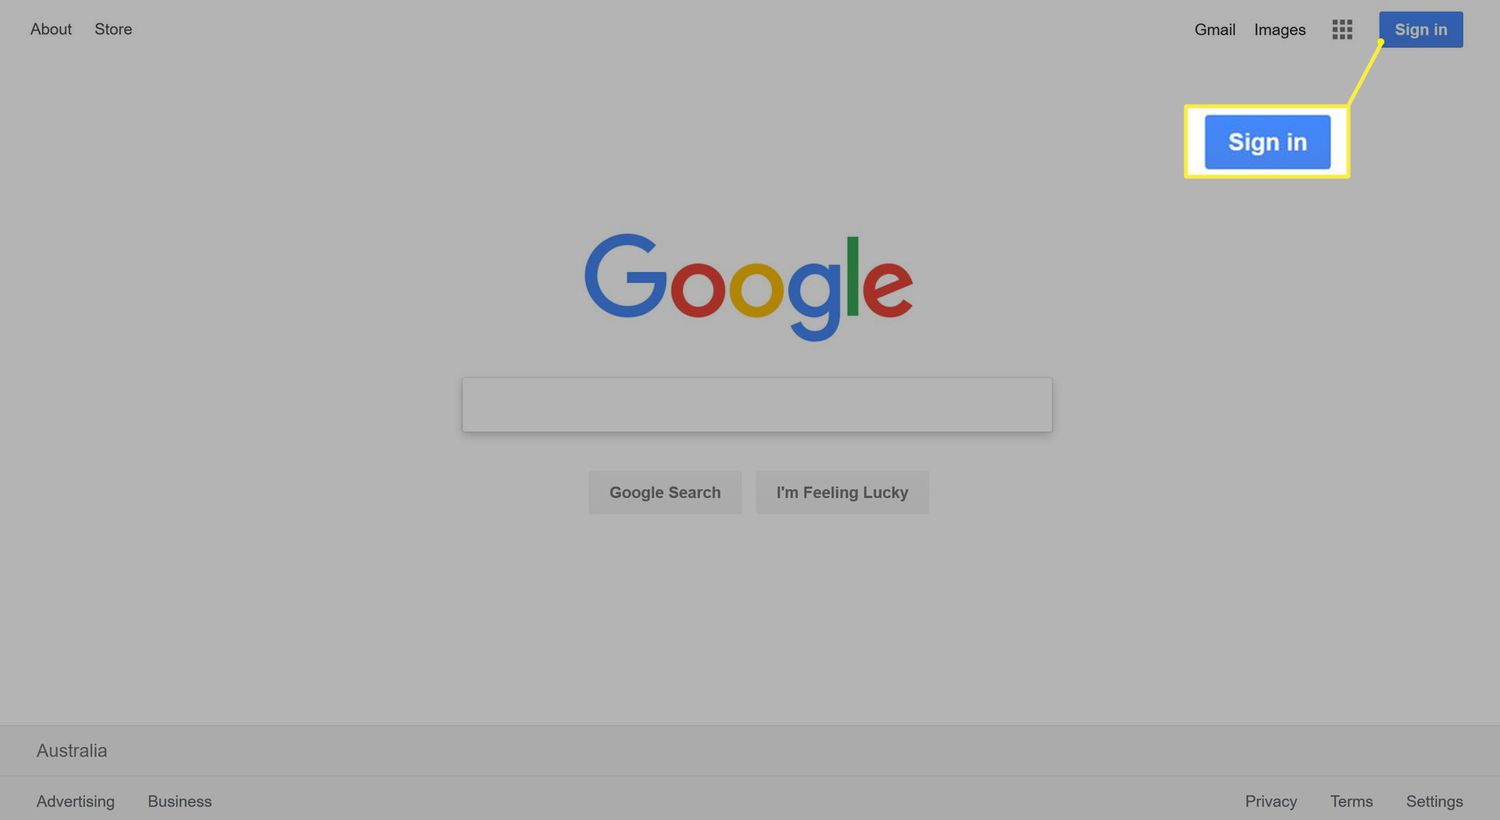
Before you can start using Google Photos, you’ll need to have a Google account. If you already have a Gmail or YouTube account, you can skip this step and use your existing account to log in to Google Photos. However, if you don’t have a Google account, follow these simple steps to create one:
- Go to the Google Account creation page.
- Click on the “Create account” button.
- Fill in the required information, including your first and last name, desired email address, and password.
- Choose a unique and secure password for your Google account.
- Provide your phone number for account verification purposes. Google will use this information to ensure the security of your account.
- Read and accept the terms of service and privacy policy.
- Complete the “I’m not a robot” verification process.
- Click on the “Next” button to create your Google account.
Once you’ve completed these steps, congratulations! You now have a Google account that you can use to access various Google services, including Google Photos. Make sure to remember your login credentials, as you’ll need them to sign in to Google Photos.
It’s worth noting that if you already have a Google account but want to use a different email address for Google Photos, you can add an alternate email to your existing account or create a new Google account specifically for your photo storage needs.
Now that you have a Google account, let’s dive into the world of Google Photos and discover how to store and organize your photos effortlessly.
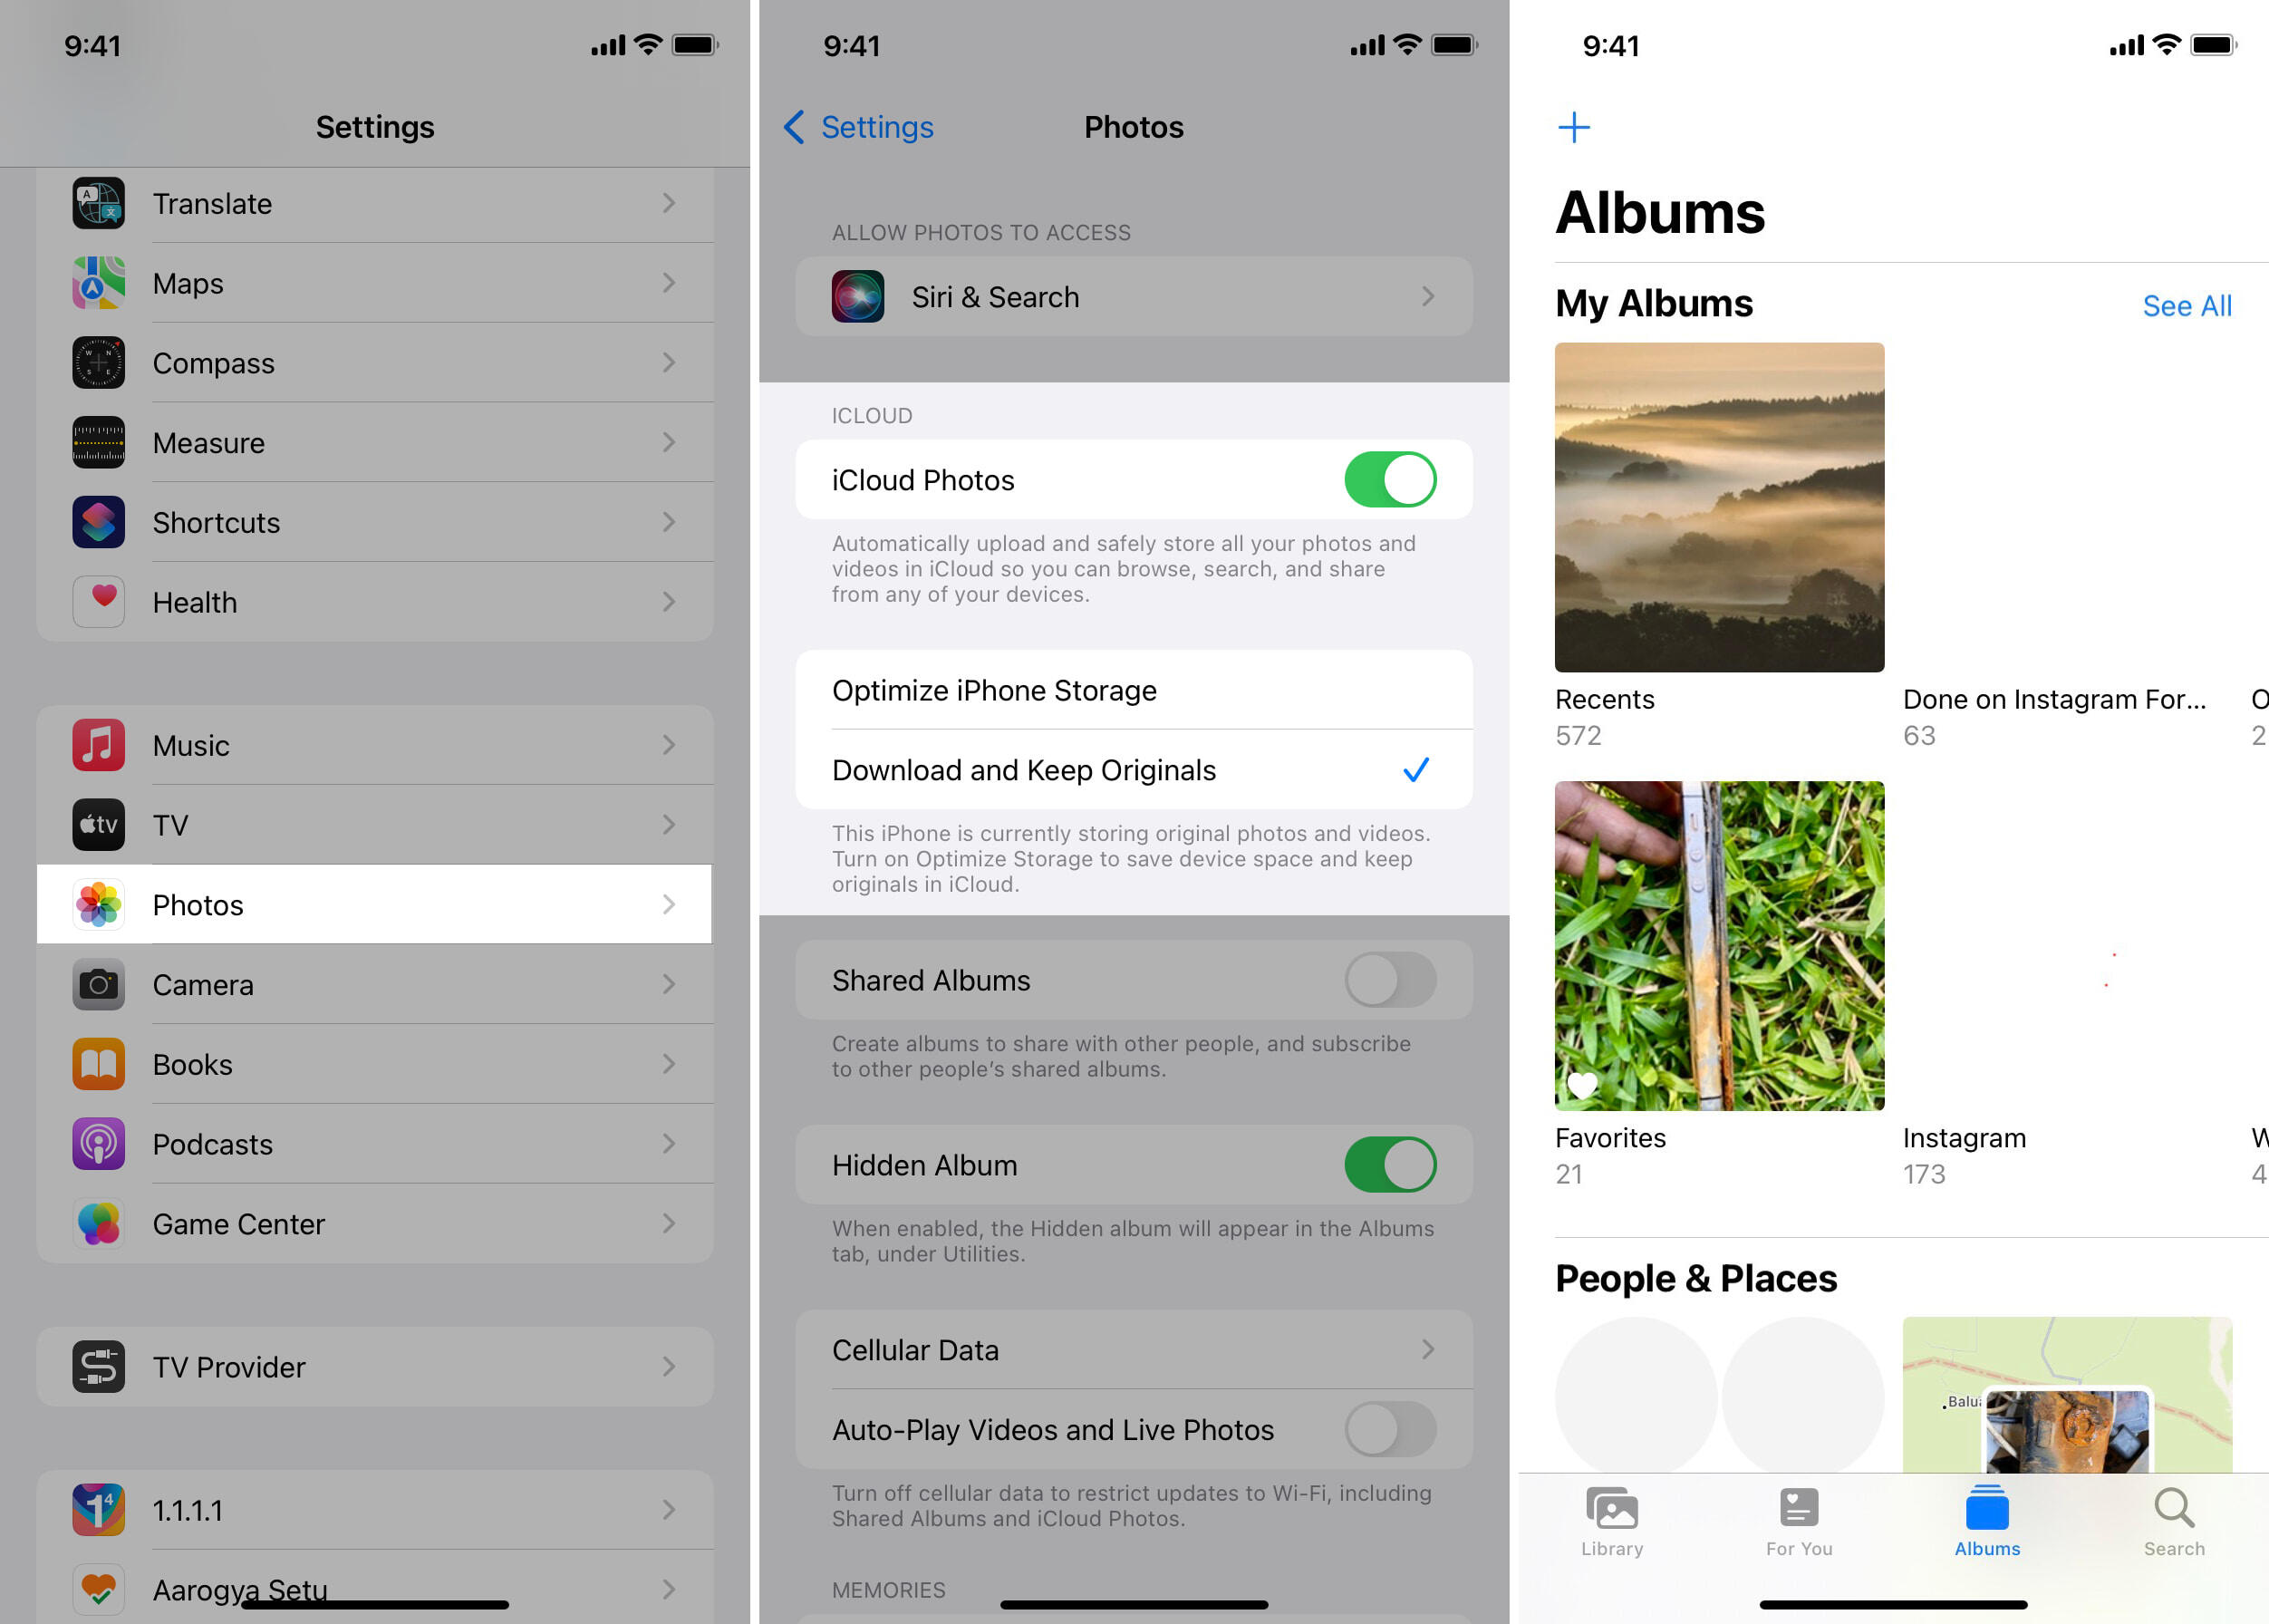
Understanding Google Photos
Google Photos is a cloud-based photo storage and management platform developed by Google. It offers users a convenient way to store, organize, edit, and share their photos and videos. Whether you’re a casual photographer or a professional shutterbug, Google Photos provides an array of features to enhance your photo management experience.
One of the most significant advantages of Google Photos is its unlimited storage option. Google offers free unlimited storage for high-quality photos and videos, which are automatically compressed to save space. If you prefer storing your photos at their original quality, Google provides 15GB of free storage, shared across your Google account, for photos and other files.
Google Photos also employs advanced image recognition technology, which automatically categorizes and organizes your photos based on the people, places, and objects in them. This makes it incredibly easy to search for specific photos using keywords like “beach,” “birthday,” or even the names of your friends and family members.
Another standout feature of Google Photos is its powerful editing tools. It allows you to make quick adjustments to your photos, such as cropping, rotating, and applying filters. You can also create collages, animations, and movies using the built-in editing features. Google Photos’ intuitive interface makes these editing tasks a breeze, even for novice users.
Besides storing and editing, Google Photos enables seamless sharing and collaboration with others. You can easily share individual photos or entire albums with friends and family via email, messaging apps, or social media platforms. Additionally, Google Photos allows you to create shared albums where multiple users can contribute photos and view, comment, and even add their own content.
Now that you have a good understanding of what Google Photos has to offer, let’s move on to the next step: uploading your photos to Google Photos.
Uploading Photos to Google Photos
Uploading your photos to Google Photos is a straightforward process. There are several methods you can use to transfer your photos to the platform:
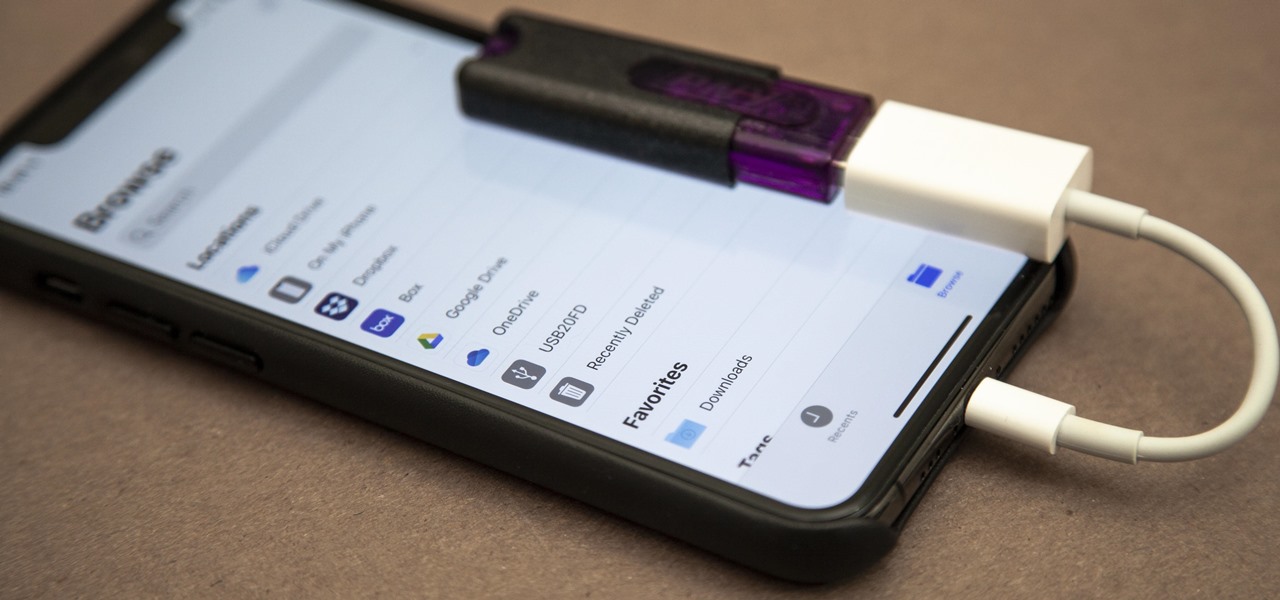
- Directly from your device: Open the Google Photos app on your smartphone or tablet and tap the “+” icon at the bottom of the screen. Select “Photos and Videos” and choose the desired photos from your device’s gallery. Tap the “Upload” button to start the upload process. You can also enable the “Backup & sync” feature in the settings to automatically upload new photos from your device to Google Photos.
- Via web browser: Open your preferred web browser and go to the Google Photos website. Sign in with your Google account credentials if you haven’t already done so. Click on the “Upload” button, which looks like a cloud with an arrow pointing up. Select the photos you want to upload from your computer, and they will be added to your Google Photos library.
- Using the desktop uploader: If you have a large number of photos on your computer, you can use the Google Photos desktop uploader to transfer them to the cloud. Download and install the desktop uploader app from the Google Photos website, and follow the instructions to set it up. Once installed, you can select the folders or files you want to upload, and the app will take care of the rest.
During the upload process, Google Photos will automatically compress your photos if you choose the unlimited storage option. This compression reduces the file sizes without significantly affecting the quality. However, if you prefer to store your photos at their original quality, keep in mind that they will count towards your 15GB of free storage.
It’s important to note that Google Photos is designed to work in conjunction with your Google account. This means that the photos you upload will be tied to your account and accessible across all your devices as long as you sign in with the same account. Whether you’re using a smartphone, tablet, or computer, you can access and manage your photos from anywhere with an internet connection.
Now that you know how to upload your photos to Google Photos, let’s explore how you can organize and manage your collection for easy access and retrieval.
Organizing Photos in Google Photos
Organizing your photos in Google Photos is essential to keep your collection neat and easily accessible. Here are some tips to help you effectively manage and organize your photos:
- Albums: Google Photos allows you to create albums to group similar photos together. To create an album, open an image and click on the three-dot menu icon. Choose “Add to album” and follow the prompts to create a new album or add the photo to an existing one. You can also select multiple photos and add them to an album in one go. Albums are a great way to organize photos by events, locations, or themes.
- Labels: Google Photos automatically analyzes your photos and assigns labels based on objects, people, and locations. You can search for specific labels like “sunset,” “birthday,” or a person’s name in the search bar. This makes it easy to locate photos without manually tagging them. You can also manually add custom labels to your photos to further classify them.
- Assistant: The Assistant feature in Google Photos suggests automatic creations like collages, animations, and movies based on your photos. It also provides assistance in organizing and managing your collection. You can accept or edit the suggestions made by the Assistant to create unique and personalized photo projects.
- Search: Google Photos’ powerful search functionality allows you to find specific photos quickly. You can search by keywords, labels, or even by typing natural language queries like “show me photos from last summer.” The search bar is located at the top of the Google Photos interface, and it’s a handy tool to navigate your vast collection effortlessly.
- Archiving: If you have photos that you want to keep but don’t want to see in your main library, you can archive them. Archiving hides the selected photos from the main view without deleting them. To archive a photo, open it and click on the three-dot menu icon, then choose “Archive.” Archived photos can be accessed anytime by going to the Archive section in the sidebar menu.
By utilizing these organizational features, you can keep your Google Photos library well-structured and make it easier to locate specific photos whenever you need them. Whether you’re looking for a particular event, searching for photos of a person, or browsing through your custom albums, Google Photos provides the tools to streamline your photo organization process.
Now that you have organized your photos, it’s time to explore the editing capabilities of Google Photos, enabling you to enhance the visual appeal of your images.
When storing photos on Google, organize them into albums for easy access and sharing. Use descriptive titles and tags to make them easier to find later.
Read more: How To Store Photos For Free
Editing Photos in Google Photos
Google Photos offers a range of editing tools that allow you to enhance the quality and appearance of your photos. Whether you want to make simple adjustments or get creative with advanced editing techniques, Google Photos has you covered. Here are some editing features you can explore:
- Basic Adjustments: Google Photos provides basic editing options such as cropping, rotating, and straightening your photos. You can easily adjust the composition, alignment, and orientation of your images to improve their overall look.
- Filters and Effects: Add a touch of creativity to your photos by applying filters and effects. With a wide selection of presets to choose from, you can enhance the colors, tones, and moods of your photos with just a few clicks.
- Lighting and Color: Adjusting the lighting and color settings can significantly improve the visual impact of your photos. Use the exposure, contrast, highlights, shadows, saturation, and warmth sliders to fine-tune the brightness, contrast, and color balance of your images.
- Auto Enhance: If you prefer to let Google Photos do the work for you, the auto-enhance feature automatically analyzes and improves the quality of your photos with a single click. It enhances the exposure, color balance, and sharpness to make your images stand out.
- Advanced Editing: Google Photos also offers advanced editing tools for users who want to take their photo editing to the next level. You can manually adjust the levels, curves, and selective color settings to achieve precise control over the tonal range and color balance of your photos.
- Collages, Animations, and Movies: In addition to basic photo editing, Google Photos allows you to create collages, animations, and movies with your images. You can effortlessly combine multiple photos, add effects and transitions, and even include music to make dynamic and engaging visual presentations.
Once you’ve finished editing your photos, Google Photos automatically saves the changes as a new version, while preserving the original image. This means you can always revert to the original if you’re not satisfied with the edits or want to try different adjustments.
With Google Photos’ user-friendly editing tools, you can unleash your creativity, enhance your photos, and transform them into stunning visual masterpieces. Now that your photos are edited to perfection, let’s explore how you can share and collaborate on them with others using Google Photos.
Sharing and Collaborating on Photos in Google Photos
One of the great features of Google Photos is its ability to easily share and collaborate on your photos with others. Whether you want to share a single photo or a whole album, Google Photos provides various options to make sharing and collaboration a breeze:
- Sharing with Individuals: To share a photo with an individual, open the photo in Google Photos and click on the “Share” button. Enter the email address or select the contact from your Google Contacts to send an invite. The recipient will receive an email notification with a link to view the shared photo.
- Sharing through Links: If you want to share photos with multiple people or post them on social media, you can generate a link to the photos. Open the photo or album, click on the “Share” button, and choose the “Create link” option. You can then copy and share the generated link to allow others to access the photos.
- Shared Albums: Google Photos allows you to create shared albums where multiple users can contribute and view photos. To create a shared album, open an album in Google Photos, click on the “Share” button, and choose the “Add partner” option. Enter the email addresses of the people you want to collaborate with, and they will be able to add, view, and edit photos in the shared album.
- Comments and Reactions: When sharing photos or albums, others can leave comments and reactions to provide feedback or express their thoughts. This creates an interactive and collaborative environment where you can engage with your friends, family, or colleagues around your photos.
- Facial Recognition Tagging: Google Photos uses facial recognition technology to automatically tag photos with people’s names. When you share photos with individuals, Google Photos will notify them if they are recognized in any of the photos. This simplifies the process of sharing photos with specific people.
Whether you’re sharing a single photo, a collection of photos, or collaborating on a shared album, Google Photos makes it easy to share and engage with others around your precious memories. It’s a convenient way to keep friends and family up to date with your latest adventures or work together on a project.
Now that you know how to share and collaborate on your photos using Google Photos, let’s move on to managing the storage space to ensure you have enough room for all your memories.
Managing Storage Space in Google Photos
Google Photos offers generous storage options for your photos and videos, but it’s important to manage your storage space wisely to ensure you have enough room for all your memories. Here are some tips to help you effectively manage your storage space in Google Photos:
- Free Unlimited High-Quality Storage: Google Photos offers free unlimited storage for photos and videos in high quality. This is a fantastic option for most users, as Google automatically compresses the images to save space without significantly affecting the visual quality. Take advantage of this option to store your photos without worrying about storage limitations.
- Original Quality Storage: If you prefer to store your photos at their original quality, keep in mind that they will count towards your 15GB of free storage shared across your Google account. You can always check your storage usage by visiting the Google Photos website and navigating to the “Settings” section.
- Storage Optimization: Google Photos provides a feature called “Storage optimization” that helps you manage your storage space by removing unnecessary copies of photos you’ve backed up. This feature identifies and suggests photos that are already backed up and gives you the option to delete them from your device, freeing up storage space.
- Deleting Unwanted Photos: Regularly review your photo library and delete any unwanted or duplicate photos to free up storage space. Google Photos makes it easy to select and delete multiple photos at once. Just open the Google Photos app or website, select the photos you want to delete, and click on the “Delete” button.
- Archive Option: Consider archiving photos that you don’t need to see in your main library but still want to keep. Archiving hides the selected photos from the main view without deleting them, effectively reducing clutter in your photo library.
- Upgrade Storage Plan: If you find that you’re running out of storage space, you have the option to upgrade your Google account to a larger storage plan. Google offers various plans with increased storage capacity that can be shared across Google Drive, Gmail, and Google Photos.
By following these tips and managing your storage space effectively, you can ensure that Google Photos continues to be a reliable and convenient platform for storing and organizing your precious memories.
Now that you have learned how to manage your storage space, let’s address some common troubleshooting issues that you might encounter while using Google Photos.
Troubleshooting Common Issues with Google Photos
While Google Photos is generally a reliable and user-friendly platform, there are a few common issues that users may encounter. Here are some troubleshooting tips to help you resolve these issues:
- Syncing Issues: If you’re experiencing problems with photos not syncing across your devices, make sure that you have enabled the “Backup & sync” option in the Google Photos settings. Also, ensure that you have a stable internet connection to allow for seamless syncing between devices.
- Slow Uploads: If you’re experiencing slow upload speeds when syncing your photos to Google Photos, check your internet connection speed. Try connecting to a different network or make sure that your current network is not overloaded. You can also try uploading your photos in smaller batches to improve upload speed.
- Missing Photos: If you notice that some of your photos are missing from your Google Photos library, verify that they have been backed up properly. Check the “Backup & sync” settings to ensure that all your photos are set to be backed up. If the issue persists, try signing out and back into your Google account to refresh the sync.
- Incorrect Labeling or Facial Recognition: Google Photos uses advanced algorithms for labeling and facial recognition, but it may sometimes make mistakes. If you notice incorrect labels or misidentified faces in your photos, you can manually edit the labels or remove incorrect facial tags. This helps Google Photos improve its recognition accuracy over time.
- App Crashes or Slow Performance: If you’re experiencing app crashes or slow performance on your mobile device, try closing the app and reopening it. Make sure that you have installed the latest version of the Google Photos app from the app store. If the issue persists, try clearing the app cache or reinstalling the app to resolve any potential software glitches.
- Storage Space Limit: If you’ve reached your storage space limit and don’t want to upgrade to a larger storage plan, consider deleting unwanted photos or backing them up to an external storage device. You can also utilize the “Storage optimization” feature in Google Photos to free up space by removing backed-up photos from your device.
If you’re facing any other specific issues with Google Photos that aren’t covered here, it’s recommended to visit the Google Photos Help Center or community forums for further assistance. These resources provide a wealth of information and solutions to common issues.
By following these troubleshooting tips and utilizing the available resources, you can resolve most issues and ensure a smooth and enjoyable experience with Google Photos.
Now that you’re equipped with the knowledge to troubleshoot common issues, let’s wrap up this article.
Read more: How To Store Photo Backdrops
Conclusion
Google Photos is a powerful and user-friendly platform that revolutionizes the way we store, organize, edit, share, and collaborate on our photos. With its unlimited high-quality storage option, advanced image recognition capabilities, and intuitive editing tools, Google Photos offers a comprehensive solution for managing and enhancing your photo collection.
In this article, we covered the essential steps to get started with Google Photos. We discussed how to create a Google account, understand the features and capabilities of Google Photos, upload and organize your photos, edit them to perfection, share and collaborate with others, manage your storage space effectively, and troubleshoot common issues that may arise.
By creating a Google account and leveraging the powerful features of Google Photos, you can effortlessly store all your precious memories in the cloud, access them from any device with an internet connection, and organize them in various ways to make browsing and retrieval a breeze. The editing tools enable you to enhance the quality and appearance of your photos, while the sharing and collaboration features allow you to engage with others around your visual stories. Additionally, you can effectively manage your storage space to ensure that you have enough room for all your memories.
Remember to regularly review and organize your photo library, utilize the built-in editing tools to enhance your photos, and share your memories with your loved ones. Google Photos provides a seamless and convenient experience that takes the hassle out of photo management, allowing you to focus on preserving and reliving your cherished moments.
So, whether you’re a casual photographer or a professional, Google Photos is the perfect companion to store, organize, and showcase your photos. Start exploring the endless possibilities that Google Photos has to offer and unleash your creativity to create stunning visual stories.
Now, go ahead and dive into the world of Google Photos, and may your photo journey be filled with joy, creativity, and beautiful memories!
Frequently Asked Questions about How To Store Photos On Google
Was this page helpful?
At Storables.com, we guarantee accurate and reliable information. Our content, validated by Expert Board Contributors, is crafted following stringent Editorial Policies. We're committed to providing you with well-researched, expert-backed insights for all your informational needs.


0 thoughts on “How To Store Photos On Google”