Home>Articles>How To Attach A Patio Roof To A House With Vinyl Siding
Articles
How To Attach A Patio Roof To A House With Vinyl Siding
Modified: October 18, 2024
Learn how to attach a patio roof to a house with vinyl siding in this comprehensive guide. Find step-by-step articles and expert tips for a successful installation.
(Many of the links in this article redirect to a specific reviewed product. Your purchase of these products through affiliate links helps to generate commission for Storables.com, at no extra cost. Learn more)
Introduction
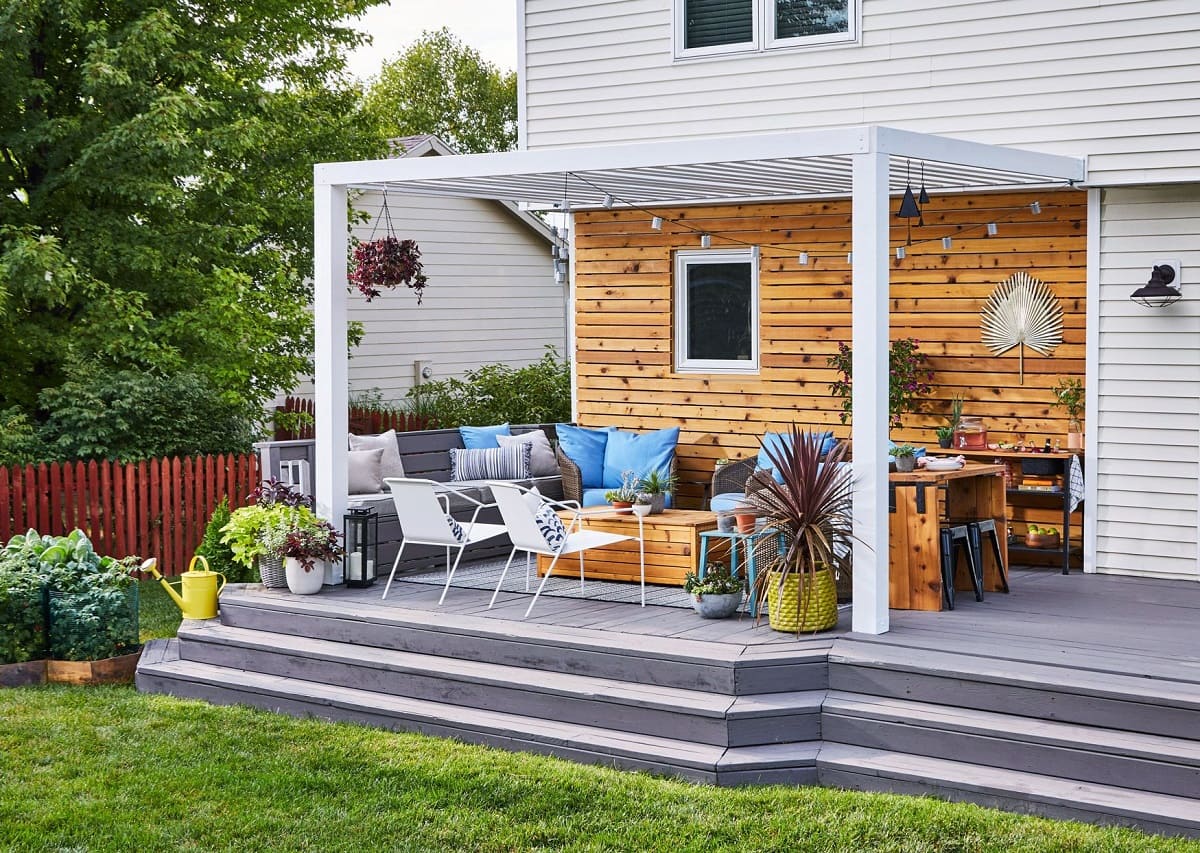
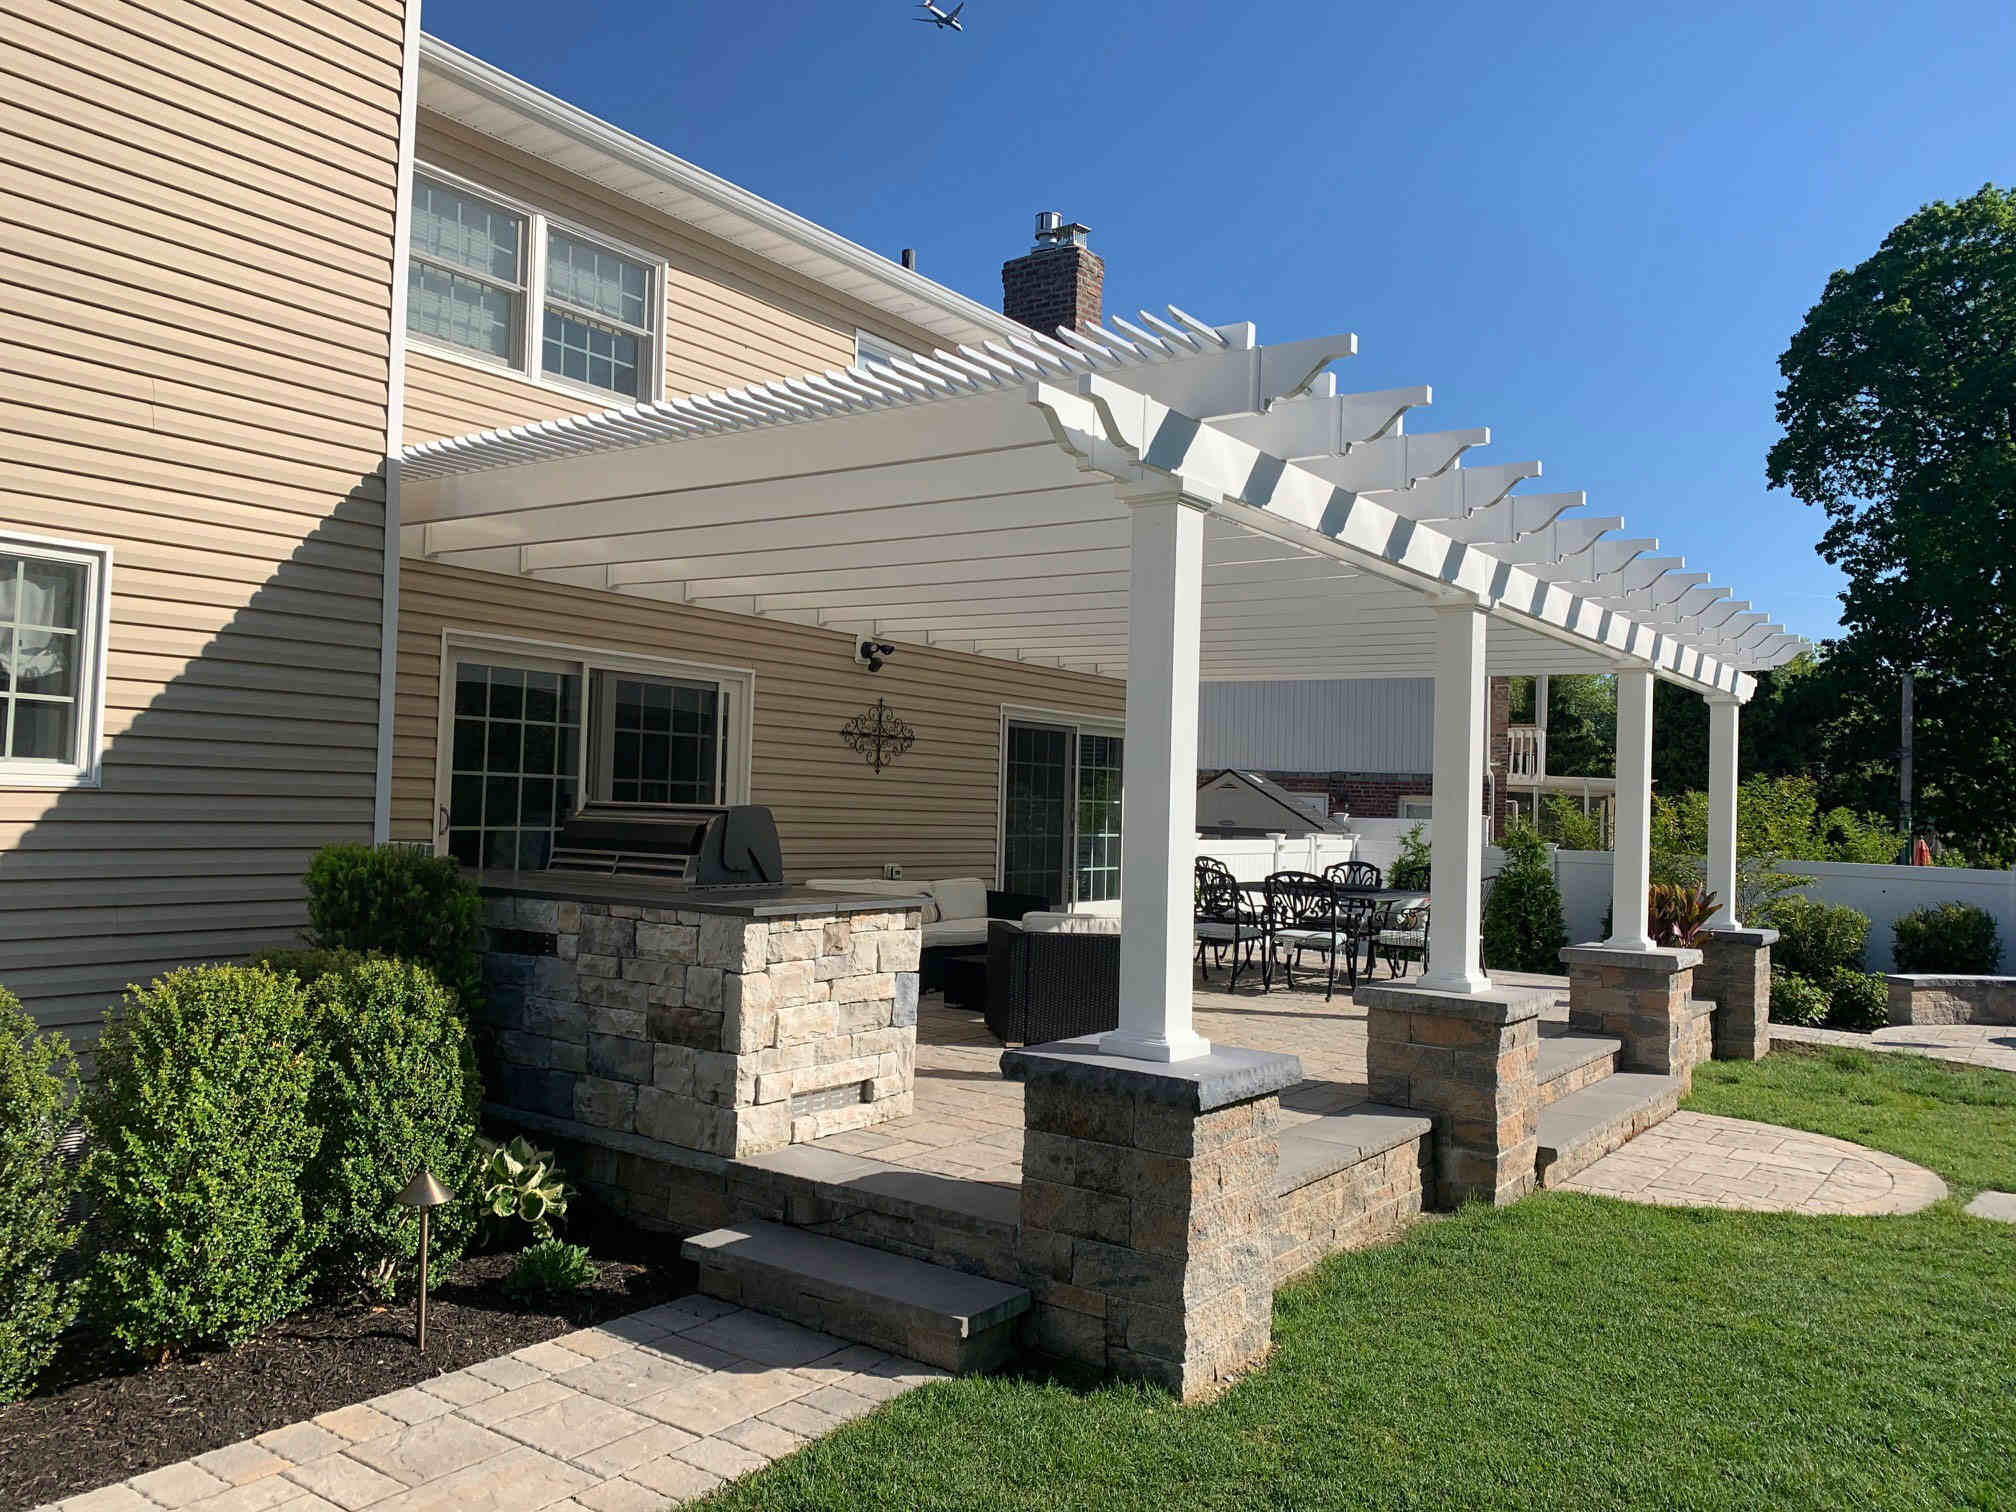
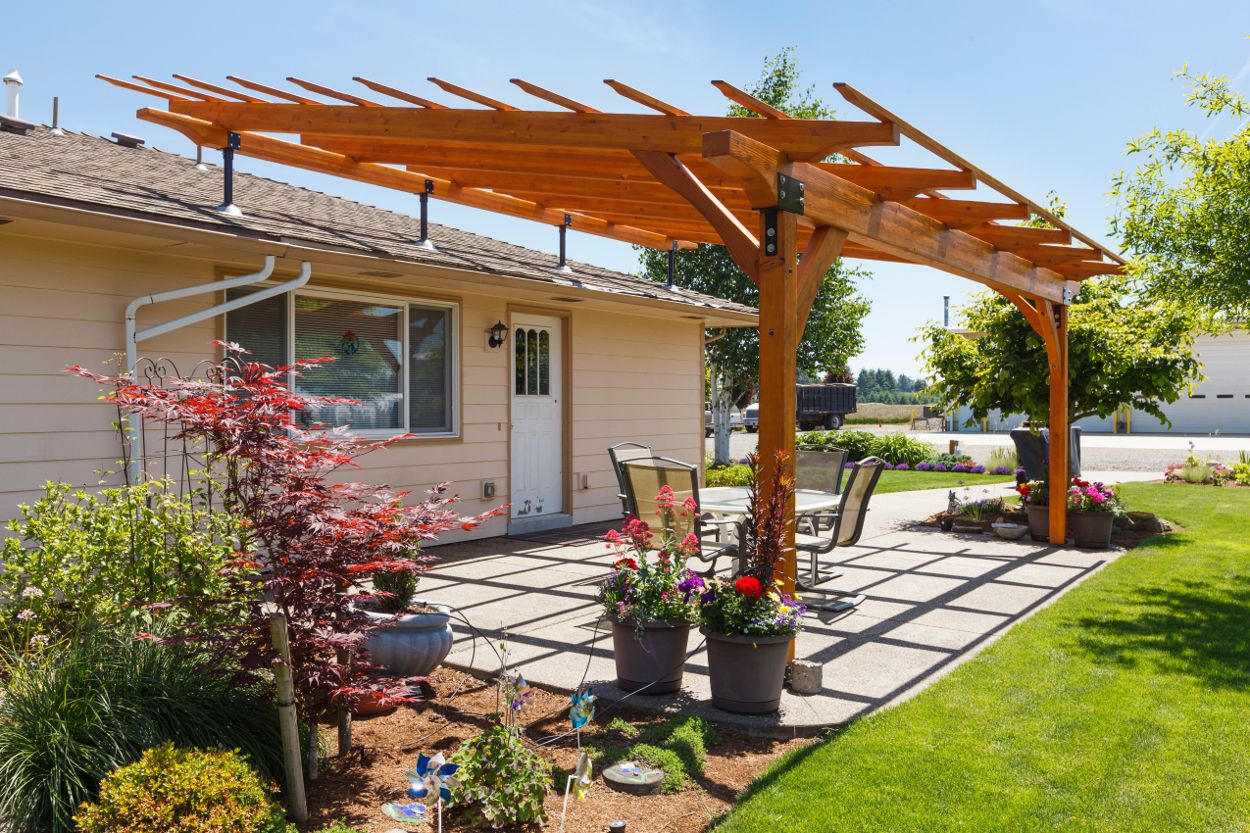
Attaching a patio roof to a house with vinyl siding is a great way to extend your outdoor living space and provide protection from the elements. Whether you want to create a cozy outdoor seating area or have a sheltered space for dining and entertaining, a patio roof can be a valuable addition to your home. In this comprehensive guide, we will walk you through the step-by-step process of attaching a patio roof to a house with vinyl siding.
Before starting the installation process, it is important to gather all the necessary tools and materials. This will ensure that you have everything on hand to successfully complete the project. Additionally, taking the time to prepare the vinyl siding, mark the attachment points, install a ledger board, secure the rafters, and install the roof panels will ensure a secure and durable patio roof that seamlessly integrates with your house’s vinyl siding.
Once the patio roof is installed, it is crucial to seal and weatherproof the attachment points to prevent any water or moisture from seeping into your home. Regular inspection and maintenance of the patio roof will also help prolong its lifespan and ensure its continued functionality.
So, let’s dive into the step-by-step process of attaching a patio roof to a house with vinyl siding and create the perfect outdoor space for you and your family to enjoy year-round.
Key Takeaways:
- Create a cozy outdoor space by attaching a patio roof to your house with vinyl siding. Proper preparation, secure installation, and regular maintenance ensure a durable and stylish addition to your home.
- Ensure a watertight and durable patio roof attachment by carefully sealing and weatherproofing the attachment points. Regular inspection and maintenance will prolong the lifespan of your outdoor living space.
Read more: How To Attach A Patio Roof To A House
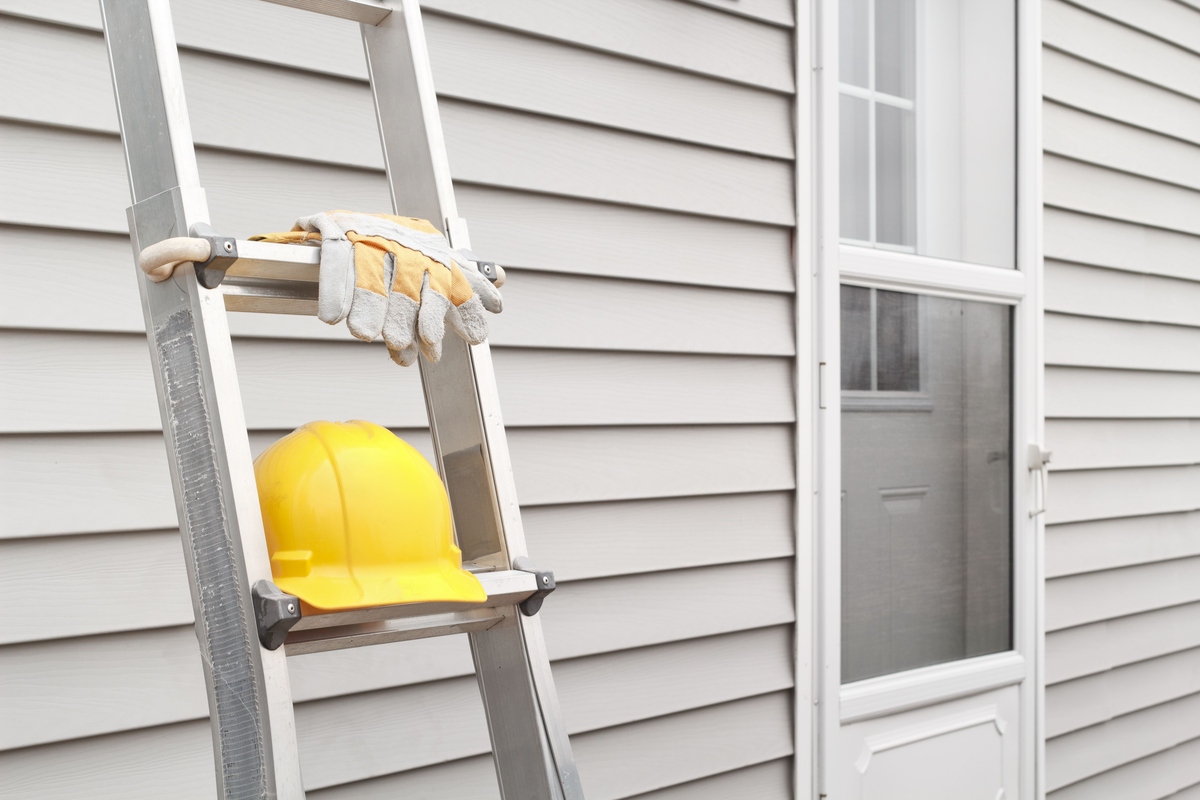
Step 1: Gather the necessary tools and materials
Before you begin attaching a patio roof to your house with vinyl siding, it is essential to gather all the necessary tools and materials. Having everything you need on hand will make the installation process smoother and more efficient.
Here is a list of tools and materials you will need:
- Measuring tape
- Pencil or marker
- Level
- Power drill
- Drill bits
- Ladder or scaffolding
- Screws
- Vinyl siding hooks or hangers
- Pressure-treated lumber for the ledger board
- Rafter brackets or hangers
- Patio roof panels
- Roofing nails
- Flashing
- Caulk or sealant
- Weatherproofing materials
Make sure to choose materials that are suitable for outdoor use and can withstand the elements. Pressure-treated lumber is recommended for the ledger board, as it is resistant to water damage and rot. When selecting patio roof panels, consider the type of material that best suits your needs, such as metal, polycarbonate, or fiberglass.
Before purchasing the tools and materials, take accurate measurements of the area where you plan to attach the patio roof. This will help you determine the amount of lumber, roof panels, and other materials you will need.
Once you have gathered all the necessary tools and materials, you are ready to move on to the next step: preparing the vinyl siding for the patio roof installation.
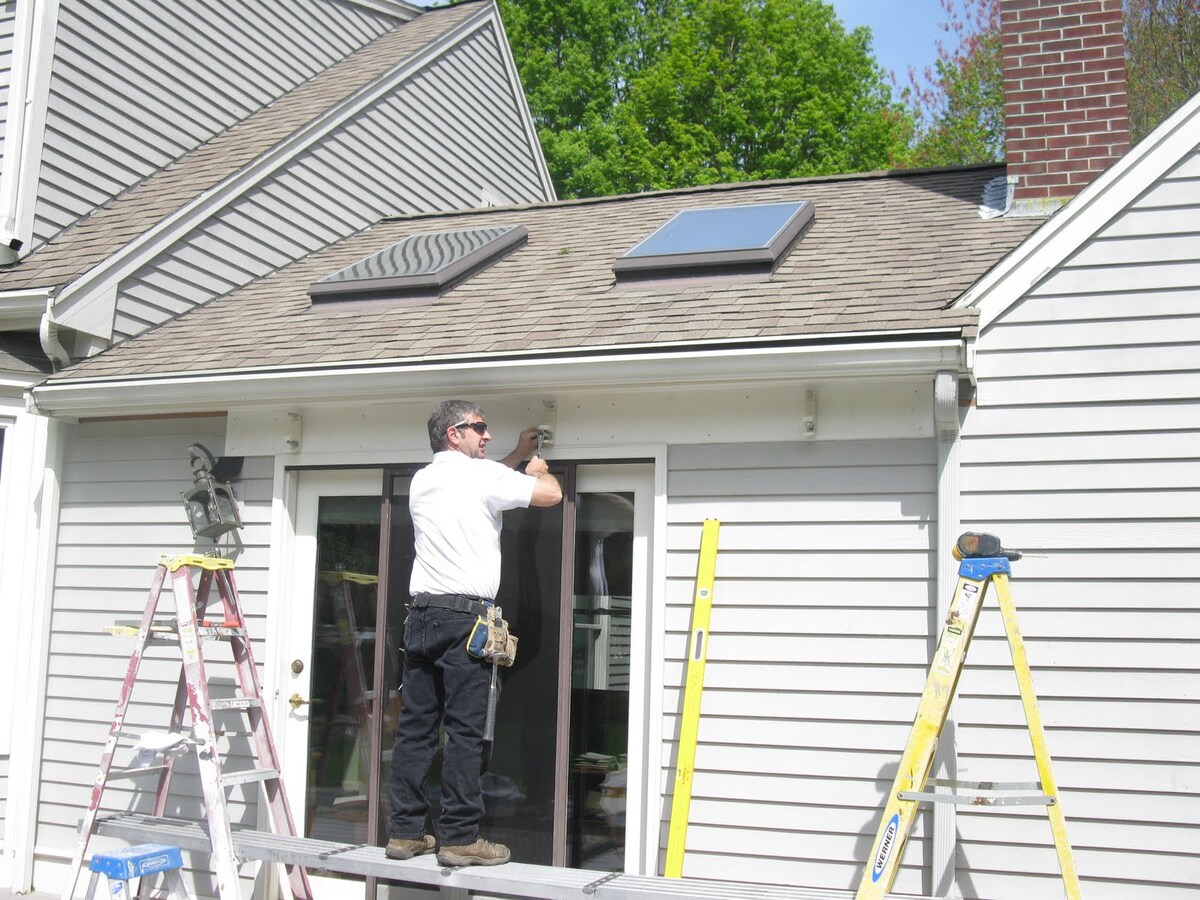
Step 2: Prepare the vinyl siding
Before attaching a patio roof to your house with vinyl siding, it is important to properly prepare the siding to ensure a secure and seamless installation. Here’s how to prepare the vinyl siding:
- Inspect the vinyl siding: Begin by examining the existing vinyl siding to check for any damage or signs of wear. Replace any damaged or cracked siding before proceeding with the patio roof installation.
- Clear the area: Remove any obstacles or debris from the area where you plan to attach the patio roof. This will provide a clear and safe working space.
- Mark the attachment points: Use a measuring tape and pencil to mark the spots on the vinyl siding where the attachment points will be located. These points will correspond to the positions of the rafters or ledger board.
- Unlock the vinyl siding panels: If your vinyl siding has interlocking panels, unlock and remove the necessary panels where the attachment points will be placed. This will allow you to access the underlying structure of the house for the patio roof installation.
- Create a J-channel: Install a J-channel along the top and sides of the opening where the patio roof will be attached. This J-channel will serve as a guide for the roof panels to fit into, ensuring a secure and watertight seal.
- Trim the vinyl siding: If necessary, trim the bottom edge of the vinyl siding panels to accommodate the height of the patio roof. Use a utility knife for precise cuts and ensure a clean and professional finish.
By properly preparing the vinyl siding, you will create a solid foundation for attaching the patio roof and ensure a tight fit for the roof panels. This will minimize the risk of water penetration and ensure the longevity of the patio roof installation. With the vinyl siding prepared, you are now ready to mark the attachment points on the house in the next step.
Step 3: Mark the attachment points on the house
Marking the attachment points on the house is a crucial step in the process of attaching a patio roof to a house with vinyl siding. This step ensures accurate positioning of the ledger board and rafters, providing a strong and secure foundation for the patio roof. Here’s how to mark the attachment points:
- Refer to your patio roof plans or design layout to determine the exact placement of the ledger board. The ledger board is a horizontal beam that will be attached to the house and will support the weight of the patio roof.
- Use a measuring tape and pencil to mark the position of the ledger board on the house. Take into account any overhangs, doors, or windows to ensure the patio roof is correctly positioned relative to the house’s structure.
- Using a level, check that the marked line for the ledger board is perfectly horizontal. This will ensure the patio roof remains level and avoids any water pooling or drainage issues.
- Next, mark the positions of the rafters along the ledger board. Rafters are the sloping beams that will support the roof panels. Determine the desired spacing between rafters based on the span of the patio roof and mark the positions accordingly.
- Ensure the marked rafter positions are evenly spaced and align with the attachment points on the vinyl siding.
- Double-check all the marked points to ensure accuracy and precision in the attachment process.
By marking the attachment points accurately, you will streamline the installation process and ensure that the patio roof aligns perfectly with the house structure. This will result in a sturdy and visually appealing patio roof attachment. Once the attachment points are marked, you can proceed to the next step: installing the ledger board.
Step 4: Install the ledger board
Installing the ledger board is a critical step in attaching a patio roof to a house with vinyl siding. The ledger board will provide the necessary support and stability for the patio roof. Here’s a step-by-step guide on how to install the ledger board:
- Hold the ledger board against the marked attachment line on the house. Ensure that it is level and aligns with the marked positions for the rafters.
- Using a power drill and appropriate drill bit, create pilot holes in the ledger board at each marked rafter position.
- Position the ledger board back against the house, aligning it with the attachment line and the pilot holes.
- Secure the ledger board to the house by driving screws through the pilot holes and into the studs or wall sheathing.
- Continue driving screws through all pilot holes to firmly secure the ledger board in place. Make sure to use screws that are appropriate for outdoor use and can withstand the elements.
- Verify that the ledger board is securely attached and level.
- Inspect the attachment points and make any necessary adjustments to ensure stability.
By properly installing the ledger board, you will create a secure foundation for the patio roof. The ledger board transfers the weight of the roof to the supporting structure of the house, ensuring a durable and stable attachment. With the ledger board in place, you are now ready to move on to the next step: securing the rafters to the ledger board.
When attaching a patio roof to a house with vinyl siding, use a ledger board to secure the roof to the house. Be sure to properly flash and seal the area to prevent water damage.
Read more: How To Attach House Numbers To Vinyl Siding
Step 5: Secure the rafters to the ledger board
Once the ledger board is securely installed, the next step in attaching a patio roof to a house with vinyl siding is to secure the rafters. The rafters are the sloping beams that will support the roof panels. Follow these steps to properly secure the rafters to the ledger board:
- Measure and cut the rafters to the appropriate length, ensuring they fit between the ledger board and the desired roof height.
- Position each rafter at its marked location on the ledger board.
- Attach the rafters to the ledger board using rafter brackets or hangers. These brackets or hangers should be secured with screws.
- Ensure that each rafter is securely fastened to the ledger board and that it is level and aligned with the proper angle for the patio roof design.
- Repeat this process for all the rafters, ensuring an evenly spaced and secure installation.
When securing the rafters, pay attention to the angle at which they are attached to the ledger board. This angle will depend on the design and slope of the patio roof. It is essential to maintain consistency in the angle to ensure a uniform and aesthetically pleasing result.
After securing the rafters, double-check their alignment and stability. Make any necessary adjustments to ensure that they are properly positioned and securely attached to the ledger board.
Once the rafters are securely in place, you are now ready to move on to the next step: installing the roof panels.
Step 6: Install the roof panels
With the rafters securely attached, it’s time to move on to installing the roof panels. The roof panels will provide the necessary protection and coverage for your patio. Follow these steps to properly install the roof panels:
- Measure and cut the roof panels to the desired length, ensuring they fit between the rafters.
- Start at one end of the patio and position the first roof panel against the rafters.
- Secure the roof panel to the rafters using roofing nails or screws. Make sure to place the fasteners along the edges of the panel to ensure a secure hold.
- Overlap the next roof panel with the first panel, ensuring a watertight seal. Fasten the second panel to the rafters in the same manner.
- Continue this process of overlapping and fastening roof panels until the entire patio is covered.
- Ensure that each roof panel is aligned properly and securely attached to the rafters.
- Inspect the roof panels for any gaps or loose sections. Secure any loose sections and seal any gaps with caulk or sealant to prevent water leakage.
When installing the roof panels, it’s important to follow the instructions provided by the manufacturer. Different types of roofing materials may have specific installation requirements, so be sure to refer to the manufacturer’s guidelines for the best results.
After installing the roof panels, inspect the entire patio roof for any signs of damage or areas that require additional reinforcement. Make any necessary repairs or adjustments to ensure the stability and integrity of the patio roof.
With the roof panels securely installed, you’re now ready to move on to the next step: sealing and weatherproofing the attachment points.
Step 7: Seal and weatherproof the attachment points
Sealing and weatherproofing the attachment points of your patio roof is a crucial step to prevent water infiltration and ensure the longevity of the installation. Follow these steps to properly seal and weatherproof the attachment points:
- Inspect the attachment points, including the areas where the ledger board is attached to the house and where the roof panels meet the siding.
- Apply a generous amount of caulk or sealant around the attachment points to create a watertight seal. Use a caulk gun or a tube of sealant for easy and controlled application.
- Smooth out the caulk or sealant with a caulking tool or your finger to ensure a tight and even seal.
- Pay special attention to areas where water is more likely to accumulate, such as corners and joints. Apply extra sealant or flashing tape to these areas for added protection.
- Inspect the entire patio roof for any other potential areas where water may penetrate. Seal any gaps or openings with caulk or sealant.
- Ensure that the sealant fully cures before exposing the patio roof to any rain or water. Follow the manufacturer’s instructions for the recommended drying time.
Additionally, consider adding flashing to further protect the attachment points from water damage. Flashing is a thin metal or plastic strip that creates a barrier between the patio roof and the house, diverting water away from vulnerable areas.
Regularly inspect and maintain the sealant and weatherproofing materials to ensure their effectiveness. Over time, sealant may deteriorate, so it’s important to check for any signs of cracking or peeling and reapply as needed.
By properly sealing and weatherproofing the attachment points, you’ll minimize the risk of water damage and prolong the lifespan of your patio roof. With this step completed, you can now move on to the final step: inspecting and maintaining the patio roof.
Step 8: Inspect and maintain the patio roof
Regular inspection and maintenance of your patio roof are essential for preserving its durability and functionality. Follow these steps to effectively inspect and maintain the patio roof:
- Perform routine inspections: Regularly inspect the patio roof for any signs of damage, such as loose or missing roof panels, cracked sealant, or bent rafters. Address any issues discovered during the inspection promptly.
- Clear debris: Remove any debris, leaves, or branches that may accumulate on the roof. These can trap moisture and cause damage over time.
- Clean the roof: Use a gentle cleaning solution and a soft-bristle brush to remove dirt or stains from the roof panels. Avoid using harsh chemicals or abrasive tools that could cause damage to the material.
- Check for leaks: During rain showers, check the patio roof for any signs of leaks or water intrusion. Look for damp spots or water stains on the ceiling or walls underneath the roof.
- Repair and replace as needed: If you notice any damage or deterioration, take the necessary steps to repair or replace affected components promptly. This may involve resealing joints, replacing damaged roof panels, or reinforcing weak areas.
- Maintain the sealant: Periodically inspect the sealant at the attachment points and reapply as needed. Over time, sealant may degrade and require refreshing to maintain a watertight seal.
- Ensure proper drainage: Make sure that water can drain effectively from the roof. Clear out any clogged gutters or downspouts to prevent water from pooling or overflowing onto the patio or siding.
By conducting regular inspections and addressing any maintenance needs promptly, you can extend the lifespan of your patio roof and prevent potential problems. Regular maintenance will also help to preserve the aesthetics and structural integrity of the roof.
Remember to consult the manufacturer’s instructions for specific maintenance guidelines based on the type of patio roof material you have installed. Following these guidelines will ensure that you’re caring for your patio roof in the most appropriate and effective way.
With proper inspection and maintenance, you can enjoy your patio roof for years to come, providing a comfortable and stylish outdoor living space for you and your loved ones.
Ready to spruce up your home further? Dive into our latest roundup on vinyl siding, showcasing eight stunning options for 2024 that will redefine your exterior aesthetics. For those itching to tackle more improvements themselves, don't miss our comprehensive guide on DIY home projects. It's packed with practical tips to elevate your space. Meanwhile, if outdoor gatherings are your thing, you'll love our creative ideas on outdoor living, perfect for making your deck the envy of the neighborhood.
Frequently Asked Questions about How To Attach A Patio Roof To A House With Vinyl Siding
Was this page helpful?
At Storables.com, we guarantee accurate and reliable information. Our content, validated by Expert Board Contributors, is crafted following stringent Editorial Policies. We're committed to providing you with well-researched, expert-backed insights for all your informational needs.


0 thoughts on “How To Attach A Patio Roof To A House With Vinyl Siding”