
Articles
How To Build A Porch Roof Attached To House
Modified: February 23, 2024
Learn how to build a porch roof attached to your house with our comprehensive articles. Get step-by-step instructions and expert tips for a successful project.
(Many of the links in this article redirect to a specific reviewed product. Your purchase of these products through affiliate links helps to generate commission for Storables.com, at no extra cost. Learn more)
Introduction
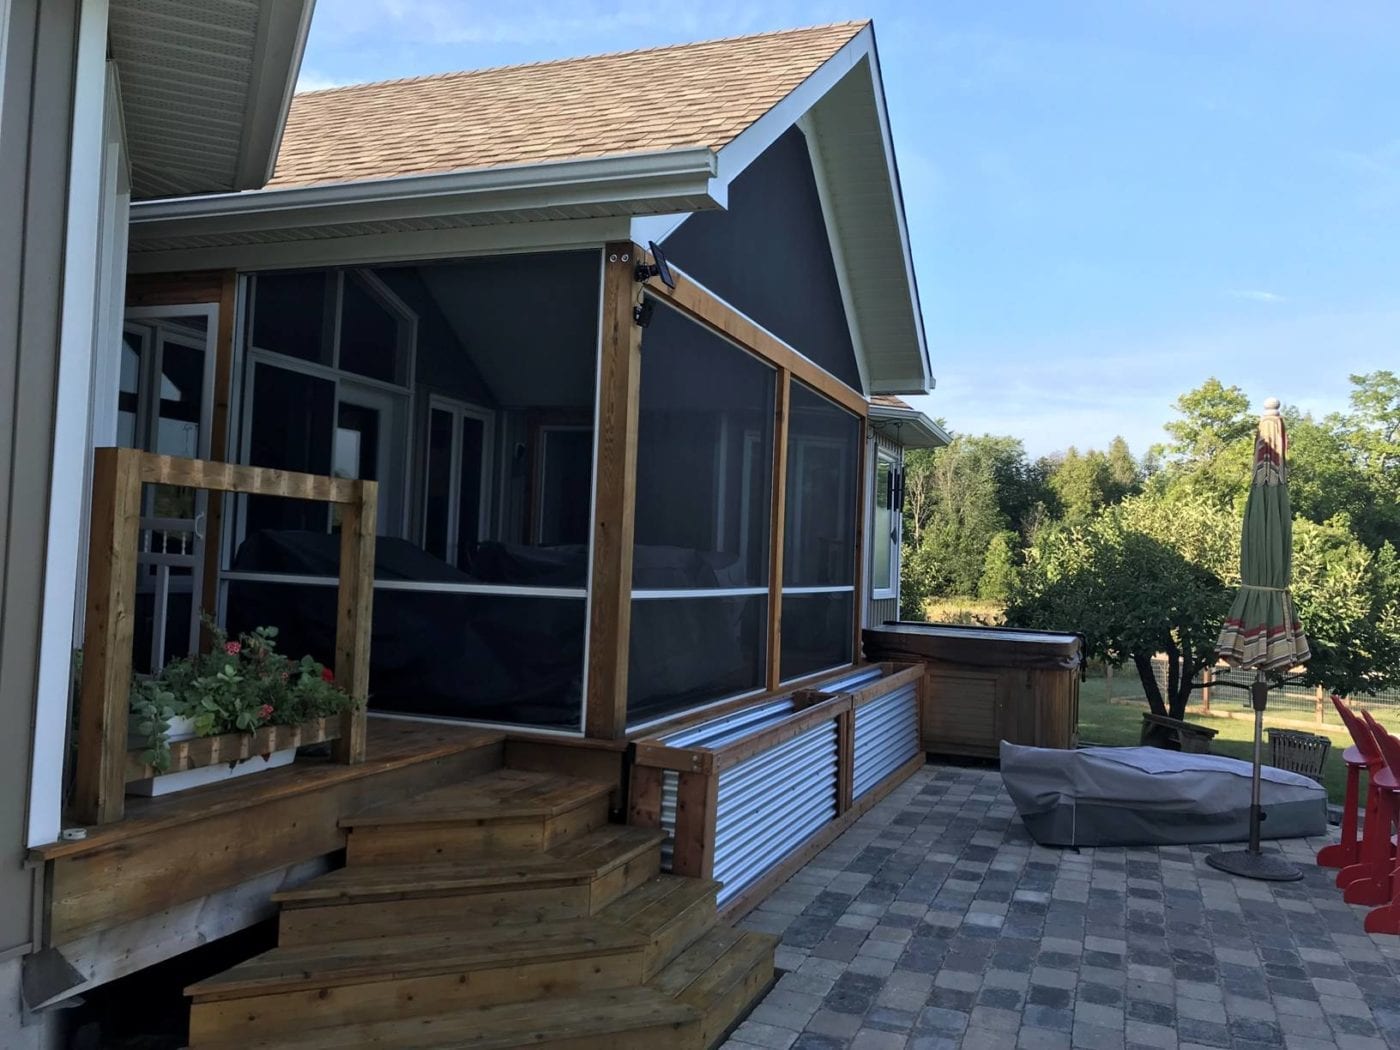
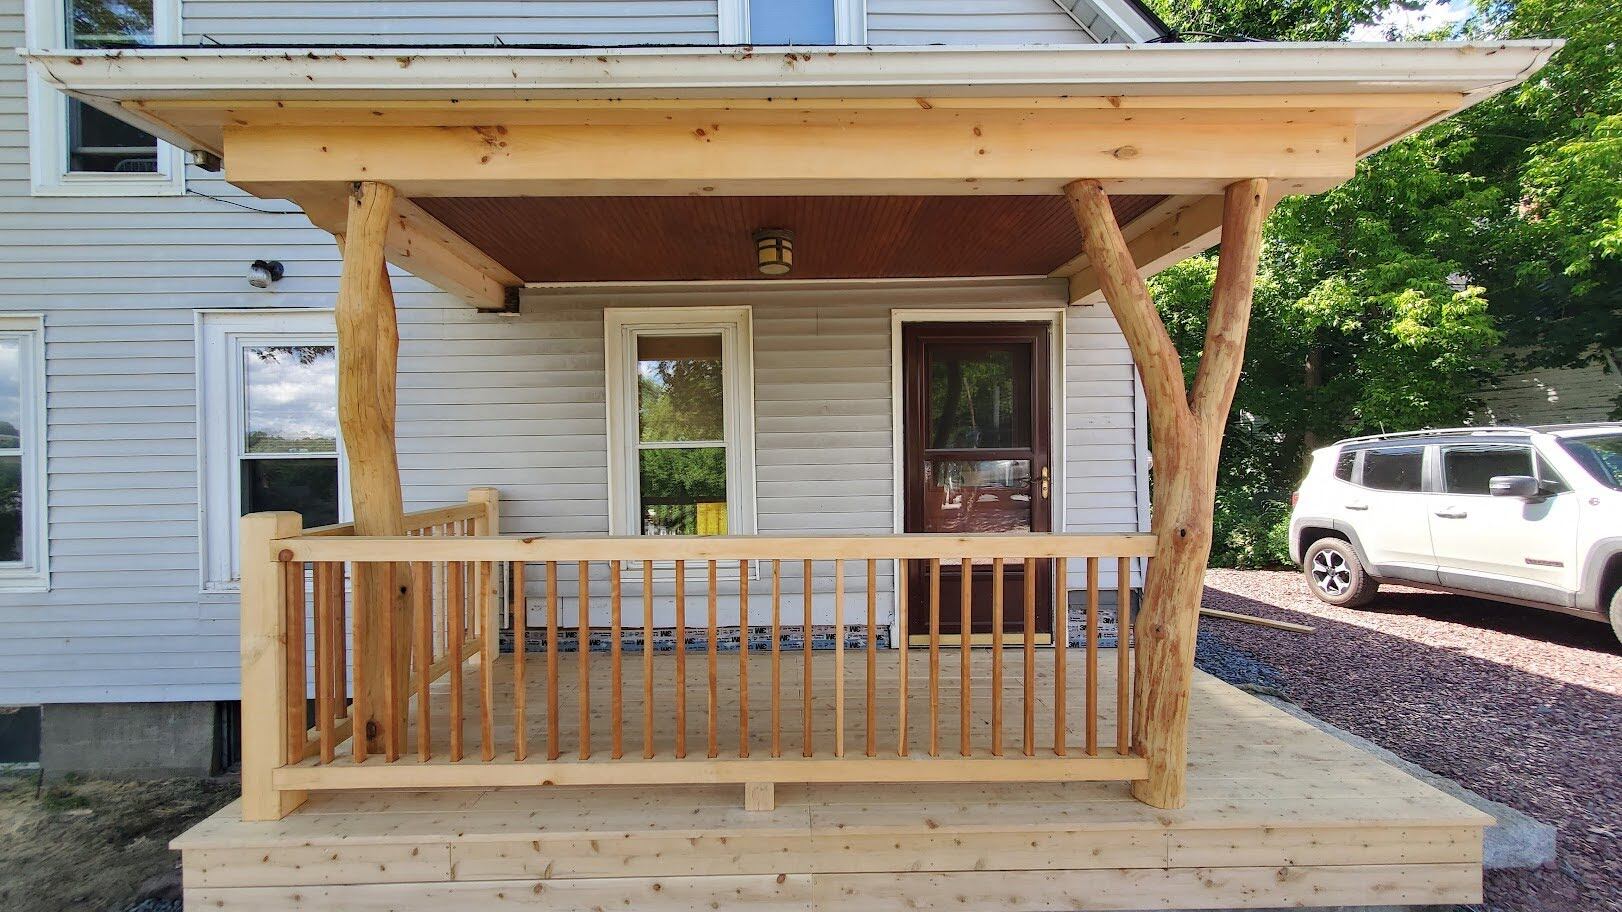
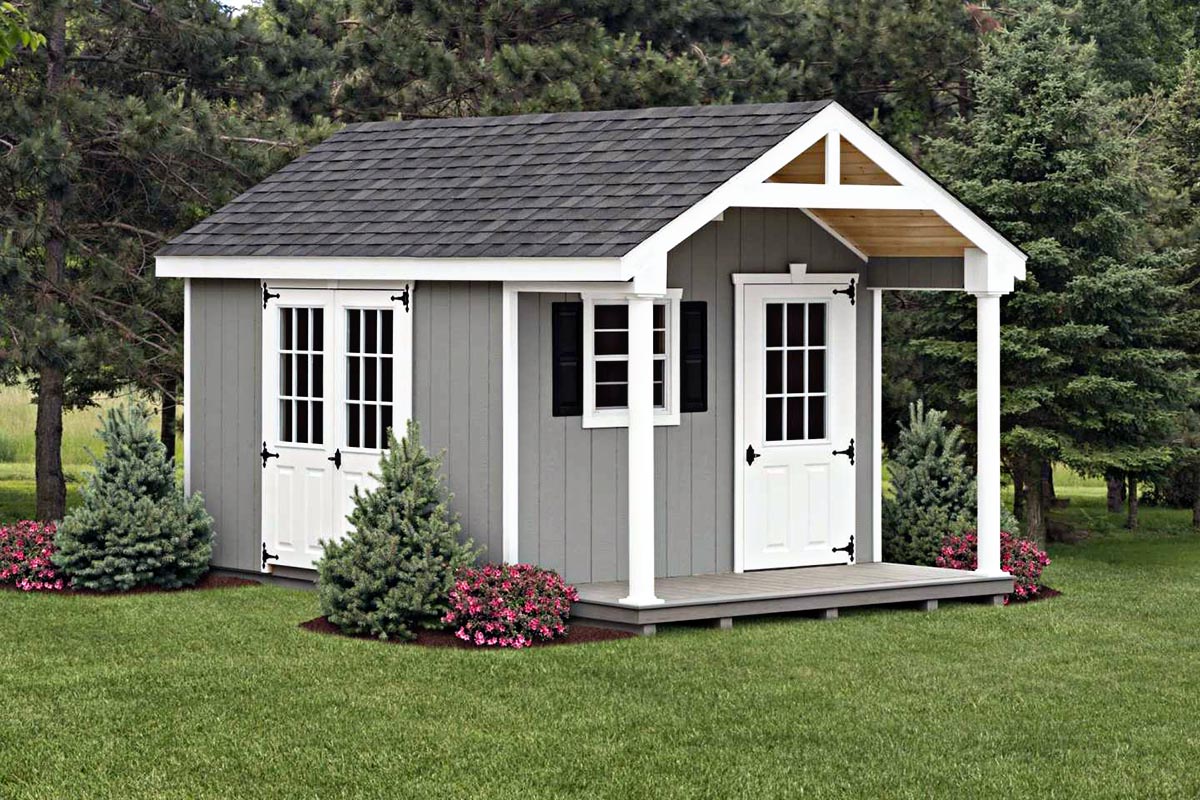
Building a porch roof attached to your house is a great way to enhance the functionality and aesthetic appeal of your outdoor space. Whether you want to create a cozy spot to relax and enjoy the fresh air or a sheltered area to entertain guests, a porch roof provides the perfect solution. In this article, we will guide you through the process of building a porch roof attached to your house, from the initial planning and preparation stages to the final touches and inspection.
Before you begin, it’s important to note that building a porch roof is a complex project that requires careful planning and attention to detail. It is advisable to consult with a professional or experienced contractor to ensure that your porch roof meets local building codes and regulations.
Now, let’s dive into the steps involved in building a porch roof attached to your house.
Key Takeaways:
- Building a porch roof attached to your house requires careful planning, adherence to local regulations, and attention to detail. Prioritize safety, obtain necessary permits, and choose the right design and materials for a successful construction project.
- From preparing the site to installing roofing materials and adding finishing touches, each step in building a porch roof plays a crucial role in ensuring stability and longevity. Regular maintenance and periodic inspections are essential for preserving the durability and appeal of your newly constructed porch roof.
Read more: How To Attach Gable Porch Roof To House
Planning and Preparation
Before you start building your porch roof, it is essential to lay a solid foundation through careful planning and preparation. Here are some important steps to consider:
- Assess your needs: Determine how you plan to use the porch roof. Are you looking for a small and simple design, or do you want a larger space for entertaining?
- Municipal regulations: Check with your local building department to determine if there are any permits, building codes, or zoning regulations that you need to comply with.
- Budget: Determine your budget for the project, including materials and labor costs. This will help you make informed decisions throughout the building process.
- Design considerations: Consider the architectural style of your home and choose a porch roof design that complements its overall aesthetic. Take into account factors such as the roof pitch, size, and shape.
- Materials: Research and choose the appropriate materials for your porch roof. Common options include wood, metal, or vinyl. Consider factors such as durability, maintenance requirements, and cost.
- Timeline: Determine how long the project will take and plan accordingly. Consider weather conditions and any other factors that may impact the construction process.
Taking the time to plan and prepare will ensure a smoother building process and help you avoid costly mistakes. It’s also a good idea to enlist the help of a professional architect or contractor to review your plans and provide guidance.
Once you have completed the planning and preparation phase, you can move on to the next steps, which involve designing the porch roof and obtaining the necessary permits and permissions.
Choosing the Right Design
When it comes to designing your porch roof, there are various factors to consider, including the architectural style of your house, your personal preferences, and the functionality you desire. Here are some tips to help you choose the right design:
- Evaluate your home’s architecture: Consider the existing design elements of your house, such as rooflines, angles, and materials, and choose a porch roof design that harmonizes with these features. A seamless integration between the existing roof and the porch roof will enhance the overall appearance of your home.
- Determine the size and shape: Measure the available space and determine the size and shape of the porch roof that will best suit your needs. Consider factors such as the desired use of the space, the number of people it needs to accommodate, and any specific activities you have in mind.
- Select the roof pitch: The roof pitch determines the steepness of the roof and can add visual interest to your porch design. Choose a pitch that complements the style of your home and provides adequate drainage for rain and snow.
- Consider the roof material: Select a roofing material that complements the existing roof and is durable enough to withstand the elements. Common options include asphalt shingles, metal roofing, or even a translucent material that allows natural light to filter through.
- Add additional features: Think about any additional features you would like to incorporate into your porch roof, such as skylights, ceiling fans, or built-in lighting. These elements can enhance the functionality and ambiance of your outdoor space.
Remember to consider both the practical and aesthetic aspects when choosing a design for your porch roof. Take the time to research various styles, browse through home improvement magazines, or consult with professionals for inspiration and guidance. By selecting the right design, you can ensure that your porch roof becomes a seamless extension of your home and a beautiful outdoor retreat.
Obtaining Permits and Permissions
Before you can begin construction on your porch roof, it is crucial to obtain the necessary permits and permissions from your local building department. This ensures that your project meets local regulations and safety standards. Here are the steps to follow:
- Contact your local building department: Reach out to your local building department to inquire about the specific permits required for building a porch roof attached to your house. They will provide you with the necessary application forms and guidelines to follow.
- Submit your application: Fill out the application forms accurately and provide any requested documentation, such as construction plans, specifications, and material details. It is important to provide as much information as possible to expedite the permit approval process.
- Pay the permit fees: Most building departments charge fees for permit applications and inspections. Make sure to pay these fees in a timely manner to avoid any delays in the approval process.
- Wait for approval: Once your application is submitted, it will go through a review process. The building department will assess your plans to ensure they comply with building codes, zoning regulations, and other relevant guidelines. This process may take several weeks, so be patient.
- Receive your permit: If your plans are approved, you will receive a permit that grants you permission to start construction. Make sure to keep a copy of the permit on-site during the construction process, as it may be required for inspections.
It’s important to note that the permitting process may vary depending on your location. Some areas may have additional requirements or restrictions, so it’s crucial to consult with your local building department for accurate information.
Failure to obtain the necessary permits and permissions can result in fines, delays, or even the need to remove or modify your porch roof. It’s always best to follow the proper procedures and ensure that your project is in compliance with local regulations.
Once you have obtained the necessary permits and permissions, you can move on to the next step, which is gathering the tools and materials needed for construction.
Gathering Tools and Materials
Before you can start building your porch roof, it’s essential to gather all the necessary tools and materials. Having everything on hand will ensure a smooth and efficient construction process. Here’s a list of common tools and materials you may need:
Read more: How To Attach A Gable Porch Roof To A House
Tools:
- Measuring tape
- Level
- Hammer
- Screwdriver
- Power drill
- Saw (circular saw or miter saw)
- Ladder or scaffolding
- Nail gun
- Chalk line
Materials:
- Wood beams or trusses
- Roofing materials (shingles, metal panels, or other options)
- Fasteners (nails, screws, or roof clips)
- Fascia boards
- Flashing
- Gutters and downspouts
- Sealant or caulk
- Roofing felt or underlayment
- Insulation (if needed)
It’s important to make sure that all the materials you choose are of good quality and suitable for your specific porch roof design. Consider factors such as durability, weather resistance, and the overall look and feel you want to achieve.
In addition to the tools and materials mentioned above, it’s also helpful to have personal protective equipment (PPE), such as safety glasses, gloves, and a hard hat, to ensure your safety during the construction process.
Once you have gathered all the necessary tools and materials, you can proceed to the next step, which involves preparing the site for construction.
Preparing the Site
Before you can start building your porch roof, it’s crucial to prepare the site properly. This involves clearing the area, ensuring a solid foundation, and taking necessary safety precautions. Here’s a step-by-step guide on how to prepare the site for construction:
- Clear the area: Remove any existing structures, vegetation, or debris from the site. This includes plants, bushes, or trees that may interfere with the construction process or pose a safety risk.
- Mark the boundaries: Use stakes and string to mark the boundaries of the porch roof area. This will help you visualize the space and ensure accurate measurements during the construction process.
- Check for utilities: Before digging or excavating, contact utility companies to ensure there are no buried lines or pipes in the area. This will help prevent any accidents or damage to utility infrastructure.
- Level the ground: Remove any uneven or soft soil and level the ground in the porch roof area. This will provide a stable foundation for the construction and help prevent any future structural issues.
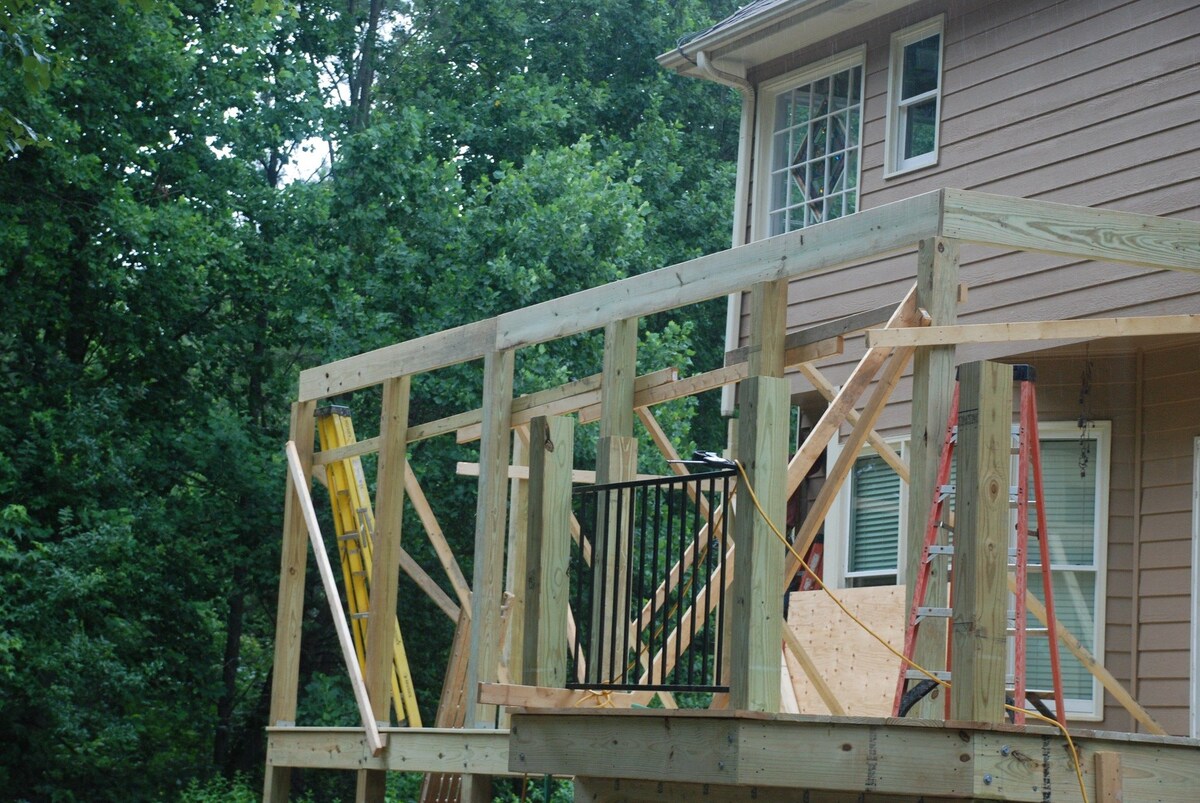
- Install footings or posts: Depending on your design and local building codes, you may need to install footings or posts to support the porch roof. Follow the appropriate guidelines for sizing, spacing, and depth of the footings or posts.
- Secure the footings or posts: Use concrete or an appropriate anchoring system to secure the footings or posts in place. Ensure they are level and plumb, as they will provide the stability for the entire porch roof structure.
- Inspect the site: Before proceeding with the construction, carefully inspect the site and ensure that everything is prepared according to plan. Check for any potential hazards or issues that need to be addressed before continuing.
By properly preparing the site, you will create a solid and safe foundation for your porch roof. This will contribute to the overall stability and longevity of the structure, ensuring that you can enjoy your porch for years to come.
Once the site is prepared, you can move on to the next step, which involves installing roofing trusses to support the porch roof.
Installing Roofing Trusses
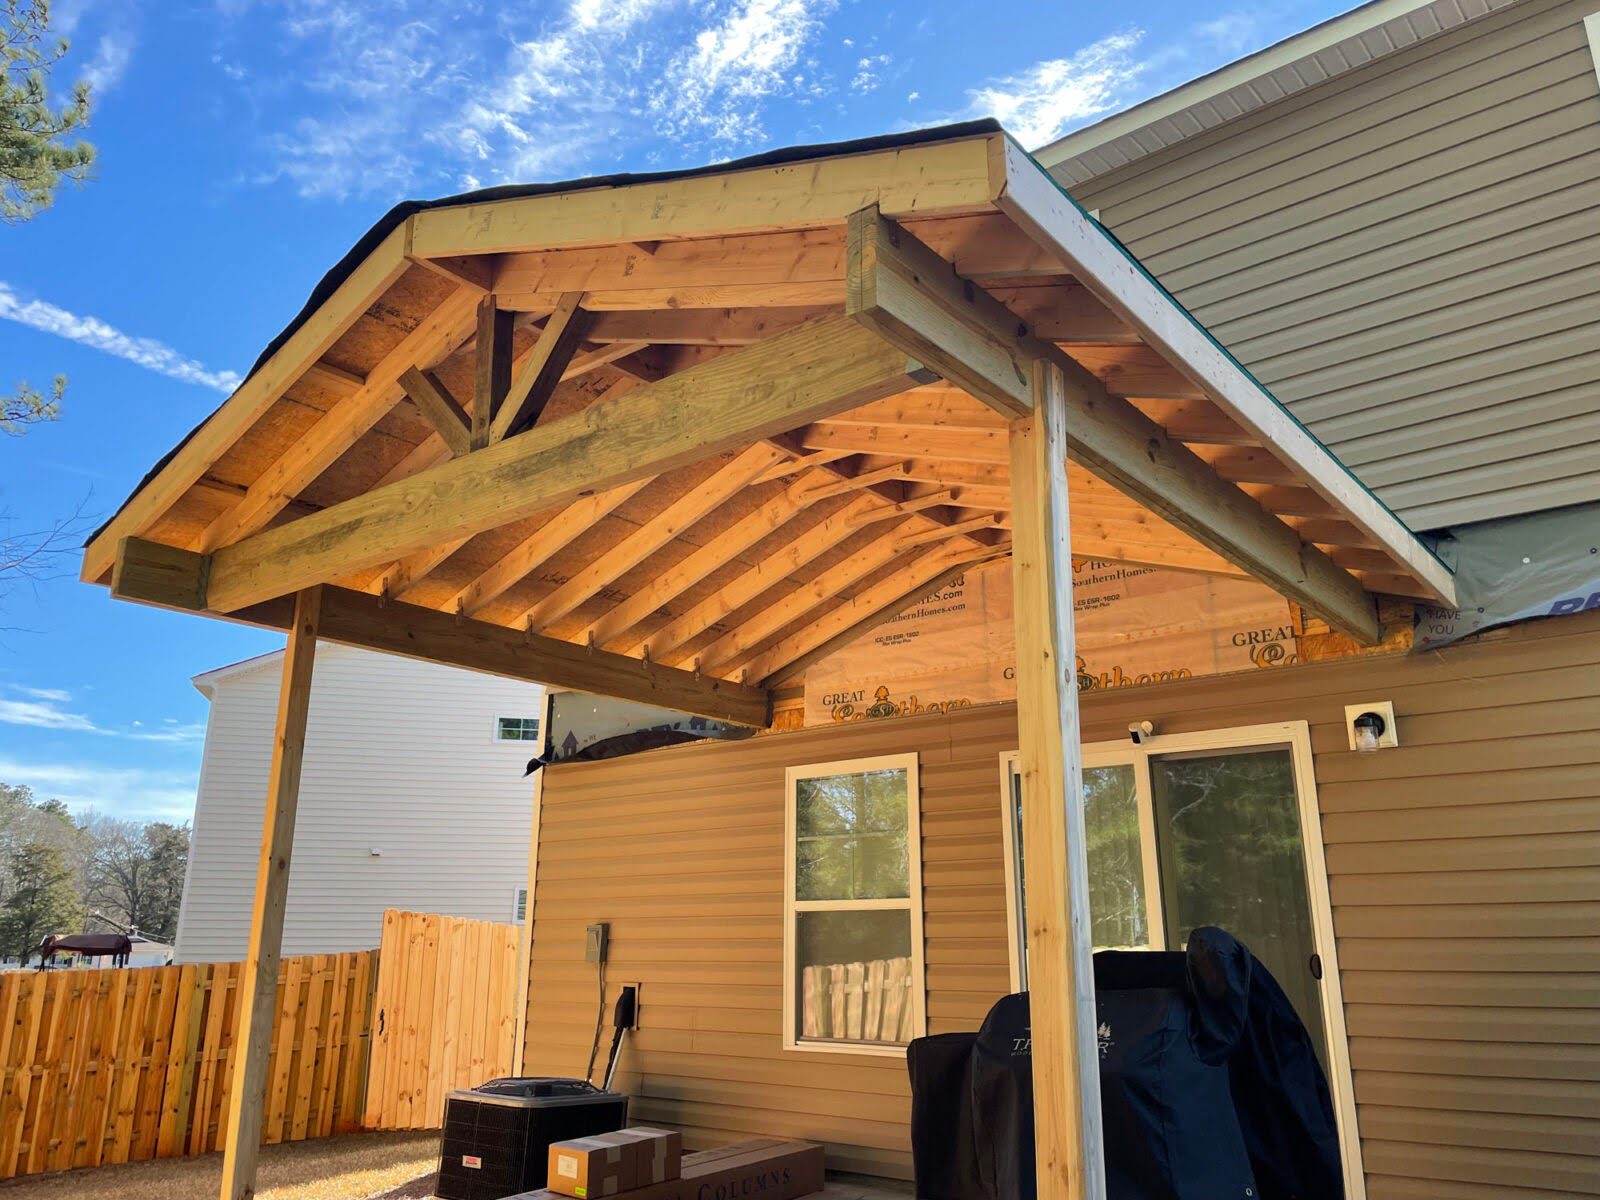
Roofing trusses play a crucial role in providing the structural support for your porch roof. These triangular-shaped frameworks are designed to distribute the weight of the roof evenly, ensuring stability and durability. Here’s a step-by-step guide on how to install roofing trusses:
- Measure and mark: Start by measuring and marking the locations where the trusses will be installed. Use a chalk line or other straight edge to ensure accurate placement.
- Position the first truss: Begin with the first truss and position it on the marked spot, making sure it is aligned properly according to your design plans. Use temporary bracing to hold it in place.
- Attach the truss: Secure the truss to the supporting posts or beams using appropriate fasteners, such as nails or screws. Make sure it is level and plumb before fully securing it.
- Install subsequent trusses: Continue installing the remaining trusses, spacing them according to your design specifications. Use a level to ensure they are straight and aligned correctly.
- Brace the trusses: Once all the trusses are in place, install temporary bracing across the bottom chords to keep them stable and prevent any movement during the construction process.
- Check for alignment: Double-check the alignment and spacing of the trusses to ensure they are correctly positioned. Make any necessary adjustments before moving on to the next step.
- Secure the trusses: Once you are satisfied with the placement of the trusses, secure them permanently by adding additional fasteners or connectors, as required by local building codes.
During the installation process, it’s essential to prioritize safety by using proper lifting techniques, wearing personal protective equipment, and working with a partner if needed. Additionally, consult your local building codes or seek professional advice to ensure the correct installation of the trusses.
Once the roofing trusses are securely installed, you can proceed to the next step, which involves attaching the porch roof to the house.
When building a porch roof attached to a house, make sure to properly secure the roof to the existing structure to ensure stability and prevent any potential damage from high winds or heavy snow loads.
Attaching the Porch Roof to the House
Attaching the porch roof to your house is a critical step in ensuring stability and structural integrity. Here’s a step-by-step guide on how to properly attach the porch roof to the house:
- Measure and mark: Measure and mark the location on the house where the porch roof will attach. Use a level and chalk line to ensure accurate placement.
- Prepare the house: Clear the area where the porch roof will be attached, removing any siding or trim as necessary. Ensure that the surface is clean and free from any debris.
- Install ledger board: Attach a ledger board to the house using lag screws or other appropriate fasteners. This board will serve as the main support for the porch roof and should be securely attached to the structural framing of the house.
- Flash and seal: Apply flashing over the ledger board to prevent water penetration. Seal any gaps or joints with caulk or sealant to ensure a watertight connection.
- Attach rafters or beams: Install rafters or beams perpendicular to the ledger board, extending from the house to support the porch roof. Secure them with appropriate fasteners and ensure they are level and plumb.
- Connect to the house: Use metal connectors or hardware to securely attach the rafters or beams to the ledger board and the house. Follow manufacturer guidelines and local building codes for proper installation.
- Check alignment and stability: Double-check the alignment and stability of the porch roof attachment. Ensure that all connections are secure and that the porch roof is level and properly supported.
It’s important to follow local building codes and regulations for attaching the porch roof to your house. If you are unsure about any specific requirements, consult with a professional or structural engineer to ensure the safe and proper installation of the porch roof attachment.
Once the porch roof is securely attached to the house, you can move on to the next step, which involves adding roofing materials to complete the construction.
Adding Roofing Materials
Adding roofing materials to your porch roof is the next step in completing its construction. Choosing the right materials not only provides protection from the elements but also enhances the overall appearance of your porch. Here’s a step-by-step guide to adding roofing materials:
- Prepare the surface: Ensure that the surface of the porch roof is clean and free from debris. Make any necessary repairs or adjustments before proceeding.
- Install underlayment: Begin by installing roofing underlayment, such as roofing felt or synthetic underlayment. This will provide an extra layer of protection against moisture and improve the longevity of your roofing system.
- Layout and cut roofing materials: Measure and cut the roofing materials, such as shingles or metal panels, according to the dimensions of your porch roof. Follow the manufacturer’s instructions for cutting and installation.
- Install the first row: Start at the bottom edge of the roof and install the first row of roofing materials, following the manufacturer’s guidelines for spacing and overlap. Use appropriate fasteners, such as roofing nails or screws, to secure the materials in place.
- Continue installing: Work your way up the roof, overlapping each row of roofing materials to ensure proper water shedding. Use a chalk line or other reference to maintain straight lines and ensure a professional finish.
- Trim and finish: Once all the roofing materials are installed, trim any excess or overhanging materials as needed. Install ridge caps or other finishing elements to provide a clean and watertight seal along roof peaks and edges.
- Inspect and make any necessary adjustments: Double-check the installation to ensure that all roofing materials are securely in place and that there are no visible defects or areas that require additional attention.
Throughout the roofing material installation, it is crucial to prioritize safety. Use appropriate safety equipment, such as gloves and eye protection, and exercise caution when working on elevated surfaces.
Consider consulting with a roofing professional or manufacturer for specific guidelines and recommendations based on your chosen roofing materials. This will help ensure proper installation and maximize the longevity of your porch roof.
With the roofing materials installed, you are one step closer to completing your porch roof. The final steps include installing gutters and downspouts, as well as adding any finishing touches.
Installing Gutters and Downspouts
Installing gutters and downspouts is a crucial step in completing your porch roof construction. Gutters and downspouts help redirect rainwater away from your roof and foundation, protecting your porch and preventing water damage. Here’s a step-by-step guide to installing gutters and downspouts:
- Measure and plan: Measure the length of your porch roof and plan the placement of your gutters and downspouts. Determine the optimal slope for proper drainage.
- Mark the positions: Use a chalk line to mark the positions where the gutters will be installed along the edges of the porch roof. Mark the locations where the downspouts will be attached.
- Attach gutter brackets: Install gutter brackets along the chalk lines, following manufacturer instructions. Make sure the brackets are spaced correctly and securely attached to the porch roof.
- Join gutter sections: Connect the gutter sections using gutter connectors or sealants. Ensure a snug fit and a watertight connection between sections.
- Install end caps and outlets: Attach end caps to close off the ends of the gutter sections. Install outlets at the desired locations where the downspouts will connect to the gutter.
- Attach downspouts: Install downspout brackets on the porch and attach the downspouts to the outlets. Connect multiple sections of downspouts as needed, using connectors or sealants.
- Create downspout extensions: Install downspout extensions at the base of the downspouts to direct the water away from the foundation. Ensure that the extensions are properly sloped for effective water drainage.
- Test the system: Run water through the gutters and downspouts to ensure proper flow and drainage. Check for any leaks or issues that need to be addressed.
- Secure and adjust: Once tested, secure the gutters and downspouts firmly in place. Make any necessary adjustments or tightening to ensure stability and proper functionality.
During the installation process, ensure that you follow local building codes and regulations. Consult with a professional or experienced contractor if you need assistance or guidance in installing gutters and downspouts.
Once the gutters and downspouts are properly installed, you can move on to adding the finishing touches and conducting a final inspection of your porch roof.
Finishing Touches and Final Inspection
As you near completion of your porch roof, it’s time to add the finishing touches and conduct a final inspection to ensure that everything is in place and meets your satisfaction. Here’s a step-by-step guide to the finishing touches and final inspection:
- Check for any loose ends: Inspect the entire porch roof and make sure that all components, such as trusses, roofing materials, gutters, and downspouts, are securely in place. Tighten any loose screws or fasteners that you may find.
- Inspect for proper drainage: Ensure that the slope of your porch roof and the placement of gutters and downspouts allow for efficient water drainage. Test the system by running water through the gutters and observe the flow to make sure there are no areas with standing water or leaks.
- Examine for any gaps or leaks: Thoroughly inspect the porch roof and look for any gaps or leaks in the roofing materials, especially around joints and connections. Seal any potential problem areas with appropriate sealants or caulk to prevent water penetration.
- Add additional features: If desired, now is the time to add any additional features or accessories you planned, such as skylights, ceiling fans, or built-in lighting. Install them according to manufacturer instructions and ensure they are properly connected and functioning.
- Clean up the work area: Remove any construction debris and clean the porch and surrounding areas. Dispose of waste materials responsibly.
- Conduct a final inspection: With the porch roof completed, conduct a final inspection to ensure that everything has been done according to your plan and meets your expectations. Address any remaining issues or concerns before closing the project.
Once you are satisfied with the final inspection and all the finishing touches have been added, you can confidently enjoy your newly built porch roof. Take the time to relax and enjoy the benefits of your outdoor space, whether it’s a cozy spot to read a book or a perfect setting for entertaining guests.
Remember that regular maintenance and periodic inspections will help extend the lifespan of your porch roof. Check for any signs of damage or wear, and address them promptly to prevent further issues.
Congratulations on successfully completing your porch roof construction!
Read more: How To Build A Roof For A Porch
Conclusion
Building a porch roof attached to your house is an exciting project that can greatly enhance both the functionality and aesthetic appeal of your outdoor space. By following the steps outlined in this guide, you can successfully construct a porch roof that provides shelter, protection, and a welcoming extension of your home.
From the initial planning and preparation stages to obtaining permits, gathering tools and materials, and completing the installation of roofing trusses, attaching the porch roof to the house, adding roofing materials, installing gutters and downspouts, and finishing touches, each step plays a critical role in ensuring the success of your porch roof construction.
Throughout the process, it’s important to prioritize safety and adhere to local building codes and regulations. Consulting with professionals and experienced contractors can provide valuable guidance and assistance, ensuring that your porch roof meets quality standards and stands the test of time.
Remember to consider both the practical and aesthetic aspects when choosing a porch roof design and selecting materials. A well-designed and properly constructed porch roof can not only provide functional benefits, but also significantly enhance the overall appeal and value of your home.
Lastly, conduct a thorough final inspection and address any remaining issues or concerns before enjoying the fruits of your labor. Regular maintenance and scheduled inspections will help ensure the long-term durability and reliability of your porch roof.
Now that you have the knowledge and understanding of how to build a porch roof attached to your house, it’s time to turn your vision into reality. Embrace the process, take pride in your work, and enjoy the transformation of your outdoor living space.
Frequently Asked Questions about How To Build A Porch Roof Attached To House
Was this page helpful?
At Storables.com, we guarantee accurate and reliable information. Our content, validated by Expert Board Contributors, is crafted following stringent Editorial Policies. We're committed to providing you with well-researched, expert-backed insights for all your informational needs.

0 thoughts on “How To Build A Porch Roof Attached To House”