Home>Furniture>Outdoor Furniture>How To Attach A Patio Roof To A House
Outdoor Furniture
How To Attach A Patio Roof To A House
Modified: October 18, 2024
Learn how to attach a patio roof to your house and create a comfortable outdoor space with the help of our comprehensive guide. Enhance your outdoor furniture experience!
(Many of the links in this article redirect to a specific reviewed product. Your purchase of these products through affiliate links helps to generate commission for Storables.com, at no extra cost. Learn more)
Introduction
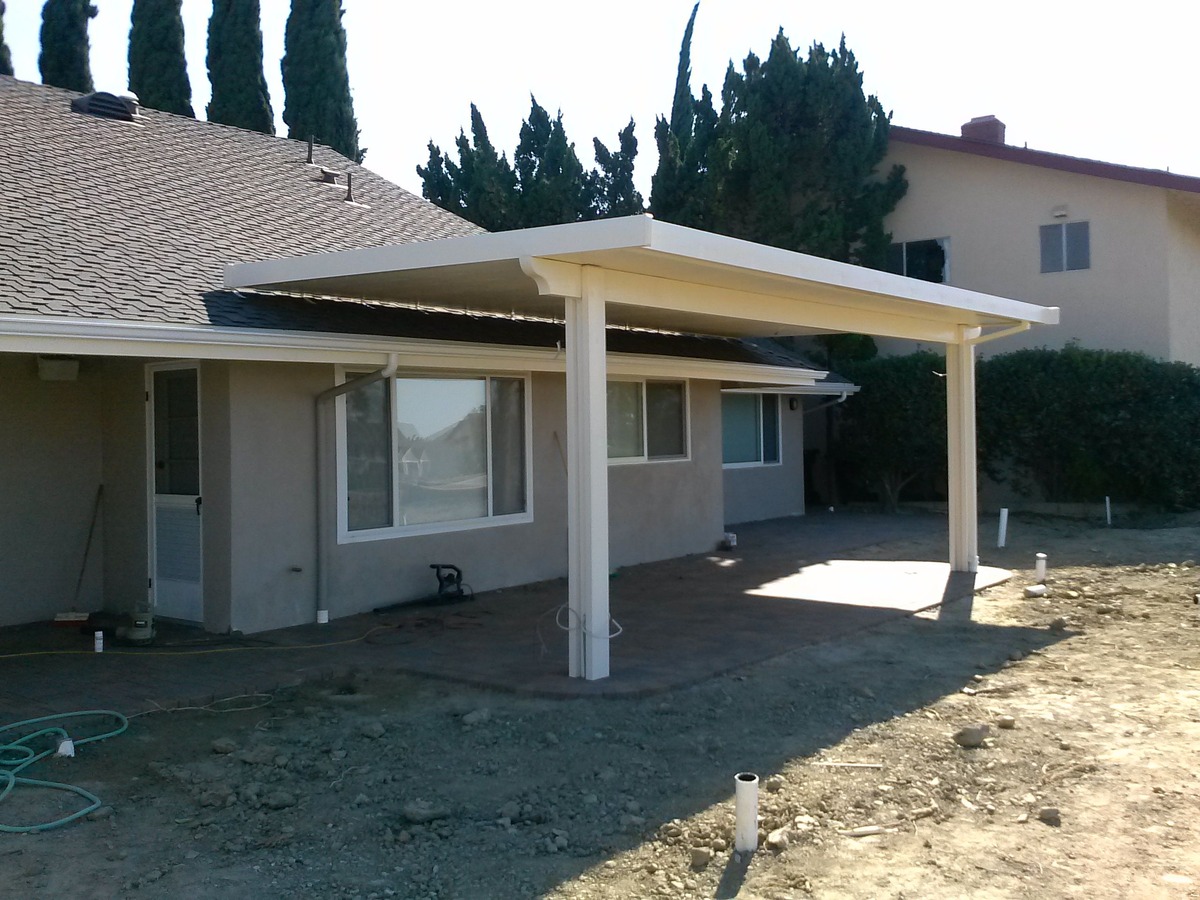
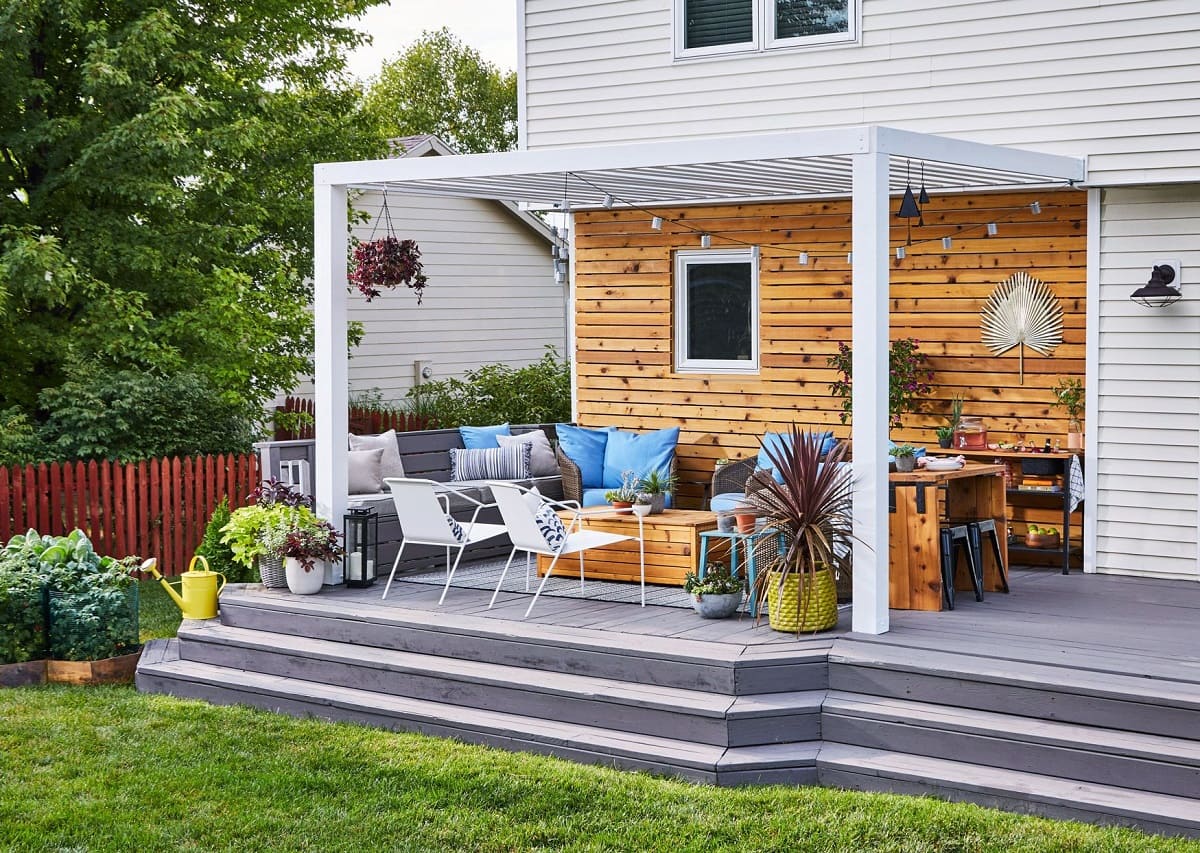
Welcome to the world of outdoor living! If you’re looking to transform your patio into a cozy oasis, adding a roof is a fantastic way to create shade and protection from the elements. Attaching a patio roof to your house may seem like a daunting task, but with the right guidance, it can be a rewarding and achievable project.
In this guide, we’ll take you through the step-by-step process of attaching a patio roof to your house. Whether you’re a seasoned DIY enthusiast or a beginner with a passion for outdoor projects, we’ve got you covered. So grab your toolkit and let’s get started!
Before we dive into the details, it’s important to note that attaching a patio roof to your house involves some level of skill and knowledge. If you’re unsure about any step or feel uncomfortable working with tools, it’s always a good idea to consult a professional. Safety should be your number one priority throughout the entire process.
Now that we’ve got that covered, let’s move on to the first step: assessing the structure of your house.
Key Takeaways:
- Safety First!
Before attaching a patio roof to your house, assess the structure, obtain permits, and measure accurately. Always prioritize safety and consult professionals if needed. - Create Your Outdoor Oasis
By following the steps and adding finishing touches, you can transform your patio into a cozy and inviting space for all your outdoor activities.
Step 1: Assessing the House Structure
Before you begin attaching a patio roof to your house, it’s crucial to assess the structural integrity of your home. You want to make sure that your house can support the weight of the additional roofing structure. Here are the key factors to consider:
- Foundation: Check the foundation of your house for any cracks or signs of instability. A solid foundation is essential for supporting the weight of a patio roof.
- Roofline: Examine the roofline of your house to determine the best location for attaching the patio roof. Look for areas with ample support beams or trusses that can handle the additional load.
- Siding: Take a close look at the siding on your house where the patio roof will be attached. Ensure that it is in good condition, with no loose or damaged sections that could compromise the stability of the patio roof.
- Access points: Consider the existing doors and windows near the patio area. You’ll want to ensure that the patio roof doesn’t obstruct any access points or block natural light from entering your home.
It’s important to consult with a structural engineer or a professional contractor who can assess the specific structural requirements of your home. They will be able to provide expert advice and ensure that your patio roof is safely attached to your house.
Once you’ve evaluated the structural integrity of your house, it’s time to move on to the next step: obtaining the required permits.
Step 2: Obtaining the Required Permits
Now that you’ve assessed your house structure and are ready to proceed with attaching a patio roof, it’s important to make sure you have all the necessary permits and approvals in place. Obtaining the required permits not only ensures that your project meets building codes and regulations but also gives you peace of mind knowing that your installation is safe and compliant. Here’s what you need to do:
- Research local regulations: Look up the local building codes and regulations in your area. Different jurisdictions may have specific rules regarding the installation of patio roofs, including size limitations, setbacks, and height restrictions.
- Contact your local building department: Get in touch with your local building department to find out the exact requirements for obtaining a permit. They will provide you with the necessary application forms and let you know about any additional documents or information you need.
- Submit your application: Fill out the permit application accurately and provide any required supporting documents, such as construction plans, structural calculations, and product specifications. Pay the applicable fees, and submit your application to the building department for review.
- Wait for approval: Once your application is submitted, it will undergo a review process. This may involve inspections, plan revisions, or additional documentation requests. Be patient and responsive to any requests from the building department.
- Receive your permit: After your application is approved, you will be issued a permit. Make sure to keep a copy of the permit on-site, as you’ll need to display it during inspections.
It’s important to note that the permit process can vary depending on your location. Some areas may require additional steps or have specific requirements for attaching a patio roof to a house. By following the proper permit procedures, you ensure that your project is in compliance with local regulations and avoid any potential penalties.
Once you have the necessary permits in hand, you can move on to Step 3: measuring and marking the patio roof location.
Step 3: Measuring and Marking the Patio Roof Location
With the necessary permits obtained, it’s time to move on to measuring and marking the location for your patio roof. This step is crucial as it ensures that your patio roof is properly aligned and provides adequate coverage. Here’s how to do it:
- Choose the placement: Consider factors such as the size and shape of your patio, the direction of sunlight, and any existing structures or obstacles. Select a location that maximizes shade and aligns with your outdoor living needs.
- Measure the area: Use a tape measure to determine the exact dimensions of your patio. This includes both width and length measurements. Take into account any overhangs or extensions you want to include in your patio roof design.
- Mark the perimeter: Using stakes or markers, mark the four corners of the patio roof area. Make sure the corners are square and adjust the positioning if necessary.
- Establish the roof pitch: Decide on the angle or pitch of your patio roof. This will determine how steep the roof will be and affect the drainage of rainwater. Common roof pitches range from 1/12 (low slope) to 12/12 (steep slope).
- Mark the roof pitch: Measure and mark the roof pitch along the perimeter of the patio roof area. Use a level or a string line to ensure consistent and accurate markings.
- Add support beam marks: Determine the location of support beams or posts that will be used to hold up the roof structure. Mark their positions along the perimeter, ensuring they are evenly spaced and aligned with the roof pitch.
By taking the time to measure and mark the patio roof location accurately, you set the foundation for a successful installation. Double-check your measurements and make any necessary adjustments before moving on to the next step.
Now that you have the patio roof area defined, it’s time to proceed to Step 4: installing the ledger board.
Step 4: Installing the Ledger Board
Now that you have measured and marked the location for your patio roof, it’s time to install the ledger board. The ledger board is a horizontal piece of lumber that will be securely attached to the house, providing support for the patio roof. Here’s how to install it:
- Select the ledger board material: Choose a high-quality, pressure-treated lumber that is resistant to decay and rot. The size of the ledger board will depend on the dimensions of your patio roof. Follow local building codes and guidelines for appropriate board dimensions.
- Position the ledger board: Place the ledger board along the marked line on the house, ensuring it is level and aligned with the roof pitch. Use a level to check for any discrepancies and make adjustments as needed.
- Mark the screw hole locations: Mark the locations of the screw holes on the ledger board. These holes will be used to secure the ledger board to the house. Space the holes equally along the length of the board, ensuring there are enough to provide adequate support.
- Pre-drill the screw holes: Using a drill and an appropriate size drill bit, pre-drill the marked screw holes on the ledger board. This will prevent the wood from splitting when the screws are installed.
- Attach the ledger board: Position the ledger board back onto the marked line on the house. Securely fasten it to the house using lag screws or structural screws. Make sure the screws penetrate into the underlying wall studs, providing a solid connection.
- Check for levelness: Use a level to double-check that the ledger board is perfectly level. Adjust as necessary, tightening or loosening the screws to achieve a level surface along the entire length of the board.
By properly installing the ledger board, you ensure that your patio roof has a secure and stable attachment point to the house. Take your time to ensure the board is level and securely fastened.
With the ledger board in place, you’re ready to move on to Step 5: attaching rafters to the ledger board.
When attaching a patio roof to a house, make sure to use proper flashing to prevent water from seeping in between the roof and the house. This will help to protect your home from water damage.
Step 5: Attaching Rafters to the Ledger Board
Now that the ledger board is securely installed, it’s time to attach the rafters, which will support the roofing material of your patio roof. The rafters will span from the ledger board to the outer support beams or posts, providing the framework for the roof. Here’s how to attach the rafters:
- Select the rafter material: Choose a sturdy and durable lumber material for the rafters. The size and type of lumber will depend on the size of your patio roof and the load it needs to support. Consult local building codes for recommended rafter dimensions.
- Measure and cut the rafters: Take precise measurements to determine the length of each rafter. Cut the rafters to size using a saw or miter saw, ensuring that they are all consistent and accurately cut.
- Space the rafters: Determine the spacing between each rafter, typically ranging from 16 to 24 inches apart. Mark the locations on the ledger board where each rafter will be installed.
- Attach the rafters: Position the first rafter on the marked location and secure it to the ledger board using rafter hangers or joist hangers. Make sure the rafter is plumb (vertically level) and flush with the edge of the ledger board.
- Install additional rafters: Repeat the process for the remaining rafters, ensuring they are evenly spaced and aligned with your roofing plans. Use a level to check the alignment and make any necessary adjustments.
- Secure the rafters to the support beams: Once all the rafters are installed, secure the other end of each rafter to the outer support beams or posts using appropriate connectors or brackets. Double-check that all the rafters are securely fastened and provide a sturdy framework for the patio roof.
By properly attaching the rafters to the ledger board and support beams, you create a strong and stable structure for your patio roof. Take your time to ensure the rafters are accurately cut and evenly spaced.
With the rafters securely in place, we’re ready to move on to Step 6: installing the roofing sheets or panels.
Step 6: Installing Roofing Sheets or Panels
With the rafters in place, it’s time to install the roofing sheets or panels, which will provide the actual coverage and protection for your patio roof. There are various options available for roofing materials, including metal, shingles, polycarbonate sheets, or even thatch. Here’s a general guide for installing roofing sheets or panels:
- Select the roofing material: Choose a roofing material that suits your aesthetic preferences, climate, and budget. Consider factors such as durability, maintenance requirements, and the overall look you want to achieve with your patio roof.
- Measure and cut the roofing material: Take precise measurements of each section of your patio roof where the roofing material will be installed. Use a saw or specialized cutting tool to cut the roofing sheets or panels to fit the dimensions of your roof.
- Prepare the roofing material: Depending on the type of roofing material you choose, you may need to follow specific preparation instructions. This could include applying adhesive, sealing edges, or interlocking the panels.
- Begin roof installation: Start at one end of the roof and work your way across, placing and securing each roofing sheet or panel according to the manufacturer’s instructions. Use appropriate fasteners, such as screws, nails, or clips, to secure the roofing material to the rafters.
- Overlap and seal: If using multiple sheets or panels, ensure they overlap properly to create a seamless and watertight connection. Apply any recommended sealants or flashing to prevent water infiltration at the joints or edges.
- Check for proper drainage: Ensure that the roofing material is properly angled to allow for water drainage. This will depend on the roof pitch you established earlier. Make any necessary adjustments to ensure proper water flow.
- Inspect and make adjustments: Once the roofing material is installed, inspect the entire roof for any loose or misaligned sections. Make any necessary adjustments or tighten any fasteners to ensure a secure and stable roof.
By carefully selecting and installing the roofing material, you can create a beautiful and functional patio roof that provides the desired protection and appearance for your outdoor space.
Now that the roofing is installed, we can move on to Step 7: adding finishing touches to your patio roof.
Step 7: Adding Finishing Touches
Congratulations! With the main structure and roofing of your patio roof in place, it’s time to add those final touches that will enhance both the functionality and aesthetics of your outdoor space. Here are some finishing touches you can consider:
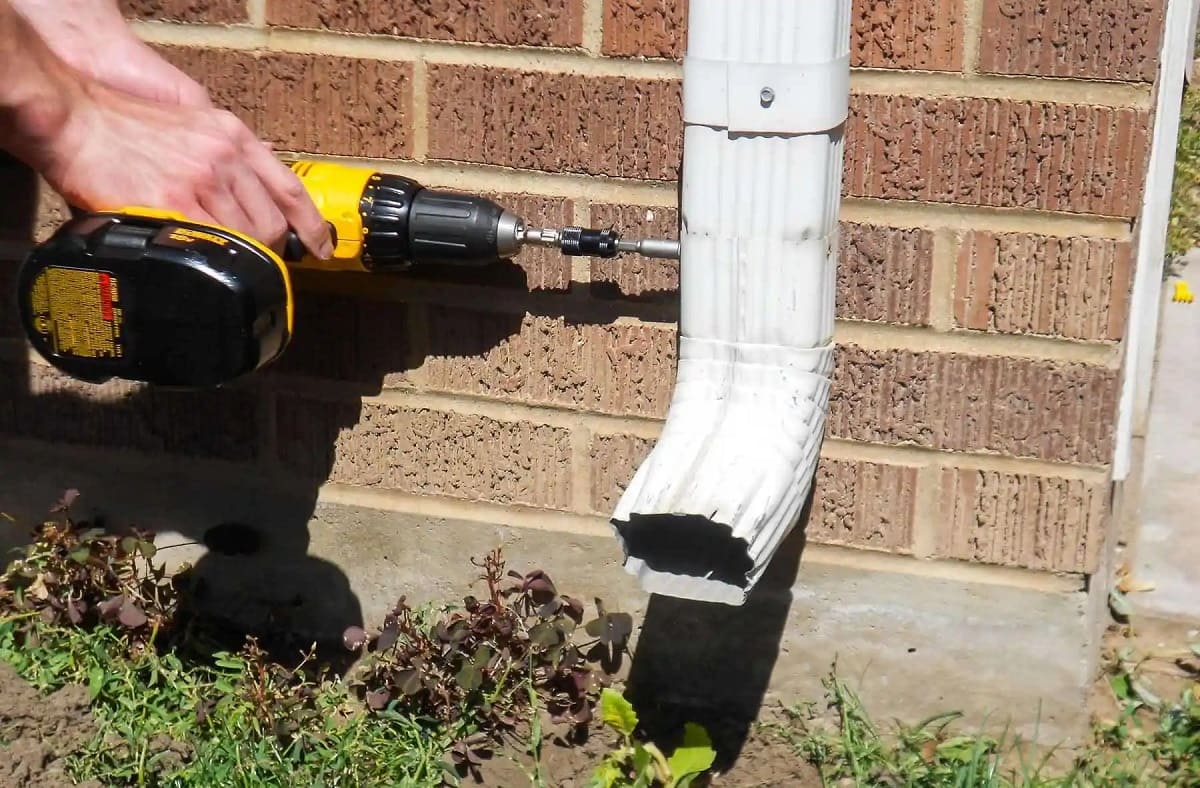
- Gutters and downspouts: Install gutters and downspouts along the edges of your patio roof to collect and redirect rainwater away from your outdoor living area. This will help prevent water damage and erosion.
- Lighting: Install outdoor lighting fixtures to illuminate your patio area at night. Consider options such as LED string lights, wall sconces, or even solar-powered pathway lights to create a warm and inviting ambiance.
- Ceiling fans: If you want to enjoy your patio even during hot summer days, consider installing ceiling fans. They will provide a refreshing breeze and help to keep the area cool and comfortable.
- Decorative elements: Personalize your patio roof with decorative features like hanging plants, outdoor artwork, or decorative screens. These elements will add personality and charm to your outdoor space.
- Furniture and accessories: Choose outdoor furniture and accessories that align with your style and comfort preferences. Consider durable materials that can withstand the elements and opt for cushions and pillows that are designed for outdoor use.
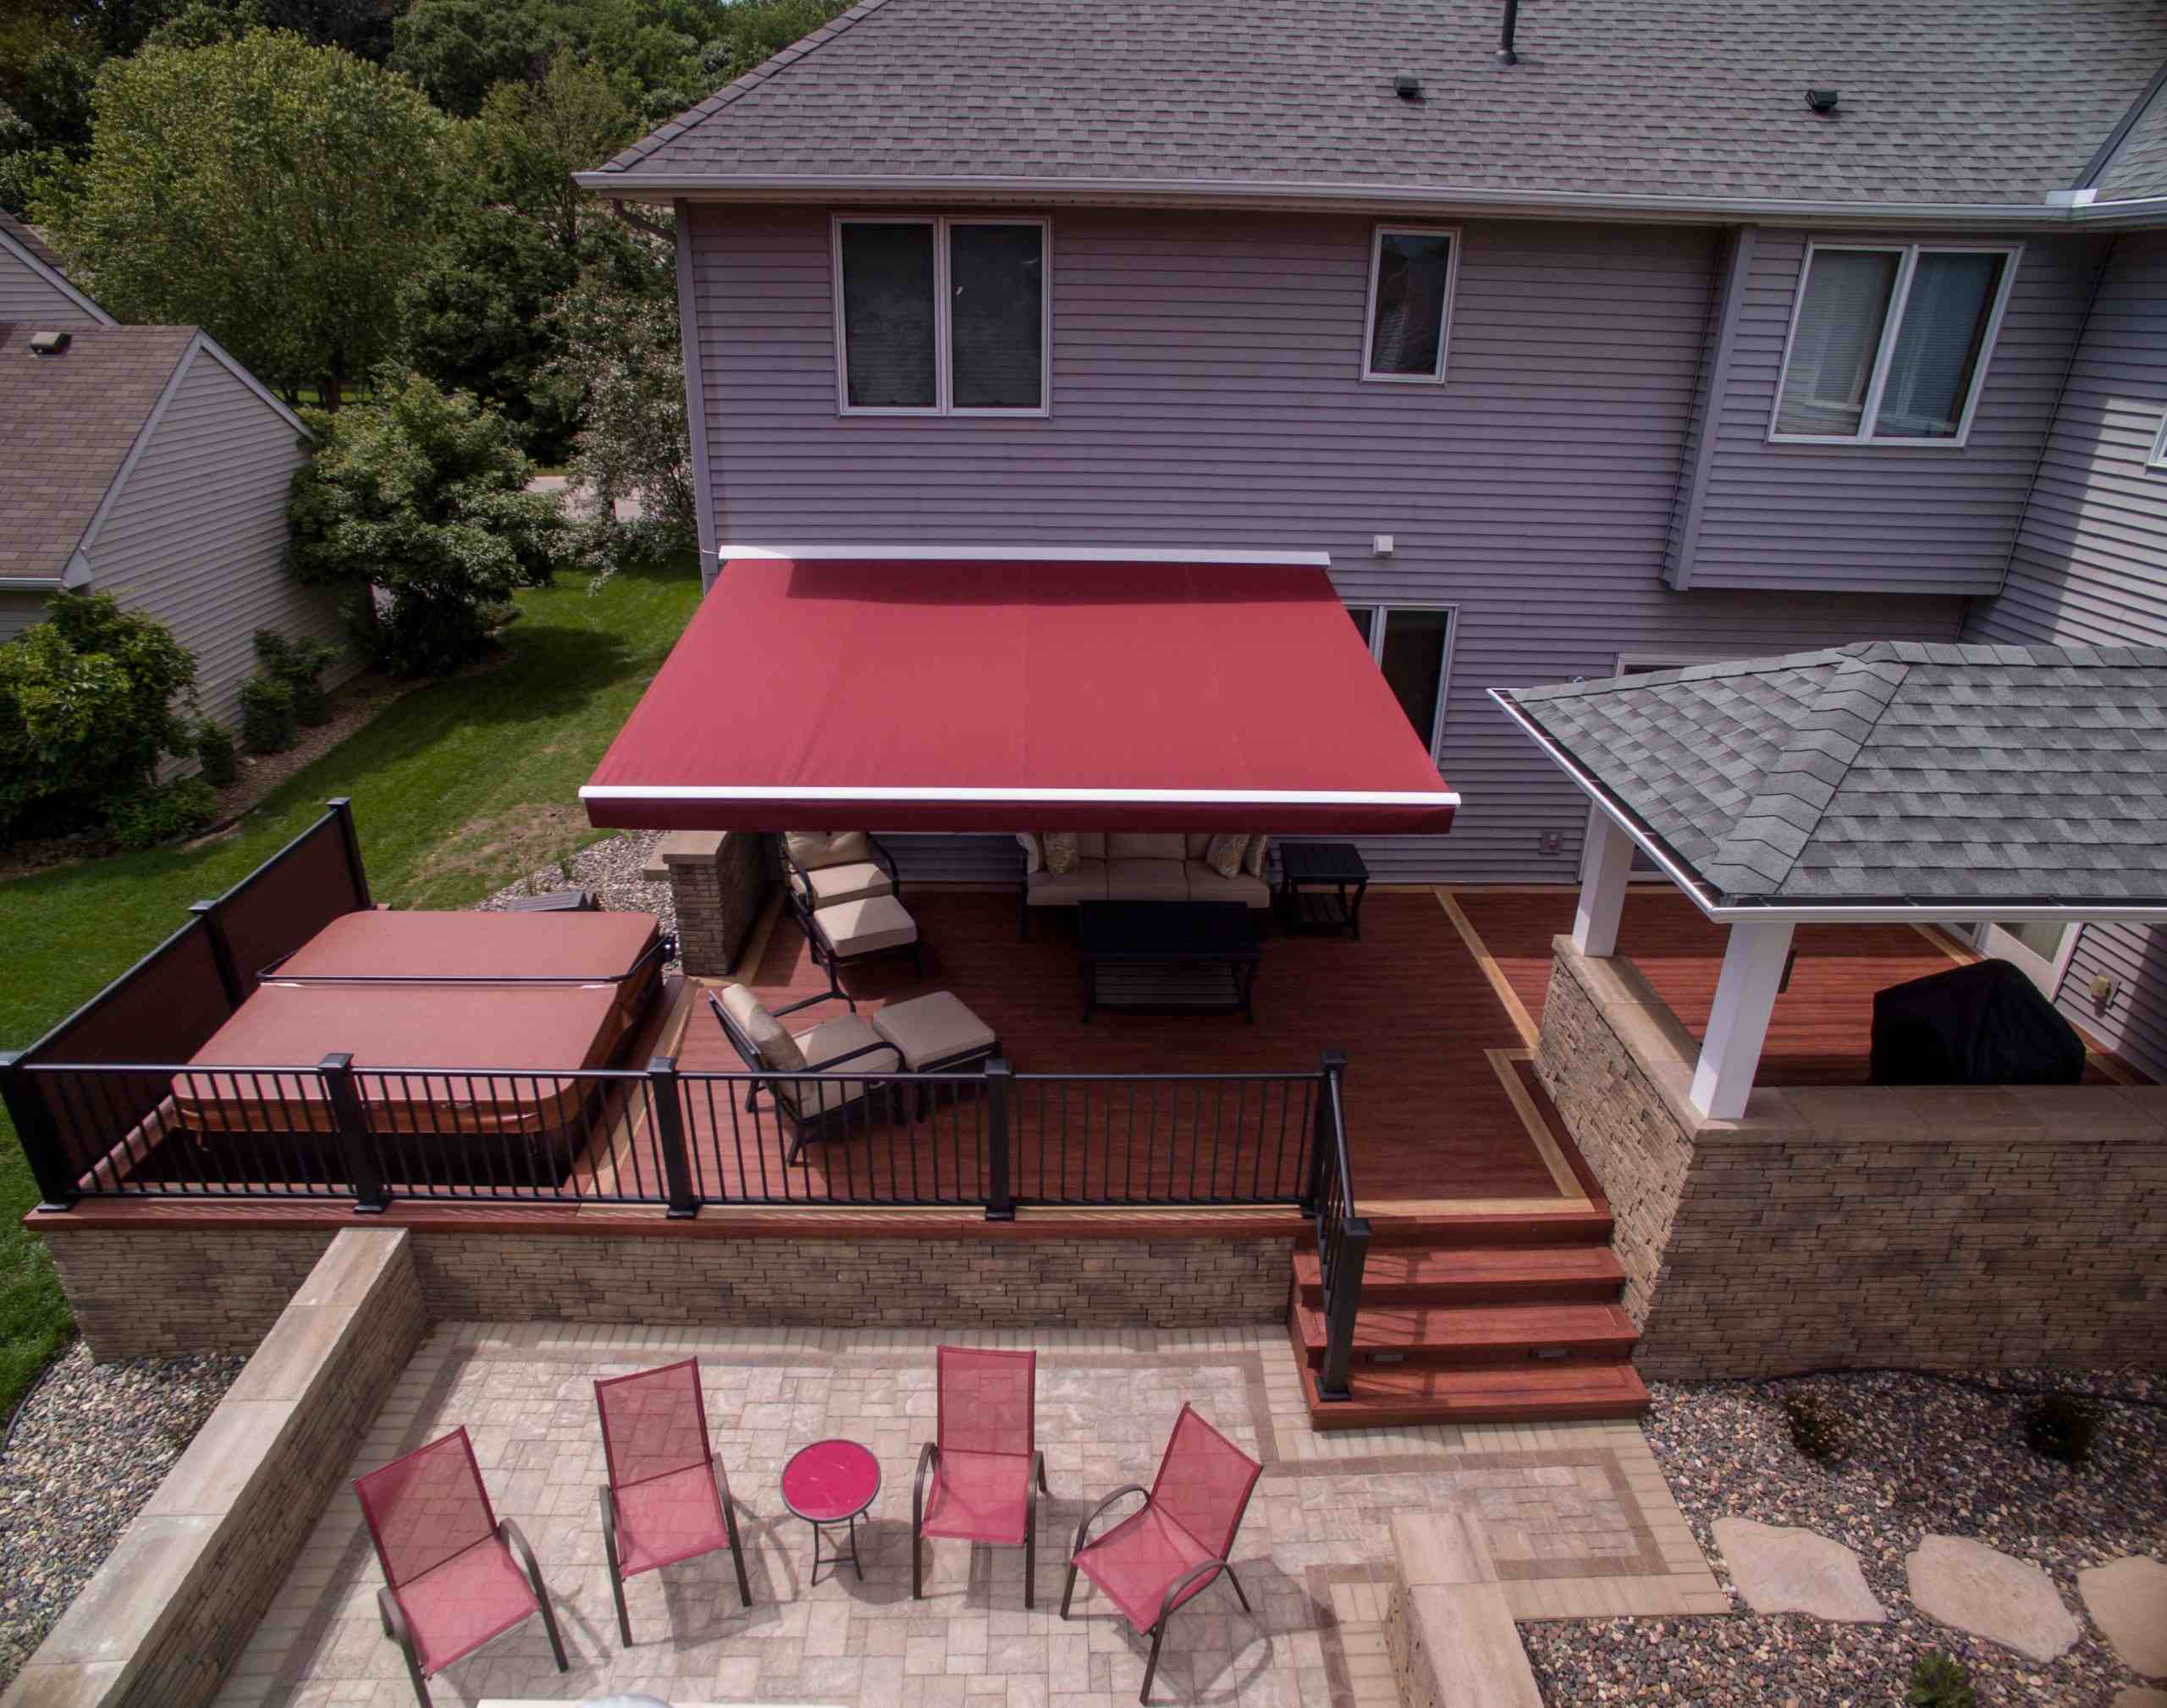
- Shade solutions: If your patio roof doesn’t provide enough shade, consider incorporating additional shade solutions like retractable awnings, shade sails, or bamboo blinds. These will provide extra protection and flexibility for different weather conditions.
- Landscaping: Complete the look of your outdoor space by adding landscaping elements around the patio area. This could include planting flowers, installing potted plants, or creating a garden bed that integrates seamlessly with your patio design.
By adding these finishing touches, you can create a comfortable, inviting, and visually appealing outdoor space that you’ll love spending time in.
Now that your patio roof is complete, take a step back and admire the transformation you’ve achieved. Enjoy your newly created outdoor oasis and make memorable moments with family and friends!
Remember, it’s always a good idea to consult with professionals or experts in the field if you have any uncertainties or if your project requires specialized knowledge.
Thank you for following this guide on how to attach a patio roof to your house. We hope you found it informative and helpful. Happy outdoor living!
Conclusion
Congratulations on completing the process of attaching a patio roof to your house! By following the steps outlined in this guide, you’ve transformed your outdoor space into a functional and inviting area that offers shade and protection.
Throughout this journey, we emphasized the importance of assessing your house structure, obtaining the necessary permits, and carefully measuring and marking the patio roof location. Installing the ledger board, attaching the rafters, and installing the roofing material were crucial steps in creating a secure and stable patio roof. Finally, adding the finishing touches, such as gutters, lighting, and furniture, enhanced the functionality and aesthetics of your outdoor living area.
While this guide provided a general overview of the process, it’s essential to remember that every project is unique, and it’s crucial to follow local building codes and regulations. Safety should always be a top priority, and consulting professionals when necessary is highly recommended.
With your new patio roof in place, you can now enjoy the benefits of outdoor living all year round. Whether you’re hosting gatherings, relaxing with a book, or simply enjoying the fresh air, your patio roof will provide the perfect space to do so.
Remember, maintaining your patio roof is important to ensure its longevity and functionality. Regular inspections, cleaning, and repairs, when needed, will help prolong the life of your patio roof and keep it in top condition.
We hope this guide has been informative and inspiring, providing you with the knowledge and confidence to embark on your patio roof installation project. Enjoy your outdoor oasis and create many unforgettable memories in your newly enhanced outdoor space.
Thank you for joining us on this DIY adventure, and we wish you the best of luck with your patio roof endeavors!
Now that you've mastered attaching a patio roof, why not dive deeper into personal projects? Whether you're looking to express creativity or improve skills, discovering the benefits of DIY projects could spark your next big idea. Perhaps you're envisioning fresh settings for your newly covered patio? Outdoor living enhancements with colorful decor could transform your space. Or maybe, it's time to upgrade indoors with home renovation tips, focusing on the best hardwood floors. Each step forward offers exciting possibilities to redefine your living areas, inside and out.
Frequently Asked Questions about How To Attach A Patio Roof To A House
Was this page helpful?
At Storables.com, we guarantee accurate and reliable information. Our content, validated by Expert Board Contributors, is crafted following stringent Editorial Policies. We're committed to providing you with well-researched, expert-backed insights for all your informational needs.


0 thoughts on “How To Attach A Patio Roof To A House”