Home>Renovation & DIY>Home Renovation Guides>How To Attach Marble Backsplash

Home Renovation Guides
How To Attach Marble Backsplash
Modified: August 28, 2024
Learn how to attach a marble backsplash in your home renovation project with our comprehensive guide. Get expert tips and step-by-step instructions for a successful installation.
(Many of the links in this article redirect to a specific reviewed product. Your purchase of these products through affiliate links helps to generate commission for Storables.com, at no extra cost. Learn more)
Introduction
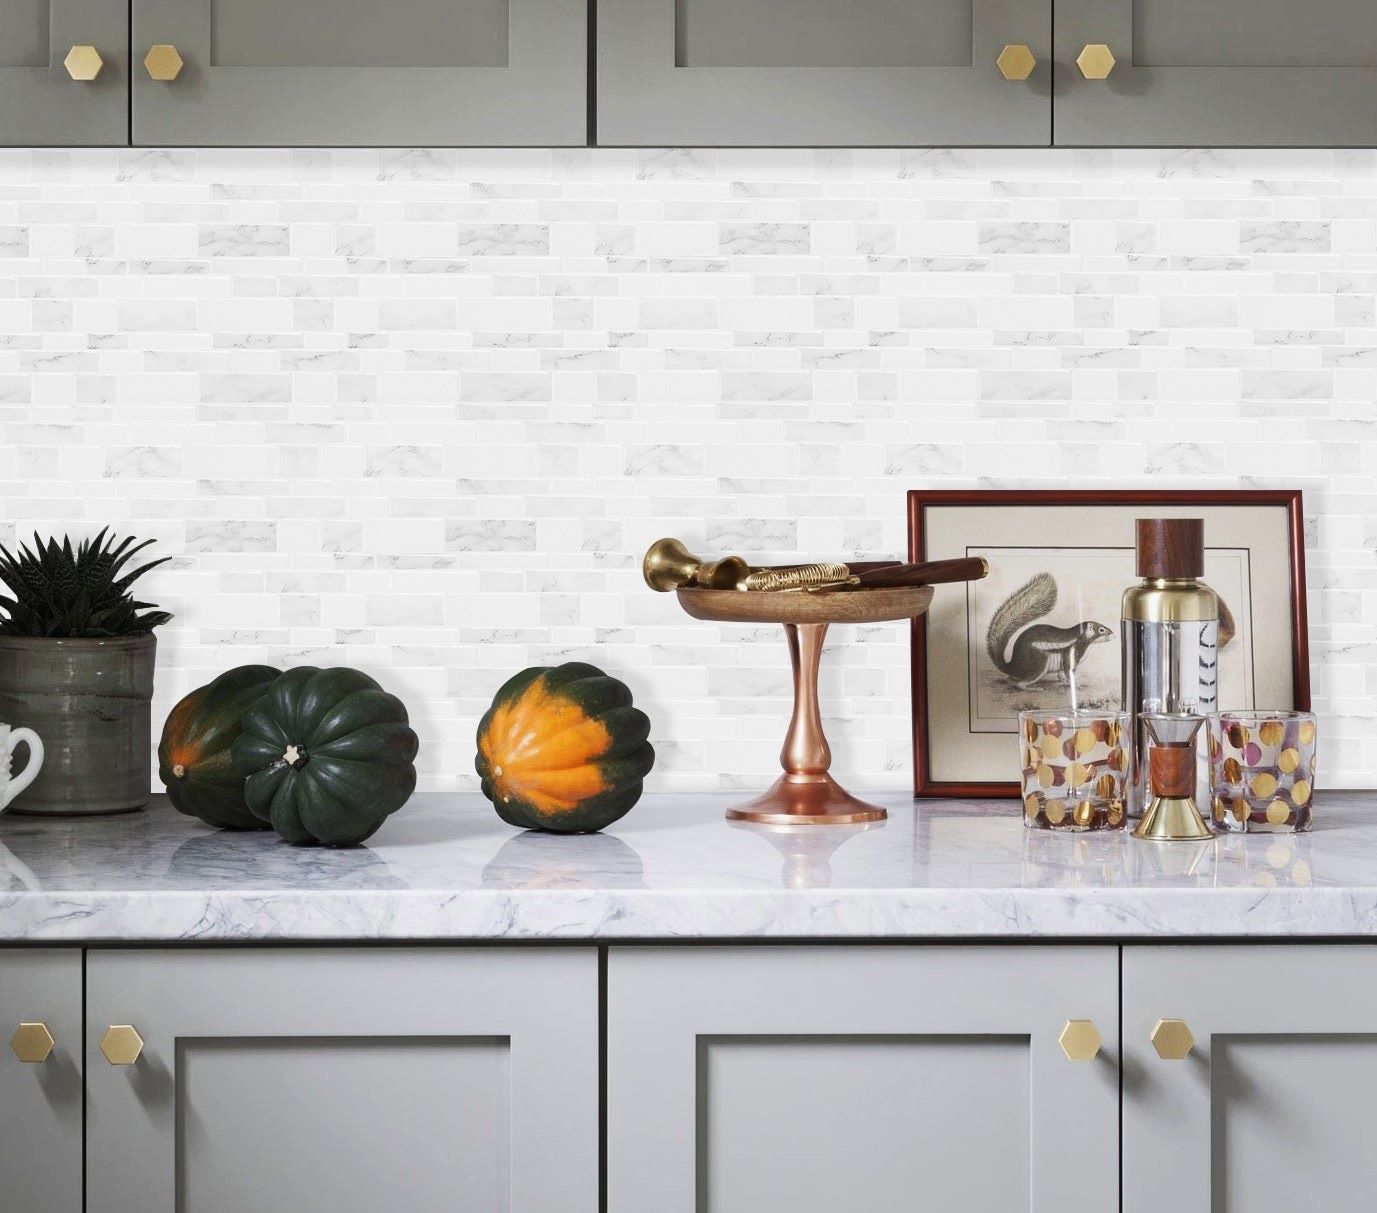
Adding a marble backsplash to your kitchen or bathroom can instantly elevate the aesthetic appeal of the space. The timeless elegance and natural beauty of marble make it a popular choice for homeowners seeking to enhance the visual allure of their interiors. Whether you are embarking on a full-scale renovation or simply looking to upgrade the existing backsplash, this comprehensive guide will walk you through the step-by-step process of attaching a marble backsplash with precision and finesse.
Marble, with its distinctive veining and lustrous surface, brings a touch of luxury to any setting. Its versatility allows it to complement a wide range of design styles, from classic to contemporary, making it a sought-after material for backsplashes. By following the detailed instructions provided in this guide, you can achieve a professional-looking marble backsplash installation that will become the focal point of your kitchen or bathroom.
The process of attaching a marble backsplash involves several key steps, each of which plays a crucial role in ensuring a durable and visually stunning result. From gathering the necessary materials to cleaning and sealing the finished backsplash, every stage demands attention to detail and a meticulous approach. By understanding and executing each step with precision, you can transform the ambiance of your space while adding value to your home.
As you embark on this journey to enhance your living environment, it's important to approach the project with a sense of enthusiasm and dedication. The satisfaction of completing a home improvement project, especially one that involves the timeless allure of marble, can be immensely rewarding. With the right guidance and a willingness to immerse yourself in the process, you can achieve a marble backsplash that not only enhances the visual appeal of your space but also reflects your personal style and attention to detail.
Now, let's delve into the step-by-step process of attaching a marble backsplash, ensuring that each stage is approached with care and precision to achieve a stunning and enduring result.
Key Takeaways:
- Attaching a marble backsplash involves meticulous preparation, precise tile installation, and thorough cleaning and sealing. The process elevates the ambiance of a kitchen or bathroom with timeless elegance and enduring beauty.
- By following step-by-step instructions, homeowners can achieve a professional-looking marble backsplash that reflects their personal style. The installation process requires dedication, attention to detail, and a sense of enthusiasm.
Read more: How To Attach Backsplash To Wall
Step 1: Gather the necessary materials
Before embarking on the installation of a marble backsplash, it's essential to gather all the required materials and tools to ensure a smooth and efficient process. By having everything at hand, you can minimize interruptions and focus on the task at hand, resulting in a more seamless and enjoyable experience.
Here's a comprehensive list of the materials and tools you will need:
-
Marble Tiles: Select high-quality marble tiles in the desired color and pattern. Measure the area to determine the quantity needed, allowing for a small percentage of extra tiles to accommodate any cutting or fitting adjustments.
-
Tile Adhesive: Choose a premium-quality tile adhesive suitable for marble installation. Opt for a product that provides strong adhesion and is recommended for natural stone applications.
-
Grout: Select a grout color that complements the chosen marble tiles. Ensure that the grout is suitable for marble and is formulated to resist staining and cracking over time.
-
Tile Spacers: These small, plastic spacers are essential for maintaining consistent spacing between the tiles during installation, ensuring a professional and uniform appearance.
-
Notched Trowel: A notched trowel is used to apply the adhesive to the wall surface, creating an even and consistent layer for tile installation.
-
Tile Cutter or Wet Saw: Depending on the complexity of your backsplash design, you may require a tile cutter or wet saw to make precise cuts and achieve a custom fit for the marble tiles.
-
Level: A level is indispensable for ensuring that the marble tiles are installed perfectly straight and level, preventing any visual irregularities in the finished backsplash.
-
Sponge and Bucket: These basic cleaning tools are essential for wiping off excess grout and adhesive during the installation process.
-
Grout Float: A grout float is used to apply and pack the grout into the spaces between the marble tiles, ensuring a complete and uniform fill.
-
Sealer: Invest in a high-quality marble sealer to protect the finished backsplash from stains and moisture, preserving its beauty and longevity.
By gathering these essential materials and tools, you can set the stage for a successful marble backsplash installation. With everything at your disposal, you can proceed to the next steps with confidence, knowing that you are well-prepared to achieve a stunning and enduring result.
Step 2: Prepare the wall surface
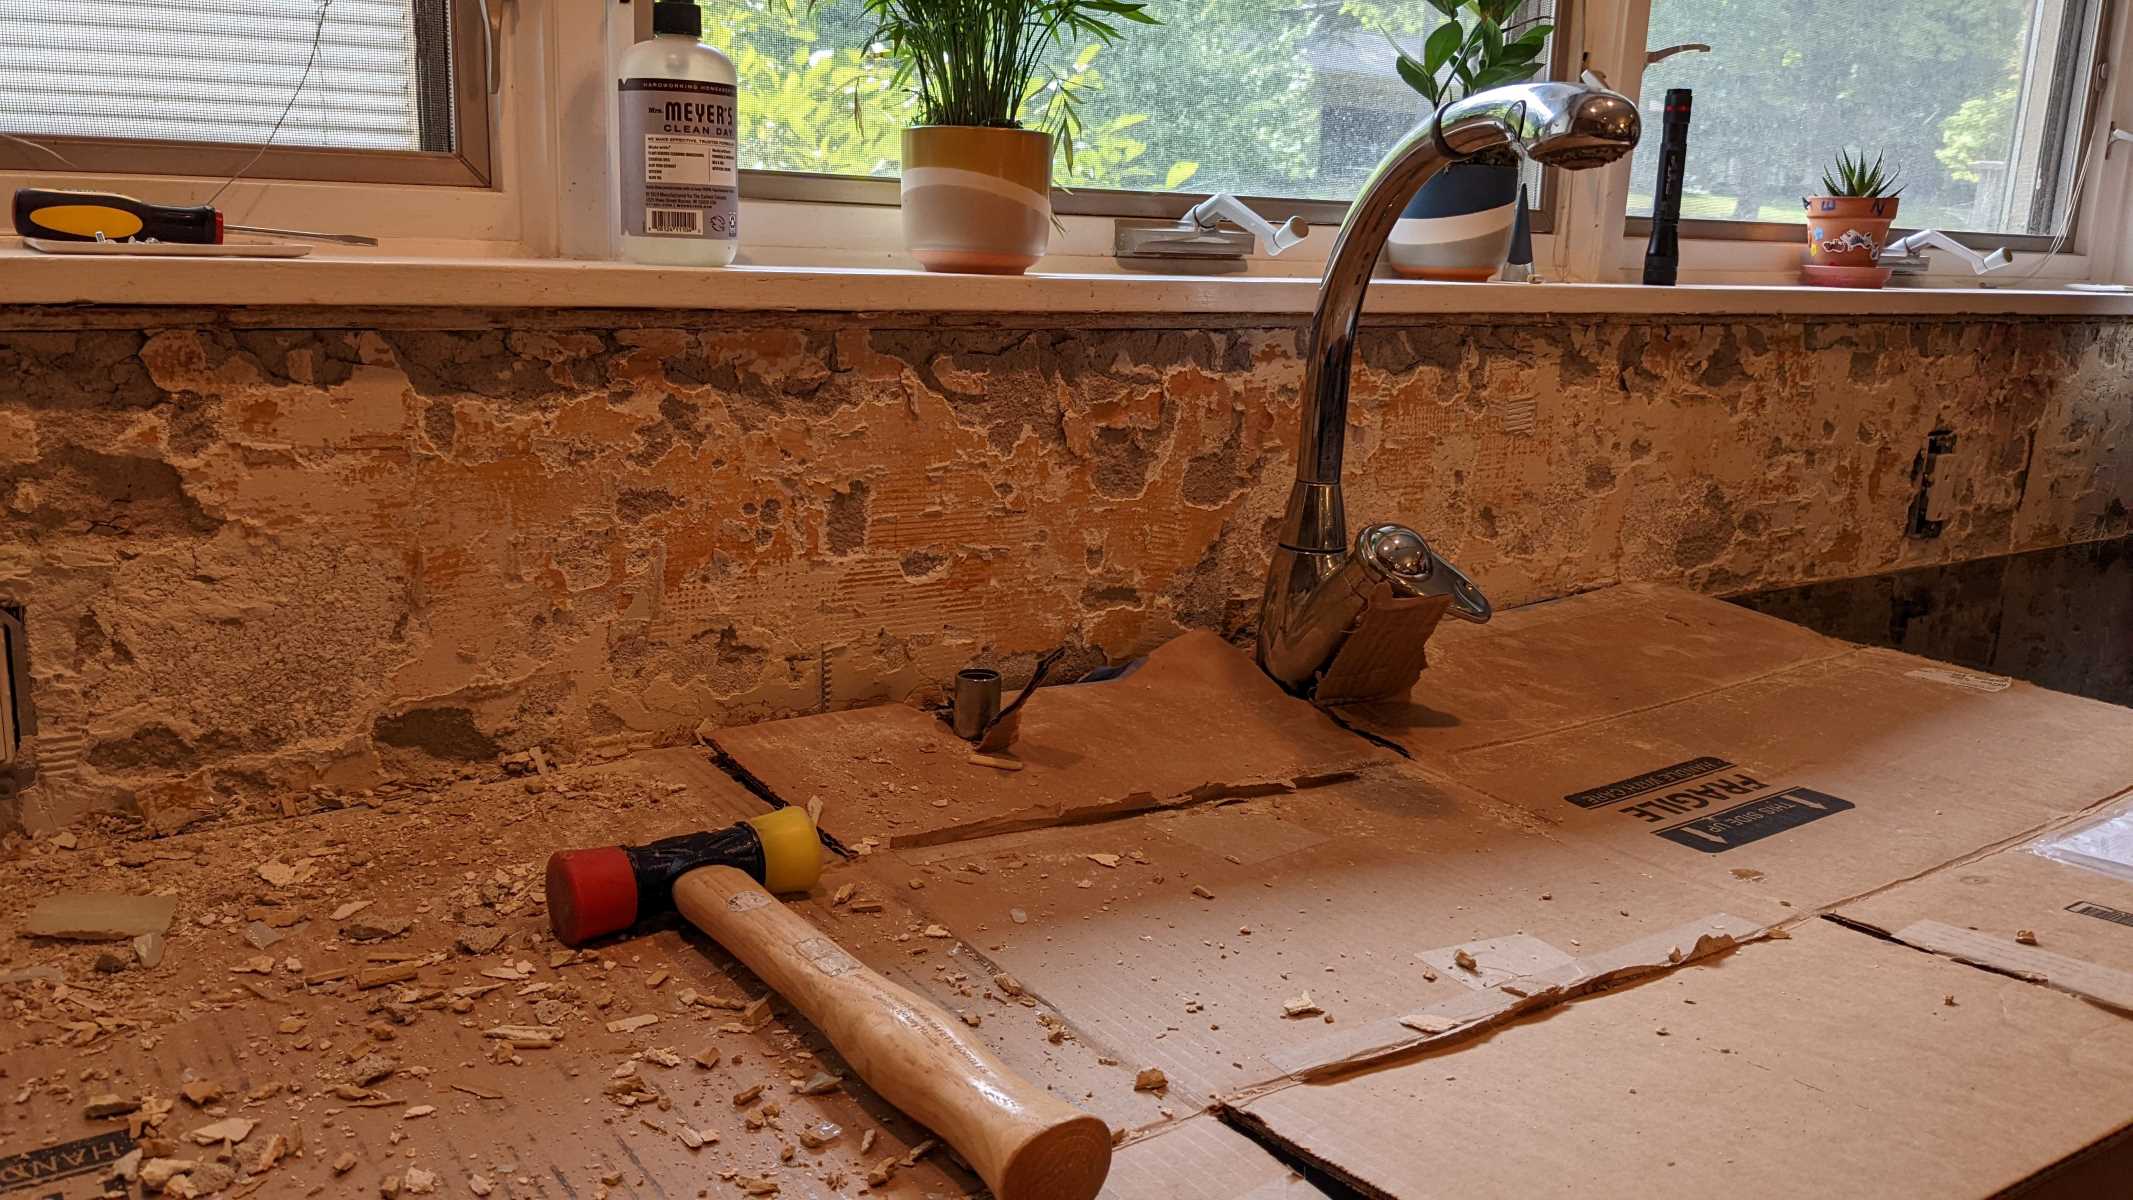
Preparing the wall surface is a critical initial step in the installation of a marble backsplash. Proper preparation ensures that the surface is clean, smooth, and ready to receive the adhesive and tiles, laying the foundation for a durable and visually appealing installation.
Clear the Workspace
Begin by clearing the area around the backsplash, removing any obstacles or items that may hinder access to the wall. This includes removing outlet covers, switch plates, and any other fixtures attached to the wall. Clearing the workspace provides ample room to work and facilitates a more efficient and organized preparation process.
Read more: How To Attach Backsplash To Vanity
Clean the Wall
Thoroughly clean the wall surface where the marble backsplash will be installed. Use a mild detergent and water solution to remove any dirt, grease, or residue that may have accumulated over time. Ensure that the wall is completely free of debris and contaminants, as any impurities can compromise the adhesion of the tiles and affect the overall integrity of the installation.
Repair Any Imperfections
Inspect the wall for any imperfections, such as cracks, holes, or uneven surfaces. Fill in any gaps or imperfections with a suitable wall patching compound, smoothing it out to create a uniform and level surface. Allow the patching compound to dry completely before proceeding to the next stage, ensuring that the wall is structurally sound and ready for the installation of the marble backsplash.
Sand the Surface
If the wall surface is particularly smooth or glossy, lightly sand it to create a slightly rough texture. This helps improve the adhesion of the tile adhesive to the wall, promoting a stronger bond between the surface and the marble tiles. Use a fine-grit sandpaper to gently roughen the wall, being careful not to damage the surrounding areas or create excessive dust.
Protect Adjacent Surfaces
To prevent any accidental damage or staining during the installation process, protect adjacent surfaces such as countertops and cabinets with masking tape and drop cloths. This precautionary measure safeguards surrounding areas from adhesive, grout, or other materials that may inadvertently come into contact with them.
By meticulously preparing the wall surface, you establish the groundwork for a successful marble backsplash installation. This diligent approach sets the stage for a seamless and professional outcome, ensuring that the beauty and durability of the marble tiles are maximized in the finished installation.
Step 3: Measure and cut the marble tiles
Accurate measurement and precise cutting of the marble tiles are crucial steps in achieving a seamless and visually stunning backsplash installation. By meticulously measuring the space and customizing the tiles to fit, you can ensure a tailored and professional finish that enhances the overall aesthetic of the area.
Measure the Space
Begin by measuring the area where the marble backsplash will be installed. Use a tape measure to determine the exact dimensions, taking into account any obstacles such as electrical outlets, switches, or other fixtures. It's essential to measure both the length and height of the space accurately, allowing for a precise calculation of the required tile sizes and cuts.
Account for Tile Spacing
When measuring for the marble tiles, it's important to consider the spacing between the tiles. Use tile spacers to determine the desired grout lines and factor this spacing into your measurements. By accounting for the tile spacers, you can ensure that the final installation maintains a consistent and visually appealing layout.
Mark and Cut the Tiles
Transfer the measurements onto the marble tiles, marking them with a pencil or a marker. Use a tile cutter or a wet saw to make precise cuts according to the marked dimensions. It's crucial to exercise caution and precision during the cutting process to achieve clean and accurate tile edges. If intricate cuts or notches are required to accommodate obstacles or corners, carefully plan and execute these cuts to ensure a seamless fit.
Read more: How To Clean Marble
Dry-Fit the Tiles
After cutting the marble tiles, perform a dry-fit by placing them on the prepared wall surface. This allows you to verify the accuracy of the cuts and make any necessary adjustments before proceeding with the adhesive application. Pay close attention to the alignment and spacing of the tiles, ensuring that they fit snugly and create a visually pleasing pattern.
Double-Check the Measurements
Before applying the adhesive, double-check the measurements and the dry-fit arrangement to confirm that everything aligns perfectly. This extra verification step helps prevent errors and ensures that the installation progresses smoothly without the need for last-minute adjustments.
By meticulously measuring and cutting the marble tiles, you set the stage for a precise and visually striking backsplash installation. These careful preparations pave the way for a seamless and professional outcome, allowing the natural beauty of the marble to shine through in the finished installation.
Step 4: Apply the adhesive
With the wall surface meticulously prepared and the marble tiles precisely measured and cut, the next pivotal step in the installation process is applying the adhesive. The adhesive serves as the foundational element that secures the marble tiles to the wall, creating a durable and long-lasting bond that forms the basis of the stunning backsplash.
Selecting the Right Adhesive
Choosing the appropriate adhesive is paramount to the success of the installation. Opt for a high-quality, polymer-modified thin-set mortar specifically designed for natural stone applications. This type of adhesive offers superior bonding strength and flexibility, ensuring that the marble tiles adhere securely to the wall surface while accommodating any slight movements or shifts.
Read more: How To Make Marble Candles
Mixing the Adhesive
Follow the manufacturer's instructions to prepare the adhesive mixture. Use a clean bucket to combine the thin-set mortar with water, achieving a smooth and homogeneous consistency. It's essential to mix the adhesive to the proper thickness, ensuring that it is neither too runny nor too stiff. Consistency in the adhesive mixture is crucial for achieving optimal adhesion and ensuring a uniform installation.
Applying the Adhesive
Using a notched trowel, spread the adhesive onto the prepared wall surface in even, horizontal strokes. The notches on the trowel create ridges in the adhesive, promoting a strong bond between the wall and the marble tiles. Work in manageable sections to prevent the adhesive from drying out before the tiles are installed.
Back-Buttering the Tiles
To further enhance the bond between the marble tiles and the wall, apply a thin layer of adhesive to the back of each tile before setting it in place. This technique, known as back-buttering, ensures complete coverage and maximizes the contact area between the tile and the wall, enhancing the overall stability of the installation.
Maintaining Consistent Thickness
As you apply the adhesive and back-butter the tiles, strive to maintain a consistent thickness of the adhesive layer. This uniformity is essential for ensuring that the tiles sit level and that the grout lines are consistent throughout the installation. Pay close attention to the depth of the adhesive to achieve a professional and visually appealing result.
By meticulously applying the adhesive according to these guidelines, you establish a solid foundation for the installation of the marble tiles. This crucial step sets the stage for a seamless and enduring backsplash, ensuring that the natural beauty of the marble is showcased in a visually stunning and professionally executed installation.
Read more: How To Mop Marble Floors
Step 5: Install the marble tiles
With the adhesive meticulously applied and the wall surface primed for the next phase, it's time to embark on the pivotal stage of installing the marble tiles. This step demands precision, attention to detail, and a keen eye for achieving a visually striking and seamless arrangement.
Begin by carefully placing the marble tiles onto the adhesive-covered wall surface, starting from the bottom and working your way upward. Press each tile firmly into the adhesive, ensuring that it is level and aligns with the surrounding tiles. Utilize tile spacers to maintain consistent grout lines and ensure uniform spacing between the tiles, creating a professional and visually appealing layout.
As you progress with the installation, periodically use a level to verify that the tiles are perfectly straight and aligned. This meticulous attention to detail ensures that the finished backsplash exudes a sense of precision and craftsmanship, elevating the overall aesthetic of the space.
If any adjustments are necessary to accommodate obstacles or corners, use a tile cutter or wet saw to make precise cuts, ensuring that the tiles fit seamlessly into the designated areas. Pay close attention to the intricate details, as these custom cuts contribute to the polished and tailored appearance of the installation.
Throughout the installation process, periodically step back to assess the overall visual impact of the marble tiles. This vantage point allows you to evaluate the arrangement and make any necessary adjustments to maintain a cohesive and visually pleasing pattern.
As the installation nears completion, take the time to ensure that all the tiles are securely set in place and that the spacing is consistent throughout. This meticulous approach sets the stage for a flawless and enduring installation that showcases the timeless allure of marble.
By meticulously installing the marble tiles with precision and attention to detail, you lay the foundation for a visually stunning and professionally executed backsplash. This transformative stage brings the elegance and natural beauty of marble to the forefront, enhancing the ambiance of the space and reflecting a meticulous dedication to craftsmanship.
Step 6: Grout the tiles
Grouting the marble tiles is a pivotal step that not only enhances the visual appeal of the backsplash but also contributes to the structural integrity of the installation. The grout serves to fill the spaces between the tiles, creating a cohesive and seamless surface while providing essential support and stability to the overall structure.
Selecting the Grout
When choosing the grout for your marble backsplash, opt for a high-quality, sanded grout that complements the color and veining of the marble tiles. Selecting a grout color that harmonizes with the natural tones of the marble enhances the overall aesthetic while concealing imperfections and irregularities in the spacing.
Mixing and Applying the Grout
Follow the manufacturer's instructions to prepare the grout mixture to the desired consistency. Use a grout float to apply the mixture, pressing it firmly into the spaces between the tiles at a 45-degree angle to ensure complete coverage. Work in small sections, gradually filling the grout lines and removing any excess grout from the tile surfaces.
Read more: How To Paint Marble Fireplace
Cleaning the Tiles
After applying the grout, use a damp sponge to gently clean the surface of the tiles, removing any residual grout and smoothing the grout lines. Rinse the sponge frequently to ensure a thorough cleaning process, taking care not to remove excess grout from the lines. This meticulous cleaning step contributes to the polished and professional appearance of the finished backsplash.
Final Touches
As the grout begins to set, use a clean, dry cloth to buff the tiles, removing any haze or residue that may have accumulated during the grouting process. This final touch enhances the luster of the marble tiles, revealing their natural beauty and veining while ensuring a pristine and visually striking finish.
Sealing the Grout
Once the grout has fully cured, apply a high-quality grout sealer to protect the grout lines from staining and moisture. This essential step preserves the integrity of the grout, prolonging its durability and maintaining the pristine appearance of the backsplash over time.
By meticulously grouting the marble tiles and attending to the finer details of the process, you elevate the visual impact and longevity of the installation. This meticulous approach ensures that the natural beauty of the marble is showcased in a flawless and enduring backsplash, reflecting a commitment to precision and craftsmanship.
Step 7: Clean and seal the marble backsplash
After the meticulous installation and grouting of the marble tiles, the final step in achieving a pristine and enduring marble backsplash involves thorough cleaning and sealing. This critical stage not only enhances the visual allure of the installation but also safeguards its longevity and resilience against daily wear and tear.
Read more: What Are Marble Countertops
Cleaning the Surface
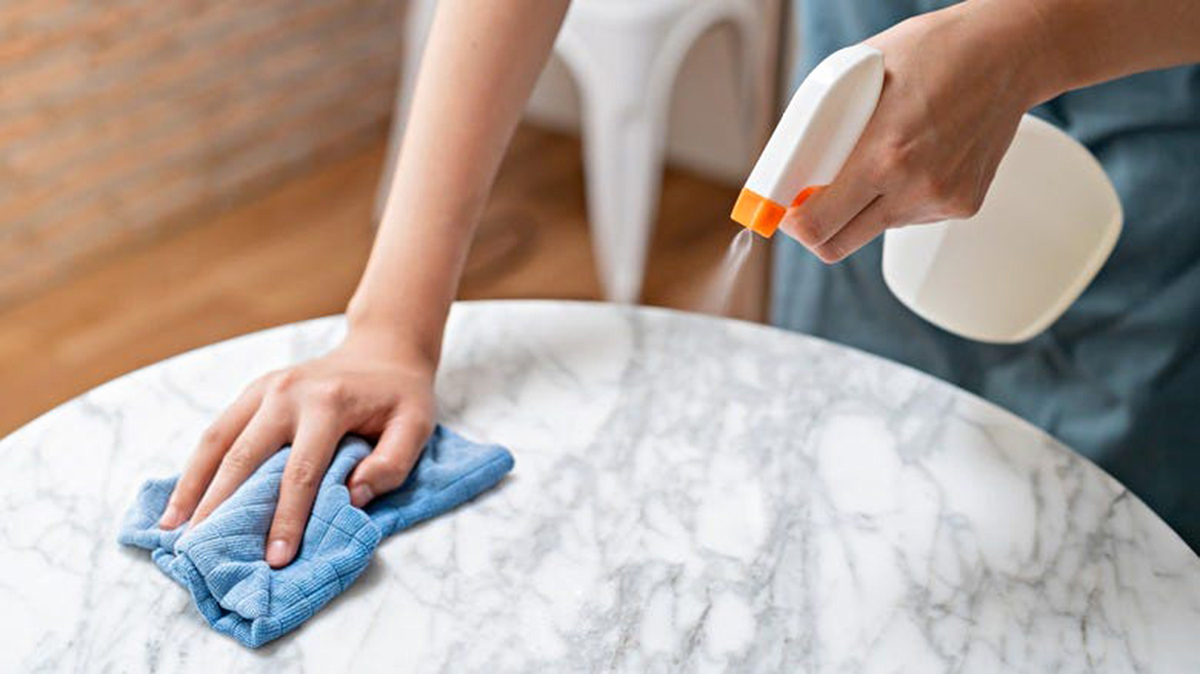
Begin by carefully inspecting the entire backsplash to ensure that all grout residue and adhesive marks have been effectively removed. Use a gentle, pH-neutral cleaner specifically formulated for natural stone surfaces. Apply the cleaner to a soft, non-abrasive cloth or sponge and gently wipe the marble tiles, paying particular attention to the grout lines. This meticulous cleaning process removes any lingering traces of grout or adhesive, revealing the natural luster and veining of the marble.
Drying and Polishing
After cleaning the marble backsplash, thoroughly dry the surface with a clean, lint-free cloth to prevent water spots or streaks. Once dry, use a separate cloth to gently polish the marble tiles, enhancing their inherent sheen and elegance. This careful polishing step accentuates the beauty of the marble, creating a captivating visual impact that elevates the overall ambiance of the space.
Sealing the Marble
To protect the marble backsplash from staining and moisture penetration, it is essential to apply a high-quality marble sealer. Select a penetrating sealer specifically designed for natural stone surfaces, as it effectively permeates the marble to provide long-lasting protection. Apply the sealer according to the manufacturer's instructions, ensuring complete coverage of the entire backsplash. Allow the sealer to penetrate the marble and then wipe off any excess to achieve a uniform finish.
Final Inspection
Once the sealer has been applied and allowed to cure, perform a final inspection of the marble backsplash. Verify that the surface is free of streaks, smudges, or any residual sealer. This meticulous attention to detail ensures that the finished installation exudes a sense of pristine elegance and enduring beauty.
By meticulously cleaning and sealing the marble backsplash, you not only enhance its visual allure but also fortify its resilience and longevity. This final stage of the installation process reflects a commitment to preserving the natural beauty and durability of the marble, ensuring that the backsplash remains a captivating focal point in your kitchen or bathroom for years to come.
Read more: How To Make Glass Marbles
Conclusion
In conclusion, the process of attaching a marble backsplash is a transformative journey that culminates in the creation of a visually stunning and enduring focal point in your kitchen or bathroom. From the meticulous preparation of the wall surface to the precise installation and grouting of the marble tiles, each step contributes to the seamless and professional execution of the installation. The culmination of this process, marked by the thorough cleaning and sealing of the marble backsplash, ensures that its natural beauty is preserved and its longevity is safeguarded for years to come.
The allure of a marble backsplash lies not only in its timeless elegance and luxurious appeal but also in the meticulous craftsmanship and attention to detail that define its installation. By embarking on this journey with a sense of dedication and enthusiasm, homeowners can elevate the ambiance of their living spaces while adding value and sophistication to their homes.
As the final touches are applied, and the pristine marble surface reflects the light with a captivating sheen, the sense of accomplishment and satisfaction is palpable. The installation of a marble backsplash is not merely a home improvement project; it is a testament to the homeowner's commitment to creating a space that exudes refinement and sophistication.
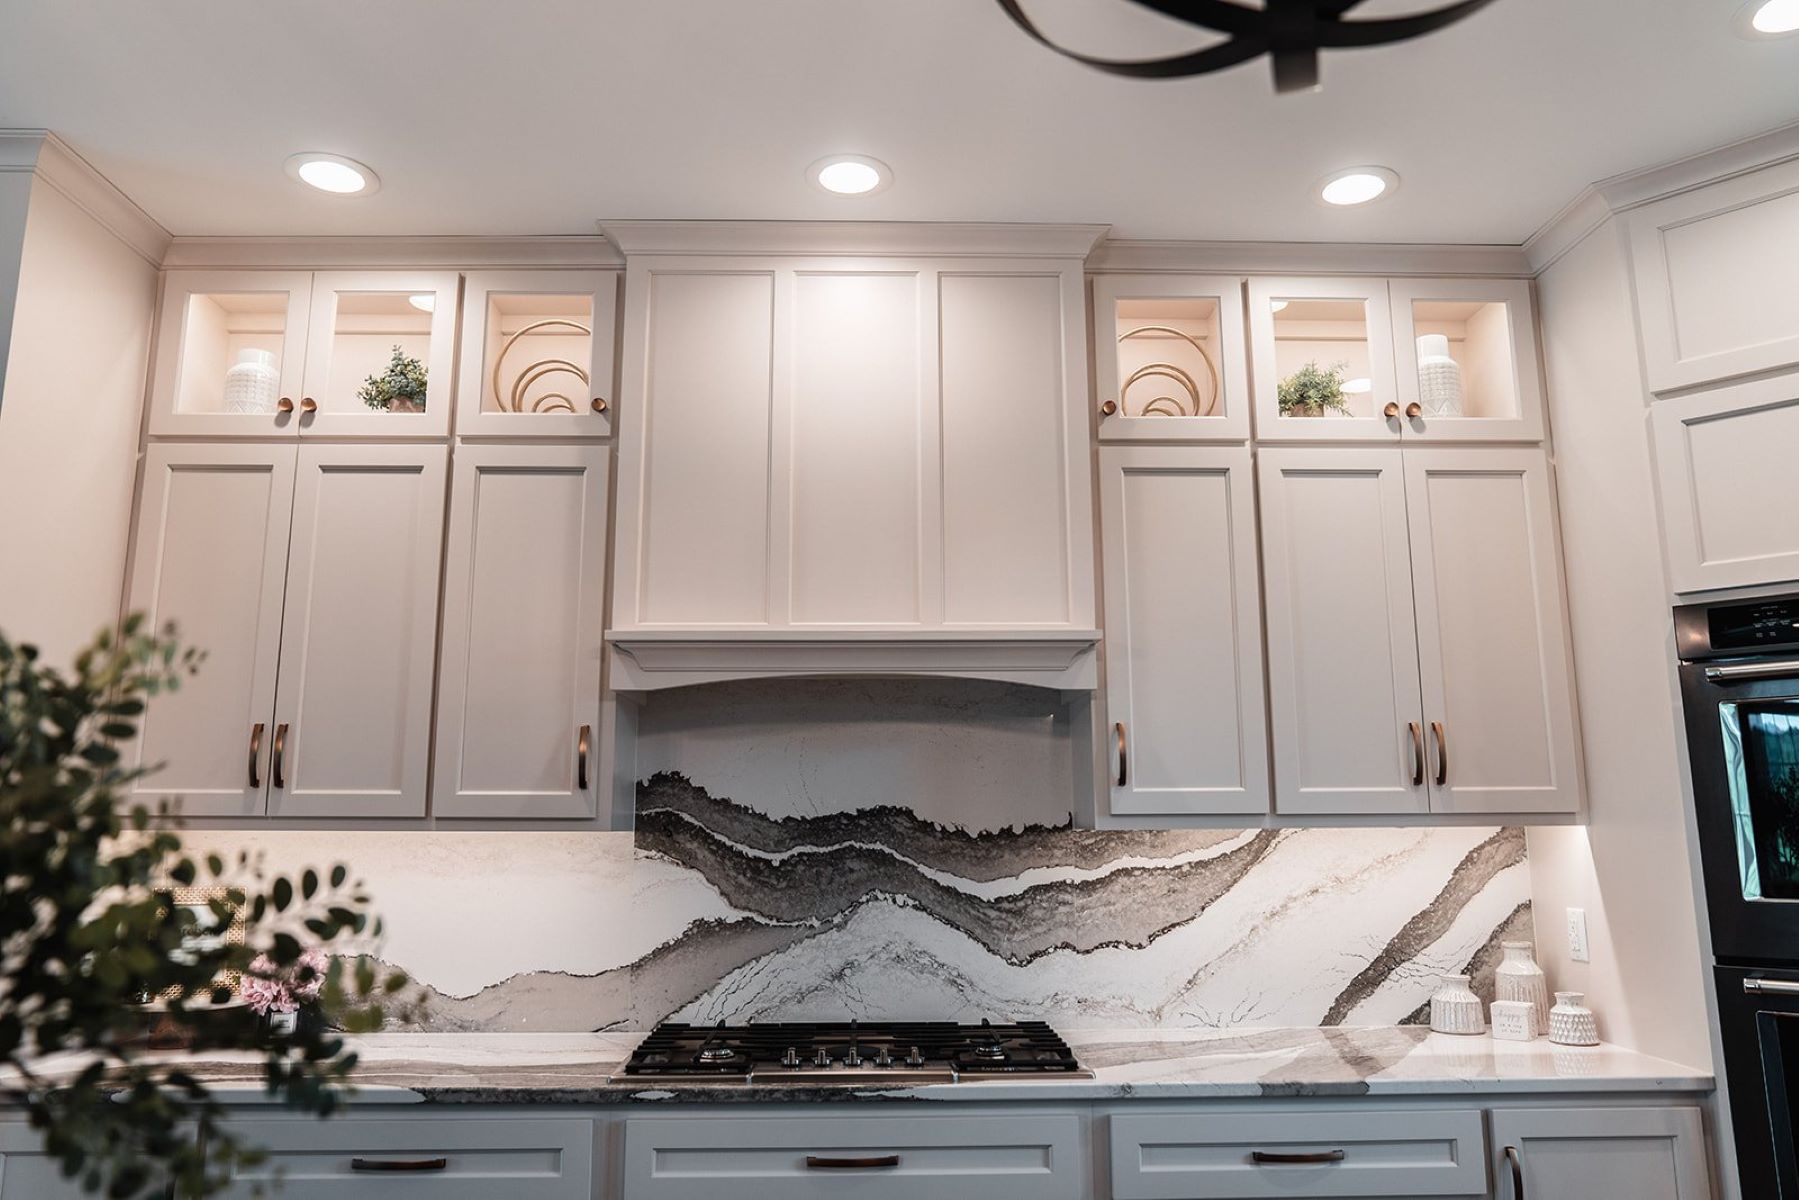
The enduring beauty of a marble backsplash, with its distinctive veining and lustrous surface, serves as a captivating focal point that effortlessly complements a wide range of design styles. Whether adorning a classic, traditional kitchen or enhancing the modern aesthetic of a contemporary space, the marble backsplash stands as a testament to the homeowner's discerning taste and appreciation for timeless elegance.
In the end, the installation of a marble backsplash transcends the realm of home improvement; it becomes a statement of refined taste, meticulous craftsmanship, and an unwavering commitment to creating a living environment that exudes sophistication and enduring beauty. As the final sealant is applied, and the marble surface glistens with a captivating allure, the homeowner can take pride in the creation of a space that not only reflects their personal style but also elevates the overall ambiance of their home.
Frequently Asked Questions about How To Attach Marble Backsplash
Was this page helpful?
At Storables.com, we guarantee accurate and reliable information. Our content, validated by Expert Board Contributors, is crafted following stringent Editorial Policies. We're committed to providing you with well-researched, expert-backed insights for all your informational needs.





0 thoughts on “How To Attach Marble Backsplash”