Home>Renovation & DIY>Home Renovation Guides>How To Make A Backsplash
Home Renovation Guides
How To Make A Backsplash
Modified: February 18, 2024
Learn how to make a stunning backsplash for your home renovation project with our comprehensive guides. Get expert tips and ideas for creating the perfect backsplash.
(Many of the links in this article redirect to a specific reviewed product. Your purchase of these products through affiliate links helps to generate commission for Storables.com, at no extra cost. Learn more)
Introduction
A backsplash is not only a functional element in your kitchen or bathroom but also a fantastic opportunity to add style and personality to your space. Whether you're renovating or building from scratch, a well-chosen backsplash can tie the room together and elevate the overall aesthetic.
When it comes to selecting a backsplash, the options are virtually endless. From classic subway tiles to sleek glass panels and intricate mosaic designs, the variety of materials and styles can be overwhelming. However, with the right guidance, you can navigate through the choices and find the perfect backsplash that complements your space and reflects your personal taste.
In this comprehensive guide, we will walk you through the entire process of creating a stunning backsplash, from choosing the right material to adding the finishing touches. By the end of this journey, you will have the knowledge and confidence to tackle this project with ease, whether you're a seasoned DIY enthusiast or a first-time renovator.
So, roll up your sleeves and get ready to transform your kitchen or bathroom with a beautiful and functional backsplash that will stand the test of time. Let's dive into the exciting world of backsplash design and installation, where creativity meets practicality to bring your vision to life.
Key Takeaways:
- Choose the right material
Select a backsplash material that matches your style, is durable, and fits your budget. Consider texture, finish, and maintenance to find the perfect fit for your kitchen or bathroom. - Plan and prepare
Measure accurately, create a layout plan, and prepare the surface before installing your backsplash. Taking these steps ensures a smooth and successful transformation of your space.
Read more: How To Make A Penny Backsplash
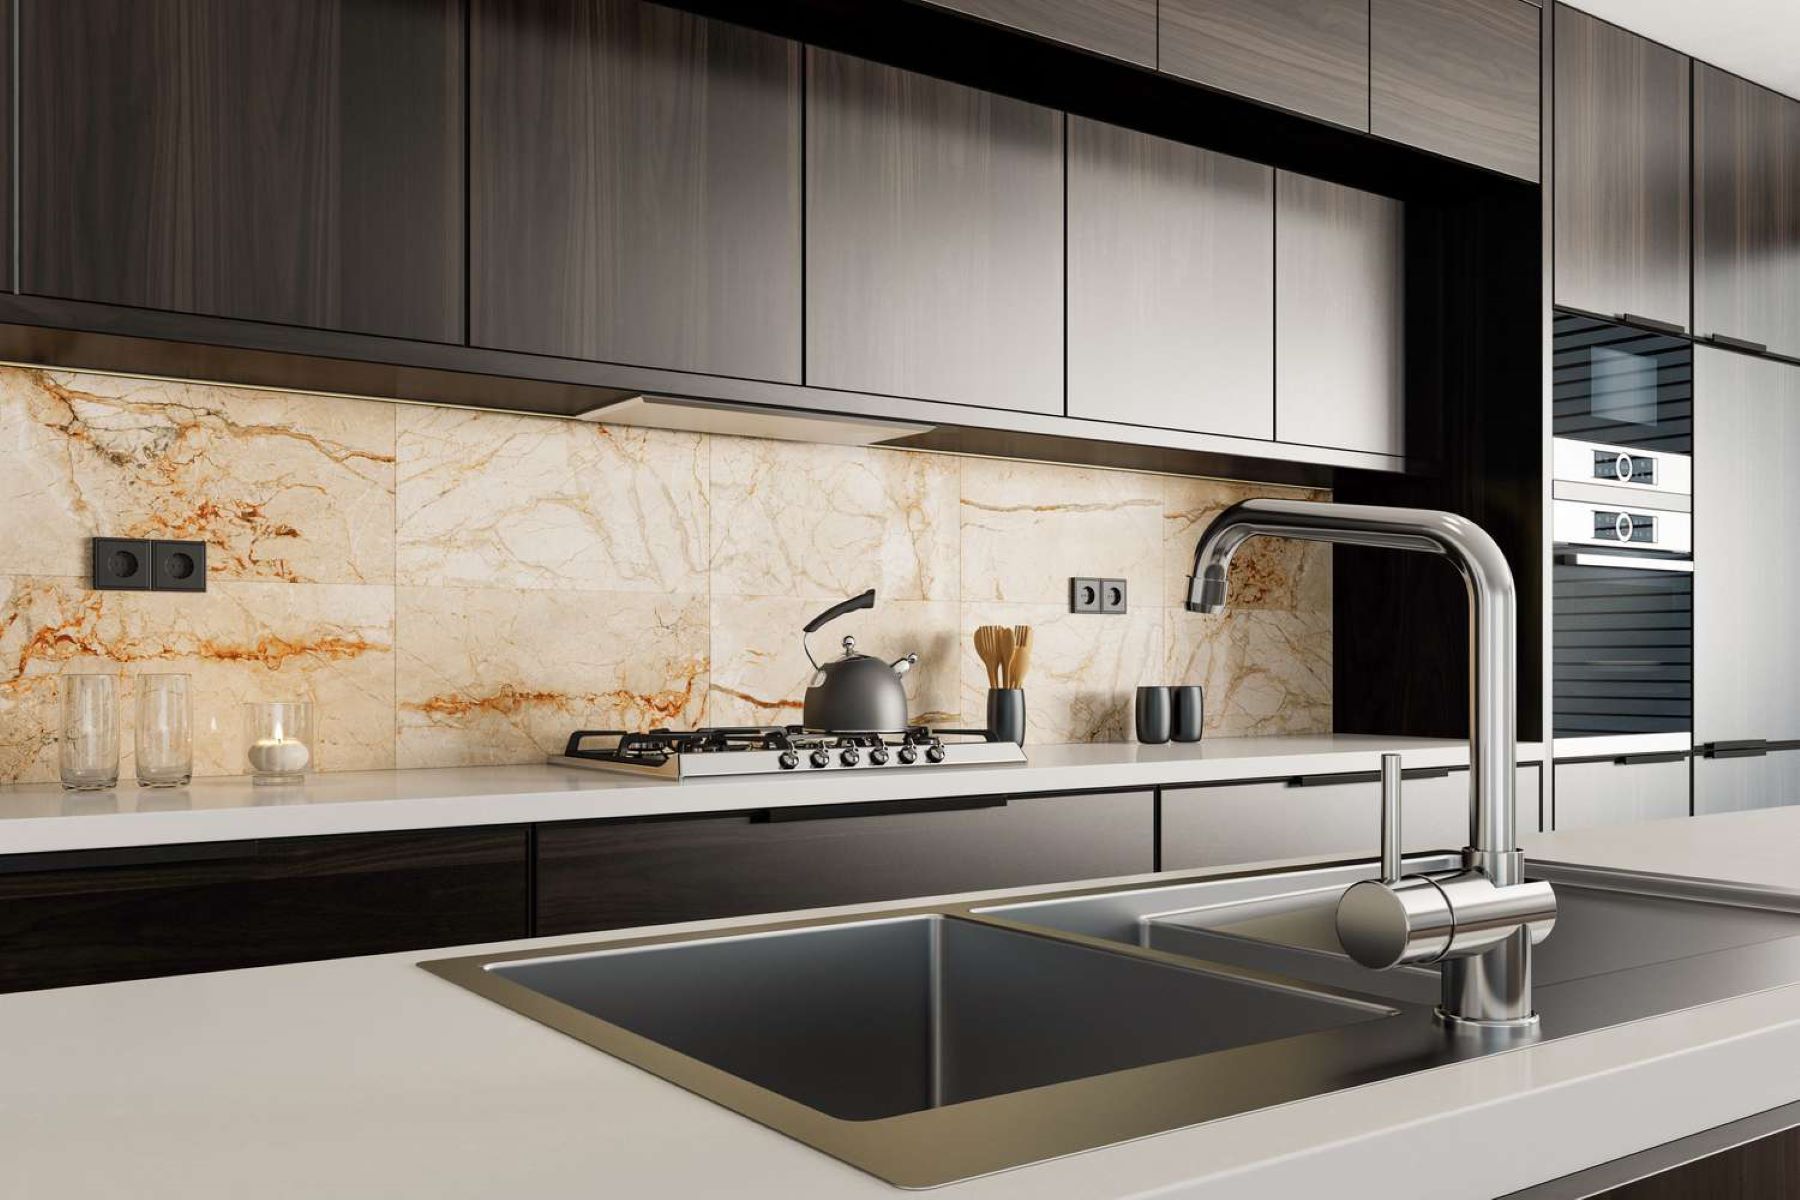
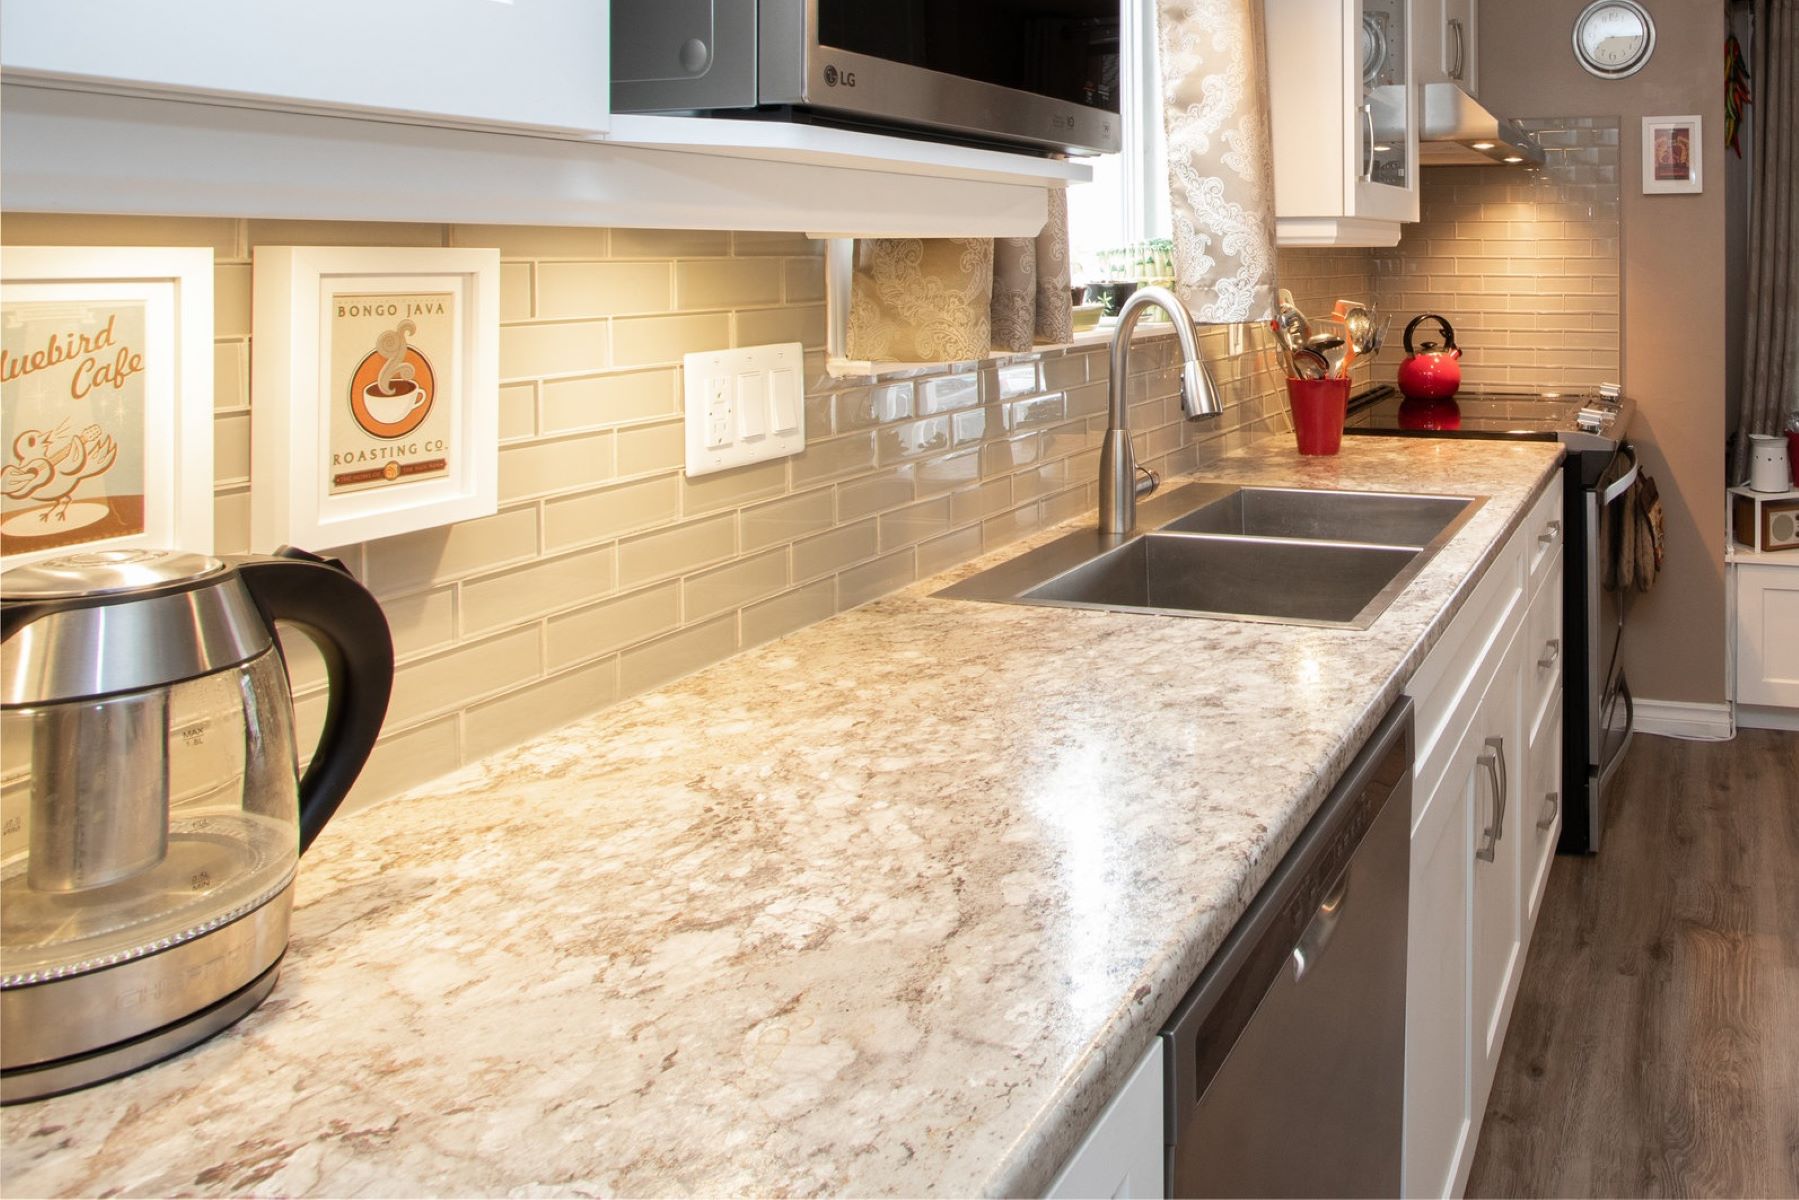
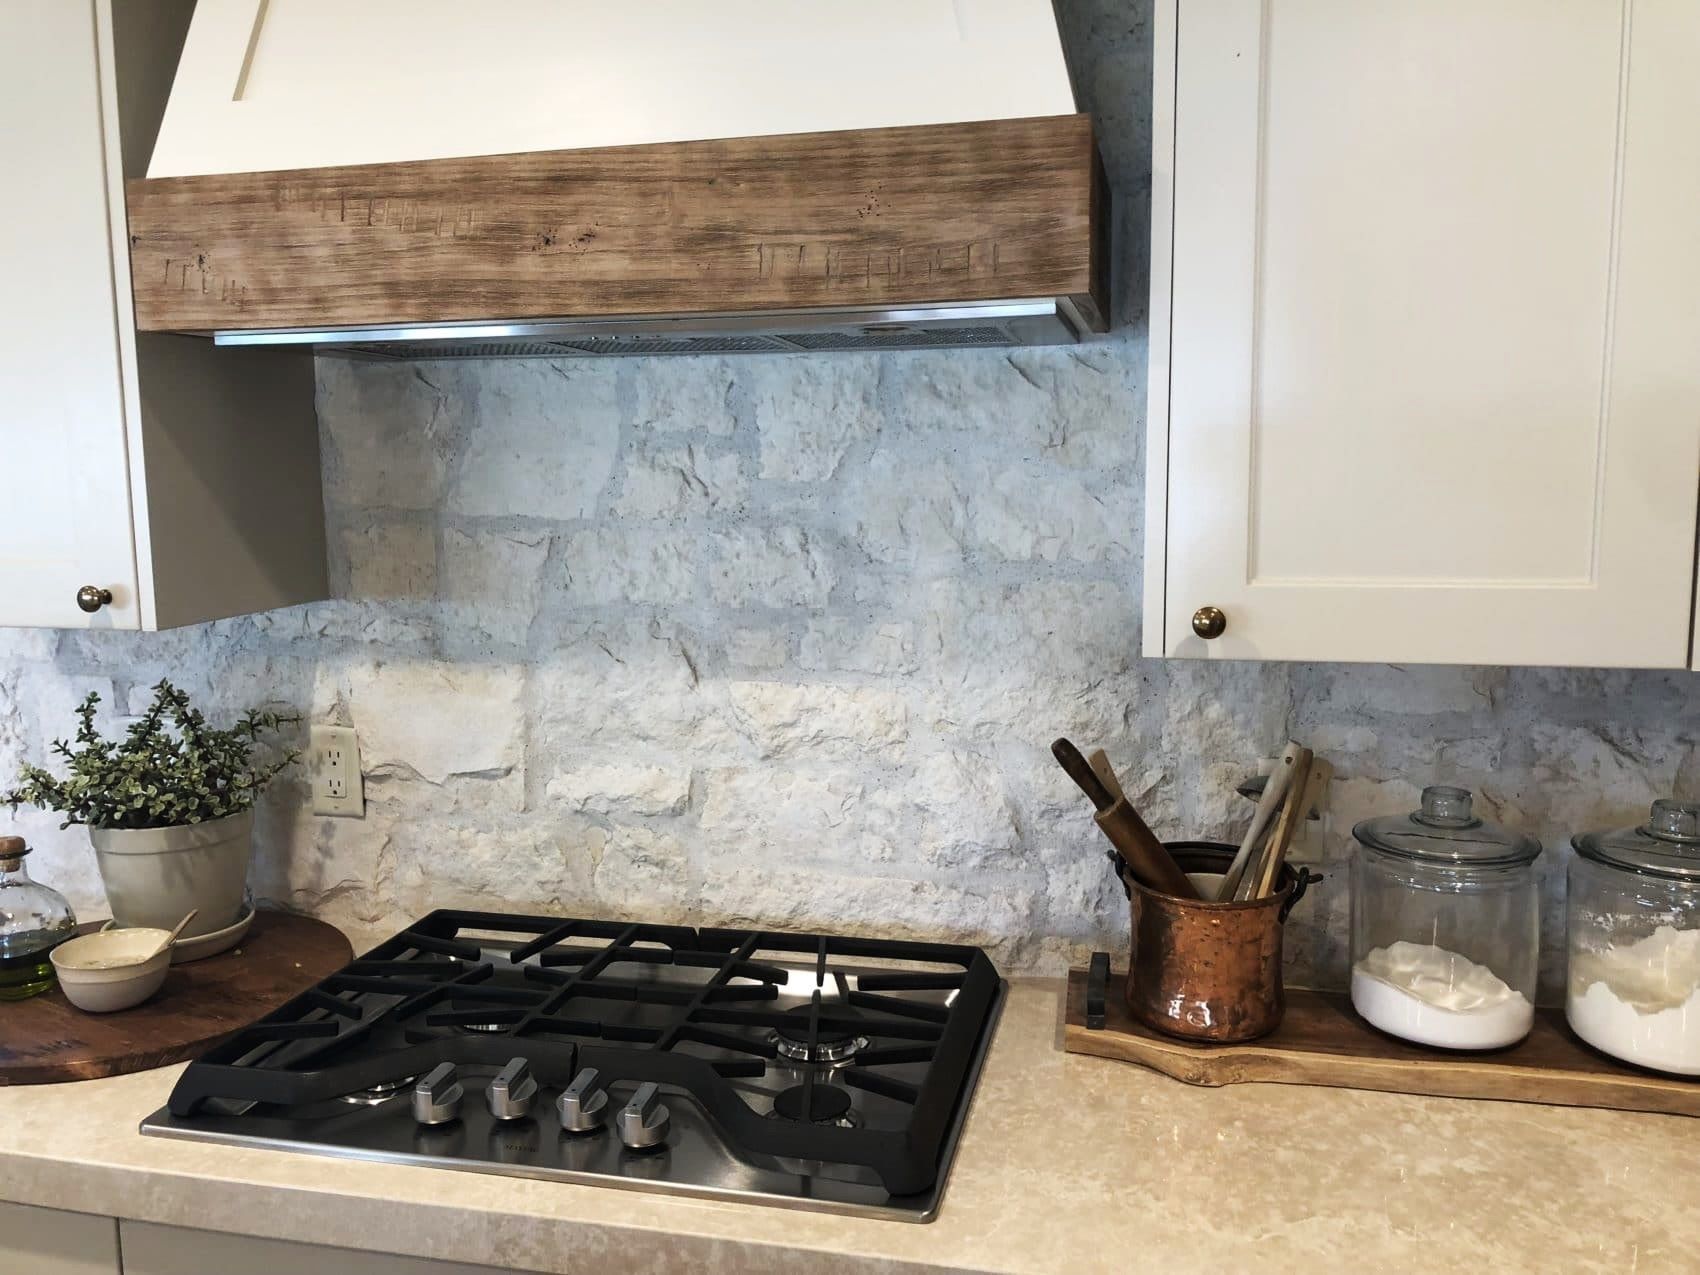
Choosing the Right Material
The process of selecting the right material for your backsplash is crucial, as it sets the foundation for the overall look and feel of your space. With a myriad of options available, it's essential to consider both aesthetic appeal and practicality when making this decision.
1. Consider Your Style
The first step in choosing the right material for your backsplash is to consider your personal style and the existing design elements in your kitchen or bathroom. If you prefer a classic and timeless look, subway tiles or natural stone might be the perfect fit. For a more modern and sleek aesthetic, glass or metal tiles could be the ideal choice. Mosaic tiles, on the other hand, offer a versatile option that can add a pop of color and intricate patterns to your space.
2. Evaluate Durability and Maintenance
Another important factor to consider is the durability and maintenance requirements of the materials. For high-traffic areas such as the kitchen, it's crucial to choose a material that can withstand heat, moisture, and regular cleaning. Ceramic and porcelain tiles are popular choices due to their durability and ease of maintenance. Natural stone, while stunning, may require more upkeep to prevent staining and etching. Glass and metal tiles are relatively low-maintenance and can add a contemporary flair to your space.
3. Explore Texture and Finish
The texture and finish of the backsplash material can significantly impact the overall look of your kitchen or bathroom. Matte finishes can create a subtle and understated elegance, while glossy finishes can reflect light and add a sense of depth to the space. Textured tiles, such as tumbled stone or handcrafted ceramics, can introduce a tactile element and a sense of warmth to the design. Consider how the texture and finish of the material will complement the other surfaces in the room, such as countertops and cabinetry.
Read more: How To Make Mosaic Backsplash
4. Budget Considerations
Finally, it's essential to factor in your budget when choosing the right material for your backsplash. While there are luxurious options available, there are also cost-effective alternatives that can deliver a stunning look without breaking the bank. Ceramic and porcelain tiles are budget-friendly and come in a wide range of styles and colors. If you have a larger budget, you may explore exotic natural stones or custom-designed glass tiles to create a truly unique backsplash.
By carefully considering these factors, you can narrow down the options and select the perfect material that aligns with your style, practical needs, and budget. The right material will serve as the cornerstone of your backsplash design, setting the stage for a successful and visually captivating installation.
Measuring and Planning
Accurate measurements and meticulous planning are the backbone of a successful backsplash installation. Before diving into the exciting phase of selecting tiles and designs, it's crucial to lay the groundwork by taking precise measurements and creating a detailed plan. This preparatory stage not only ensures a seamless installation process but also minimizes the risk of errors and material wastage.
1. Measure the Area
Start by measuring the area where the backsplash will be installed. Use a tape measure to determine the length and height of the space, taking into account any obstacles such as outlets, switches, and cabinets. It's essential to measure each section of the wall separately, as walls are not always perfectly straight or level. By obtaining accurate measurements, you can calculate the amount of tile needed and avoid unnecessary delays or additional trips to the store.
2. Create a Layout Plan
Once you have the measurements, create a layout plan that outlines the placement of the tiles and any design elements. Consider factors such as tile size, pattern, and the positioning of focal points or decorative accents. If you're using multiple tile styles or creating a pattern, sketch out the design on paper to visualize how the tiles will fit together. This step is crucial for ensuring a balanced and visually appealing layout that complements the overall aesthetic of the room.
Read more: How To Measure For A Backsplash
3. Account for Cuts and Trim
Inevitably, some tiles will need to be cut to fit around corners, outlets, or other obstacles. When planning the layout, consider how these cuts will be distributed to maintain symmetry and continuity. Additionally, factor in the need for trim pieces, such as bullnose or edge tiles, to create a polished and finished look along the edges of the backsplash. By accounting for these details in the planning phase, you can streamline the installation process and achieve a professional-looking result.
4. Check for Level and Plumb
Before proceeding with the installation, use a level and a plumb line to ensure that the walls are straight and true. This step is essential for identifying any irregularities that could affect the alignment and placement of the tiles. If the walls are not level, adjustments may be necessary to ensure that the backsplash is installed evenly and without any noticeable slant or gaps.
5. Order Materials
Based on your measurements and layout plan, calculate the quantity of tiles, adhesive, grout, and other materials needed for the installation. It's advisable to purchase a slight overage of tiles to account for any mistakes or future repairs. Additionally, consider investing in high-quality tools, such as tile cutters and spacers, to facilitate a smooth and precise installation process.
By meticulously measuring the space, creating a detailed plan, and accounting for all necessary materials and considerations, you can lay a solid foundation for a successful backsplash installation. This preparatory phase sets the stage for a seamless and visually stunning transformation of your kitchen or bathroom.
Preparing the Surface
Before diving into the exciting phase of installing the backsplash, it's crucial to prepare the surface to ensure a strong and durable foundation for the tiles. Proper surface preparation not only facilitates a smooth installation process but also contributes to the longevity and integrity of the backsplash. Here's a detailed overview of the essential steps involved in preparing the surface for your backsplash installation:
-
Clean the Wall: Start by thoroughly cleaning the wall where the backsplash will be installed. Remove any grease, dirt, or residue from the surface using a mild detergent and water. For kitchen installations, pay special attention to areas behind the stove and sink, as these areas are prone to grease buildup. A clean and debris-free surface is essential for promoting strong adhesion between the tiles and the wall.
-
Repair Any Damage: Inspect the wall for any existing damage, such as cracks, holes, or uneven surfaces. Repair any imperfections using a suitable patching compound or filler. Smooth out the patched areas to ensure a level and uniform surface. Addressing any wall damage at this stage prevents it from affecting the appearance and stability of the backsplash in the future.
-
Protect Countertops and Cabinets: Before proceeding with any surface preparation or installation, take measures to protect the countertops and cabinets adjacent to the backsplash area. Cover the countertops with a protective layer, such as rosin paper or plastic sheeting, to prevent any accidental damage or staining during the installation process.
-
Apply a Primer: Once the wall is clean and free of damage, apply a high-quality primer to the surface. The primer promotes adhesion and creates a uniform base for the tile adhesive. Be sure to select a primer that is suitable for both the wall material and the type of tiles being installed. Allow the primer to dry completely before proceeding to the next step.
-
Mark Layout Guidelines: Use a level and a pencil to mark horizontal and vertical guidelines on the wall, indicating the boundaries and layout of the backsplash. These guidelines serve as a visual reference during the installation, ensuring that the tiles are aligned and positioned accurately.
By meticulously following these steps to prepare the surface, you can create an optimal environment for the successful installation of your backsplash. A well-prepared surface sets the stage for a seamless and visually appealing transformation of your kitchen or bathroom, allowing the beauty and functionality of the backsplash to shine through for years to come.
Read more: How To Prep For Backsplash
Installing the Backsplash
With the surface meticulously prepared, it's time to embark on the exciting phase of installing the backsplash. This transformative process involves precision, patience, and attention to detail to ensure a flawless end result that enhances the visual appeal and functionality of your kitchen or bathroom. Here's a comprehensive guide to walk you through the essential steps of installing the backsplash:
1. Mix the Adhesive
Begin by mixing the tile adhesive according to the manufacturer's instructions. Consistency is key, so ensure that the adhesive is thoroughly blended to achieve the right texture for optimal adhesion.
2. Apply the Adhesive
Using a notched trowel, spread the adhesive evenly on a small section of the wall where the backsplash will be installed. Work in manageable areas to prevent the adhesive from drying out before the tiles are placed.
3. Place the Tiles
Carefully press the tiles into the adhesive, starting from the bottom and working your way up. Use tile spacers to maintain consistent gaps between the tiles, ensuring a uniform and professional-looking installation.
Read more: How To Seal Backsplash
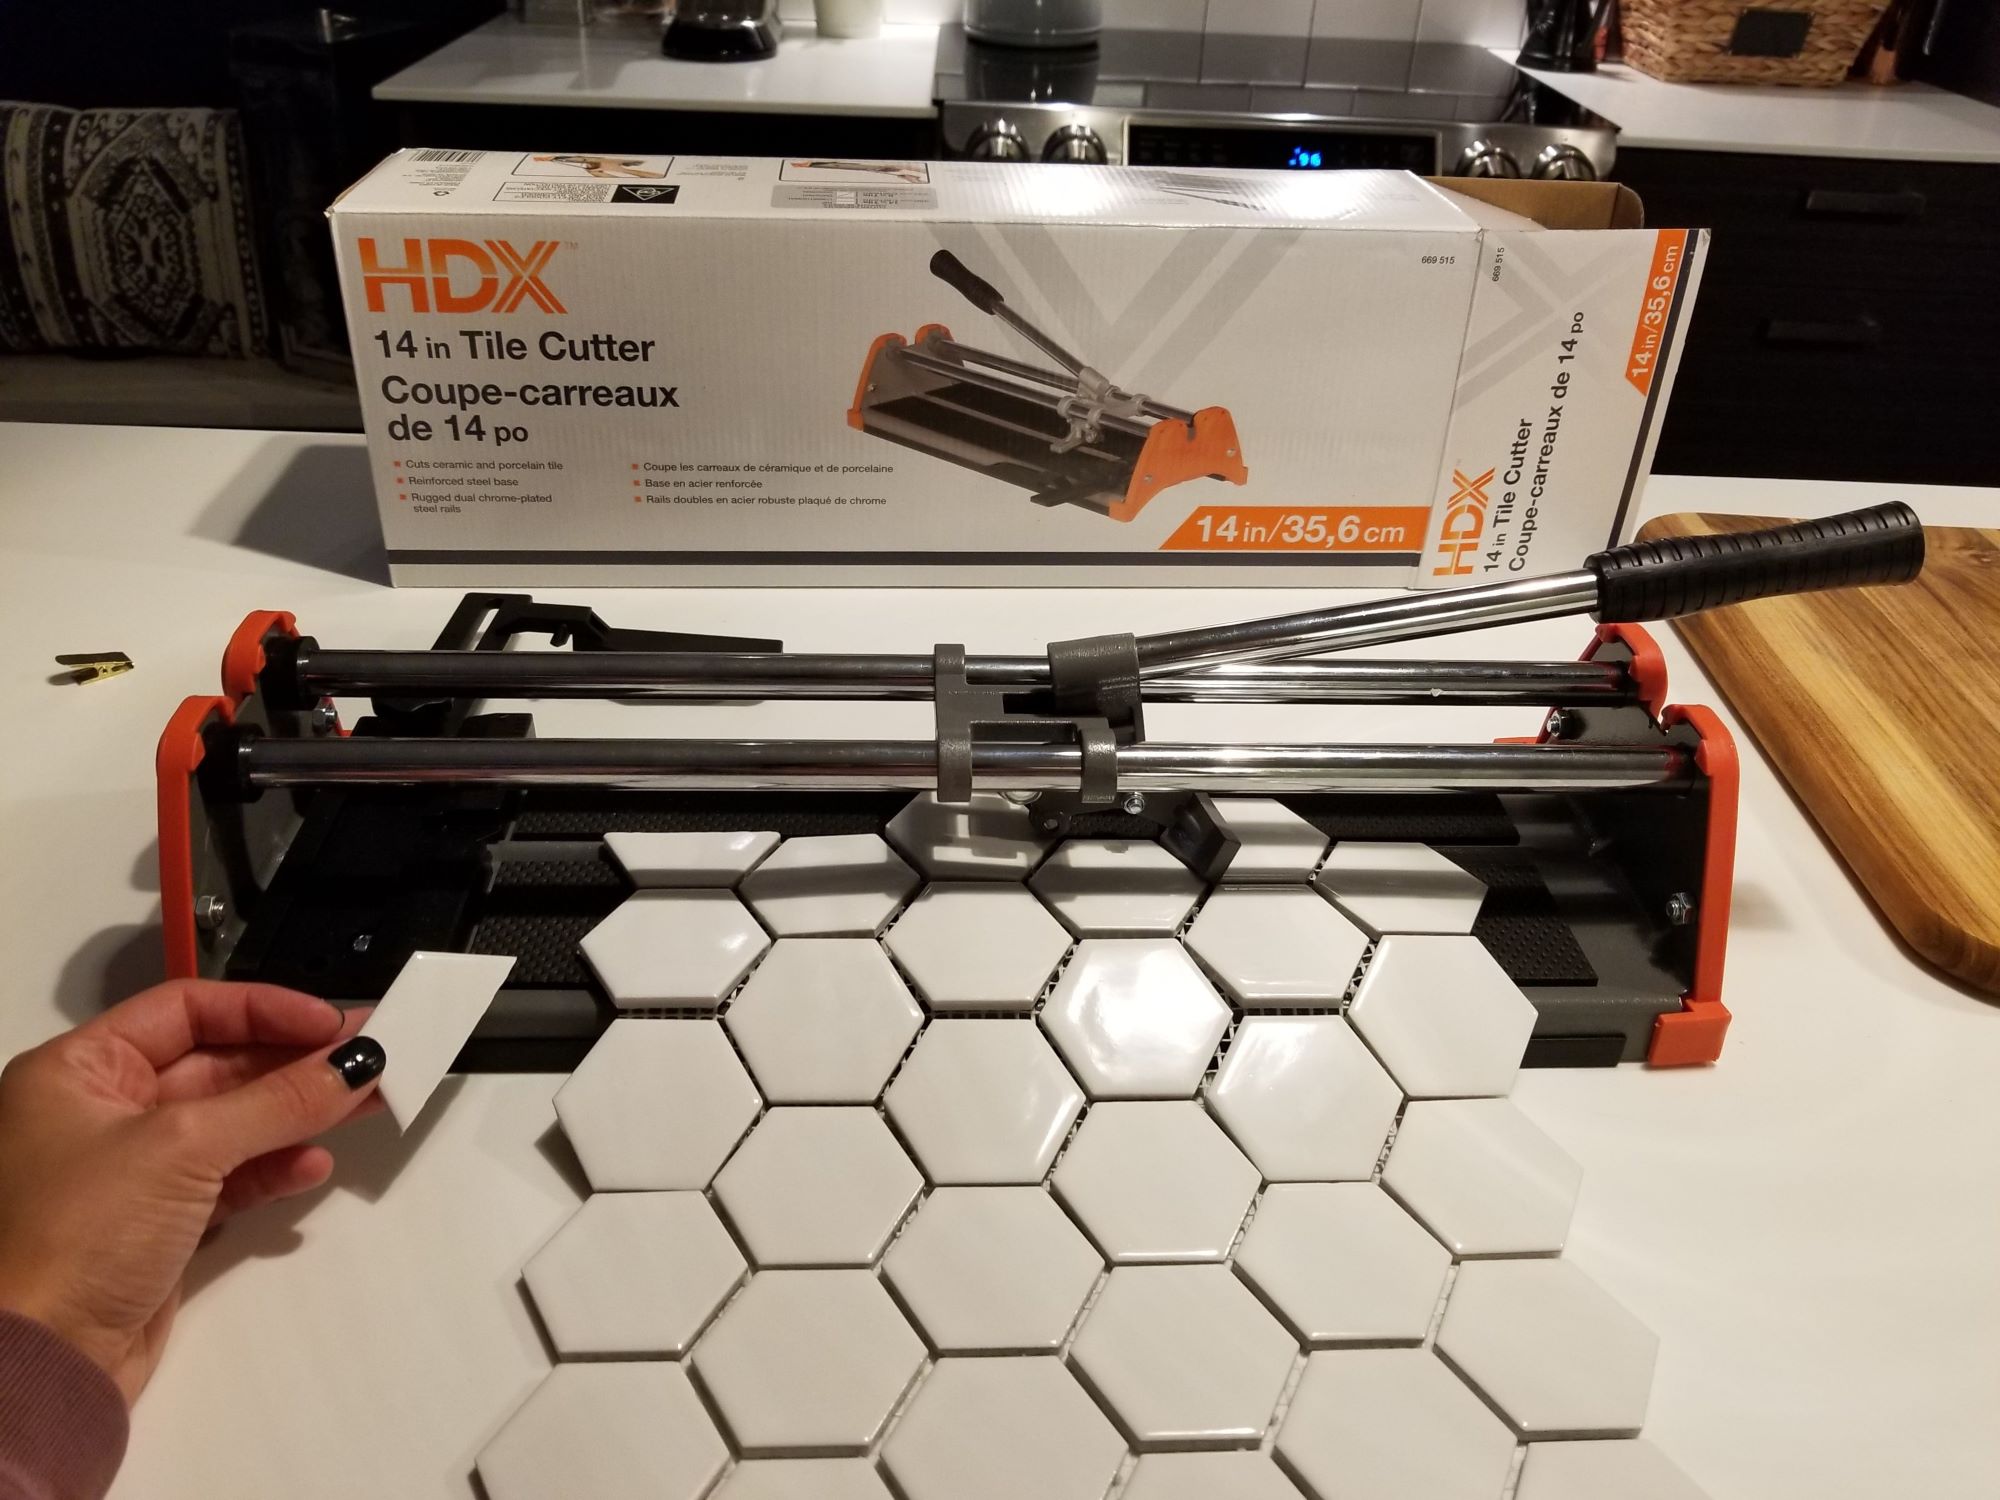
4. Cut and Trim
As you approach edges, outlets, or other obstacles, measure and cut the tiles to fit using a tile cutter or wet saw. Precision is crucial at this stage to ensure a seamless and tailored fit for each tile.
5. Allow for Setting
Once the tiles are in place, allow the adhesive to set according to the manufacturer's recommended timeframe. This step is essential for securing the tiles in position before proceeding to the next phase.
6. Apply Grout
After the adhesive has set, it's time to apply grout to fill the gaps between the tiles. Use a grout float to spread the grout evenly, ensuring that all spaces are thoroughly filled.
7. Clean Excess Grout
Once the grout is applied, use a damp sponge to clean off any excess grout from the tile surfaces. Rinse the sponge frequently to achieve a smooth and uniform grout finish.
Read more: How To Whitewash Backsplash
8. Seal the Grout
After the grout has cured for the specified time, apply a grout sealer to protect the grout from stains and moisture. This final step helps to maintain the integrity and appearance of the grout over time.
By following these detailed steps, you can achieve a professional and visually stunning installation of your backsplash. Each phase contributes to the overall success of the project, culminating in a beautiful and functional addition to your kitchen or bathroom.
Grouting and Sealing
Grouting and sealing are the final crucial steps in the backsplash installation process, playing a pivotal role in ensuring the durability, cleanliness, and overall aesthetic appeal of the finished project. These steps not only provide a polished and cohesive look but also contribute to the long-term maintenance and protection of the backsplash.
1. Applying Grout
Once the adhesive securing the tiles has set, it's time to apply grout to fill the gaps between the tiles. Grout not only enhances the visual appeal of the backsplash by defining the individual tiles but also serves as a protective barrier against moisture and debris. Using a grout float, spread the grout evenly over the tiled surface, ensuring that all spaces are thoroughly filled. Work the grout into the joints at a 45-degree angle to ensure complete coverage and a uniform finish.
2. Cleaning Excess Grout
After the grout has been applied, use a damp sponge to clean off any excess grout from the tile surfaces. It's essential to work diagonally across the tiles to prevent dislodging the grout from the joints. Rinse the sponge frequently and wring it out thoroughly to achieve a smooth and uniform grout finish. Pay close attention to achieving consistent grout lines and removing any haze or residue from the tile surfaces.
Read more: How To Retile Backsplash
3. Sealing the Grout
Once the grout has cured for the specified time, typically 24 to 72 hours after application, it's important to apply a grout sealer to protect the grout from stains and moisture. The sealer acts as a shield, preventing liquids and dirt from penetrating the grout and compromising its integrity. Use a small brush or applicator to evenly distribute the sealer over the grout lines, ensuring comprehensive coverage. Allow the sealer to dry completely before exposing the backsplash to moisture or cleaning agents.
By meticulously following these grouting and sealing steps, you can ensure that your backsplash not only looks stunning but also stands the test of time. The grout provides structural support and cohesion to the tiles, while the sealer acts as a safeguard against everyday wear and tear. These final touches elevate the overall quality and resilience of your backsplash, allowing you to enjoy a beautiful and functional addition to your kitchen or bathroom for years to come.
Finishing Touches
With the backsplash installation and grouting process completed, it's time to add the finishing touches that will elevate the overall look and functionality of your kitchen or bathroom. These final steps not only contribute to the aesthetic appeal of the backsplash but also ensure that it seamlessly integrates with the surrounding elements, creating a cohesive and polished space.
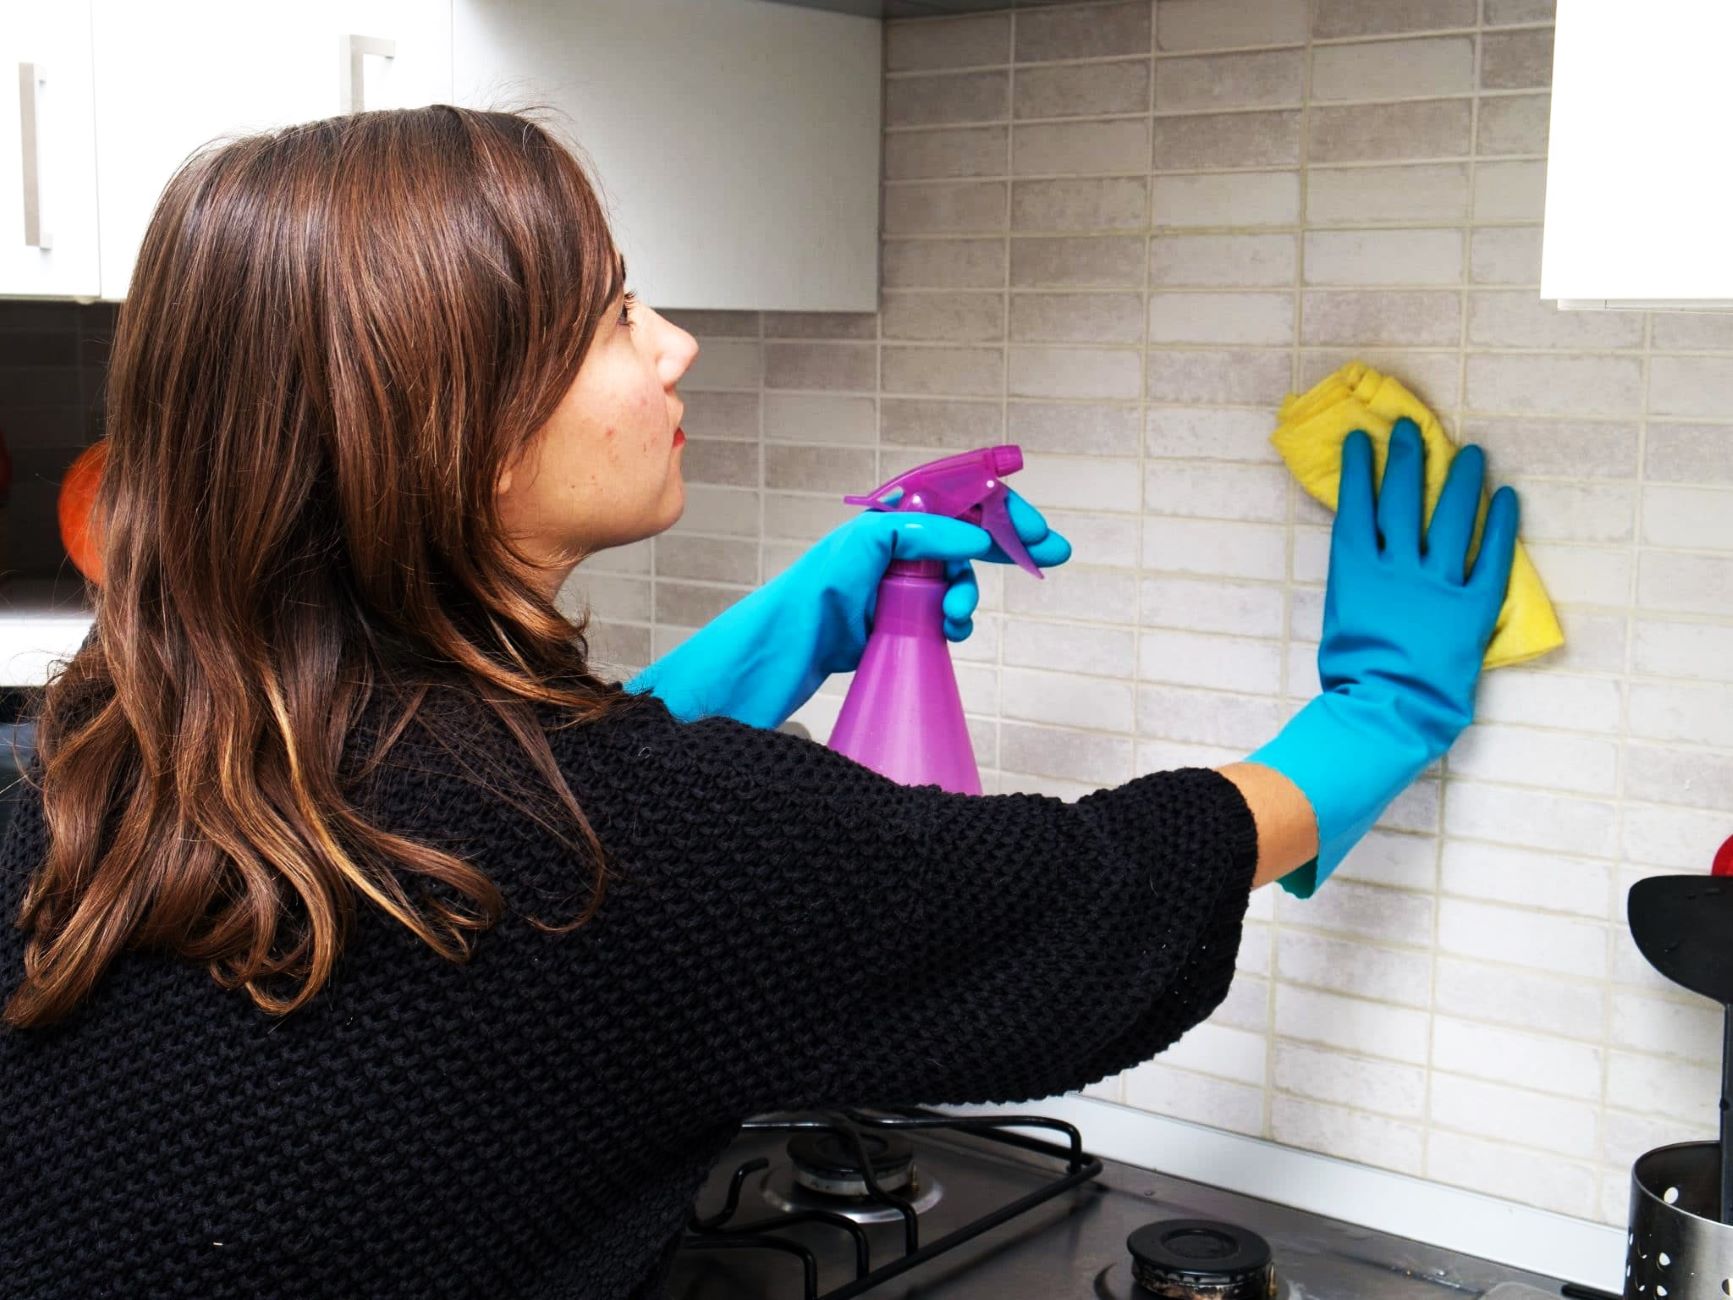
1. Clean and Polish
Begin by thoroughly cleaning the tiled surface to remove any remaining grout haze, adhesive residue, or dust. Use a gentle tile cleaner and a soft cloth to wipe down the tiles, ensuring that they are free from any blemishes or marks. Once the tiles are clean, use a dry, lint-free cloth to polish the surface, enhancing the luster and vibrancy of the tiles.
2. Reinstall Fixtures
If any fixtures, such as electrical outlets, switch plates, or vent covers, were temporarily removed during the installation process, now is the time to reinstall them. Carefully place the fixtures back in their respective positions, ensuring a snug fit against the newly installed backsplash. This step adds a seamless and professional touch to the overall appearance of the backsplash.
Read more: How To Choose A Backsplash
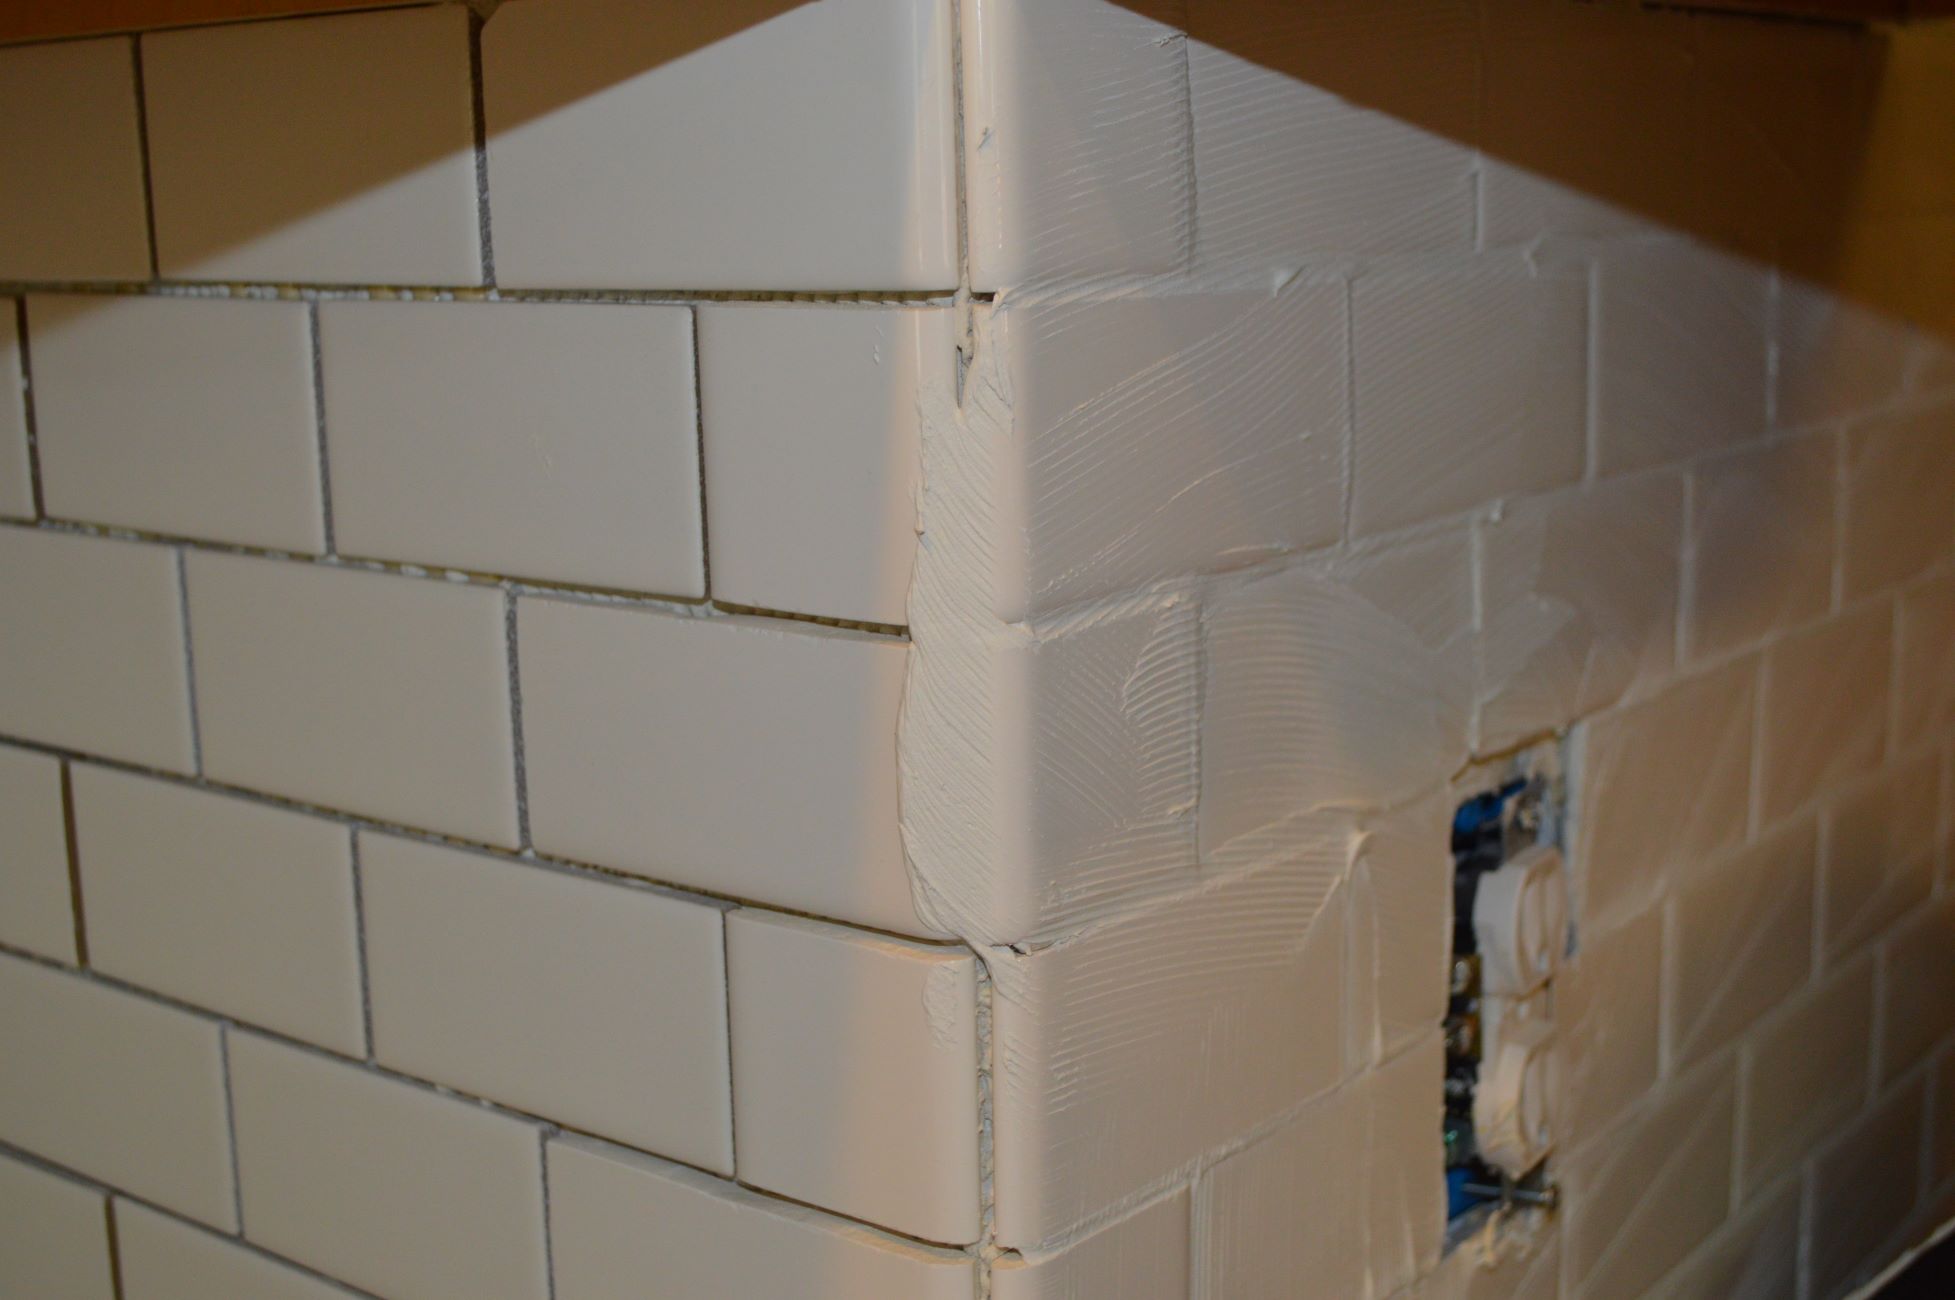
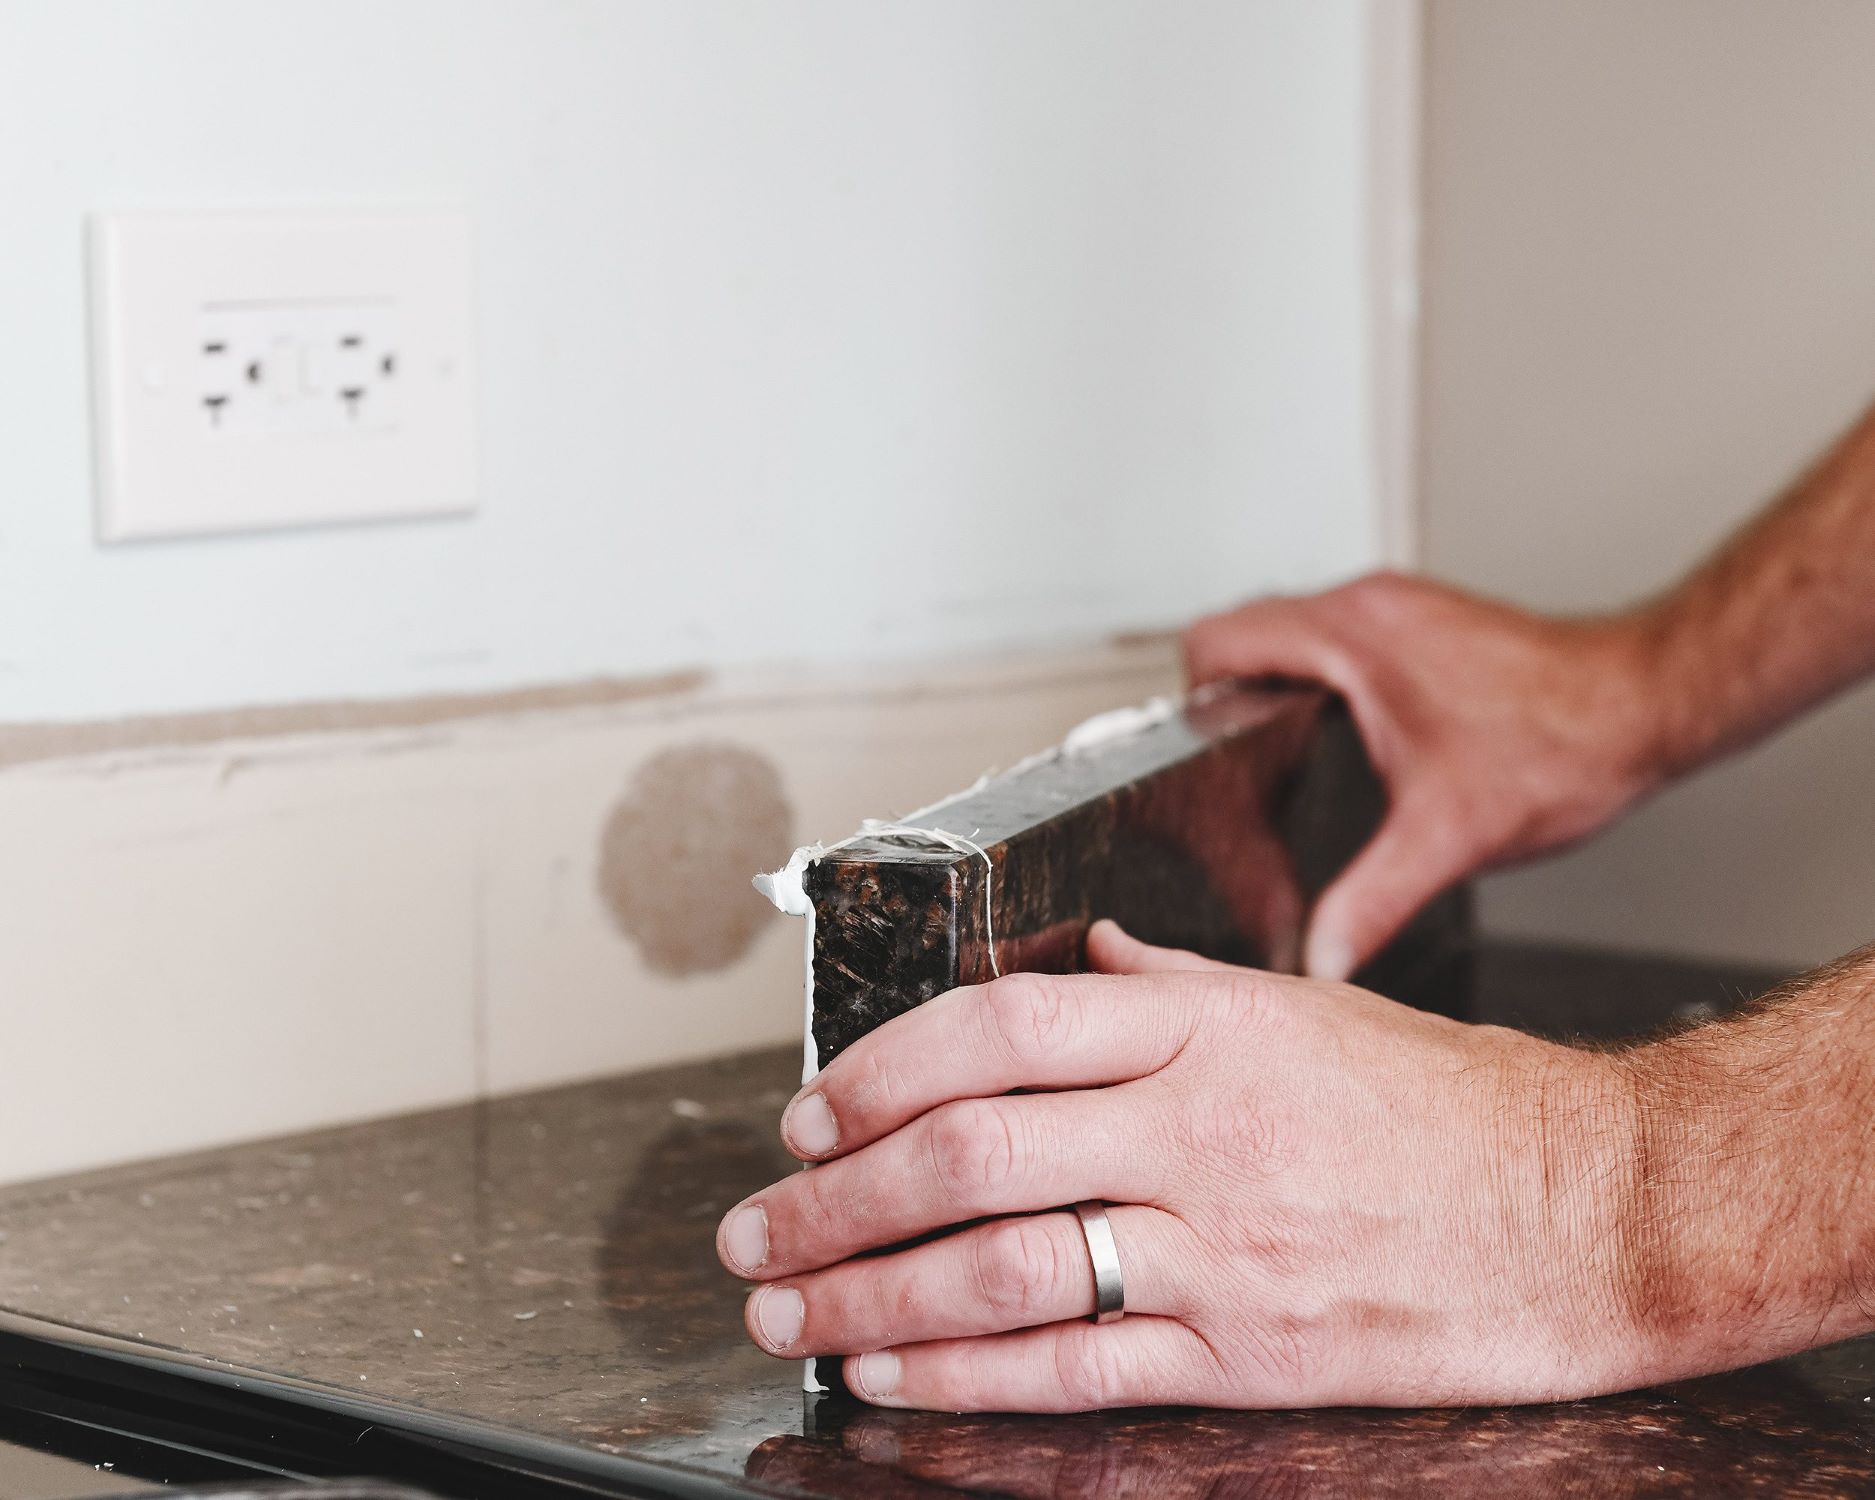
3. Apply Caulk
To achieve a clean and polished look, apply a bead of caulk along the perimeter of the backsplash where it meets the countertop or other adjoining surfaces. Caulk not only creates a visually appealing transition but also serves as a protective barrier against moisture and debris. Select a high-quality caulk that matches the color of the grout or the tiles to achieve a cohesive and uniform finish.
4. Evaluate Lighting
Assess the lighting in the room to ensure that the backsplash is effectively illuminated. Proper lighting not only highlights the beauty of the tiles but also contributes to the overall ambiance of the space. Consider installing under-cabinet lighting or adjusting existing fixtures to accentuate the texture and color of the backsplash, creating a captivating focal point in the room.
5. Enjoy Your New Backsplash
Finally, take a step back and admire the transformation that the new backsplash has brought to your kitchen or bathroom. Revel in the seamless integration of style and functionality, as the backsplash not only protects the walls but also serves as a stunning design element that reflects your personal taste and enhances the overall aesthetic of the space.
By meticulously attending to these finishing touches, you can ensure that your backsplash installation is not only visually captivating but also seamlessly integrated into the room, creating a cohesive and polished environment that you can enjoy for years to come.
Frequently Asked Questions about How To Make A Backsplash
Was this page helpful?
At Storables.com, we guarantee accurate and reliable information. Our content, validated by Expert Board Contributors, is crafted following stringent Editorial Policies. We're committed to providing you with well-researched, expert-backed insights for all your informational needs.


0 thoughts on “How To Make A Backsplash”