Home>Renovation & DIY>Home Renovation Guides>How To Retile Backsplash
Home Renovation Guides
How To Retile Backsplash
Modified: September 2, 2024
Learn how to retile your backsplash with our comprehensive home renovation guide. Get expert tips and step-by-step instructions for a successful DIY project.
(Many of the links in this article redirect to a specific reviewed product. Your purchase of these products through affiliate links helps to generate commission for Storables.com, at no extra cost. Learn more)
Introduction
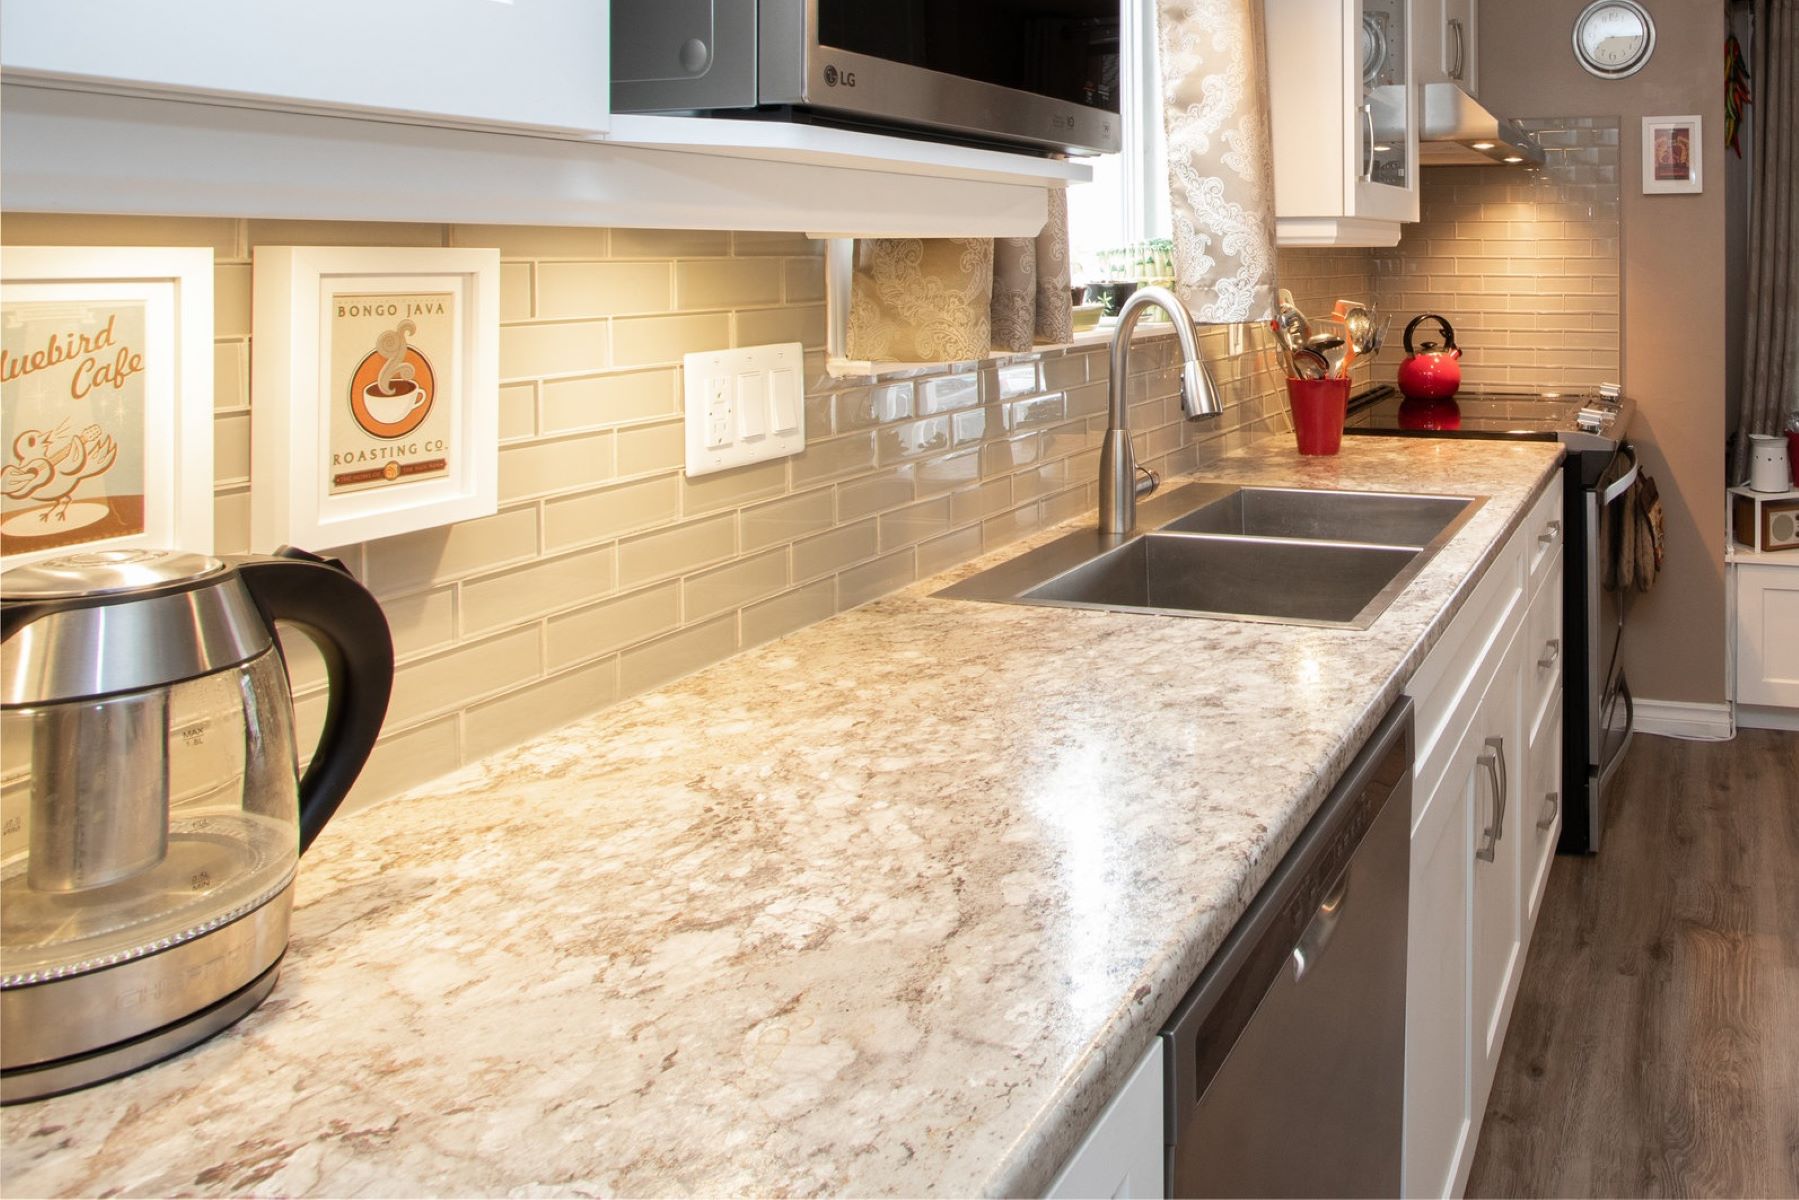
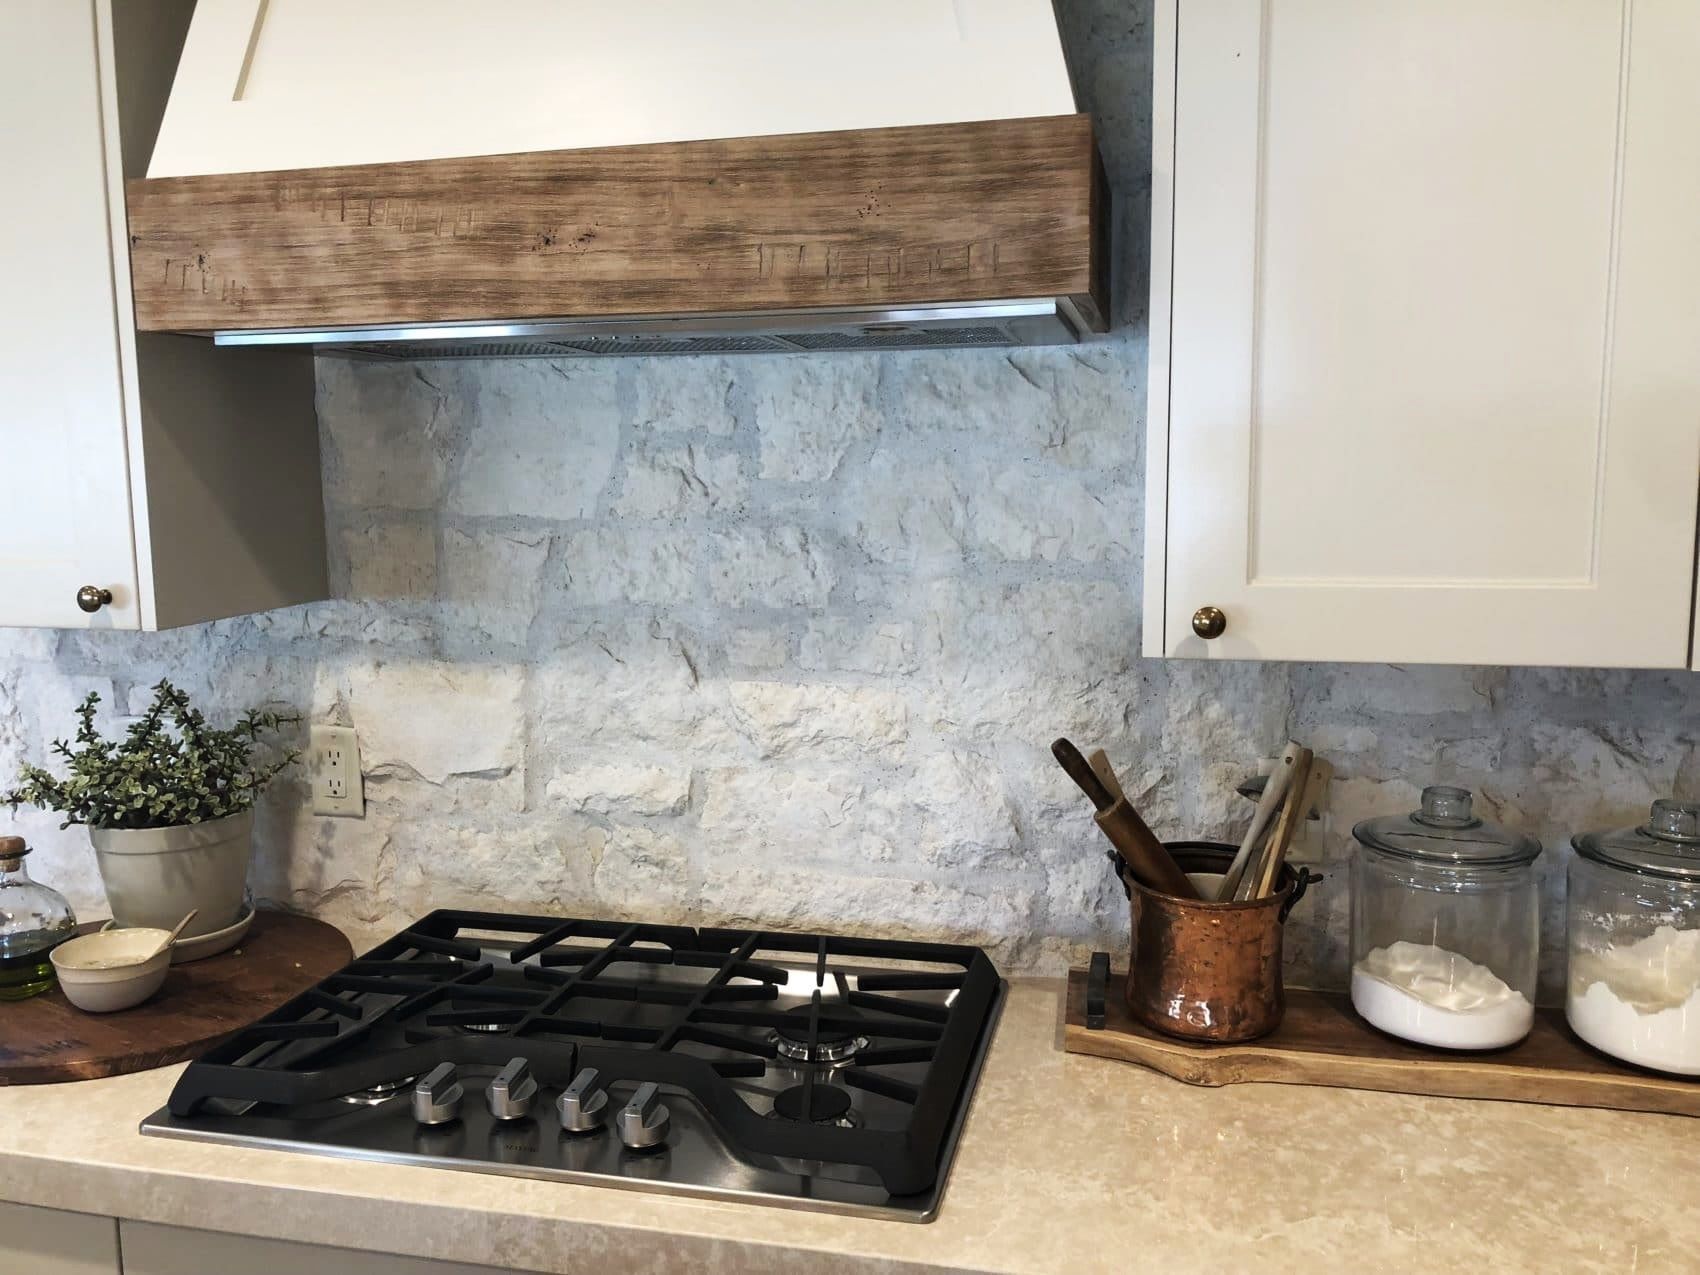
Embarking on a home renovation project can be both exciting and daunting, especially when it comes to revamping a key focal point of your kitchen – the backsplash. Whether you're looking to update the style of your kitchen or simply refresh its appearance, retiling the backsplash can breathe new life into the heart of your home.
As you prepare to take on this endeavor, it's essential to arm yourself with the knowledge and skills required to achieve a professional-looking result. From removing the old tiles to grouting and sealing the new ones, each step plays a crucial role in the overall success of the project.
In this comprehensive guide, we will walk you through the step-by-step process of retiling your backsplash, providing valuable tips and insights along the way. By the end of this journey, you'll not only have a beautifully revamped backsplash but also a newfound confidence in your home renovation abilities.
So, roll up your sleeves, gather your tools, and let's dive into the rewarding world of backsplash retiling. It's time to unleash your creativity and transform your kitchen into a space that truly reflects your style and personality.
Key Takeaways:
- Retiling your kitchen backsplash is a rewarding DIY project that requires patience and precision. From removing old tiles to grouting and sealing new ones, each step contributes to a stunning and durable transformation.
- By following expert tips and taking the time to prepare and install new tiles, you can revitalize your kitchen with a backsplash that reflects your unique style. The process empowers you with valuable skills for future home renovation projects.
Read more: How To Retile Bathroom Floor
Step 1: Remove the old tiles
Before you can breathe new life into your kitchen with fresh, stylish tiles, it's crucial to bid farewell to the existing ones. The process of removing the old tiles requires patience and precision to ensure a smooth transition to the next phase of the renovation. Here's a detailed breakdown of how to tackle this essential first step:
-
Gather Your Tools: Equip yourself with the necessary tools for this task, including a hammer, chisel, putty knife, and safety goggles. These tools will help you effectively and safely remove the old tiles without causing damage to the surrounding area.
-
Protective Measures: Prioritize safety by wearing protective gear, such as gloves and safety goggles, to shield yourself from potential debris and sharp tile fragments during the removal process.
-
Start with the Grout: Using a grout saw or rotary tool with a grout removal attachment, carefully eliminate the grout surrounding the tiles. This step is crucial as it loosens the tiles and facilitates their removal without causing unnecessary damage.
-
Loosen the Tiles: Once the grout is removed, gently tap the tiles with a hammer and chisel to loosen them from the wall. Work methodically, starting from the edges and gradually moving towards the center of each tile to minimize the risk of damaging the underlying surface.
-
Remove Adhesive: After the tiles are detached, focus on eliminating any remaining adhesive from the wall. A putty knife can be used to scrape off the adhesive, ensuring that the surface is smooth and free from any remnants that could affect the adhesion of the new tiles.
-
Clean the Area: Once the old tiles and adhesive are removed, thoroughly clean the exposed wall surface to prepare it for the next phase of the renovation. Wipe the area with a damp cloth to remove any dust or debris, ensuring a clean and smooth canvas for the upcoming tile installation.
By meticulously following these steps, you'll successfully bid adieu to the old tiles, setting the stage for the exciting transformation that lies ahead. With the old tiles removed and the surface prepared, you're now ready to embark on the next phase of the retiling process.
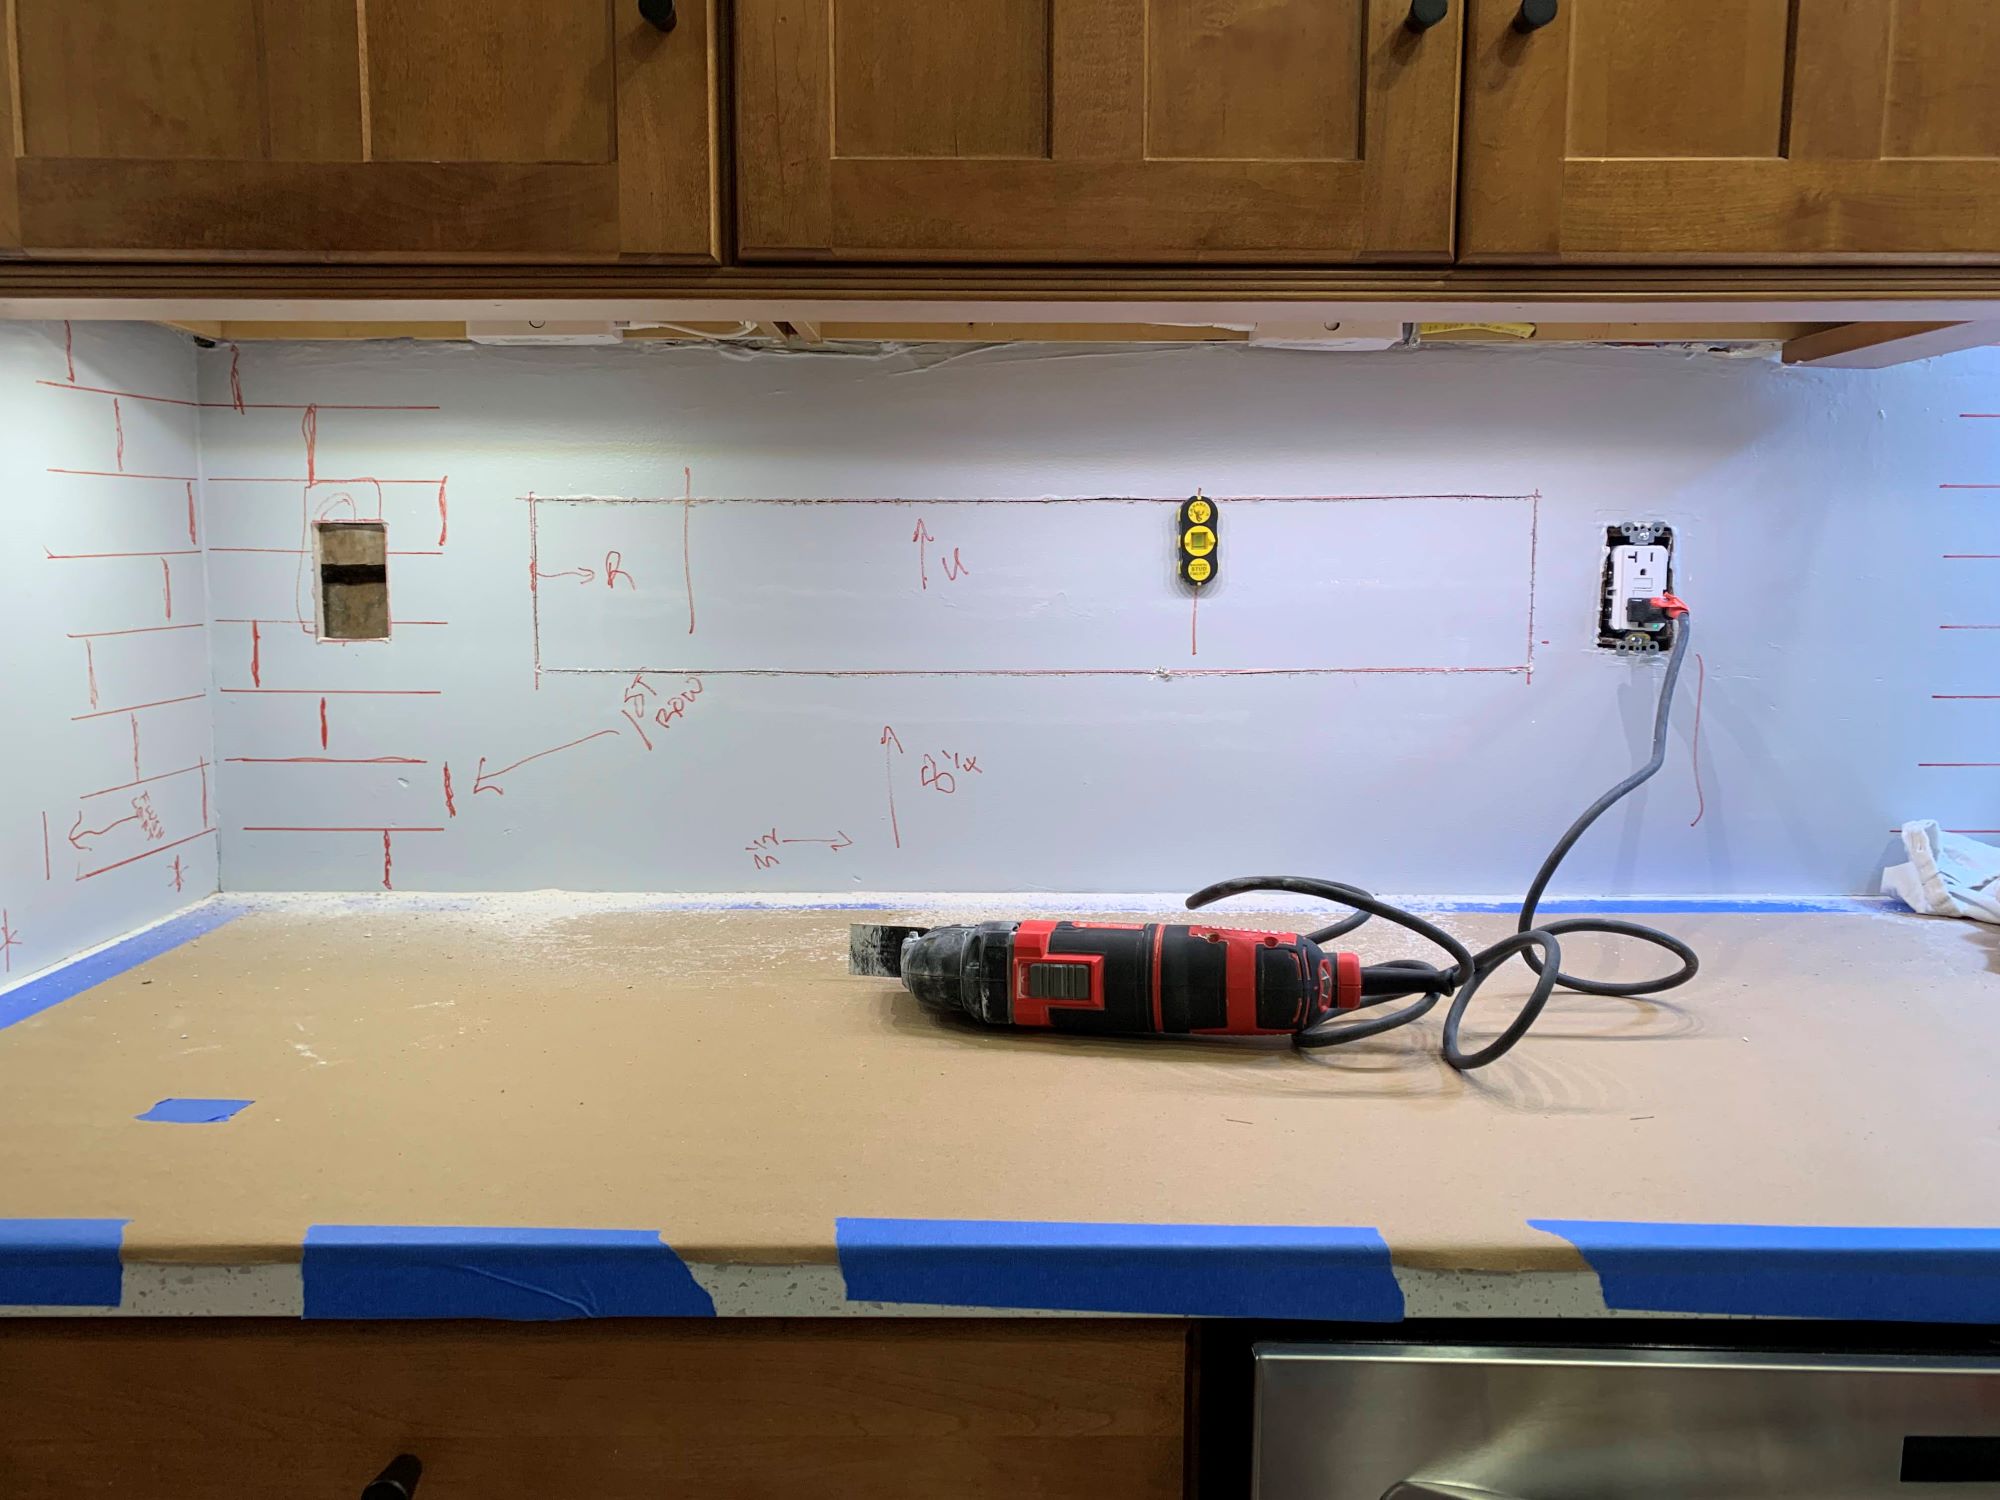
Step 2: Prepare the surface
With the old tiles removed, it's time to shift your focus to preparing the surface for the installation of the new tiles. This crucial step sets the foundation for a seamless and durable backsplash that will stand the test of time. Here's a detailed guide on how to expertly prepare the surface for the upcoming tile installation:
-
Inspect the Wall: Before proceeding, carefully inspect the wall to ensure it is structurally sound and free from any damage. Address any issues such as cracks or uneven surfaces, as these can impact the adhesion and longevity of the new tiles.
-
Repair and Smooth: If you encounter any imperfections or uneven areas on the wall, take the time to address them before moving forward. Use a suitable wall repair compound to fill in any cracks or indentations, and sand the surface to achieve a smooth and level base for the tiles.
-
Protective Measures: Prior to applying any materials to the wall, it's essential to protect the surrounding areas from potential damage. Cover countertops and cabinets with protective materials to prevent them from being inadvertently exposed to adhesives or grout.
-
Prime the Surface: Applying a high-quality primer to the wall is a crucial preparatory step that enhances the adhesion of the new tiles. The primer creates a strong bond between the wall and the adhesive, ensuring a secure and long-lasting installation.
-
Mark Guidelines: To facilitate the precise placement of the new tiles, consider marking guidelines on the wall using a level and pencil. These guidelines will serve as a visual reference, allowing you to maintain straight and even tile alignment during the installation process.
-
Allow for Drying Time: After priming the surface, allow an adequate amount of time for the primer to dry completely. This step is essential to ensure that the surface is ready to receive the adhesive without any compromise to its bonding capabilities.
By meticulously preparing the surface according to these guidelines, you'll create an optimal environment for the successful installation of the new tiles. With the wall meticulously inspected, repaired, and primed, you're now poised to move forward with confidence as you embark on the next phase of the retiling process.
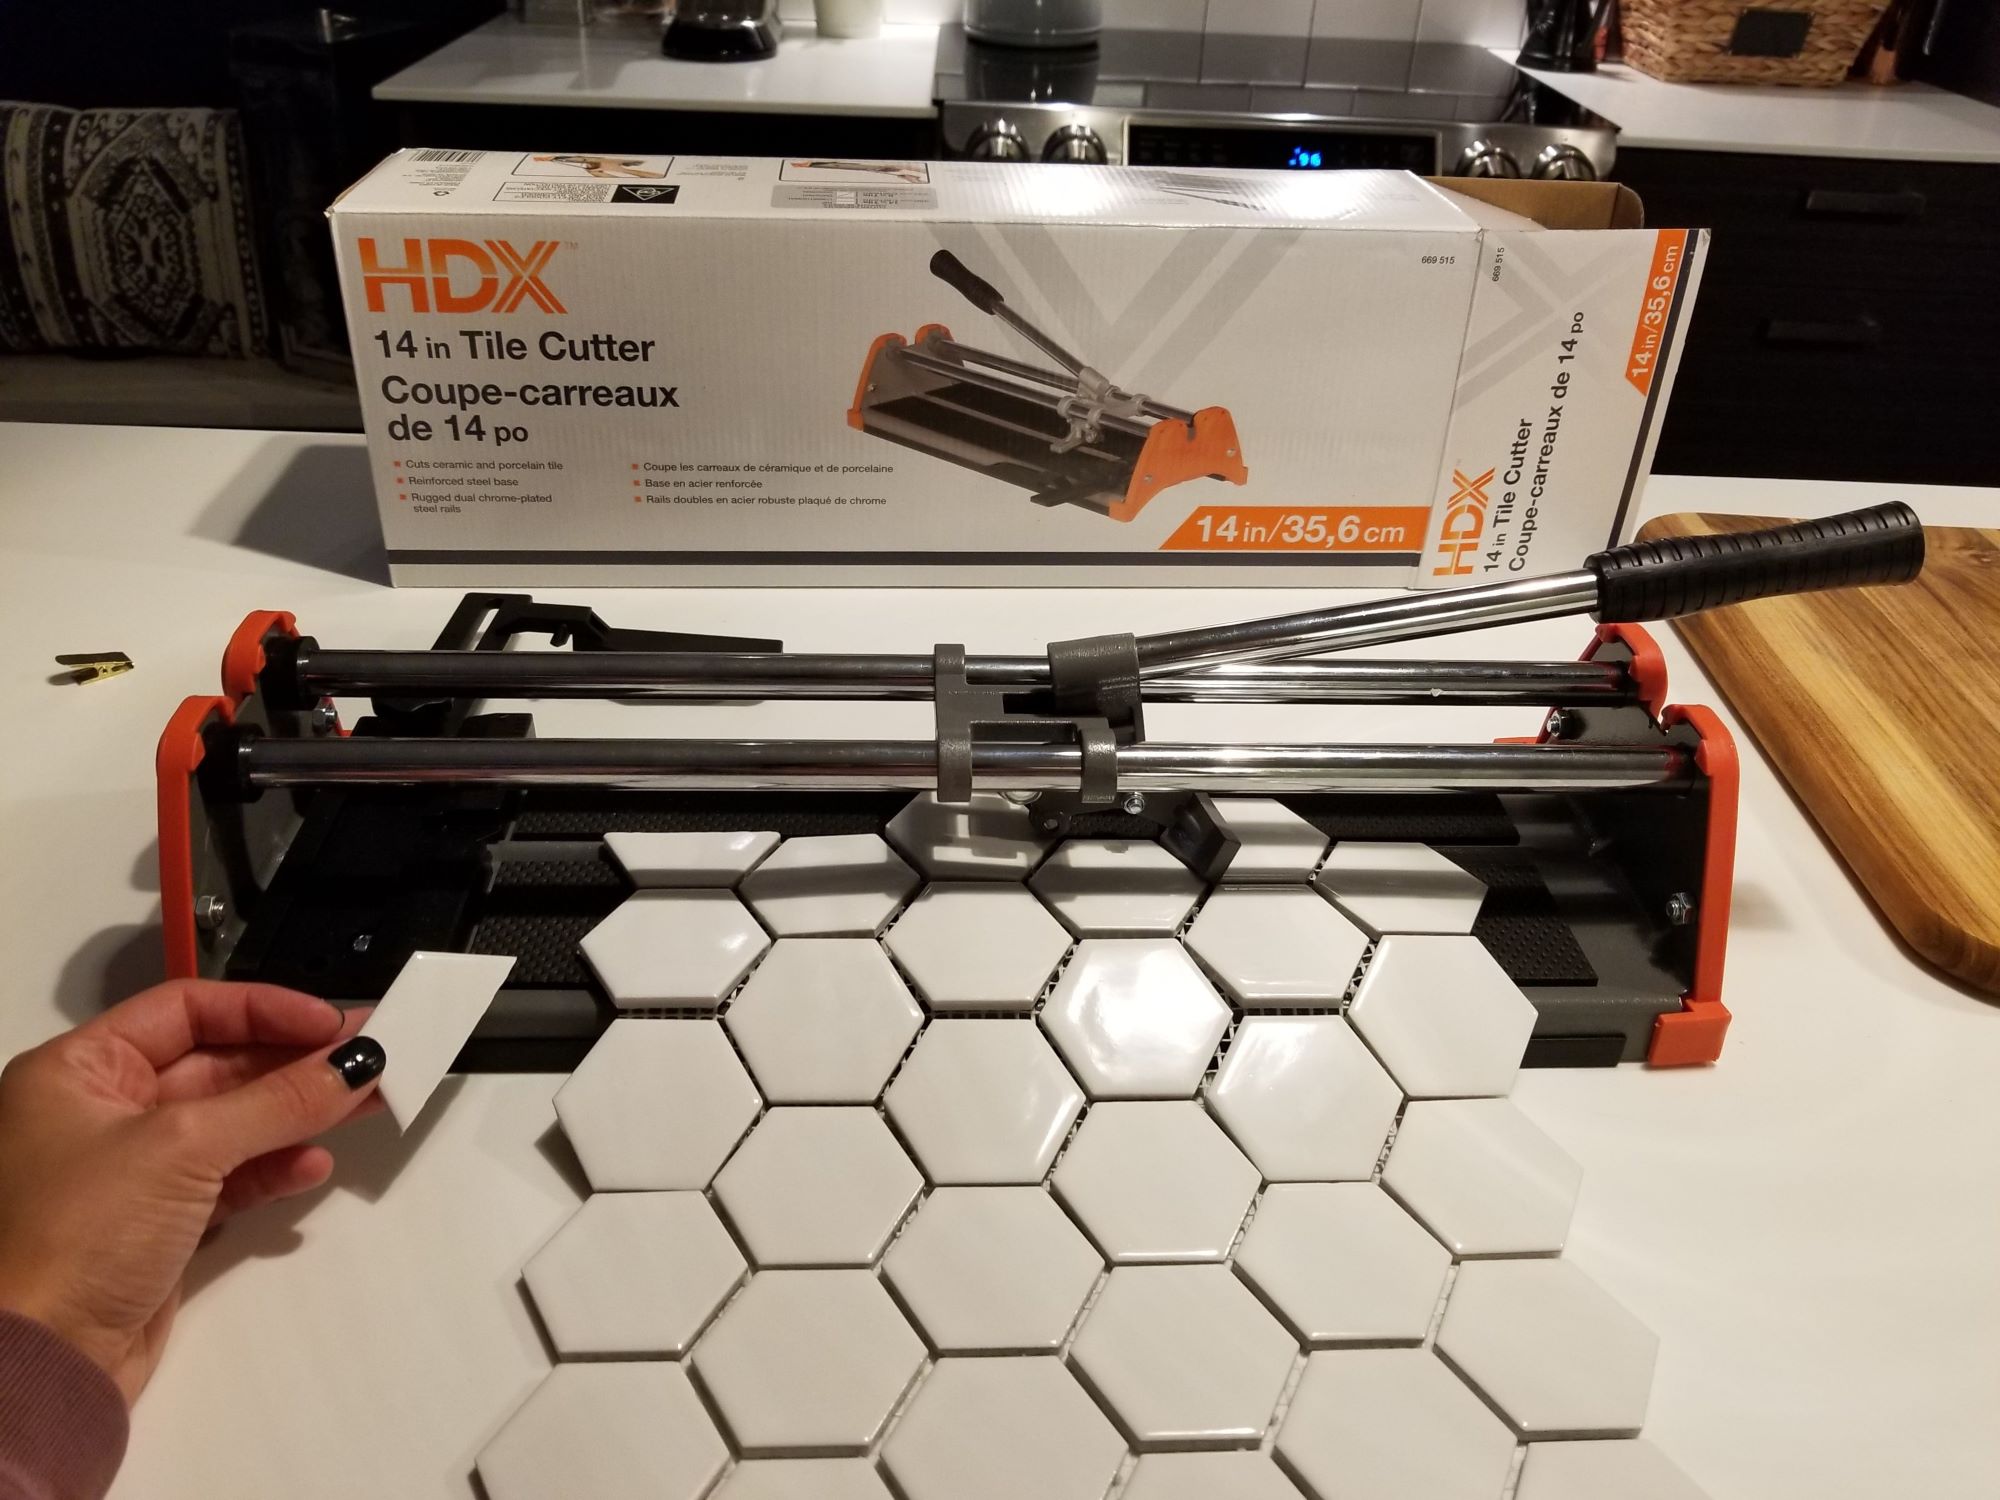
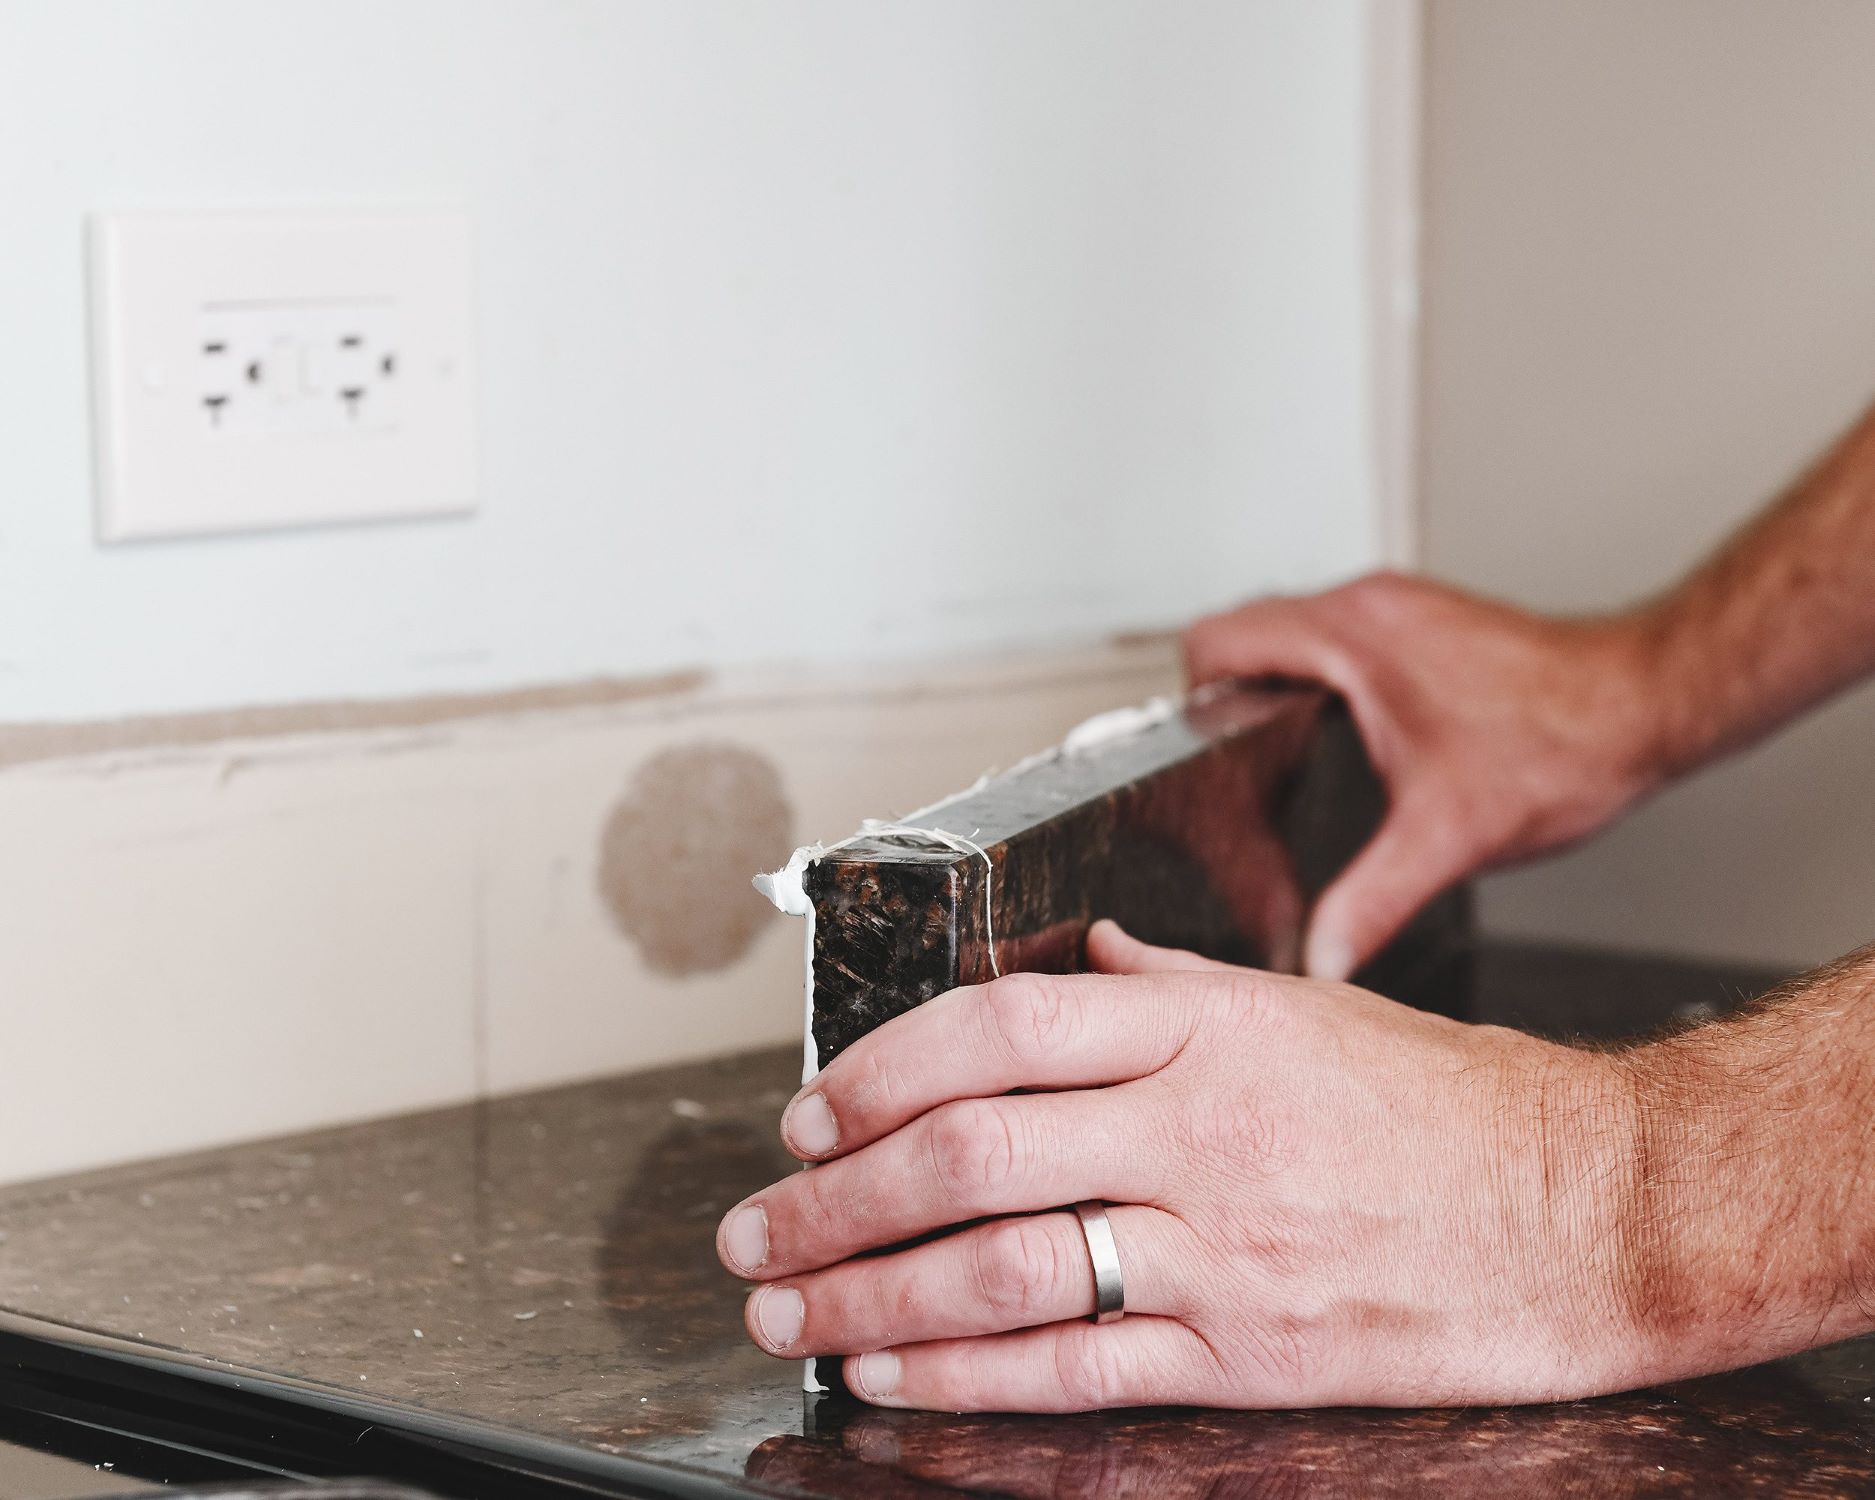
Step 3: Measure and cut the new tiles
As you venture into the exciting phase of selecting and preparing the new tiles for installation, precision and attention to detail become paramount. The process of measuring and cutting the new tiles demands a meticulous approach to ensure a seamless fit and a visually stunning result. Here's a comprehensive guide on how to expertly measure and cut the new tiles for your backsplash renovation:
-
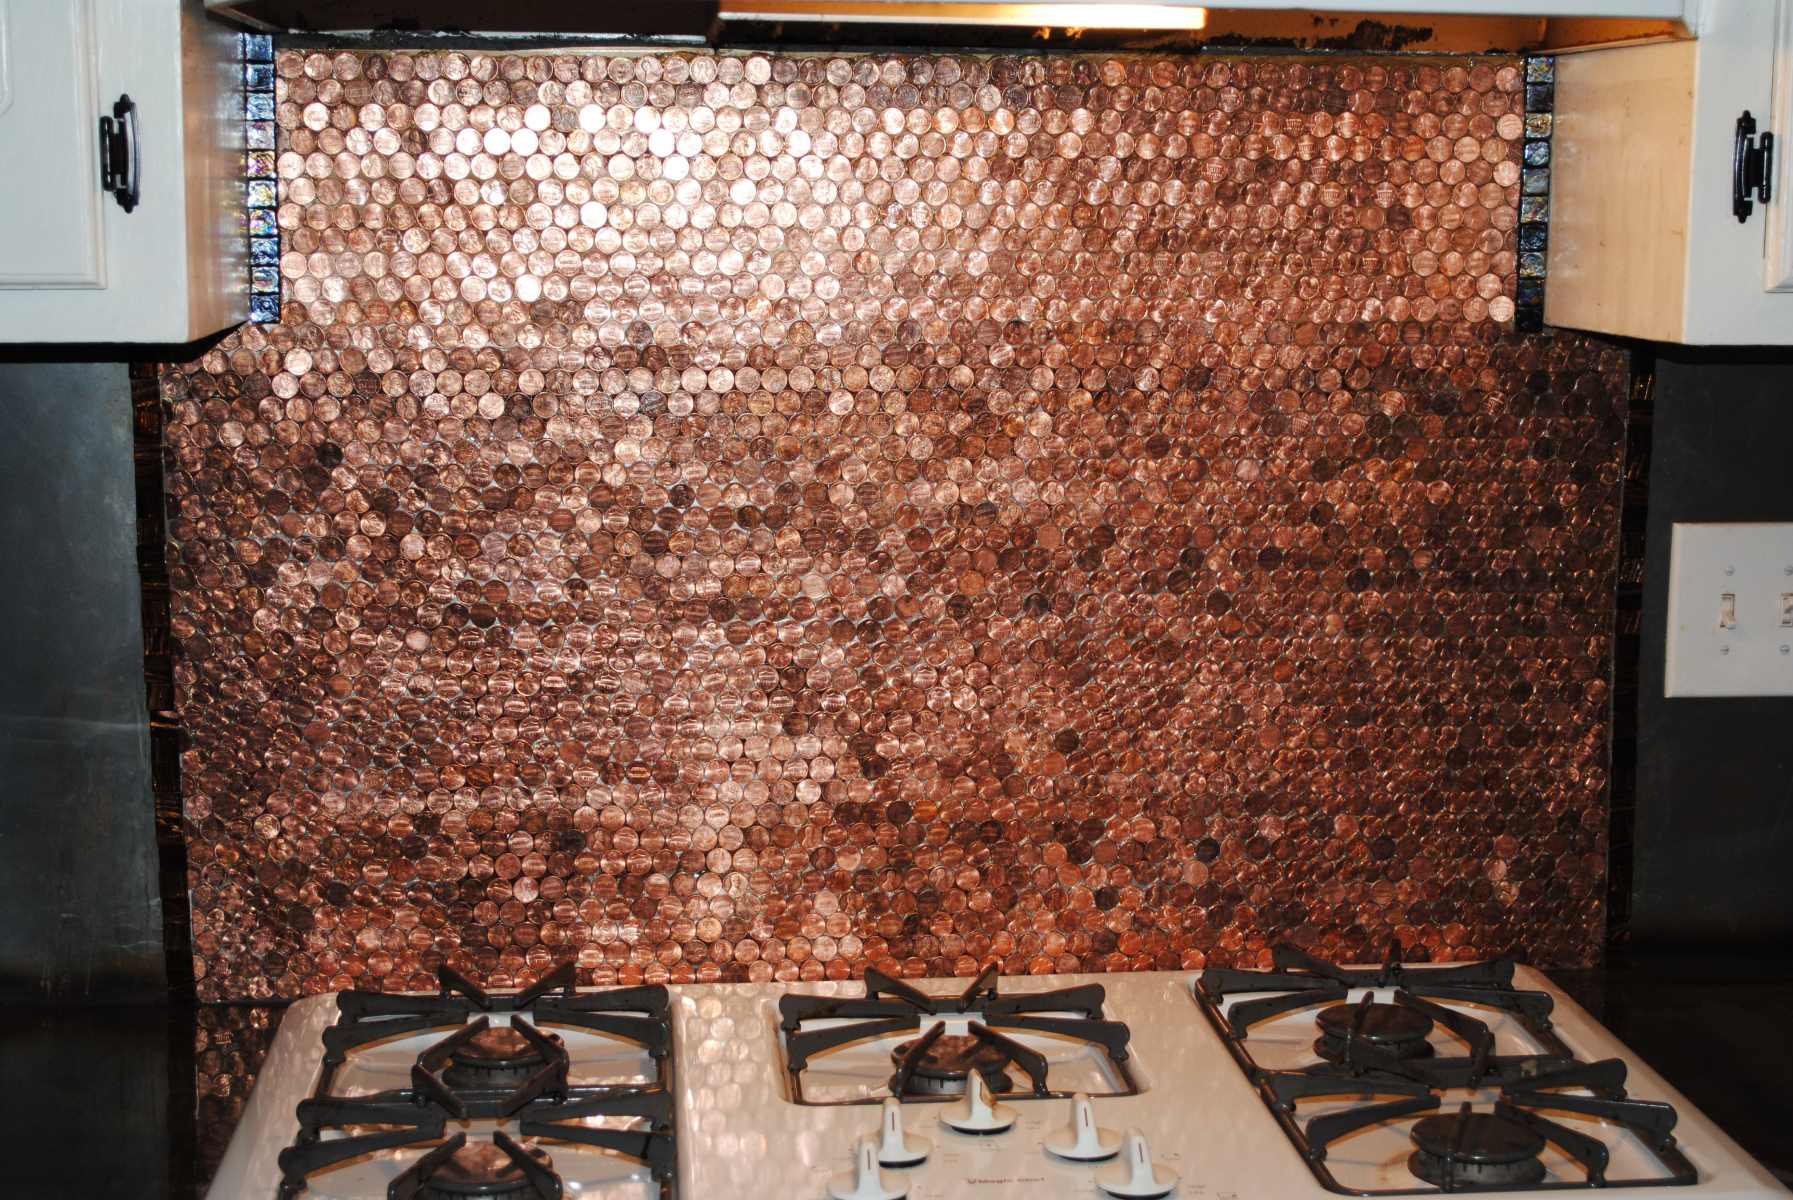
Select the Right Tiles: Before diving into the cutting process, carefully select the tiles that align with your design vision and complement the overall aesthetic of your kitchen. Whether you opt for sleek subway tiles or intricate mosaic designs, choosing the right tiles sets the stage for a captivating backsplash transformation.
-
Accurate Measurements: Begin by measuring the dimensions of the area where the tiles will be installed. Use a tape measure to determine the precise length and height of the backsplash, taking into account any outlets or obstacles that may require custom tile cuts.
-
Account for Spacing: When measuring the area for tile installation, factor in the necessary spacing for grout lines. This ensures that the tiles fit seamlessly without overcrowding the space, maintaining a balanced and visually appealing layout.
-
Marking and Cutting: Once the measurements are obtained, transfer them onto the tiles using a pencil or marker. For straight cuts, a tile cutter or wet saw can be used to achieve clean and precise edges. In the case of curved or intricate cuts, a tile nipper or tile scribe may be employed to carefully shape the tiles according to the marked guidelines.
-
Precision is Key: Exercise caution and patience when cutting the tiles, ensuring that each piece is trimmed with precision to achieve a perfect fit. Double-check the measurements and markings before making any cuts to minimize errors and wastage of materials.
-
Test Fitting: After cutting the tiles, perform a test fit to verify their alignment and fit within the designated space. This step allows you to make any necessary adjustments before proceeding with the adhesive application.
-
Safety First: When cutting tiles, prioritize safety by wearing protective gear, including safety goggles and gloves, to shield yourself from potential debris and sharp edges.
By meticulously following these steps, you'll expertly measure and cut the new tiles, setting the stage for a flawless installation that elevates the visual appeal of your kitchen. With the tiles precisely tailored to fit the space, you're now ready to proceed to the next phase of the retiling process, bringing you one step closer to achieving your dream backsplash.
Step 4: Apply the adhesive
With the meticulously measured and cut tiles at the ready, the next pivotal step in the backsplash retiling process is the application of adhesive. This crucial phase sets the foundation for the secure and enduring installation of the new tiles, ensuring a visually striking and long-lasting result. Here's a detailed guide on how to expertly apply the adhesive for a seamless and professional backsplash transformation:
-
Select the Right Adhesive: When it comes to choosing the adhesive for your backsplash tiles, opt for a high-quality, waterproof tile adhesive that is suitable for the specific type of tiles being installed. Whether you're working with ceramic, porcelain, or glass tiles, selecting the appropriate adhesive is essential for a strong and durable bond.
-
Prepare the Adhesive: Follow the manufacturer's instructions to prepare the adhesive, ensuring that it reaches the desired consistency for optimal application. Use a mixing paddle and a clean bucket to blend the adhesive to the recommended texture, taking care to achieve a smooth and lump-free mixture.
-
Apply the Adhesive: Using a notched trowel, begin applying the adhesive to the prepared wall surface in a consistent and even manner. The notches on the trowel create ridges in the adhesive, promoting strong adhesion and minimizing air pockets between the tiles and the wall.
-
Work in Sections: To maintain control and prevent the adhesive from drying out prematurely, work in small sections at a time. This approach ensures that the adhesive remains workable as you proceed with the tile installation, allowing for precise placement and adjustment as needed.
-
Mind the Guidelines: Refer to the previously marked guidelines on the wall to guide the placement of the tiles. Starting from the bottom and working your way up, carefully press each tile into the adhesive, ensuring a snug fit and uniform spacing between tiles.
-
Adjust as Needed: As you progress, use tile spacers to maintain consistent grout lines and make any necessary adjustments to the tile placement. This step is crucial for achieving a polished and professional finish, with straight and evenly spaced tiles enhancing the overall aesthetic of the backsplash.
-
Check for Alignment: Periodically use a level to verify that the tiles are aligned correctly and sit flush against the wall. Making real-time adjustments during the installation process ensures that any deviations are promptly addressed, resulting in a visually pleasing and structurally sound installation.
By meticulously following these steps, you'll expertly apply the adhesive, setting the stage for a seamless and visually captivating backsplash installation. With the tiles securely in place, you're now ready to proceed to the next phase of the retiling process, bringing you one step closer to achieving your dream kitchen transformation.
Read more: How To Measure For A Backsplash
Step 5: Install the new tiles
With the adhesive meticulously applied and the stage set for the transformative installation of the new tiles, the next phase of the retiling process is a pivotal moment in bringing your vision to life. The installation of the new tiles demands precision, patience, and a keen eye for detail to ensure a flawless and visually captivating result. Here's a comprehensive guide on how to expertly install the new tiles for a stunning backsplash transformation:
-
Begin at the Bottom: Start the tile installation at the bottom of the backsplash area, aligning the first row of tiles with the marked guidelines on the wall. This foundational row sets the stage for the entire installation, serving as a reference point for the subsequent rows.
-
Press and Set: Carefully press each tile into the adhesive, ensuring a secure and level placement. Use a slight twisting motion as you set the tiles to help them bond effectively with the adhesive and achieve a uniform surface.
-
Maintain Consistent Spacing: As you progress with the installation, utilize tile spacers to maintain consistent and visually appealing grout lines between the tiles. These spacers ensure that the tiles are evenly positioned, creating a polished and professional aesthetic.
-
Address Obstacles: If the installation area includes outlets or other obstacles, carefully measure and cut the tiles to accommodate these features. Precision is key in ensuring that the tiles fit seamlessly around these elements, maintaining a cohesive and visually pleasing layout.
-
Check Alignment and Level: Periodically use a level to verify that the tiles are aligned correctly and sit flush against the wall. This step allows you to make real-time adjustments, ensuring that the installation maintains a straight and even appearance throughout.
-
Trim Tiles as Needed: In cases where the tiles at the edges or corners require trimming to fit the space, use a tile cutter or wet saw to achieve precise cuts. This attention to detail ensures that the tiles seamlessly fill the designated area, creating a cohesive and professional finish.
-
Work Methodically: Approach the installation process methodically, working row by row and ensuring that each tile is securely set before proceeding to the next. This systematic approach minimizes the risk of errors and allows for real-time adjustments as needed.
By meticulously following these steps, you'll expertly install the new tiles, bringing your vision of a captivating backsplash to fruition. With each tile securely in place, you're now ready to proceed to the next phase of the retiling process, edging closer to the realization of your dream kitchen transformation.
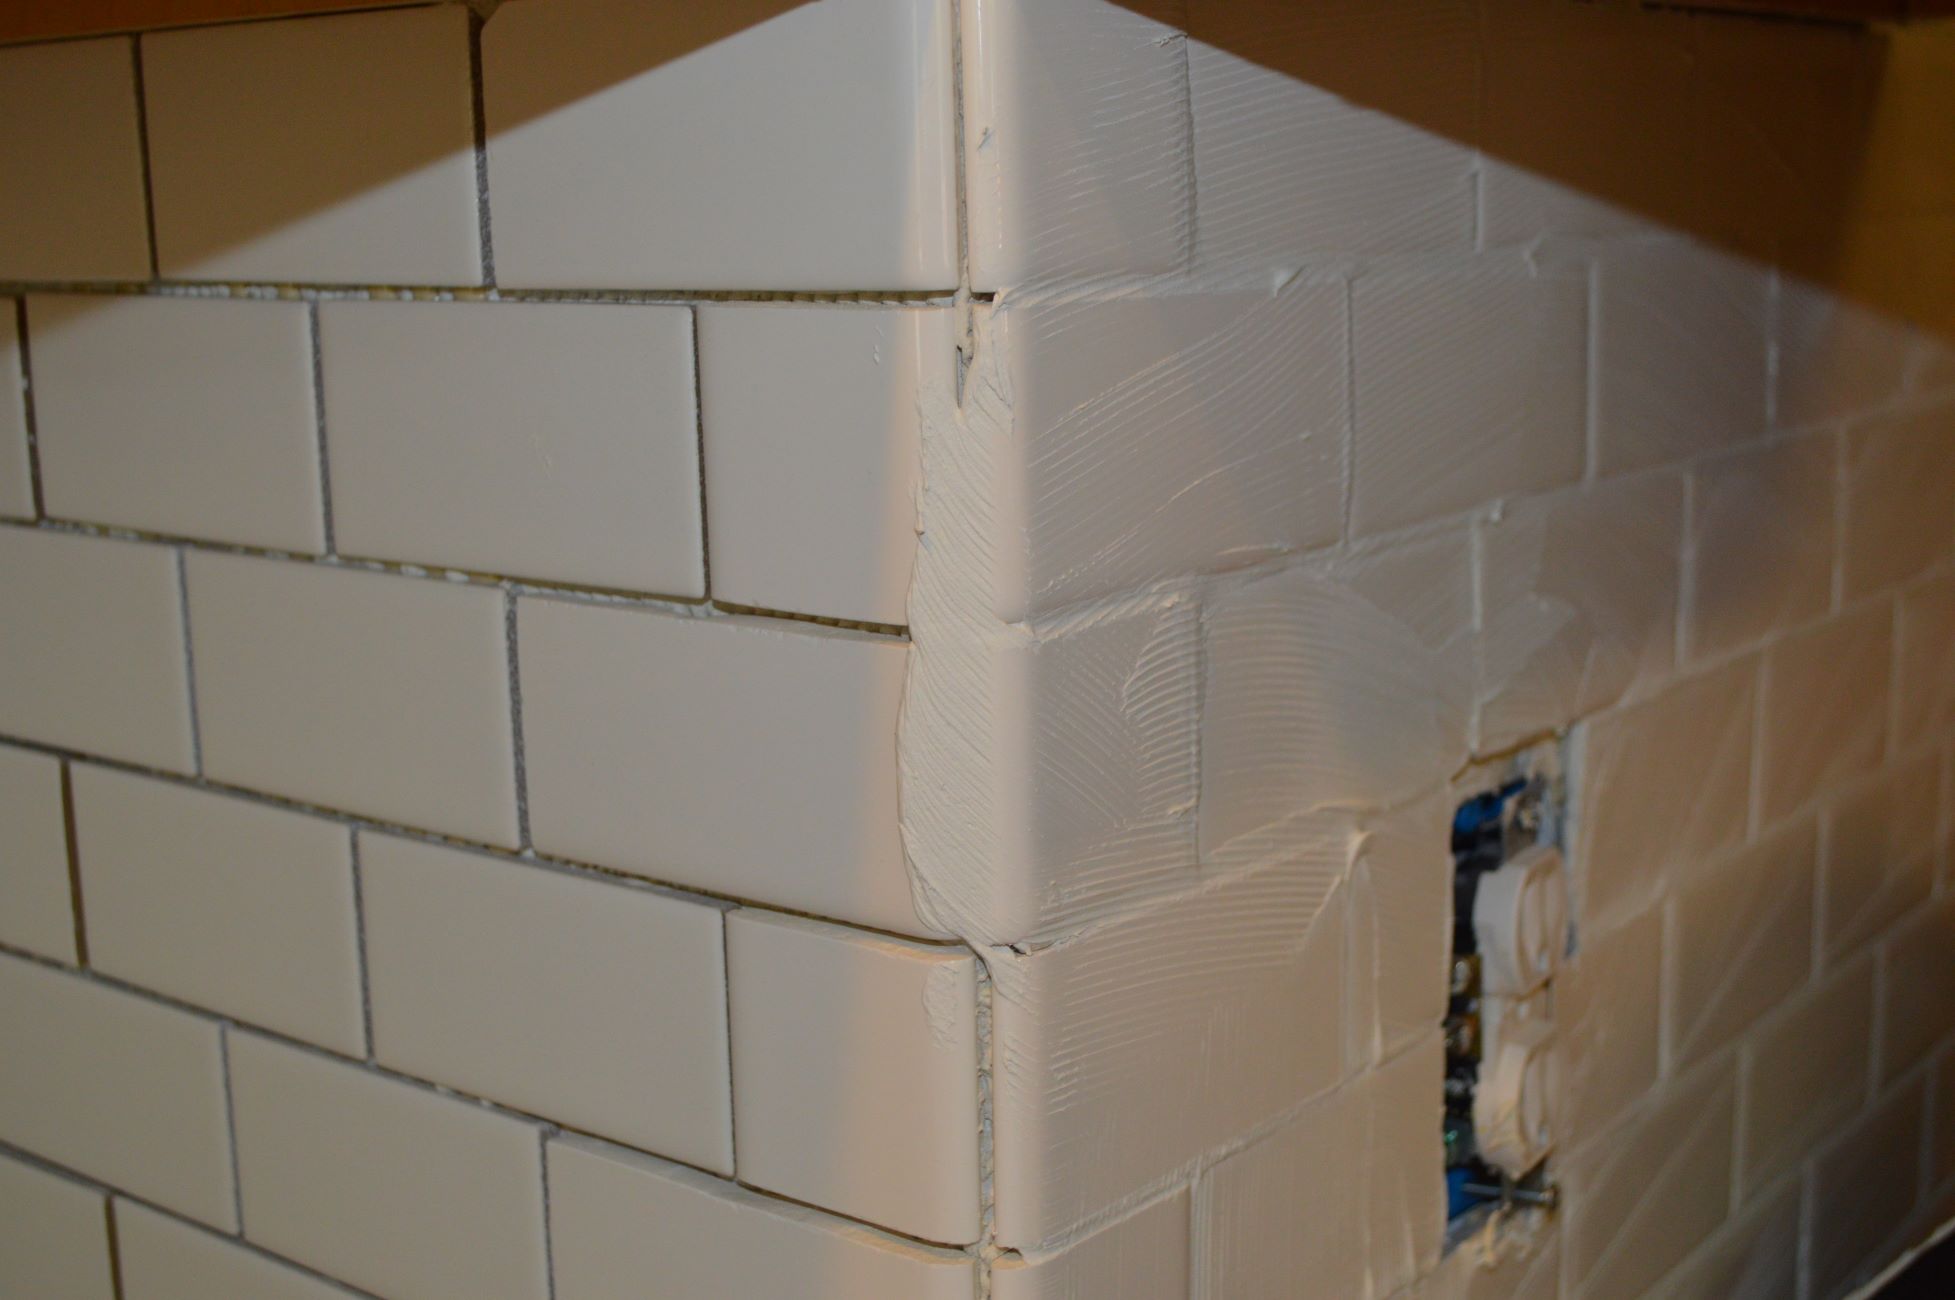
Step 6: Grout the tiles
Grouting the tiles is a pivotal step that not only enhances the visual appeal of the backsplash but also ensures the structural integrity of the installation. The grout serves as more than just a filler between tiles; it contributes to the overall cohesiveness and longevity of the backsplash. Here's a detailed guide on how to expertly grout the tiles for a seamless and professional finish:
Select the Right Grout
Begin by selecting a high-quality grout that aligns with the aesthetic and functional requirements of your backsplash. Consider factors such as color, texture, and durability when choosing the grout, ensuring that it complements the selected tiles and contributes to the overall design vision.
Prepare the Grout Mixture
Follow the manufacturer's instructions to prepare the grout mixture to the desired consistency. Use a clean bucket and a grout mixing tool to achieve a smooth and lump-free blend, ensuring that the grout is ready for application.
Read more: How To Prep For Backsplash
Apply the Grout
Using a rubber grout float, apply the grout mixture diagonally across the tiles, ensuring that the spaces between the tiles are thoroughly filled. Work in small sections at a time to prevent the grout from drying out before it can be properly worked into the spaces.
Remove Excess Grout
After applying the grout, use the rubber grout float to remove excess grout from the tile surfaces. Hold the float at a 45-degree angle and use a sweeping motion to scrape off the excess grout, leaving the tiles clean and free from grout residue.
Clean the Tiles
Once the excess grout is removed, use a damp sponge to gently clean the surface of the tiles. Rinse the sponge frequently and continue to wipe away any remaining grout haze, ensuring that the tiles are left with a clean and polished appearance.
Final Touches
After allowing the grout to set for the recommended time, use a dry cloth to buff away any remaining haze on the tile surfaces. This final step adds a lustrous finish to the tiles, elevating the overall aesthetic of the backsplash.
By meticulously following these steps, you'll expertly grout the tiles, culminating in a visually stunning and structurally sound backsplash installation. With the grout seamlessly integrated between the tiles, you're one step closer to reveling in the transformative impact of your newly retiling backsplash.
Read more: How To Seal Backsplash
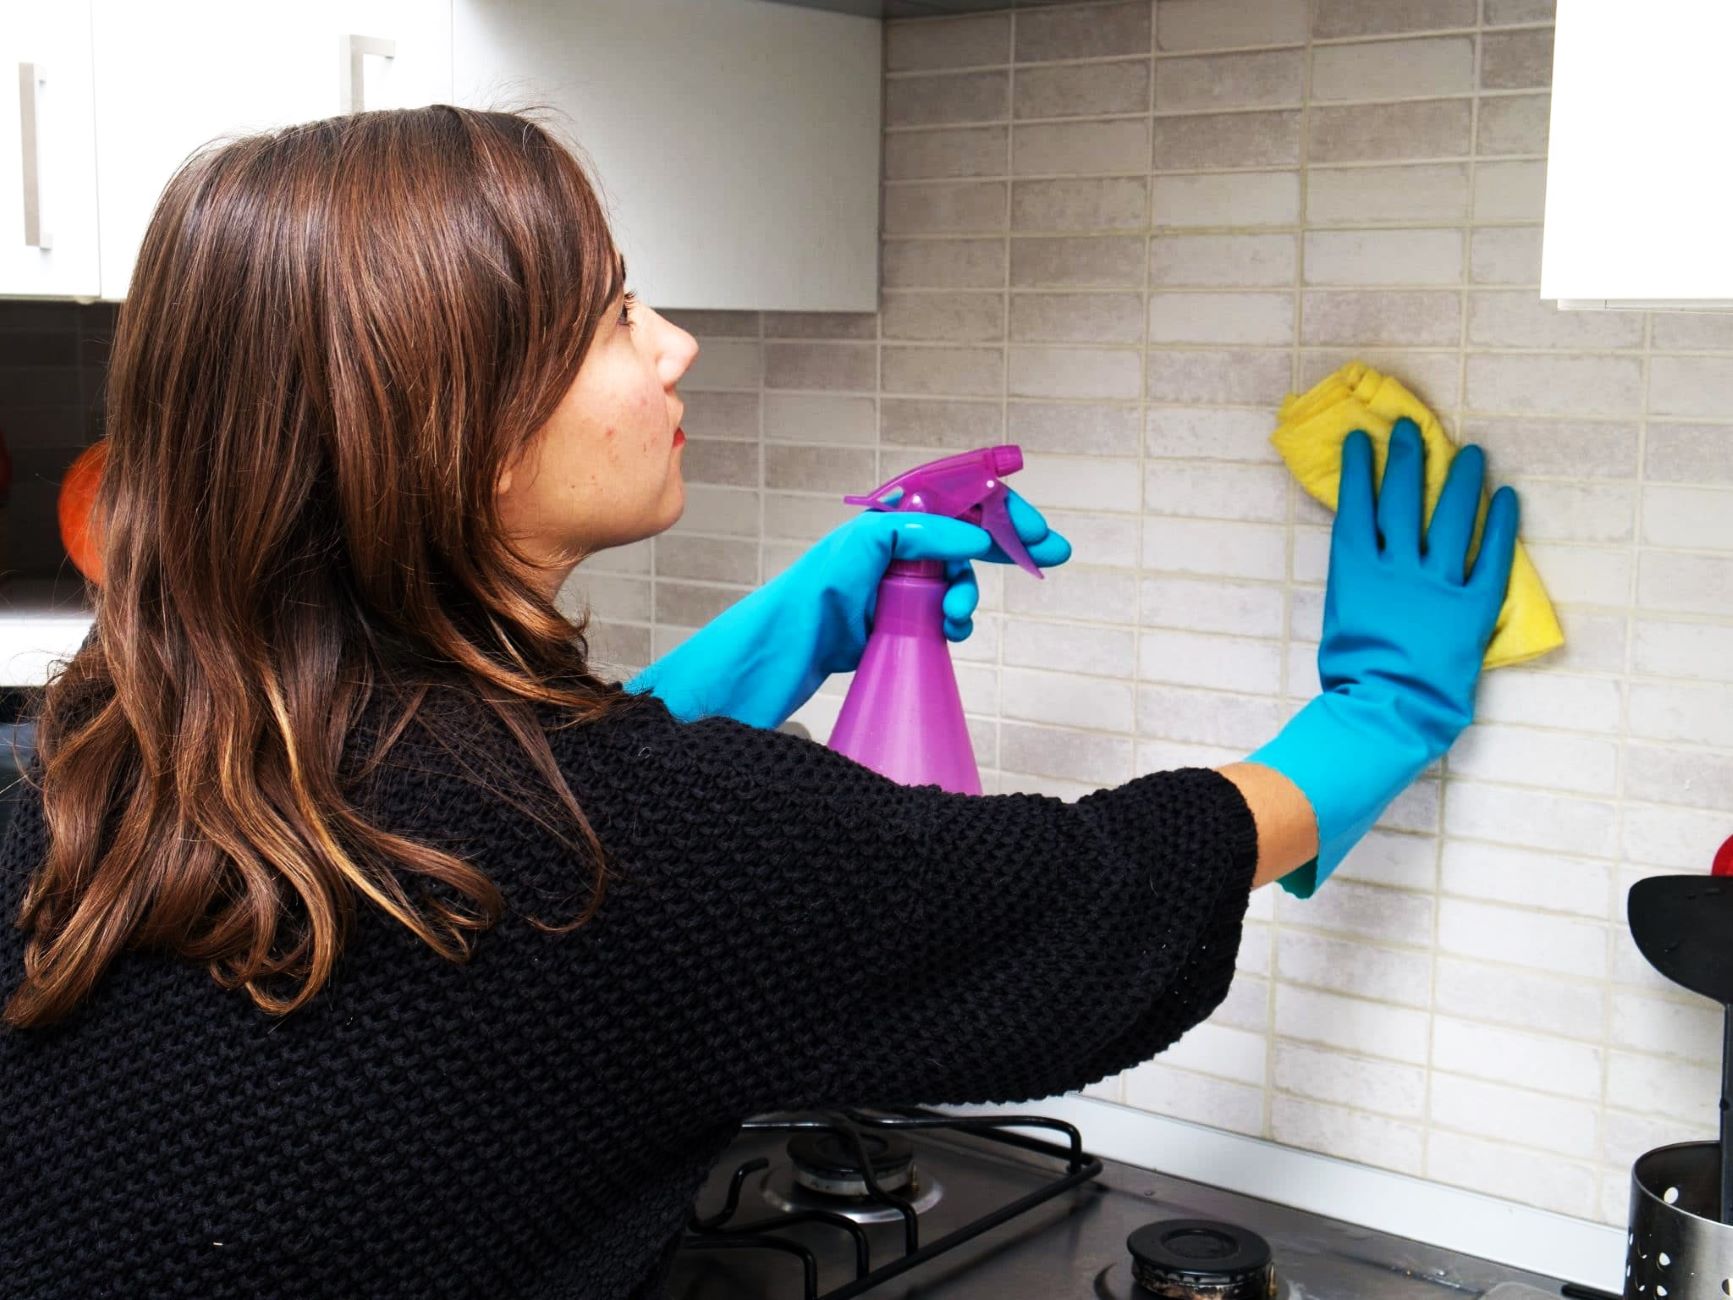
Step 7: Clean and seal the grout
After the meticulous grouting process, the final step in achieving a pristine and enduring backsplash installation involves cleaning and sealing the grout. This critical phase not only enhances the visual appeal of the grout lines but also contributes to the long-term durability and maintenance of the entire backsplash. Here's a detailed guide on how to expertly clean and seal the grout for a polished and resilient finish.
Thorough Cleaning
Begin by ensuring that the grout has fully cured according to the manufacturer's recommendations. Once the grout is set, use a grout haze remover or a mixture of water and white vinegar to clean the grout lines. Apply the solution to the grout lines and gently scrub with a grout brush to remove any residual grout haze or stains. Rinse the area with clean water and allow it to dry completely before proceeding with the sealing process.
Selecting the Right Sealer
When it comes to sealing the grout, it's essential to choose a high-quality grout sealer that provides protection against moisture, stains, and discoloration. Opt for a penetrating sealer that effectively permeates the grout, forming a protective barrier without altering its natural appearance. Consider factors such as the type of tiles and grout used, as well as the specific requirements of your kitchen environment, when selecting the appropriate sealer.
Application of Sealer
Follow the manufacturer's instructions to apply the grout sealer evenly across the grout lines. Use a small brush or roller specifically designed for sealer application to ensure precise coverage. Work in small sections, allowing the sealer to penetrate the grout thoroughly. Wipe off any excess sealer from the tile surfaces promptly to prevent residue buildup.
Read more: How To Whitewash Backsplash
Allow for Proper Curing
After applying the sealer, allow sufficient time for it to cure and form a protective barrier. This curing period is crucial for the sealer to bond with the grout effectively, enhancing its resistance to moisture and stains. Ensure that the area is well-ventilated during the curing process to facilitate proper drying and sealing.
Final Inspection
Once the sealer has cured, inspect the grout lines to ensure that they are uniformly sealed and free from any excess sealer residue. Buff the tile surfaces with a dry cloth to achieve a clean and polished finish, enhancing the overall aesthetic of the backsplash.
By meticulously following these steps, you'll expertly clean and seal the grout, culminating in a visually stunning and resilient backsplash installation. With the grout lines effectively protected and enhanced, you can revel in the transformative impact of your newly retiling backsplash, knowing that it is not only visually captivating but also built to withstand the test of time.
Conclusion
As you stand back and admire the stunning transformation that has taken place in your kitchen, it's clear that the journey of retiling your backsplash has been a rewarding and empowering experience. From bidding farewell to the old tiles to meticulously installing and grouting the new ones, every step has been a testament to your dedication and creativity in home renovation.
The revitalized backsplash now stands as a captivating focal point, breathing new life into the heart of your home. The carefully selected tiles, expertly installed and grouted, have seamlessly woven together to create a visual masterpiece that reflects your unique style and personality. Every time you step into your kitchen, the revamped backsplash serves as a reminder of the transformative power of hands-on renovation and the joy of bringing your vision to life.
Beyond the aesthetic allure, the retiling process has equipped you with valuable skills and knowledge that extend far beyond this particular project. The patience and precision exercised in removing the old tiles, the meticulous preparation of the surface, and the artistry involved in measuring, cutting, and installing the new tiles have honed your abilities as a home improvement enthusiast.
Furthermore, the attention to detail demonstrated in grouting and sealing the tiles has not only enhanced the visual appeal of the backsplash but also fortified its durability and resilience. The thorough understanding of each phase of the retiling process has empowered you to take on future renovation endeavors with confidence and expertise.
As you reflect on this transformative journey, take pride in the fact that you've not only revitalized your kitchen but also cultivated a deeper connection to the art of home renovation. The newfound sense of accomplishment and the tangible impact of your efforts serve as a testament to the power of creativity and determination in shaping the spaces we inhabit.
So, as you savor the fruits of your labor and bask in the radiant glow of your newly retiling backsplash, remember that the skills and experiences gained along the way are enduring treasures that will continue to enrich your journey as a home improvement enthusiast. With each glance at the captivating backsplash, may it serve as a reminder of the transformative potential that lies within your hands and the boundless possibilities that await in the realm of home renovation.
Frequently Asked Questions about How To Retile Backsplash
Was this page helpful?
At Storables.com, we guarantee accurate and reliable information. Our content, validated by Expert Board Contributors, is crafted following stringent Editorial Policies. We're committed to providing you with well-researched, expert-backed insights for all your informational needs.


0 thoughts on “How To Retile Backsplash”