Articles
How To Attach Backsplash To Vanity
Modified: October 31, 2024
Learn how to attach a backsplash to your vanity with our informative articles. Enhance the look of your bathroom with these easy-to-follow steps.
(Many of the links in this article redirect to a specific reviewed product. Your purchase of these products through affiliate links helps to generate commission for Storables.com, at no extra cost. Learn more)
Introduction
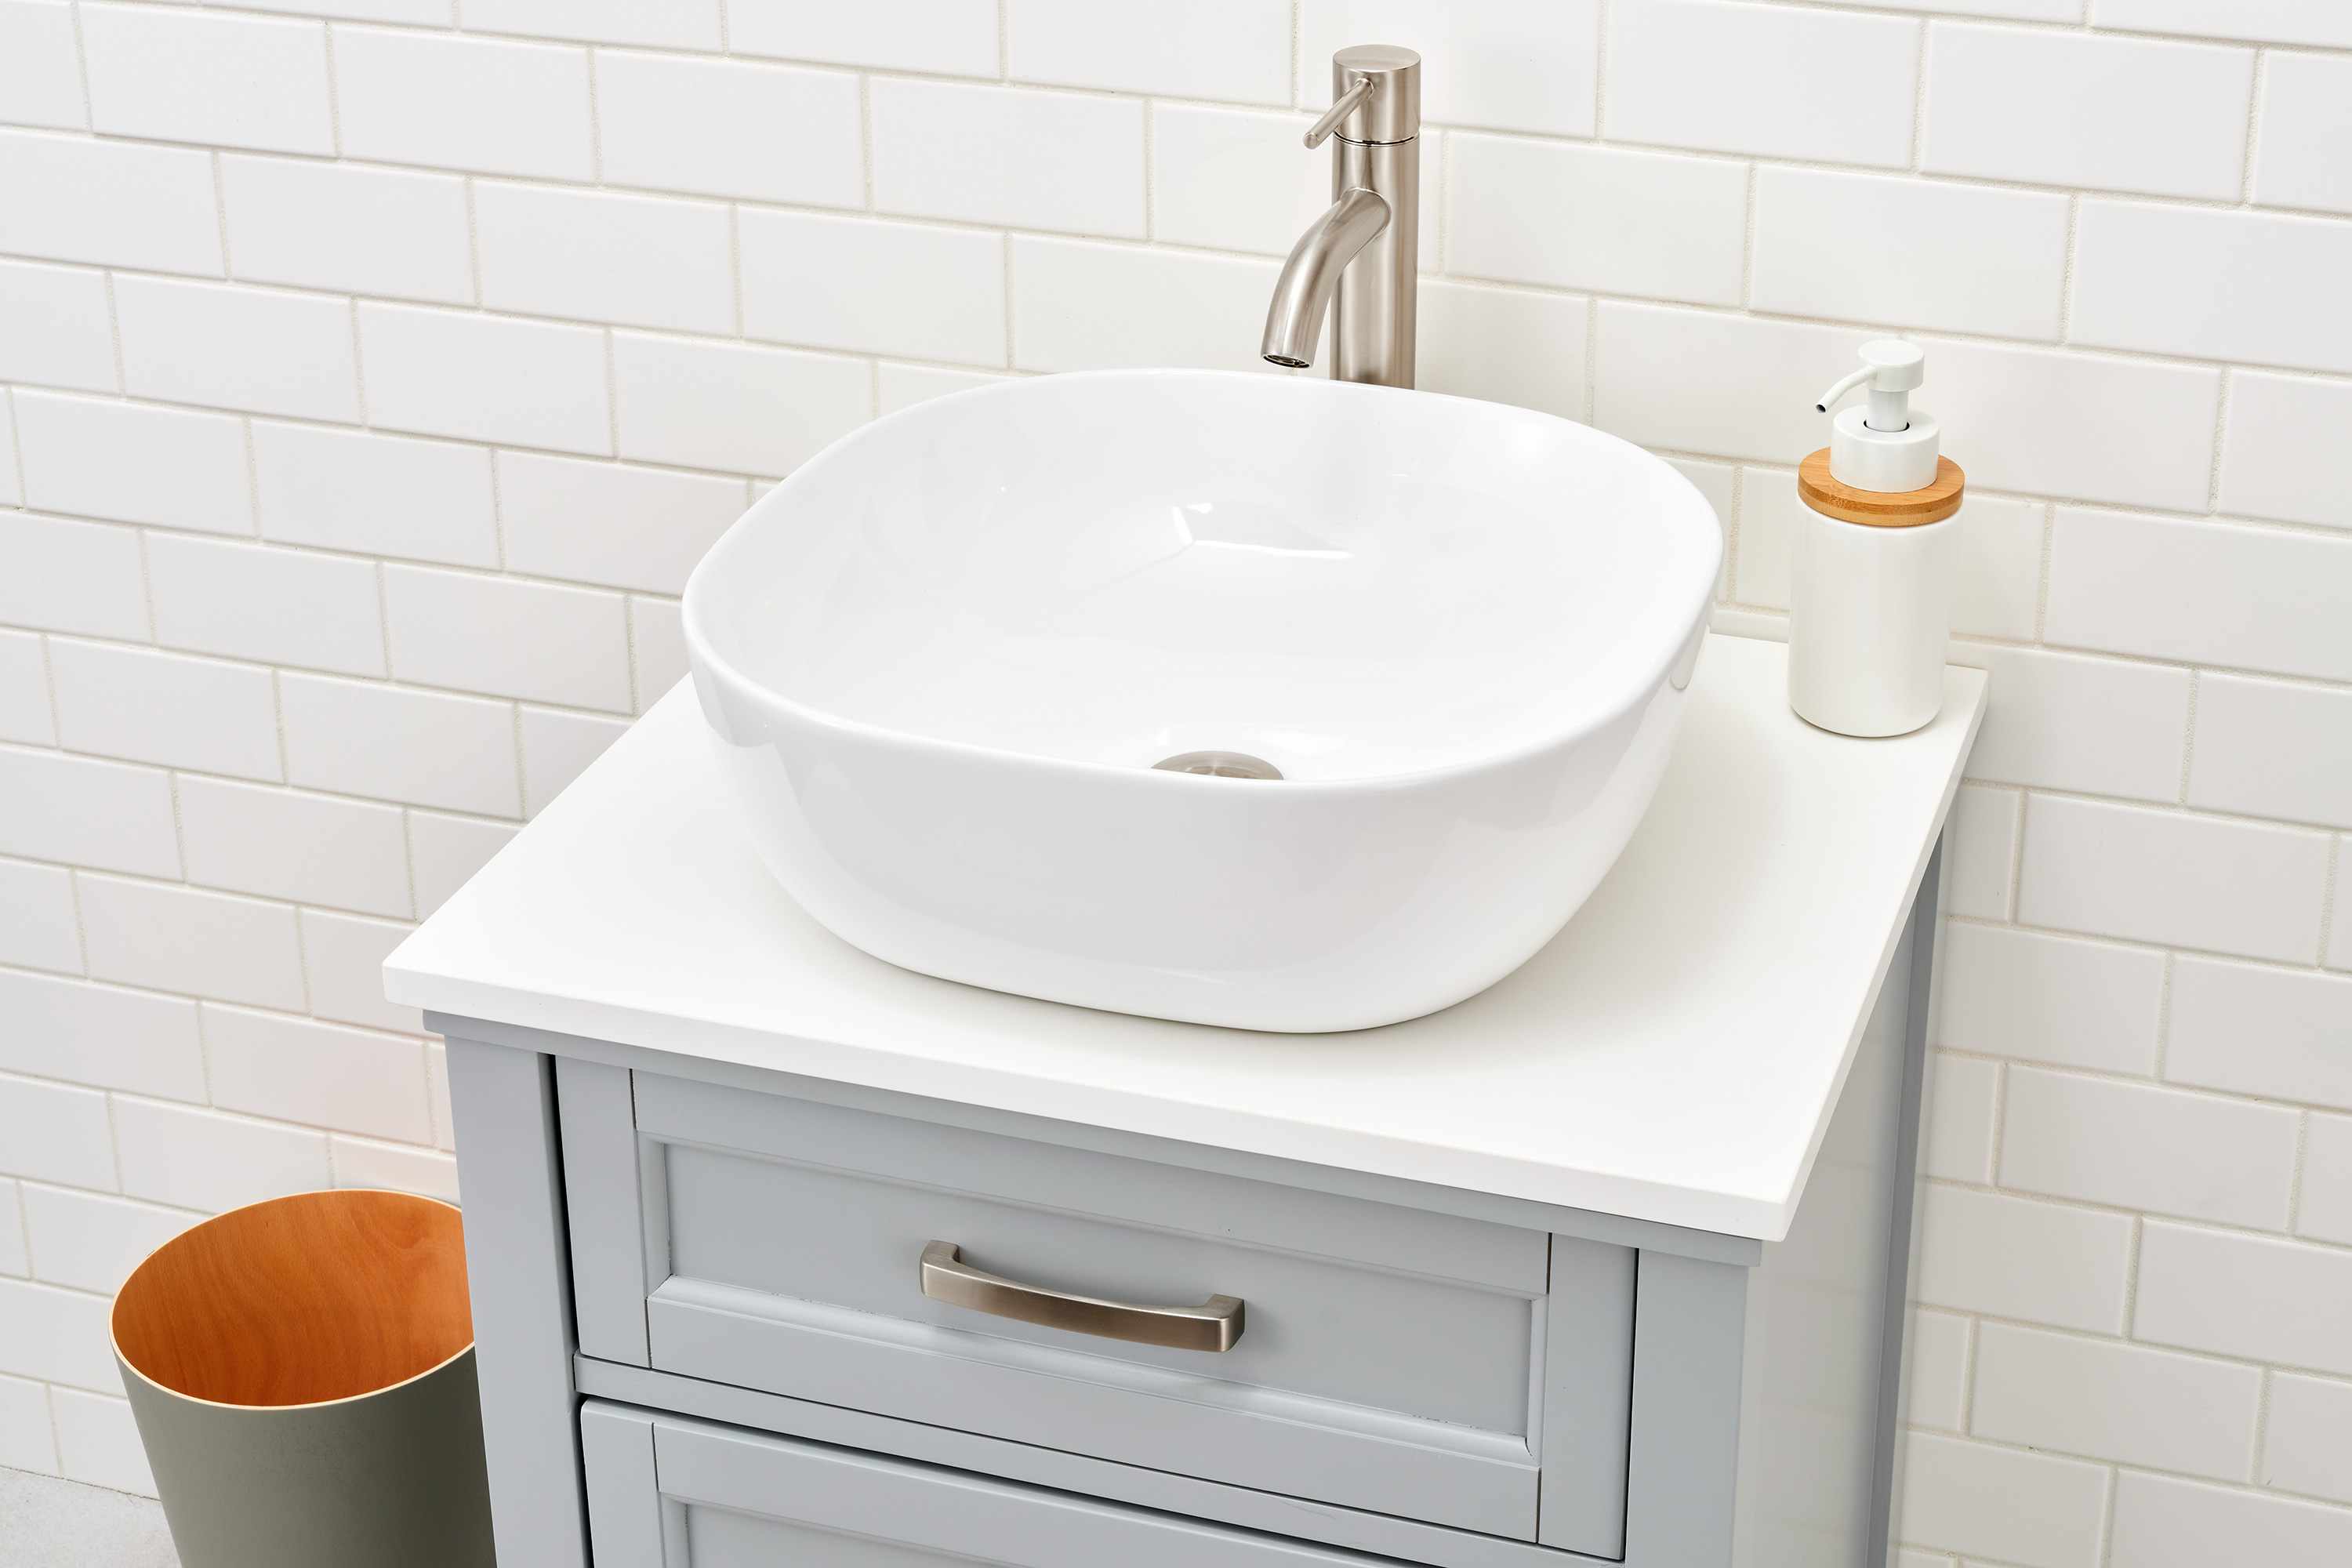
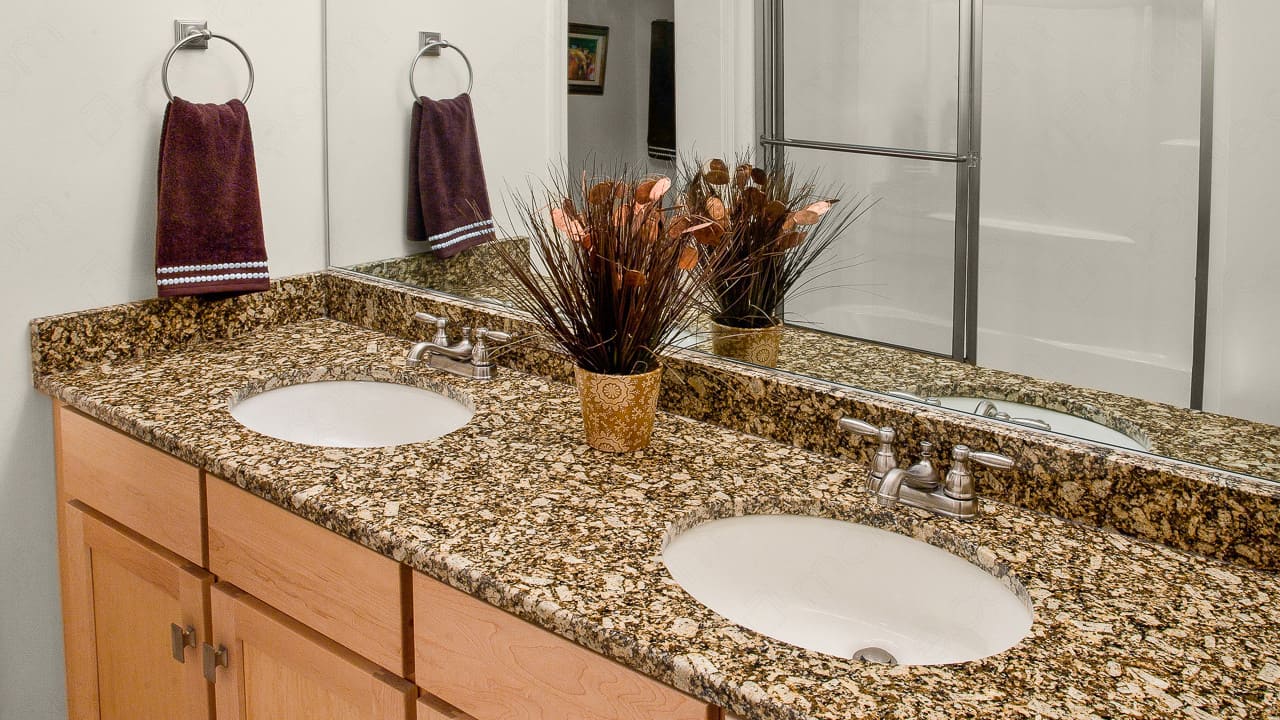
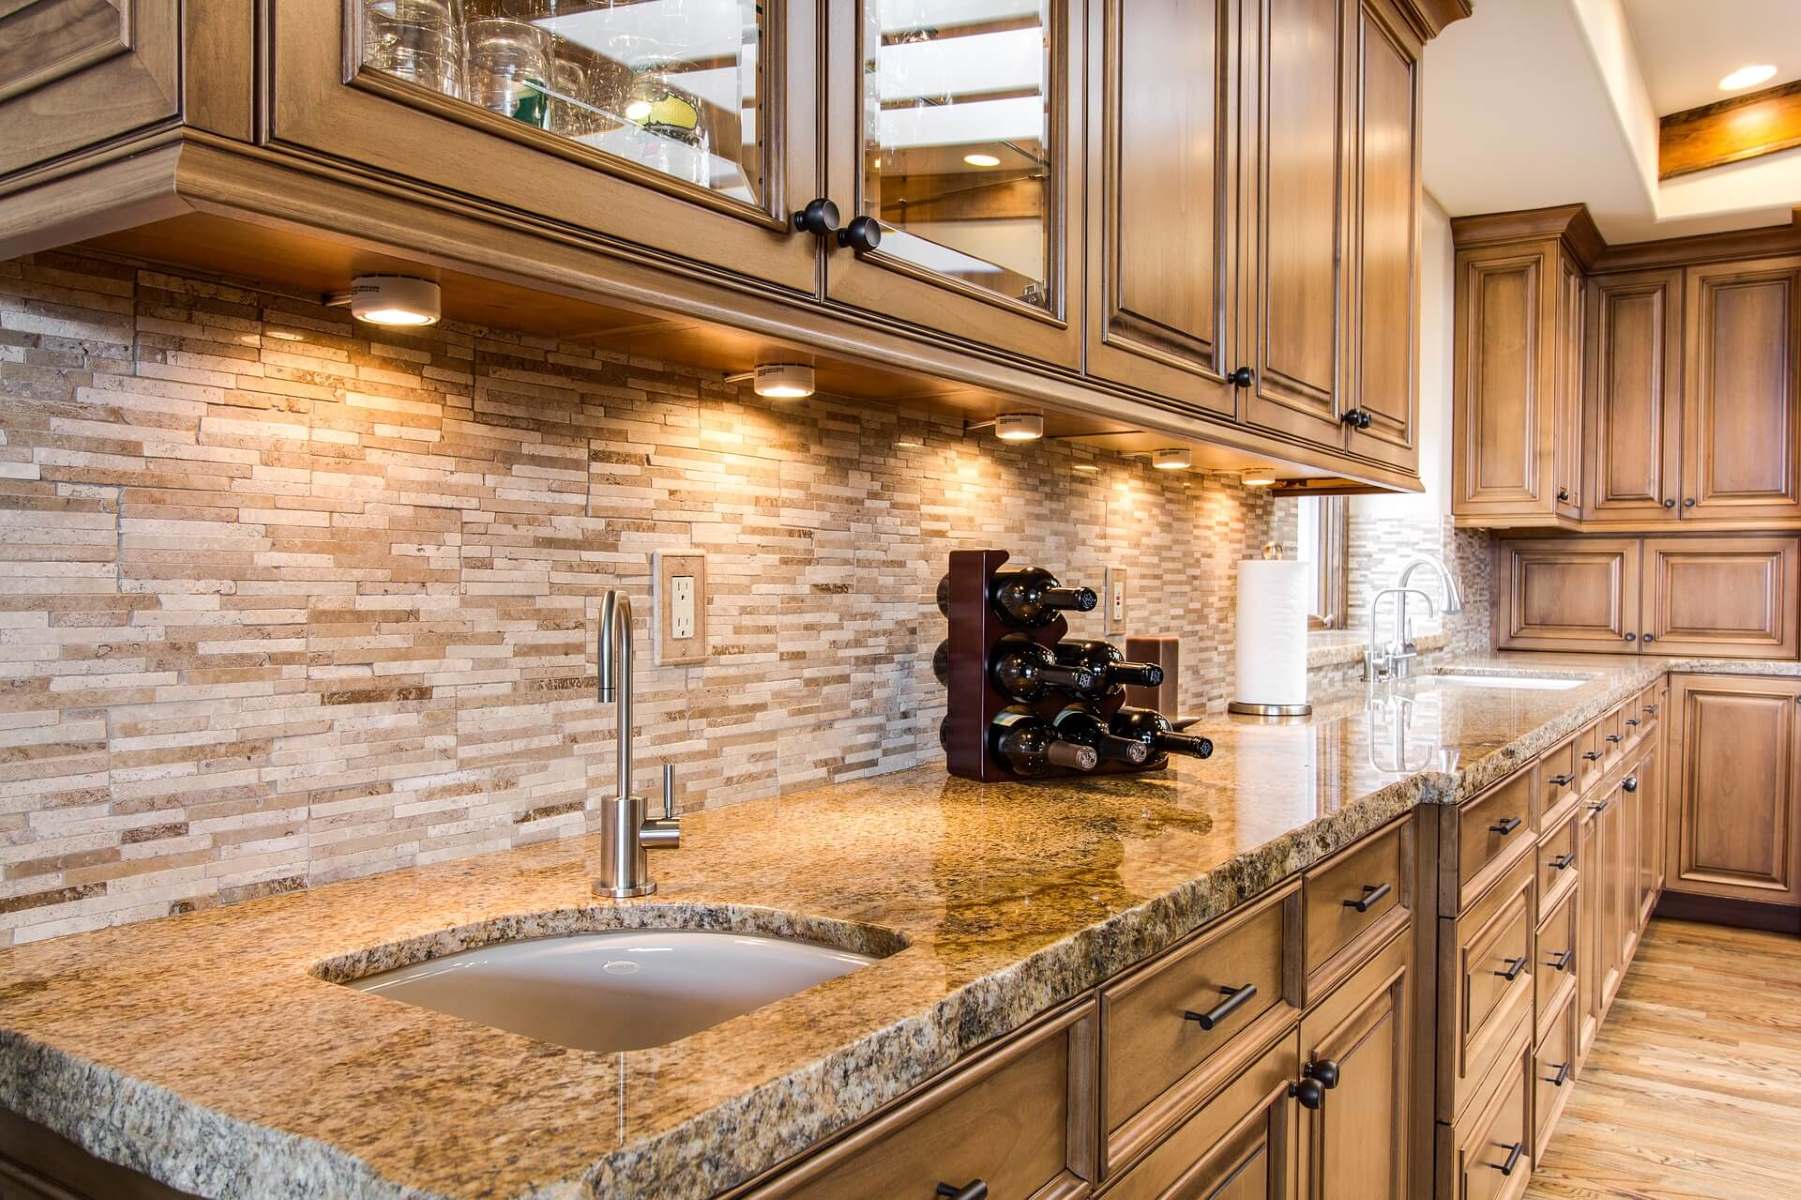
When it comes to transforming the look and functionality of your bathroom, adding a backsplash to your vanity can make a world of difference. Not only does it protect the wall from water damage and stains, but it also adds a stylish and polished touch to the overall design. If you’re thinking about attaching a backsplash to your vanity, you’ve come to the right place. In this article, we will guide you through the step-by-step process of attaching a backsplash to your vanity, giving your bathroom a beautiful and functional upgrade.
Before we dive into the details, let’s take a moment to gather the materials you will need for this project.
Key Takeaways:
- Transform your bathroom with a stylish and functional upgrade by attaching a backsplash to your vanity. Follow the step-by-step process for a professional and long-lasting installation.
- Enjoy a beautiful and protected bathroom with a backsplash that adds both style and functionality. Follow the detailed steps to achieve a polished and professional look for your vanity.
Read more: How To Attach Backsplash To Wall
Materials Needed
To attach a backsplash to your vanity, you will need the following materials:
- Backsplash tiles or a pre-cut backsplash
- Adhesive or construction adhesive
- Tile spacers
- Grout
- Grout float
- Sponge
- Tile cutter or wet saw (if you need to cut tiles)
- Tape measure
- Pencil or marker
- Level
- Painter’s tape
- Rags or towels
- Protective goggles
- Gloves
Make sure to gather all these materials before starting the project to ensure a smooth and uninterrupted process.
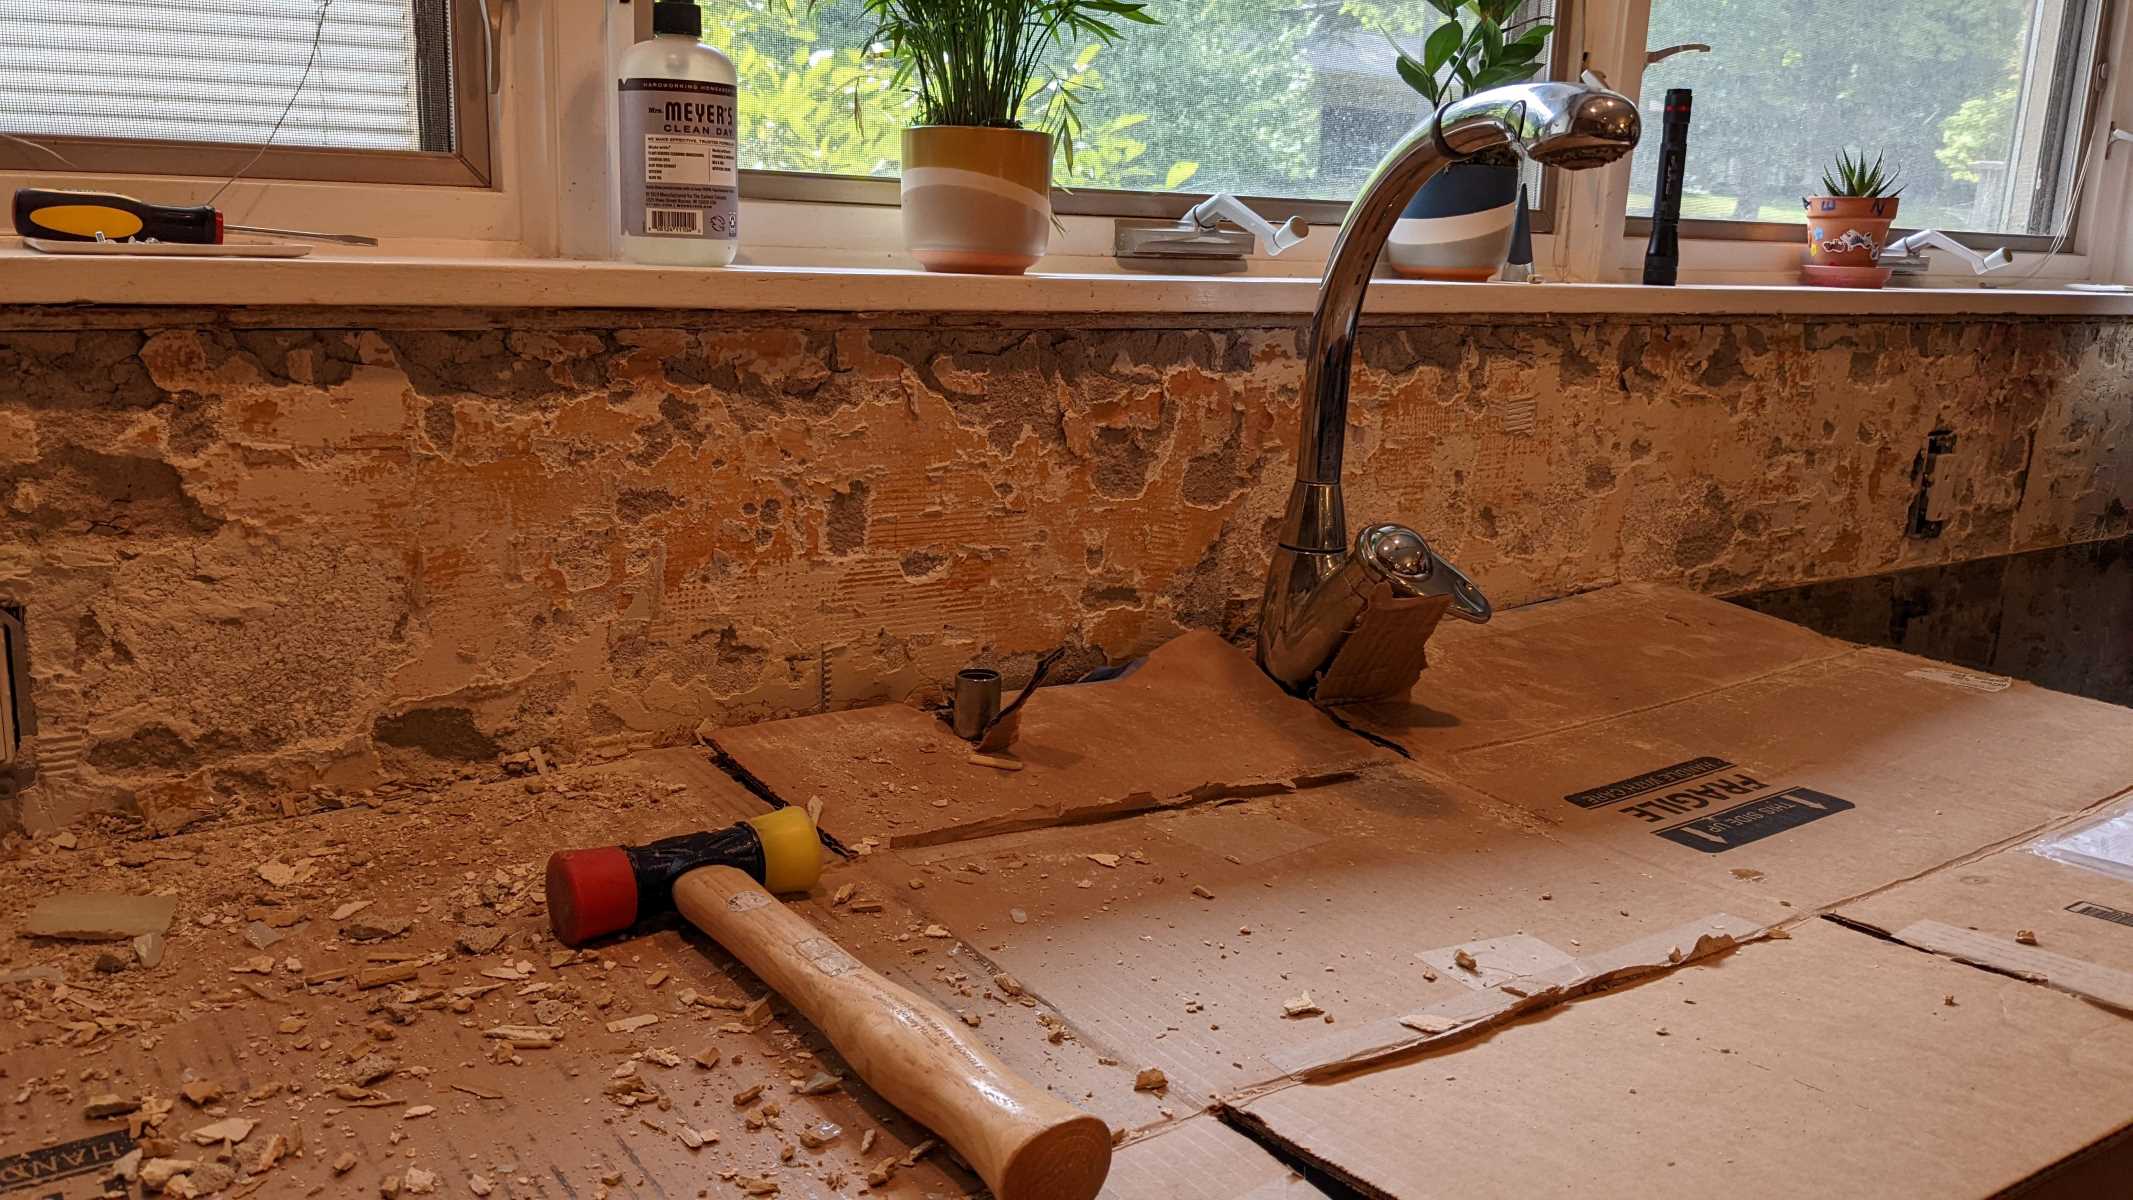
Step 1: Preparing the Vanity
Before you can attach the backsplash to your vanity, you need to properly prepare the surface. Follow these steps:
- Clear the area: Remove any items on or around the vanity that could interfere with the installation process.
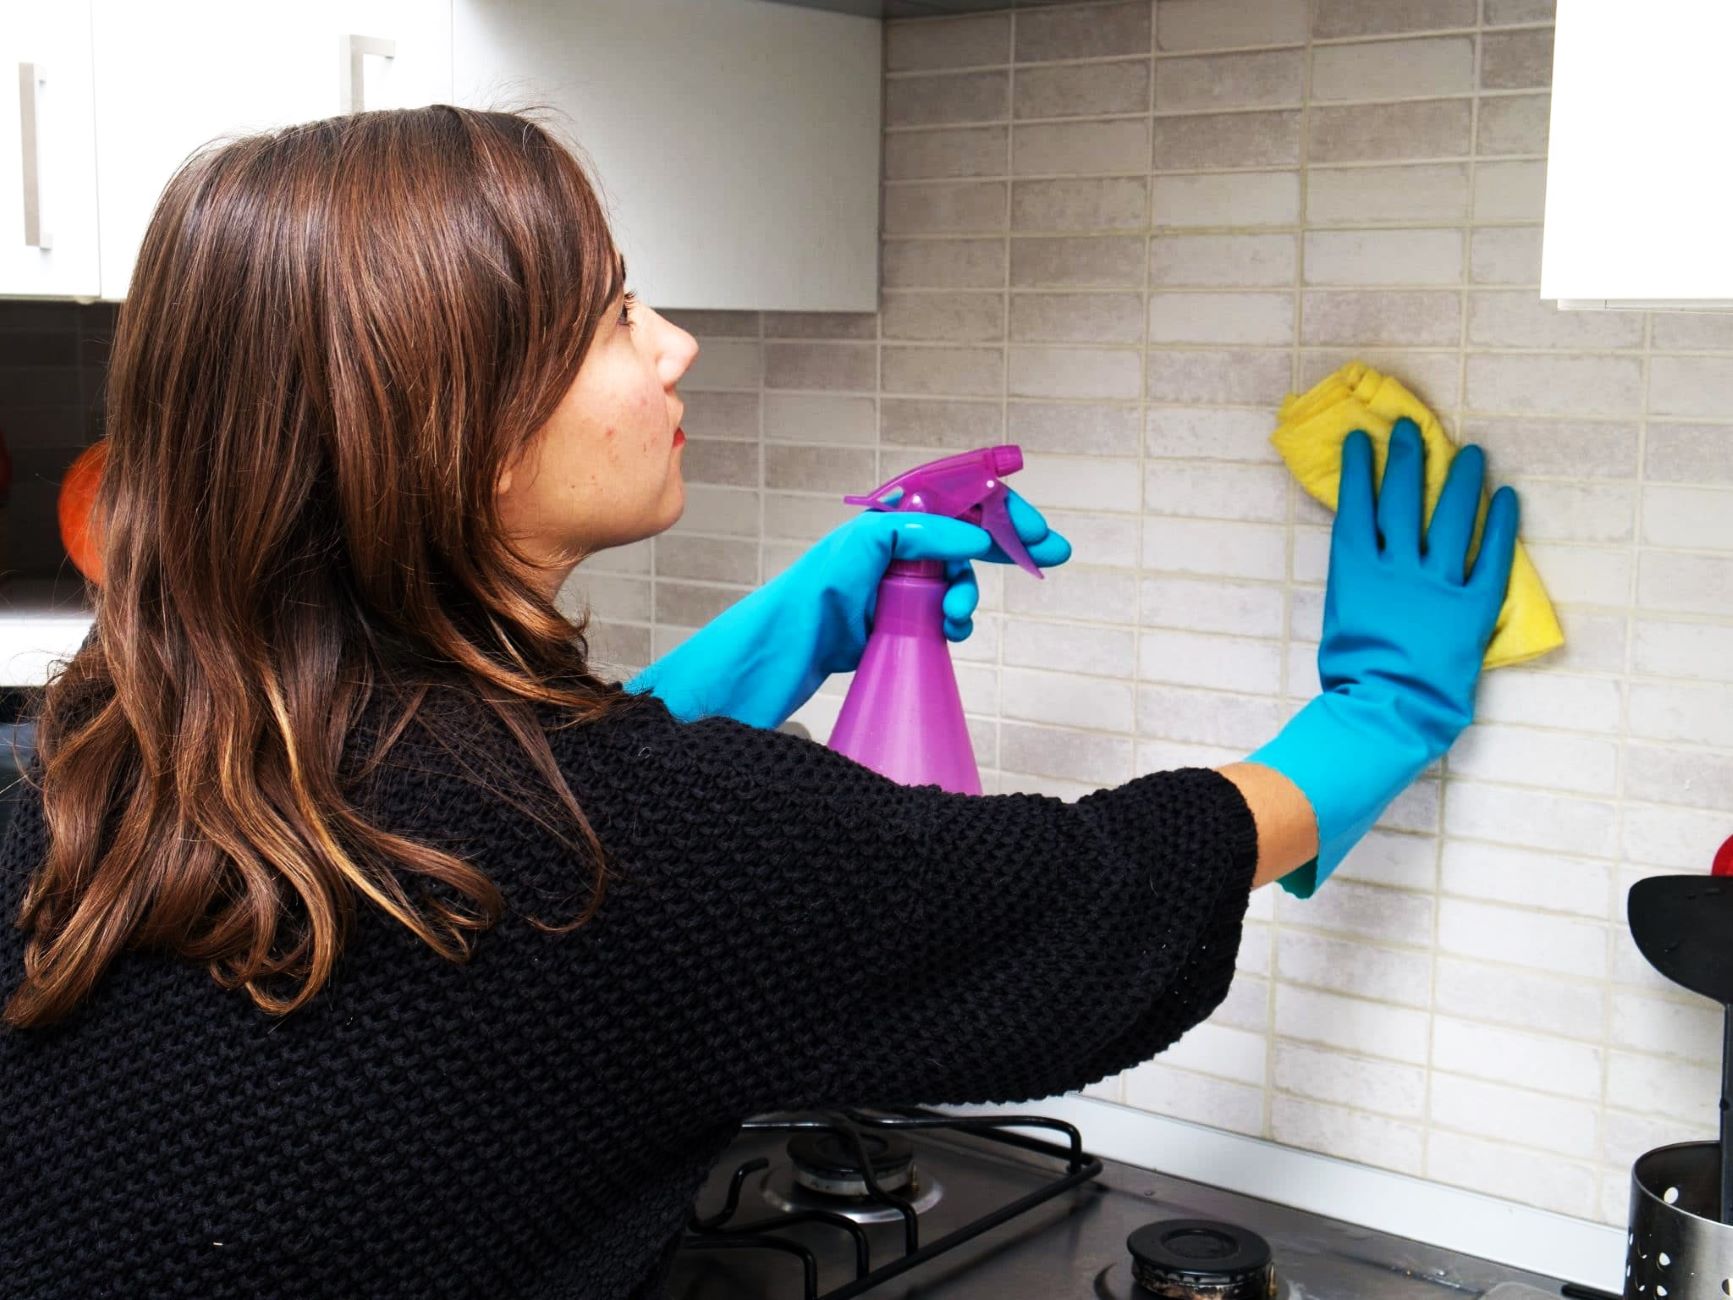
- Clean the surface: Thoroughly clean the vanity top to remove any dirt, dust, or residue. Use a mild soap and water solution or a non-abrasive cleaner for best results. Rinse the surface well and dry it with a clean cloth.
- Measure and mark: Use a tape measure to determine the dimensions of the vanity top. Mark the centerline of the vanity with a pencil or marker. This will serve as a guide when aligning the backsplash.
- Protect the edges: Apply painter’s tape along the edges of the vanity top to protect it from any accidental adhesive or grout spills.
By properly preparing the vanity, you ensure a clean and smooth surface for attaching the backsplash, resulting in a professional and long-lasting installation.
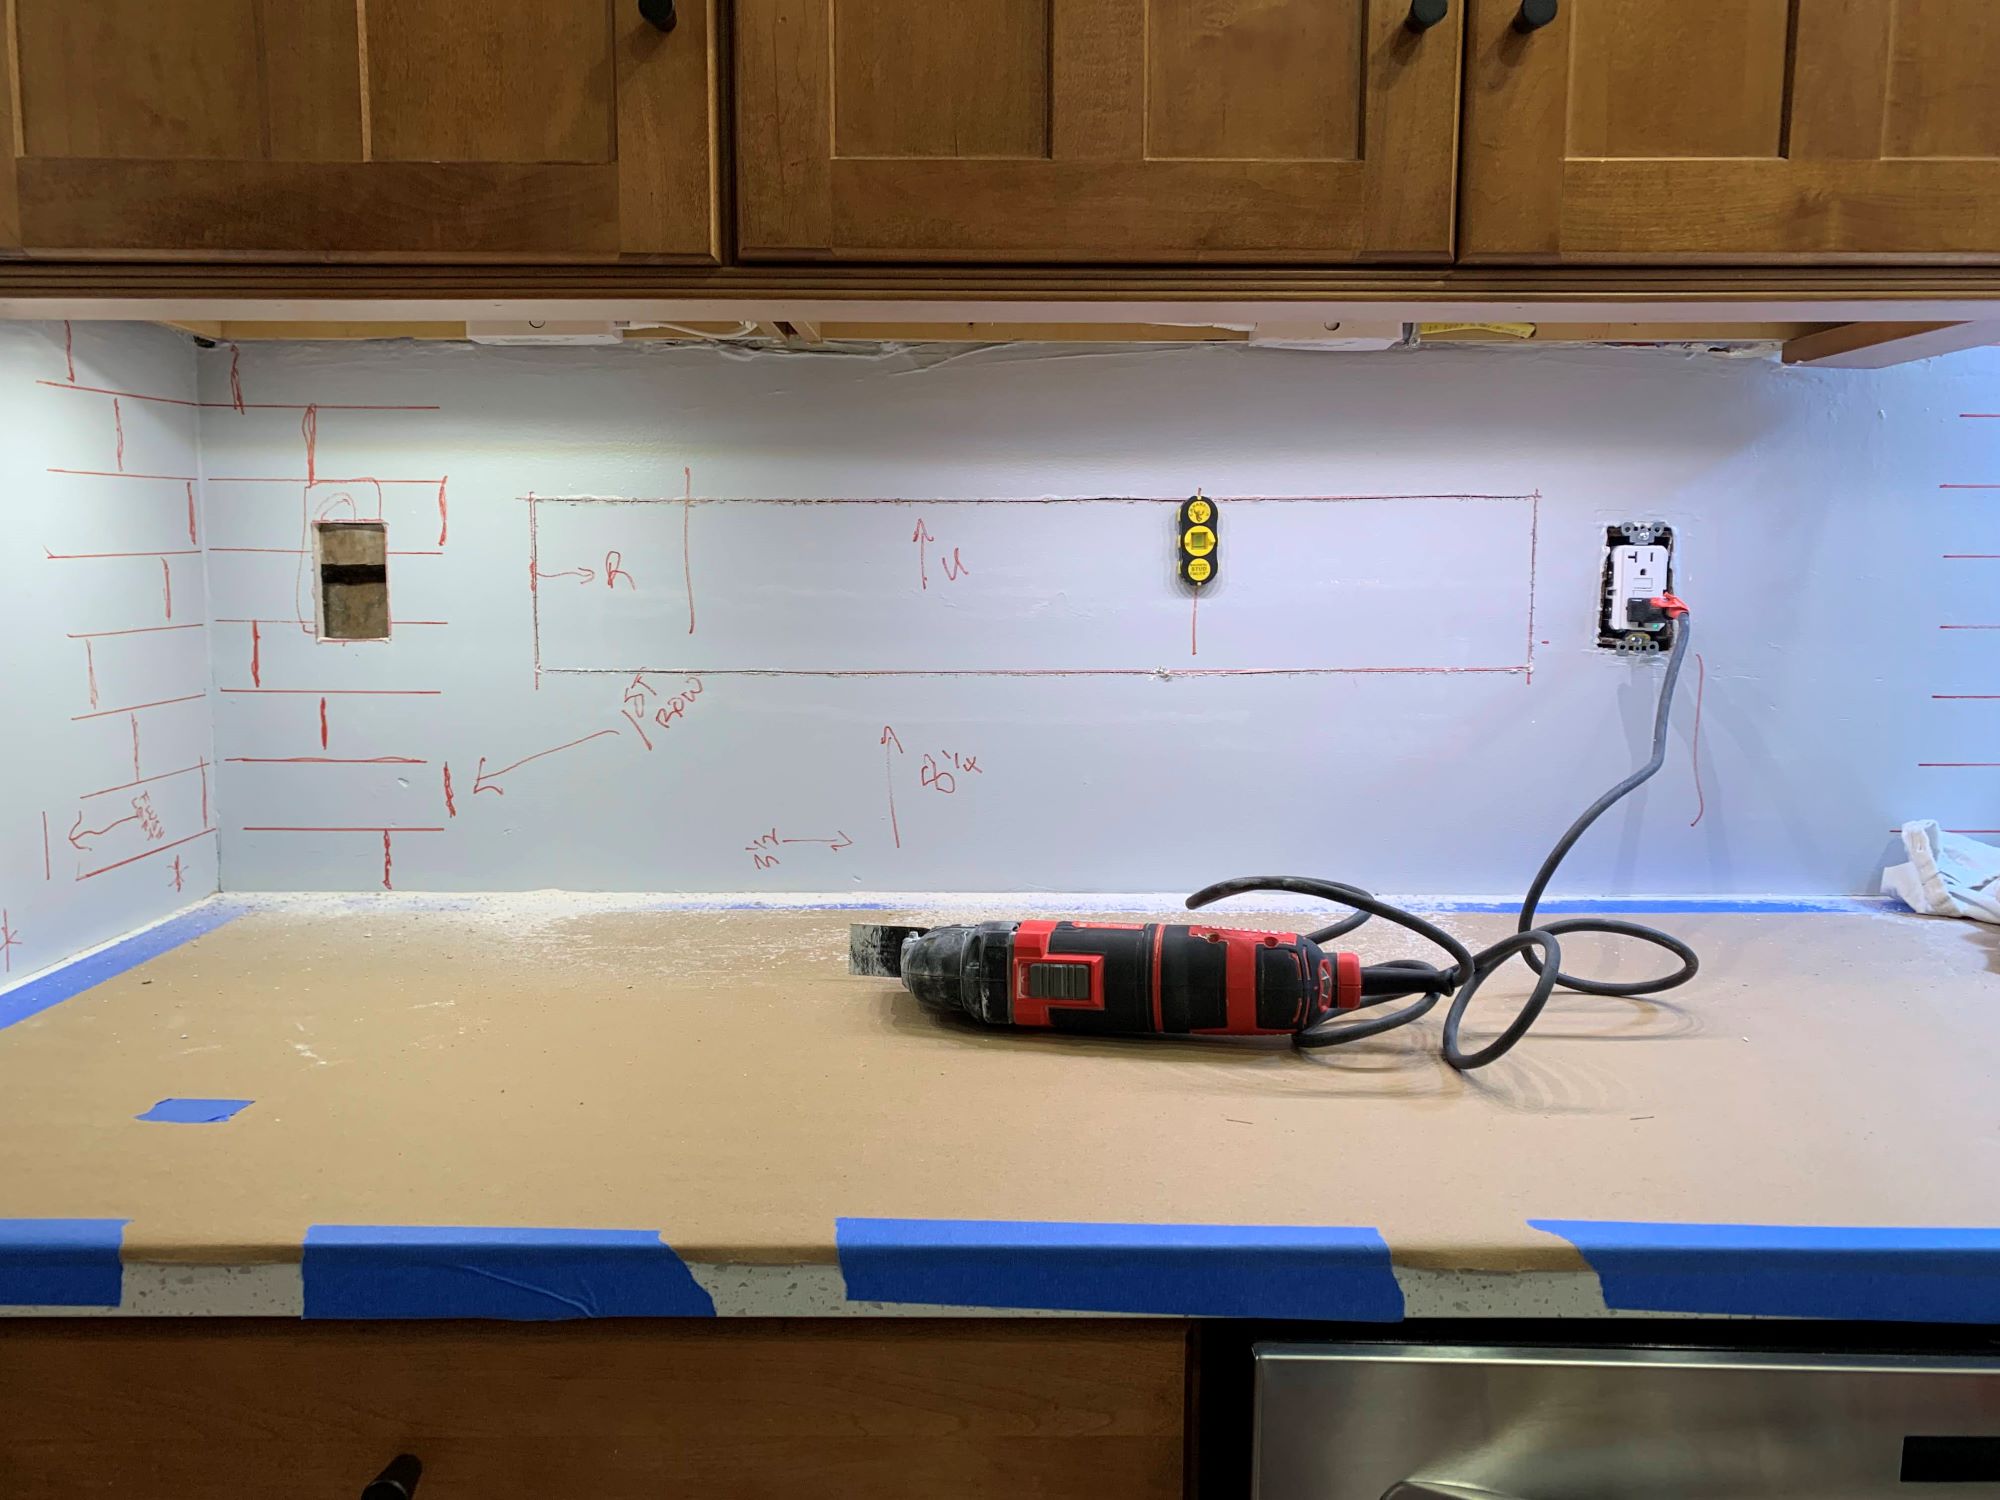
Step 2: Measuring and Cutting the Backsplash
Now that the vanity is prepared, it’s time to measure and cut the backsplash. Follow these steps:
- Measure the width: Use a tape measure to determine the width of your vanity top. Take precise measurements and note them down.
- Transfer measurements to the backsplash: Place the backsplash material on a flat surface. Use a pencil or marker to transfer the width measurement onto the backsplash. Make sure to account for any gaps or overhang on the sides.
- Mark and cut the backsplash: Using a tile cutter or wet saw, carefully cut the backsplash material according to the marked measurements. Follow the manufacturer’s instructions for cutting the specific material you are using. If you are using pre-cut backsplash tiles, skip this step.
- Check the fit: Place the cut or pre-cut backsplash against the vanity, ensuring it fits snugly. Make any necessary adjustments or trimming if needed.
By measuring and cutting the backsplash accurately, you ensure a precise fit and a professional-looking installation.
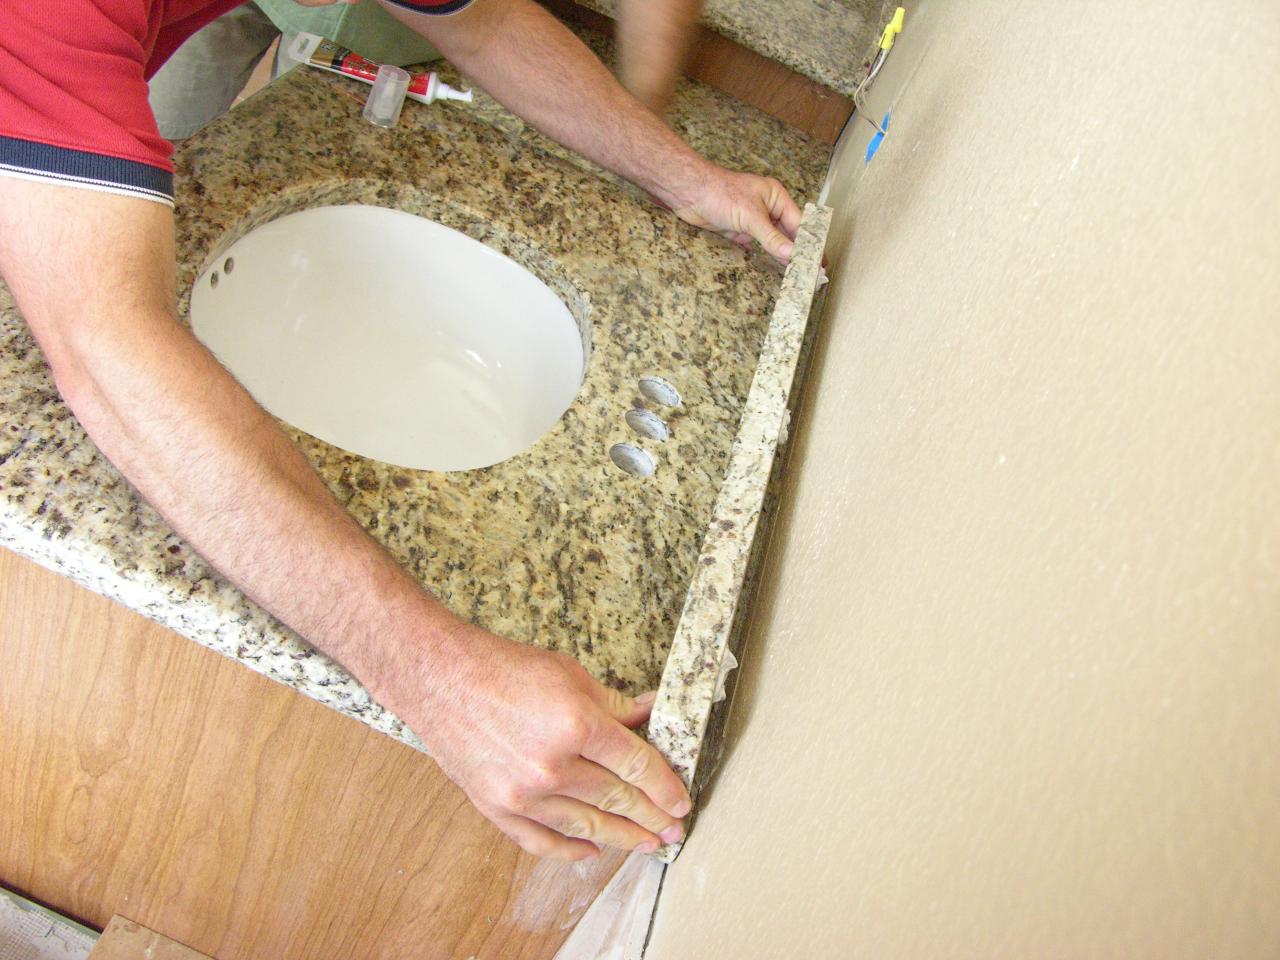
Apply a thin layer of adhesive to the back of the backsplash and press it firmly against the vanity. Use a level to ensure it’s straight and allow the adhesive to dry completely before grouting.
Step 3: Applying Adhesive
With the backsplash cut and ready, it’s time to apply the adhesive to secure it to the vanity. Follow these steps:
- Read the instructions: Carefully read and follow the manufacturer’s instructions for the adhesive you are using. Different types of adhesives may have specific application guidelines.
- Prepare the adhesive: Mix the adhesive according to the instructions if it requires mixing. Use a trowel or a mixing paddle to ensure a consistent and smooth mixture.
- Apply adhesive to the back of the backsplash: Using the trowel, apply a thin and even layer of adhesive to the back of the backsplash. Spread it evenly, covering the entire surface.
- Apply adhesive to the vanity top: Apply a thin layer of adhesive to the vanity top as well. Spread it evenly, focusing on the area where the backsplash will be placed.
- Align the backsplash: Carefully align the backsplash with the centerline and press it firmly against the vanity top, ensuring good contact with the adhesive.
- Use tile spacers: Place tile spacers along the bottom edge of the backsplash to create an even gap between the backsplash and the vanity top. This will allow for even grout application later.
- Check for level: Use a level to ensure that the backsplash is straight and level. Make any necessary adjustments if needed.
By applying the adhesive correctly, you ensure a strong bond between the backsplash and the vanity top, ensuring a durable installation.
Read more: How To Attach Marble Backsplash
Step 4: Attaching the Backsplash
Now that the adhesive is applied, it’s time to securely attach the backsplash to the vanity. Follow these steps:
- Press the backsplash firmly: Apply pressure evenly along the entire backsplash, ensuring it makes good contact with the adhesive and the vanity top.
- Remove excess adhesive: Use a damp sponge or cloth to remove any adhesive that may have squeezed out from the edges of the backsplash. This will give the installation a clean and professional look.
- Allow for curing time: Let the adhesive cure for the recommended time as specified by the manufacturer. This usually takes 24 to 48 hours, but refer to the product instructions for accurate curing time.
- Remove tile spacers: Once the adhesive has cured, gently remove the tile spacers from the bottom edge of the backsplash.
By properly attaching the backsplash, you ensure a secure and reliable installation that will stand the test of time.
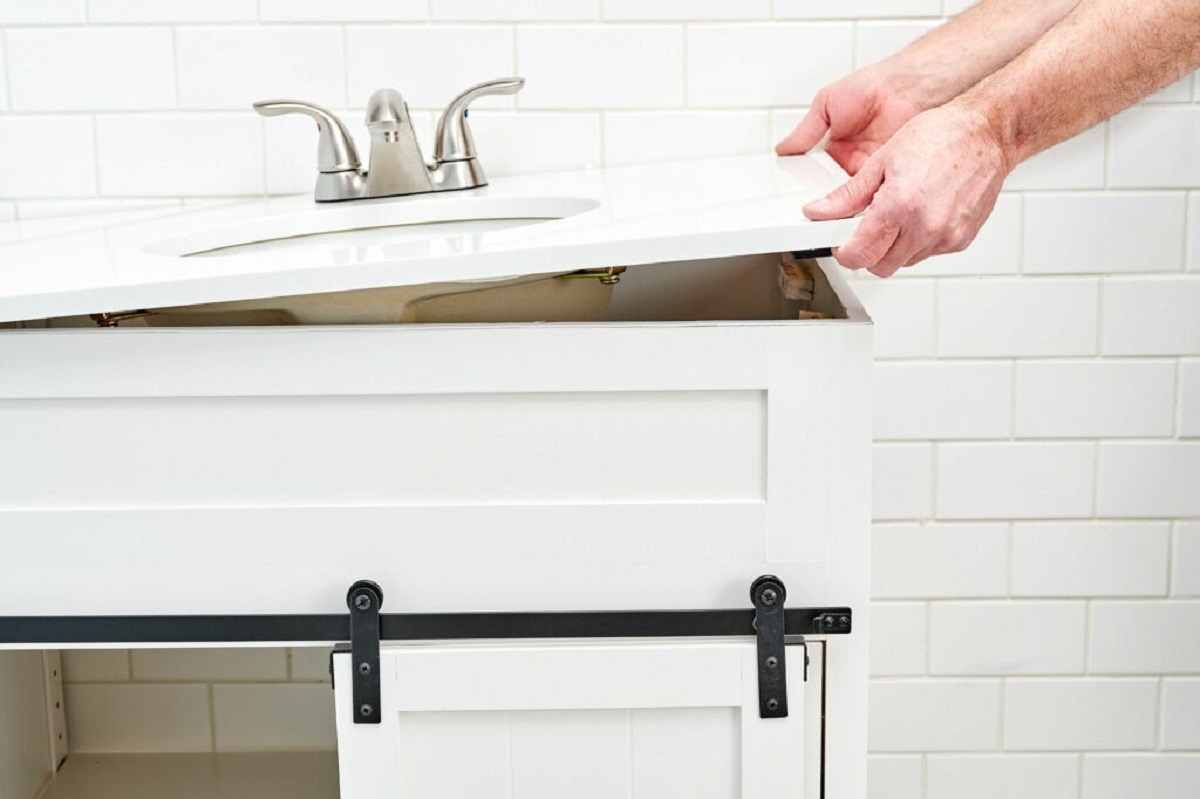
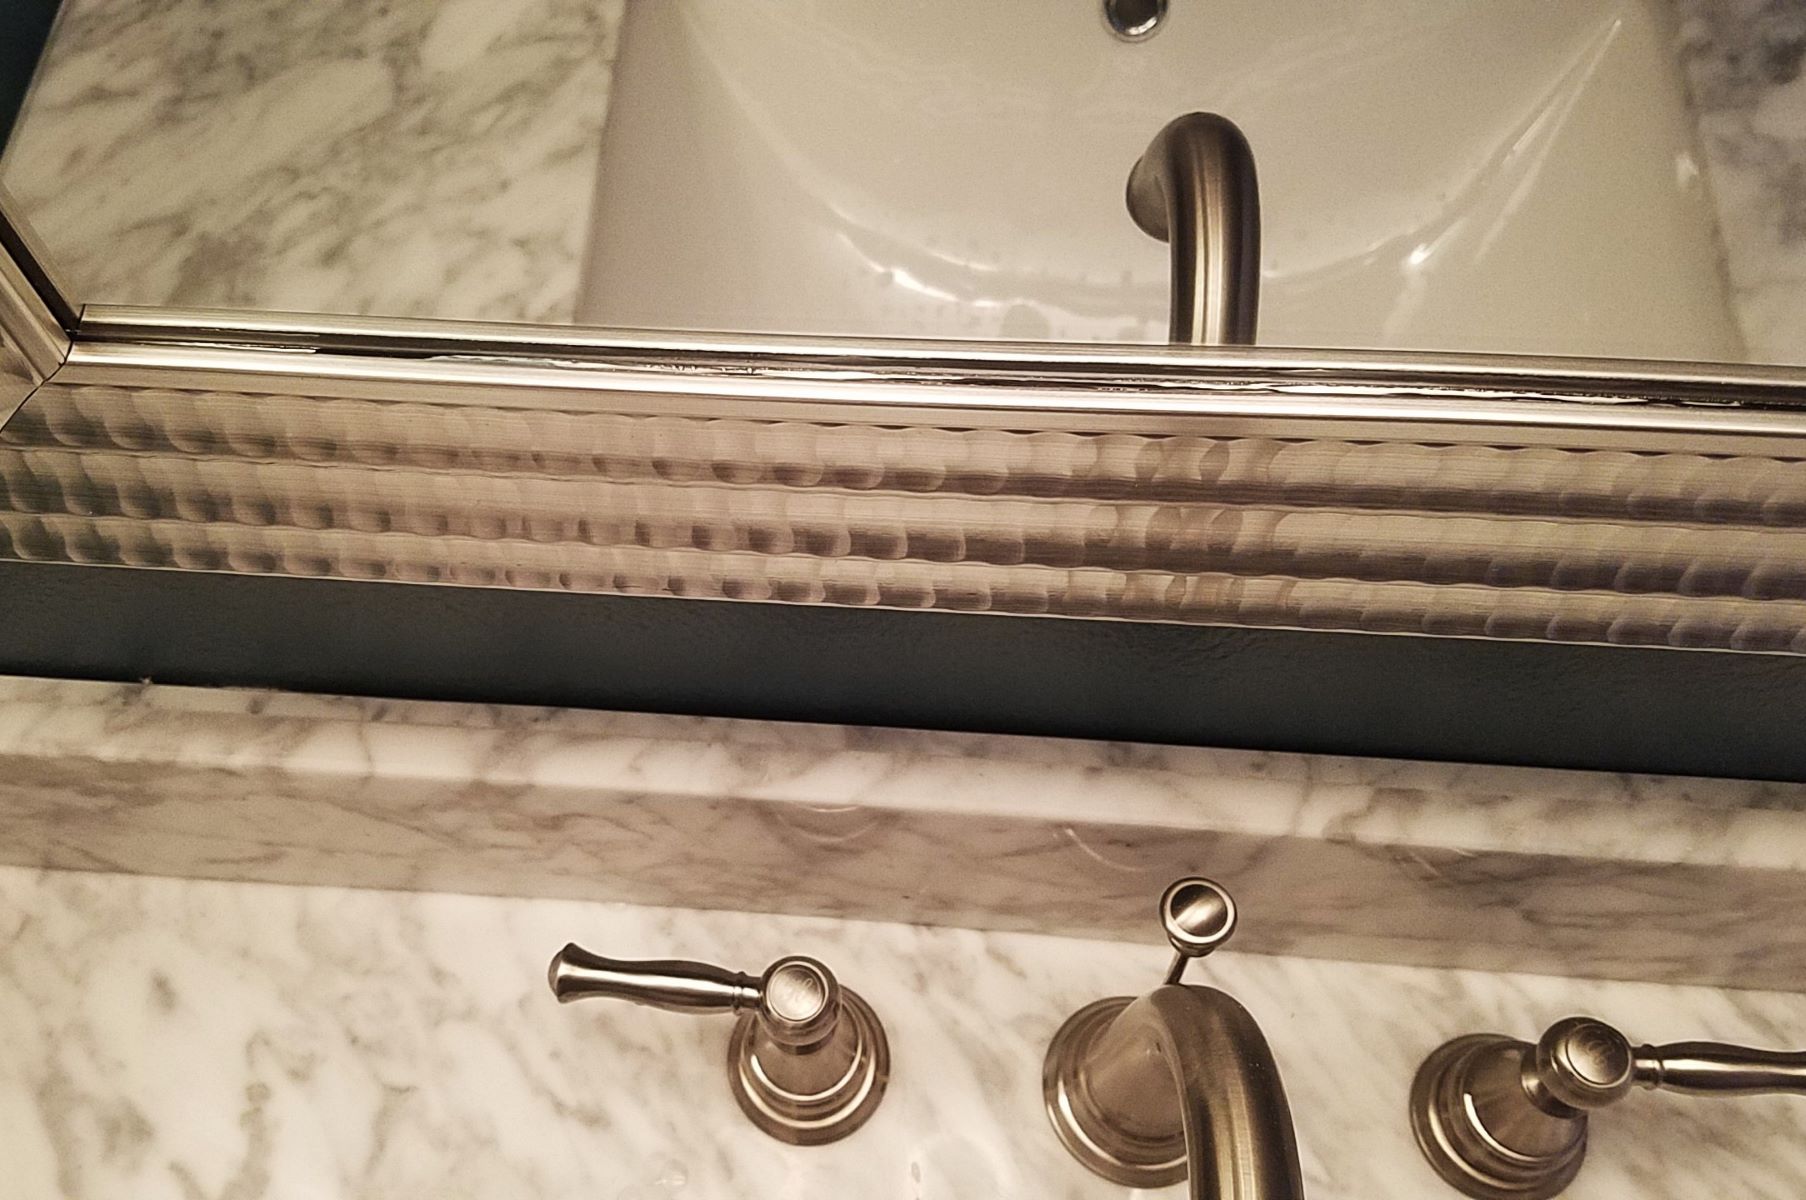
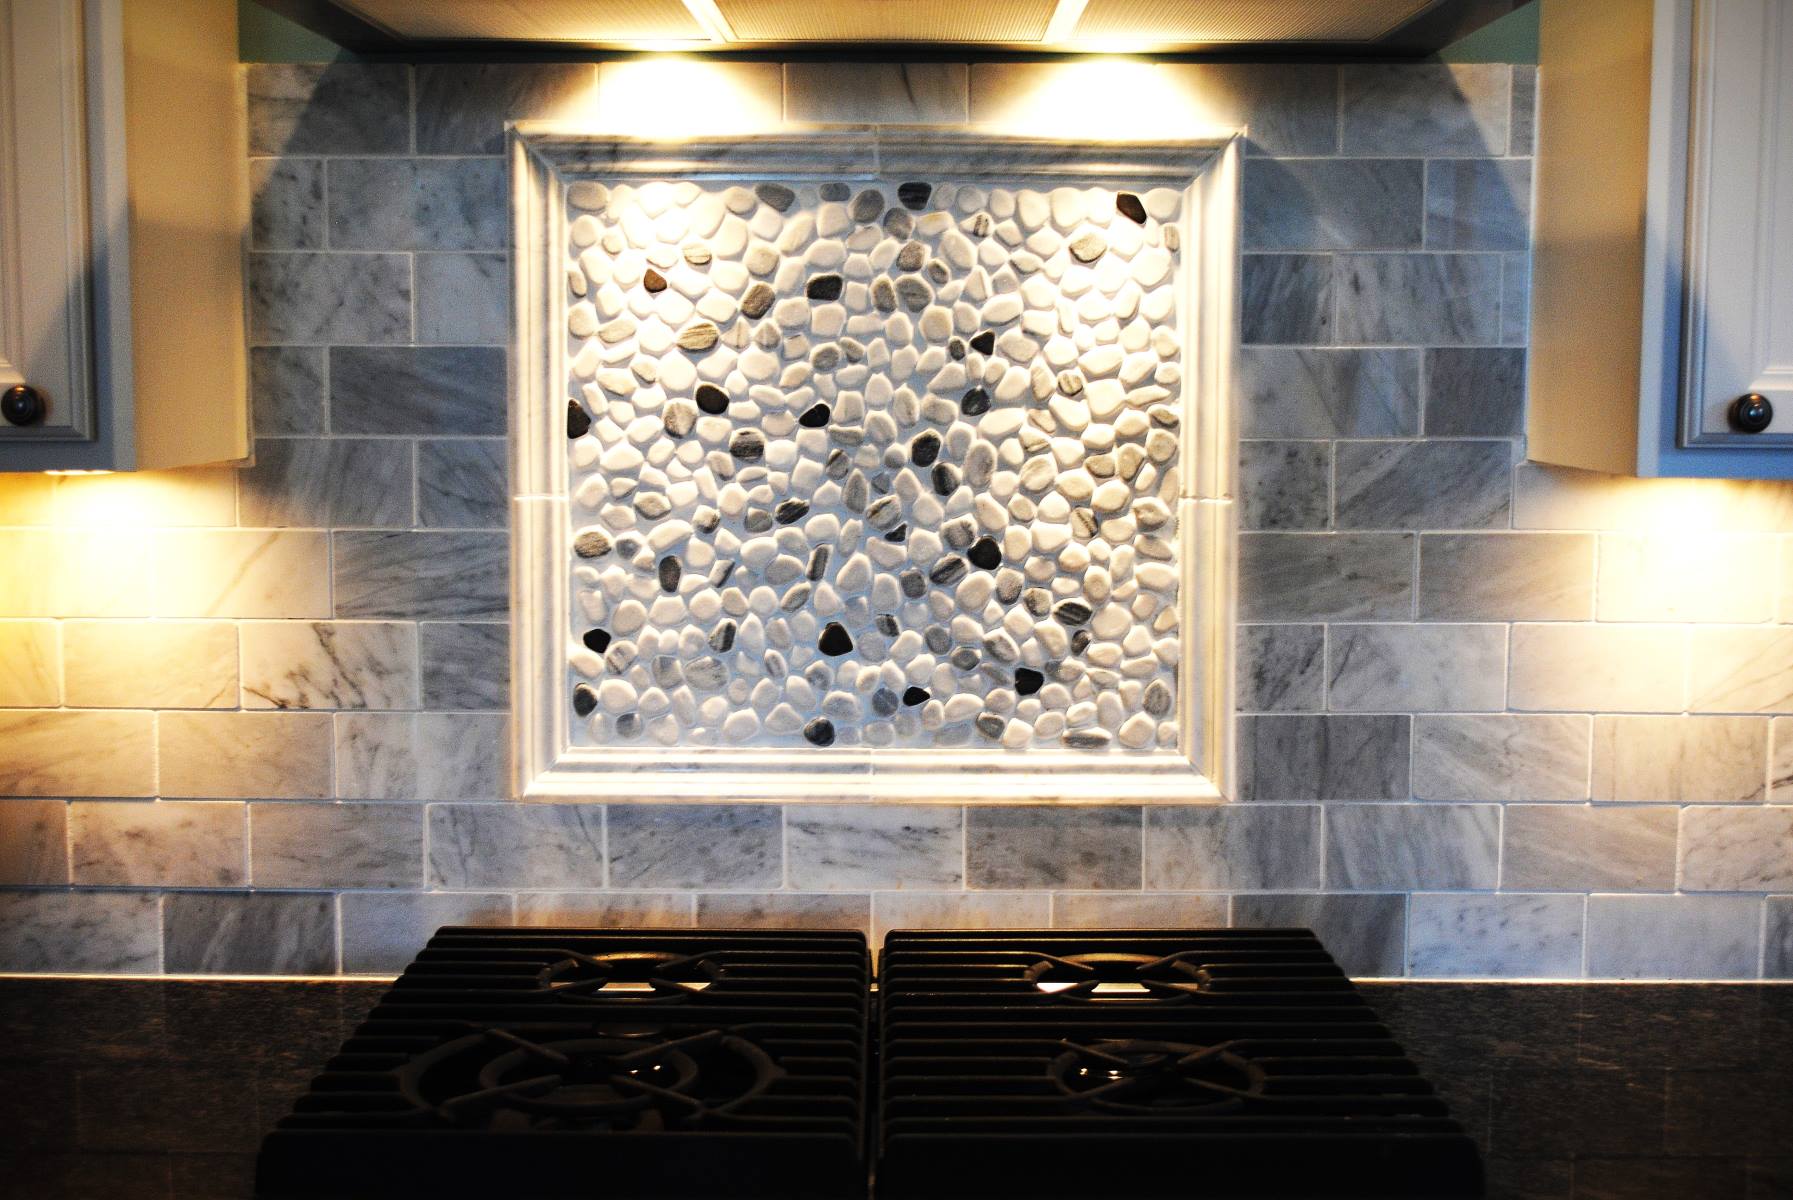
Step 5: Finishing Touches
With the backsplash securely attached, it’s time to add the finishing touches to complete the installation. Follow these steps:
- Apply grout: Mix the grout according to the manufacturer’s instructions. Using a grout float, apply the grout to the gaps between the backsplash tiles. Use a diagonal motion to ensure complete coverage.
- Remove excess grout: After the grout has had a few minutes to set, use a damp sponge to gently wipe away the excess grout from the surface of the tiles. Rinse the sponge regularly to ensure a clean finish.
- Seal the grout (optional): Depending on the type of grout you used, you may need to apply a grout sealer. Follow the manufacturer’s instructions for sealing the grout to protect it from stains and moisture.
- Clean up: Once the grout is dry, use a clean cloth to buff away any residue or haze on the tiles. Wipe down the vanity and surrounding area to remove any dust or debris.
By adding these finishing touches, you ensure a polished and professional look to your new backsplash, completing the installation process.
Conclusion
Attaching a backsplash to your vanity is a simple and rewarding project that can dramatically enhance the look and functionality of your bathroom. By following the step-by-step process outlined in this article, you can easily achieve a professional and long-lasting installation.
Remember to properly prepare the vanity by cleaning the surface and measuring the area before cutting the backsplash to ensure a precise fit. Take your time to apply the adhesive evenly and securely attach the backsplash to the vanity, using tile spacers to create a consistent gap. Finish the installation by applying grout, removing excess grout, and adding any necessary finishing touches.
With the backsplash in place, you can enjoy the added beauty and protection it brings to your bathroom. Whether you choose a sleek and modern design or a more traditional look, the backsplash will undoubtedly elevate the overall aesthetics of the space.
So, gather your materials, follow the steps outlined in this article, and embark on your journey to transform your bathroom into a stylish and functional oasis.
Frequently Asked Questions about How To Attach Backsplash To Vanity
Was this page helpful?
At Storables.com, we guarantee accurate and reliable information. Our content, validated by Expert Board Contributors, is crafted following stringent Editorial Policies. We're committed to providing you with well-researched, expert-backed insights for all your informational needs.


0 thoughts on “How To Attach Backsplash To Vanity”