Home>Renovation & DIY>Home Renovation Guides>How To Measure For A Storm Door
Home Renovation Guides
How To Measure For A Storm Door
Modified: January 21, 2024
Learn how to measure for a storm door with our comprehensive home renovation guide. Get step-by-step instructions for a perfect fit. Ideal for DIY enthusiasts.
(Many of the links in this article redirect to a specific reviewed product. Your purchase of these products through affiliate links helps to generate commission for Storables.com, at no extra cost. Learn more)
Introduction
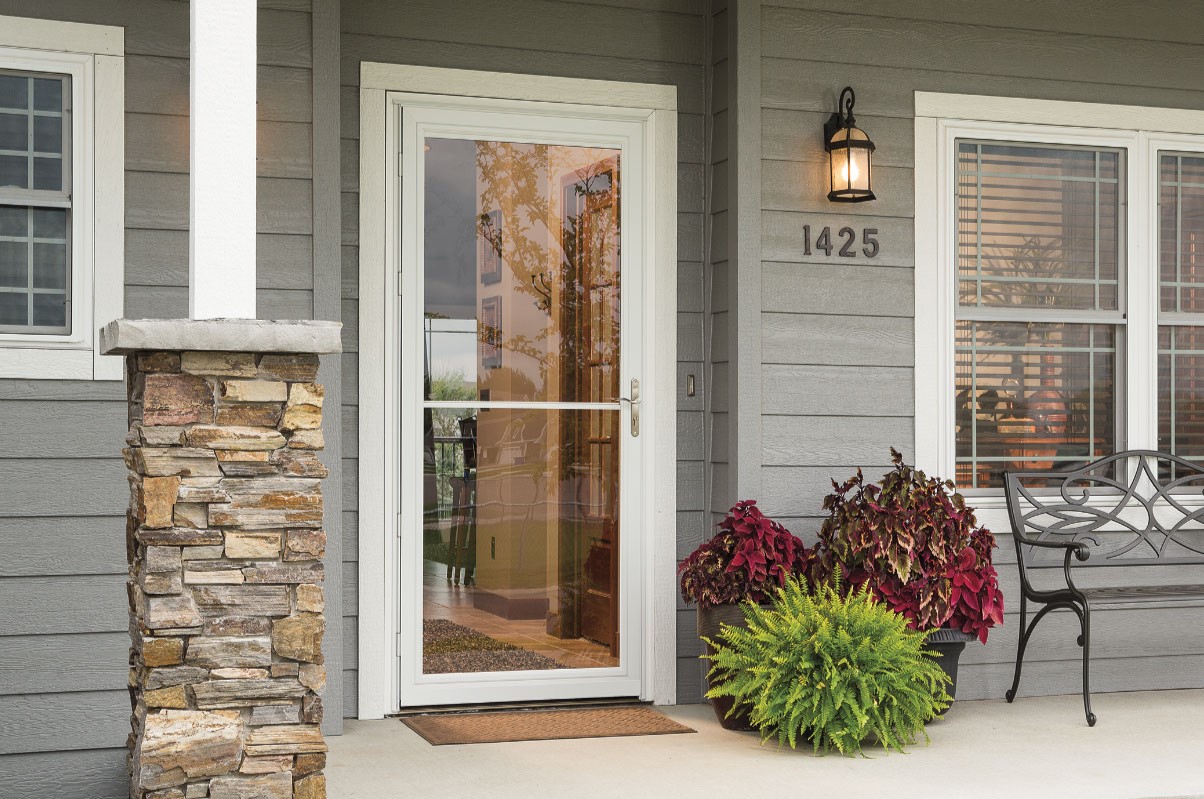
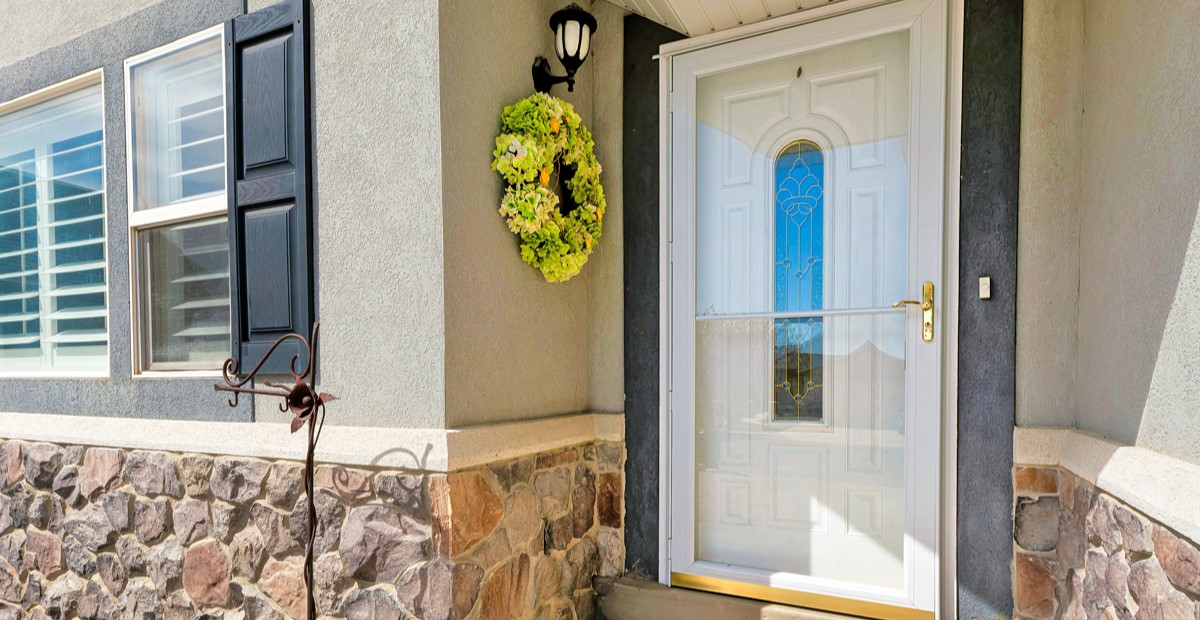
So, you’ve decided to upgrade your home by installing a storm door. Congratulations! A storm door not only adds an extra layer of protection against the elements but also enhances the aesthetic appeal of your home. However, before you embark on this exciting home improvement project, it’s crucial to ensure that you measure accurately for the storm door. Proper measurements are the key to a seamless installation process and a perfect fit.
In this comprehensive guide, we will walk you through the step-by-step process of measuring for a storm door. By the end of this article, you will feel confident and well-equipped to take on this project, knowing that you have the necessary knowledge to measure your doorway accurately. So, grab your measuring tape and let’s get started!
Key Takeaways:
- Measure accurately for a storm door by gathering tools, measuring width, height, and doorway depth. Consider threshold type, material, and hardware for a successful installation.
- Attention to detail and careful consideration of preferences are key to selecting the ideal storm door that enhances home security, energy efficiency, and curb appeal.
Read more: Installing A Storm Door
Step 1: Gather Necessary Tools
Before you begin the process of measuring for a storm door, it’s essential to gather the necessary tools to ensure an accurate and efficient measurement. Here’s what you’ll need:
- Measuring Tape: A reliable, sturdy measuring tape is indispensable for obtaining precise measurements. Make sure it is long enough to measure both the width and height of your doorway.
- Pencil and Paper: These basic tools will allow you to jot down the measurements as you go, preventing any confusion or potential mix-ups.
- Safety Goggles and Gloves: While not directly related to measuring, it’s always a good idea to prioritize safety. If you anticipate any debris or potential hazards during the installation process, protective eyewear and gloves can be invaluable.
- Assistance: Depending on the size and weight of the storm door, you may need an extra pair of hands to help with the measuring process. Having a friend or family member to assist you can make the task more manageable and accurate.
By ensuring that you have these tools at your disposal, you’ll be well-prepared to proceed with the measuring process, setting the stage for a successful installation of your new storm door.
Step 2: Measure the Width
Now that you have gathered your tools, it’s time to begin the actual measuring process. The first step is to measure the width of your doorway. Follow these steps to obtain an accurate width measurement:
- Identify the Starting Point: Stand inside your home facing the doorway. Identify the point from where you want the storm door to begin. Typically, this is the outer edge of the door casing or the brick mold.
- Take the Measurement: Using your measuring tape, measure the width from the identified starting point to the opposite side. Ensure that the tape is level and straight for an accurate measurement.
- Record the Measurement: Once you have the width measurement, jot it down on your paper along with a label indicating that it is the width measurement.
It’s important to measure the width at multiple points to account for any variations. If there are discrepancies, take note of the smallest measurement. This will ensure that the storm door fits comfortably within the doorway without any issues.
By following these steps and taking precise measurements, you will be one step closer to ensuring a perfect fit for your new storm door.
Step 3: Measure the Height
After obtaining the width measurement, the next crucial step is to measure the height of your doorway. Follow these steps to accurately measure the height:
- Determine the Starting Point: Similar to measuring the width, identify the point from where you want the storm door to begin at the top. This is typically the uppermost part of the door frame or the brick mold.
- Take the Measurement: Using your measuring tape, measure the height from the starting point to the bottom of the doorway. Ensure that the tape is held straight and vertical for an accurate measurement.
- Record the Measurement: Once you have the height measurement, make a note of it on your paper, clearly labeling it as the height measurement.
As with the width measurement, it’s advisable to take multiple height measurements to account for any irregularities in the doorway. Note down the smallest measurement to ensure that the storm door will fit perfectly within the height of the doorway.
By meticulously measuring the height and recording the measurements accurately, you are taking the necessary steps to ensure that the storm door will seamlessly integrate with your doorway, providing both functionality and visual appeal.
When measuring for a storm door, always measure the width and height of the door opening at three different points to ensure accuracy. Use the smallest measurement to ensure a proper fit.
Step 4: Measure the Doorway Depth
While measuring the width and height are essential components of preparing for a storm door installation, it’s also crucial to measure the doorway depth to ensure a proper fit. Follow these steps to measure the doorway depth accurately:
- Identify the Measurement Point: The doorway depth refers to the distance from the front surface, where the storm door will be installed, to the innermost part of the doorway. This measurement is crucial for selecting the appropriate door and ensuring that it fits without obstructing any internal elements.
- Take the Measurement: Using your measuring tape, measure the depth of the doorway from the front surface to the innermost part. Ensure that the tape is held straight and parallel to the doorway for an accurate measurement.
- Record the Measurement: Once you have the depth measurement, jot it down on your paper, clearly labeling it as the doorway depth measurement.
Accurate measurement of the doorway depth is vital to prevent any obstructions or interference with the door’s operation. By ensuring that the storm door fits comfortably within the doorway depth, you can guarantee a smooth and functional installation.
Read more: How To Unlock A Storm Door
Step 5: Consider Additional Factors
While precise measurements are fundamental to ensuring a proper fit for your storm door, there are additional factors to consider to guarantee a successful installation. Here are some crucial considerations:
- Threshold Type: Take note of the type of threshold present at the bottom of your doorway. This information will help you select the appropriate storm door design that complements the existing threshold.
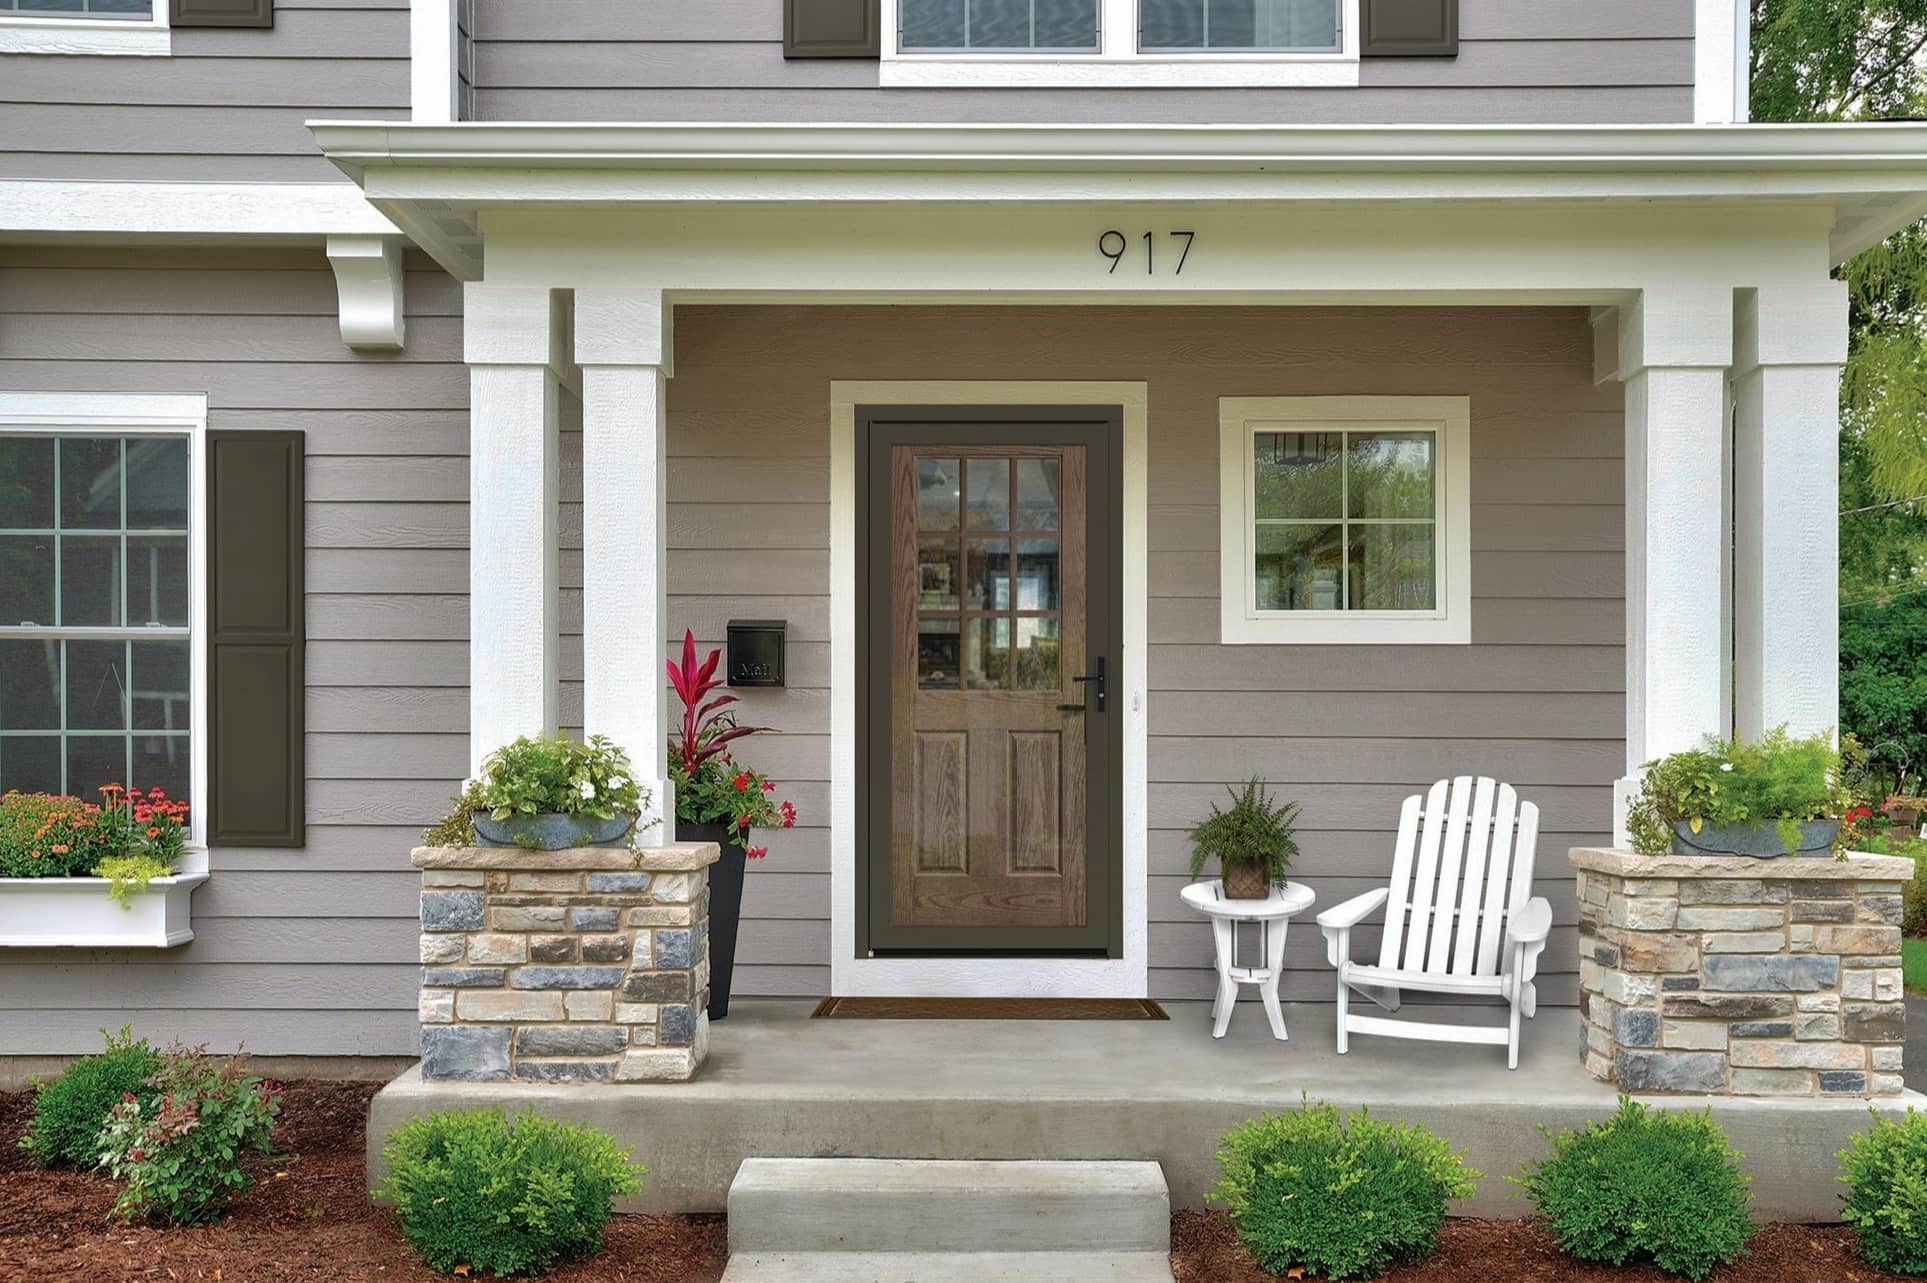
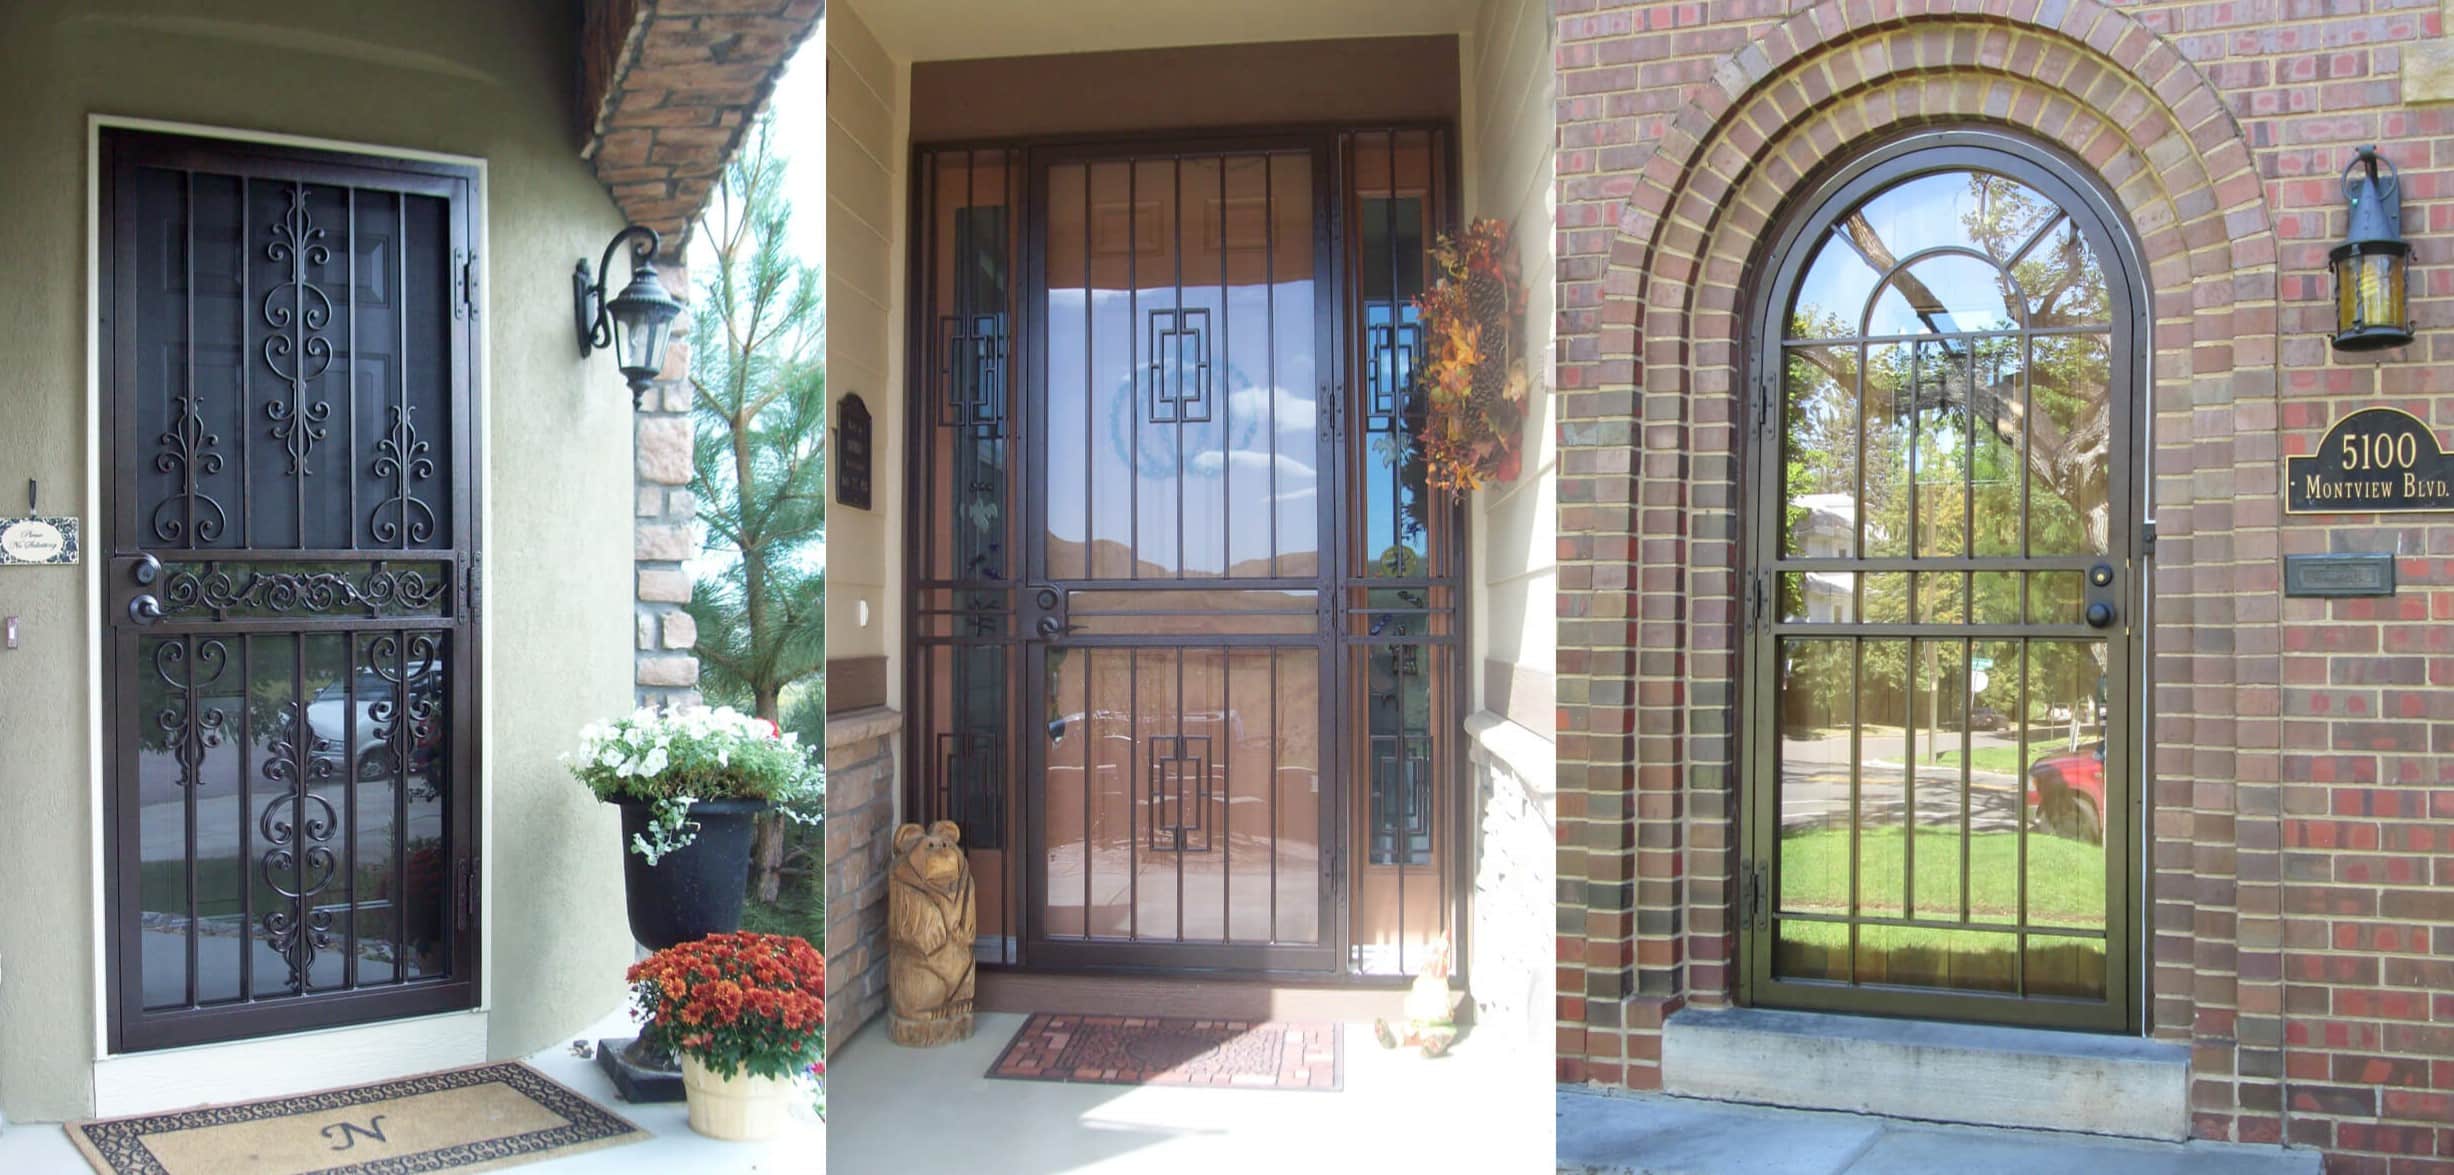
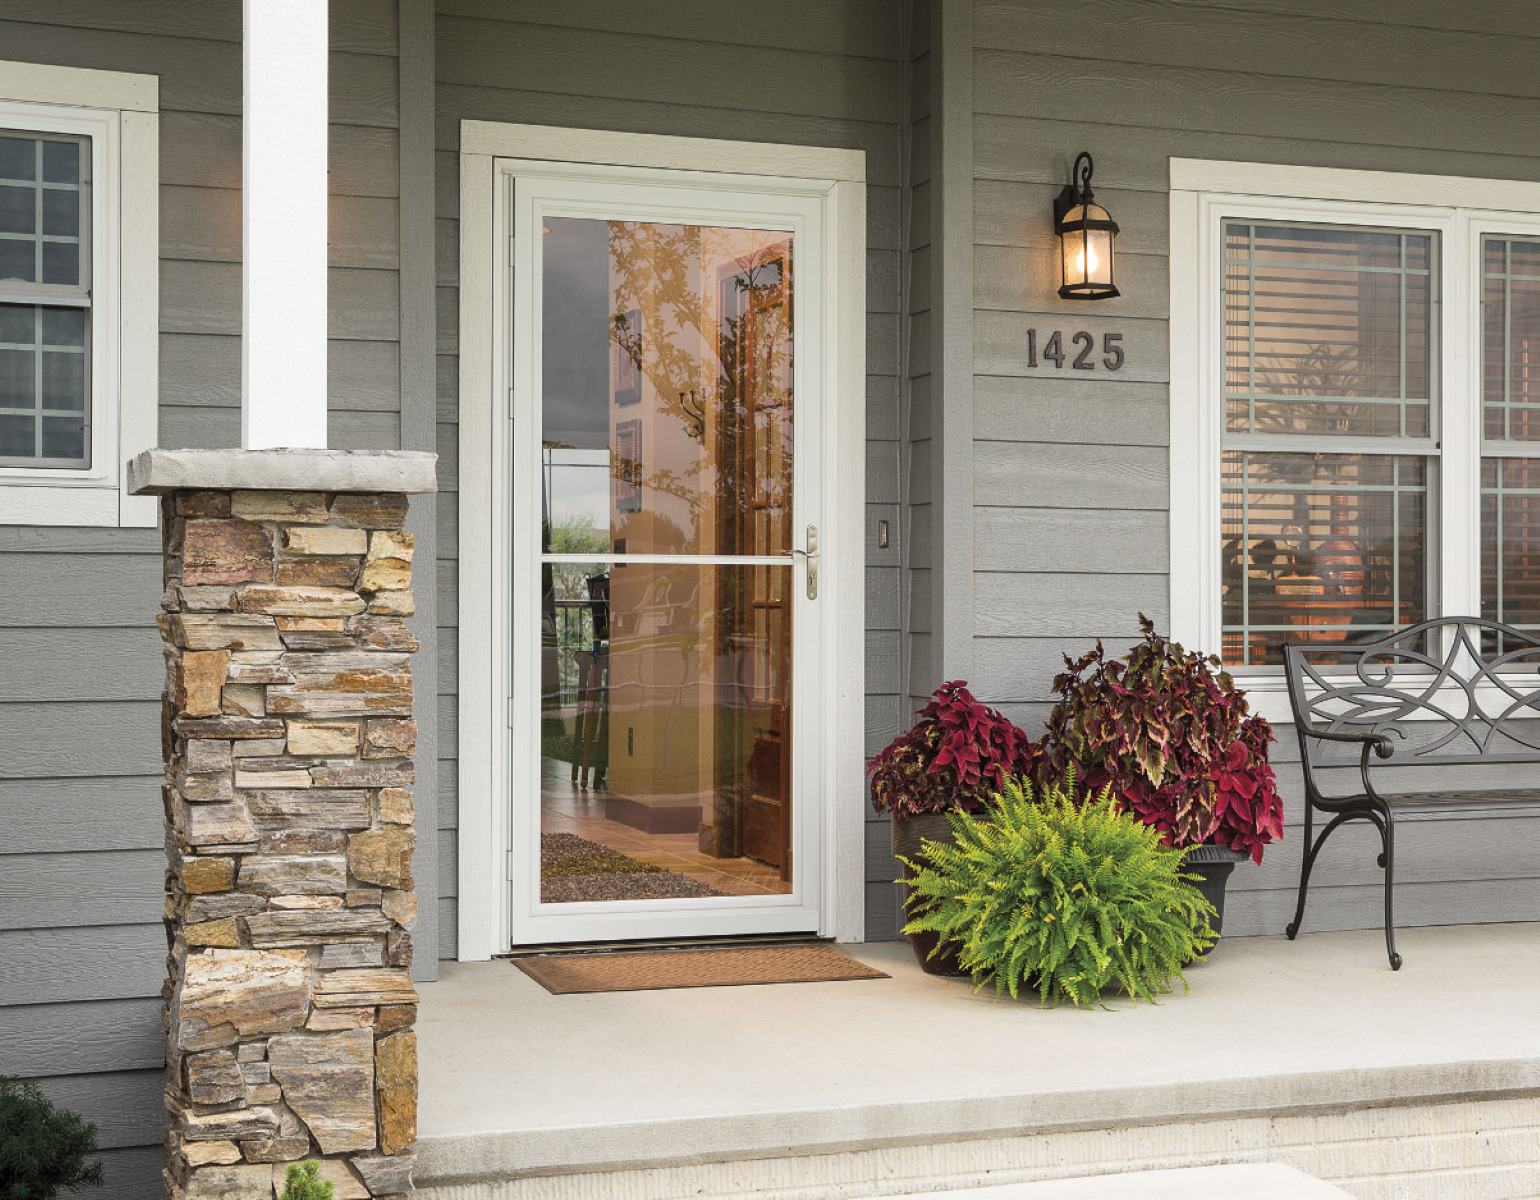
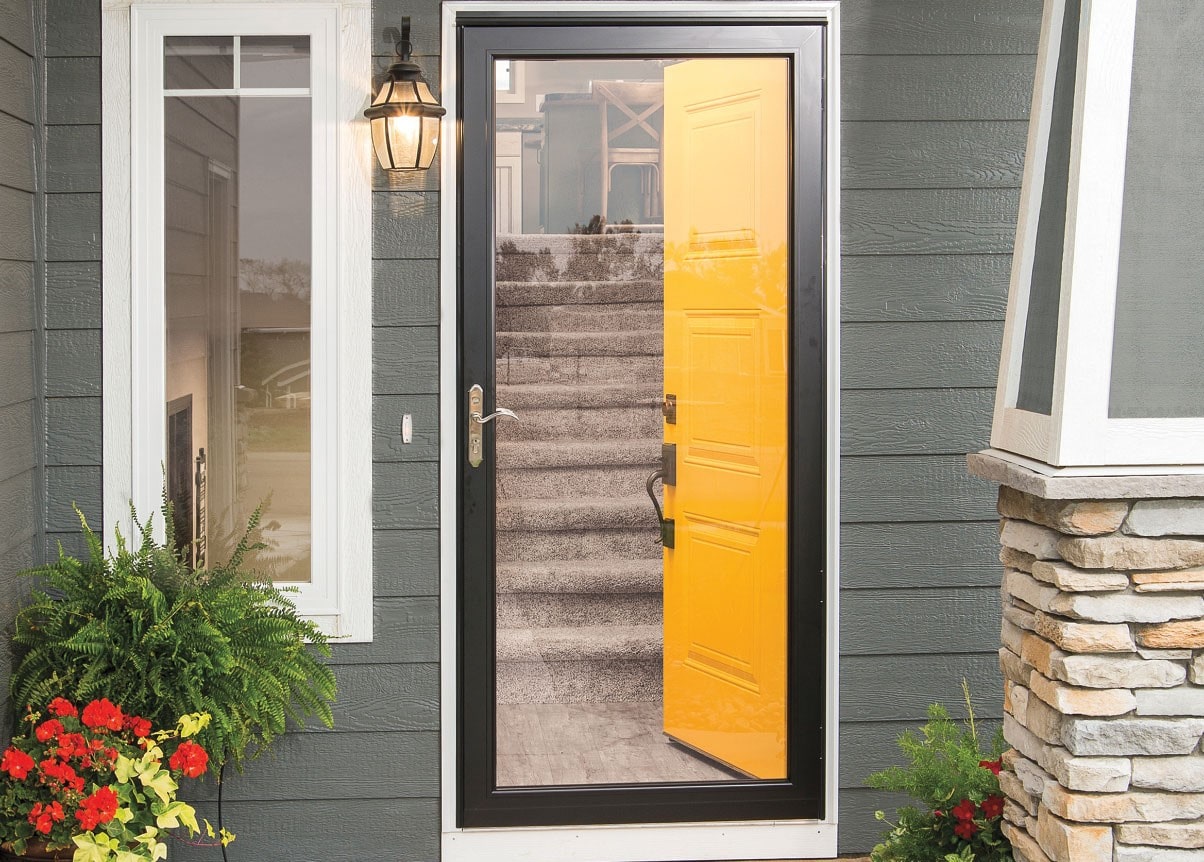
- Material and Style: Consider the material and style of the storm door that best suits your home’s aesthetic and functional requirements. Whether you prefer a full-view glass door or a ventilating design, understanding your preferences will guide your selection process.
- Hardware and Accessories: Determine if you need any additional hardware or accessories, such as a door closer, handle set, or kickplate, to enhance the functionality and appearance of the storm door.
- Professional Assistance: If you encounter challenges or uncertainties during the measuring process, don’t hesitate to seek professional assistance. A skilled installer can provide valuable insights and ensure a seamless installation.
By considering these additional factors, you can make informed decisions when selecting a storm door that not only fits perfectly but also aligns with your home’s architectural style and your specific preferences.
Conclusion
Congratulations on completing the comprehensive guide to measuring for a storm door! By following the step-by-step process outlined in this guide, you have gained the knowledge and confidence to accurately measure your doorway, setting the stage for a successful storm door installation.
Remember, precise measurements are the foundation of a seamless installation, ensuring that your new storm door fits perfectly and functions as intended. By gathering the necessary tools, measuring the width, height, and doorway depth, and considering additional factors, you have taken the essential steps toward enhancing your home with a stylish and functional storm door.
As you embark on this exciting home improvement project, keep in mind that attention to detail and careful consideration of your specific requirements will guide you toward selecting the ideal storm door for your home. Whether you prioritize enhanced security, improved energy efficiency, or a boost in curb appeal, the right storm door can fulfill these needs while adding a touch of elegance to your home’s exterior.
With your measurements in hand and a clear understanding of the additional factors to consider, you are well-prepared to explore the diverse range of storm door options available and make an informed decision that aligns with your vision for your home.
So, grab your measuring tape, consider your preferences, and embark on this exciting journey to elevate your home with a stylish and functional storm door that complements your unique style and enhances your living space.
Frequently Asked Questions about How To Measure For A Storm Door
Was this page helpful?
At Storables.com, we guarantee accurate and reliable information. Our content, validated by Expert Board Contributors, is crafted following stringent Editorial Policies. We're committed to providing you with well-researched, expert-backed insights for all your informational needs.


0 thoughts on “How To Measure For A Storm Door”