Home>Renovation & DIY>Home Renovation Guides>How To Finish The Edge Of Backsplash
Home Renovation Guides
How To Finish The Edge Of Backsplash
Modified: March 2, 2024
Learn how to finish the edge of your backsplash with our comprehensive home renovation guide. Get expert tips and techniques for a professional-looking result.
(Many of the links in this article redirect to a specific reviewed product. Your purchase of these products through affiliate links helps to generate commission for Storables.com, at no extra cost. Learn more)
Introduction
Finishing the edge of a backsplash is a crucial step in any home renovation project. Not only does it add a polished and professional look to the overall design, but it also serves a functional purpose by protecting the edges from moisture and wear. Whether you're installing a new backsplash or giving your kitchen or bathroom a makeover, knowing how to finish the edge of the backsplash is essential for achieving a seamless and aesthetically pleasing result.
The edge of a backsplash is often an overlooked detail, but it can make a significant impact on the overall appearance of the space. A well-finished edge can tie the entire design together, creating a cohesive and visually appealing look. On the other hand, a poorly finished edge can detract from the beauty of the backsplash and leave the project looking incomplete.
By understanding the different options available for finishing the edge of a backsplash and learning the techniques involved, you can elevate the overall look of your space and ensure that your backsplash not only looks stunning but also stands the test of time.
In this comprehensive guide, we will explore the various types of backsplash edges, the tools and materials needed for the job, and provide a step-by-step walkthrough of the process. Additionally, we'll share valuable tips and tricks to help you achieve a professional finish and avoid common pitfalls. Whether you're a seasoned DIY enthusiast or tackling your first home improvement project, this guide will equip you with the knowledge and confidence to master the art of finishing the edge of a backsplash.
Key Takeaways:
- Elevate your home renovation project by mastering the art of finishing the edge of a backsplash. Choose from various edge treatments like bullnose, flat, mitered, metal, wood, or decorative profiles to achieve a polished and professional look.
- Ensure a seamless and visually appealing backsplash by using quality materials and precision in the edge finishing process. Plan ahead, maintain consistency, and celebrate your achievement in transforming your kitchen or bathroom space.
Read more: How To Finish Napkin Edges
Types of Backsplash Edges
When it comes to finishing the edge of a backsplash, there are several options to consider, each offering its own unique aesthetic and functional benefits. The choice of edge treatment can significantly impact the overall look and feel of the backsplash, so it's important to explore the various types available. Here are some popular types of backsplash edges:
-
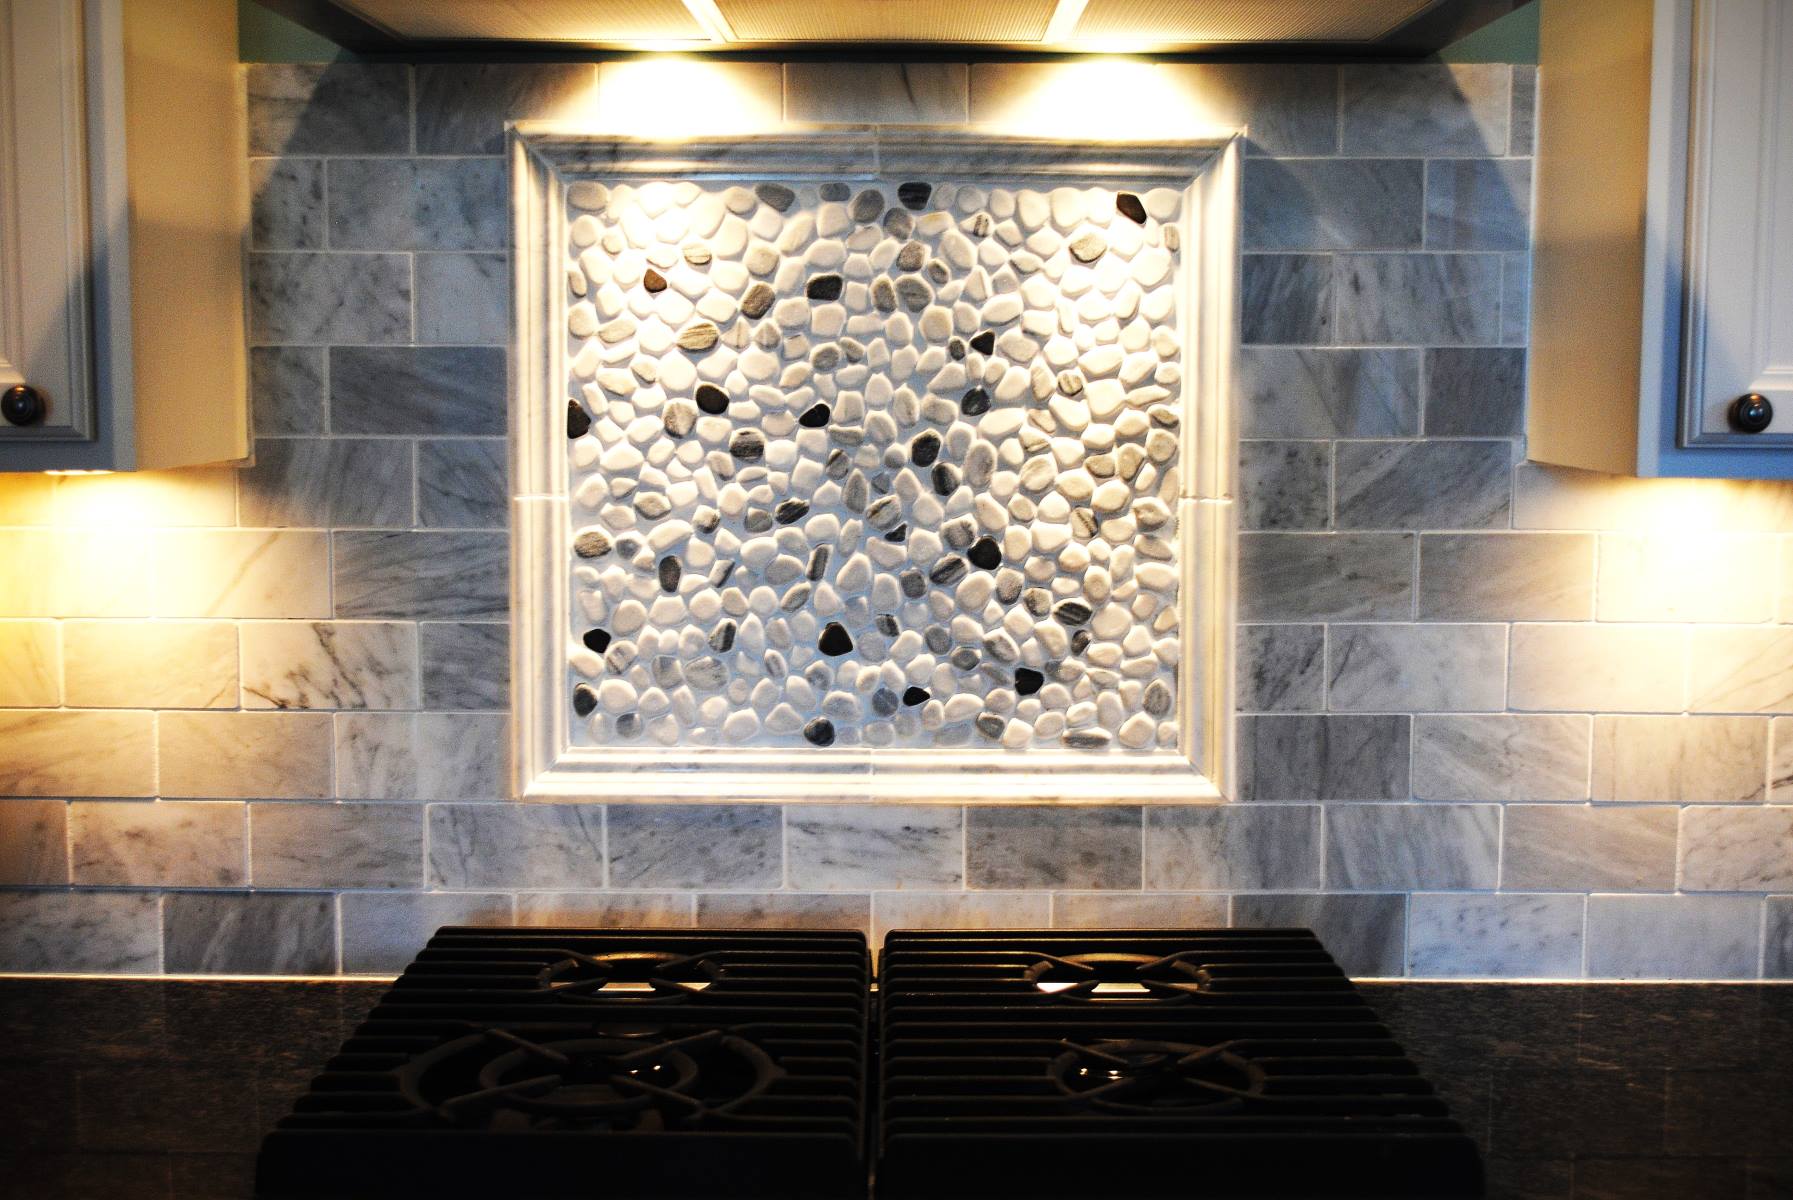
Bullnose Edge: The bullnose edge is a classic choice for finishing a backsplash. It features a smoothly rounded edge that creates a clean and seamless transition from the face of the tile to the wall. This type of edge is versatile and works well with both ceramic and stone tiles, adding a touch of elegance to the overall design.
-
Flat Edge: As the name suggests, the flat edge provides a simple and modern finish to the backsplash. This edge treatment involves leaving the edge of the tile flat and exposed, creating a sleek and contemporary look. It's a popular choice for minimalist and industrial-style kitchens and bathrooms.
-
Mitered Edge: The mitered edge offers a sophisticated and tailored finish to the backsplash. It involves cutting the tiles at a 45-degree angle to create a precise and seamless corner. This technique is commonly used for natural stone tiles and can add a touch of luxury to the overall design.
-
Metal Trim: Metal trim, such as stainless steel or aluminum, can be used to finish the edge of a backsplash. This option provides a sleek and modern look while offering excellent protection for the tile edges. Metal trim is available in various profiles, including L-shaped and J-shaped, allowing for customization to suit different design preferences.
-
Wood Trim: For a warm and rustic finish, wood trim can be used to edge the backsplash. This option adds a natural and organic touch to the design, creating a cozy and inviting atmosphere. When using wood trim, it's essential to choose a species of wood that can withstand moisture and humidity in kitchen and bathroom environments.
-
Decorative Edge Profiles: There are numerous decorative edge profiles available that can add flair and personality to the backsplash. From beveled edges to intricate molding details, these profiles offer endless possibilities for customizing the look of the backsplash and complementing the overall style of the space.
Understanding the characteristics and visual impact of each type of backsplash edge is essential for making an informed decision that aligns with the desired aesthetic and functional requirements of the project. Whether aiming for a timeless and traditional look or a contemporary and avant-garde design, the choice of backsplash edge can play a pivotal role in achieving the desired outcome.
Tools and Materials Needed
Before embarking on the task of finishing the edge of a backsplash, it's essential to gather the necessary tools and materials to ensure a smooth and efficient process. Having the right equipment at your disposal will not only streamline the task but also contribute to the overall quality of the finished result. Here's a comprehensive list of the tools and materials needed for this project:
Tools:
-
Tile Saw or Wet Saw: A tile saw or wet saw is essential for cutting tiles to the required size and shape, especially when customizing edge treatments or making intricate cuts.
-
Tile Nippers: These handheld tools are used for shaping and resizing tiles, particularly for achieving precise cuts along the edges.
-
Tile File or Sandpaper: A tile file or sandpaper is necessary for smoothing the cut edges of tiles, ensuring a clean and polished finish.
-
Notched Trowel: This tool is used for applying adhesive or mortar to the backsplash area before installing the tiles.
-
Grout Float: A grout float is essential for applying grout to the tile joints, ensuring a uniform and professional finish.
-
Level: To ensure that the tiles are installed evenly and straight, a level is indispensable for maintaining precision throughout the process.
-
Measuring Tape and Ruler: Accurate measurements are crucial in achieving a seamless and well-fitted edge, making a measuring tape and ruler indispensable tools.
-
Safety Gear: Safety should always be a priority, so wearing protective gear such as safety goggles, gloves, and a dust mask is essential when working with tiles and cutting materials.
Materials:
-
Tiles: The type and quantity of tiles required will depend on the chosen edge treatment and the dimensions of the backsplash. It's important to purchase extra tiles to account for any mistakes or miscalculations.
-
Tile Adhesive or Mortar: The appropriate adhesive or mortar is essential for securing the tiles to the wall and ensuring a durable bond.
-
Grout: Choose a high-quality grout in a color that complements the tiles and the overall design scheme.
-
Edge Treatment Material: Depending on the selected edge treatment, materials such as bullnose tiles, metal trim, wood trim, or decorative edge profiles will be required.
-
Sealer (if applicable): If using natural stone tiles, a sealer may be necessary to protect the surface and enhance its longevity.
-
Primer (if applicable): In some cases, a primer may be needed to prepare the wall surface before applying the adhesive or mortar.
By ensuring that you have the necessary tools and materials on hand, you can approach the task of finishing the edge of a backsplash with confidence and precision, setting the stage for a successful and visually stunning outcome.
Read more: How To Finish Quilt Edges
Step-by-Step Guide to Finishing the Edge
-
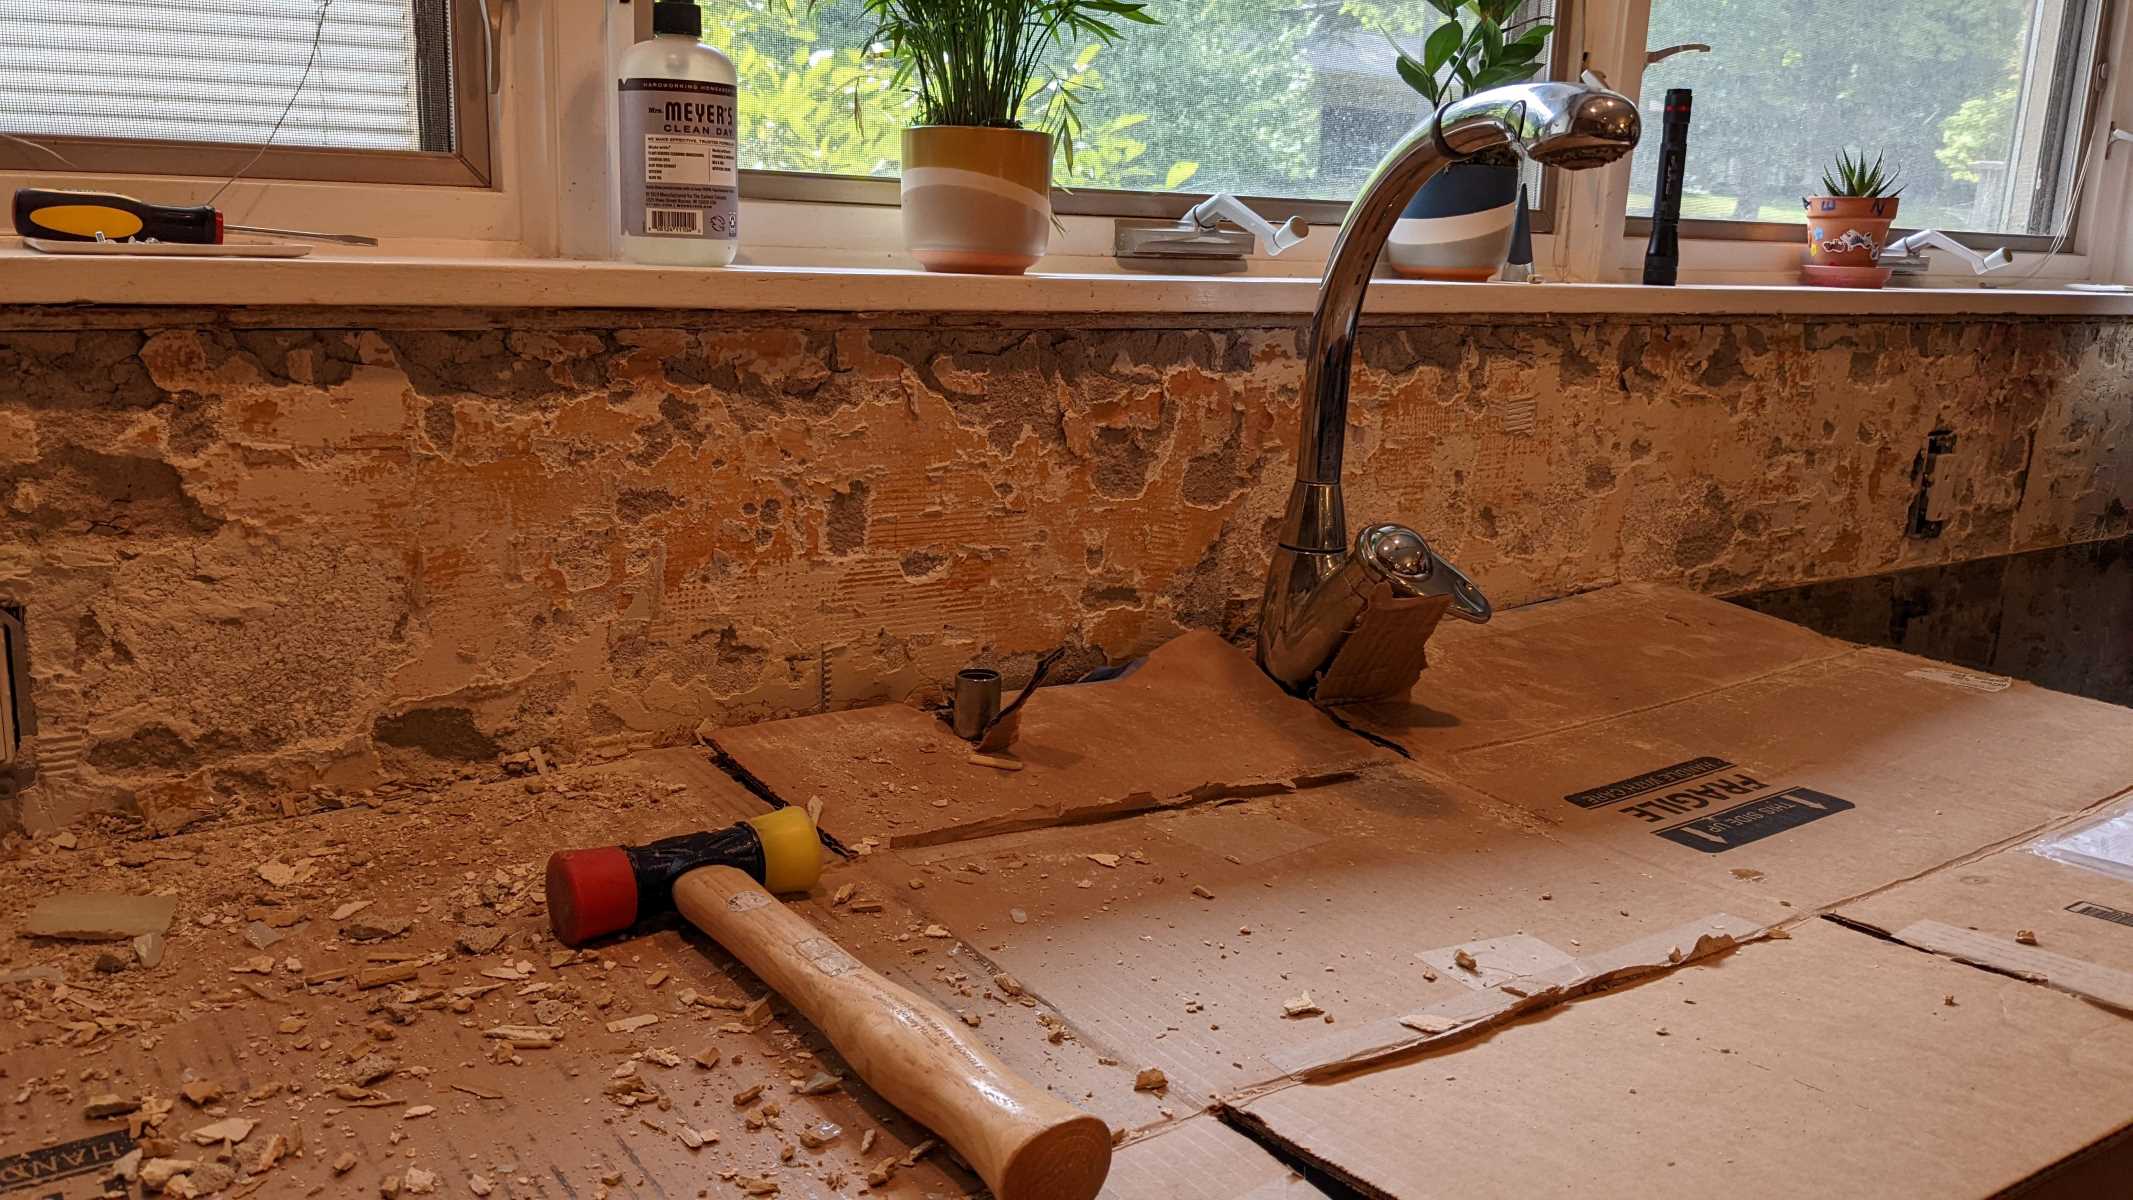
Prepare the Workspace: Before starting the edge finishing process, ensure that the backsplash area is clean, dry, and free of any debris. If necessary, use a primer to prepare the wall surface for the adhesive or mortar.
-
Measure and Plan: Take precise measurements of the edge where the finishing treatment will be applied. This step is crucial for determining the quantity of tiles or edge treatment material needed. Plan the layout and placement of the edge treatment to ensure a symmetrical and visually appealing result.
-
Cutting the Tiles: If using tiles for the edge treatment, use a tile saw or wet saw to cut the tiles to the required size and shape. For bullnose edges, ensure that the tiles are cut to create a smoothly rounded edge. Use tile nippers to make any detailed or intricate cuts as needed.
-
Smoothing the Edges: After cutting the tiles, use a tile file or sandpaper to smooth the cut edges, ensuring that they are free of any rough or sharp areas. This step is essential for achieving a clean and polished finish.
-
Applying Adhesive or Mortar: Using a notched trowel, apply the appropriate adhesive or mortar to the backsplash area where the edge treatment will be installed. Ensure that the application is even and consistent to create a strong bond between the tiles and the wall.
-
Installing the Edge Treatment: Carefully place the cut tiles or edge treatment material onto the adhesive or mortar, following the planned layout and measurements. Use a level to ensure that the edge treatment is installed evenly and straight.
-
Grouting the Joints: Once the edge treatment is securely in place, use a grout float to apply grout to the joints between the tiles. Ensure that the grout is spread evenly and that the joints are filled completely.
-
Cleaning and Sealing (if applicable): After the grout has set for the recommended time, use a damp sponge to clean any excess grout from the tile surfaces. If using natural stone tiles, apply a suitable sealer to protect the surface and enhance its durability.
-
Final Inspection: Once the edge finishing process is complete, carefully inspect the entire backsplash to ensure that the edge treatment is securely installed, the grout lines are clean and uniform, and the overall appearance meets your expectations.
By following this step-by-step guide, you can achieve a professional and polished finish to the edge of your backsplash, enhancing the visual appeal and longevity of your home renovation project.
Consider using a metal trim or bullnose tile to finish the edge of your backsplash. This will provide a clean and polished look while also protecting the edges from damage.
Tips and Tricks
-
Plan Ahead: Before starting the edge finishing process, carefully plan the layout and design of the edge treatment. Consider factors such as the type of tiles or materials to be used, the color and texture coordination, and the overall aesthetic impact. Planning ahead will help avoid last-minute changes and ensure a cohesive and harmonious result.
-
Use Quality Materials: Invest in high-quality tiles, adhesives, grout, and edge treatment materials. Quality materials not only contribute to a visually appealing finish but also enhance the durability and longevity of the backsplash. Opting for premium materials can make a significant difference in the overall outcome of the project.
-
Precision is Key: When cutting tiles or edge treatment materials, prioritize precision and accuracy. Take the time to measure and cut with care, ensuring that the edges are smooth and the fit is seamless. Attention to detail during the cutting and installation process will elevate the overall look of the edge treatment.
-
Consider Edge Profiles: Explore different edge profiles and consider how they can complement the overall design of the backsplash. Beveled edges, decorative molding, or custom profiles can add character and sophistication to the edge treatment, creating a distinctive and personalized touch.
-
Test the Layout: Before permanently installing the edge treatment, lay out the tiles or materials to assess the visual impact and ensure that the design aligns with your vision. Making adjustments at this stage is easier than correcting errors after the installation is complete.
-
Maintain Consistency: Whether using tiles, metal trim, or wood trim for the edge treatment, strive for consistency in color, texture, and thickness. Consistent edge treatment contributes to a cohesive and polished look, enhancing the overall aesthetic appeal of the backsplash.
-
Seal Natural Stone: If using natural stone tiles for the edge treatment, apply a suitable sealer to protect the surface from moisture and stains. Properly sealing natural stone enhances its durability and preserves its natural beauty over time.
-
Grout Cleaning: After grouting the joints, ensure thorough cleaning of any excess grout from the tile surfaces. Use a damp sponge to gently remove the grout haze and achieve clean, uniform grout lines for a professional finish.
-
Seek Professional Advice: If you're unsure about the best approach for finishing the edge of your backsplash, don't hesitate to seek advice from professionals or experienced DIY enthusiasts. Their insights and recommendations can provide valuable guidance and help you avoid common pitfalls.
-
Celebrate Achievements: Upon completing the edge finishing process, take a moment to appreciate your hard work and the transformation it has brought to your space. Celebrate the achievement of mastering the art of finishing the edge of a backsplash and enjoy the enhanced beauty it brings to your home.
By incorporating these tips and tricks into your edge finishing process, you can elevate the visual impact of your backsplash and create a stunning focal point in your kitchen or bathroom.
Conclusion
Mastering the art of finishing the edge of a backsplash is a transformative skill that can elevate the aesthetic appeal and functionality of any kitchen or bathroom space. By exploring the various types of backsplash edges, understanding the essential tools and materials required, and following a step-by-step guide, homeowners and DIY enthusiasts can achieve a professional and polished finish that enhances the overall design of their home.
The choice of backsplash edge treatment plays a pivotal role in defining the style and character of the space. Whether opting for a classic bullnose edge, a modern flat edge, a sophisticated mitered edge, or a sleek metal or wood trim, each option offers unique visual and functional benefits. Understanding the characteristics of each edge treatment empowers individuals to make informed decisions that align with their design preferences and project requirements.
Equipped with the necessary tools and materials, including tile saws, adhesives, grout, and safety gear, individuals can approach the edge finishing process with confidence and precision. By carefully measuring, cutting, and installing the edge treatment, and paying attention to details such as smoothing the edges and grouting the joints, a seamless and visually stunning result can be achieved.
Incorporating valuable tips and tricks, such as planning ahead, using quality materials, prioritizing precision, and considering edge profiles, further enhances the outcome of the edge finishing process. Whether working with ceramic, stone, metal, or wood materials, maintaining consistency and attention to detail is essential for creating a cohesive and harmonious look.
As the edge finishing process comes to fruition, the sense of accomplishment and the visual impact of the transformed space are causes for celebration. The newly finished backsplash not only adds a touch of elegance and sophistication but also serves a practical purpose by protecting the edges from moisture and wear, ensuring its longevity and durability.
In conclusion, mastering the art of finishing the edge of a backsplash is a rewarding endeavor that empowers individuals to enhance the beauty and functionality of their living spaces. By embracing creativity, precision, and attention to detail, homeowners and DIY enthusiasts can achieve a professional and visually stunning finish that becomes a focal point in their home, reflecting their unique style and craftsmanship.
Frequently Asked Questions about How To Finish The Edge Of Backsplash
Was this page helpful?
At Storables.com, we guarantee accurate and reliable information. Our content, validated by Expert Board Contributors, is crafted following stringent Editorial Policies. We're committed to providing you with well-researched, expert-backed insights for all your informational needs.


0 thoughts on “How To Finish The Edge Of Backsplash”