Home>Renovation & DIY>Home Renovation Guides>How To Fix Gap At Top Of Storm Door
Home Renovation Guides
How To Fix Gap At Top Of Storm Door
Modified: October 19, 2024
Learn how to fix the gap at the top of your storm door with our comprehensive home renovation guide. Say goodbye to drafts and improve your home's energy efficiency.
(Many of the links in this article redirect to a specific reviewed product. Your purchase of these products through affiliate links helps to generate commission for Storables.com, at no extra cost. Learn more)
Introduction
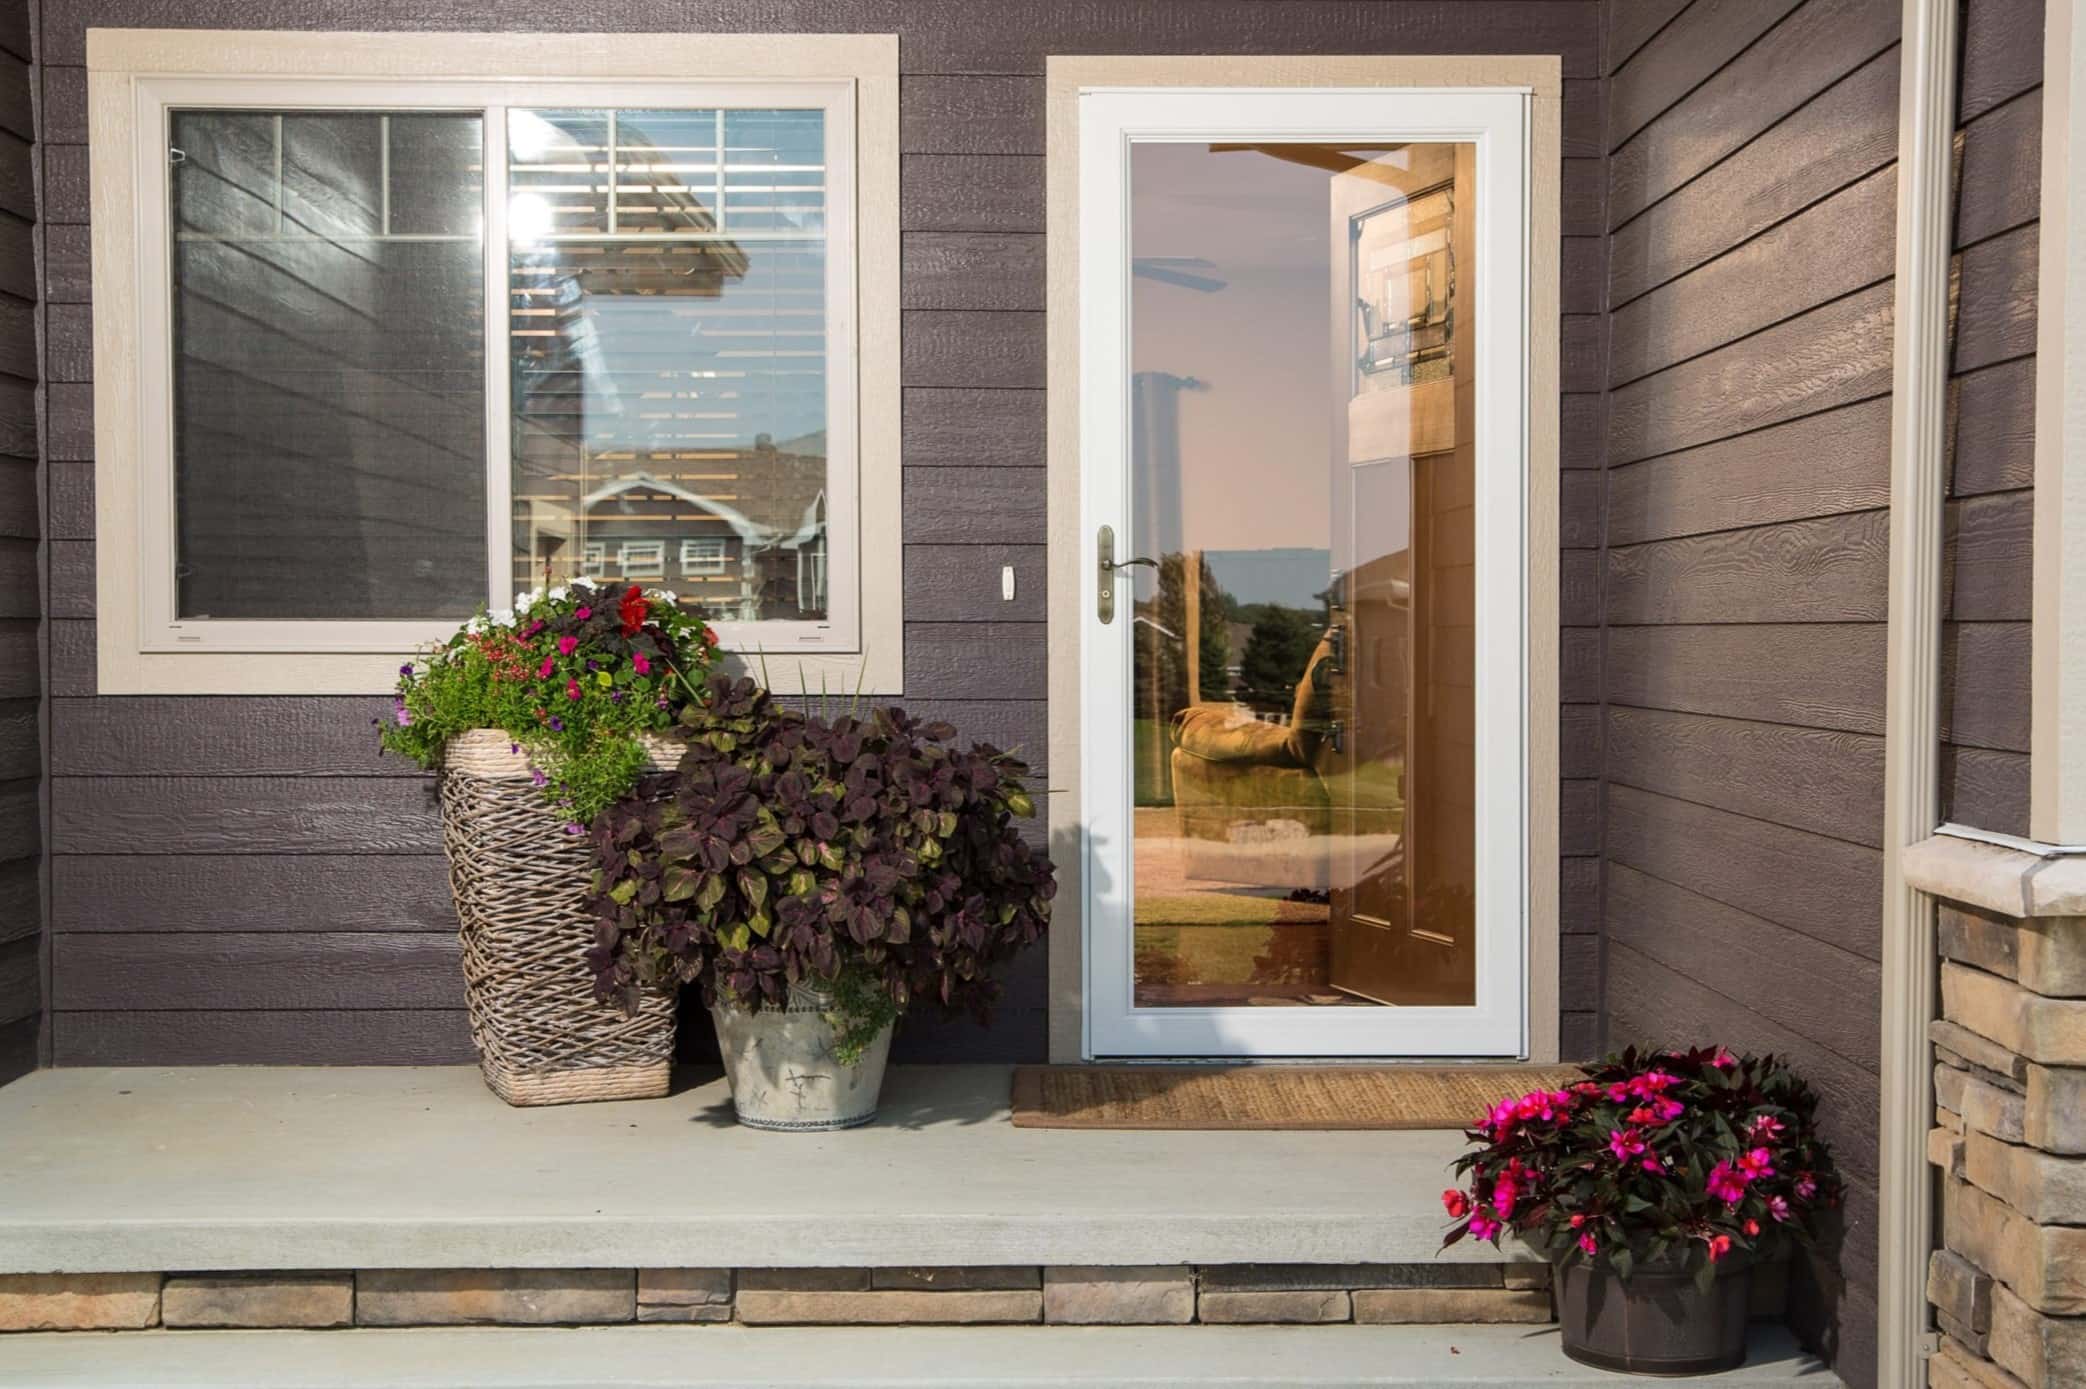
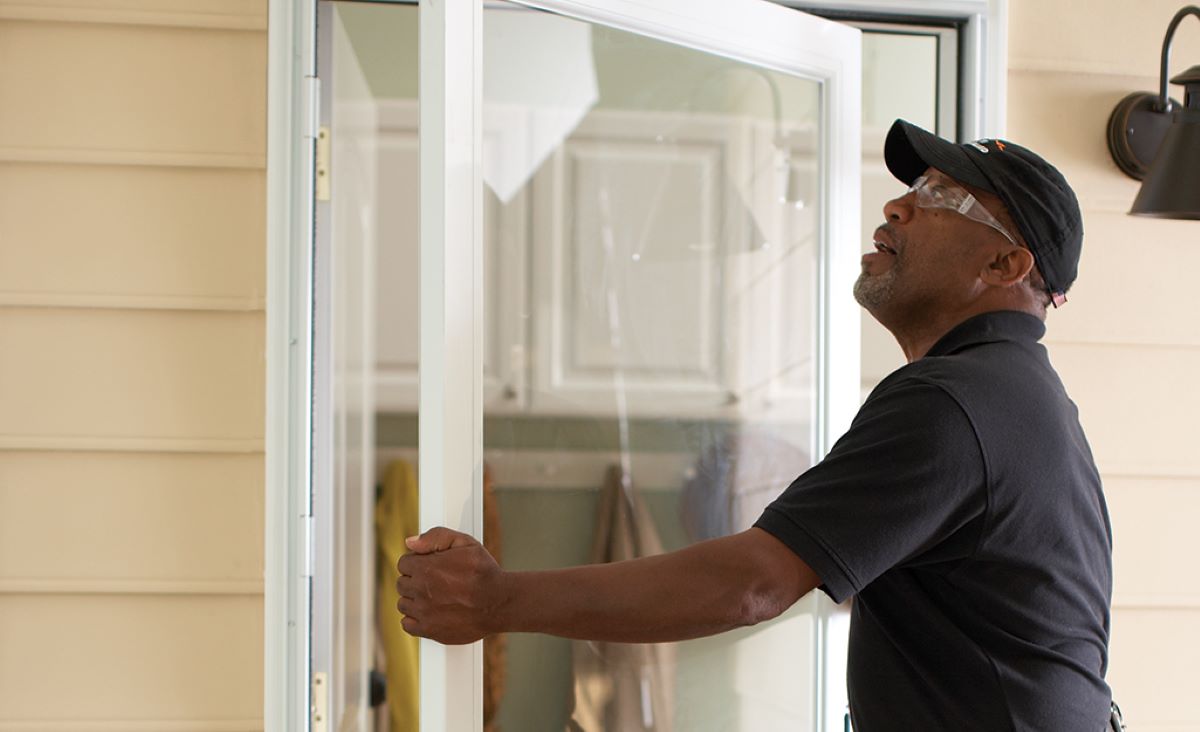
Welcome to our comprehensive guide on fixing the gap at the top of a storm door. A well-installed storm door not only enhances the aesthetic appeal of your home but also provides an additional layer of protection against the elements. However, over time, you may notice a gap forming at the top of the door, which can lead to energy inefficiency and potential water damage.
In this guide, we will walk you through the step-by-step process of addressing this common issue. Whether you are a seasoned DIY enthusiast or a novice homeowner looking to tackle your first home improvement project, we’ve got you covered. By following our expert tips and utilizing basic tools and materials, you can restore the functionality and efficiency of your storm door.
So, roll up your sleeves and get ready to learn how to fix the gap at the top of your storm door like a pro!
Key Takeaways:
- Keep your storm door in top condition by addressing gaps at the top. Adjust hinges, install a door sweep, and add weather stripping for a snug, energy-efficient seal.
- With basic tools and materials, you can fix the gap at the top of your storm door like a pro. Enhance protection, insulation, and functionality for a more comfortable home.
Read more: How To Fix A Storm Door Hinge
Understanding the Issue
Before diving into the solution, it’s essential to understand why a gap may develop at the top of your storm door. Several factors can contribute to this common problem:
- Settling and Shifting: Over time, the natural settling of your home or the shifting of the door frame can cause misalignment, resulting in a gap at the top of the door.
- Wear and Tear: Continuous use and exposure to the elements can lead to wear and tear on the door hinges and weather-stripping, compromising their effectiveness.
- Temperature and Humidity Changes: Fluctuations in temperature and humidity can cause materials to expand and contract, potentially affecting the door’s alignment.
Identifying the underlying cause of the gap will help you determine the most effective solution. By addressing the root issue, you can prevent the gap from reoccurring and ensure long-term stability for your storm door.
Now that we’ve shed light on the potential reasons behind the gap at the top of your storm door, let’s move on to the practical steps and solutions to resolve this common household concern.
Tools and Materials Needed
Before embarking on the journey to fix the gap at the top of your storm door, it’s essential to gather the necessary tools and materials. Here’s what you’ll need:
Tools:
- Phillips screwdriver
- Flathead screwdriver
- Tape measure
- Hacksaw (if trimming the door sweep)
- Utility knife
- Drill and drill bits
Materials:
- Replacement door sweep
- Weather stripping (self-adhesive or nail-on)
- Wood shims
- Screws
- Lubricating oil or spray
Having these tools and materials at your disposal will streamline the repair process and ensure that you can address the gap with efficiency and precision. Now that you’ve assembled your toolkit, it’s time to roll up your sleeves and begin the journey toward a snug, well-sealed storm door.
Read more: How To Fix Gap Between Door And Floor
Step 1: Assessing the Gap
Before making any adjustments or installations, it’s crucial to assess the nature and extent of the gap at the top of your storm door. This initial step will help you determine the most effective approach to addressing the issue. Here’s how to go about it:
1. Close Inspection: Begin by carefully examining the gap between the top of the door and the frame. Take note of any areas where the gap is particularly wide or inconsistent.
2. Measurement: Use a tape measure to determine the exact width of the gap. This measurement will be valuable when selecting the appropriate weather-stripping and door sweep to ensure a snug fit.
3. Door Operation: Open and close the storm door, paying attention to any resistance or misalignment. Note if the gap changes in size or shape during the door’s operation.
By thoroughly assessing the gap and its impact on the door’s functionality, you’ll gain valuable insights into the specific adjustments and additions needed to achieve a proper seal at the top of your storm door.
Step 2: Adjusting the Door Hinges
One of the primary culprits behind a gap at the top of a storm door is misaligned or loose hinges. By addressing the hinges, you can often make significant improvements in the door’s alignment. Here’s a step-by-step guide to adjusting the door hinges:
1. Tighten Loose Screws: Using a Phillips screwdriver, inspect the screws securing the hinges to the door frame. If any screws are loose, tighten them to ensure a secure connection between the hinges and the frame.
2. Aligning the Hinges: With the door closed, observe the alignment of the hinges. If they appear misaligned, loosen the screws slightly and gently adjust the position of the hinges to better align with the frame. Once aligned, tighten the screws to secure the hinges in place.
3. Lubrication: Apply a small amount of lubricating oil or spray to the hinge mechanisms to ensure smooth operation. This can help reduce friction and prevent unnecessary strain on the hinges and the door frame.
By carefully adjusting and securing the hinges, you can often rectify minor misalignments that contribute to the gap at the top of the storm door. This simple yet effective step can significantly improve the door’s functionality and reduce the gap for a more secure seal.
Check the screws on the top hinge of the storm door. If they are loose, tighten them to pull the door up and close the gap. If the screws are stripped, replace them with longer ones for a better grip.
Step 3: Installing a Door Sweep
A door sweep is a simple yet effective solution for sealing the gap at the bottom of a door, including a storm door. By installing a door sweep at the bottom of the door, you can prevent drafts, debris, and pests from entering while also minimizing energy loss. Here’s how to install a door sweep to address the gap at the top of your storm door:
1. Selecting the Right Door Sweep: Measure the width of the door to determine the appropriate size for the door sweep. Choose a high-quality door sweep that offers a snug fit and is designed for exterior use, capable of withstanding varying weather conditions.
2. Preparing the Door: Open the storm door and lay it flat to provide easy access to the bottom edge. Ensure that the surface is clean and free from any obstructions or debris.
3. Positioning the Door Sweep: Align the door sweep along the inside bottom edge of the door. Mark the positions for the screws or nails that will secure the sweep in place. If necessary, use a hacksaw to trim the door sweep to fit the width of the door precisely.
4. Securing the Door Sweep: Using the appropriate screws or nails, attach the door sweep securely to the bottom of the door. Ensure that it forms a tight seal with the threshold, effectively closing the gap at the top of the door when it’s closed.
By installing a door sweep, you can effectively minimize the gap at the top of your storm door, enhancing energy efficiency and creating a more secure barrier against external elements. This simple addition can make a significant difference in maintaining a well-sealed and functional storm door.
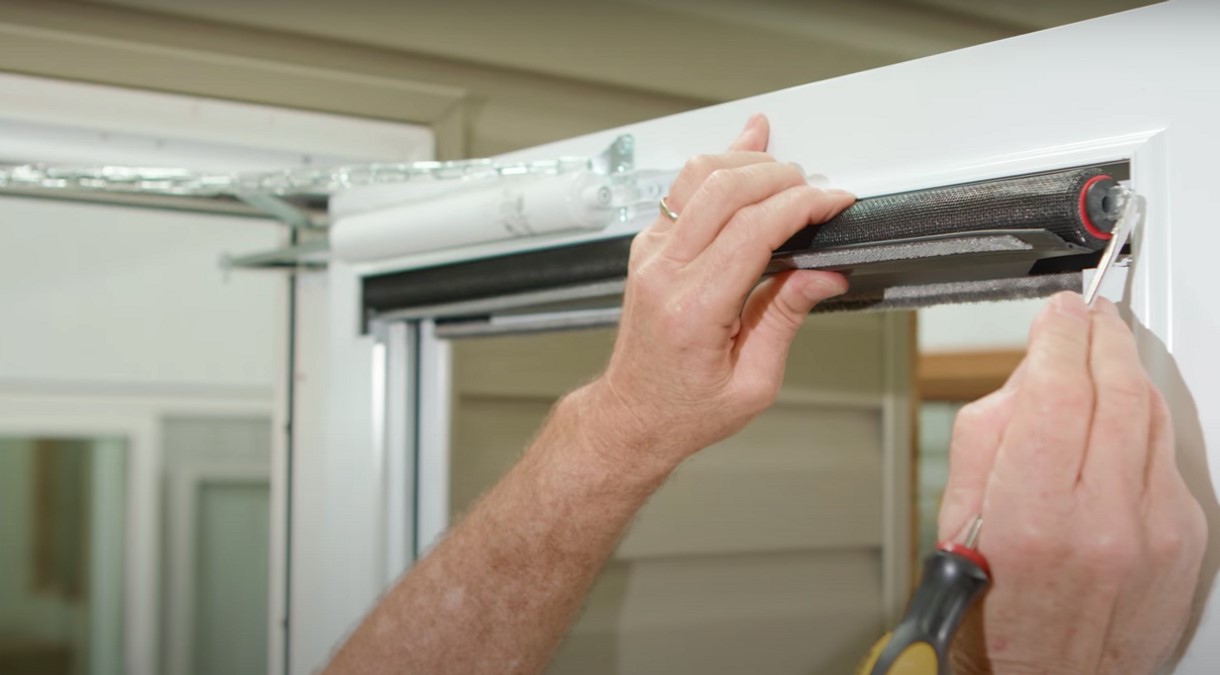
Step 4: Adding Weather Stripping
Weather stripping is a versatile and practical solution for sealing gaps around doors and windows, effectively preventing drafts, moisture, and outside elements from infiltrating your home. When addressing the gap at the top of your storm door, adding weather stripping can provide an additional layer of protection and insulation. Here’s how to add weather stripping to achieve a secure seal:
1. Selecting the Weather Stripping: Choose weather stripping that is suitable for exterior use and designed to withstand exposure to varying weather conditions. Self-adhesive weather stripping offers ease of installation, while nail-on weather stripping provides a durable and secure attachment.
2. Cleaning and Preparing the Surface: Thoroughly clean the top edge and sides of the door frame to ensure the surface is free from dirt, debris, and old weather stripping. A clean surface will promote better adhesion for self-adhesive weather stripping and a secure attachment for nail-on weather stripping.
3. Applying Self-Adhesive Weather Stripping: Measure and cut the weather stripping to fit the top edge and sides of the door frame. Peel off the backing and carefully press the weather stripping into place, ensuring a snug and uniform seal along the entire perimeter of the door frame.
4. Installing Nail-On Weather Stripping: If using nail-on weather stripping, align the stripping along the top edge and sides of the door frame. Secure it in place by driving nails through the pre-drilled holes at regular intervals, ensuring a secure and uniform attachment.
By adding weather stripping to the top edge and sides of your storm door, you can effectively minimize the gap and create a well-sealed barrier against external elements. This simple yet impactful addition can enhance the energy efficiency and overall functionality of your storm door, providing lasting benefits for your home.
Conclusion
Congratulations on successfully completing the journey to address the gap at the top of your storm door! By following the steps outlined in this guide, you’ve taken proactive measures to restore the functionality, efficiency, and aesthetic appeal of your storm door. Here’s a quick recap of the key takeaways from this comprehensive guide:
- Understanding the Issue: By identifying the factors contributing to the gap at the top of your storm door, you gained valuable insights into the root causes of the problem, paving the way for effective solutions.
- Tools and Materials Needed: Equipped with the necessary tools and materials, you were prepared to tackle the repair process with confidence and precision, ensuring a seamless and efficient experience.
- Assessing the Gap: Through careful inspection and measurement, you gained a clear understanding of the gap’s nature and impact, laying the groundwork for targeted interventions.
- Adjusting the Door Hinges: By fine-tuning and securing the door hinges, you addressed misalignments and improved the overall functionality and alignment of the storm door.
- Installing a Door Sweep: The addition of a door sweep provided a practical and effective solution for sealing the gap at the bottom of the door, enhancing insulation and protection against external elements.
- Adding Weather Stripping: By incorporating weather stripping along the top edge and sides of the door frame, you further fortified the seal, minimizing the gap and enhancing energy efficiency.
As a result of your efforts, your storm door is now equipped to provide enhanced protection, insulation, and functionality, ensuring a more comfortable and secure environment within your home. By addressing the gap at the top of your storm door, you’ve not only improved its performance but also contributed to the overall energy efficiency and sustainability of your living space.
Remember, regular maintenance and periodic inspections can help prevent future issues and prolong the lifespan of your storm door. By staying proactive and attentive to the condition of your door, you can enjoy long-term benefits and peace of mind knowing that your home is well-protected.
Thank you for joining us on this home improvement journey. We hope this guide has empowered you to tackle similar projects with confidence and expertise. Here’s to a snug, well-sealed storm door and a more comfortable, efficient, and inviting home!
Now that you've tackled fixing that pesky gap at the top of your storm door, why not dive deeper into keeping your home in top shape? Regular upkeep not only preserves your home's value but also ensures every corner functions smoothly. From the attic to the basement, learning about routine home maintenance can save you a headache and a hefty repair bill down the line. Get smart tips and easy-to-follow strategies by checking out our detailed guide on essential upkeep tasks.
Frequently Asked Questions about How To Fix Gap At Top Of Storm Door
Was this page helpful?
At Storables.com, we guarantee accurate and reliable information. Our content, validated by Expert Board Contributors, is crafted following stringent Editorial Policies. We're committed to providing you with well-researched, expert-backed insights for all your informational needs.


0 thoughts on “How To Fix Gap At Top Of Storm Door”