Home>Renovation & DIY>Home Renovation Guides>How To Replace The Retractable Screen On A Larson Storm Door
Home Renovation Guides
How To Replace The Retractable Screen On A Larson Storm Door
Modified: May 6, 2024
Learn how to replace the retractable screen on a Larson storm door with our comprehensive home renovation guide. Follow our step-by-step instructions for a seamless DIY project.
(Many of the links in this article redirect to a specific reviewed product. Your purchase of these products through affiliate links helps to generate commission for Storables.com, at no extra cost. Learn more)
Introduction
So, your Larson storm door has been a faithful guardian, protecting your home from the elements and providing a welcoming entrance for years. However, the time has come to give your trusty door a little TLC by replacing its retractable screen. Don't worry, with the right tools, a bit of know-how, and a sprinkle of patience, you can easily tackle this home improvement project.
In this comprehensive guide, we'll walk you through the step-by-step process of replacing the retractable screen on your Larson storm door. Whether you're a seasoned DIY enthusiast or a novice homeowner looking to expand your skillset, this guide is designed to equip you with the knowledge and confidence to successfully complete this project.
By the time you finish reading, you'll be ready to roll up your sleeves and breathe new life into your Larson storm door with a brand-new retractable screen. Let's dive in and get started!
Key Takeaways:
- Revitalize your Larson storm door by replacing the retractable screen with basic tools and a step-by-step guide. Enjoy the satisfaction of DIY success and a fresh, functional entrance to your home.
- Equip yourself with the right tools and follow the installation steps to replace the retractable screen on your Larson storm door. Enjoy the breeze and the sense of accomplishment that comes with mastering a DIY project.
Read more: How To Install A Larson Storm Door
Tools and Materials Needed
Before you embark on replacing the retractable screen on your Larson storm door, it’s essential to gather the necessary tools and materials. Here’s a comprehensive list of what you’ll need:
Tools:
- Phillips screwdriver
- Flathead screwdriver
- Tape measure
- Utility knife
- Needle-nose pliers
- Scissors
- Drill with screwdriver bit (if not provided)
Materials:
- Replacement retractable screen kit for Larson storm door
- Replacement spline (if not included in the kit)
- Lubricant spray or silicone spray
Having these tools and materials at your disposal will ensure a smooth and efficient screen replacement process. Now that you’re equipped with everything you need, let’s move on to the next step: removing the old retractable screen.
Removing the Old Retractable Screen
Before you can install the new retractable screen on your Larson storm door, you’ll need to bid farewell to the old one. Here’s a step-by-step guide to help you seamlessly remove the existing screen:
Read more: What Is A Retractable Storm Door
Step 1: Gather Your Tools
First, ensure that you have your Phillips screwdriver, flathead screwdriver, and utility knife at the ready. These tools will be instrumental in the removal process.
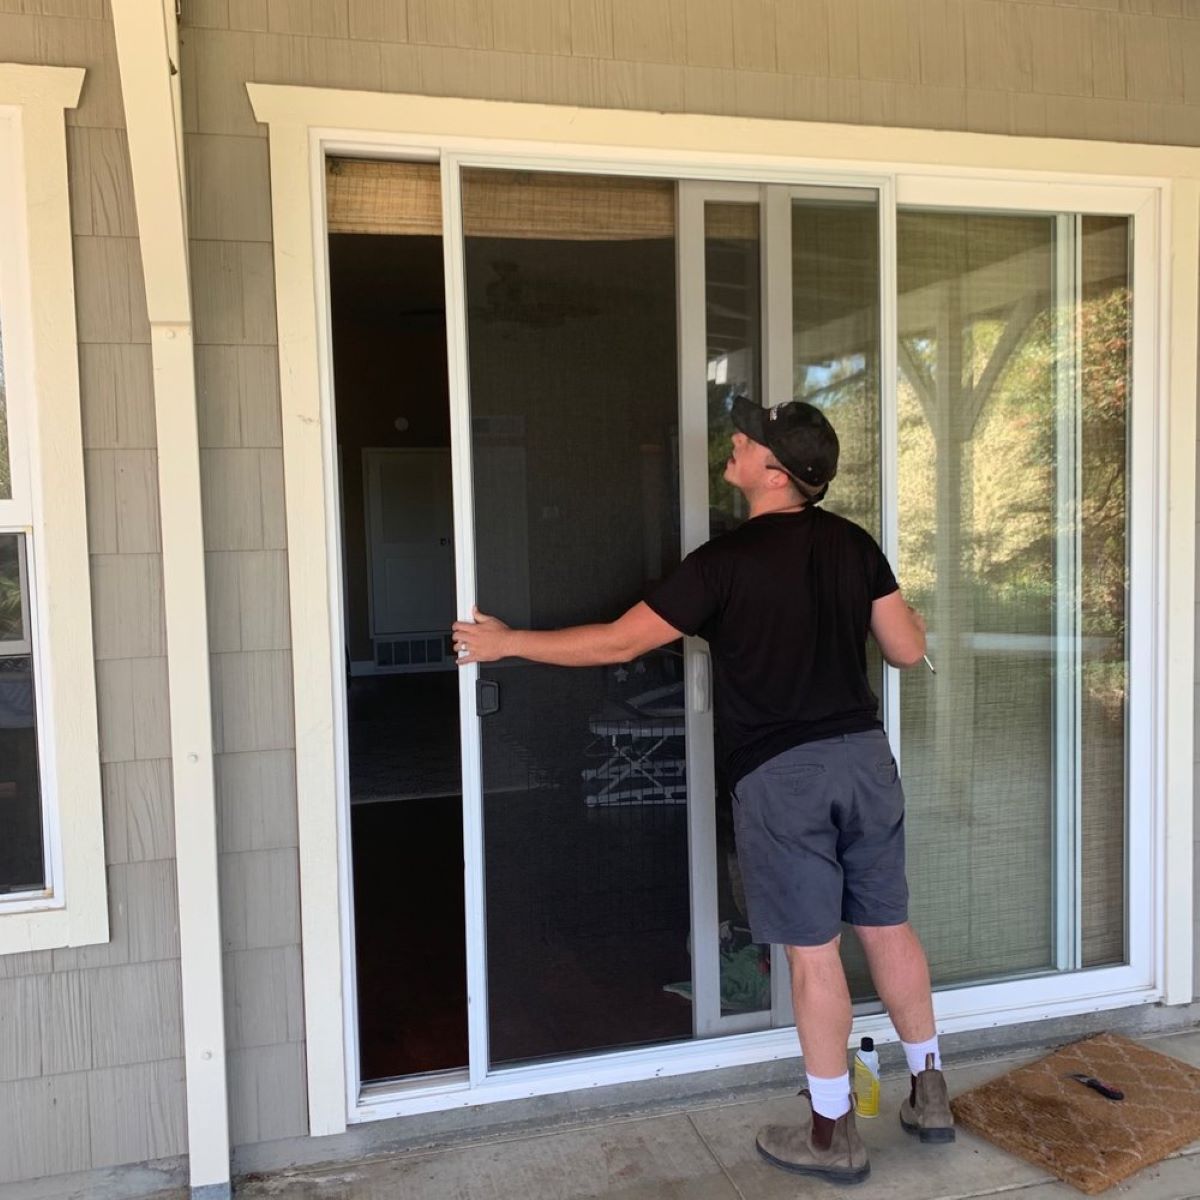
Step 2: Open the Storm Door
Fully extend the existing retractable screen by opening the storm door to its maximum width. This will provide you with ample space to work on the screen removal.
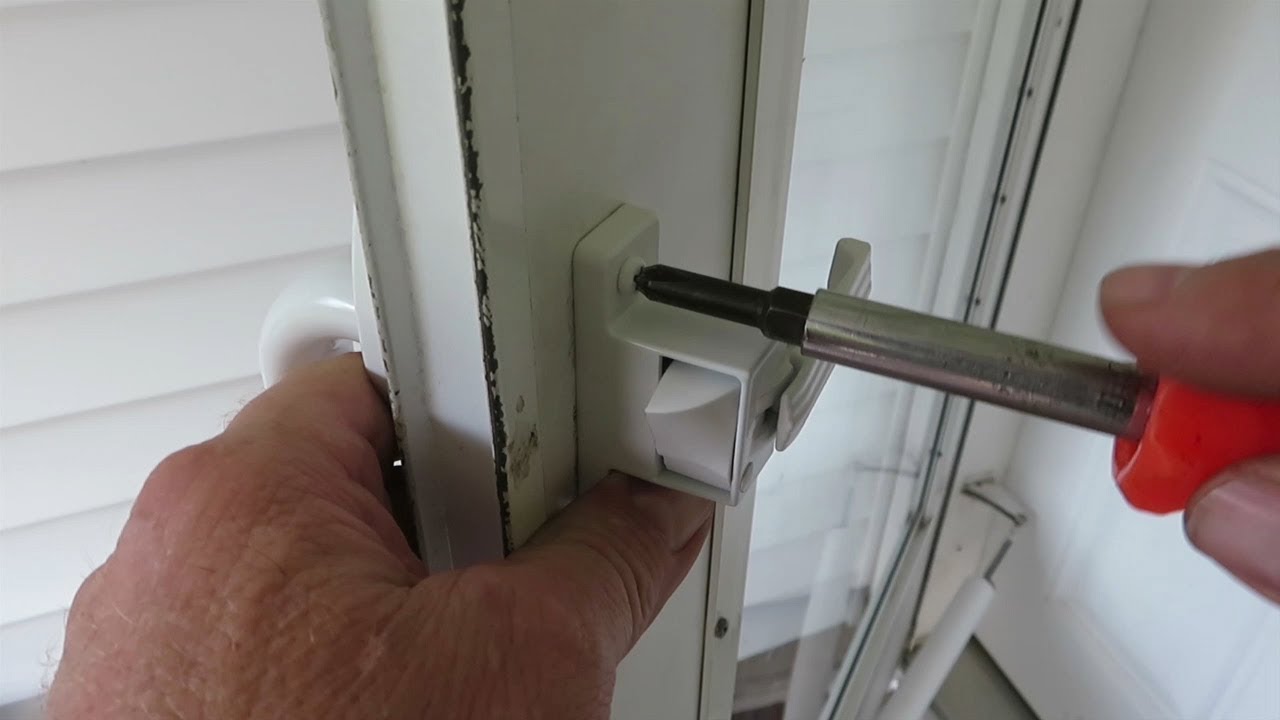
Step 3: Locate and Remove the Screen Handle
Using your Phillips screwdriver, carefully unscrew and remove the handle of the retractable screen. Set the screws aside in a safe place to prevent misplacement.
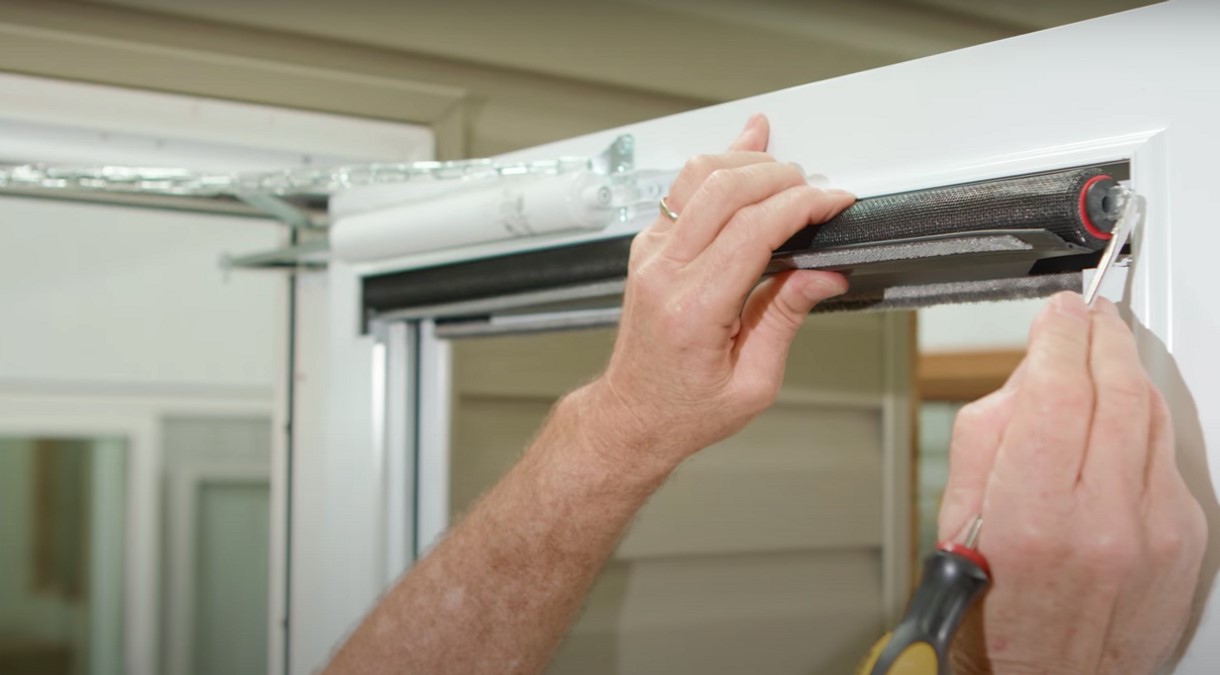
Step 4: Release the Screen from the Top Rail
Once the handle is removed, gently lift the screen and release it from the top rail of the storm door. Be cautious to avoid damaging the screen or the door frame during this process.
Read more: How To Remove A Larson Storm Door Handle
Step 5: Remove the Bottom of the Screen
With the top of the screen freed, proceed to detach the bottom of the screen from the storm door. Use your flathead screwdriver to carefully pry the screen from the bottom rail, ensuring a smooth and controlled removal.
Step 6: Cut the Spline (if necessary)
If the old screen is secured in place with a spline, use your utility knife to carefully cut and remove the spline from the screen frame. Exercise caution to prevent any damage to the door or frame.
With these steps completed, you’ve successfully removed the old retractable screen from your Larson storm door. Now, you’re ready to move on to the exciting part: installing the new retractable screen!
Installing the New Retractable Screen
Now that you’ve bid adieu to the old retractable screen, it’s time to usher in the new one. Follow these steps to seamlessly install the replacement screen on your Larson storm door:
Step 1: Unpack and Inspect the New Screen
Carefully unpack the replacement retractable screen kit, ensuring that all components are present and undamaged. Take a moment to inspect the screen, handle, and any accompanying parts to confirm that everything is in optimal condition.
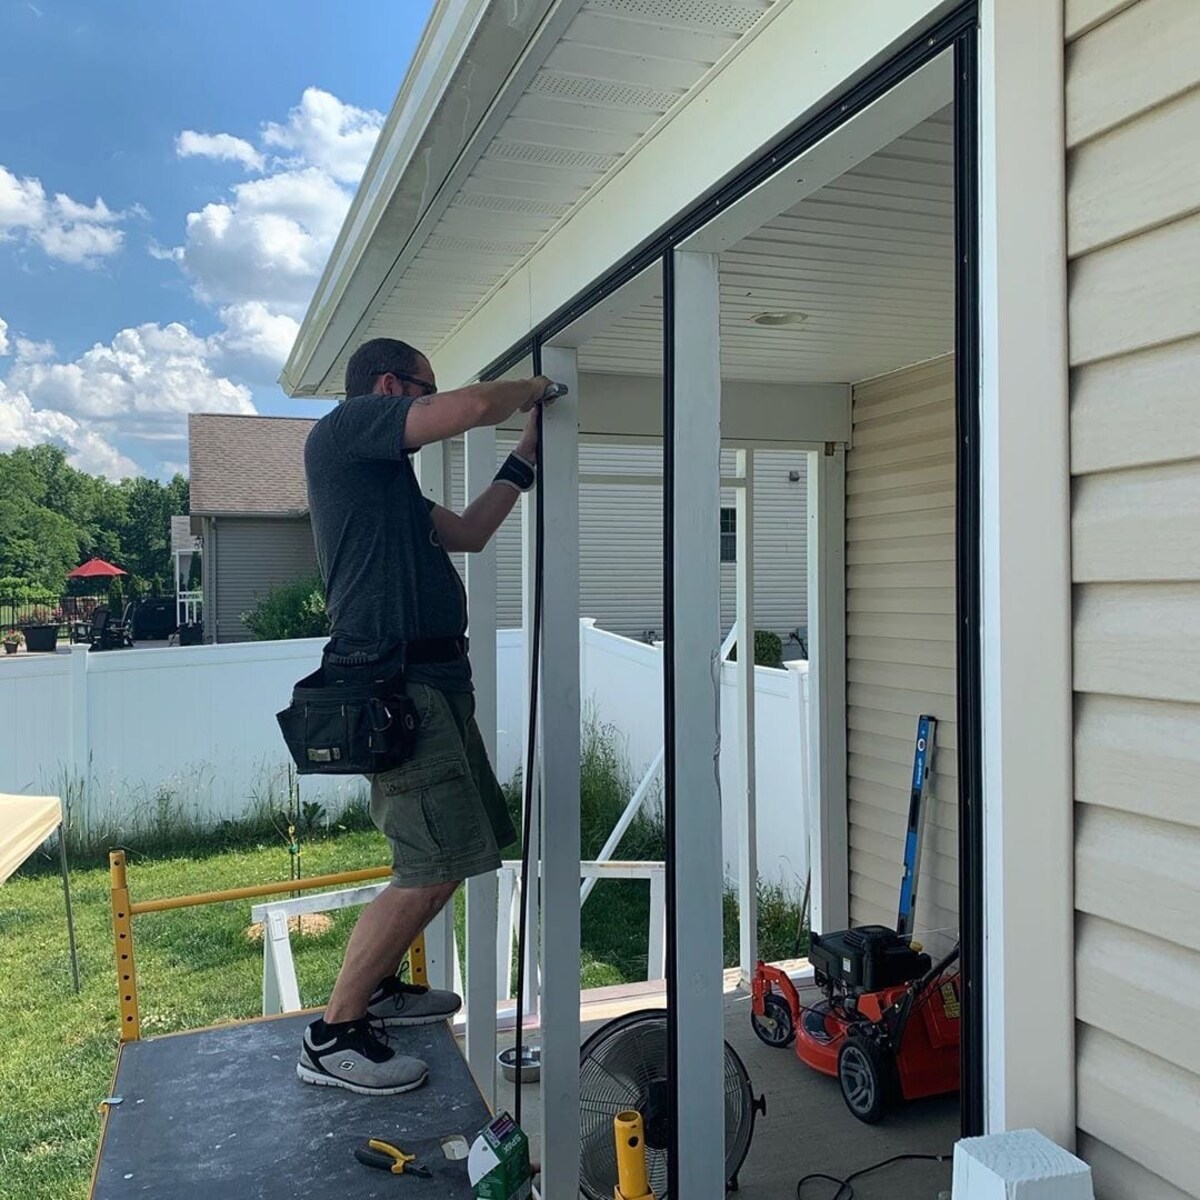
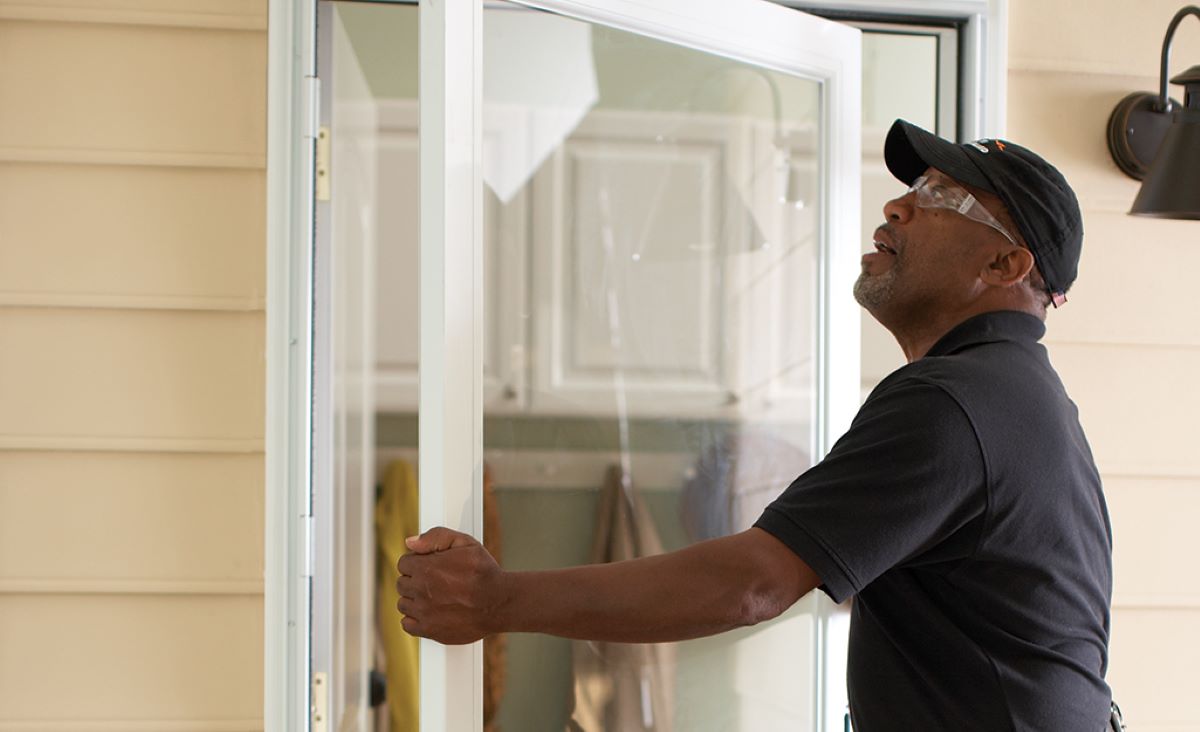
Step 2: Position the New Screen in the Door Frame
Gently position the new retractable screen in the door frame, ensuring that it aligns correctly with the top and bottom rails. Take your time to center the screen within the frame for a professional and polished finish.
Step 3: Secure the Top of the Screen
With the screen properly positioned, secure the top of the screen to the door frame. Follow the manufacturer’s instructions provided with the replacement kit to ensure that the screen is firmly and securely attached at the top rail.
Step 4: Attach the Screen Handle
Using the screws provided with the replacement kit, affix the handle to the screen. Ensure that the handle is installed securely, as it will be essential for smoothly operating the retractable screen.
Step 5: Secure the Bottom of the Screen
After securing the top of the screen and attaching the handle, proceed to secure the bottom of the screen to the door frame. Take care to align the screen properly and ensure a snug fit within the bottom rail.
Read more: Storm Door Vs Screen Door: Which is Better?
Step 6: Install the Spline (if necessary)
If the replacement screen requires a spline for secure installation, carefully insert the spline into the screen frame using a spline installation tool or a flathead screwdriver. Be meticulous to achieve a tight and secure fit.
With the new retractable screen successfully installed, you’re one step closer to revitalizing your Larson storm door. Before you wrap up this project, there are a few more essential steps to complete. Let’s move on to adjusting and testing the new screen to ensure it operates flawlessly.
Adjusting and Testing the New Screen
With the new retractable screen in place, it’s crucial to ensure that it operates smoothly and aligns perfectly within the door frame. Follow these steps to adjust and test the screen for optimal functionality:
Step 1: Check for Proper Alignment
Carefully inspect the newly installed screen to ensure that it is aligned evenly within the door frame. Verify that the top and bottom of the screen are parallel to the respective rails, and make any necessary adjustments for a balanced fit.
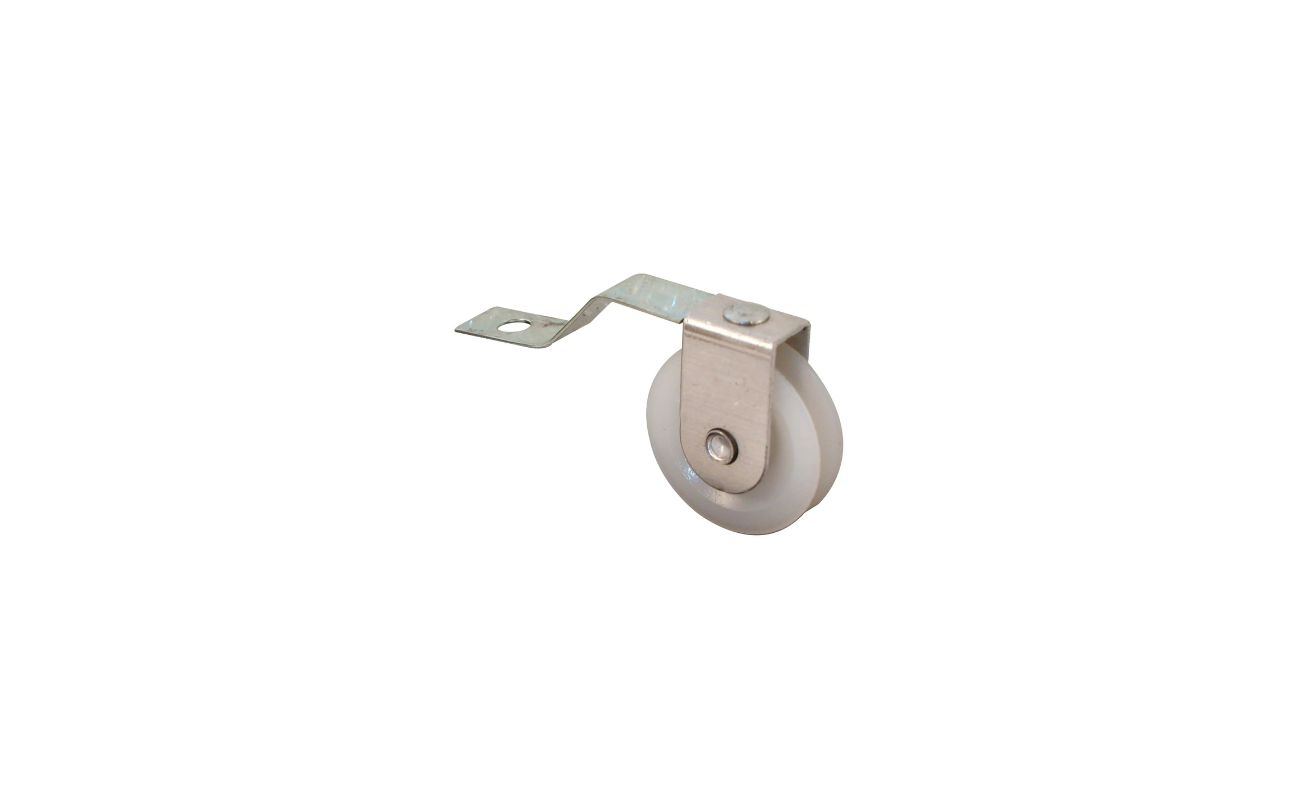
Step 2: Lubricate Moving Parts
Using a lubricant spray or silicone spray, apply a small amount to the moving parts of the retractable screen, including the tracks and rollers. This will facilitate smooth operation and prevent any potential friction issues.
Step 3: Test the Retraction and Extension
Gently retract and extend the screen multiple times to assess its functionality. Pay close attention to any resistance or uneven movement, as this may indicate the need for further adjustments or lubrication.
Step 4: Adjust Tension (if applicable)
If your replacement screen features an adjustable tension system, refer to the manufacturer’s instructions to fine-tune the tension for optimal retraction and extension. This will ensure that the screen operates effortlessly and securely.
Step 5: Verify Proper Locking
Ensure that the screen securely locks in place when fully extended, providing a reliable barrier against insects and debris. Test the locking mechanism to confirm that it functions as intended.
By meticulously adjusting and testing the new retractable screen, you can guarantee that it functions flawlessly and complements the functionality of your Larson storm door. Once you’re satisfied with the screen’s performance, it’s time to wrap up this project and admire your handiwork.
Conclusion
Congratulations! You’ve successfully replaced the retractable screen on your Larson storm door, breathing new life into this essential feature of your home. By following this comprehensive guide, you’ve not only enhanced the functionality of your storm door but also honed your DIY skills along the way.
As you stand back and admire your handiwork, take pride in the fact that you’ve tackled a home improvement project that will benefit you for years to come. The seamless operation of your new retractable screen is a testament to your attention to detail and dedication to enhancing your living space.
Remember, the key to a successful home improvement endeavor lies in thorough preparation, patience, and a willingness to learn. By equipping yourself with the right tools, carefully following the installation steps, and meticulously adjusting and testing the new screen, you’ve demonstrated these essential qualities.
Now, as you enjoy the fresh breeze flowing through your newly installed retractable screen, take a moment to appreciate the sense of accomplishment that comes with mastering a DIY project. Your Larson storm door stands as a testament to your ability to transform your living space with skill and creativity.
With your newfound expertise, you’re well-equipped to tackle future home improvement projects with confidence. Whether it’s installing a new fixture, refurbishing a room, or enhancing your outdoor space, your experience with replacing the retractable screen has laid a solid foundation for your future DIY endeavors.
So, as you revel in the enhanced functionality and aesthetic appeal of your Larson storm door, know that you’ve not only replaced a screen but also elevated your home with your own hands. Keep exploring, learning, and infusing your living space with your unique touch. The possibilities for enriching your home are as boundless as your creativity and determination.
Now, go forth and enjoy the fruits of your labor. Your revitalized Larson storm door awaits, inviting you to savor the seamless beauty of a well-executed home improvement project.
Excited to tackle more home projects? Our guide on DIY home improvement offers practical tips and creative solutions for transforming your space efficiently. Whether you're looking to update a room or undertake a larger project, you'll find invaluable advice to help you manage tasks confidently and cost-effectively. Additionally, understanding regular home maintenance ensures your living environment remains safe and comfortable. Dive into our detailed article for essential upkeep routines that every homeowner should perform regularly, keeping your dwelling in tip-top shape year-round. Both guides are packed with insights designed to empower your next home project.
Frequently Asked Questions about How To Replace The Retractable Screen On A Larson Storm Door
Was this page helpful?
At Storables.com, we guarantee accurate and reliable information. Our content, validated by Expert Board Contributors, is crafted following stringent Editorial Policies. We're committed to providing you with well-researched, expert-backed insights for all your informational needs.


0 thoughts on “How To Replace The Retractable Screen On A Larson Storm Door”