Home>Renovation & DIY>Home Renovation Guides>How To Install Gable Brackets
Home Renovation Guides
How To Install Gable Brackets
Modified: April 22, 2024
Learn how to install gable brackets with our comprehensive home renovation guide. Follow our step-by-step instructions for a seamless DIY project.
(Many of the links in this article redirect to a specific reviewed product. Your purchase of these products through affiliate links helps to generate commission for Storables.com, at no extra cost. Learn more)
Introduction
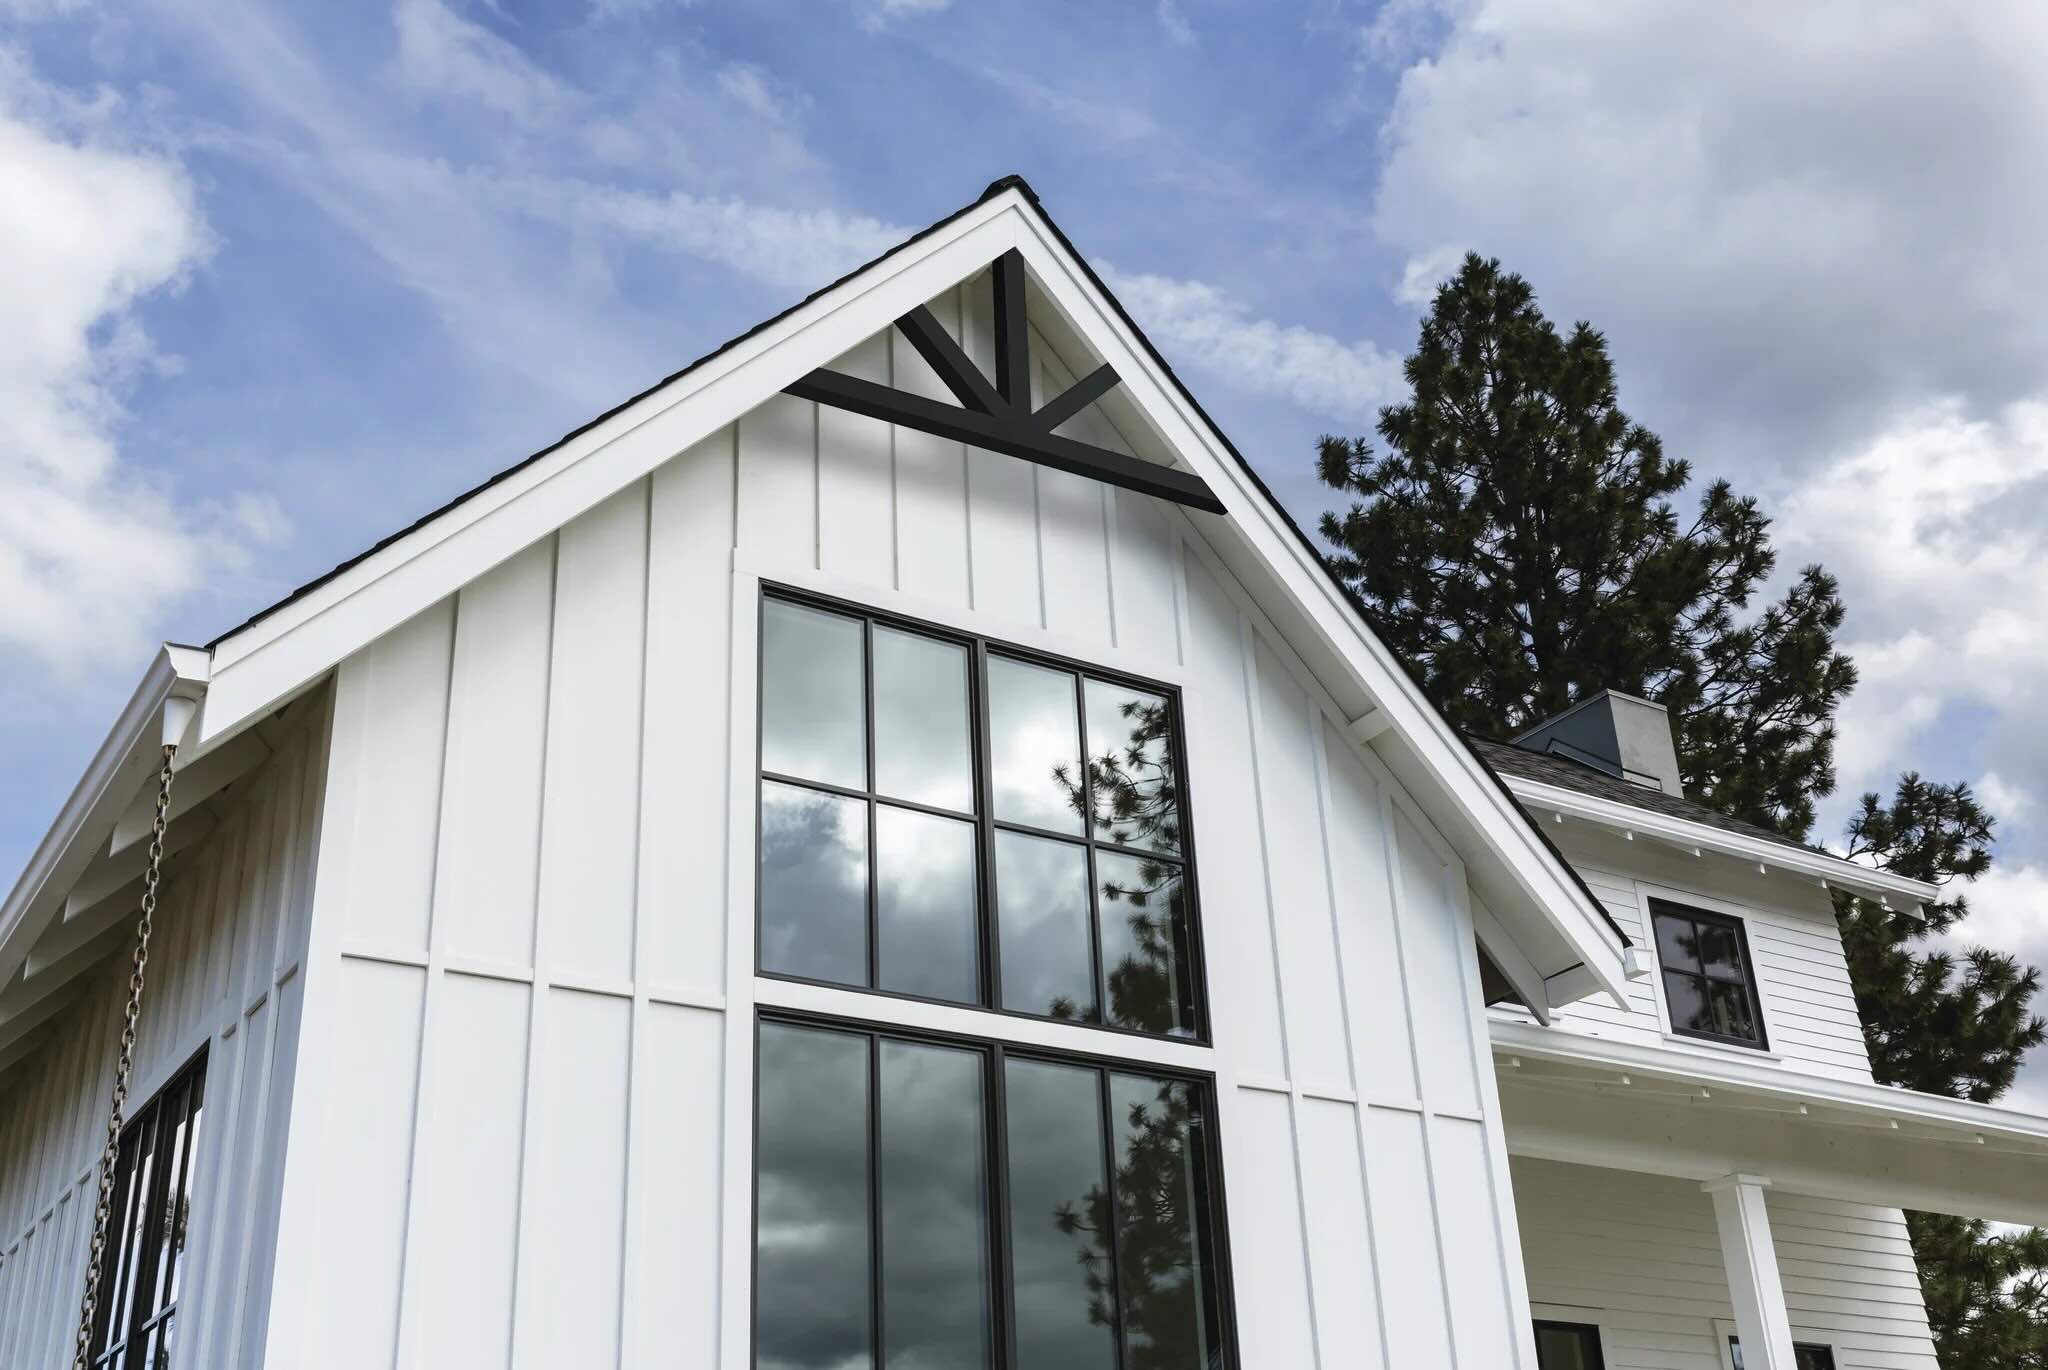
Installing gable brackets is a fantastic way to add character and charm to the exterior of your home. These decorative architectural elements can transform a plain gable into a stunning focal point, giving your home a touch of timeless elegance. Whether you're a seasoned DIY enthusiast or a novice looking to take on a new project, installing gable brackets is a rewarding endeavor that can elevate the curb appeal of your home.
Gable brackets, also known as gable decorations or gingerbreads, come in a variety of designs, ranging from simple and understated to intricately detailed. They are typically made from durable materials such as wood, PVC, or polyurethane, ensuring that they can withstand the elements and remain beautiful for years to come.
By following a few simple steps and using the right tools and materials, you can successfully install gable brackets to enhance the architectural aesthetics of your home. This guide will walk you through the process, providing clear instructions and helpful tips to ensure a smooth and successful installation.
So, roll up your sleeves, gather your tools, and let's dive into the step-by-step process of installing gable brackets to give your home a touch of classic charm and a dash of architectural flair.
Key Takeaways:
- Elevate your home’s exterior with timeless charm by installing gable brackets. Follow the step-by-step process for a visually captivating and enduring enhancement that adds architectural flair to your gable.
- Infuse your home with classic elegance through gable brackets. From measuring and cutting to attaching and finishing, each step celebrates craftsmanship and timeless design, leaving a lasting impression on your home’s exterior.
Read more: How To Install Gable Vent
Tools and Materials Needed
Before embarking on the installation of gable brackets, it's essential to gather the necessary tools and materials to ensure a smooth and efficient process. Here's a comprehensive list of what you'll need:
Tools:
- Measuring Tape: Accurate measurements are crucial for ensuring the proper placement and alignment of the gable brackets.
- Pencil: Use a pencil to mark the precise locations for the brackets on the gable.
- Circular Saw or Miter Saw: This will be used to cut the gable brackets to the required dimensions.
- Drill and Drill Bits: A drill is essential for pre-drilling holes to facilitate the attachment of the brackets to the gable.
- Ladder: Depending on the height of your gable, a sturdy ladder will be necessary to access the installation area safely.
- Safety Goggles and Gloves: Protect your eyes and hands while cutting and handling materials.
- Level: Ensures that the gable brackets are installed perfectly straight and level.
Materials:
- Gable Brackets: Select gable brackets that complement the architectural style of your home. These can be made of wood, PVC, or polyurethane, depending on your preference and the desired durability.
- Screws: Choose screws that are suitable for outdoor use and can securely fasten the brackets to the gable without rusting or corroding.
- Wood Glue (if using wooden brackets): If you opt for wooden gable brackets, wood glue can provide additional strength and stability when attaching them to the gable.
- Primer and Paint: If the gable brackets are made of wood, primer and paint will be needed to protect them from the elements and enhance their visual appeal.
- Sandpaper: Use sandpaper to smooth any rough edges or surfaces on the gable brackets before painting or installation.
- Caulk (if necessary): Depending on the material of the gable brackets and the gable itself, caulk may be needed to seal any gaps and prevent moisture infiltration.
By ensuring that you have all the necessary tools and materials at your disposal, you can proceed with confidence, knowing that you are well-equipped to complete the installation of gable brackets with precision and finesse.
Step 1: Measure and Mark
The first crucial step in installing gable brackets is to accurately measure and mark the placement locations on the gable. This step sets the foundation for a precise and visually appealing installation. Here's a detailed guide on how to measure and mark for the installation of gable brackets:
Read more: How To Install An Attic Gable Fan
1. Assess the Gable
Begin by carefully examining the gable where you intend to install the brackets. Take note of its dimensions, angles, and any existing architectural features. Understanding the gable's structure will help you determine the most suitable placement for the gable brackets.
2. Determine Bracket Placement
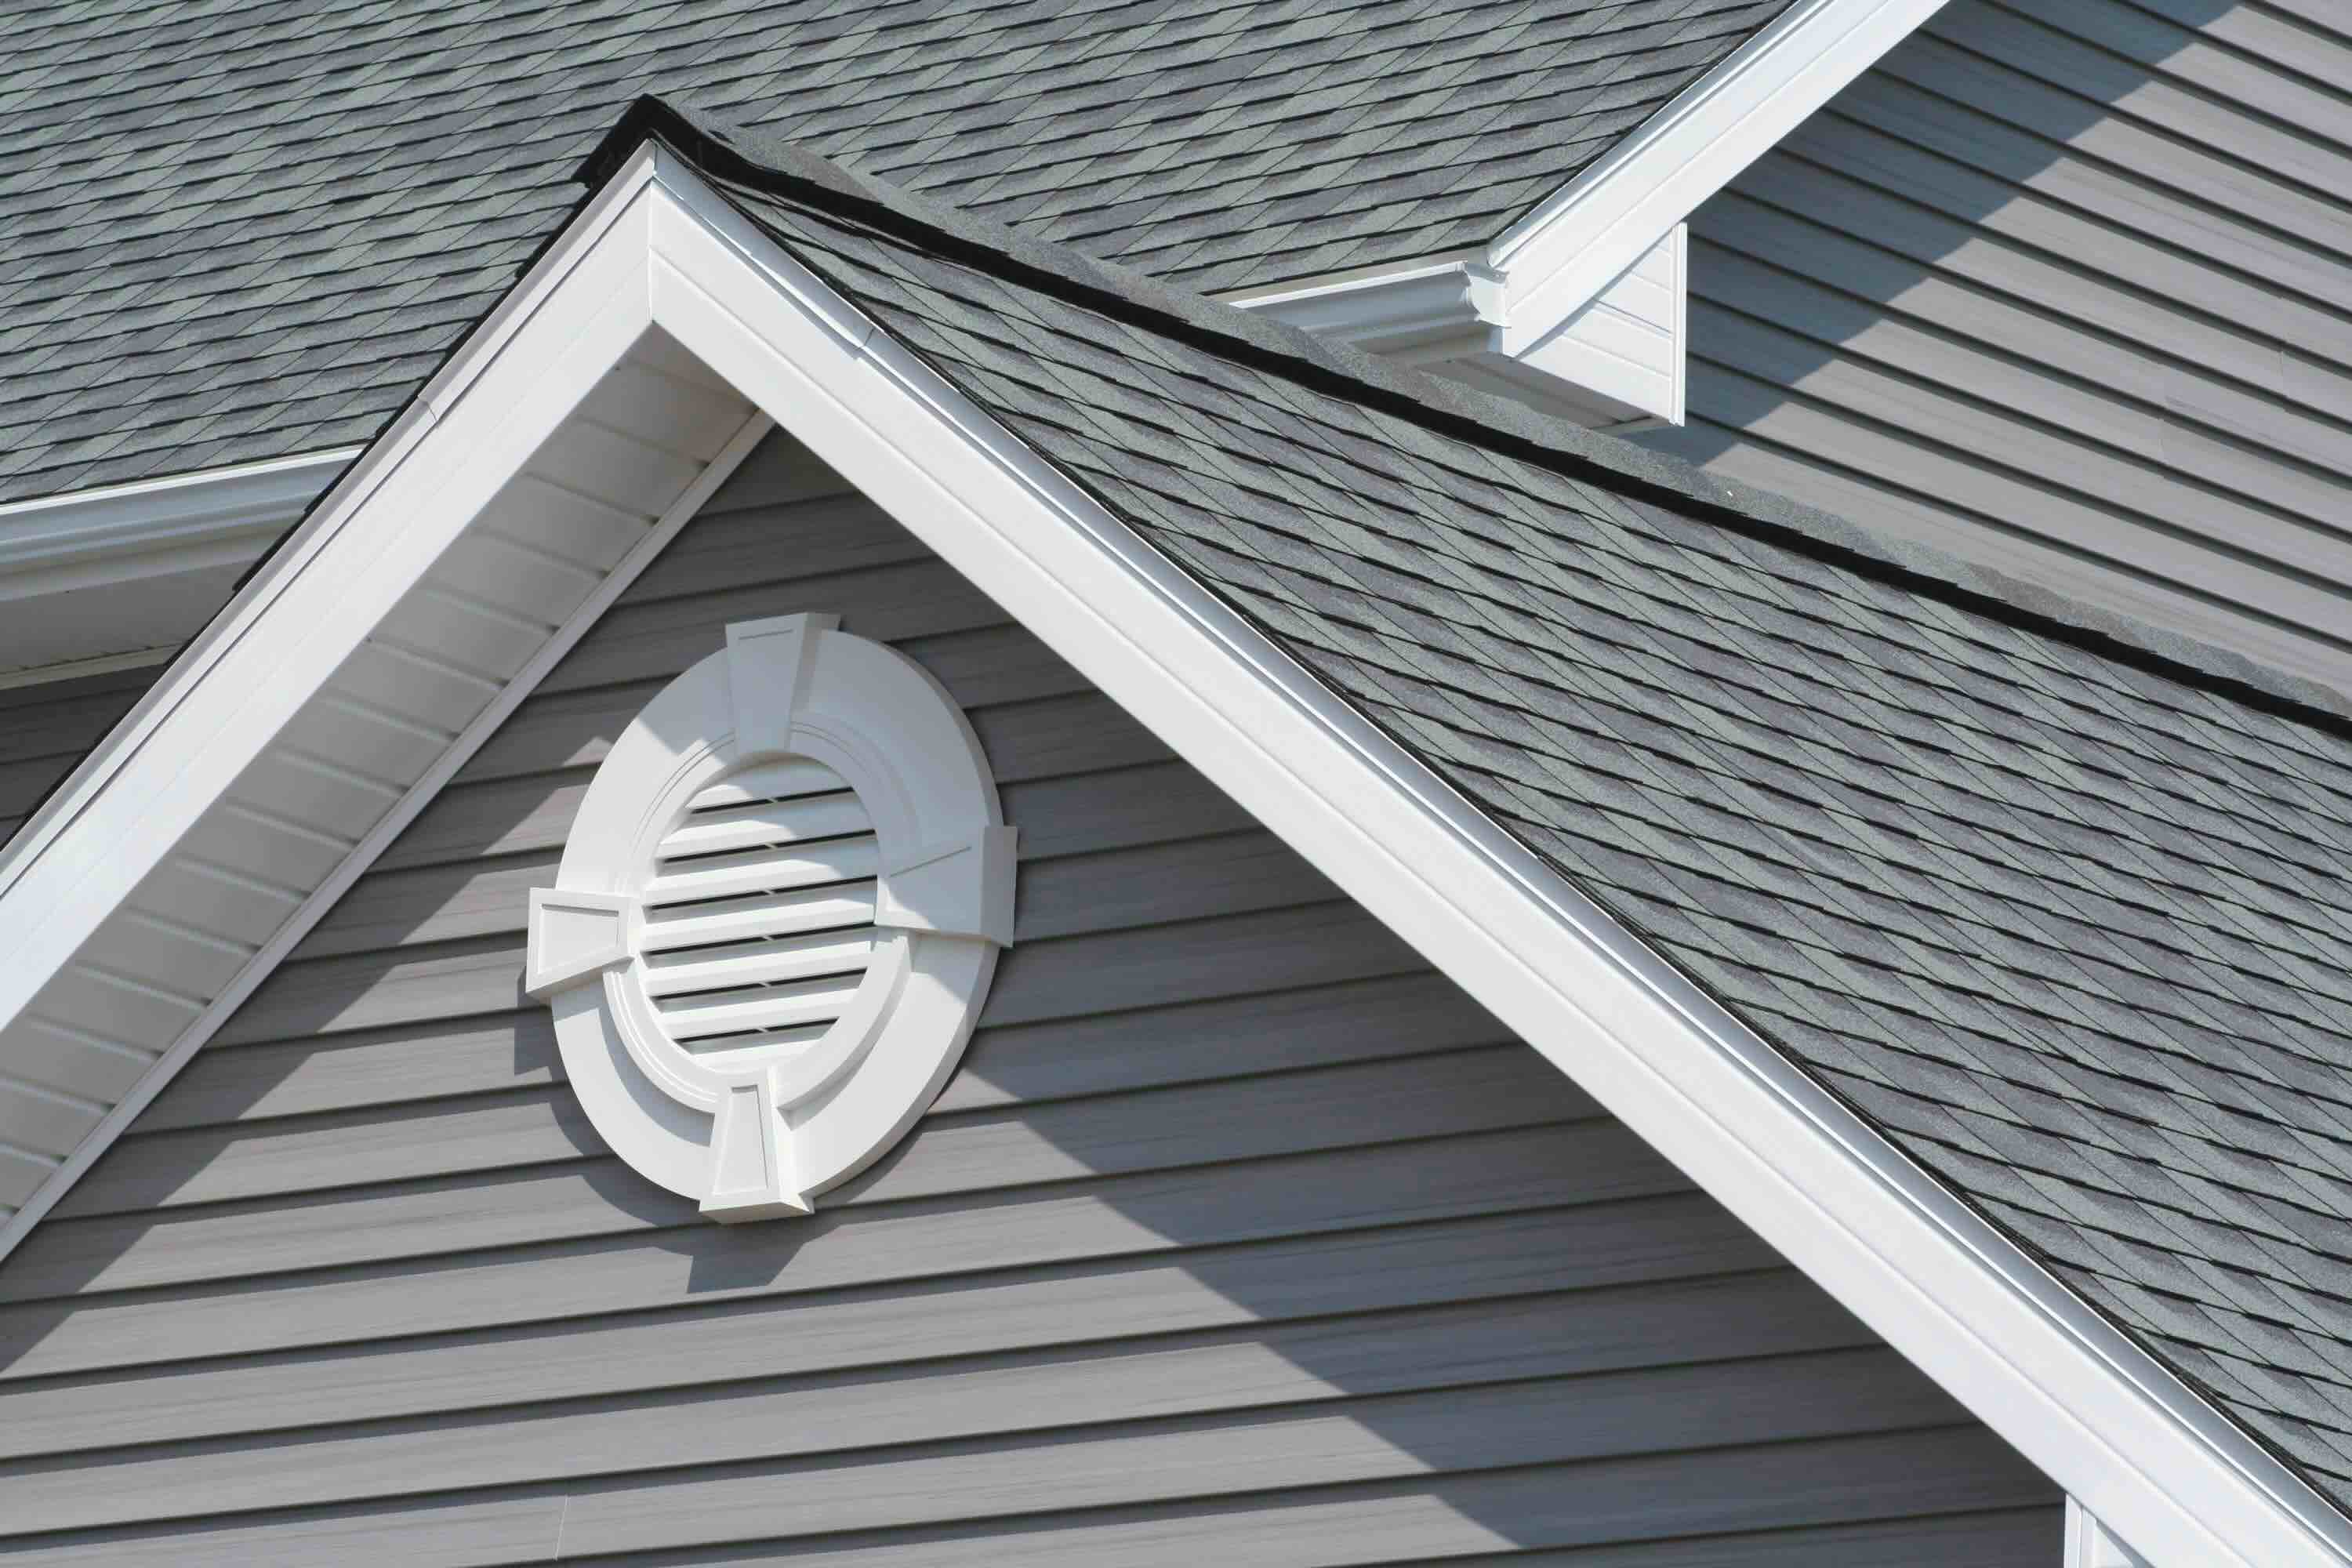
Consider the aesthetic impact and structural support when deciding on the placement of the gable brackets. Typically, gable brackets are installed near the peak of the gable, framing the area where the roof lines intersect. This positioning creates a visually balanced and harmonious effect.
3. Take Accurate Measurements
Using a measuring tape, take precise measurements to determine the spacing and alignment of the gable brackets. Ensure that the brackets are evenly spaced and symmetrically positioned to achieve a cohesive and polished look. Mark the exact locations for the brackets with a pencil, creating clear guidelines for the installation process.
4. Consider Visual Harmony
Take into account the overall visual impact of the gable brackets in relation to the architectural style of your home. The size and design of the brackets should complement the gable's proportions and enhance its aesthetic appeal. Visualize the placement of the brackets to ensure that they harmonize with the existing architectural elements.
5. Verify Alignment and Level
Before proceeding to the next step, double-check the marked locations to confirm that the brackets will be aligned and level. Use a level to ensure that the markings are straight and accurately positioned. This attention to detail will contribute to a professional and polished installation.
By meticulously measuring and marking the placement of the gable brackets, you set the stage for a successful installation that enhances the visual allure of your home's exterior. This preparatory step lays the groundwork for the subsequent stages of cutting, drilling, and attaching the gable brackets with precision and confidence.
Step 2: Cut the Gable Brackets
Once the placement locations for the gable brackets have been meticulously measured and marked, the next crucial step is to cut the brackets to the required dimensions. This step demands precision and attention to detail to ensure that the brackets fit seamlessly within the designated spaces on the gable. Here's a comprehensive guide on how to cut the gable brackets with accuracy and finesse:
-
Select the Appropriate Material: If you are using wooden gable brackets, choose high-quality lumber that is suitable for exterior applications. Ensure that the wood is free from knots, warping, or other imperfections that could compromise the structural integrity of the brackets. If you opt for PVC or polyurethane brackets, select materials that are durable and resistant to moisture and rot.
-
Transfer Measurements: Using the previously marked locations on the gable as a guide, transfer the measurements to the gable brackets. Use a pencil to mark the cutting lines on the brackets, ensuring that the dimensions align precisely with the spacing and alignment determined during the measuring and marking stage.
-
Use a Suitable Saw: Depending on the material of the gable brackets, use a circular saw or miter saw to make clean and precise cuts. Ensure that the saw blade is appropriate for cutting through wood, PVC, or polyurethane, and adjust the cutting angle as needed to match the pitch of the gable.
-
Exercise Caution: When cutting the gable brackets, prioritize safety by wearing protective goggles and following proper safety protocols for operating power tools. Take your time to make accurate cuts, and double-check the measurements before proceeding to ensure that the brackets will fit flawlessly within the designated spaces on the gable.
-
Smooth Edges: After cutting the gable brackets to the required dimensions, use sandpaper to smooth any rough edges or surfaces. This step is essential, especially when working with wooden brackets, as it ensures a professional finish and facilitates the application of primer and paint if necessary.
By carefully cutting the gable brackets to the precise dimensions required for installation, you set the stage for a seamless and visually appealing integration of these decorative elements into the gable's architecture. Attention to detail during this step is paramount, as it directly influences the overall aesthetic impact and structural integrity of the gable brackets once they are affixed to the gable.
Step 3: Pre-drill Holes
Pre-drilling holes is a critical preparatory step that ensures the secure and precise attachment of gable brackets to the gable. By pre-drilling holes, you minimize the risk of splitting the wood and facilitate the insertion of screws, resulting in a professional and durable installation. Here's a detailed guide on how to pre-drill holes for gable brackets with accuracy and finesse:
-
Select the Right Drill Bit: Begin by selecting a drill bit that matches the diameter of the screws you will be using to attach the gable brackets. The drill bit should be slightly smaller in diameter than the screws to create a snug fit, providing optimal grip and stability.
-
Mark Hole Locations: Referencing the previously marked locations on the gable, use a pencil to mark the precise spots where the pre-drilled holes will be positioned. Ensure that the hole locations align with the mounting holes on the gable brackets, allowing for seamless attachment.
-
Maintain Proper Spacing: Depending on the size and design of the gable brackets, determine the appropriate spacing for the pre-drilled holes. Consistent and uniform hole spacing contributes to a visually balanced and professional installation.
-
Drilling Technique: With the marked locations as your guide, carefully drill pilot holes at the designated spots on the gable. Exercise caution to maintain a perpendicular angle to the surface, ensuring that the holes are straight and accurately positioned.
-
Depth and Cleanliness: Pay attention to the depth of the pilot holes, ensuring that they are slightly shallower than the length of the screws. This prevents the screws from protruding or penetrating too deeply into the gable. Additionally, clean any wood debris or shavings from the drilled holes to ensure a smooth and secure fit for the screws.
-
Consider Material Compatibility: If you are working with PVC or polyurethane gable brackets, adjust the drilling speed and pressure to accommodate the specific characteristics of these materials. For wooden brackets, ensure that the pilot holes are free from splinters or rough edges that could hinder the attachment process.
By meticulously pre-drilling holes for the gable brackets, you lay the groundwork for a seamless and structurally sound installation. This preparatory step ensures that the brackets can be securely fastened to the gable, contributing to the overall visual appeal and longevity of these decorative architectural elements.
Step 4: Attach the Gable Brackets
With the preparatory steps of measuring, marking, cutting, and pre-drilling completed, it's time to proceed with attaching the gable brackets to the gable. This pivotal stage brings the vision of enhancing your home's exterior to fruition, as the carefully crafted brackets are integrated into the architectural ensemble of the gable. Here's a detailed guide on how to attach the gable brackets with precision and finesse:
-
Positioning the Brackets: Begin by positioning the gable brackets at the marked locations on the gable. Ensure that the brackets are aligned and level, adhering to the measurements and guidelines established during the earlier stages of the installation process. Take a step back to visually assess the placement of the brackets, confirming that they harmonize with the gable's architectural features.
-
Securing the Brackets: Using the appropriate screws and a drill, carefully fasten the gable brackets to the gable. Start by inserting the screws through the pre-drilled holes in the brackets and gently guiding them into the pilot holes on the gable. Exercise caution to avoid over-tightening the screws, as this could compromise the integrity of the brackets or the gable itself.
-
Wood Glue Application (if applicable): If you are working with wooden gable brackets, applying a thin layer of wood glue to the contact surface before securing them to the gable can provide additional strength and stability. This step reinforces the bond between the brackets and the gable, ensuring a robust and enduring installation.
-
Visual Alignment and Symmetry: As you progress with attaching the gable brackets, periodically step back to assess the visual alignment and symmetry of the installation. Confirm that the brackets are uniformly positioned and create a cohesive visual impact that enhances the gable's architectural allure.
-
Finishing Touches: Once all the gable brackets are securely attached, inspect the installation for any adjustments or final touches. Ensure that the brackets are firmly affixed and contribute to the overall aesthetic enhancement of the gable. If necessary, touch up the brackets with paint or sealant to achieve a polished and cohesive appearance.
By methodically attaching the gable brackets with attention to detail and precision, you bring the installation process to a satisfying culmination. The successful attachment of the brackets not only elevates the visual appeal of the gable but also adds a touch of timeless elegance to your home's exterior, creating a lasting impression for years to come.
Read more: How To Install Cedar Shingles On A Gable End
Step 5: Finishing Touches
With the gable brackets securely attached, the final step involves adding the finishing touches to ensure a polished and cohesive appearance. This stage is essential for refining the visual impact of the installation and ensuring that the gable brackets seamlessly integrate with the overall architectural aesthetics of the home's exterior.
Paint or Sealant Application
If the gable brackets are made of wood, applying a coat of primer and paint is crucial for protecting them from the elements and enhancing their visual appeal. Choose a high-quality exterior paint that complements the color scheme of the home while providing long-lasting protection against weathering. Alternatively, if the brackets are crafted from PVC or polyurethane, a suitable sealant can be applied to safeguard them from UV exposure and maintain their pristine appearance over time.
Visual Assessment
After applying the paint or sealant, take a step back to visually assess the gable brackets in the context of the gable's architecture. Confirm that the color, texture, and finish of the brackets harmonize with the surrounding elements, creating a cohesive and visually appealing ensemble. This visual assessment allows for any necessary adjustments or additional finishing touches to be made, ensuring that the gable brackets contribute to the overall charm and elegance of the home's exterior.
Clean-Up and Inspection
Once the finishing touches have been applied, conduct a thorough clean-up of the installation area. Remove any debris, dust, or excess paint or sealant to reveal the pristine beauty of the gable brackets. Inspect the brackets and their surroundings to ensure that the installation is flawless and free from any imperfections. This meticulous inspection guarantees that the gable brackets are a seamless and integral part of the gable's architectural composition.
Read more: How To Install Gable Trim On A Metal Roof
Maintenance Considerations
As a final consideration, provide guidance on the maintenance of the gable brackets to ensure their longevity and enduring beauty. Advise homeowners on periodic inspections, cleaning routines, and any specific maintenance requirements based on the material of the brackets. By offering maintenance insights, you empower homeowners to preserve the allure of the gable brackets and uphold the timeless elegance they bring to the home's exterior.
By attending to the finishing touches with care and precision, the installation of gable brackets culminates in a visually captivating and enduring enhancement to the home's architectural charm. The attention to detail in this final stage ensures that the gable brackets become a timeless and captivating feature that elevates the overall appeal of the home's exterior.
Conclusion
In conclusion, the installation of gable brackets presents a remarkable opportunity to infuse your home's exterior with a touch of classic charm and architectural flair. By following the step-by-step process outlined in this guide, you can embark on a rewarding journey of enhancing the visual appeal of your home while adding a timeless elegance to its architectural ensemble.
The meticulous approach of measuring and marking, cutting, pre-drilling, and attaching the gable brackets ensures a seamless and visually captivating installation. Each step is imbued with precision and attention to detail, culminating in the creation of a striking focal point that elevates the curb appeal of your home.
As the gable brackets are securely affixed and the finishing touches are applied, the transformation of the gable into a captivating architectural feature is realized. The visual harmony and enduring allure of the brackets contribute to a lasting impression that resonates with timeless sophistication.
Furthermore, the maintenance considerations underscore the commitment to preserving the beauty and integrity of the gable brackets for years to come. By providing guidance on maintenance routines and material-specific care, homeowners are empowered to safeguard the enduring charm of these decorative elements.
Ultimately, the installation of gable brackets transcends mere enhancement; it embodies a celebration of architectural craftsmanship and a testament to the enduring allure of timeless design. As your home's exterior is adorned with these captivating elements, the gable becomes a canvas for artistic expression, evoking a sense of nostalgia and sophistication that leaves a lasting impression on all who behold it.
In embracing the installation of gable brackets, you not only elevate the aesthetic appeal of your home but also imbue it with a sense of character and elegance that stands the test of time. With each glance at the adorned gable, you are reminded of the enduring beauty and timeless allure that these architectural embellishments bring to your home's exterior.
Frequently Asked Questions about How To Install Gable Brackets
Was this page helpful?
At Storables.com, we guarantee accurate and reliable information. Our content, validated by Expert Board Contributors, is crafted following stringent Editorial Policies. We're committed to providing you with well-researched, expert-backed insights for all your informational needs.


0 thoughts on “How To Install Gable Brackets”