Home>Renovation & DIY>Home Renovation Guides>How To Install Gable Vent
Home Renovation Guides
How To Install Gable Vent
Modified: October 20, 2024
Learn how to install a gable vent with our comprehensive home renovation guide. Follow our step-by-step instructions for a successful DIY project.
(Many of the links in this article redirect to a specific reviewed product. Your purchase of these products through affiliate links helps to generate commission for Storables.com, at no extra cost. Learn more)
Introduction
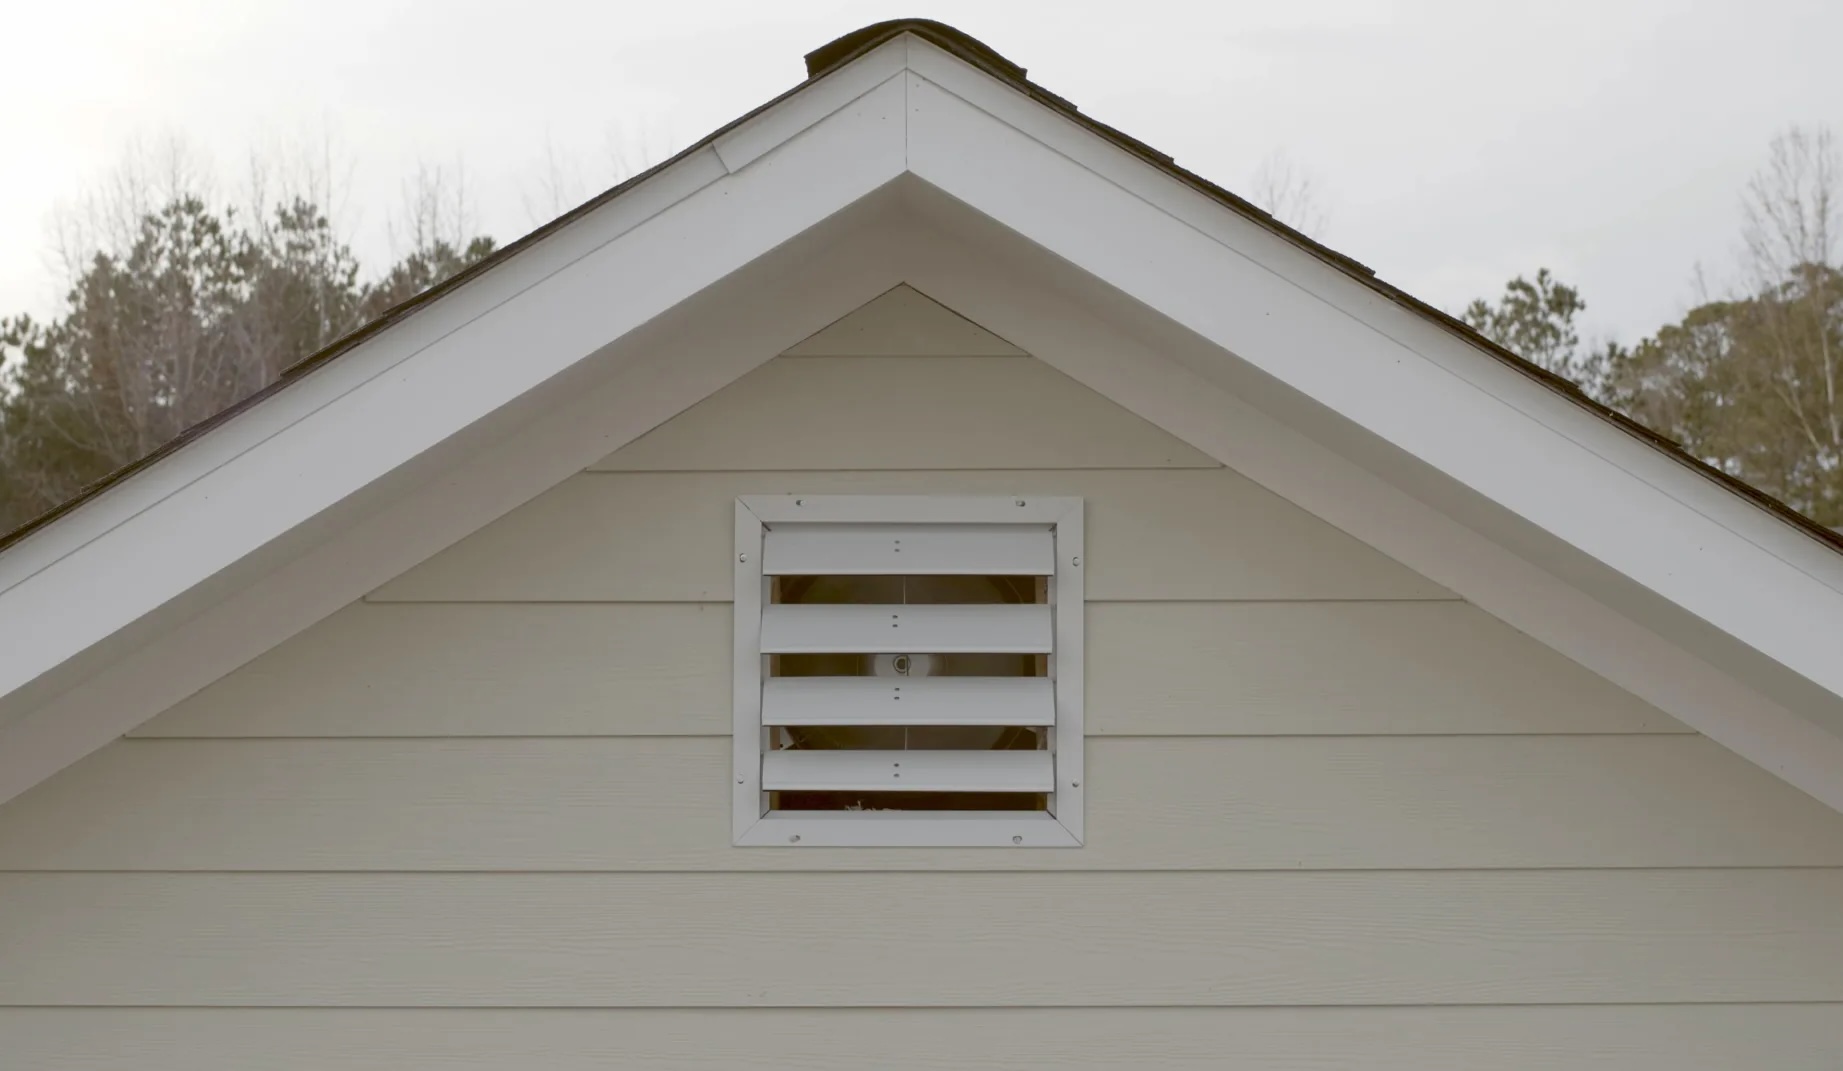
Installing a gable vent is a practical and aesthetically pleasing way to improve the ventilation and overall appeal of your home. Gable vents are designed to allow hot air to escape from the attic, reducing the strain on your cooling system during the warmer months. Additionally, they help prevent moisture buildup, which can lead to mold and mildew, ultimately safeguarding the structural integrity of your home.
By following this comprehensive guide, you can confidently take on the task of installing a gable vent, enhancing your home's functionality and visual charm. Whether you're a seasoned DIY enthusiast or a novice looking to embark on your first home improvement project, this step-by-step tutorial will equip you with the knowledge and skills needed to complete the installation successfully.
From gathering the necessary tools and materials to sealing and securing the gable vent, each stage of the process is outlined in detail to ensure a smooth and efficient installation. By the end of this guide, you'll not only have a newfound understanding of gable vent installation but also the satisfaction of having contributed to the betterment of your home.
So, roll up your sleeves, gather your tools, and let's dive into the exciting world of gable vent installation. It's time to elevate your home's ventilation and elevate your DIY prowess!
Key Takeaways:
- Installing a gable vent improves home ventilation, prevents moisture damage, and enhances visual appeal. It’s a DIY project that boosts your home’s functionality and your DIY skills.
- By measuring, cutting, and sealing the gable vent, you safeguard your home’s structure and energy efficiency. The installation process empowers you to create a more comfortable and visually captivating living space.
Read more: What Is Gable Vent?
Step 1: Gather Necessary Tools and Materials
Before embarking on the installation of a gable vent, it's crucial to gather all the essential tools and materials. Having the right equipment at your disposal will not only streamline the installation process but also ensure a professional and long-lasting result. Here's a comprehensive list of the items you'll need:
Tools:
- Measuring Tape: Accurate measurements are vital for determining the precise location and size of the gable vent opening.
- Pencil or Marker: These will be used for marking the cutting lines on the gable wall.
- Circular Saw or Reciprocating Saw: To cut the opening for the gable vent, a reliable saw is indispensable.
- Safety Goggles and Gloves: Prioritize safety by wearing protective eyewear and gloves throughout the installation.
- Ladder: Depending on the height of your gable, a sturdy ladder will facilitate safe access to the installation area.
- Carpenter's Level: Ensuring that the gable vent is installed perfectly level is essential for both functionality and aesthetics.
- Screwdriver or Power Drill: For securing the gable vent in place, a screwdriver or power drill will be necessary.
- Sealant Gun: To effectively seal the edges of the gable vent and prevent water infiltration, a sealant gun is indispensable.
Materials:
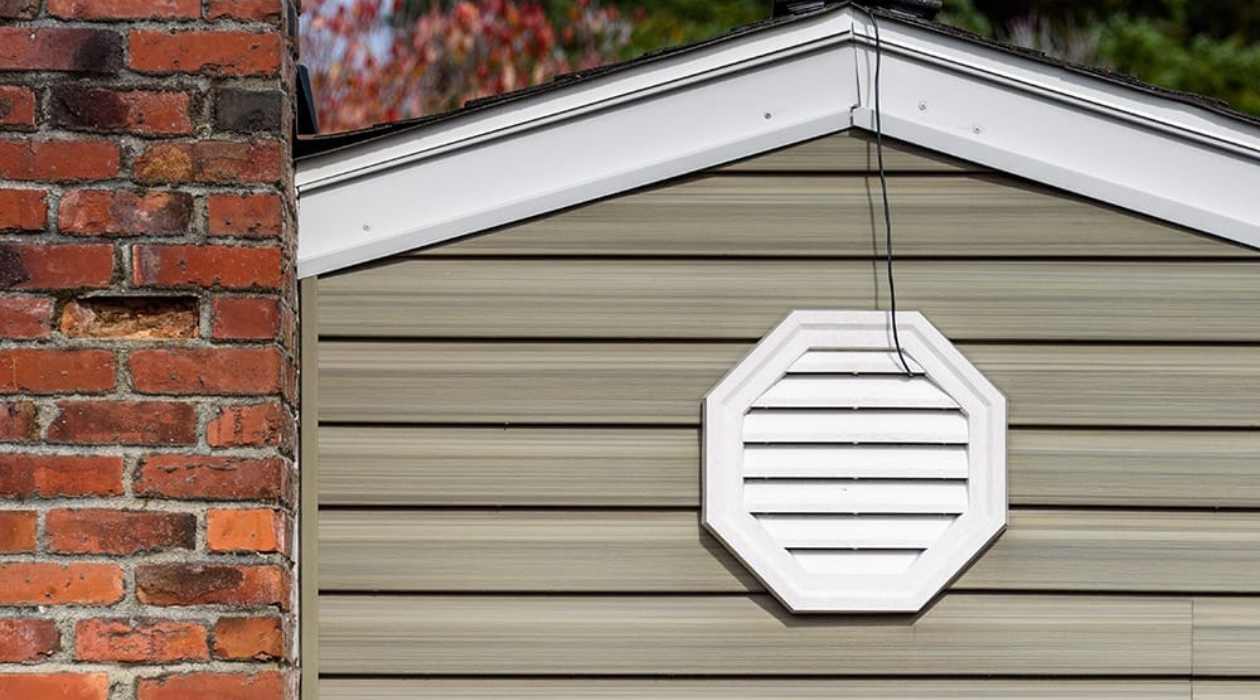
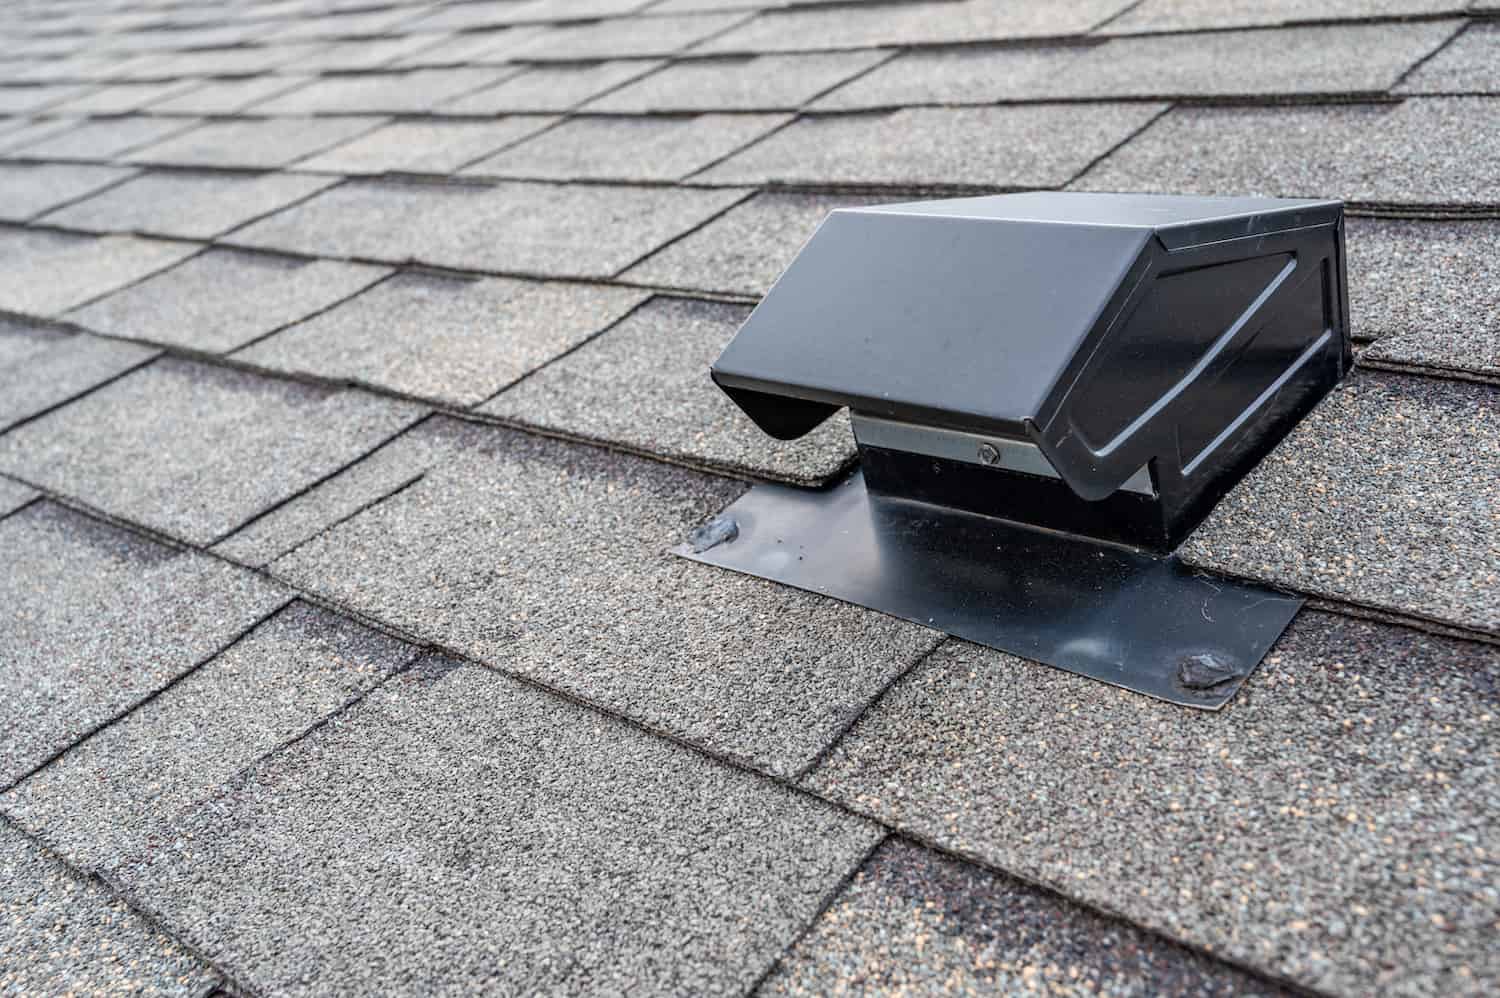
- Gable Vent: Select a gable vent that complements the architectural style of your home and is appropriately sized for optimal ventilation.
- Exterior Grade Caulk or Sealant: This will be used to seal the edges of the gable vent, preventing water and air infiltration.
- Screws or Nails: Depending on the gable vent's material, ensure you have the appropriate fasteners for secure installation.
- Paint (Optional): If you wish to paint the gable vent to match your home's exterior, be sure to have the desired paint and brushes on hand.
By gathering these tools and materials, you'll be well-prepared to proceed with the subsequent steps of the gable vent installation process. With everything in place, you're ready to move on to the next phase: measuring and marking the location for the gable vent.
Step 2: Measure and Mark the Location
Accurate measurements and precise marking are pivotal for a successful gable vent installation. Before making any cuts or securing the vent in place, it's essential to carefully determine the ideal location and dimensions for the opening. Here's a detailed walkthrough of the measurement and marking process:
-
Locate the Center: Begin by identifying the center point of the gable where you intend to install the vent. This can be achieved by measuring the width of the gable and marking the midpoint with a pencil or marker.
-
Determine the Size: Based on the size of the gable vent you've selected, calculate the dimensions of the opening. Typically, the gable vent should be positioned near the peak of the gable, and its width should be slightly smaller than the width of the gable itself. This ensures a visually balanced and proportionate installation.
-
Mark the Cutting Lines: Using a measuring tape and a carpenter's level, carefully mark the cutting lines on the gable wall. Double-check the measurements to guarantee accuracy, as any discrepancies at this stage can lead to complications during the cutting process.
-
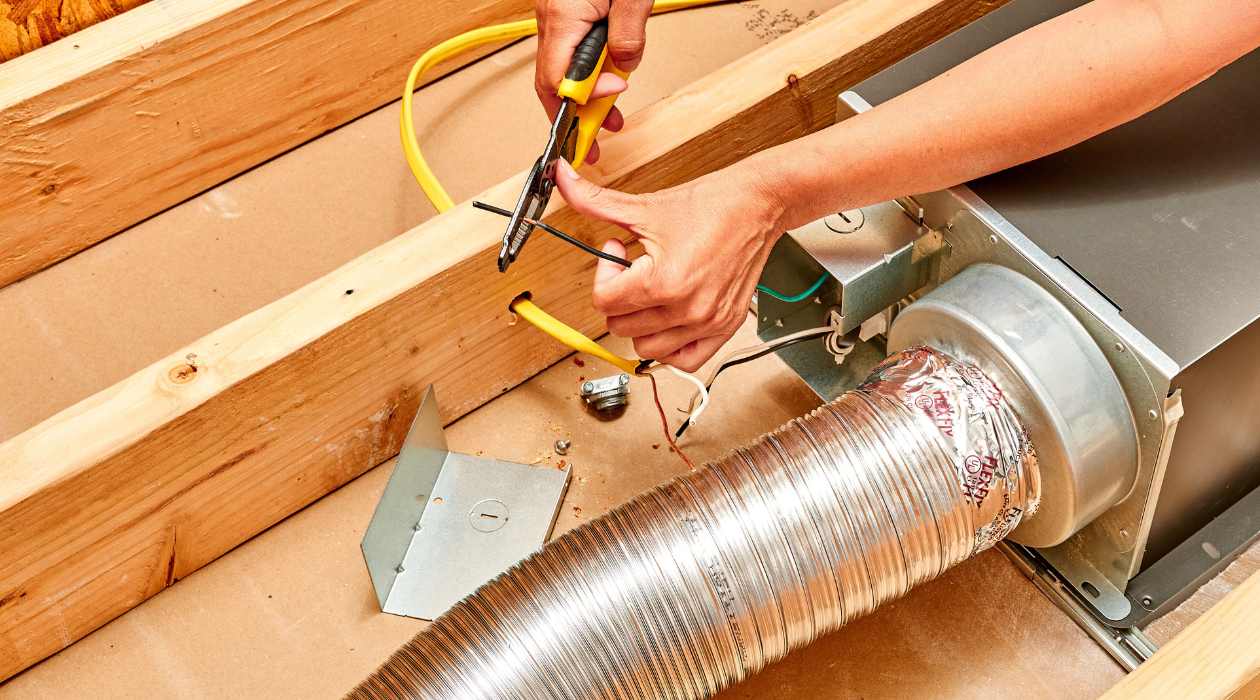
Consider Obstacles: Take into account any potential obstructions, such as electrical wiring or plumbing, that may be concealed within the gable wall. It's crucial to avoid cutting into these components, so thorough inspection and caution are imperative.
-
Verify the Markings: Once the cutting lines are in place, step back and visually confirm that the positioning and dimensions align with your expectations. This step serves as a final check before proceeding to the cutting phase.
By meticulously measuring and marking the location for the gable vent, you lay the groundwork for a seamless installation process. Attention to detail at this stage will contribute to the overall precision and visual appeal of the finished installation. With the location accurately determined, you're now ready to move on to the next step: cutting an opening for the gable vent.
Read more: How To Install An Attic Gable Fan
Step 3: Cut an Opening for the Gable Vent
With the location for the gable vent meticulously measured and marked, the next critical step is cutting the opening in the gable wall. This process requires precision and attention to detail to ensure a seamless fit for the gable vent. Here's a detailed guide on how to cut the opening for the gable vent:
-
Prepare for Cutting: Prior to making any incisions, ensure that all safety precautions are in place. Put on your safety goggles and gloves to protect yourself from debris and sharp edges. Position the ladder securely to provide stable access to the gable wall.
-
Use the Right Tools: Depending on the material of your gable wall, choose the appropriate cutting tool. A circular saw is ideal for cutting through wood, while a reciprocating saw may be more suitable for other materials. Ensure that the saw blade is sharp and suitable for the material to be cut.
-
Follow the Markings: Carefully align the saw blade with the cutting lines marked on the gable wall. Begin cutting along the marked lines, maintaining a steady and controlled motion. It's crucial to stay within the designated cutting area to achieve the precise dimensions required for the gable vent.
-
Work Methodically: As you progress with the cutting, pay close attention to the depth of the incisions. If the gable wall is particularly thick, you may need to make multiple passes with the saw to achieve the desired depth. Exercise patience and caution to avoid overcutting or damaging the surrounding area.
-
Double-Check the Opening: Once the initial cuts are made, assess the dimensions and quality of the opening. Use a carpenter's level to ensure that the edges are straight and the corners are square. Any necessary adjustments can be made at this stage to guarantee a precise and uniform opening.
-
Clear the Debris: After the opening has been cut, remove any debris or excess material from the interior and exterior of the gable wall. This will create a clean and unobstructed space for the subsequent installation of the gable vent.
By following these detailed steps, you can effectively cut an opening for the gable vent with confidence and precision. With the opening now prepared, you're ready to proceed to the next stage: installing the gable vent.
Step 4: Install the Gable Vent
With the opening for the gable vent expertly cut into the gable wall, it's time to proceed with the installation of the gable vent itself. This phase of the process requires precision and attention to detail to ensure a secure and visually appealing outcome. Here's a comprehensive guide on how to install the gable vent seamlessly:
-
Positioning the Gable Vent: Carefully place the gable vent into the opening, ensuring that it fits snugly and aligns perfectly with the surrounding gable wall. Use a carpenter's level to confirm that the vent is positioned horizontally and vertically, maintaining a balanced and symmetrical appearance.
-
Securing the Gable Vent: Depending on the design of the gable vent, it may feature flanges or mounting holes for secure attachment. Utilize screws or nails to fasten the gable vent in place, ensuring that it is firmly affixed to the gable wall. Take care to space the fasteners evenly to maintain the structural integrity of the vent.
-
Sealing the Edges: Apply a generous bead of exterior grade caulk or sealant around the perimeter of the gable vent, both on the interior and exterior sides. This step is crucial for preventing water infiltration and air leakage, safeguarding the interior of the gable wall and the attic space from potential damage.
-
Optional Painting: If desired, this is the opportune time to paint the gable vent to match the exterior of your home. Select a high-quality exterior paint that complements the color scheme of your house, and carefully apply an even coat to the gable vent. Allow sufficient time for the paint to dry before proceeding with the final steps.
-
Final Inspection: Once the gable vent is securely installed and any paint has dried, conduct a thorough visual inspection. Ensure that the vent is level, the edges are properly sealed, and the overall appearance is aesthetically pleasing. Any necessary adjustments or touch-ups can be addressed at this stage to achieve a flawless finish.
By following these detailed steps, you can successfully install a gable vent, enhancing both the functionality and visual appeal of your home. With the gable vent securely in place, the next and final step is to seal and secure the gable vent to ensure its long-term effectiveness and durability.
When installing a gable vent, make sure to measure the opening accurately, use a level to ensure it’s straight, and seal the edges to prevent water leakage.
Step 5: Seal and Secure the Gable Vent
With the gable vent successfully installed, the final step is to ensure its long-term effectiveness and durability by sealing and securing it. This critical phase not only safeguards the interior of the gable wall and attic space but also contributes to the overall weather resistance and energy efficiency of your home. Here's a detailed guide on how to seal and secure the gable vent:
-
Exterior Grade Caulk or Sealant: Begin by applying a generous bead of exterior grade caulk or sealant around the entire perimeter of the gable vent on the exterior side. This creates a watertight seal, preventing moisture from infiltrating the gable wall and attic space. Ensure that the caulk adheres firmly to both the vent and the surrounding wall, leaving no gaps or exposed edges.
-
Interior Sealant Application: Similarly, apply sealant to the interior side of the gable vent, focusing on the edges where it meets the gable wall. This additional layer of protection further fortifies the gable vent against potential air leakage and moisture intrusion. Thoroughly inspect and address any gaps or inconsistencies in the sealant application to guarantee comprehensive coverage.
-
Fastener Inspection: Verify the integrity of the screws or nails used to secure the gable vent. Ensure that they are tightly fastened and that the vent is securely anchored to the gable wall. Any loose or protruding fasteners should be promptly addressed to maintain the structural stability of the gable vent.
-
Reinforcement and Touch-ups: If necessary, reinforce the sealant application and address any areas that may require additional sealing. Pay particular attention to the corners and edges of the gable vent, as these areas are susceptible to water seepage and air infiltration. Additionally, touch up any paint or sealant that may have been inadvertently disturbed during the installation process.
-
Final Inspection and Testing: Conduct a comprehensive visual inspection of the sealed gable vent, ensuring that all sealant applications are uniform and secure. Test the gable vent by gently running water over its surface to confirm that the sealant effectively repels moisture. Any signs of water penetration should be promptly addressed to maintain the integrity of the installation.
By diligently sealing and securing the gable vent, you not only fortify its resistance to external elements but also contribute to the overall longevity and functionality of your home's ventilation system. With the gable vent now effectively sealed and secured, you can take pride in a job well done, knowing that your home is equipped with a reliable and enduring ventilation solution.
Conclusion
Congratulations on successfully completing the installation of your gable vent! By following this comprehensive guide, you've not only enhanced the ventilation and energy efficiency of your home but also demonstrated your adeptness in tackling a significant home improvement project. As you stand back and admire the newly installed gable vent, it's important to appreciate the multifaceted benefits it brings to your home.
First and foremost, the gable vent serves as a stalwart guardian of your home's structural integrity. By facilitating the escape of hot air and moisture from the attic, it mitigates the risk of mold and mildew formation, safeguarding the longevity of your home's framework. Additionally, the improved ventilation provided by the gable vent alleviates the strain on your cooling system, potentially leading to energy savings and a more comfortable indoor environment during warmer seasons.
Beyond its functional attributes, the gable vent also contributes to the aesthetic allure of your home. Whether you've opted for a classic louvered design or a more contemporary style, the gable vent adds a touch of architectural sophistication, enhancing the visual appeal of your property. Furthermore, the seamless integration of the gable vent with the exterior of your home reflects your meticulous attention to detail and your commitment to maintaining a well-kept and visually captivating residence.
As you bask in the satisfaction of a job well done, it's essential to take a moment to appreciate the newfound knowledge and skills you've acquired throughout this installation process. From measuring and marking the location to cutting the opening and meticulously sealing and securing the gable vent, you've honed your DIY prowess and expanded your home improvement repertoire. This experience not only empowers you to undertake future projects with confidence but also fosters a deeper connection to your home, knowing that you've played a pivotal role in enhancing its functionality and charm.
In conclusion, the installation of a gable vent is a testament to your dedication to maintaining a well-ventilated, visually appealing, and structurally sound home. As you revel in the fruits of your labor, take pride in the positive impact this installation has on your living environment. Whether it's the peace of mind knowing that your home is fortified against moisture damage or the delight in the enhanced curb appeal, the gable vent stands as a testament to your commitment to creating a comfortable and inviting sanctuary for you and your loved ones.
Frequently Asked Questions about How To Install Gable Vent
Was this page helpful?
At Storables.com, we guarantee accurate and reliable information. Our content, validated by Expert Board Contributors, is crafted following stringent Editorial Policies. We're committed to providing you with well-researched, expert-backed insights for all your informational needs.


0 thoughts on “How To Install Gable Vent”