
Articles
How To Install Soffit Under A Porch
Modified: May 6, 2024
Learn how to install soffit under your porch with our detailed articles. Gain expert tips and tricks for a successful installation.
(Many of the links in this article redirect to a specific reviewed product. Your purchase of these products through affiliate links helps to generate commission for Storables.com, at no extra cost. Learn more)
Introduction
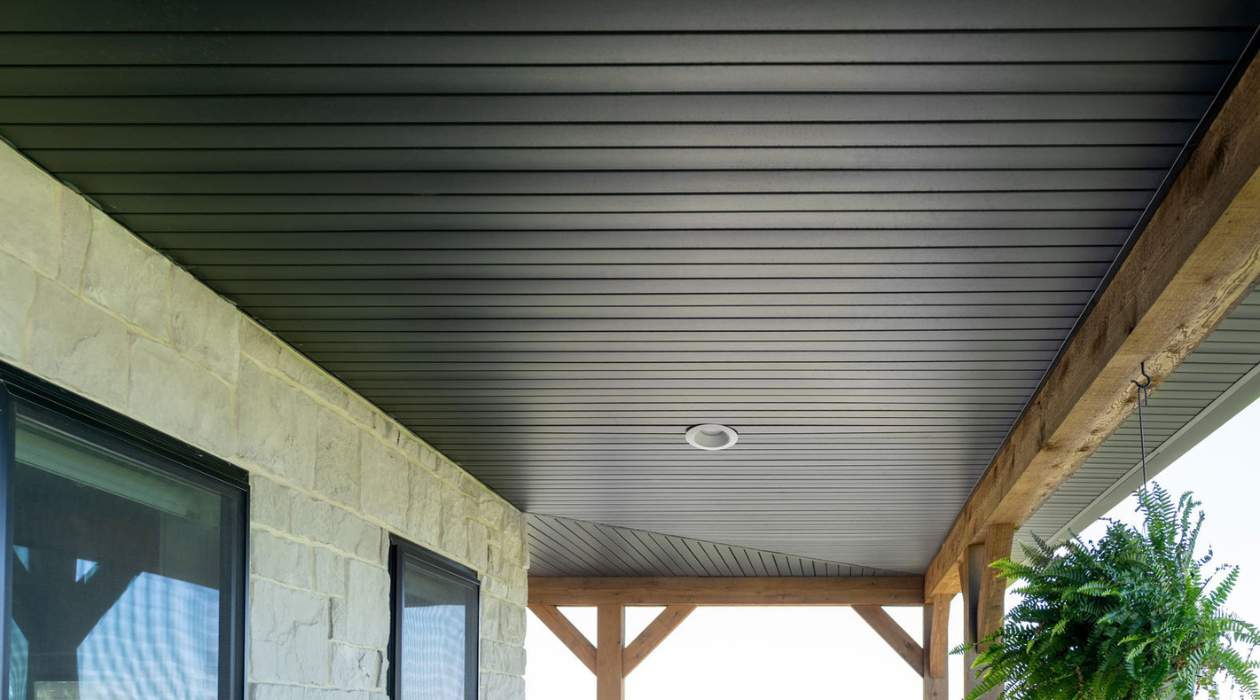
When it comes to enhancing the beauty and functionality of your porch, installing soffit is a great choice. Soffit is the finished underside of the porch roof, providing protection and a clean, finished look. Not only does it improve the appearance of your porch, but it also helps to ventilate the area and protect it from moisture damage.
In this article, we will guide you through the step-by-step process of installing soffit under a porch. Whether you are a seasoned DIY enthusiast or a beginner looking to tackle a new project, this guide will equip you with the knowledge and skills necessary to complete the installation successfully.
Before we dive into the installation process, let’s quickly go over some basic materials and tools you will need:
- Vinyl soffit panels
- J-channel
- Screws or nails
- Utility knife
- Saw or snips
- Tape measure
- Level
- Drill
- Hammer
Now that you have gathered all the necessary materials and tools, let’s move on to the first step in the installation process: measuring and planning.
Key Takeaways:
- Installing soffit under a porch not only enhances the aesthetic appeal but also provides crucial ventilation and protection from moisture, contributing to the longevity of your outdoor space.
- Attention to detail, precision in measurements, and proper installation techniques are essential for achieving a durable and professional-looking soffit installation.
Read more: How To Install Soffit Under Eaves
Step 1: Gather the materials
Before you begin the process of installing soffit under a porch, it’s important to gather all the necessary materials. Having everything you need on hand will help streamline the installation process and prevent any unnecessary delays.
Here are the materials you will need for this step:
- Vinyl soffit panels
- J-channel
- Screws or nails
- Utility knife
- Saw or snips
- Tape measure
- Level
- Drill
- Hammer
Vinyl soffit panels are the main component of the installation. They come in a variety of colors and styles, allowing you to choose the one that complements your porch design. J-channel is used to hold the soffit panels in place along the perimeter of the porch. Screws or nails will be used to secure the panels and J-channel to the porch structure.
A utility knife will come in handy for cutting the panels to the desired length and making any necessary modifications during the installation process. A saw or snips may also be required to trim the panels to fit around corners or obstacles.
Having a tape measure and level is crucial for ensuring accurate measurements and a straight installation. A drill will be needed to create pilot holes for the screws or nails, while a hammer can be used to secure the J-channel to the porch structure.
By gathering all these materials before you start, you can save time and avoid interruptions during the installation process. Now that you have everything you need, you’re ready to move on to the next step: measuring and planning.
Step 2: Measure and plan
Before you begin installing the soffit, it’s essential to take accurate measurements and create a detailed plan. Proper measurements will ensure that you have enough materials and that the soffit fits perfectly under your porch.
To start, you will need a tape measure and a level. Begin by measuring the length and width of the area where you plan to install the soffit. Make note of any corners, columns, or obstacles that you will need to work around.
Next, calculate the total square footage of the soffit area by multiplying the length and width. This will help you determine how many soffit panels you will need to purchase.
It’s important to plan the layout carefully, considering the orientation of the soffit panels and how they will fit together. Decide whether you want a vertical or horizontal installation and determine the direction in which the panels will run. Keep in mind that the installation should be parallel to the edge of the porch for a clean and professional look.
If you have any corners or columns, measure and mark how the panels will need to be cut to fit around them. It’s a good idea to use a level to ensure that your marks are straight and accurate.
Take your time during this step and double-check all measurements and markings. A well-thought-out plan will make the installation process smoother and minimize mistakes.
Once you have measured and planned everything, you’re ready to move on to the next step: preparing the area for installation.
Step 3: Prepare the area
Before you begin installing the soffit under your porch, it’s important to properly prepare the area to ensure a smooth and successful installation. This step involves cleaning the surfaces and making any necessary adjustments to ensure a secure and stable installation.
Start by removing any debris or dirt from the porch ceiling and walls. Use a broom or brush to sweep away any loose dirt, cobwebs, or other debris. A clean surface will allow for better adhesion and help the soffit panels to lay flat.
If there are any loose or damaged pieces of wood on the porch structure, you will need to fix or replace them before installing the soffit. Inspect the area carefully and make any necessary repairs, ensuring that the structure is sturdy and in good condition.
Next, install the J-channel along the perimeter of the porch. The J-channel creates a secure holding place for the soffit panels. Measure and cut the J-channel to fit, making sure it is level and aligned with the edges of the porch.
Secure the J-channel using screws or nails, making sure to space them evenly and at the recommended distance. Use a level to double-check that the J-channel is straight before proceeding.
Take a moment to review your measurements and markings from the planning phase. Ensure that everything is accurate and aligned properly with the J-channel. Make any necessary adjustments or additional cuts to the soffit panels to fit around corners or obstacles.
By properly preparing the area, you will create a solid foundation for the installation of the soffit panels. This will help ensure a professional and long-lasting result. With the area prepared, it’s time to move on to the next step: installing the J-channel.
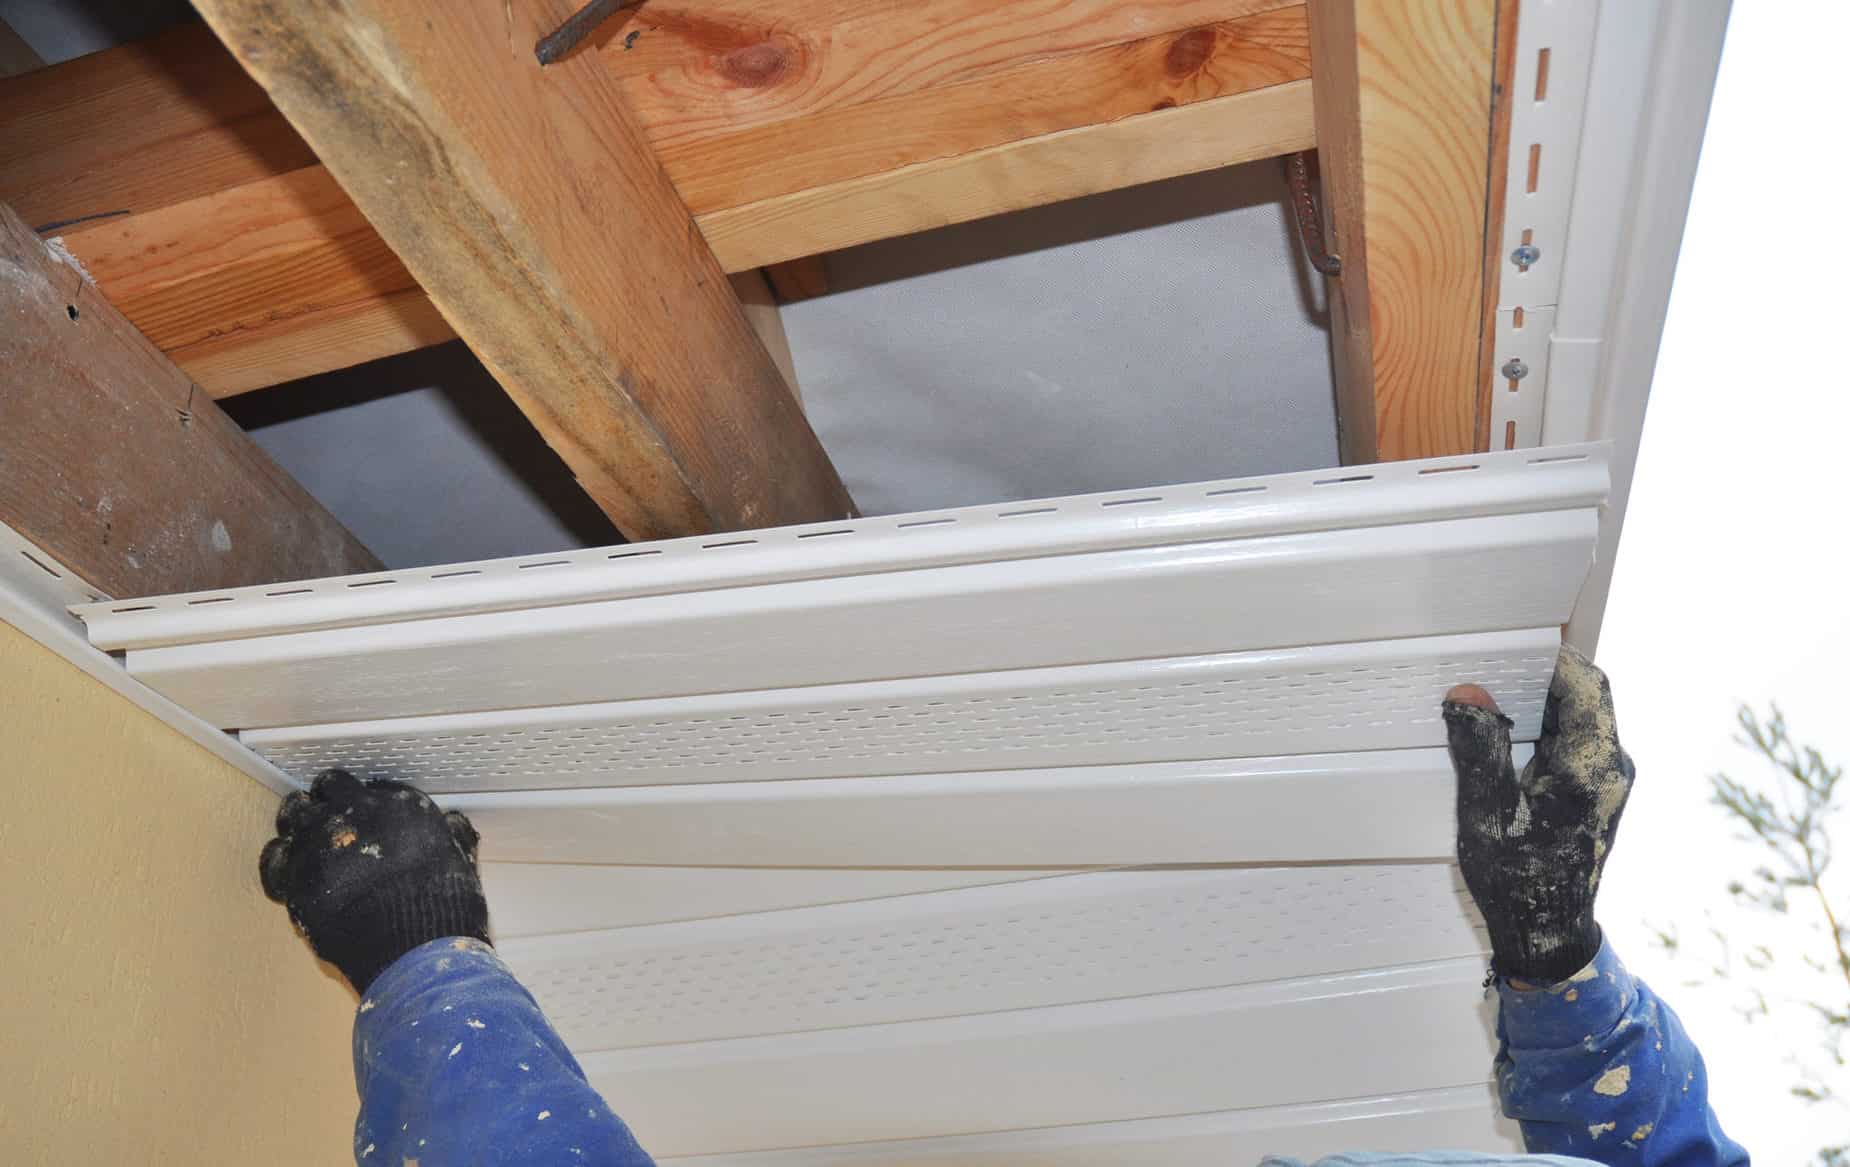
Step 4: Install the J-channel
With the area properly prepared, it’s time to install the J-channel. The J-channel serves as a support and secure base for the soffit panels, ensuring a snug and professional fit.
To install the J-channel, start at one corner of the porch. Hold the J-channel against the wall, aligning it with the markings you made during the planning phase. Make sure the J-channel is level before proceeding.
Using a drill, create pilot holes along the top edge of the J-channel, spacing them according to the manufacturer’s instructions. This will allow for easier and more secure installation. Insert screws into the pilot holes and tighten them until the J-channel is firmly attached to the porch wall.
Continue along the perimeter of the porch, installing the J-channel in the same manner. Ensure that each piece is aligned and securely fastened to the wall.
At corners or junctions, cut the J-channel at a 45-degree angle to create a clean and seamless transition. Use a saw or snips to make the cut, ensuring that it aligns perfectly with the adjacent pieces of J-channel.
Check the levelness of the J-channel periodically to ensure it remains straight and aligned. Making any necessary adjustments as you go will result in a neat and professional looking installation.
Once you have installed the J-channel along the entire perimeter of the porch, you’re ready to move on to the next step: cutting and installing the soffit panels.
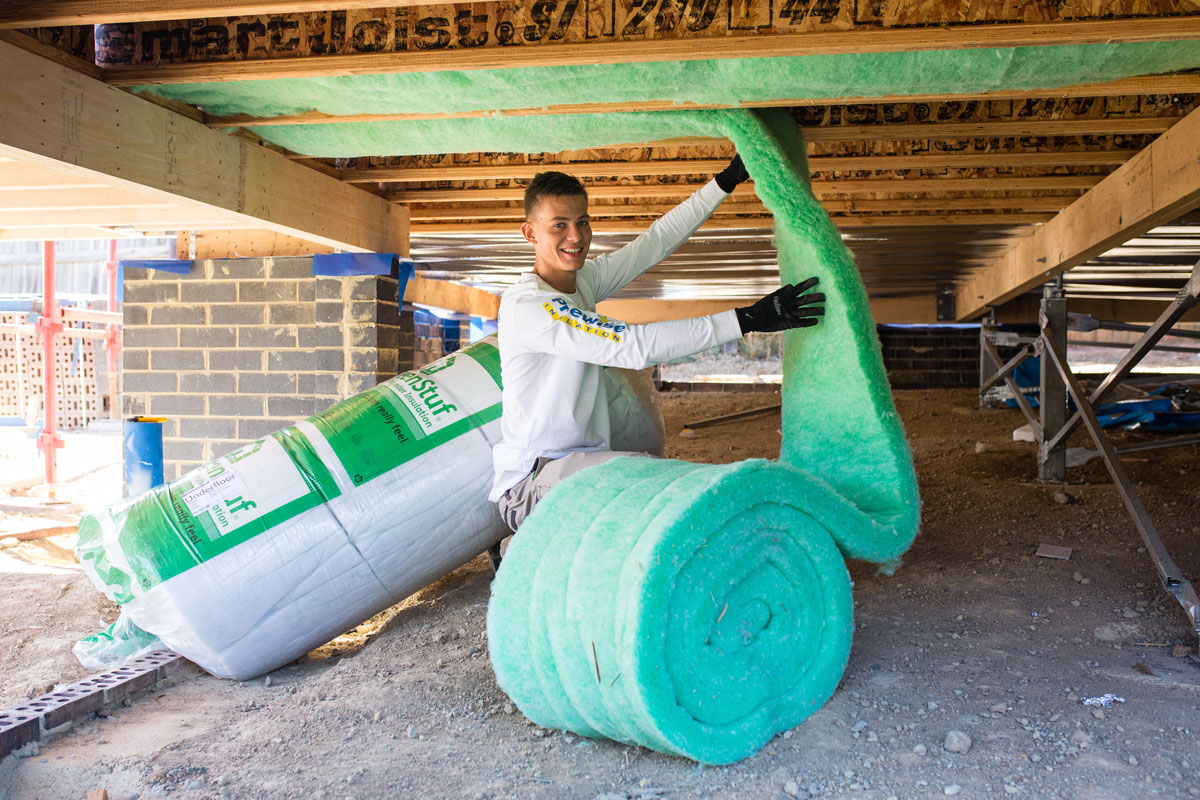
When installing soffit under a porch, make sure to use materials that are resistant to moisture and weathering, such as vinyl or aluminum. Properly ventilate the soffit to prevent moisture buildup.
Read more: How To Install A Security Camera On Soffit
Step 5: Cut and install the soffit panels
Now that the J-channel is securely in place, it’s time to cut and install the soffit panels. These panels will be inserted into the J-channel, providing a finished and polished look to the underside of your porch.
Start by measuring the distance between the J-channels along the length of the porch. This will determine the width of each soffit panel. Use a tape measure to ensure accuracy.
Using a utility knife, score the vinyl soffit panel along the measured line. This will help prevent any cracks or splits in the material. With a firm grip, snap the panel along the scored line to cut it to the desired width.
Insert the cut soffit panel into the J-channel, sliding it in at a slight angle. Press down firmly to ensure a snug fit. Continue cutting and installing the remaining soffit panels in the same manner.
If you encounter corners or obstacles, measure and mark the panels accordingly. Use a saw or snips to make the necessary cuts. Ensure that the panels fit neatly around the corners and align with the rest of the soffit.
As you install each panel, make sure they are level and aligned with one another. Use a level to double-check the positioning and adjust if necessary. This will result in a visually appealing and professional-looking installation.
Continue installing the soffit panels until the entire underside of the porch is covered. Ensure that all panels fit securely and snugly in the J-channel.
With the soffit panels in place, your porch is starting to take shape. The next step is to secure the panels for long-lasting durability and stability.
Step 6: Secure the soffit panels
Once the soffit panels are installed in the J-channel, it’s crucial to secure them properly to ensure they stay in place and withstand the elements. This step involves attaching the panels securely to the porch structure using screws or nails.
To begin, start at one end of the porch and work your way across. Using a drill, create pilot holes through the soffit panels and into the porch structure. Space the pilot holes according to the manufacturer’s recommendations.
Insert screws or nails through the pilot holes and into the porch structure. Be careful not to over-tighten, as this could cause damage to the panels. Repeat this process for each panel, ensuring they are firmly and evenly secured.
Throughout the installation, periodically use a level to check that the panels are still straight and aligned. This will help maintain a visually appealing and professional look.
If your soffit panels are made of vinyl, leave a small gap between each panel to allow for expansion and contraction due to temperature changes. Refer to the manufacturer’s guidelines for the recommended gap size.
As you secure the panels, take care to maintain a consistent and uniform appearance. Ensure that the panels are flush with one another and that there are no gaps or overlaps.
Continue securing each soffit panel until the entire underside of the porch is complete. Double-check that all panels are securely fastened and visually aligned.
With the soffit panels securely in place, your porch is now not only aesthetically pleasing but also protected. The finishing touches will bring the installation to completion.
Step 7: Finishing touches
With the soffit panels securely installed, it’s time to add the finishing touches to complete the installation. These final steps will elevate the overall appearance and functionality of your porch.
Start by inspecting the installation for any imperfections or gaps. Use a utility knife or snips to trim any excess material or make any necessary adjustments for a seamless and polished look.
If there are any exposed edges or gaps between the soffit panels and the J-channel, you can use caulking or trim pieces to conceal them. Apply a thin and even bead of caulk along the edges to create a clean and finished appearance. Alternatively, you can install trim pieces to cover any visible gaps or transitions between panels.
After applying caulk or trim, make sure to smooth out the surface with a putty knife or wet finger to create a neat and professional finish.
Take a moment to step back and assess the overall look of your newly installed soffit. Ensure that all panels are securely attached, aligned, and visually pleasing.
Finally, give your porch a thorough cleaning to remove any dust, debris, or fingerprints that may have accumulated during the installation process.
By following these finishing touches, you can enhance the overall appearance and functionality of your porch soffit installation. The attention to detail will result in a polished and high-quality end result.
Congratulations! You have successfully completed the installation of soffit under your porch. Take a moment to admire your work and enjoy the benefits it brings, including improved aesthetics, ventilation, and protection.
Remember to consult the manufacturer’s instructions and guidelines throughout the installation process to ensure proper installation and to maintain the warranties of the materials used.
With proper installation and regular maintenance, your soffit will provide beauty and functionality to your porch for years to come.
Conclusion
Installing soffit under a porch is a rewarding home improvement project that can enhance the beauty and functionality of your outdoor space. By following the step-by-step process outlined in this article, you can successfully install soffit and achieve professional-looking results.
Throughout the installation, remember to gather all the necessary materials, measure and plan carefully, and prepare the area properly. Installing the J-channel and securing the soffit panels are critical steps that require attention to detail and precision.
By taking the time to measure accurately, cut the panels to fit, and secure them securely, you can ensure a durable and long-lasting installation. Pay attention to any finishing touches, such as caulking or trim, to create a seamless and polished appearance.
Installing soffit not only improves the aesthetic appeal of your porch but also provides important ventilation and protection from moisture. It adds a finishing touch to the overall design of your outdoor space and contributes to its longevity.
Remember to consult the manufacturer’s guidelines and recommendations throughout the installation process to ensure proper installation and to maintain any warranties associated with the materials used.
With the completion of the soffit installation, take a moment to admire your hard work and the transformation it has brought to your porch. Sit back, relax, and enjoy the beauty and functionality of your newly installed soffit for years to come.
We hope this comprehensive guide has provided you with the knowledge and confidence to undertake your soffit installation project. Enjoy your improved porch and the many benefits it brings!
Now that you've mastered installing soffit under your porch, why not tackle more home improvement tasks yourself? Engaging in DIY projects not only saves money but also allows you to customize your space exactly how you want it. Our next guide dives into the perks of taking on these projects. From basic repairs to creative overhauls, discover how fulfilling working with your own two hands can be.
Frequently Asked Questions about How To Install Soffit Under A Porch
Was this page helpful?
At Storables.com, we guarantee accurate and reliable information. Our content, validated by Expert Board Contributors, is crafted following stringent Editorial Policies. We're committed to providing you with well-researched, expert-backed insights for all your informational needs.


0 thoughts on “How To Install Soffit Under A Porch”