
Articles
How To Install Trex Fascia On Stairs
Modified: August 28, 2024
Learn how to properly install Trex fascia on stairs with our helpful step-by-step articles. Enhance the appearance and durability of your deck today!
(Many of the links in this article redirect to a specific reviewed product. Your purchase of these products through affiliate links helps to generate commission for Storables.com, at no extra cost. Learn more)
Introduction
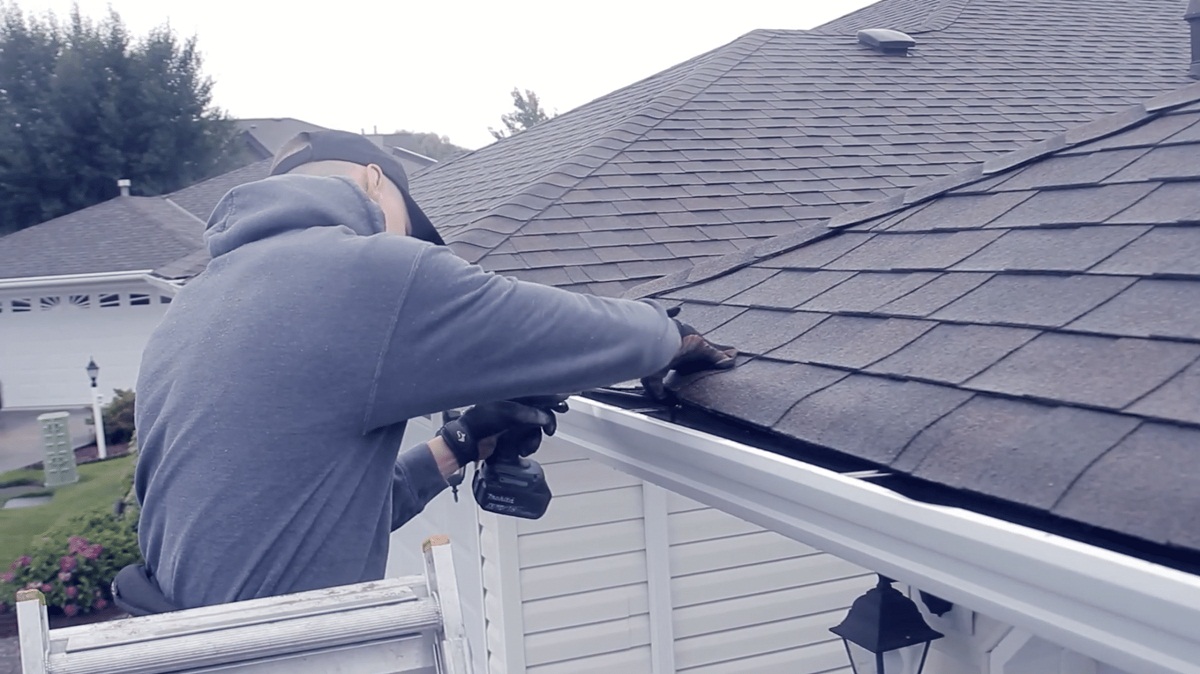
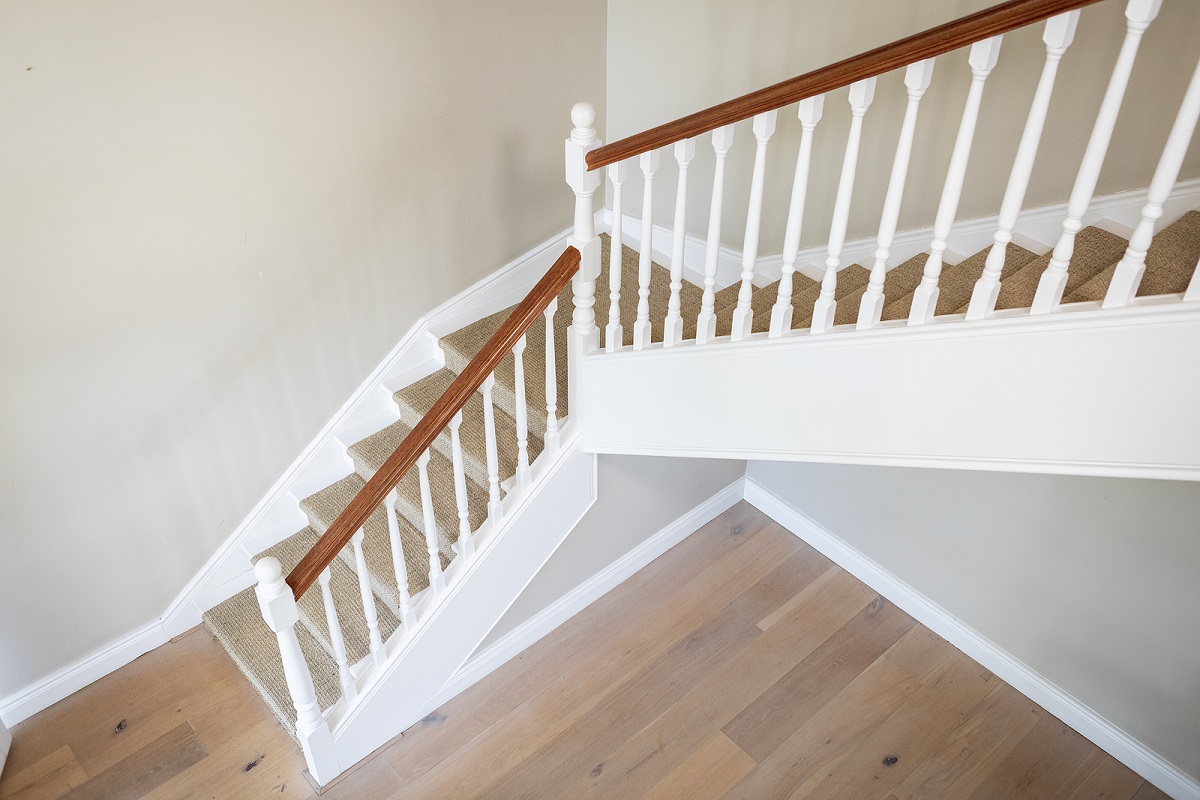
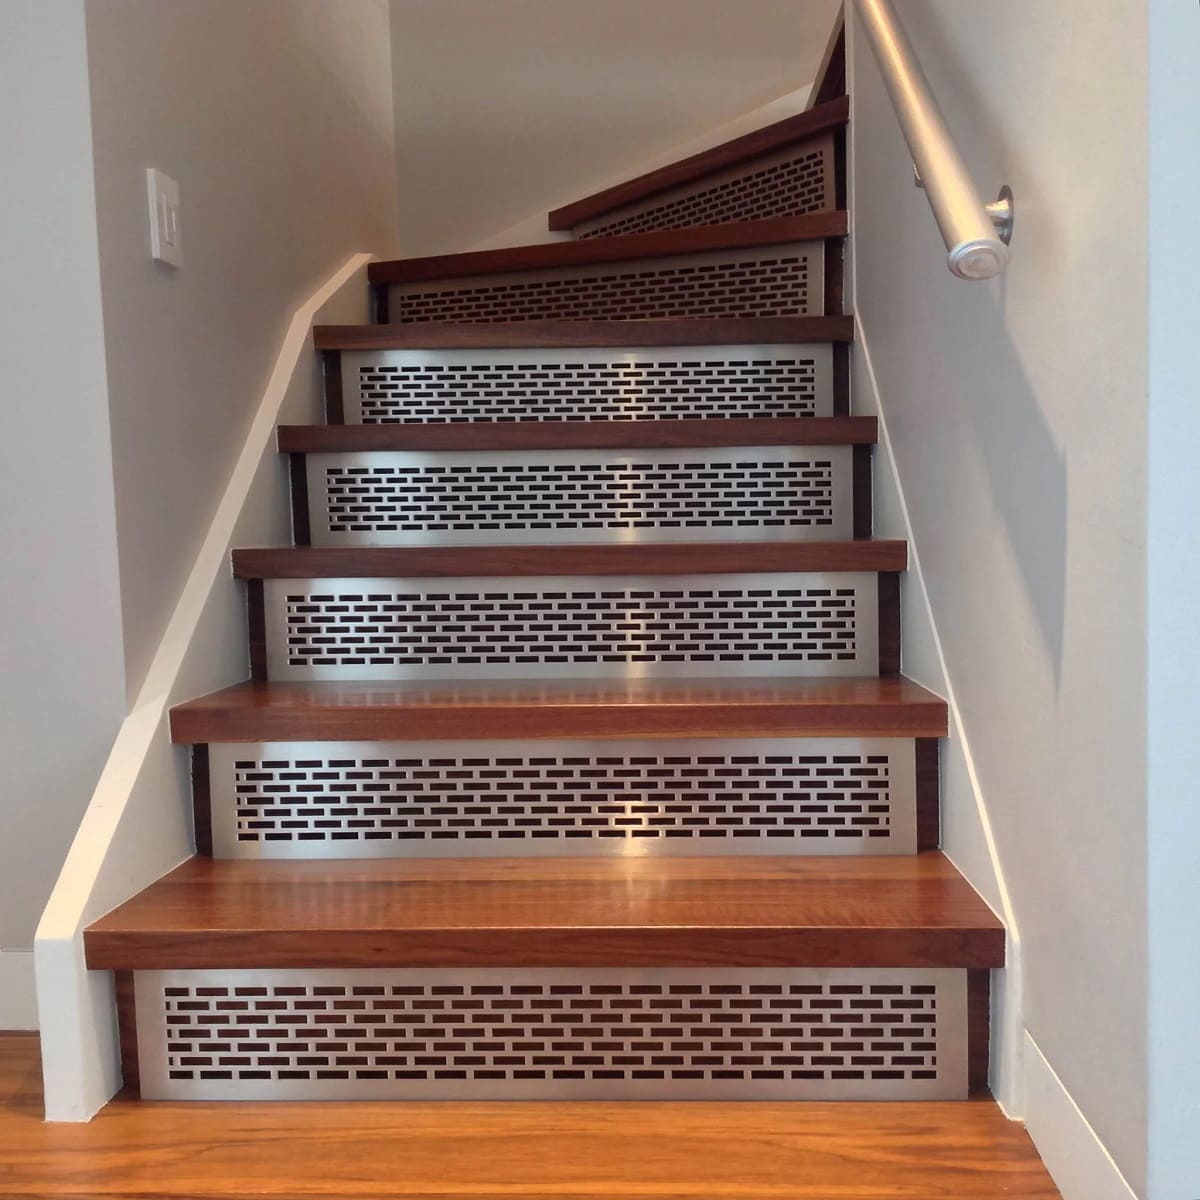
Welcome to this step-by-step guide on how to install Trex fascia on stairs. The fascia is an important component of any deck design as it not only provides a finished look but also protects the structural integrity of the stairs. Trex fascia boards are made from a durable, low-maintenance composite material that will significantly enhance the beauty and longevity of your deck stairs.
Installing fascia on stairs can be a bit challenging, but with the right tools and techniques, you can achieve professional-looking results. In this guide, we will walk you through the process of measuring, cutting, and attaching the Trex fascia boards to your stairs. We will also provide tips on securing the fascia boards and trim to ensure a seamless and polished finish.
Before we delve into the installation process, let’s take a quick look at the tools and materials you will need.
Key Takeaways:
- Properly measuring, cutting, and securing Trex fascia boards on stairs is crucial for a professional finish. Use construction adhesive and stainless steel screws for added stability and durability.
- Attention to detail and precision are key in achieving a seamless and polished fascia installation. Take pride in your work and enjoy the enhanced beauty and longevity of your deck stairs.
Read more: How To Do Stairs With Trex Decking
Tools and Materials Needed
Before you begin installing Trex fascia on stairs, make sure you have the following tools and materials on hand:
- Tape measure
- Miter saw or circular saw
- Drill
- Screwdriver
- Clamps
- Trex fascia boards
- Stainless steel screws
- Construction adhesive
- Fine-grit sandpaper
Having these tools and materials ready will ensure a smooth installation process and help you achieve professional-grade results.
Now that you have everything you need, let’s move on to the step-by-step instructions for installing Trex fascia on stairs.
Step 1: Measure and Cut the Fascia Boards
The first step in installing Trex fascia on stairs is to accurately measure and cut the boards to the correct size. This ensures a precise fit and a seamless appearance.
Start by measuring the length of each stair riser and the width of each stair tread. It’s important to measure each individual riser and tread, as they may vary slightly in size.
Next, transfer these measurements onto the Trex fascia boards, marking the cuts with a pencil or marker. Use a miter saw or circular saw to make clean, straight cuts. Ensure that the cuts are perpendicular to the length of the fascia board for a professional look.
Remember to wear safety goggles and work in a well-ventilated area when cutting the boards. Take your time to measure accurately and make precise cuts to avoid any potential errors.
If you have curved or rounded stairs, you may need to use a jigsaw or coping saw to cut the Trex fascia boards to match the contour of the stairs. This requires a bit more skill and patience, so take your time and make careful cuts to achieve a seamless fit.
Once you have cut all the fascia boards to the correct size, proceed to the next step: attaching the first fascia board.
Step 2: Attach the First Fascia Board
Now that you have your Trex fascia boards cut to the correct size, it’s time to start attaching them to the stairs. Begin by positioning the first fascia board at the bottom of the stairs, ensuring that it is level and aligned with the front edge of the stair tread.
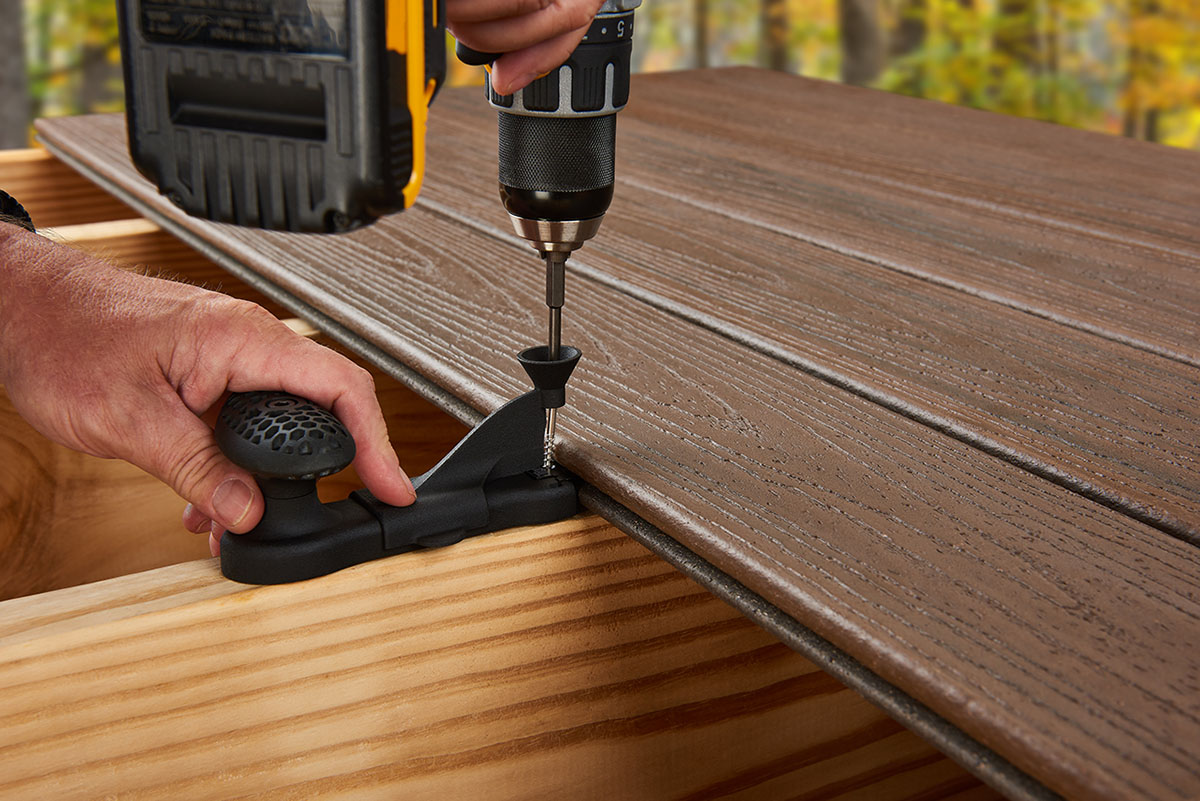
Use clamps to hold the fascia board in place, making sure it is secure and level. Pre-drill pilot holes along the top and bottom edges of the fascia board, spaced approximately 8-10 inches apart.
Once the pilot holes are drilled, use stainless steel screws to attach the fascia board to the stair riser. Make sure the screws are long enough to penetrate the fascia board and securely fasten it to the riser without causing any damage.
Continue attaching the first fascia board to each stair riser along the staircase, making sure it is securely fastened in place. Take your time to ensure that the board is level and aligned correctly for a professional finish.
After you have attached the first fascia board, move on to the next step: installing the remaining fascia boards.
When installing Trex fascia on stairs, make sure to use stainless steel screws to prevent rusting and corrosion. Pre-drill the screw holes to avoid splitting the fascia board. Use a level to ensure the fascia is installed straight and evenly.
Step 3: Install the Remaining Fascia Boards
With the first fascia board securely attached, it’s time to install the remaining boards to complete the installation. Begin by positioning the second fascia board next to the first one, ensuring a tight fit and consistent alignment.
Use clamps to hold the second fascia board in place, making sure it is level and aligned with the front edge of the stair tread. Pre-drill pilot holes along the top and bottom edges of the board, similar to how you did with the first fascia board.
Next, use stainless steel screws to attach the second fascia board to the stair riser, following the same spacing as before. Make sure the screws are long enough to penetrate the fascia board and securely fasten it to the riser.
Repeat this process for each remaining fascia board, making sure to maintain consistent alignment and spacing. Take your time to ensure that each board is level and securely attached before moving on to the next one.
As you install the remaining fascia boards, periodically check that the entire staircase remains level and aligned. Adjust as necessary to ensure a professional and polished appearance.
Once all the fascia boards are installed, move on to the next step: securing the fascia boards to the stairs.
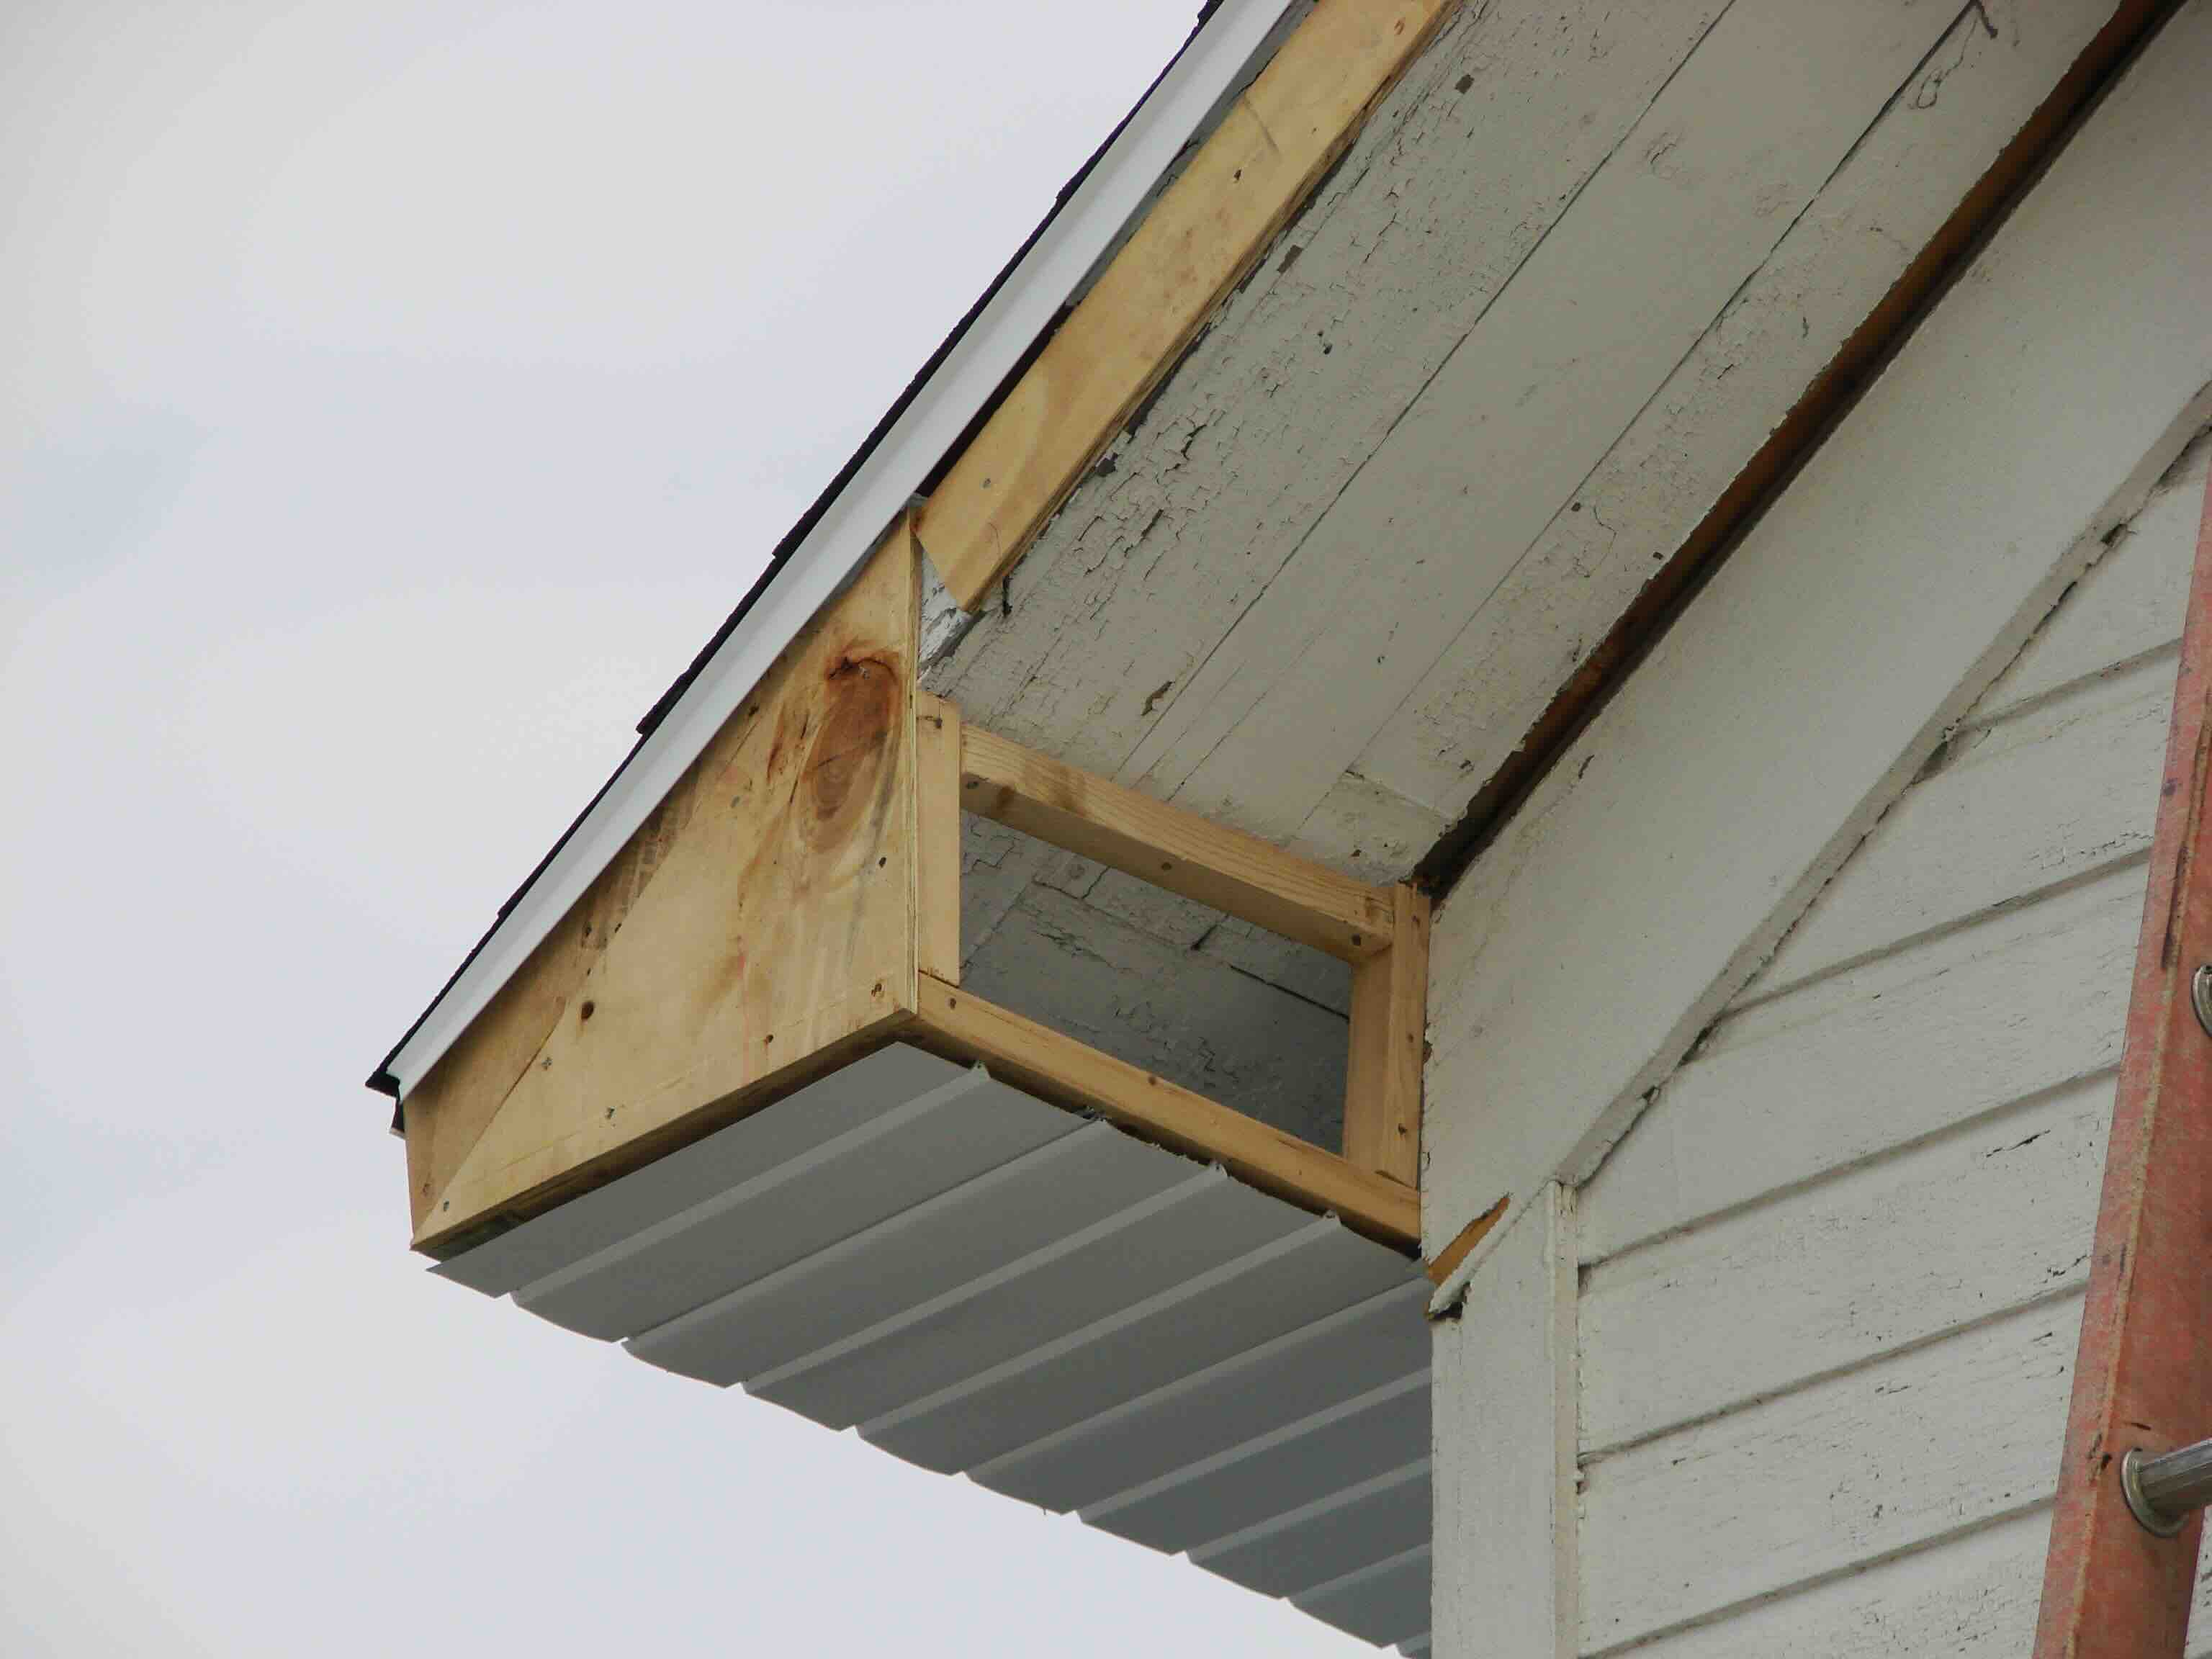
Read more: How To Install Gutters On Angled Fascia
Step 4: Secure the Fascia Boards to the Stairs
With the fascia boards installed, the next step is to secure them to the stairs for added stability and durability. To achieve this, we’ll be using construction adhesive in addition to the screws.
Start by applying a generous amount of construction adhesive to the back of each fascia board, focusing on the areas that will come into contact with the stair risers and treads. This adhesive will help bond the boards to the stairs and create a strong, long-lasting connection.
Press the fascia boards firmly against the stairs to ensure good adhesion. The adhesive will also help fill any gaps between the boards and the stairs, ensuring a seamless and professional finish.
While the adhesive is still wet, secure the fascia boards further by driving stainless steel screws through the boards and into the stair risers. This step adds extra reinforcement and ensures that the boards stay securely in place.
Space the screws evenly along the length of each fascia board, placing them approximately 8-10 inches apart. Be careful not to overtighten the screws, as this can cause the boards to warp or crack. Use a screwdriver or drill with a clutch to control the amount of torque applied.
Repeat this process for each fascia board, making sure to apply adhesive and secure with screws. Double-check that each board is securely attached before moving on to the final step of trimming and finishing the fascia installation.
Step 5: Trim and Finish the Fascia Installation
Once all the fascia boards are securely attached to the stairs, it’s time to trim and finish the installation for a polished and clean look. In this step, we’ll be addressing any excess material and ensuring that the fascia boards seamlessly blend with the overall deck design.
Start by using a saw or sander to trim any excess length from the fascia boards, making sure they align perfectly with the edges of the stairs. Take your time and make precise cuts to achieve a professional finish.
After trimming the boards, use fine-grit sandpaper to smooth any rough edges or surfaces. This will ensure that the fascia boards are smooth to the touch and free from any imperfections.
Once the trimming and sanding are complete, take a step back and assess the overall appearance of the fascia installation. Check for any visible gaps or inconsistencies and make any necessary adjustments.
If desired, you can consider adding trim or accents to enhance the visual appeal of the fascia installation. This can include decorative moldings, trim pieces, or coordinating end caps, depending on your design preference.
Finally, give the entire fascia installation a thorough inspection. Check for loose screws, gaps, or any other issues that may require attention. Make any additional adjustments or repairs as needed to ensure a flawless and long-lasting finish.
Congratulations! You have successfully installed Trex fascia on your stairs, creating a beautifully finished and protected deck space.
Conclusion
Installing Trex fascia on stairs is a rewarding project that not only enhances the aesthetic appeal of your deck but also provides added protection and durability. By following the step-by-step instructions outlined in this guide, you can achieve professional results and enjoy a long-lasting, low-maintenance fascia installation.
Remember to accurately measure and cut the fascia boards, ensuring a precise fit on each stair. Take the time to secure the boards properly with both adhesive and screws, providing a strong and stable attachment. Trim and finish the installation, addressing any excess material and ensuring a seamless blend with the overall deck design.
Throughout the process, pay attention to detail and take pride in your work. By doing so, you can create a visually appealing staircase that not only complements your deck but also withstands the test of time.
Now that you have completed the installation of Trex fascia on your stairs, take a moment to step back and admire your handiwork. Enjoy the beauty and functionality that the fascia boards bring to your deck, making it a standout feature of your outdoor space.
With proper installation and regular maintenance, Trex fascia boards can continue to enhance the appearance and durability of your deck for many years to come. Sit back, relax, and take pride in the beautiful and finished look of your deck stairs.
Frequently Asked Questions about How To Install Trex Fascia On Stairs
Was this page helpful?
At Storables.com, we guarantee accurate and reliable information. Our content, validated by Expert Board Contributors, is crafted following stringent Editorial Policies. We're committed to providing you with well-researched, expert-backed insights for all your informational needs.


0 thoughts on “How To Install Trex Fascia On Stairs”