Home>Renovation & DIY>Tools & Equipment>How To Turn On PC With A Screwdriver
Tools & Equipment
How To Turn On PC With A Screwdriver
Published: December 19, 2023
Learn how to turn on your PC using just a screwdriver. Explore our guide on the essential tools and equipment needed for this task.
(Many of the links in this article redirect to a specific reviewed product. Your purchase of these products through affiliate links helps to generate commission for Storables.com, at no extra cost. Learn more)
Introduction
Turning on a PC may seem like a simple task, but what if you find yourself in a situation where the power button is not functioning? Don’t worry, there’s a solution! In this article, we will explore how to turn on a PC using a screwdriver.
Before we proceed, it’s important to note that this method should only be used as a temporary solution or in emergencies. It’s not recommended to rely on this method as a long-term fix for a faulty power button. Additionally, make sure to follow all necessary safety precautions to prevent any damage or injury.
So, if you’re ready to learn how to turn on your PC with a screwdriver, let’s dive in!
Key Takeaways:
- Use a screwdriver to power on your PC as a temporary fix, but prioritize safety and seek professional help for a long-term solution.
- Short-circuit the power switch pins on the motherboard with caution to start your PC, but remember this method is only a temporary measure.
Read more: How To Turn PC On With Alexa
Safety Precautions
Before attempting to turn on your PC with a screwdriver, it’s essential to prioritize safety. Here are some important precautions to keep in mind:
- Power Off: Ensure that the PC is completely powered off and unplugged from the electrical outlet before proceeding. This will minimize the risk of electric shock.
- Ground Yourself: It’s crucial to discharge any static electricity from your body by grounding yourself. You can do this by touching a metal object, such as the PC case or a grounded object.
- Use Insulated Tools: Make sure to use a screwdriver with insulated handles to prevent any electrical shocks while working with the internal components of the PC.
- Be Cautious: Exercise caution and precision while performing the steps. Avoid applying excessive force or causing any damage to the components inside the PC.
- Consult a Professional: If you’re uncomfortable or unsure about any step, it’s always best to seek assistance from a professional technician.
By following these safety precautions, you can minimize the potential risks associated with turning on your PC with a screwdriver.
Required Tools and Materials
To turn on your PC with a screwdriver, you’ll need the following tools and materials:
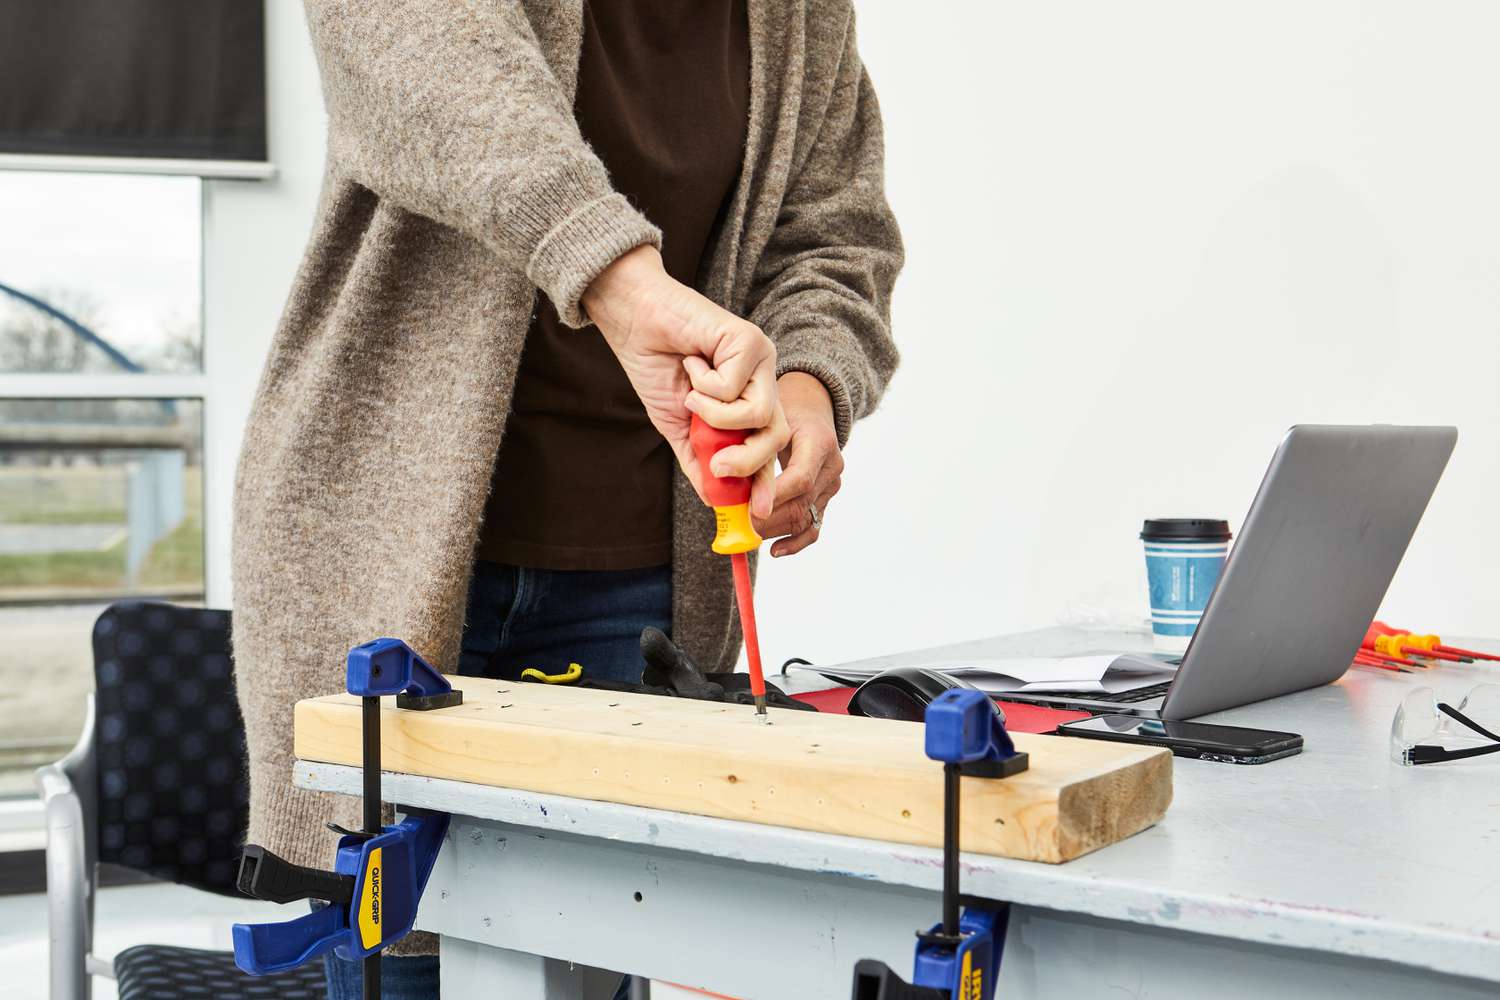
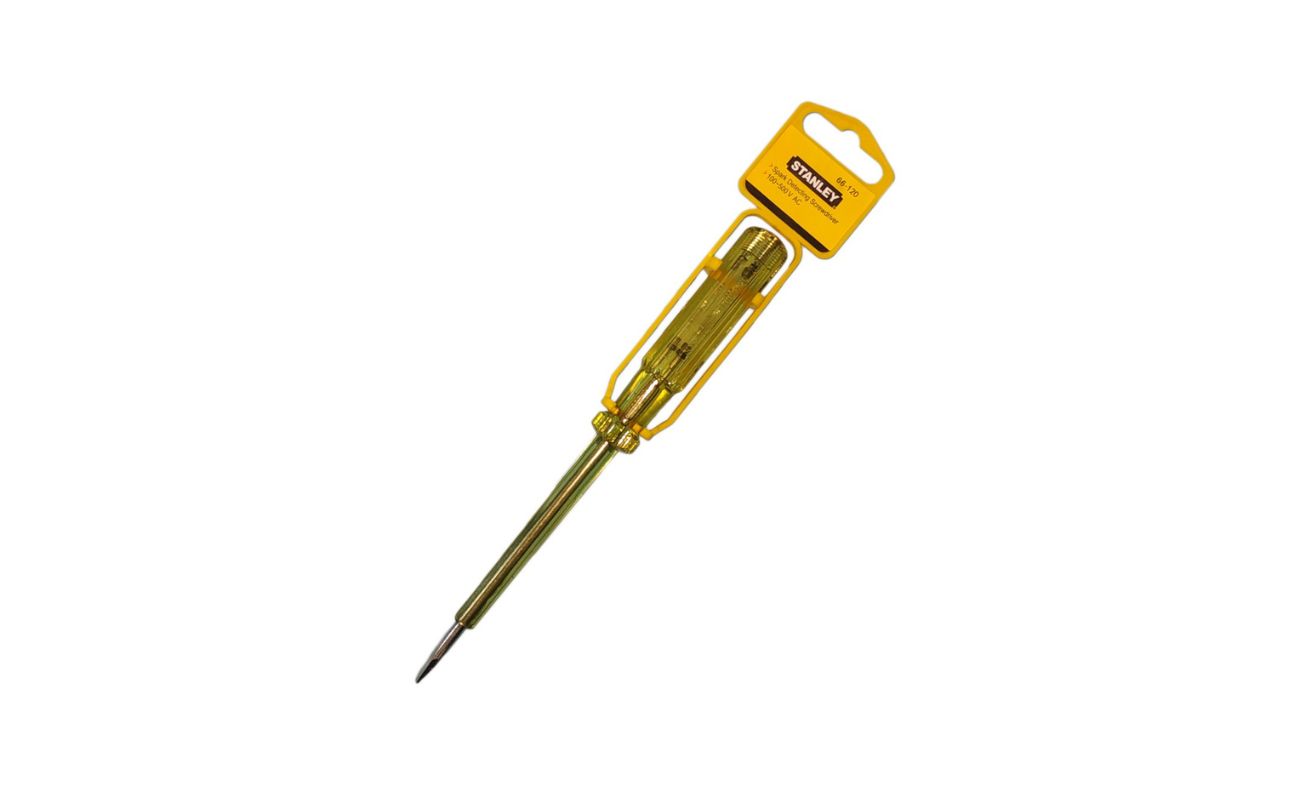
- Screwdriver: Choose a small-sized, flat-head screwdriver. Make sure the handle is insulated for safety purposes.
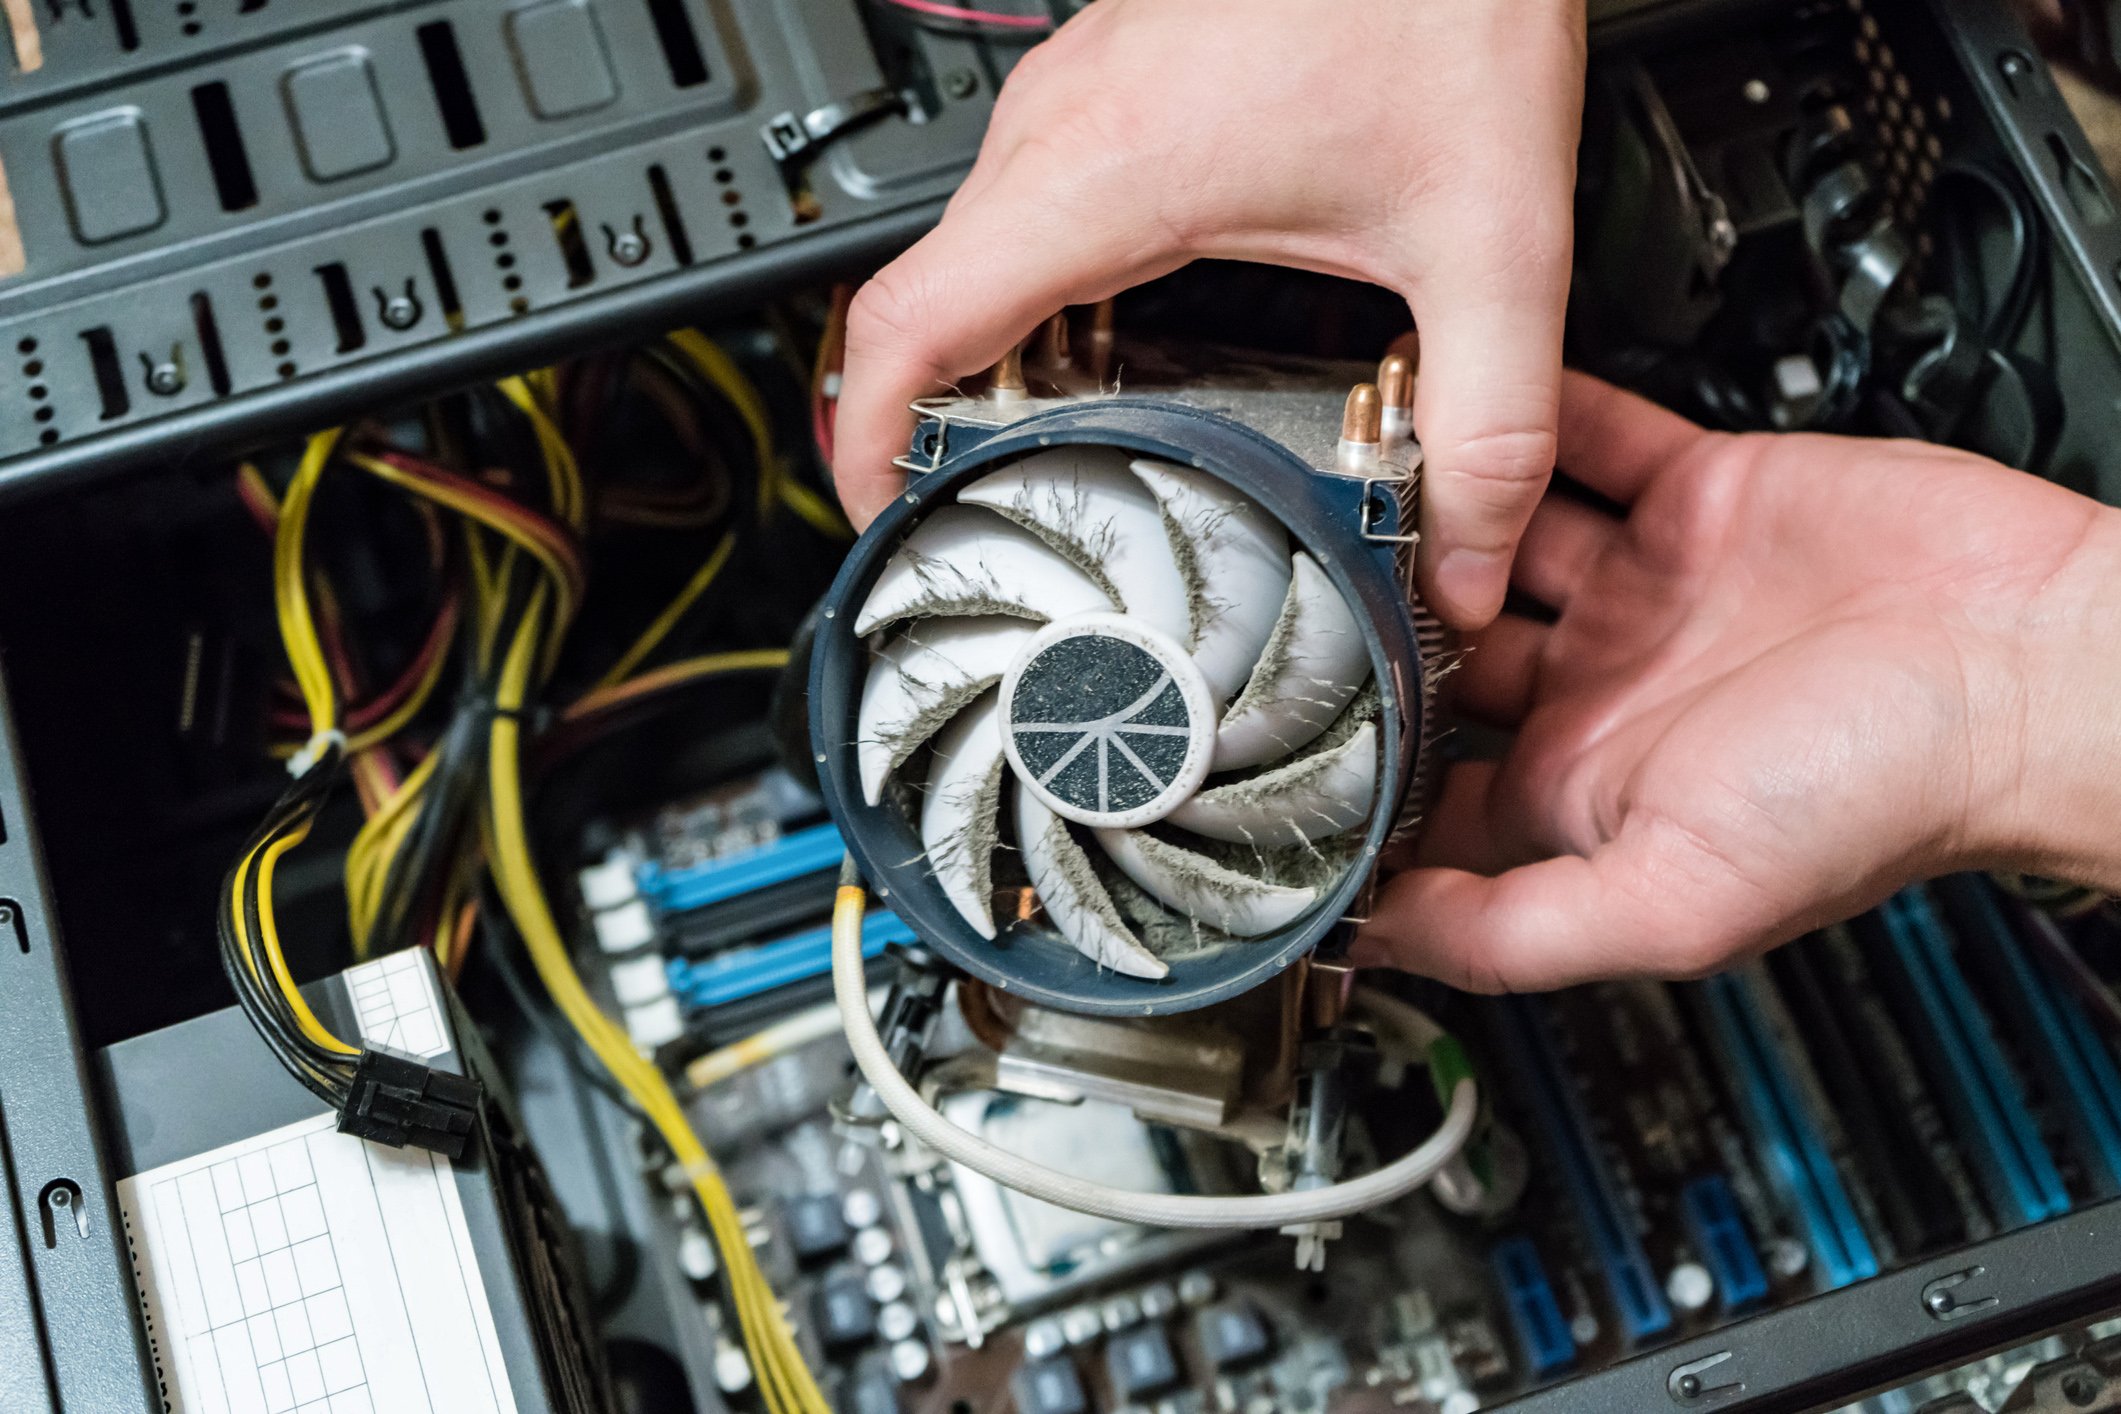
- PC Case: You’ll need access to the PC case, so ensure that it’s easily accessible and that you can remove the side panel if necessary.
- Knowledge of Motherboard Layout: Familiarize yourself with the layout and components of the motherboard. Identify the power switch pins, which are located on the motherboard.
- Patience and Precision: Turning on a PC with a screwdriver requires careful handling and precision. Take your time to avoid any accidental damage to the motherboard or other components.
Having these tools and materials ready will ensure that you can safely and effectively turn on your PC using a screwdriver.
Step 1: Shut Down the PC Properly
Before proceeding, it’s essential to shut down your PC properly. This will ensure that all running processes are safely stopped and prevent any data loss or system instability.
To shut down your PC:
- Save any unsaved work and close all open programs and documents.
- Click on the “Start” menu in the lower-left corner of your screen.
- From the Start menu, select “Shut Down” or “Power” options.
- Choose “Shut Down” from the options provided. This will initiate the shutdown process.
- Wait for your PC to completely power off before proceeding to the next step.
It’s important to ensure that your PC is fully powered down to avoid any potential risks or issues when performing the next steps.
Step 2: Locate the Power Switch Pins
Once your PC is properly shut down, the next step is to locate the power switch pins on the motherboard. These pins are responsible for powering on your PC when the power button is pressed.
Every motherboard may have a different layout, so it’s important to consult your motherboard’s manual for specific instructions. However, in general, the power switch pins are usually located near the bottom-right corner of the motherboard.
To locate the power switch pins:
- Open up your PC case by removing the side panel. Use the appropriate tools to carefully unscrew and remove the panel.
- Take a close look at the motherboard and locate the front panel header. This is where the power switch pins are usually found.
- Refer to the motherboard manual to identify the exact location and pin configuration of the power switch pins.
- Make a note of the pins labeled “PWR” or “Power Switch”. These are the pins we will be using to turn on the PC.
By locating the power switch pins on the motherboard, you’re one step closer to turning on your PC with a screwdriver.
You can turn on a PC with a screwdriver by carefully bridging the two power switch pins on the motherboard. Simply touch the tip of the screwdriver to both pins at the same time to complete the circuit and power on the computer.
Read more: Screwdriver That Turns When You Push
Step 3: Preparing the Screwdriver
Now that you’ve located the power switch pins on the motherboard, it’s time to prepare the screwdriver for the next step. This involves ensuring the screwdriver is ready for safe use during the process.
To prepare the screwdriver:
- Inspect the screwdriver for any signs of damage, such as a worn-out or loose handle. It’s important to use a screwdriver with an intact and insulated handle for safety purposes.
- If necessary, clean the screwdriver to remove any dirt or debris that may affect the electrical conductivity.
- Check that the screwdriver tip is clean and sharp. A clean and sharp tip will ensure a better connection when short-circuiting the power switch pins.
- Ensure that you have a steady grip on the screwdriver, as you will need to exert precise control during the next step.
By properly preparing the screwdriver, you’ll be equipped with a tool that is ready for safe and effective use while turning on your PC.
Step 4: Short Circuit the Power Switch Pins with Screwdriver
With the screwdriver prepared, it’s time to proceed with short-circuiting the power switch pins on the motherboard. This step will simulate the action of pressing the power button and turn on the PC.
Here’s how to short circuit the power switch pins:
- Ensure that your PC is still powered off and unplugged from the electrical outlet.
- Take the screwdriver and gently touch the two power switch pins simultaneously. The tip of the screwdriver should make contact with both pins at the same time.
- Hold the screwdriver in place for a few seconds to ensure a stable connection between the pins.
- Be cautious and avoid touching any other pins or components on the motherboard.
By short-circuiting the power switch pins, you are essentially bypassing the physical power button and sending a signal to the motherboard to initiate the boot process.
It’s important to note that this method may vary depending on the motherboard model and manufacturer. Therefore, it’s recommended to consult the motherboard manual or online resources for specific instructions related to your motherboard.
Please ensure that you’re comfortable and confident in performing this step, as improper handling can lead to damage to the motherboard or other components.
Step 5: Powering On the PC
After successfully short-circuiting the power switch pins, it’s time to power on your PC. Here’s what you need to do:
- Remove the screwdriver from the power switch pins on the motherboard.
- Reconnect the power cable to your PC and plug it back into the electrical outlet.
- Press the power button on your PC to initiate the boot process.
- If everything is connected and functioning properly, your PC should start up and begin the boot sequence.
- Monitor the startup process and ensure that your PC is running smoothly.
It’s important to note that turning on your PC using a screwdriver should be considered a temporary solution or an emergency measure. It’s recommended to have your power button repaired or replaced by a professional technician as soon as possible to ensure the long-term functionality of your PC.
By following these steps, you should be able to power on your PC using a screwdriver. However, if you encounter any difficulties or your PC does not start up properly, it’s recommended to consult a professional technician for further assistance.
Conclusion
Turning on a PC with a screwdriver can be a useful temporary solution when the power button is not functioning correctly. However, it’s important to note that this method should be used with caution and only as a temporary fix.
Throughout this article, we’ve covered the necessary steps to safely and effectively turn on a PC using a screwdriver. Starting with shutting down the PC properly, locating the power switch pins on the motherboard, preparing the screwdriver, short-circuiting the power switch pins, and finally, powering on the PC. It’s crucial to follow the safety precautions outlined and exercise precision during the process.
Remember, this method should only be used temporarily. It’s advisable to have the power button repaired or replaced by a professional technician to ensure the long-term functionality of your PC. Relying on a screwdriver to turn on your PC is not a recommended practice.
Lastly, if you encounter any difficulties or are unsure about any step, it’s always best to seek assistance from a professional technician who can provide the necessary guidance and support.
Now that you understand how to turn on a PC using a screwdriver, you can confidently navigate situations where the power button may not be functioning. Just remember to prioritize safety and seek professional help for a more permanent solution.
Frequently Asked Questions about How To Turn On PC With A Screwdriver
Was this page helpful?
At Storables.com, we guarantee accurate and reliable information. Our content, validated by Expert Board Contributors, is crafted following stringent Editorial Policies. We're committed to providing you with well-researched, expert-backed insights for all your informational needs.


0 thoughts on “How To Turn On PC With A Screwdriver”