Articles
How To Test A Small Electric Motor
Modified: January 6, 2024
Learn how to test a small electric motor and troubleshoot common issues with our informative articles. Improve your motor maintenance skills today!
(Many of the links in this article redirect to a specific reviewed product. Your purchase of these products through affiliate links helps to generate commission for Storables.com, at no extra cost. Learn more)
Introduction
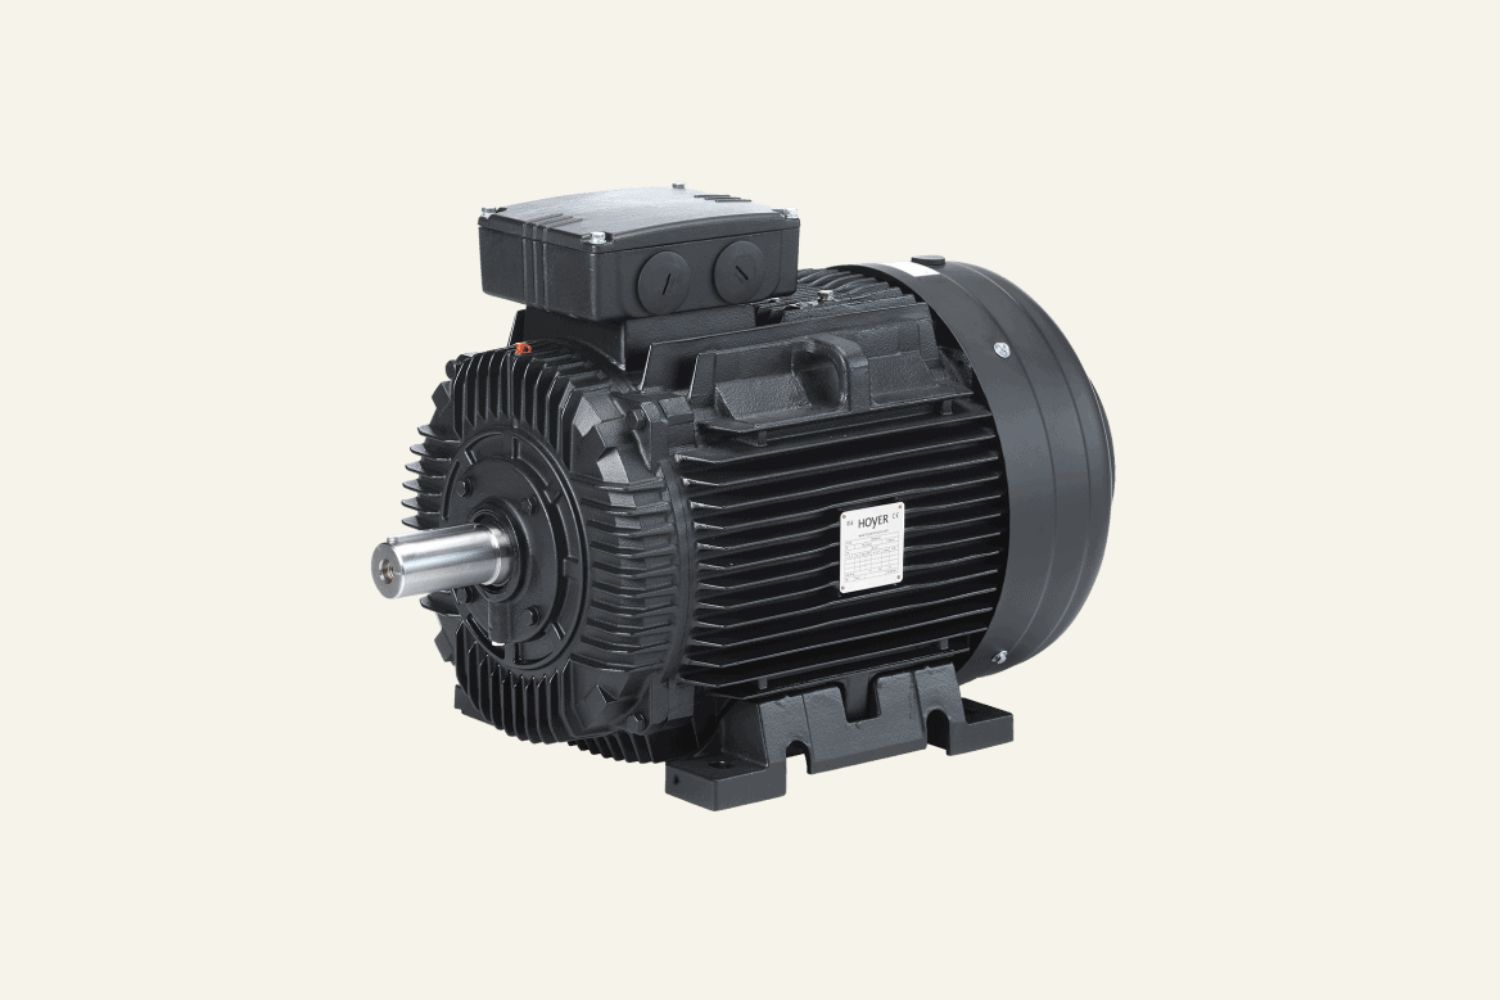
Welcome to the world of small electric motors! These mighty devices are found in a wide variety of applications, from power tools and appliances to toys and gadgets. If you’re curious about the inner workings of these motors or suspect that one of them is not functioning properly, you’ve come to the right place. In this article, we’ll explore how you can test a small electric motor to determine if it’s in working condition or if it requires repair.
Before we dive into the testing process, it’s essential to mention that safety should always be your top priority. Dealing with electricity and moving parts can be hazardous, so please make sure to follow all safety precautions. Remember to disconnect the motor from its power source before proceeding with any testing, and always wear appropriate personal protective equipment, such as gloves and safety glasses.
To perform the tests, you’ll need a few tools and equipment. These may vary depending on the type and size of the motor, but here are some general items you might need:
- Multimeter: This versatile device will allow you to measure voltage, resistance, and continuity.
- Battery or power supply: Depending on the motor’s voltage requirements, you’ll need a suitable power source to energize it.
- Wires with alligator clips: These will help you connect the motor to the power source and multimeter.
- Tachometer: If you want to measure the motor’s RPM (revolutions per minute), a tachometer will come in handy.
Now that you’re ready with the necessary tools, let’s proceed to the testing process. We’ll break it down into several steps to make it easier to follow.
Key Takeaways:
- Ensure safety by following proper precautions when testing small electric motors, including disconnecting the power source, using personal protective equipment, and working in a well-ventilated area.
- Conduct thorough visual inspections, voltage testing, continuity testing, load testing, and RPM measurement to gain valuable insights into the condition and performance of small electric motors.
Safety Precautions
When working with small electric motors, it’s crucial to prioritize your safety. Follow these precautions to minimize the risk of accidents or injuries:
- Disconnect the power source: Before starting any testing, make sure the motor is disconnected from its power source. This will prevent any accidental electrical shock or injury.
- Use personal protective equipment (PPE): Wear gloves and safety glasses to protect yourself from any potential hazards. Small motors may have sharp edges or hot components that could cause injury.
- Work in a well-ventilated area: Some motors might emit smoke or fumes when tested, especially if they’re faulty. Ensure you’re in a well-ventilated space to avoid inhaling any toxic substances.
- Handle the motor with care: Small motors can be delicate, so be gentle when handling them. Avoid dropping them or applying excessive force, as this could further damage the motor or cause injury.
- Keep long hair and loose clothing secured: Tie back your hair and avoid wearing loose clothing or jewelry that could get caught in the motor or testing equipment.
- Avoid working alone: It’s advisable to have someone else present while testing a motor. They can assist you if needed and provide help in case of an emergency situation.
- Double-check connections: Before applying voltage or conducting any tests, ensure that all connections are properly made and secure. Loose connections could result in erratic readings or electrical issues.
- Follow manufacturer’s guidelines: If available, consult the manufacturer’s instructions or user manual for specific safety precautions or testing procedures for your particular motor model.
Remember, taking the necessary safety precautions is vital when working with any electrical equipment. It’s better to be safe than sorry, so don’t rush through the testing process and always prioritize your well-being.
Tools and Equipment Required
Before you start testing a small electric motor, it’s important to gather the necessary tools and equipment. While the specific items required may vary depending on the type and size of the motor, here are some common tools you may need:
- Multimeter: A multimeter is an essential tool for testing electrical circuits. It allows you to measure voltage, resistance, and continuity, providing valuable diagnostic information about the motor’s condition.
- Battery or Power Supply: You’ll need a suitable power source to energize the motor during the testing process. Depending on the motor’s voltage requirements, you can use a battery or a power supply that matches the motor’s specifications.
- Wires with Alligator Clips: These wires with alligator clips enable you to create secure connections between the motor, the power source, and the multimeter. They make it easier to perform various tests and measurements.
- Tachometer: If you want to measure the motor’s RPM (revolutions per minute), a tachometer is a handy tool. It allows you to determine the motor’s rotational speed, which can be useful for troubleshooting and evaluating its performance.
- Insulation Displacement Connector (IDC): An IDC tool helps you create secure connections without the need to strip or solder wires. It simplifies the process of connecting wires to the motor’s terminals.
- Safety Equipment: Personal protective equipment (PPE) is essential when working with electrical equipment. Wear safety glasses and gloves to protect yourself from potential hazards, such as electrical shocks and injuries from moving parts.
- Small Screwdrivers and Pliers: These basic hand tools are useful for accessing and manipulating small components of the motor during the testing process. They allow you to remove covers, access terminals, and make any necessary adjustments.
- Insulation Testing Equipment: In some cases, you may need specialized insulation testing equipment, such as a megohmmeter or a high-potential (hipot) tester, to check the motor’s insulation integrity. These tools help detect any insulation breakdown or faults.
- Documentation: It’s always helpful to have the motor’s specifications, wiring diagrams, and any relevant documentation on hand. This information can assist you in properly interpreting test results or understanding the motor’s operational requirements.
Having the right tools and equipment ensures that you can perform accurate tests and obtain reliable results. Before beginning the testing process, double-check that you have all the necessary items, and ensure they are in good working condition.
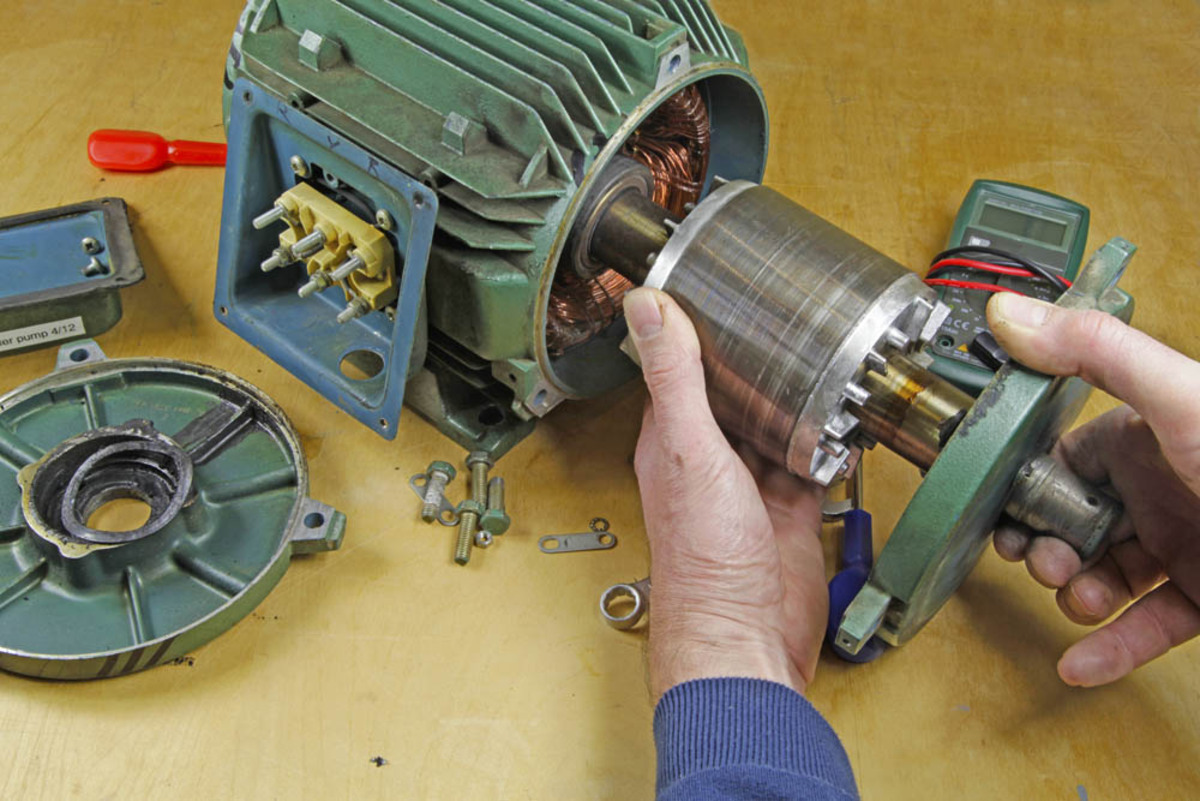
Step 1: Visual Inspection
Before diving into more technical tests, it’s important to start with a visual inspection of the small electric motor. This step allows you to identify any obvious signs of damage or wear that might affect its performance.
Here’s how you can conduct a thorough visual inspection:
- External Examination: Inspect the exterior of the motor for any visible damage, such as cracks, dents, or loose connections. Check for any signs of overheating, such as discoloration or burnt marks.
- Shaft and Bearings: Examine the motor’s shaft and bearings. Look for any excessive play, noise, or uneven movement. If you notice any grinding or rattling sounds, it may indicate a problem with the bearings.
- Brushes (if applicable): If the motor has brushes, inspect them for wear. Worn-out brushes may cause poor contact and electrical issues. Replace them if necessary, following the manufacturer’s recommendations.
- Wiring and Connections: Check the wiring and connections for any signs of fraying, loose connections, or exposed wires. Ensure that all connections are secure and properly insulated.
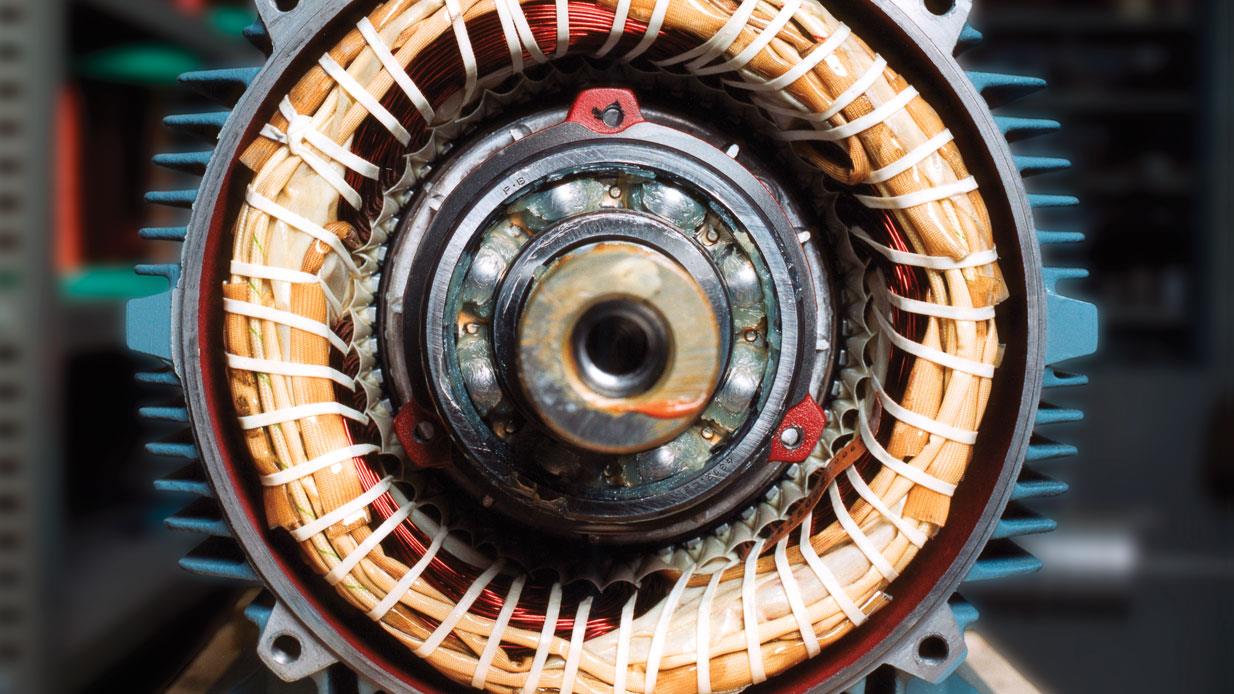
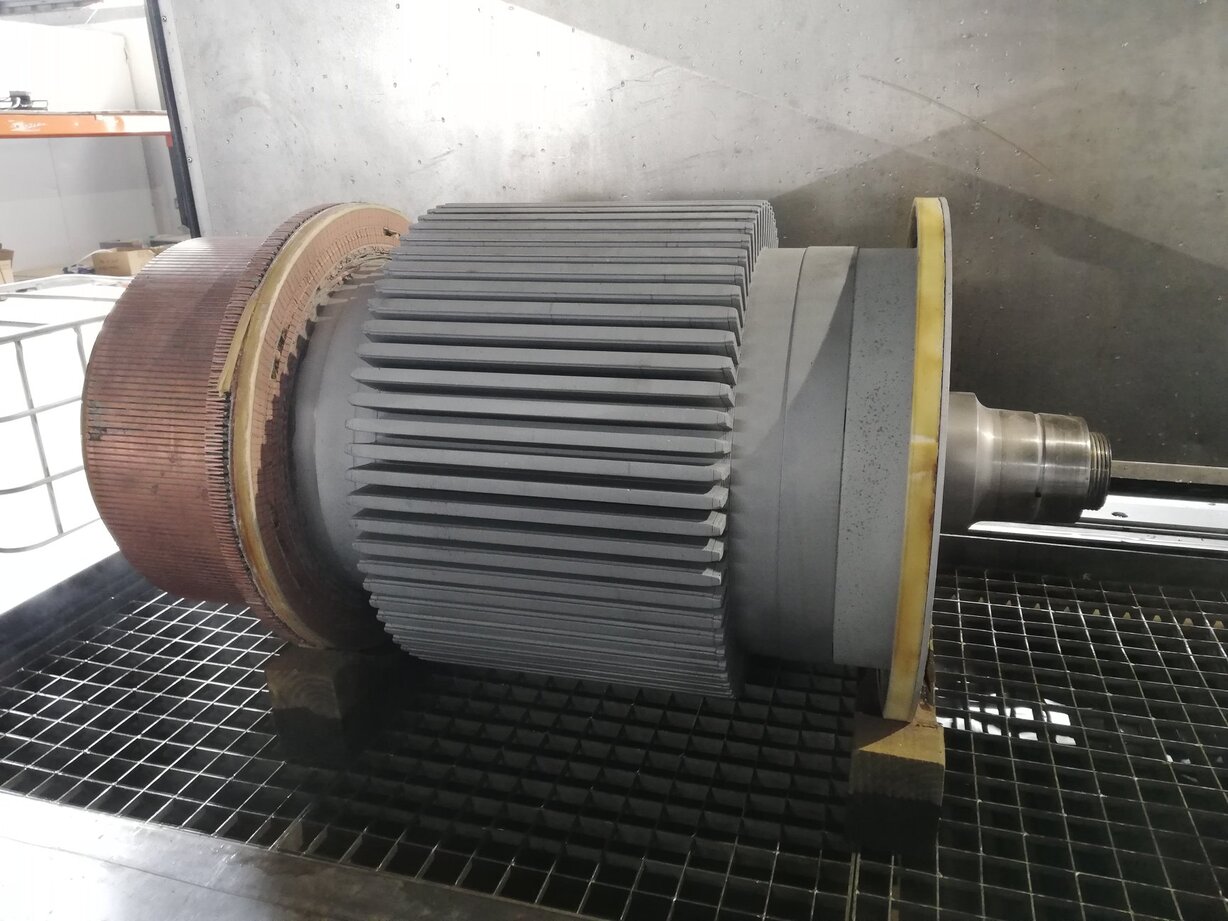
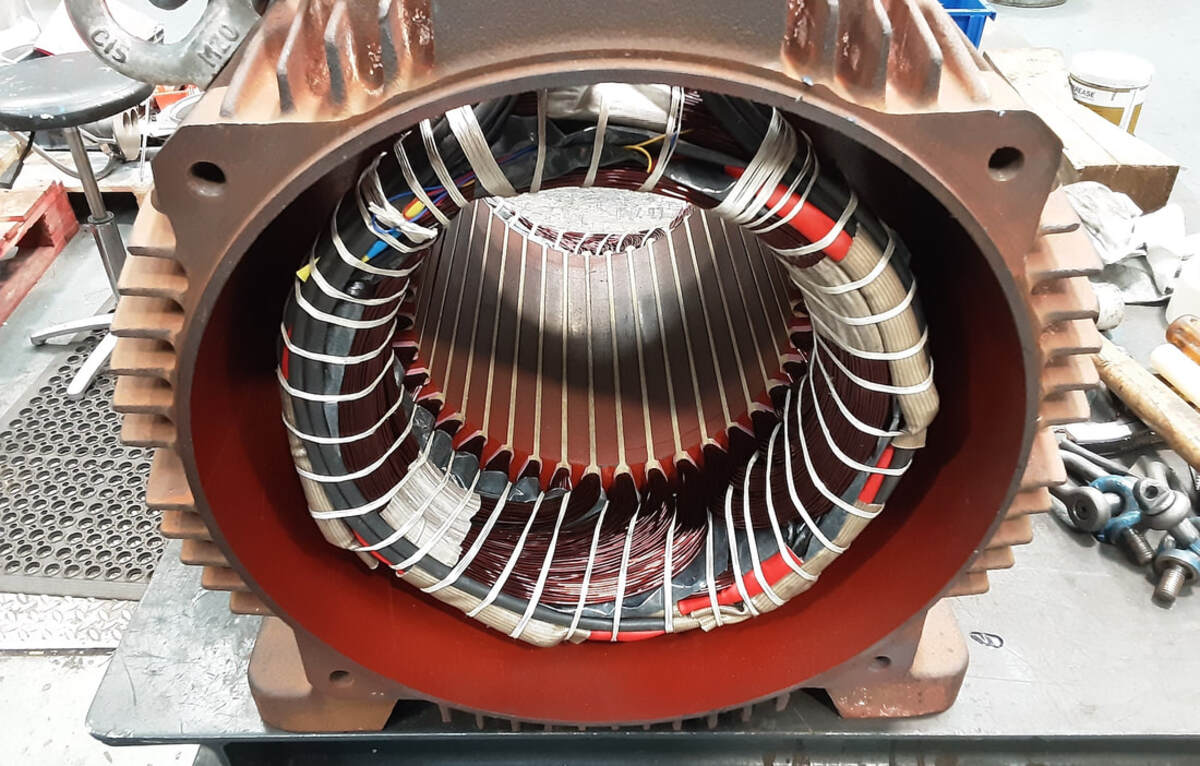
- Internal Components: If you’re comfortable and familiar with motor disassembly, you can inspect the internal components. Look for any signs of damage, such as burnt windings, loose parts, or debris accumulation.
During the visual inspection, trust your senses. Feel for any unusual vibrations or excessive heat emanating from the motor. Pay attention to any unusual smells, as they might indicate insulation or component issues. If you notice any significant damage or suspect an internal problem, it’s recommended to consult a professional or a knowledgeable technician for further evaluation and repair.
Remember, the visual inspection is an important initial step, but it may not reveal all potential issues. It is still necessary to perform further tests to get a more comprehensive understanding of the motor’s condition and functionality.
Step 2: Voltage Testing
After conducting a visual inspection, the next step in testing a small electric motor is to perform voltage testing. This test helps determine if the motor is receiving the appropriate voltage and if it is functioning correctly.
Here’s how you can perform voltage testing on a small electric motor:
- Set Up: Ensure the motor is disconnected from its power source. Set your multimeter to the voltage measurement setting appropriate for the motor’s voltage (AC or DC).
- Connections: Connect the red lead of the multimeter to the positive (+) terminal of the motor, and the black lead to the negative (-) terminal or the motor’s frame for grounding purposes.
- Power Source: Connect the motor to the appropriate power source (battery or power supply) using wires with alligator clips. Make sure the voltage of the power source matches the motor’s voltage requirements.
- Measure Voltage: Turn on the power source, and carefully observe the multimeter’s reading. It should display the voltage being supplied to the motor.
- Compare to Specifications: Compare the measured voltage to the motor’s specified voltage range. If the measured voltage falls within this range, the motor is receiving the correct voltage.
- Observe Performance: While the motor is powered, observe its performance. Check if it starts up smoothly, runs at the expected speed, and produces the desired output. Any irregularities or deviations should be noted.
If the measured voltage is outside the specified range or if the motor exhibits abnormal performance, there may be an issue with the electrical supply, the motor’s internal components, or its overall condition. Further testing and diagnostics will be required to pinpoint the exact problem.
Keep in mind that voltage testing alone may not provide a complete assessment of the motor’s health. It is recommended to combine this test with other diagnostic measures, such as continuity testing and load testing, for a more comprehensive evaluation.
When testing a small electric motor, always check the power source and connections first to ensure they are functioning properly before moving on to testing the motor itself.
Read also: 12 Best Small Electric Motor for 2025
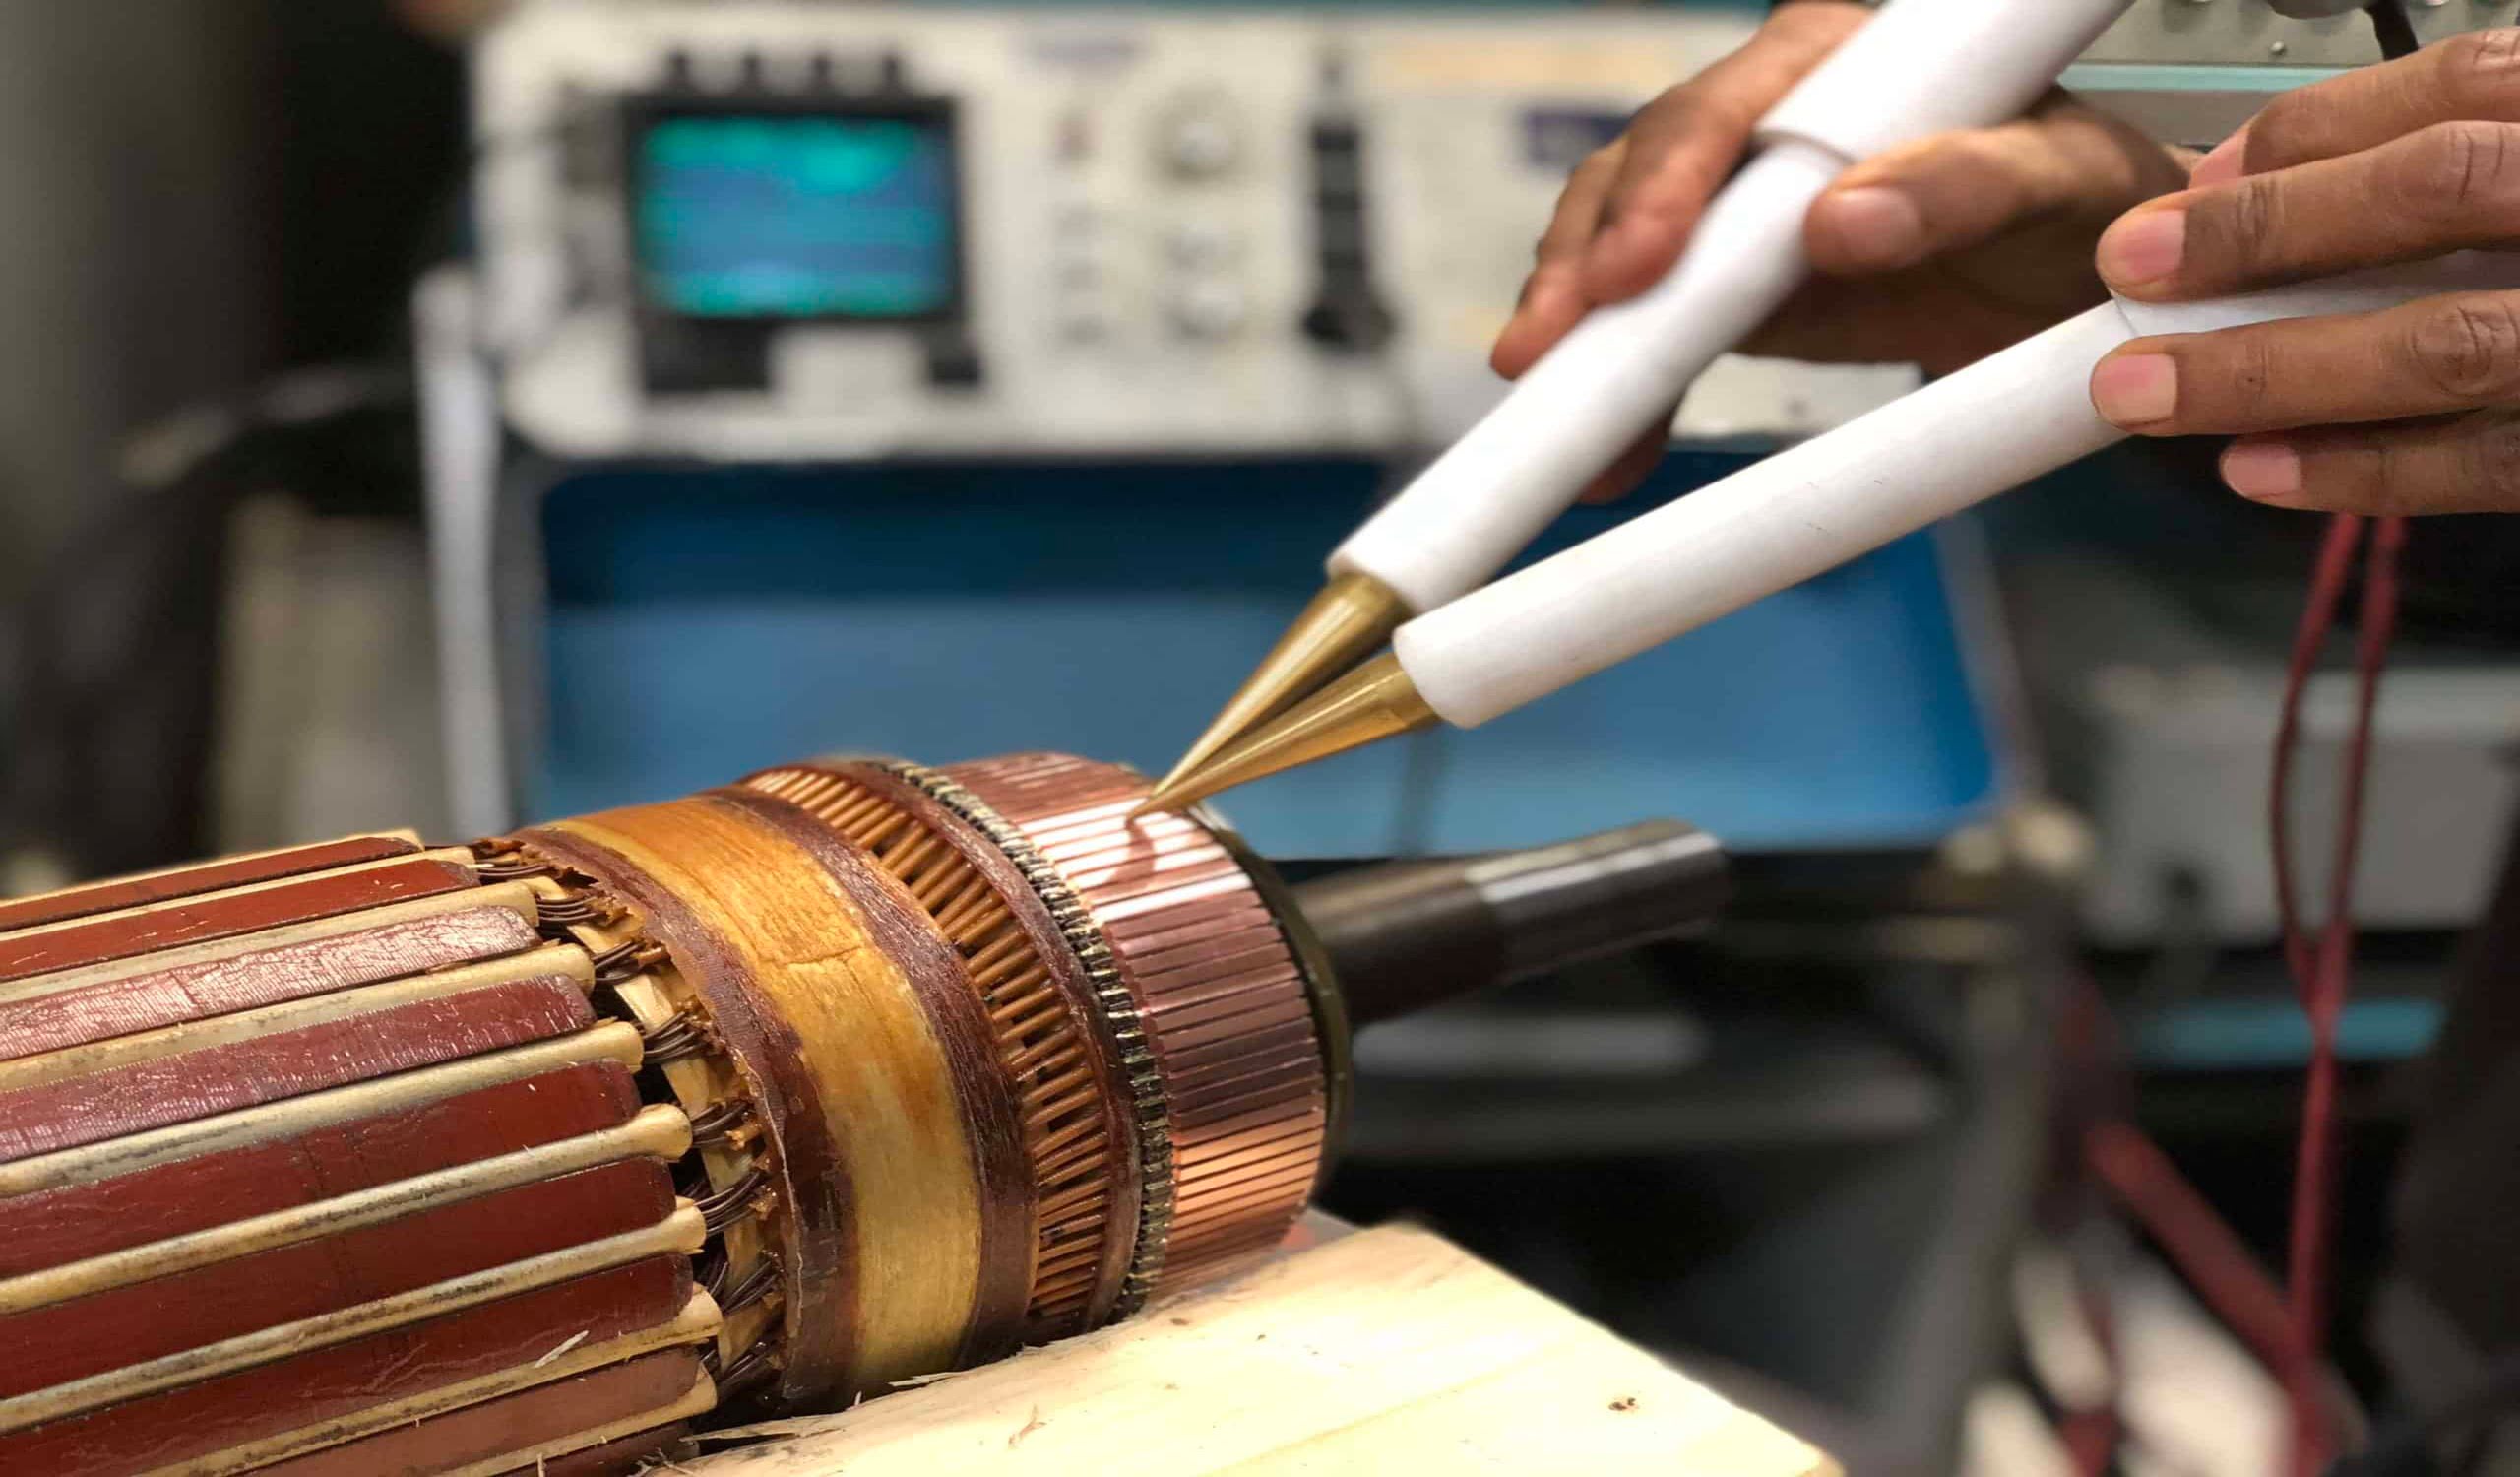
Step 3: Continuity Testing
In addition to voltage testing, performing continuity testing on a small electric motor is crucial to assess the integrity of its electrical circuits. This test helps identify any breaks or interruptions in the motor’s winding or connections that may be affecting its functionality.
Follow these steps to conduct continuity testing on a small electric motor:
- Prepare the Motor: Make sure the motor is disconnected from any power source. If applicable, remove any covers or panels that provide access to the motor’s internal components.
- Set Up the Multimeter: Set your multimeter to the continuity or resistance measurement mode (the symbol usually resembles a sound wave). Ensure that the multimeter is properly calibrated and functioning correctly.
- Test the Windings: Touch the multimeter’s test probes to the two terminals of one winding. The winding should have a low resistance reading on the multimeter display to indicate continuity. Repeat this test for all the motor’s windings.
- Check Connections: With the test probes, touch one probe to a terminal of one winding and the other probe to the corresponding terminal of the next winding. The multimeter should again display a low resistance reading, confirming the continuity of the connections.
- Inspect for Open Circuits: Move the test probes along the motor’s wiring and connections, checking for any open circuits. The multimeter should display an infinite resistance reading (OL) if no continuity is detected.
- Identify Short Circuits: In some cases, you may encounter a low resistance reading or continuity between two terminals that should not be connected. This indicates a short circuit and requires further investigation and repair.
Continuity testing helps identify any breaks or faults in the motor’s winding or connections. If continuity issues are detected, it is recommended to seek the assistance of a professional or an experienced technician to further diagnose and repair the motor.
Remember, continuity testing is an important step in assessing the health of a small electric motor. However, combining it with other tests, such as voltage testing and load testing, will provide a more comprehensive evaluation of the motor’s overall condition and performance.
Step 4: Load Testing
The next step in testing a small electric motor is load testing. This test helps determine if the motor can handle the expected workload and perform efficiently under normal operating conditions. Load testing is particularly important for motors used in devices that require a certain level of power output, such as power tools or appliances.
Follow these steps to perform load testing on a small electric motor:
- Prepare the Motor: Ensure the motor is disconnected from any power source and that it is in a stable position, free from any obstructions.
- Set Up the Load: Determine the appropriate load for the motor based on its specifications or the intended application. This could be a mechanical load, such as a pulley system, or an electrical load, such as a series of resistors.
- Connect the Load: Attach the load to the motor, ensuring that the connection is secure and that the load is properly aligned with the motor’s output shaft.
- Power up the Motor: Connect the motor to the appropriate power source and turn it on. Observe how the motor handles the load and check for any abnormal noises, vibrations, or changes in performance.
- Monitor Performance: During the load test, monitor the motor’s performance closely. Pay attention to factors such as speed, torque, temperature, and overall stability. Note any deviations from expected behavior.
- Assess Results: Based on the motor’s performance under load, evaluate whether it meets the required specifications or if it experiences any issues such as overheating, excessive strain, or inability to handle the load properly.
Load testing allows you to assess the motor’s ability to perform under realistic conditions. It helps identify any potential weaknesses or shortcomings that may affect its long-term functionality or cause premature failure.
If the motor struggles to handle the load or exhibits any unusual behavior, further evaluation and troubleshooting may be necessary. Consider consulting a professional or a knowledgeable technician to diagnose the issue and implement appropriate repairs or adjustments.
Remember to prioritize safety during load testing. Ensure that the motor is securely mounted and that all connections are properly insulated. Be cautious of the rotating components and the load itself.
Step 5: RPM Measurement
To evaluate the performance of a small electric motor, it’s often useful to measure its RPM (revolutions per minute). This measurement provides valuable information about the motor’s rotational speed and can help determine if it’s operating within the expected range. RPM measurement is particularly important in applications where precise control of motor speed is required.
Here’s how you can measure the RPM of a small electric motor:
- Prepare the Motor: Ensure the motor is disconnected from any power source and that it is in a stable position.
- Set Up the Tachometer: If you have a tachometer, follow the manufacturer’s instructions to set it up for RPM measurement, including selecting the appropriate settings and attaching any necessary probes or sensors.
- Position the Tachometer: Position the tachometer near the motor, ensuring that it has a clear line of sight to the rotating component, such as the motor’s shaft or a pulley.
- Power up the Motor: Connect the motor to the appropriate power source and turn it on. Allow the motor to reach its operating speed before taking the RPM measurement.
- Take the Measurement: Use the tachometer to measure the RPM of the rotating component. Some tachometers may provide an instant reading, while others may require you to hold the device in place for a few moments to obtain an accurate measurement.
- Repeat for Accuracy: For more accurate results, you can repeat the RPM measurement multiple times and calculate the average RPM.
Comparing the measured RPM to the motor’s specifications or the desired operating range will help you determine if the motor is functioning at the intended speed. Significant deviations from the expected RPM could indicate a problem with the motor or its control system.
Keep in mind that not all small electric motors may require RPM measurement, especially in applications where speed control is not critical. However, for tasks that rely on precise motor speed, such as machinery or robotics, RPM measurement is a valuable diagnostic tool.
If you don’t have access to a tachometer, you can estimate the RPM by using other methods such as visual observation or calculations based on pulley ratios or gear ratios. However, these methods may be less accurate than using a dedicated RPM measurement device.
Step 6: Final Evaluation
After completing the previous steps of testing a small electric motor, it’s time for the final evaluation. This step involves analyzing the results of the tests conducted and making a determination about the motor’s overall condition and performance.
Consider the following aspects during the final evaluation:
- Test Result Comparison: Compare the results of each test to the motor’s specifications or expected performance. Assess whether the motor meets the required voltage, exhibits continuity, handles the load effectively, and operates at the desired speed.
- Observations and Defects: Take into account any observations made during the testing process, such as unusual noises, vibrations, or signs of damage. Identify any defects or issues that may have been discovered.
- Performance Analysis: Evaluate how the motor performs overall. Consider factors such as power output, efficiency, temperature rise, and stability under load. Determine if the motor meets the necessary criteria for its intended application.
- Repair or Replacement: Based on the test results and the evaluation, decide whether the motor requires repair, adjustment, or replacement. If the motor is not functioning as intended or if significant defects are identified, consultation with a professional or an experienced technician may be necessary.
- Maintenance Recommendations: If the motor is in satisfactory condition, consider any maintenance or preventive measures that should be taken to ensure its longevity and optimal performance. This may include regular cleaning, lubrication, or periodic inspections.
The final evaluation is critical in determining the next course of action for the small electric motor. It helps you make informed decisions about repairs, replacements, or ongoing maintenance to ensure the motor’s efficient and reliable operation.
Remember, if you’re uncertain about any aspect of evaluating or repairing the motor, it’s always best to seek the assistance of a professional or a qualified technician. They can provide expert guidance and ensure that the motor is restored to a safe and functional state.
Read more: How To Test Condenser Fan Motor
Conclusion
Testing a small electric motor is an essential process to determine its functionality, diagnose potential issues, and ensure optimal performance. By following the steps outlined in this article, you can gain valuable insights into the motor’s condition and make informed decisions regarding repairs, replacements, or maintenance.
Through visual inspection, you can identify any visible damage or wear that may affect the motor’s performance. Voltage testing helps determine if the motor is receiving the proper voltage and if it is functioning correctly. Continuity testing reveals any breaks or interruptions in the motor’s winding or connections, allowing you to pinpoint potential electrical issues. Load testing assesses the motor’s ability to handle the expected workload, while RPM measurement provides valuable information about its rotational speed.
By conducting these tests, analyzing the results, and performing a final evaluation, you gain a comprehensive understanding of the motor’s overall condition and performance. This allows you to make informed decisions about repairs, replacements, or maintenance to ensure the motor continues to operate efficiently and reliably.
Remember, safety should always be a top priority when working with electrical equipment. Follow all safety precautions, use the appropriate tools and personal protective equipment, and consult professionals when needed. If you’re unsure about any aspect of the motor testing process, it’s best to seek the assistance of a knowledgeable technician.
By taking the time to test and evaluate small electric motors, you can prolong their lifespan, prevent potential issues, and ensure their smooth operation in various applications and devices.
Frequently Asked Questions about How To Test A Small Electric Motor
Was this page helpful?
At Storables.com, we guarantee accurate and reliable information. Our content, validated by Expert Board Contributors, is crafted following stringent Editorial Policies. We're committed to providing you with well-researched, expert-backed insights for all your informational needs.


0 thoughts on “How To Test A Small Electric Motor”