Home>Renovation & DIY>Tools & Equipment>What To Do If A Spackle Dries Out

Tools & Equipment
What To Do If A Spackle Dries Out
Modified: August 28, 2024
Discover the best techniques for reviving dried spackle with the right tools and equipment. Learn how to salvage your spackle effectively.
(Many of the links in this article redirect to a specific reviewed product. Your purchase of these products through affiliate links helps to generate commission for Storables.com, at no extra cost. Learn more)
Introduction
Welcome to the world of home improvement where the satisfaction of fixing and beautifying your living space is unparalleled. As you delve into the realm of DIY projects, you may encounter the challenge of dealing with dried-out spackle. This versatile material is a go-to solution for filling in holes, cracks, and imperfections on walls and ceilings. However, when left exposed to air for extended periods or stored improperly, spackle can dry out, rendering it difficult to work with.
In this comprehensive guide, we will delve into the nuances of spackle, exploring its properties, identifying signs of dryness, and offering practical tips on reviving and preventing spackle from drying out. Whether you are a seasoned DIY enthusiast or a novice embarking on your first home improvement project, this article will equip you with the knowledge and techniques to effectively manage dried-out spackle. Let's roll up our sleeves and delve into the fascinating world of spackle restoration and preservation.
Key Takeaways:
- Don’t Panic, Revive Your Spackle!
When your spackle dries out, don’t worry! You can bring it back to life by adding water or special additives, ensuring smooth and professional repairs for your home improvement projects. - Keep Your Spackle Happy
Prevent spackle from drying out by storing it in airtight containers, monitoring its moisture, and using it wisely. This will keep your spackle ready for action and your repairs top-notch!
Read more: What Is A Spackle
Understanding Spackle
Spackle, also known as joint compound or patching compound, is a versatile material commonly used in home repair and renovation projects. It is primarily composed of gypsum powder, binders, and water, resulting in a smooth, paste-like consistency. This formulation allows spackle to be easily applied to surfaces, filling in imperfections and creating a seamless finish.
One of the key advantages of spackle is its quick drying time, making it an ideal choice for minor repairs and touch-ups. When applied to walls or ceilings, spackle dries to a hard, durable finish that can be sanded and painted, providing a seamless integration with the surrounding surface.
It’s important to note that spackle comes in different formulations, each tailored to specific applications. Lightweight spackle is suitable for filling small holes and cracks, while all-purpose spackle is designed to handle a wider range of repairs. Additionally, there are specialized spackles formulated for exterior use, providing enhanced durability and weather resistance.
Understanding the properties of spackle is crucial for effectively managing its condition. When exposed to air, spackle can gradually lose moisture, leading to the undesirable consequence of drying out. This can affect its workability and adhesion, making it challenging to achieve a smooth and seamless repair.
By gaining insight into the composition and characteristics of spackle, you can better appreciate its versatility and understand how to address issues such as drying out. Armed with this knowledge, you will be better prepared to tackle spackle-related challenges and achieve professional-quality results in your home improvement endeavors.
Signs of Dried Out Spackle
Recognizing the signs of dried-out spackle is essential for maintaining the quality of your repair work. When spackle loses moisture and dries out, several noticeable indicators emerge, signaling the need for remedial action. By identifying these signs early, you can take proactive measures to revive the spackle and ensure successful repairs.
One of the primary signs of dried-out spackle is a change in texture and consistency. When spackle dries out, it becomes hard and crumbly, making it challenging to spread evenly and achieve a smooth finish. Instead of the pliable and malleable nature of fresh spackle, dried-out spackle may exhibit a grainy texture and resistance to spreading, hampering the repair process.
In addition to changes in texture, dried-out spackle may develop visible cracks or fissures on its surface. These cracks indicate that the spackle has lost its flexibility and adhesion, compromising its ability to effectively fill in imperfections and create a seamless repair. Furthermore, the presence of cracks can hinder the overall durability and longevity of the repaired surface, necessitating prompt intervention.
Another telltale sign of dried-out spackle is an alteration in color and sheen. Fresh spackle typically exhibits a uniform color and a smooth, matte finish when applied. However, as spackle dries out, its color may appear faded or uneven, and the surface may lose its characteristic sheen. These visual cues serve as clear indicators of the spackle’s diminished moisture content and compromised integrity.
Furthermore, dried-out spackle may exhibit poor adhesion to the repair surface, resulting in inadequate bonding and an increased likelihood of flaking or crumbling. This lack of adhesion can impede the seamless integration of the repair, detracting from its overall aesthetic appeal and structural integrity.
By remaining vigilant for these signs of dried-out spackle, you can promptly address the issue and implement strategies to revive the spackle, restoring its workability and ensuring successful repairs. In the following section, we will explore effective methods for reviving dried-out spackle, equipping you with the knowledge and techniques to breathe new life into this essential repair material.
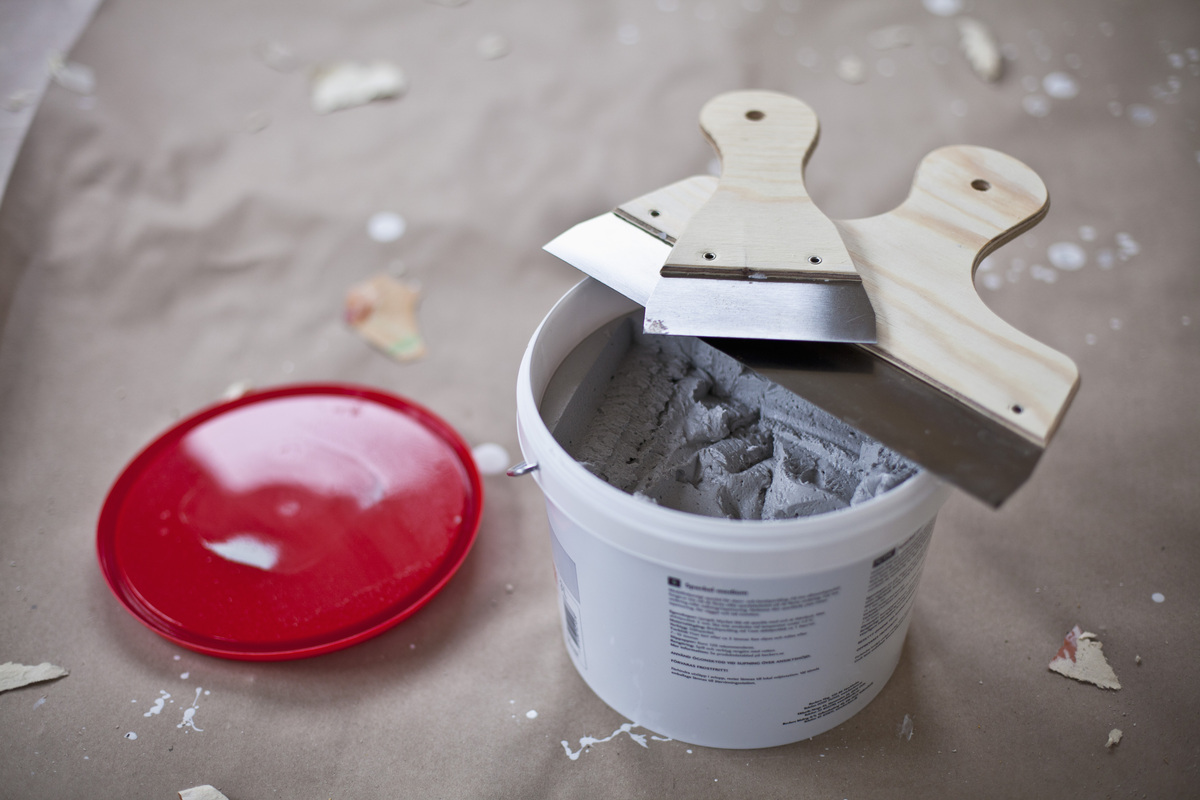
If spackle dries out, you can try adding a small amount of water and mixing it until it reaches the desired consistency. Be sure to only add a little water at a time to avoid making it too runny.
Reviving Dried Out Spackle
When faced with dried-out spackle, it’s essential to employ effective techniques to restore its workability and ensure successful repairs. By implementing the following strategies, you can breathe new life into dried-out spackle, enabling you to achieve seamless and professional-quality results in your home improvement endeavors.
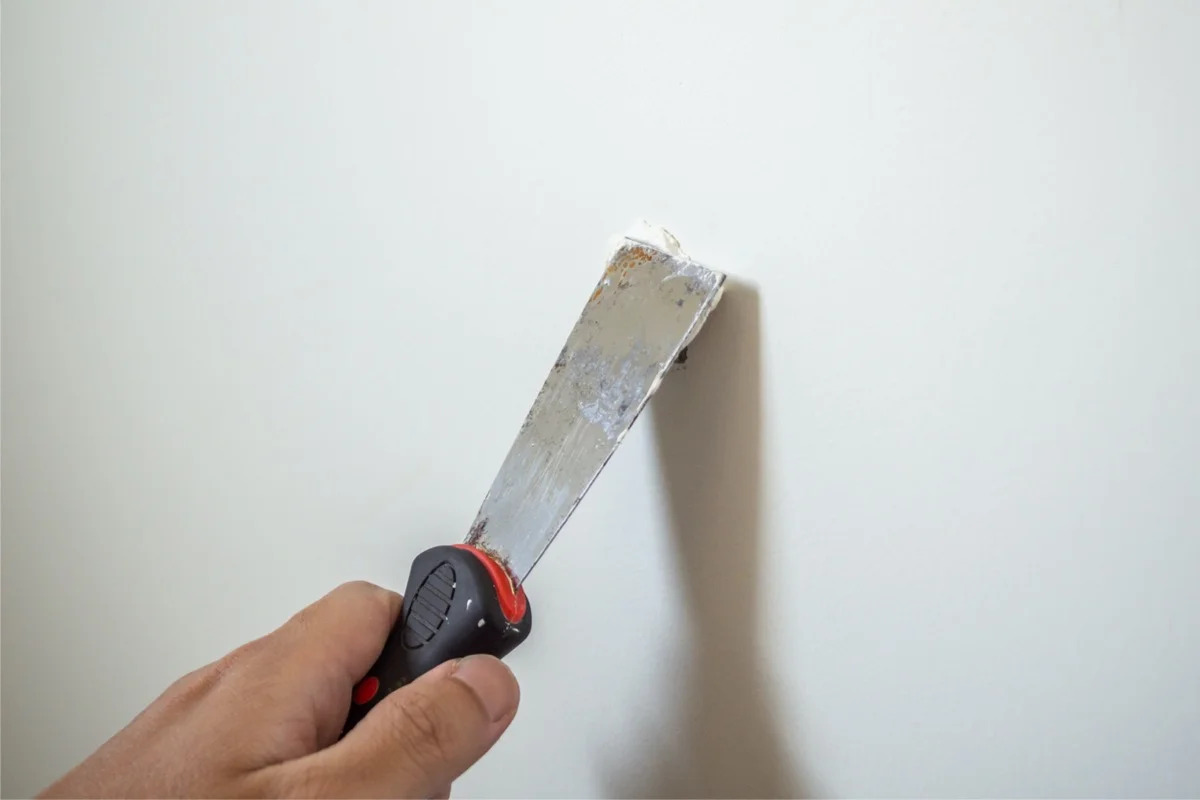
Moisture Rejuvenation: One of the primary methods for reviving dried-out spackle involves reintroducing moisture to the material. Begin by adding small amounts of water to the dried spackle, gradually incorporating it with a putty knife or mixing tool. Exercise caution to avoid over-saturating the spackle, as excessive moisture can compromise its consistency and adhesion. Continuously blend the spackle and water until it reaches a smooth and pliable texture, ready for application.
Additive Incorporation: In addition to water, certain additives can be introduced to enhance the workability of dried-out spackle. A small amount of white vinegar or glycerin can be mixed into the spackle to improve its texture and prevent excessive drying. These additives help restore the pliability and adhesion of the spackle, facilitating a smoother application and seamless integration with the repair surface.
Thorough Blending: To ensure uniform consistency and optimal rejuvenation, thoroughly blend the spackle and any added moisture or additives. Utilize a mixing tool or putty knife to meticulously combine the components, eliminating any lumps or inconsistencies. By achieving a homogeneous texture, you can maximize the spackle’s effectiveness and enhance its ability to fill in imperfections and create a flawless repair.
Test Application: Before proceeding with the actual repair, perform a test application of the revived spackle on a small, inconspicuous area. This allows you to assess the spackle’s workability, adhesion, and drying characteristics, ensuring that it meets your expectations and is suitable for the intended repair. By conducting a test application, you can make any necessary adjustments and proceed with confidence, knowing that the spackle has been successfully revived.
By employing these revitalization techniques, you can effectively revive dried-out spackle, reclaiming its functionality and versatility for your repair projects. With a rejuvenated supply of spackle at your disposal, you can confidently address imperfections and achieve professional-quality results, enhancing the aesthetic appeal and structural integrity of your living space.
Preventing Spackle from Drying Out
While reviving dried-out spackle is a valuable skill, preventing its deterioration in the first place is equally important. By implementing proactive measures to safeguard the moisture content and integrity of spackle, you can ensure that it remains ready for use in your home improvement projects. The following strategies will help you prevent spackle from drying out, preserving its workability and reliability over time.
Airtight Storage: Proper storage is paramount in preserving the moisture content of spackle. When not in use, ensure that the spackle container or packaging is tightly sealed to prevent exposure to air. Airtight storage containers or resealable bags can effectively shield spackle from ambient air, preserving its consistency and preventing premature drying.
Moisture Monitoring: Regularly inspect the spackle for any signs of moisture loss or drying. By staying vigilant and promptly addressing any changes in texture or consistency, you can intervene before the spackle reaches an unsalvageable state. This proactive approach allows you to take remedial action at the earliest indication of drying, preserving the spackle’s usability.
Minimal Exposure: Minimize the duration of exposure to air when working with spackle. After dispensing the required amount of spackle for a repair, promptly reseal the container to prevent prolonged exposure. Additionally, avoid leaving spackle uncovered for extended periods during application, as prolonged air exposure can expedite drying and compromise its workability.
Climate Control: Store spackle in a controlled environment to mitigate the effects of temperature and humidity fluctuations. Extreme heat or cold can impact the moisture content and consistency of spackle, hastening its drying process. By storing spackle in a stable, moderate climate, you can preserve its quality and extend its shelf life.
Proper Usage: Utilize the appropriate amount of spackle for each repair, minimizing excess exposure to air. By dispensing the required quantity and promptly sealing the container, you can limit the potential for drying and maintain the integrity of the remaining spackle for future use.
By incorporating these preventive measures into your spackle management practices, you can effectively safeguard its moisture content and workability, ensuring that it remains ready for use in your home improvement endeavors. By preserving the quality of your spackle, you can approach repair projects with confidence, knowing that this essential material is primed for successful and seamless applications.
Read more: How To Get Spackle To Dry Faster
Conclusion
Embarking on home improvement projects often involves working with spackle, a versatile and indispensable material for repairing and enhancing surfaces. However, the potential for spackle to dry out presents a common challenge that DIY enthusiasts and professionals alike must address. By understanding the signs of dried-out spackle and mastering the art of revival, you can effectively manage this issue and ensure the continued success of your repair endeavors.
Recognizing the telltale signs of dried-out spackle, such as changes in texture, appearance, and adhesion, empowers you to take proactive measures to revive and restore its workability. Through techniques such as moisture rejuvenation, additive incorporation, and thorough blending, you can breathe new life into dried-out spackle, reclaiming its versatility and reliability for your repair projects.
Furthermore, by implementing preventive strategies, such as airtight storage, moisture monitoring, and climate control, you can safeguard the moisture content and integrity of spackle, mitigating the risk of drying out and preserving its usability over time. These proactive measures ensure that your spackle remains ready for use, empowering you to tackle repairs with confidence and achieve professional-quality results.
As you navigate the world of home improvement and embark on various repair and renovation projects, the knowledge and techniques shared in this guide will serve as valuable assets in your toolkit. By mastering the art of managing dried-out spackle and preventing its deterioration, you can elevate the quality and longevity of your repair work, enhancing the aesthetic appeal and structural integrity of your living space.
Armed with a deep understanding of spackle and its nuances, you are well-equipped to tackle the challenges of dried-out spackle with confidence and proficiency. By integrating these insights into your DIY repertoire, you can embark on repair projects with the assurance that your spackle will remain a reliable and effective ally, enabling you to achieve seamless and professional-quality results.
So, roll up your sleeves, unleash your creativity, and let the transformative power of spackle elevate your home improvement endeavors to new heights.
Frequently Asked Questions about What To Do If A Spackle Dries Out
Was this page helpful?
At Storables.com, we guarantee accurate and reliable information. Our content, validated by Expert Board Contributors, is crafted following stringent Editorial Policies. We're committed to providing you with well-researched, expert-backed insights for all your informational needs.

0 thoughts on “What To Do If A Spackle Dries Out”